How you can optimize options, 設定, and more to get a peek at performance and enjoyment out of Gotham Knights!
要件! (From Steam Page)
Here are the Requirements for the game if you’re wondering about hardware, just putting this here because it might be important to someone and takes some contribution in performance and graphics of the game! 😀
Minimum:
OS: 窓 10 64-少し
64-bit Processor: Intel Core i5-9600K (3.7 GHz) OR AMD Ryzen 5 3600 (3.60 GHz)
メモリ: 8 GB RAM
グラフィックス: NVIDIA GeForce GTX 1660 Ti OR AMD Radeon RX 590
ダイレクトX: バージョン 12
ストレージ: 45 GBの空き容量
追加メモ: 1080p / 60fps / Low Quality Settings
推奨:
OS: 窓 10 64-少し
64-bit Processor: Intel Core i7-10700K (3.8 GHz) or AMD Ryzen 5 5600バツ (3.7 GHz)
メモリ: 16 GB RAM
グラフィックス: nvidia geforce rtx 2070 またはAMD Radeon Rx 5700 XT
ダイレクトX: バージョン 12
ストレージ: 45 GBの空き容量
追加メモ: 1080p / 60fps / High Quality Settings
Changing Settings To Squeeze Every Available Frame Out!
Now we’re off to settings and actual options within the game. Lets talk about what your settings should be to maximize performance! 😀
Settings Commence!:
表示モード: 何でも (好み)
V-Sync – オフ (I did not experience a lot of screen tearing and need to conserve performance, にもかかわらず
still getting lag)
Dynamic Resolution – の上
アップスケーリング – オフ (Found that even turning it on destroyed my performance and increased amount of crashes, However will make the game look a lot worse).
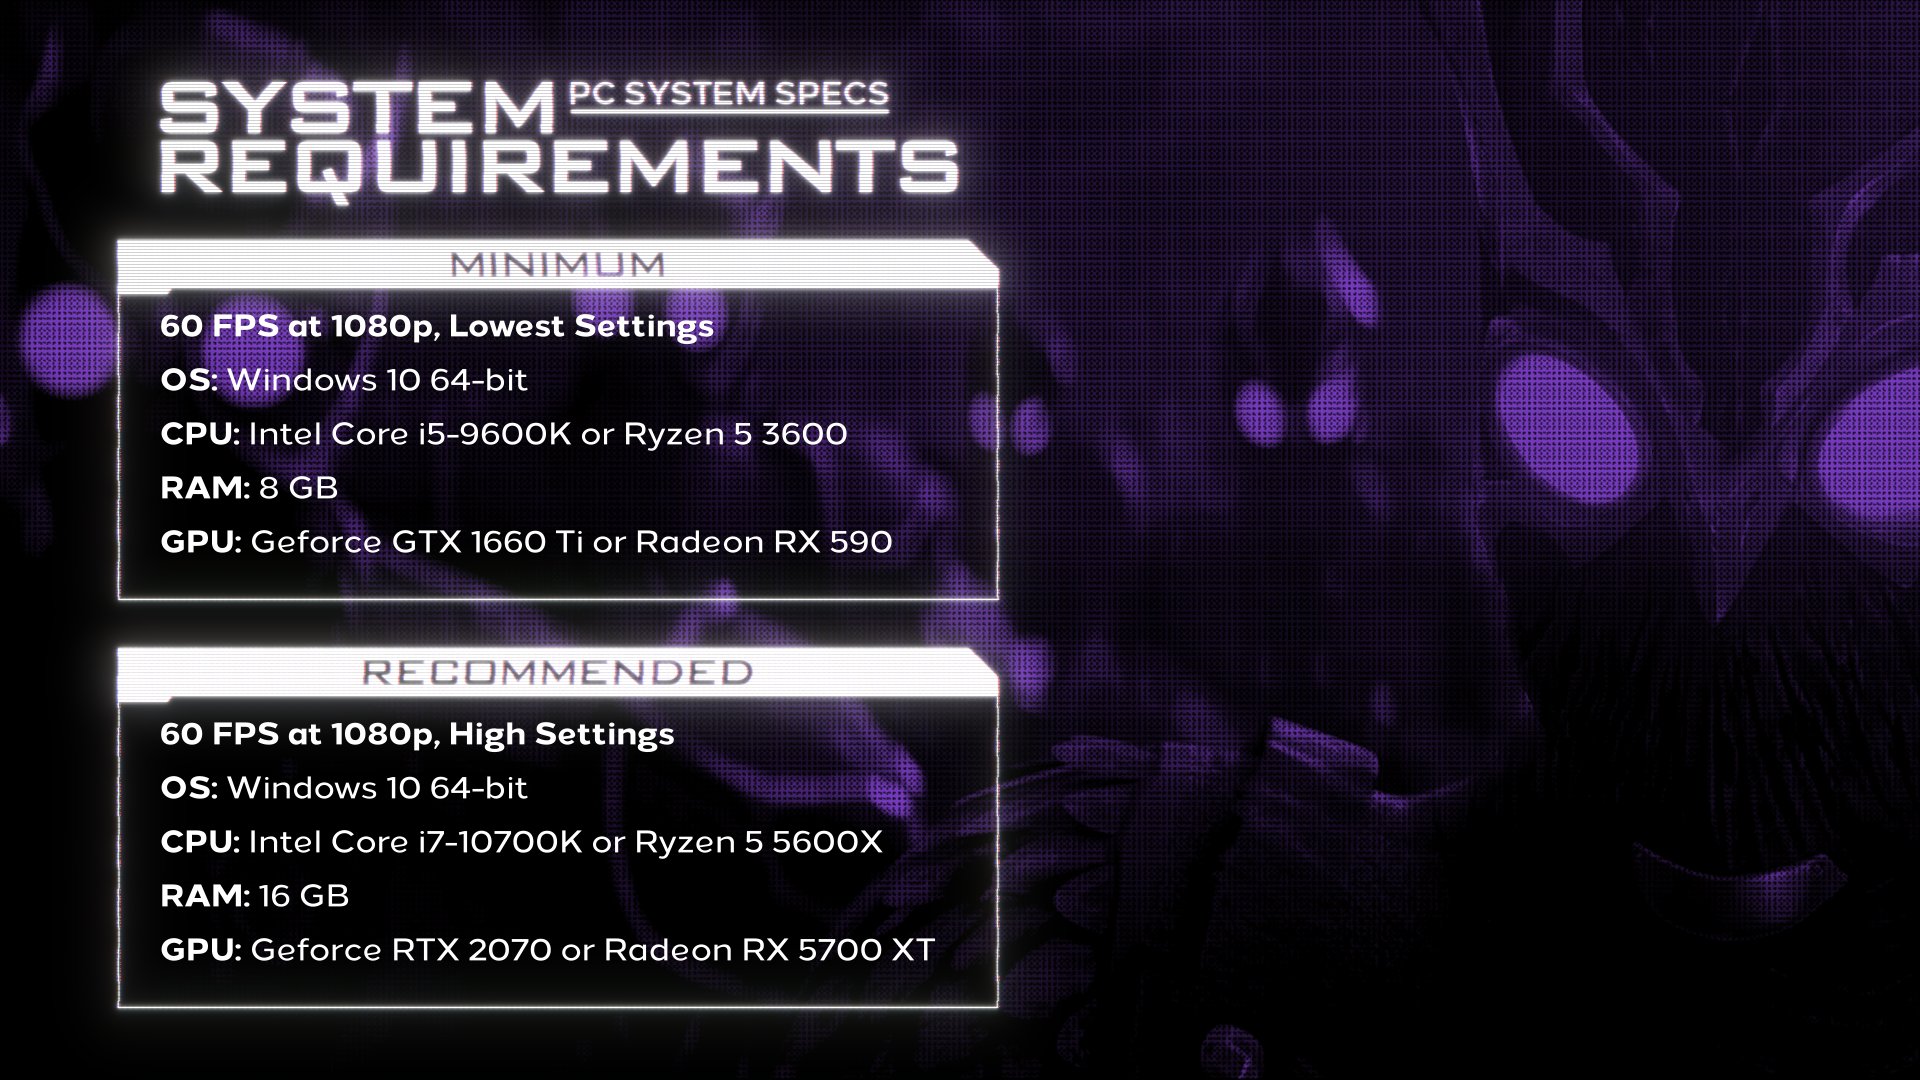
周囲の閉塞 – On/Off (Will effect performance more than something like Bloom, which could be a problem for lower GPU’s, however it definitely helps the game’s looks and is an important feature)
咲く – On/Off, Does not effect performance too much and makes Gotham more enjoyable. Again If you want to sacrifice quality for every fame, どうぞ! (I wouldn’t worry about turning it off)
Chromatic Aberration – Off/On (Lens Effect).
被写界深度 – On/Off (Focuses on objects in front of you, most noticeable in cutscenes but doesn’t add much, so it’s preference, especially if you want to squeeze every frame you can get).
アンチエイリアシング – Will be locked if DLSS Nvidia, but you can use TAA. If you notice effects to
パフォーマンス, feel free to sacrifice image quality for more performance (as I had to)
All other Quality settings (Between Low-High) – All on low, as even going a little higher terribly impacted my performance, as this is optimization for me and lower-end PCs (Post-Processing Quality Low, View Distance Low, Environment Density Low, Texture Quality Low, 等) Basically Quality Preset On Low!