
A guide dedicated to the holes in one on the Turnip Forest custom map and other interesting routes.
序章
My friend Szopix has created this amazing map after we had played all of the default levels present in the game. I have been playtesting it and found some unusual tricks to beat all of the courses below par, some of which are holes in one. Many of them are very tricky to carry out in a normal game, so this guide serves more as a trivia than a tutorial, unless you really want to beat that one friend at any cost 🙂
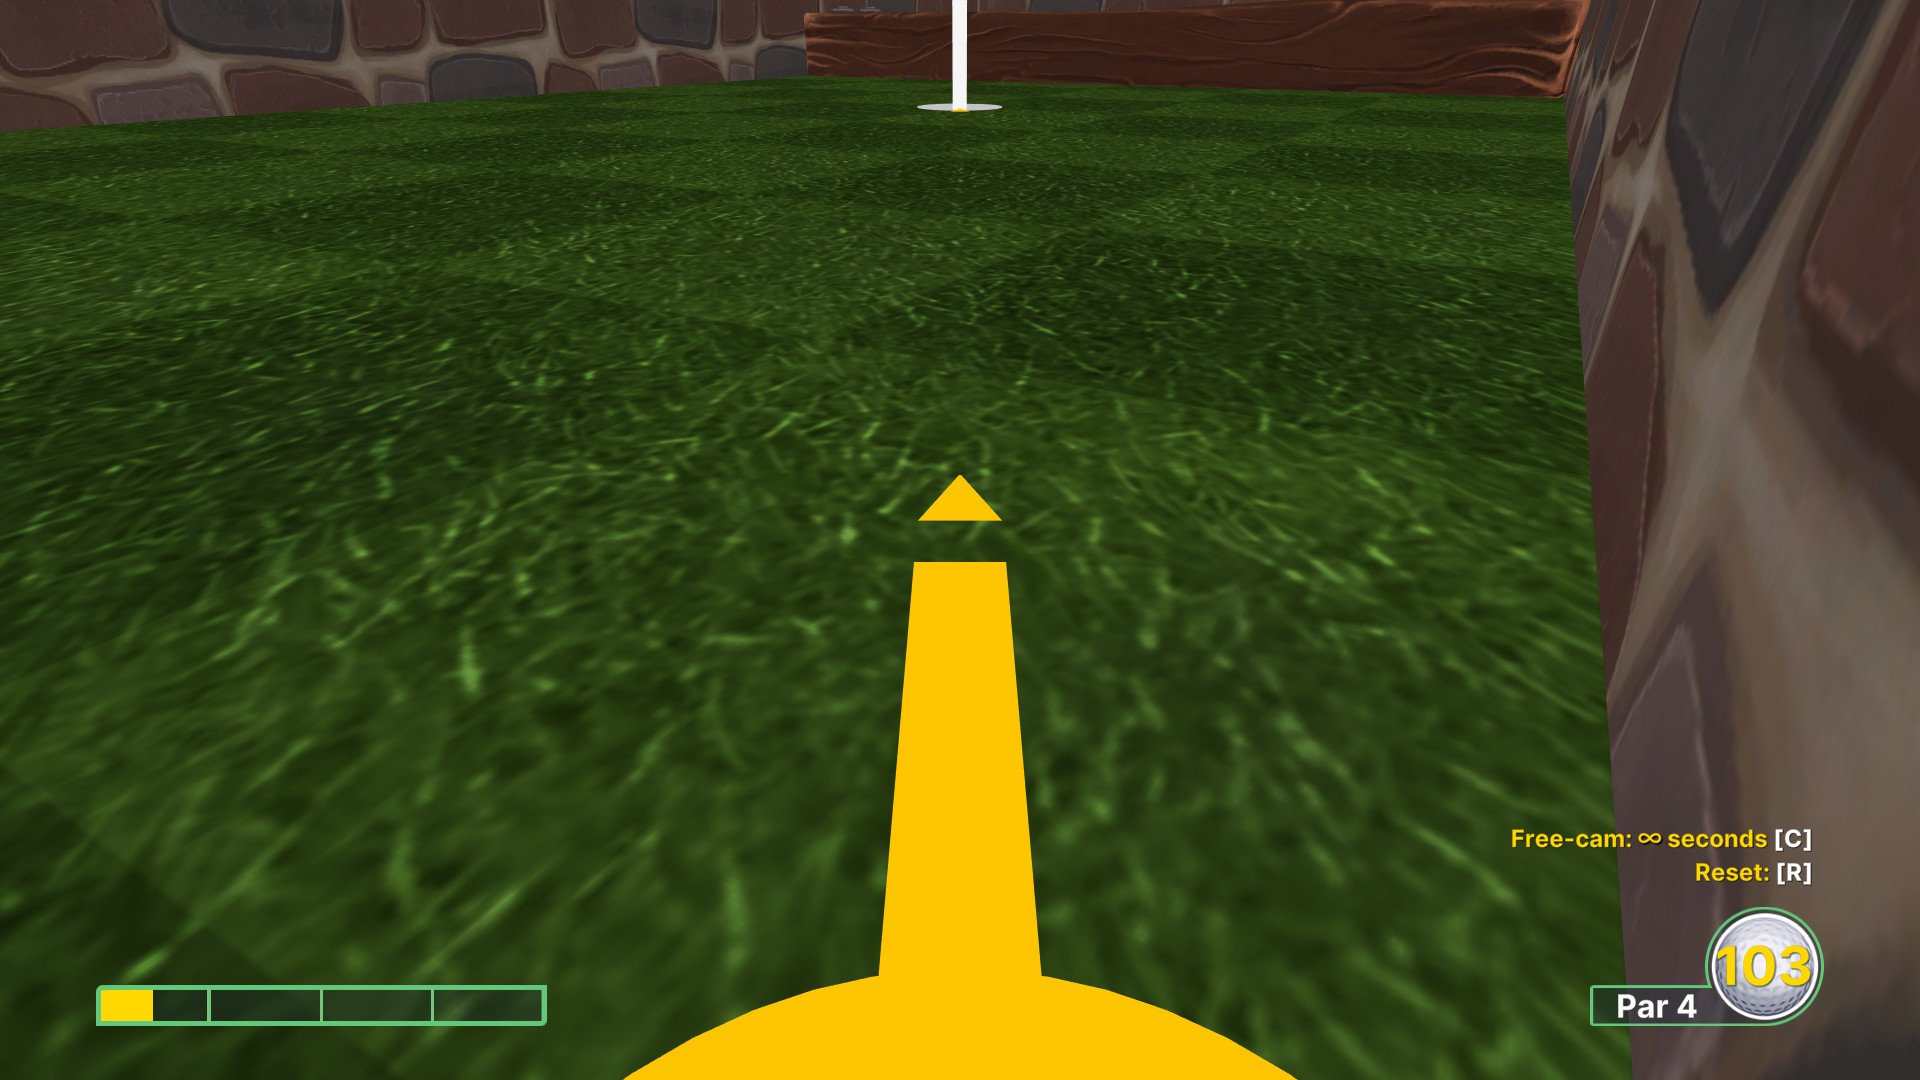
Hole 1 (で 1)
真っ直ぐ進んで下さい, aiming at the center at about 3.5 力.
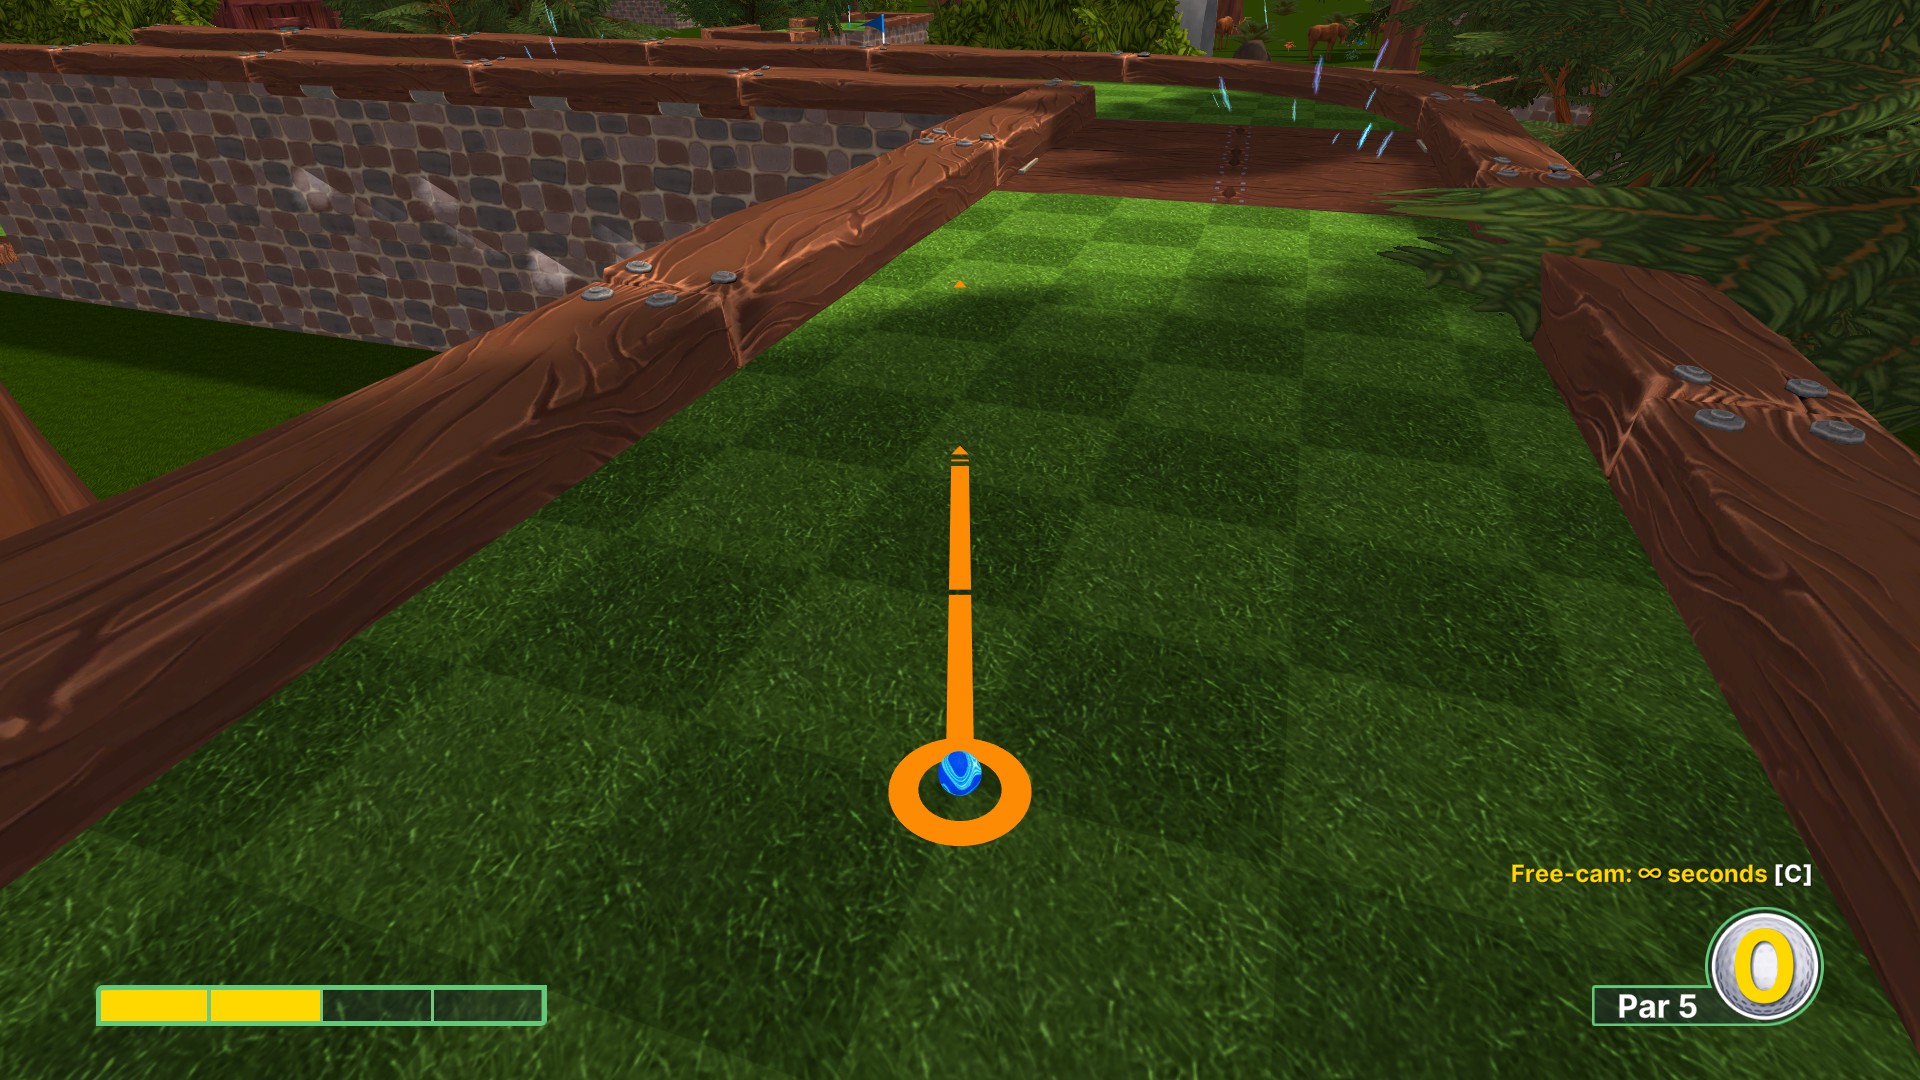
Hole 2 (で 2)
Aim straight at the center using about 1.33 bars of power.

After you fall into the hole at the top of the hill, go straight at about 2 強さ.
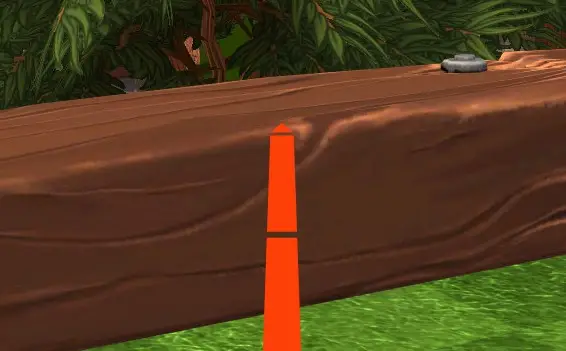
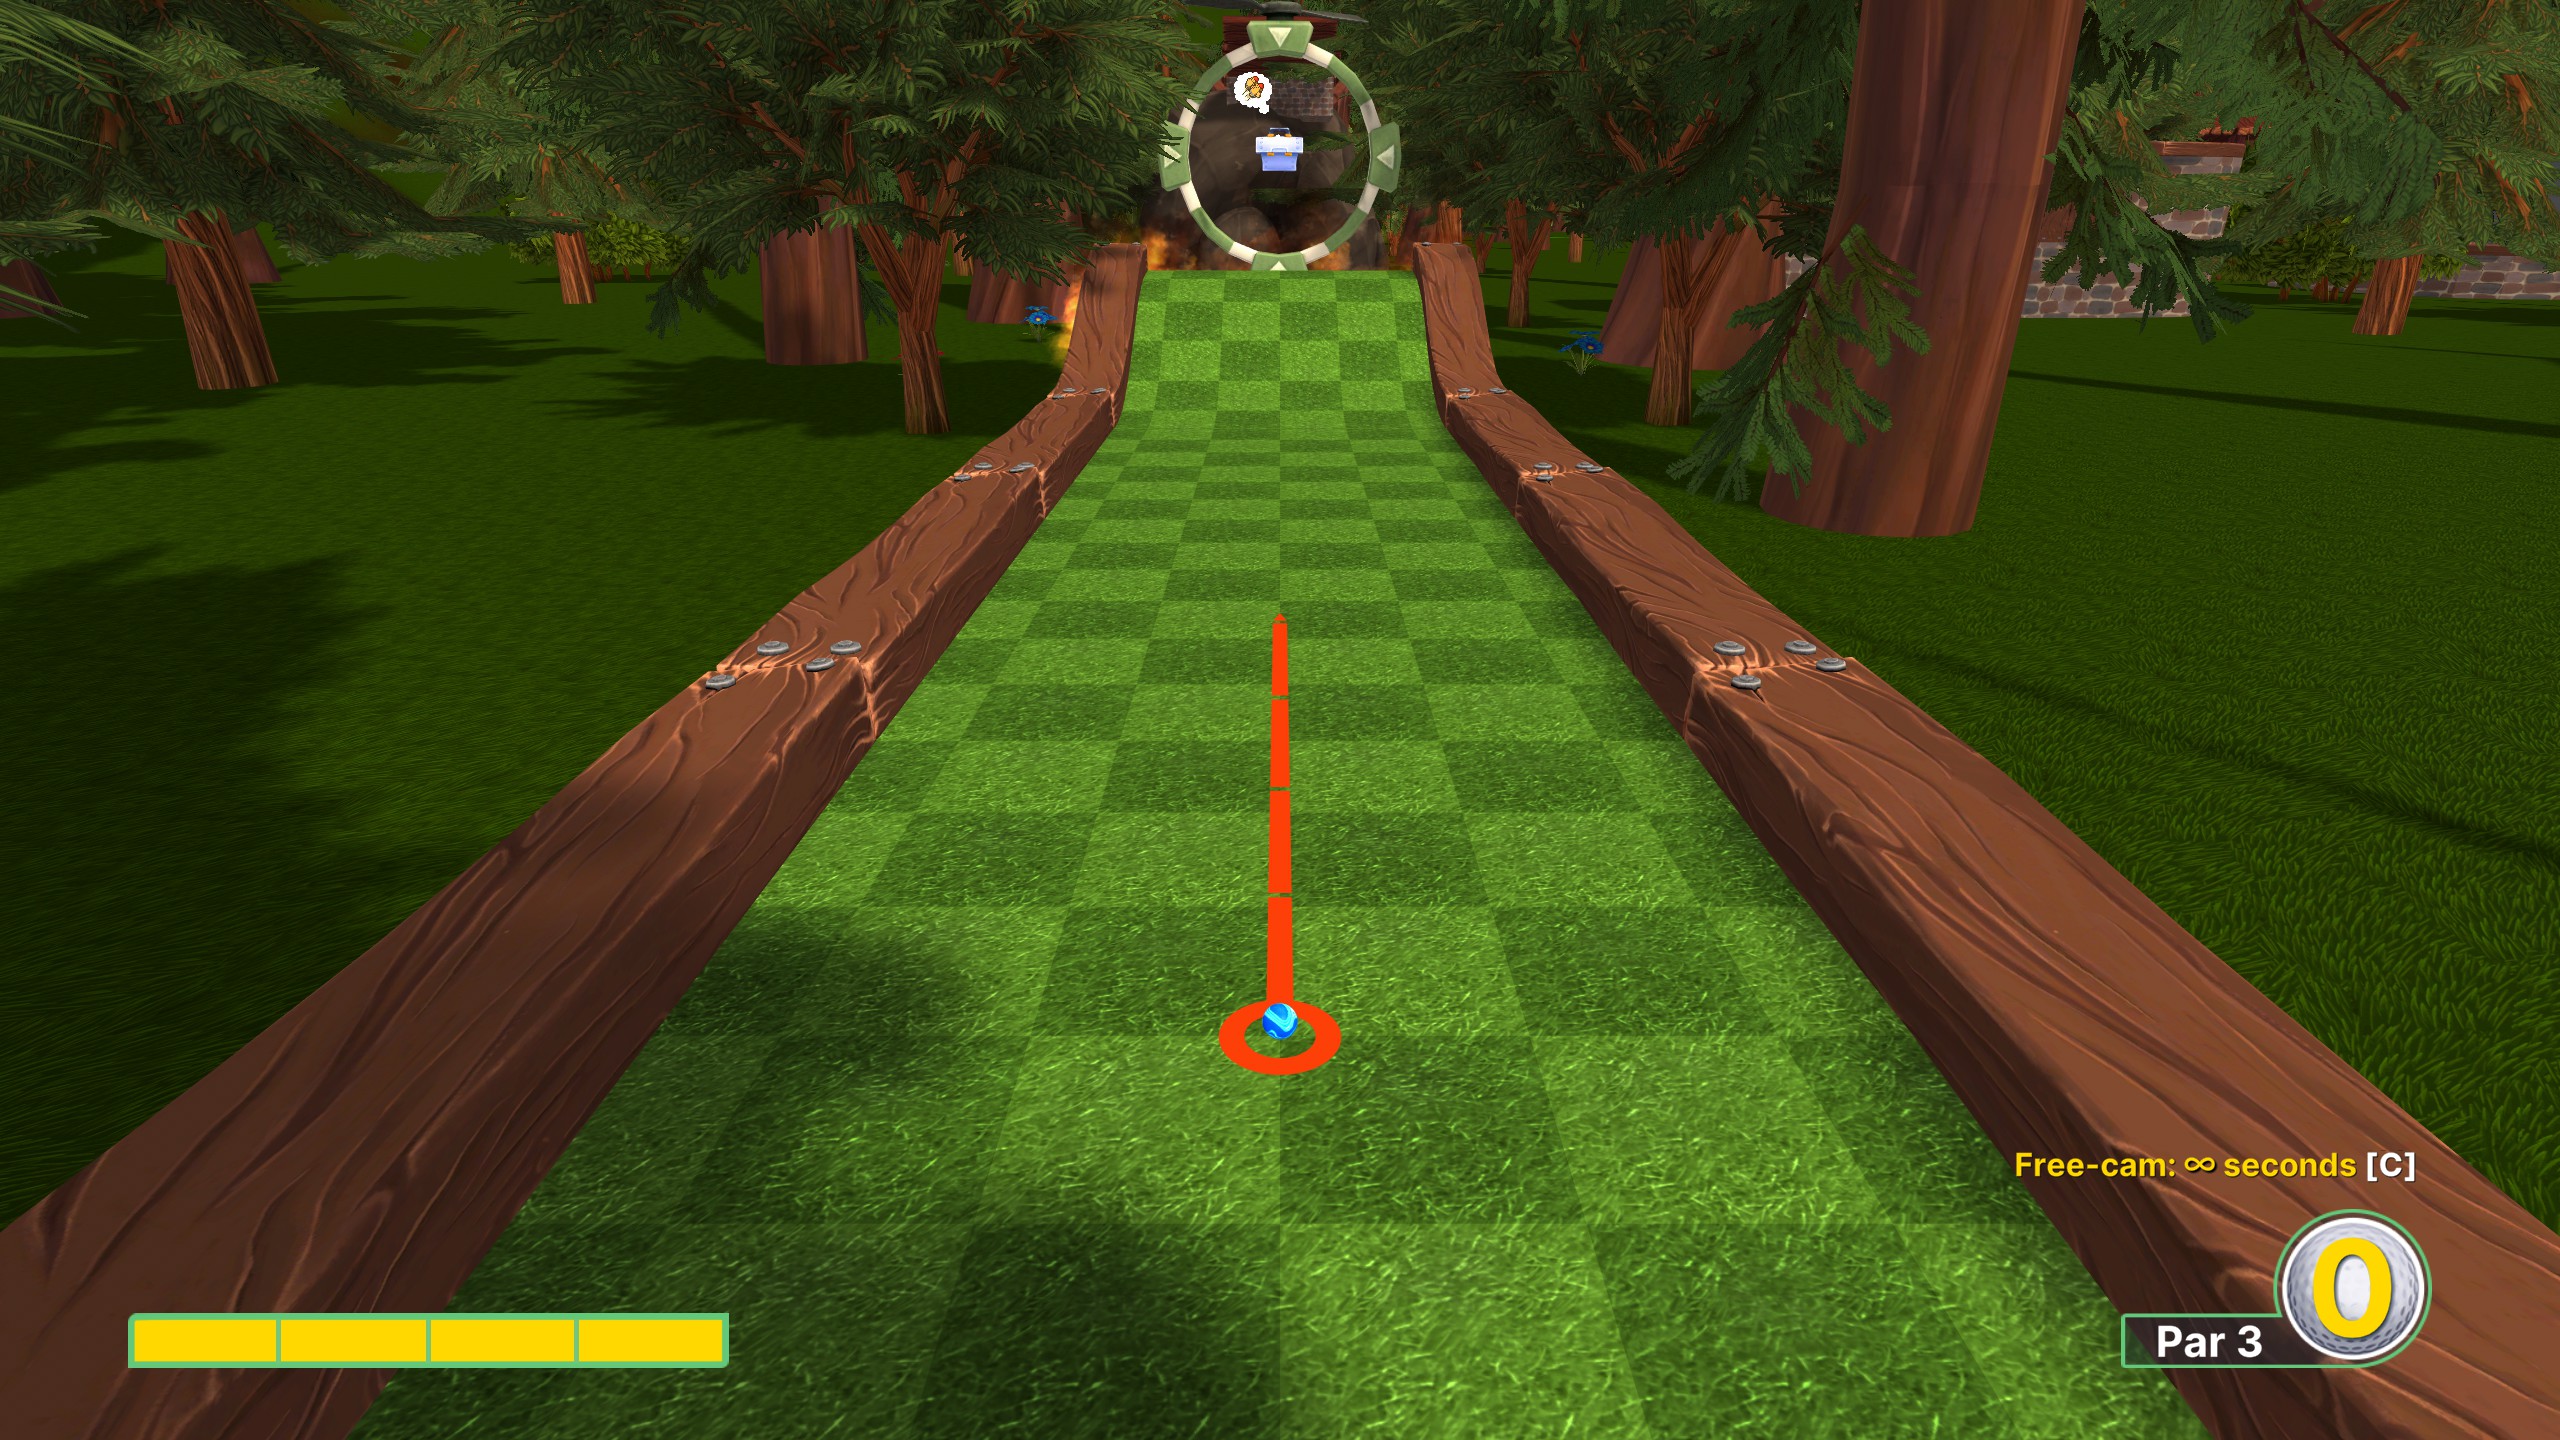
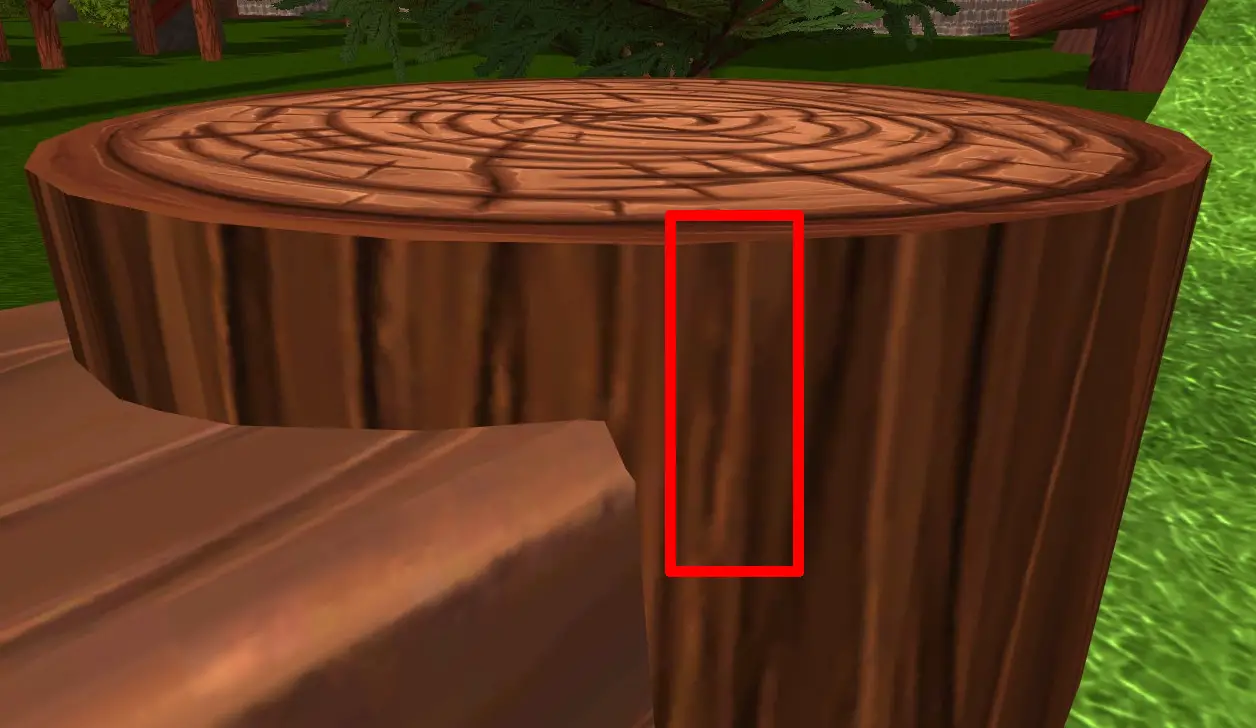
Hole 3 (で 1)
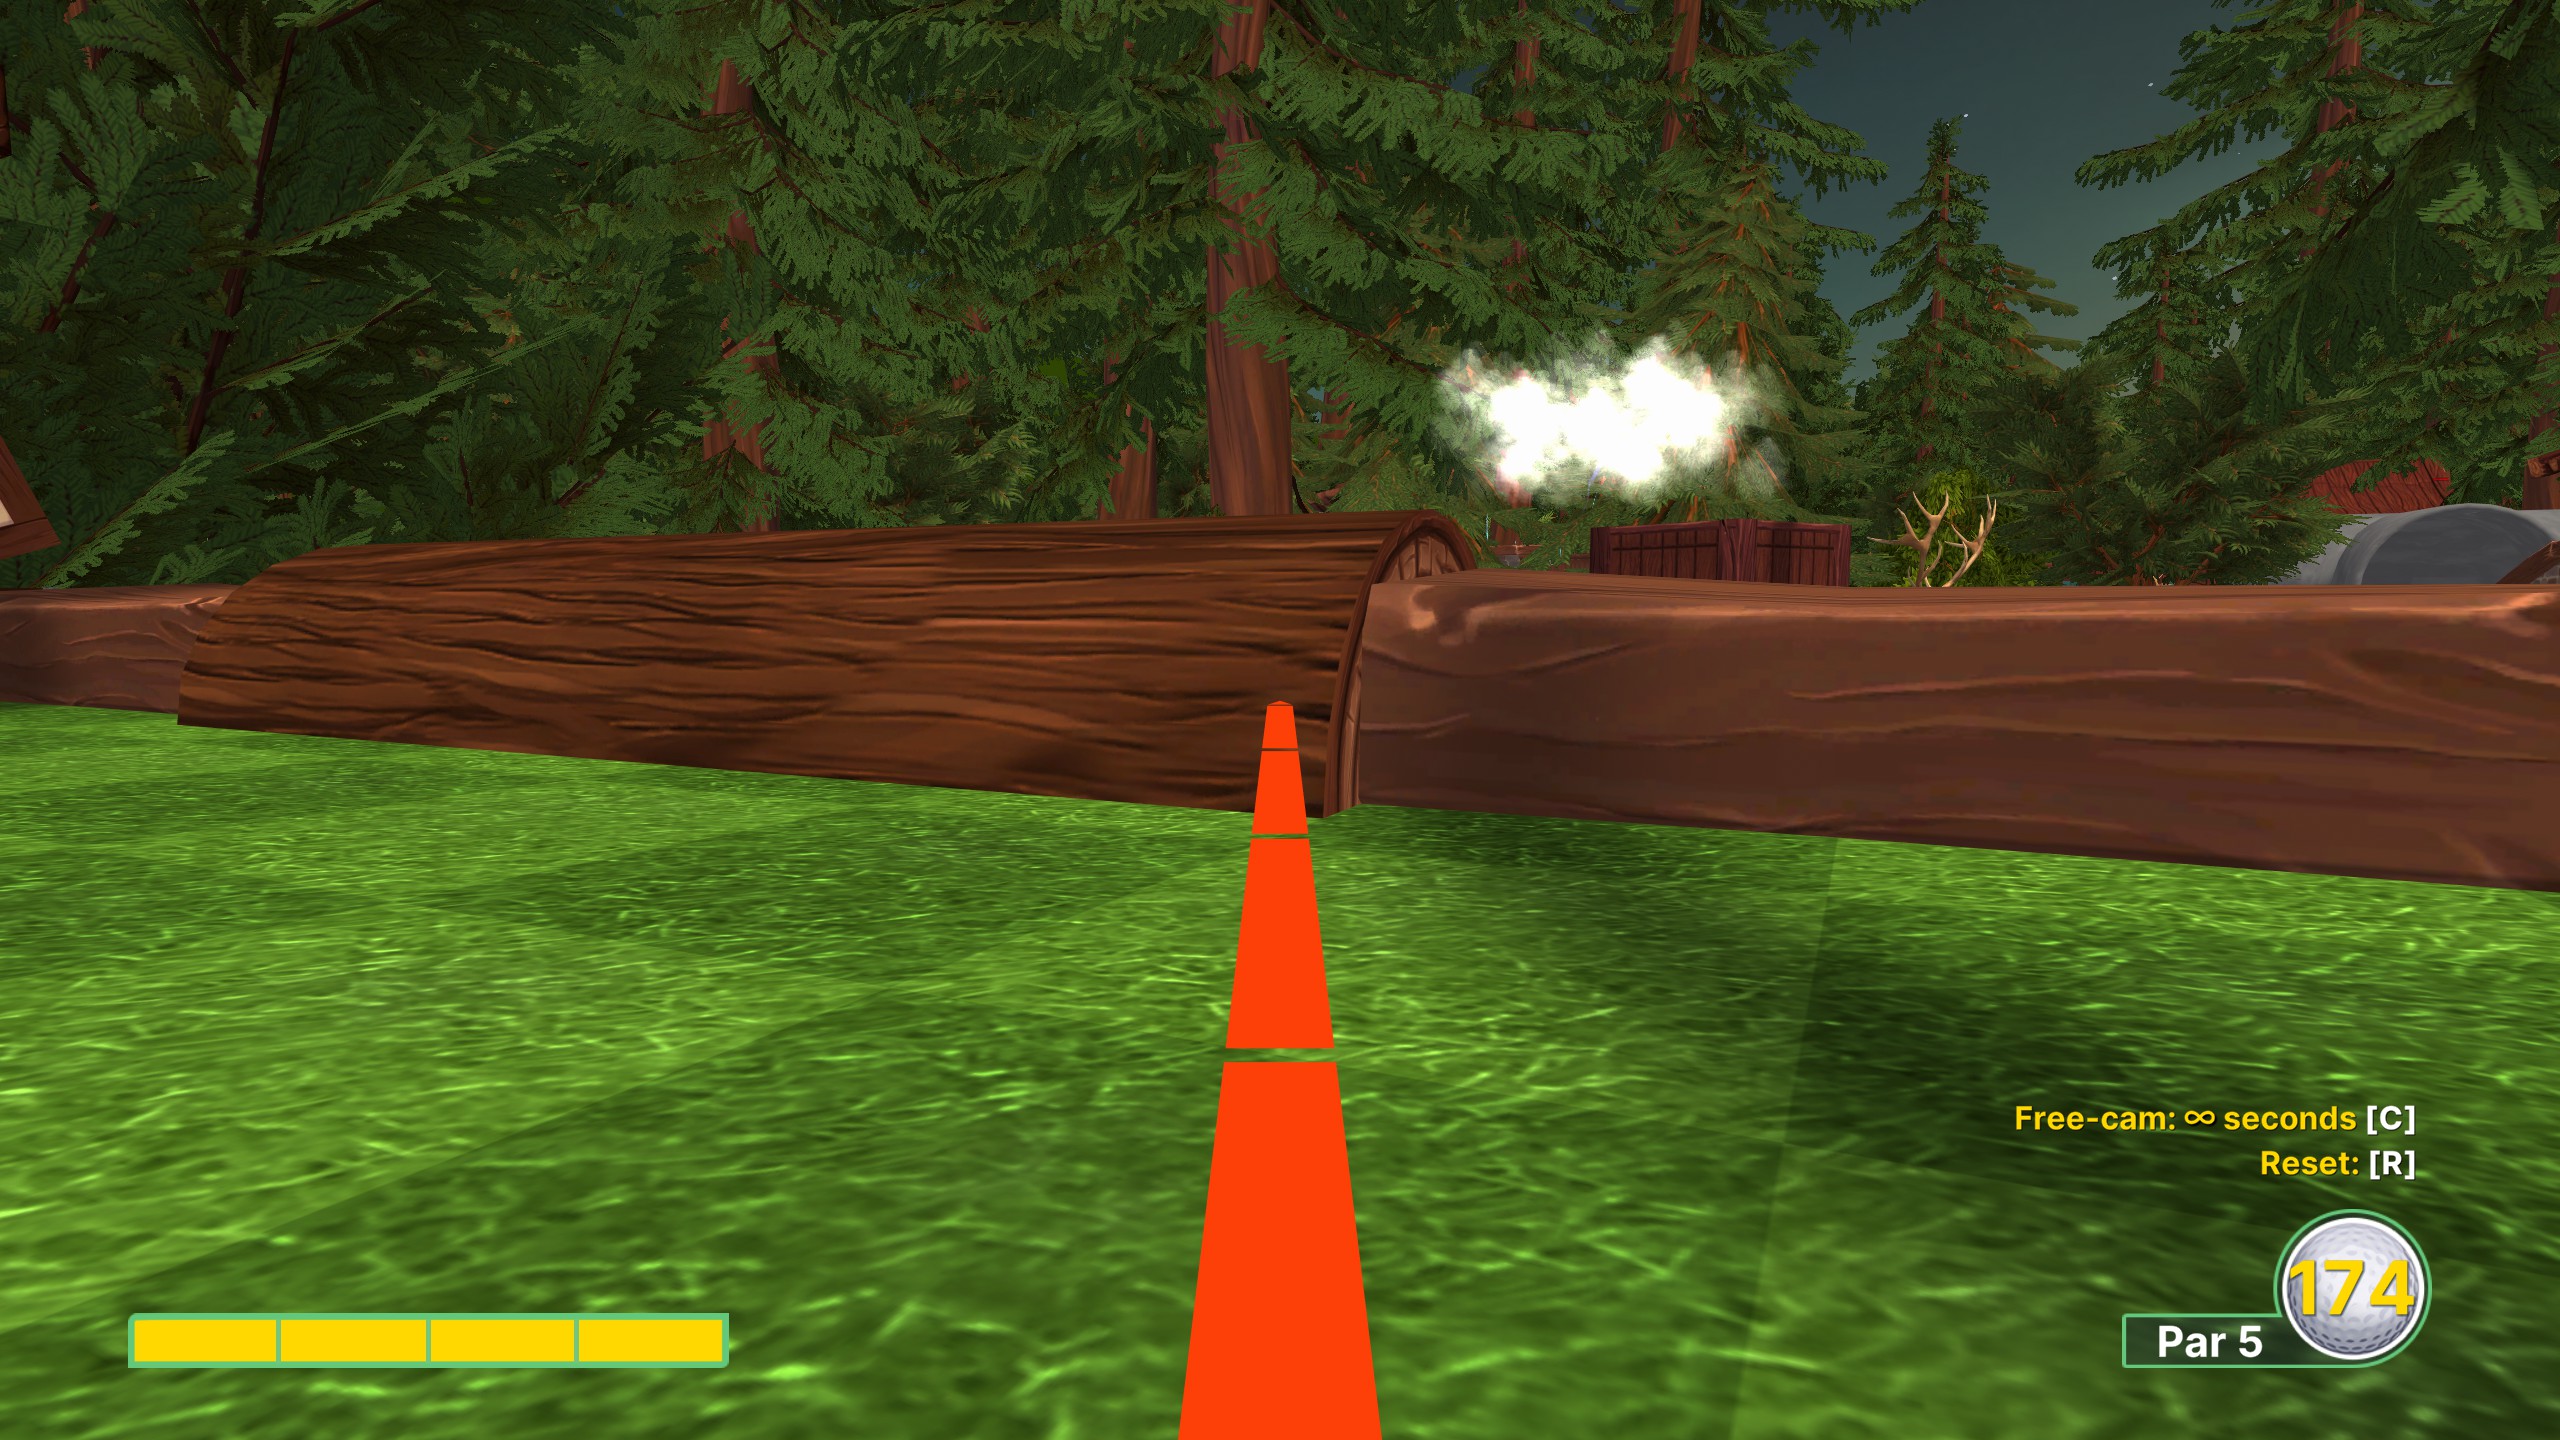
You need the use full strength on this one. Aim at the left side of a white spot on the wooden plank.
Release the ball when the gates are open in this position:

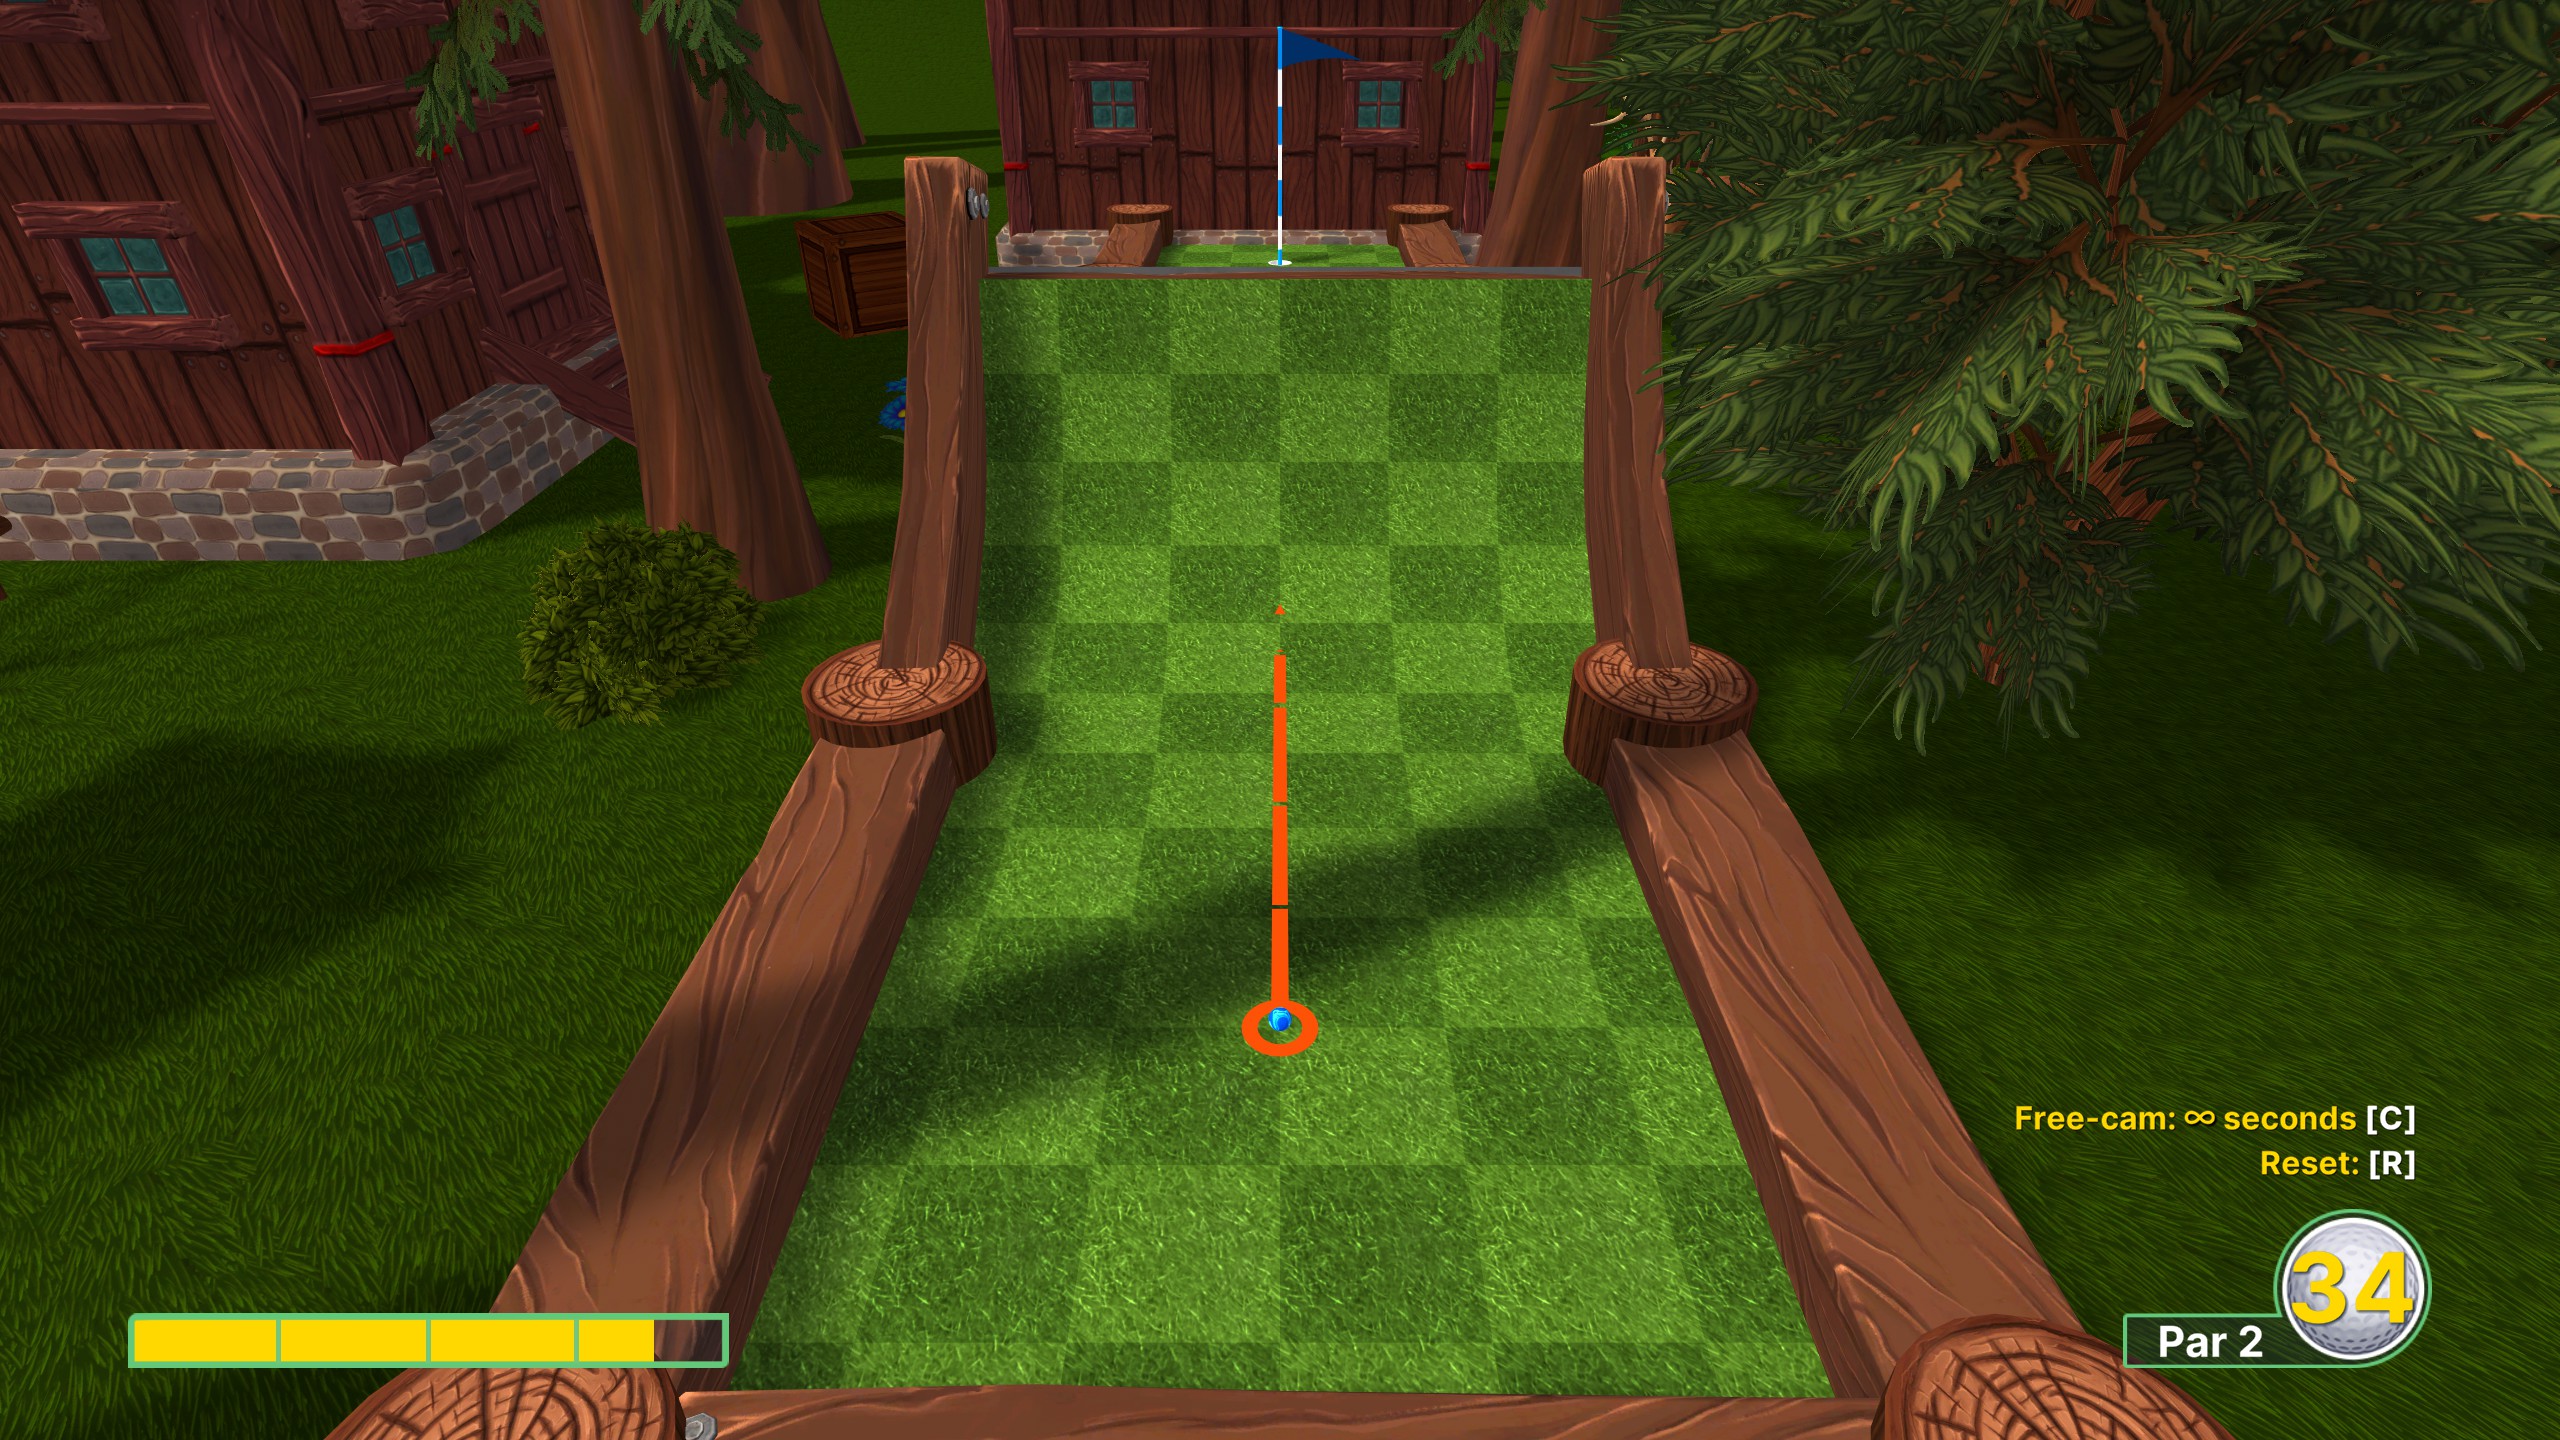
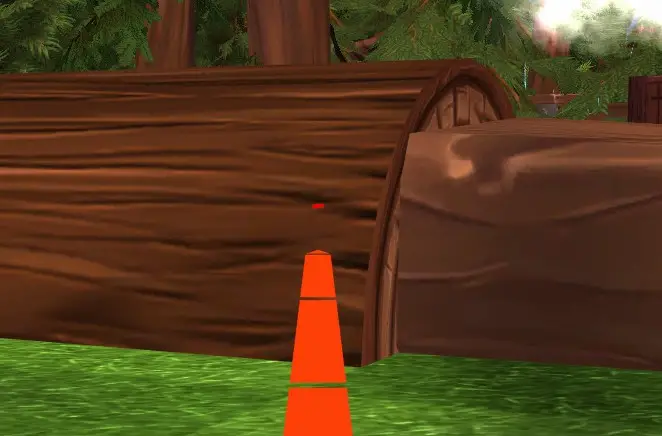
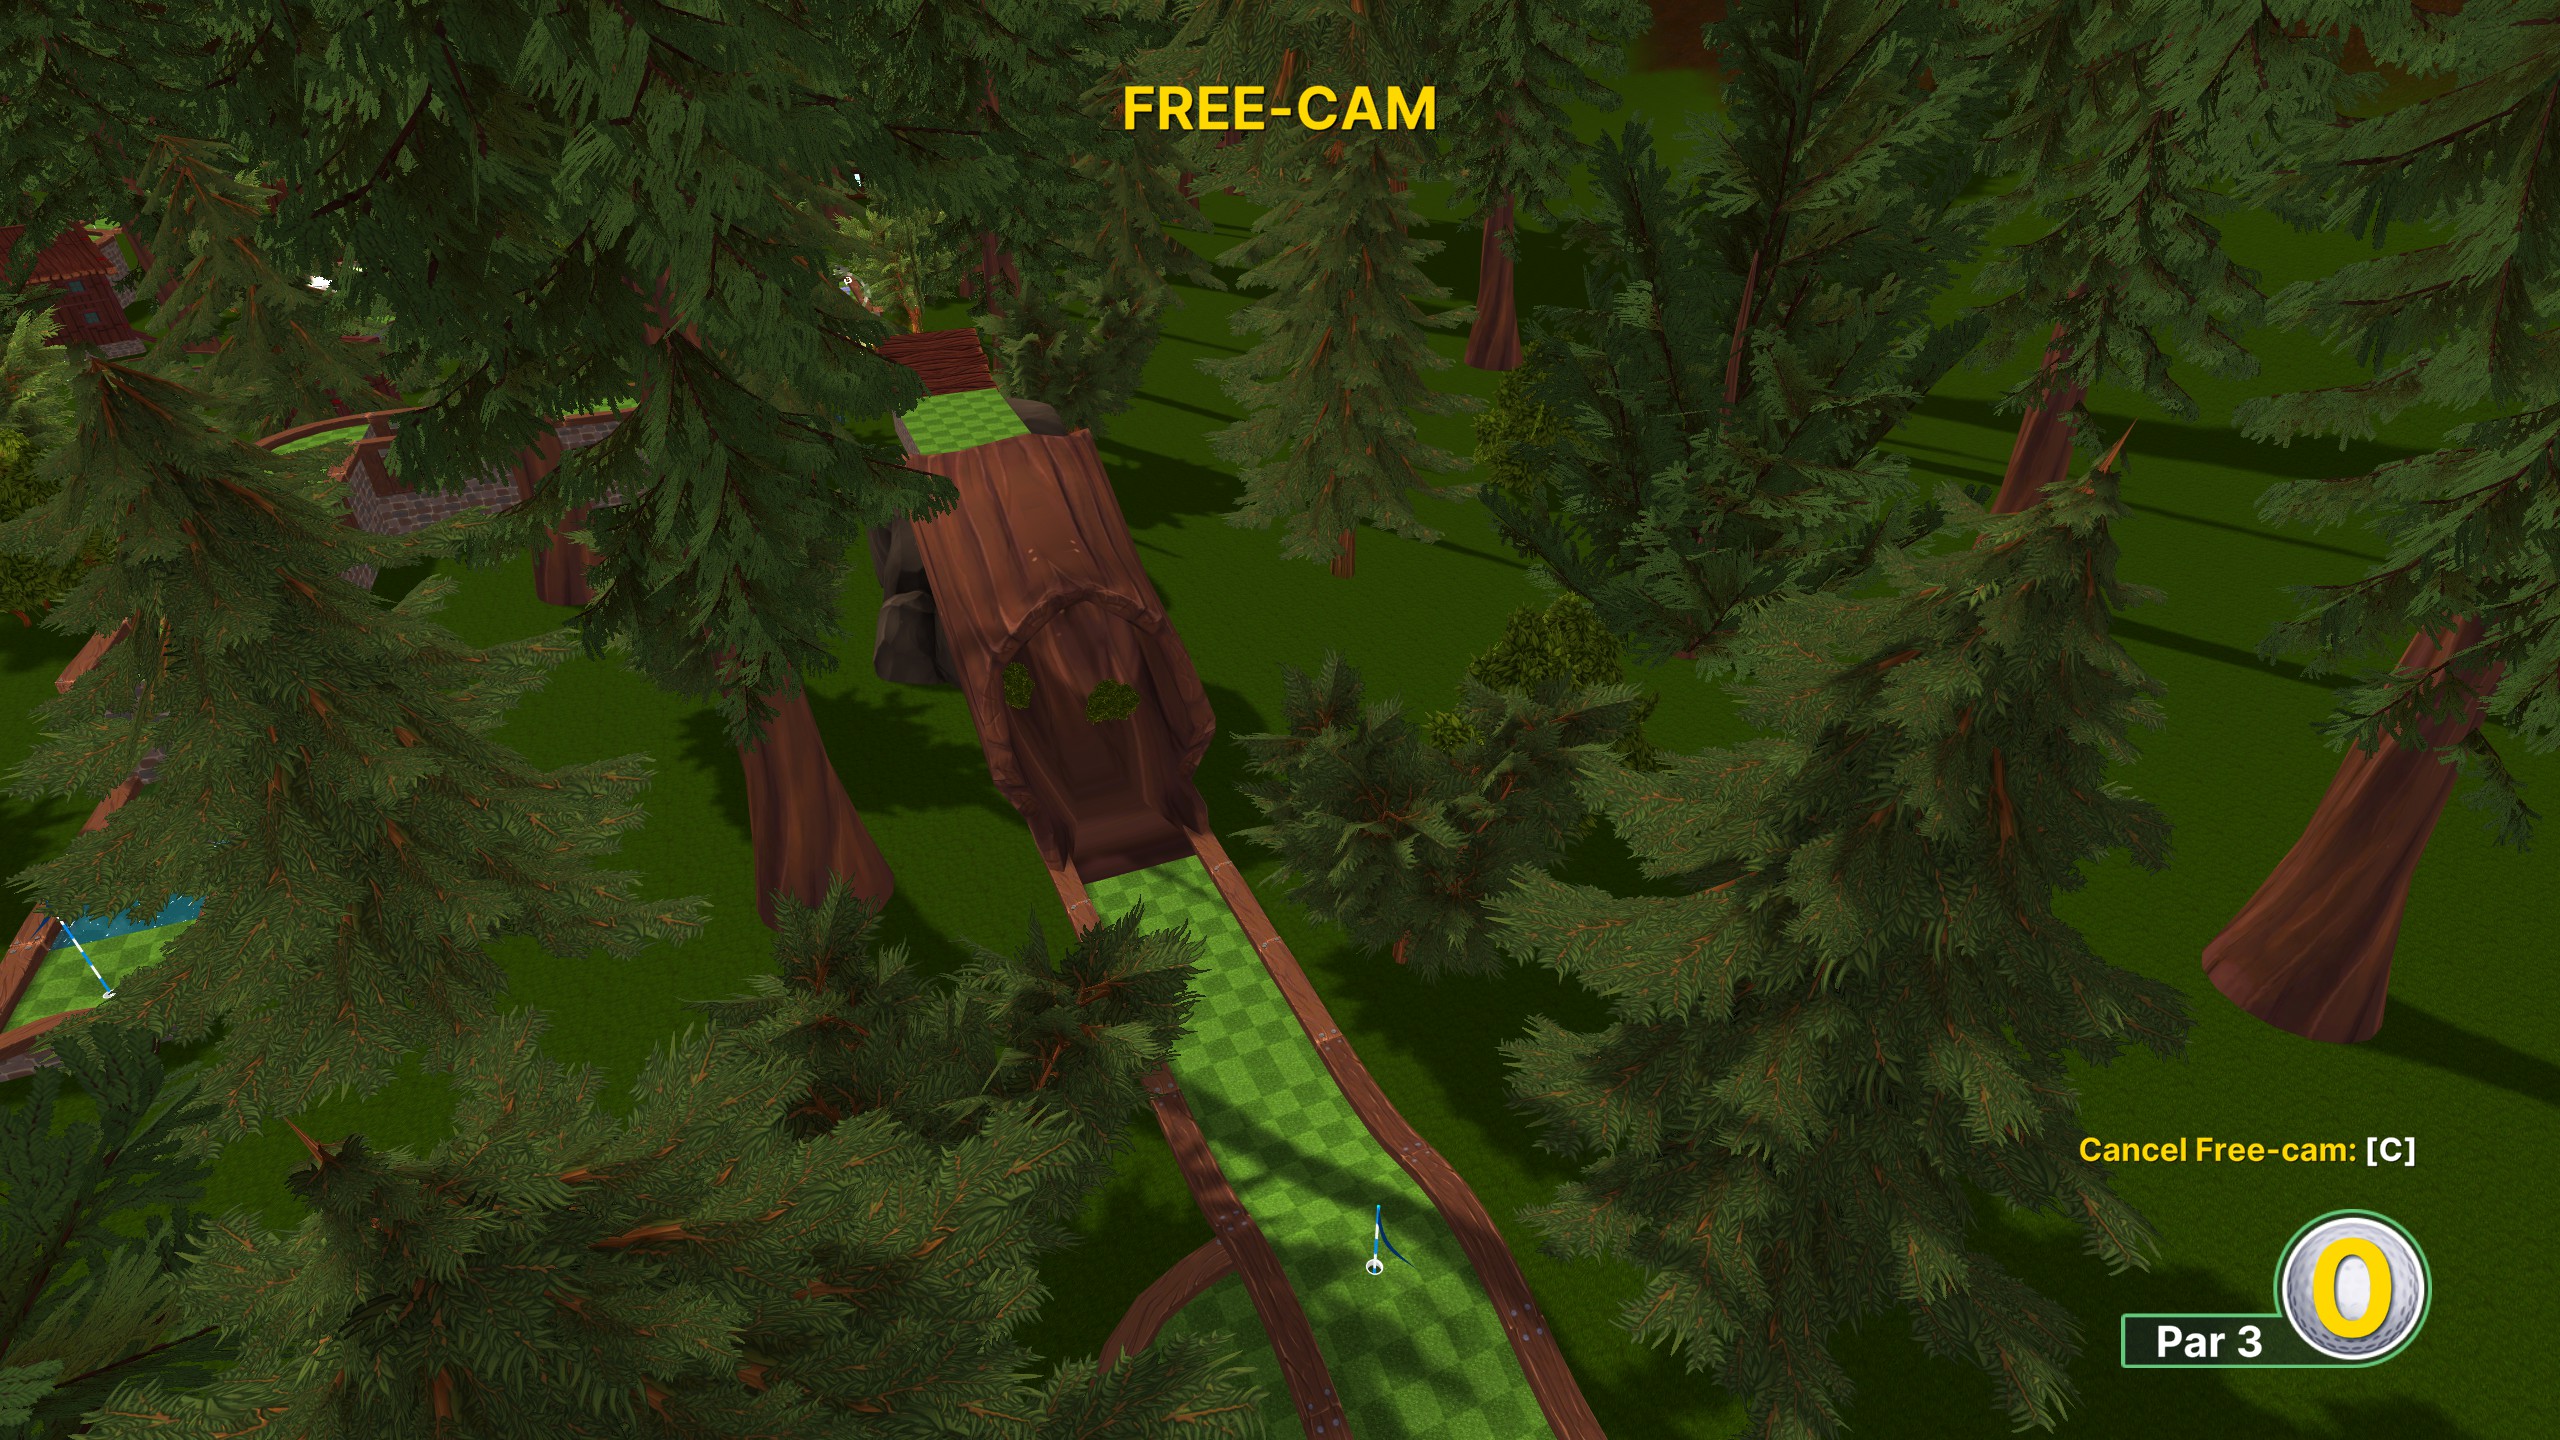
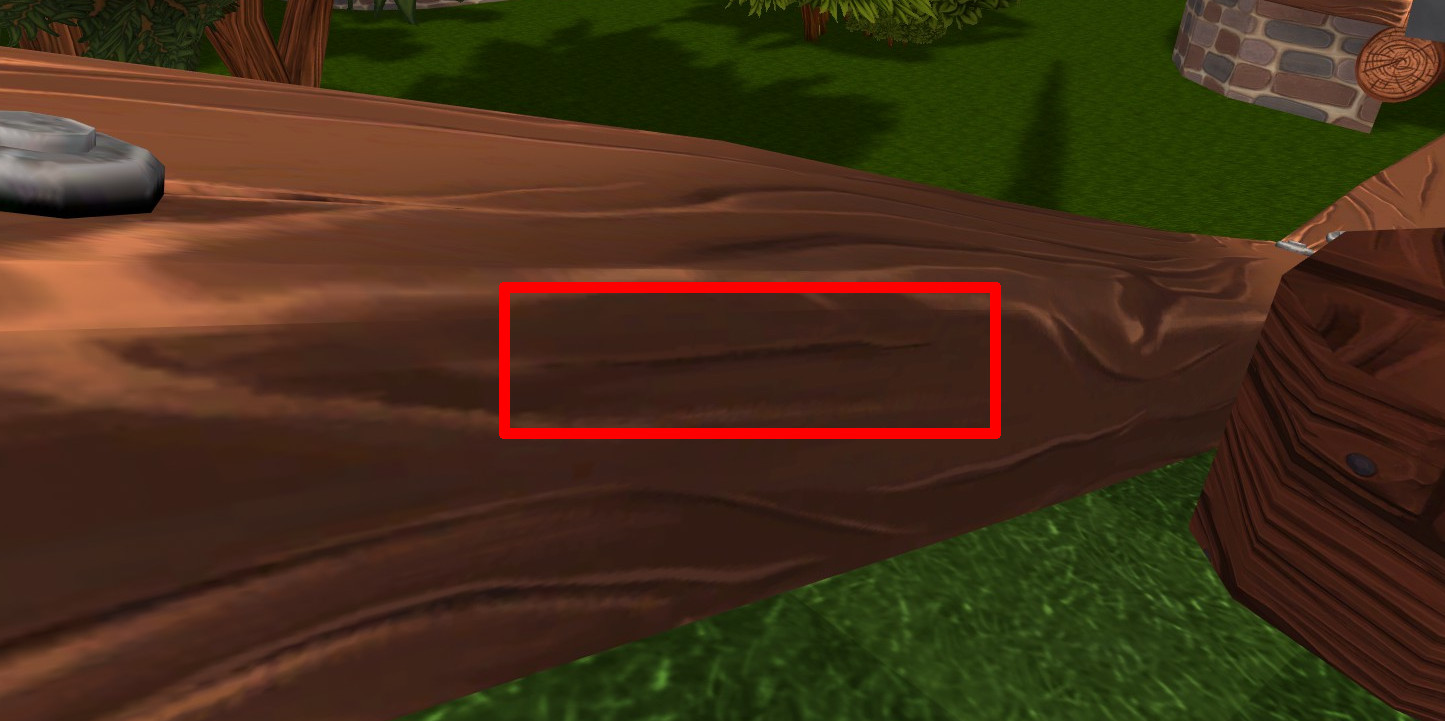
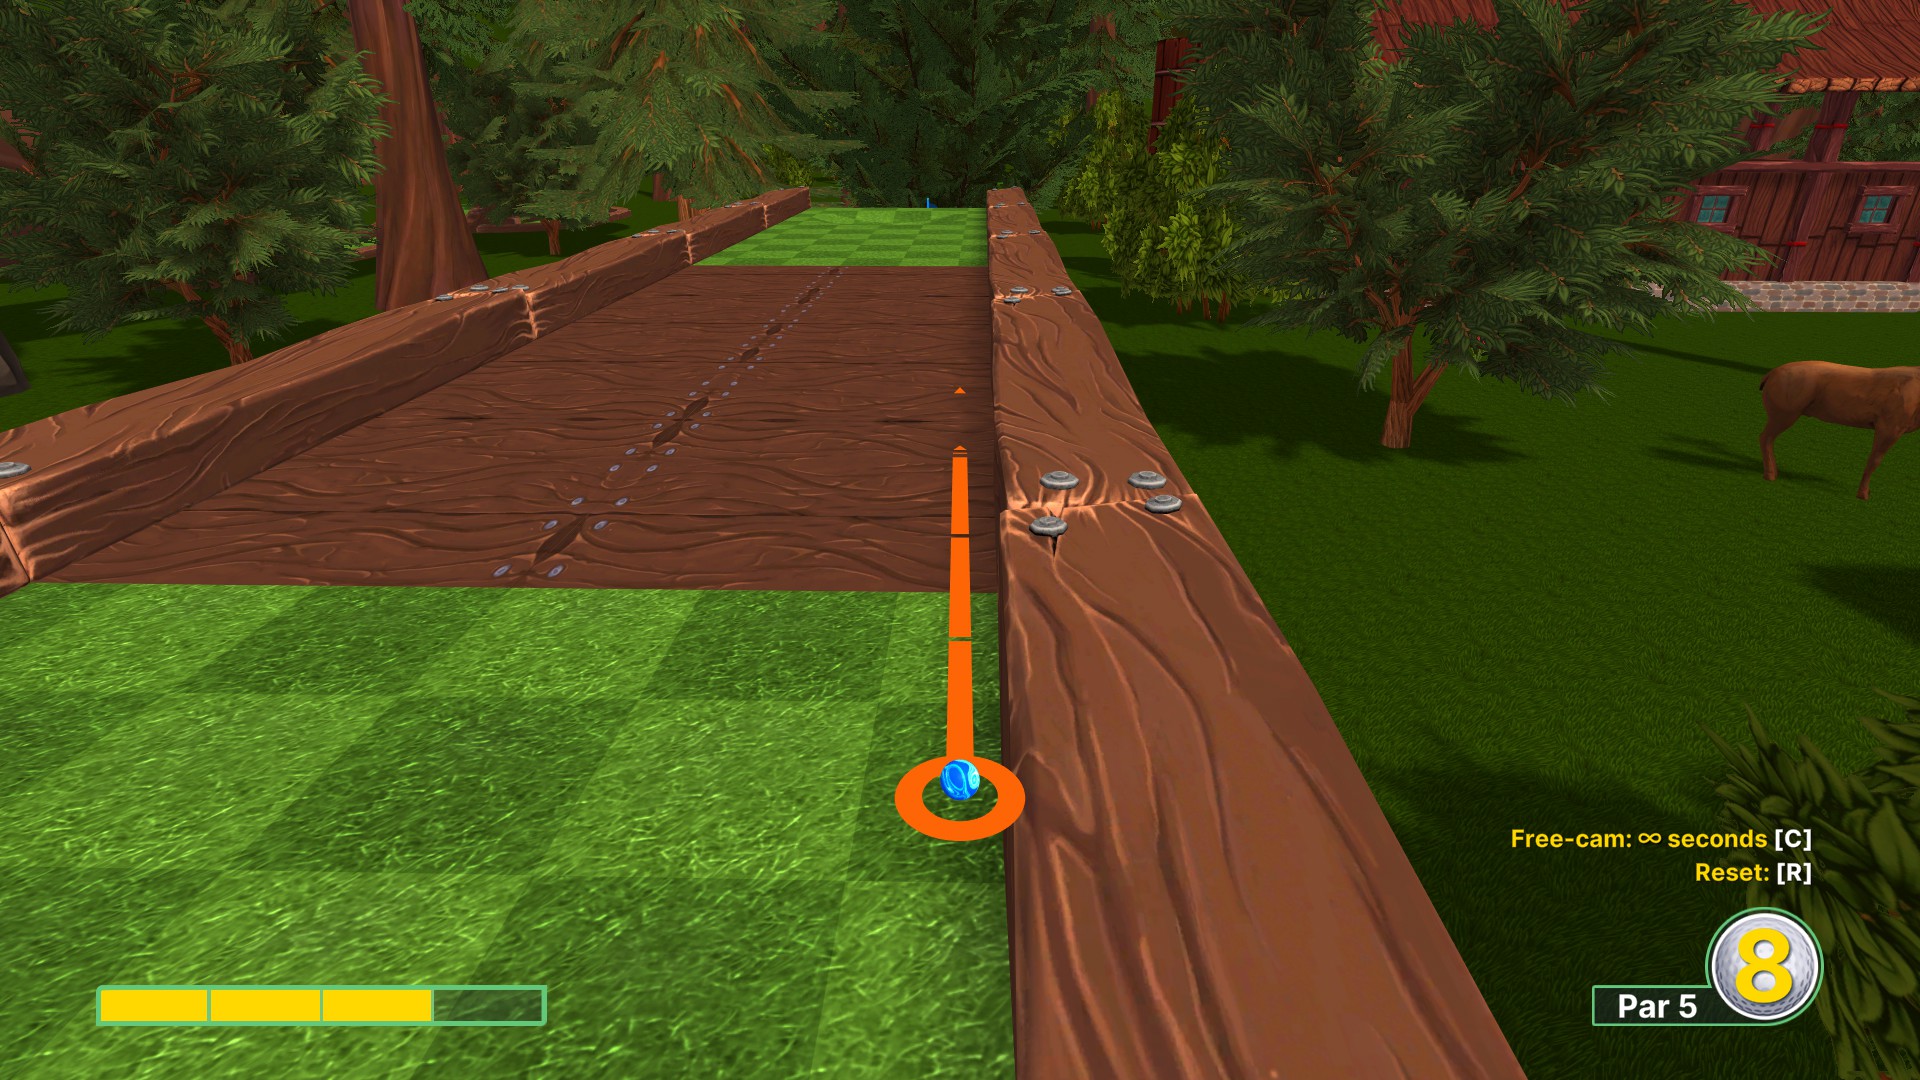
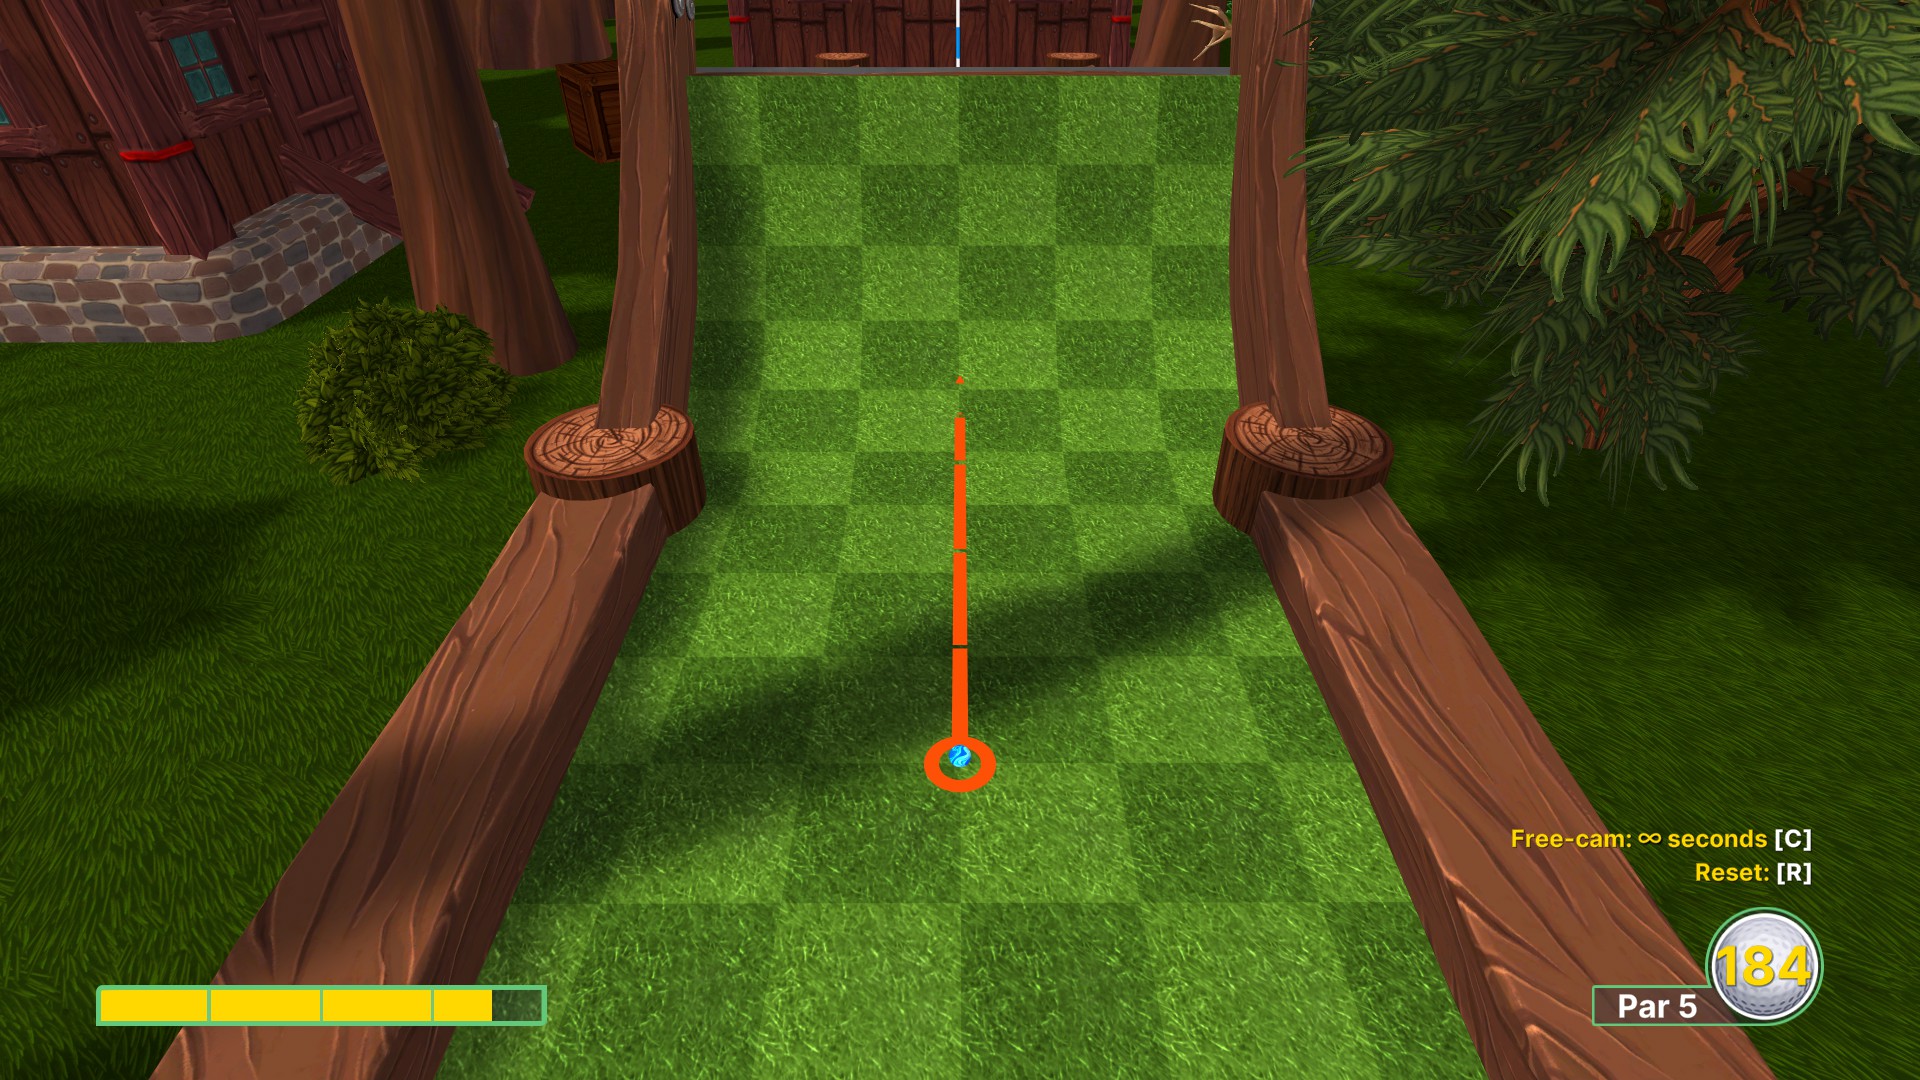
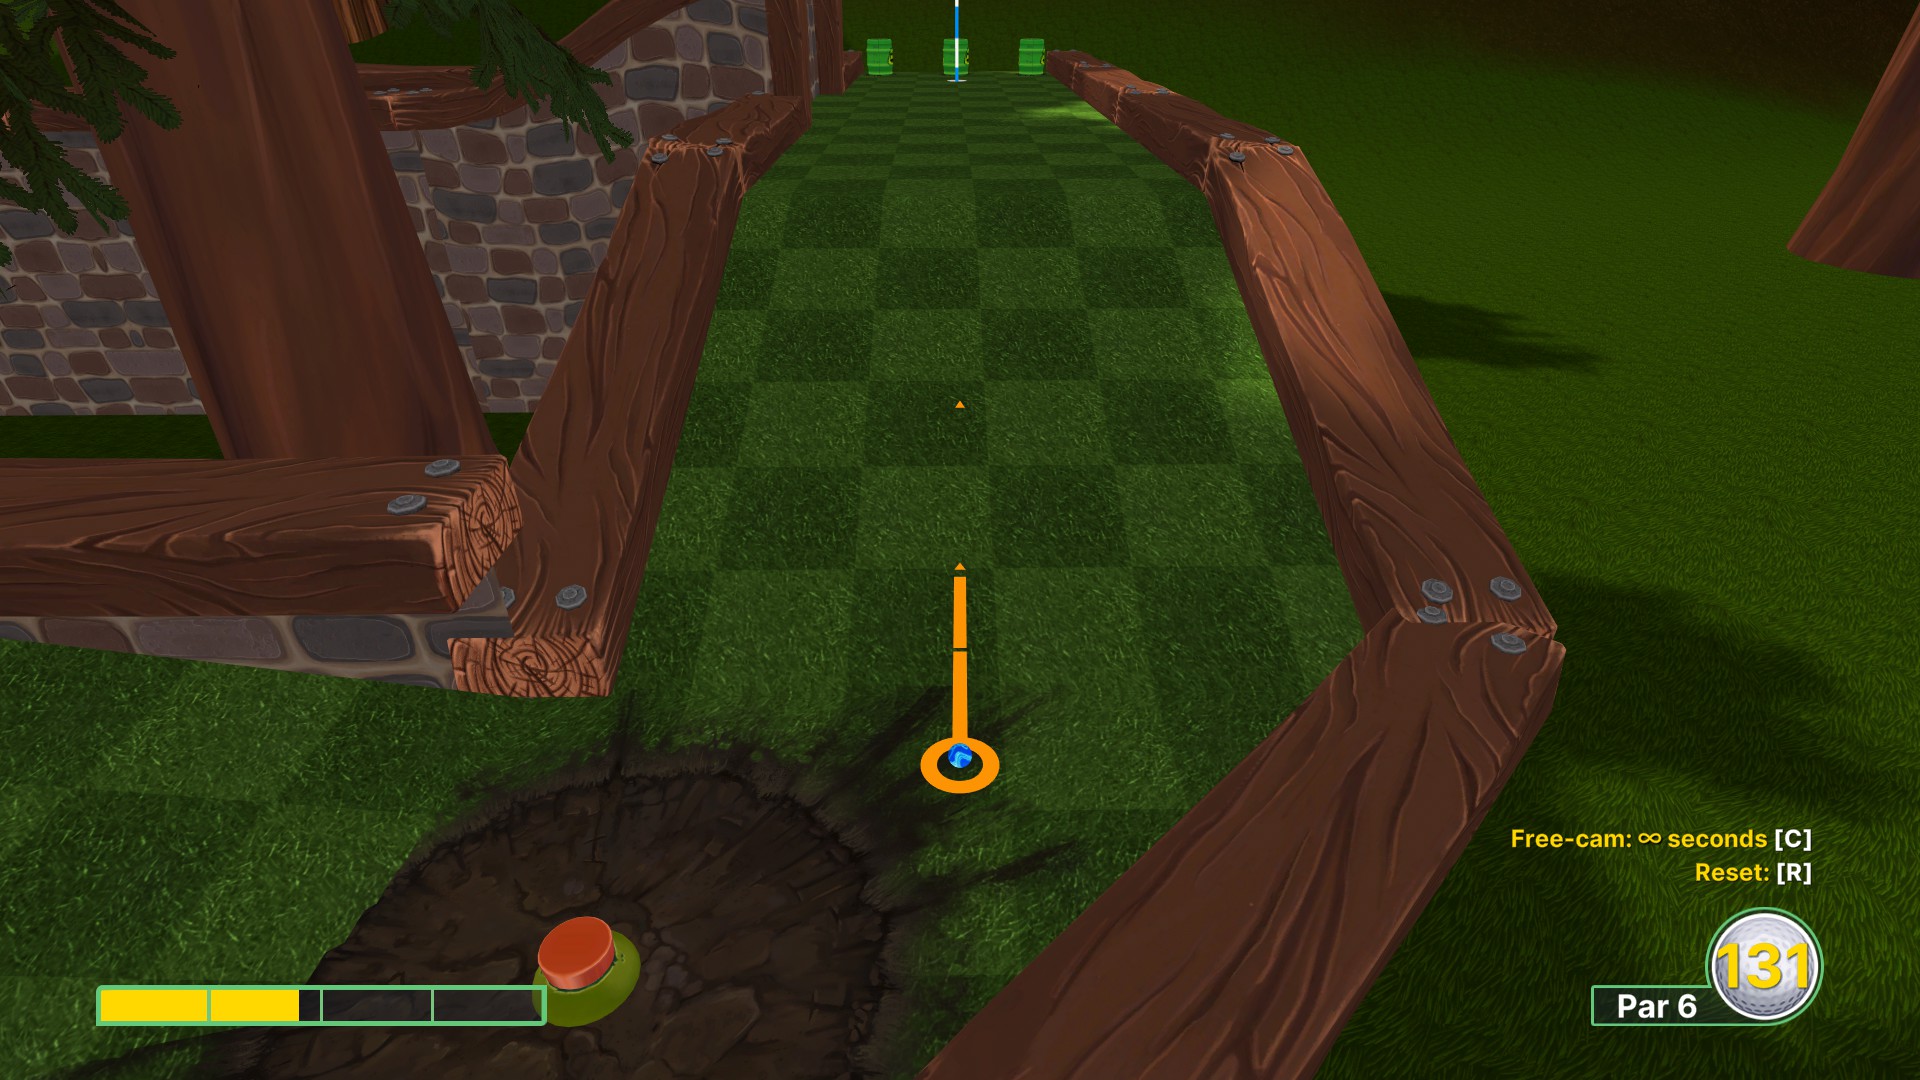
Hole 4 (で 2)
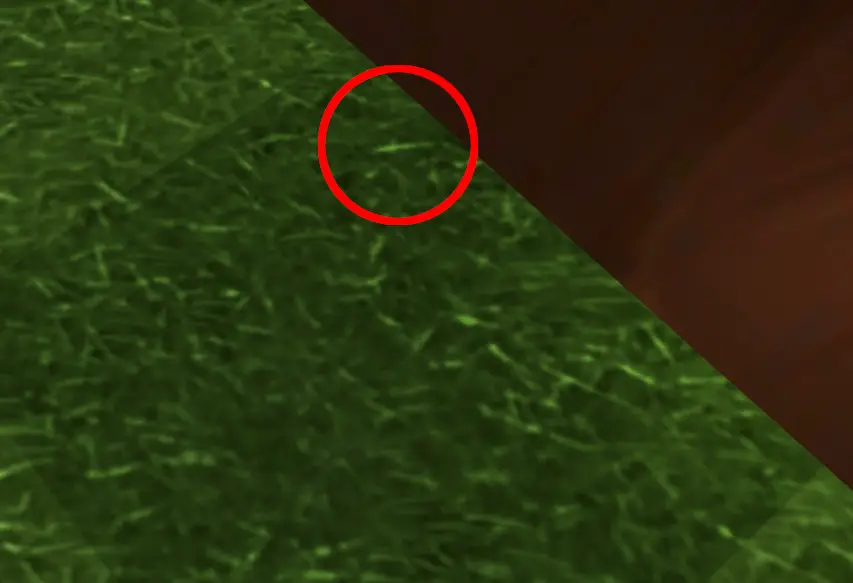
Look at the log to the right and aim just under a white dot barely visible on it. Let go of the ball using full power.
Here is an enlarged image showing the precise position:

To finish the stage, use about 1.5 bar of strength and go straight.
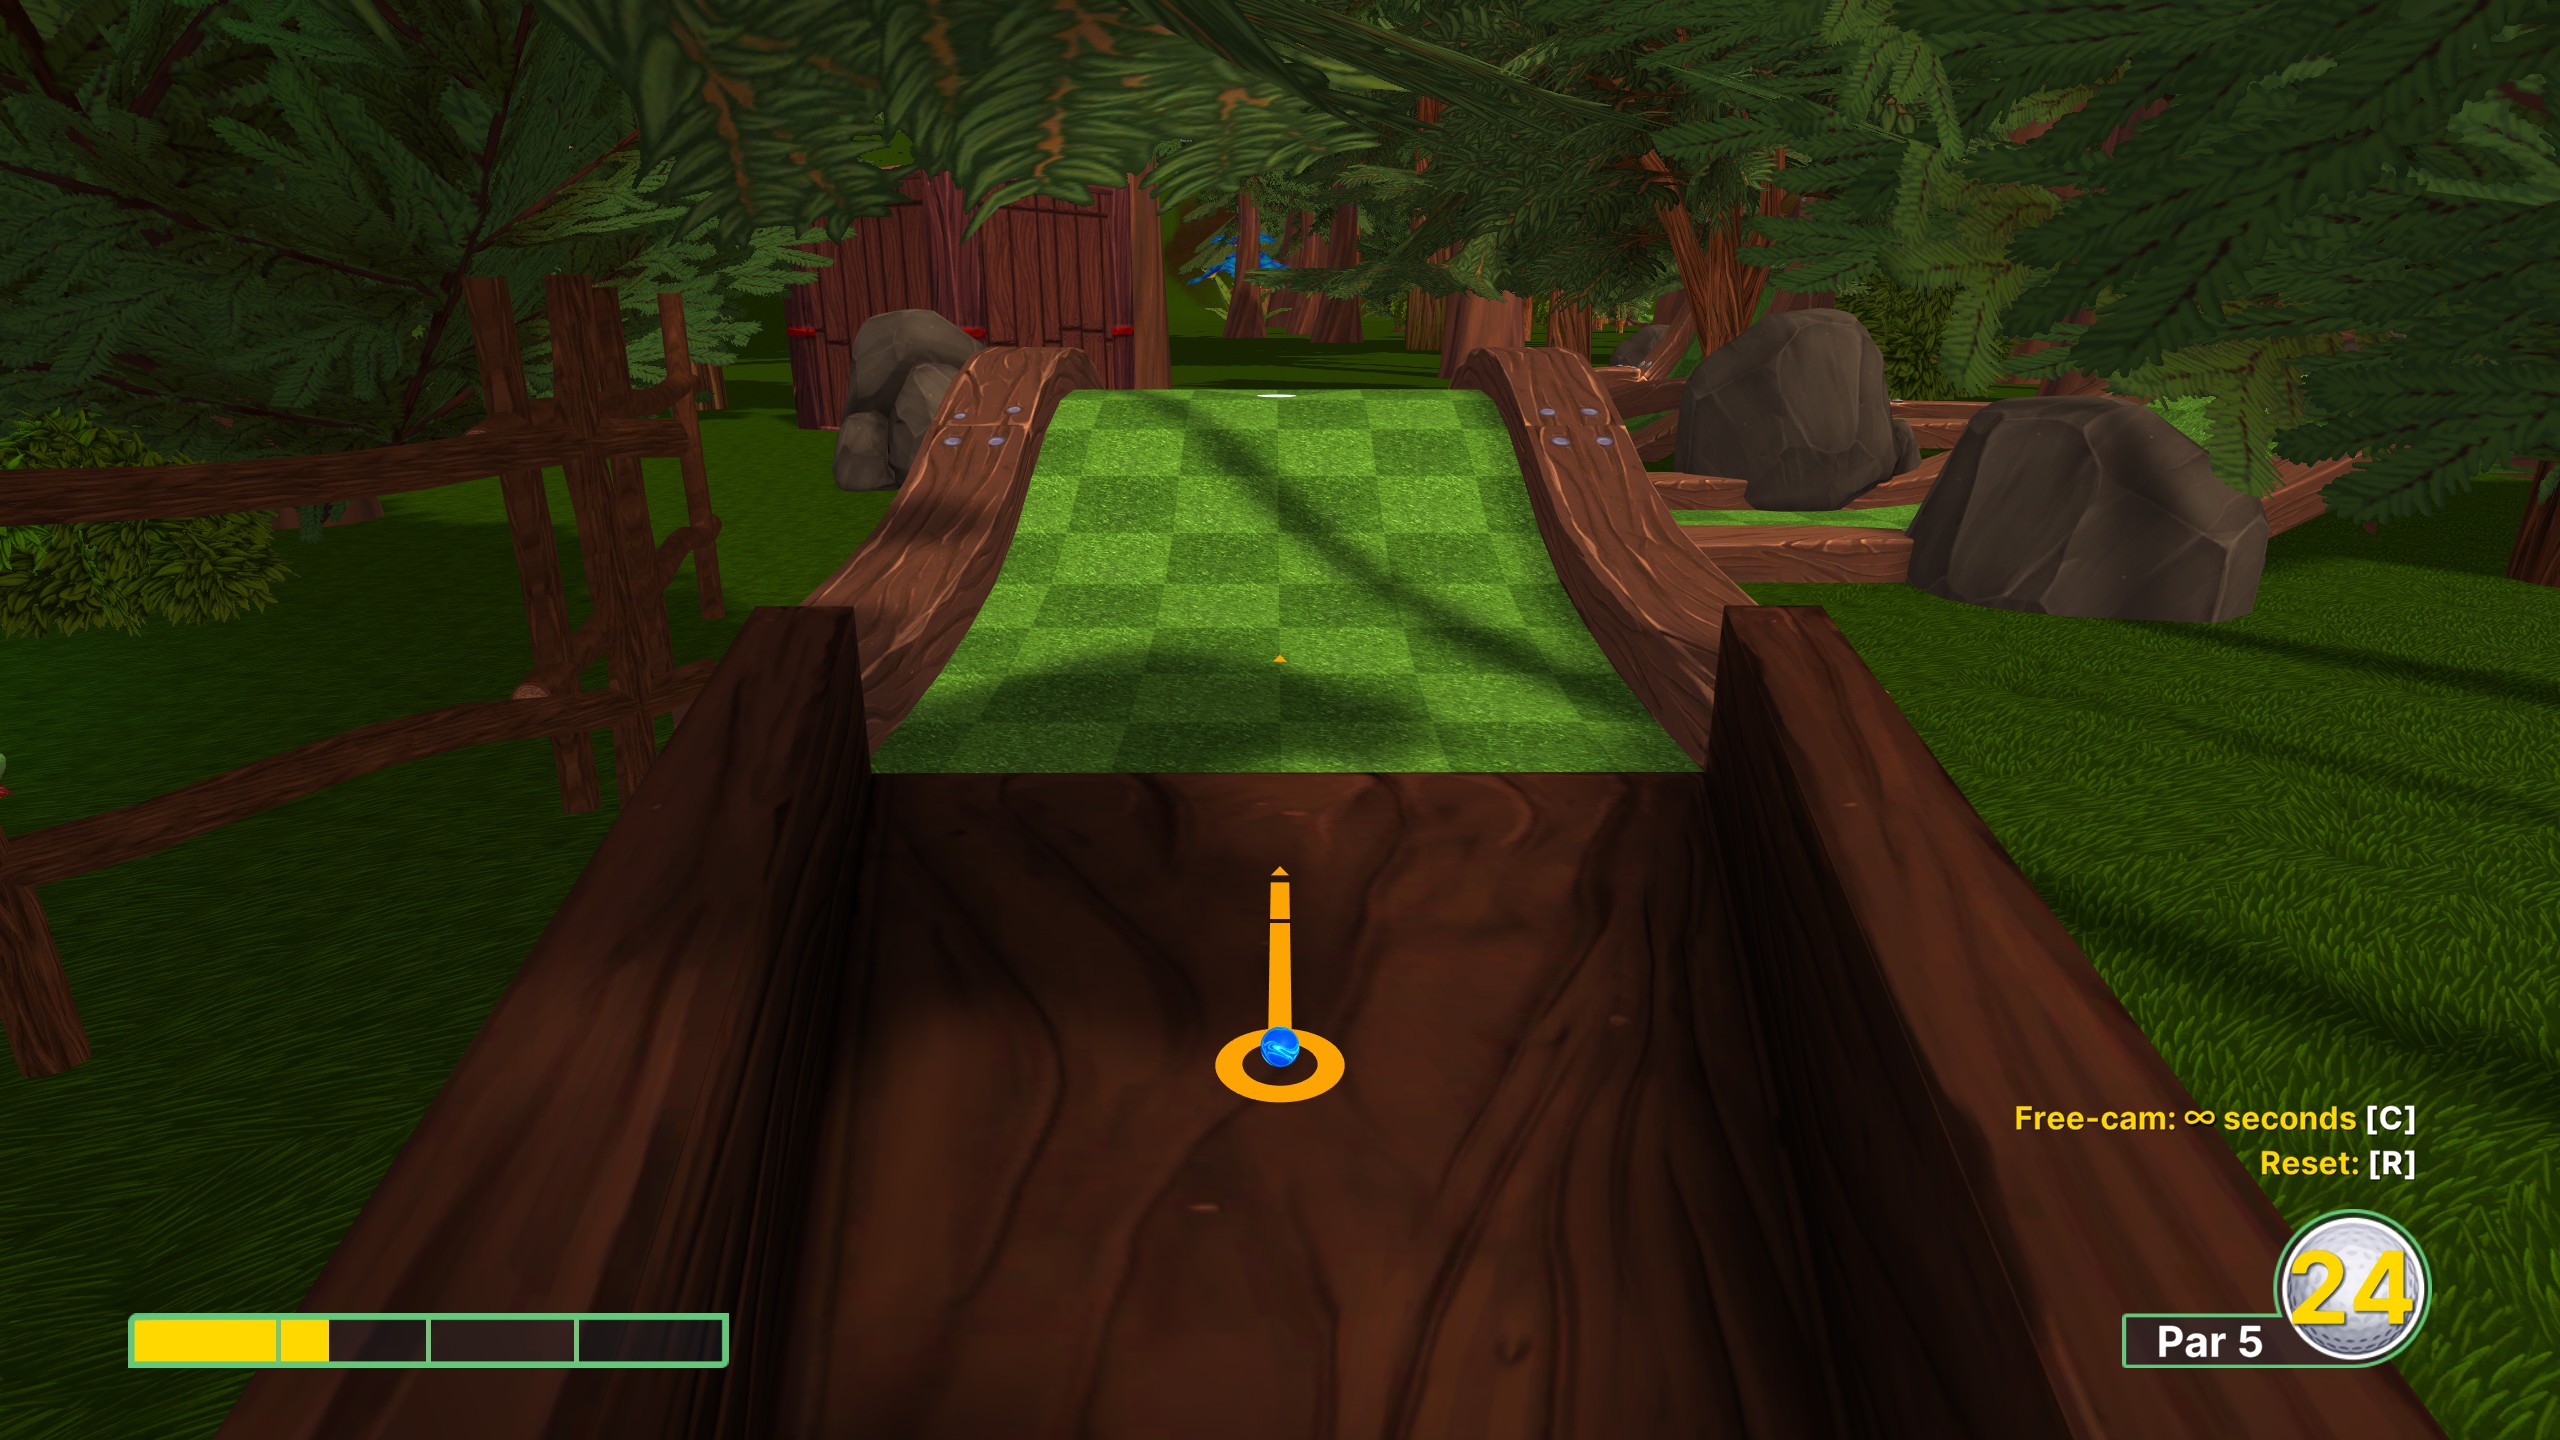
Hole 5 (で 1)
Use full power to get the jetpack and fly
以上the giant log.
After you pass the log, bounce off the flat floor to lose some momentum. By having reduced speed, it is easier to navigate the jetpack to the hole at top of the hill. The course’s hole is located just under the hole in the hill.
I suggest zooming in the view to precisely land at the hill.

Hole 6 (で 1)
This one technically uses an exploit, because we are going to use another level’s hole. それでよろしければ, be warned that this method uses a very difficult and precise lineup.
まず最初に, turn down the movement sensitivity all the way to 1, because it will make the alignment process easier.
Use full power and try find a long white scratch on the grass. Aim so that the right side of the red trajectory line just starts to touch the left side of the mark.

If you do this correctly, you should bounce off a wooden beam and fall straight into a curved piece of grass leading to the hole.
Hole 7 (で 1)
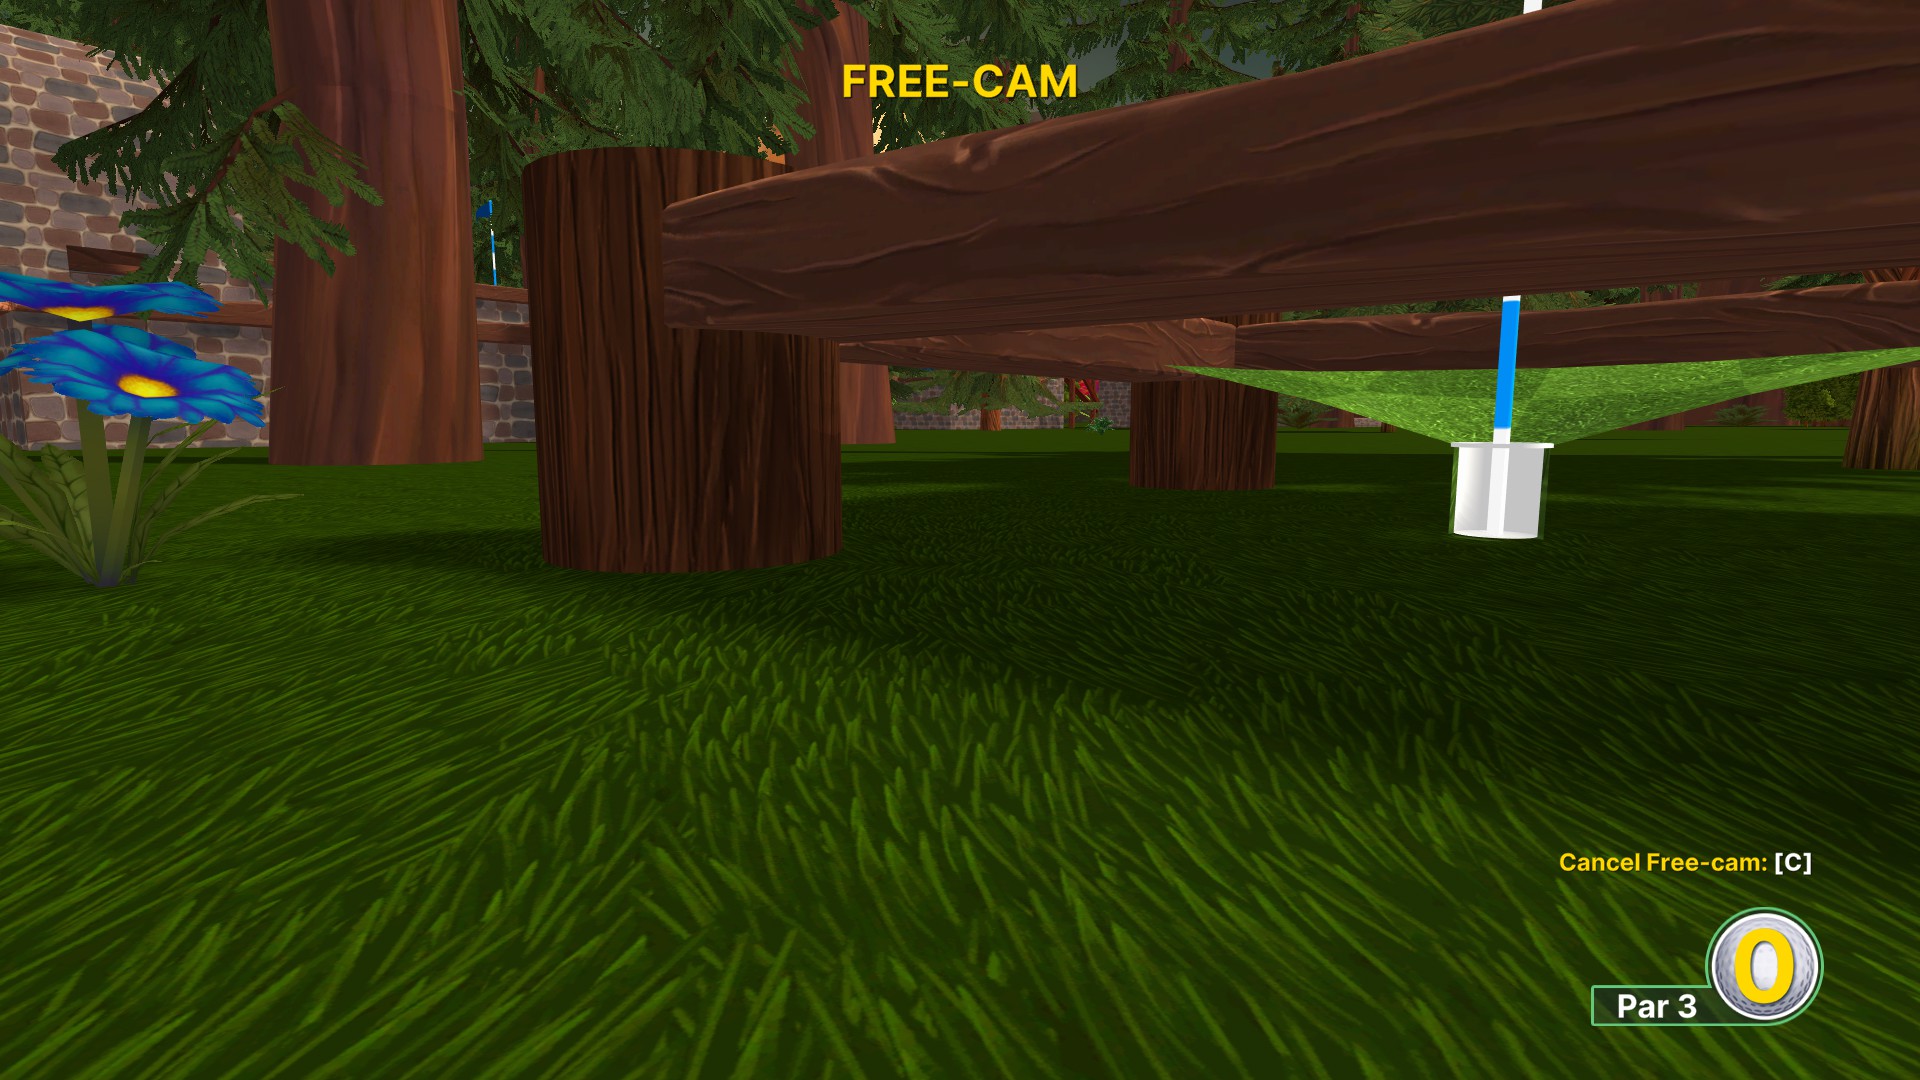
This one also uses a glitch – there is no solid wall next to the hole, thus one can finish the level by entering the trigger right under the hole.
Aim at the vertical white line on the log, one to the right of a line that passes through the corner of a wooden plank. Use full power.
If you manage to do this lineup correctly, you will bounce off a tree and finish the level by touching an invisible trigger underneath the floor.
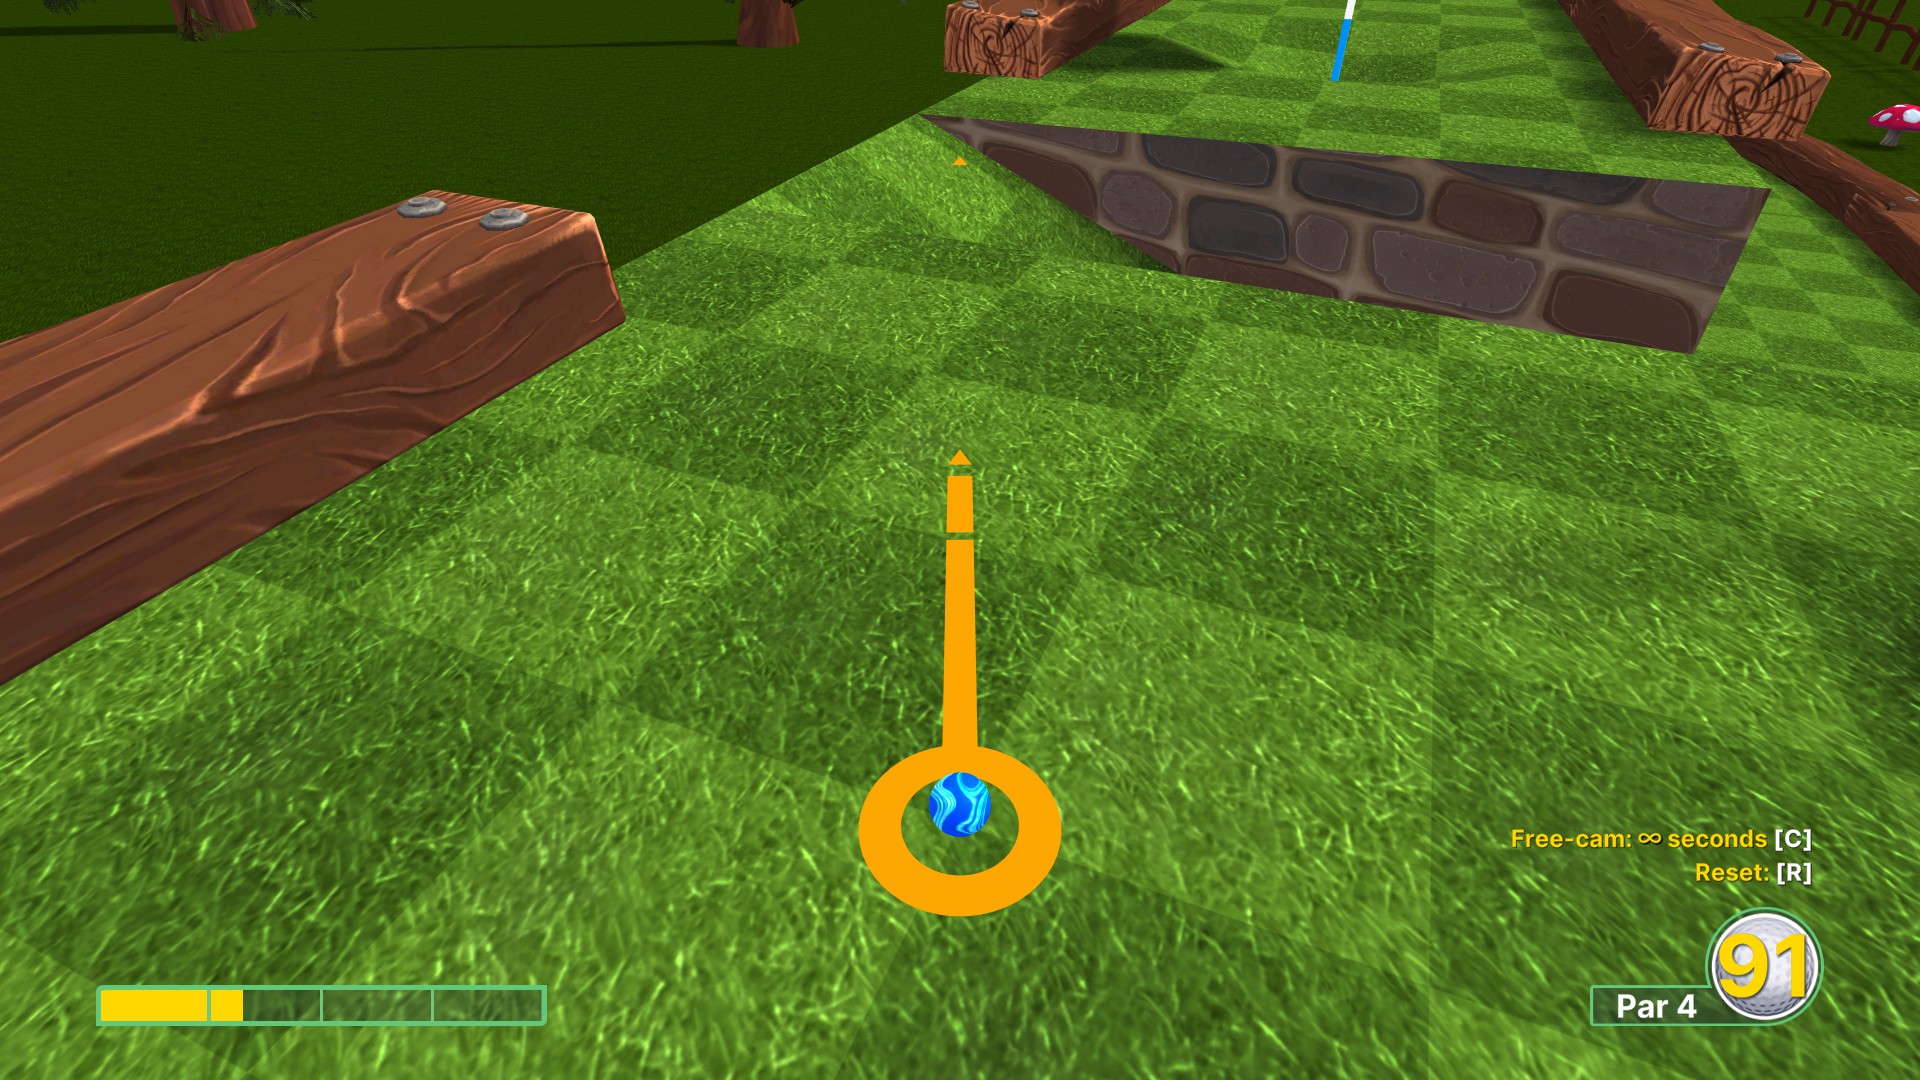
Hole 8 (で 2)
まず最初に, the curved road. I found out that if you use about 3 power and aim straight, you won’t fly off. Optionally you can use max power, but aim a bit to the left, because this way you will stay on the track.

At the other side of the portal, aim the cursor at the top-right corner of the third grass tile to your right. Use a little bit below 1 bar of power, 0.75 should work fine.
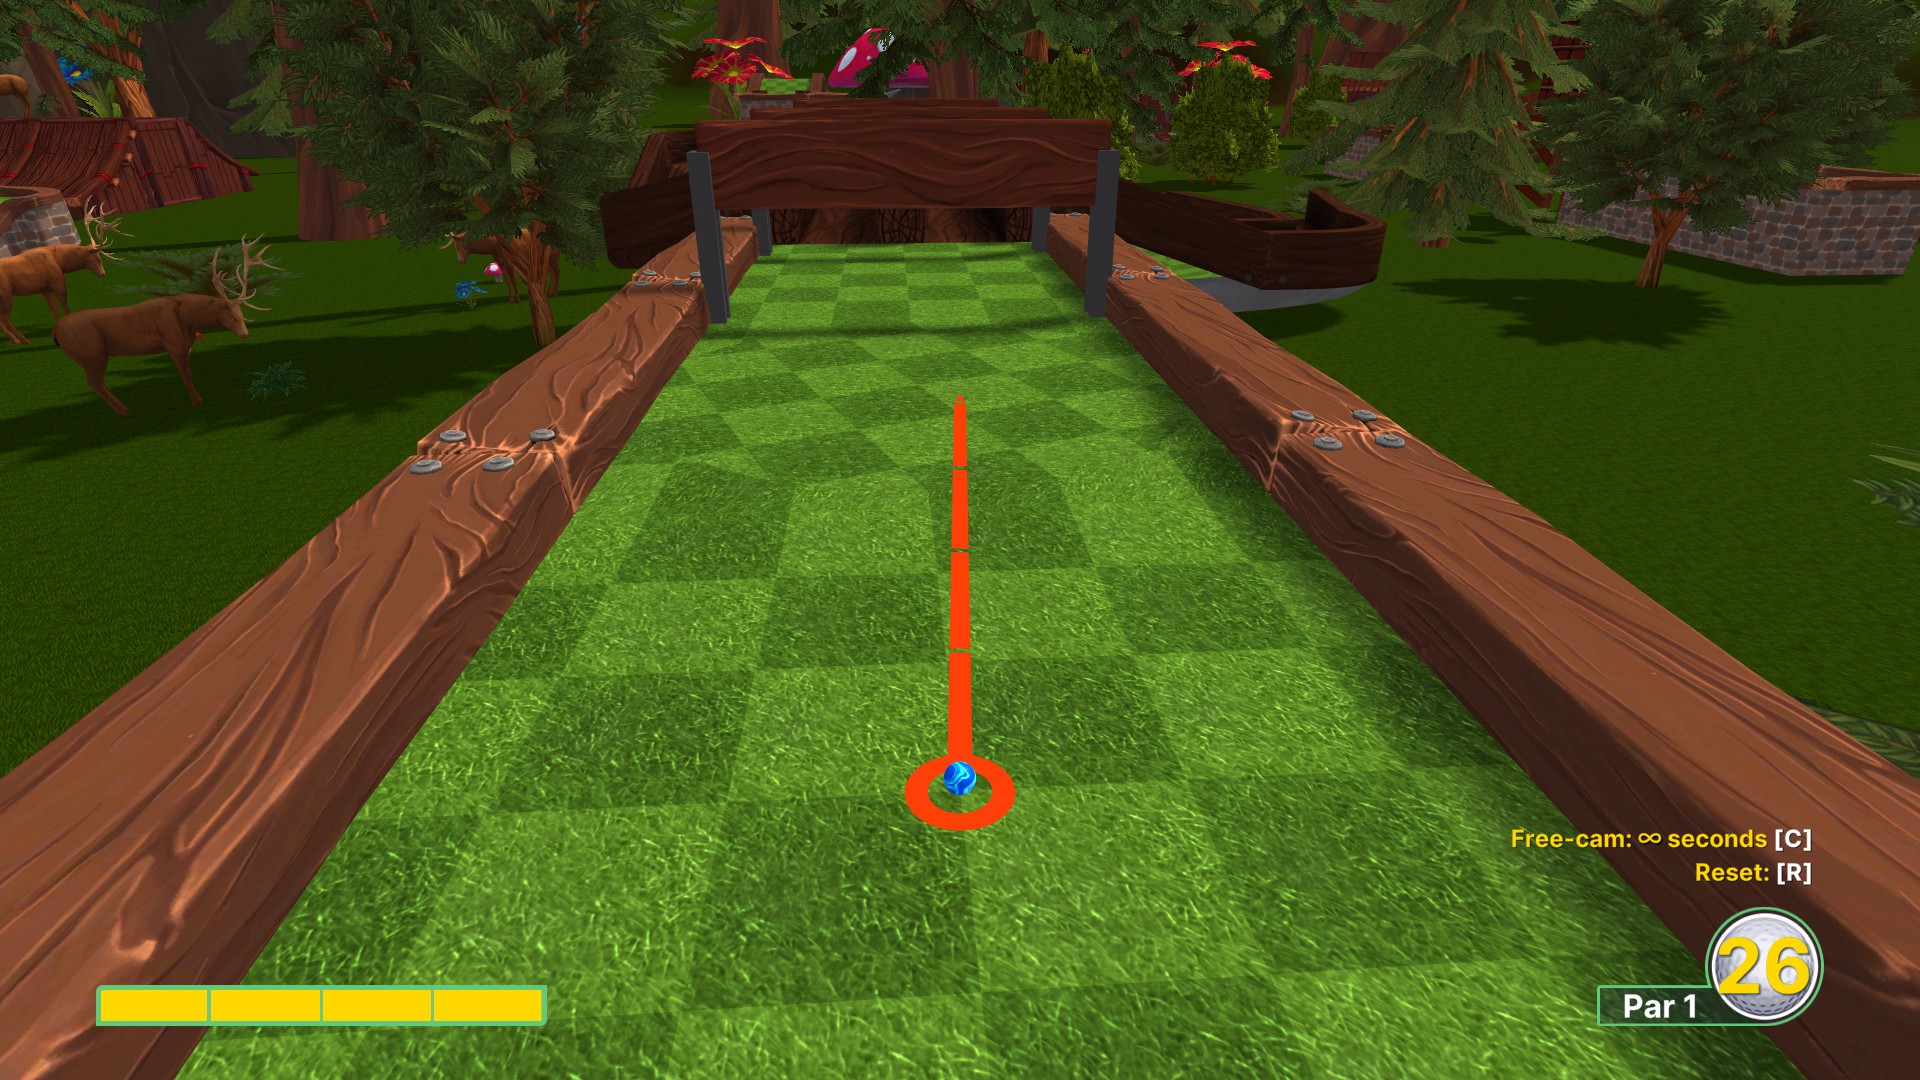
Hole 9 (で 1)
Find the slanted wooden plank to the left and zoom in as much as you can. It is very important to zoom in maximally. Next move your cursor horizontally so that it crosses a black line on that log. 使用 3 bars of power and you should land perfectly in the hole.

Hole 10 (で 2)
Aim at the top-left corner of the second white grass tile on the left. Wait for the bridge to be closed and use 2 bars of strength.
この位置から, 使用 3 power and place your cursor, so that it is in line with the right corner of the rightmost white tile which is on the other side of the bridge.

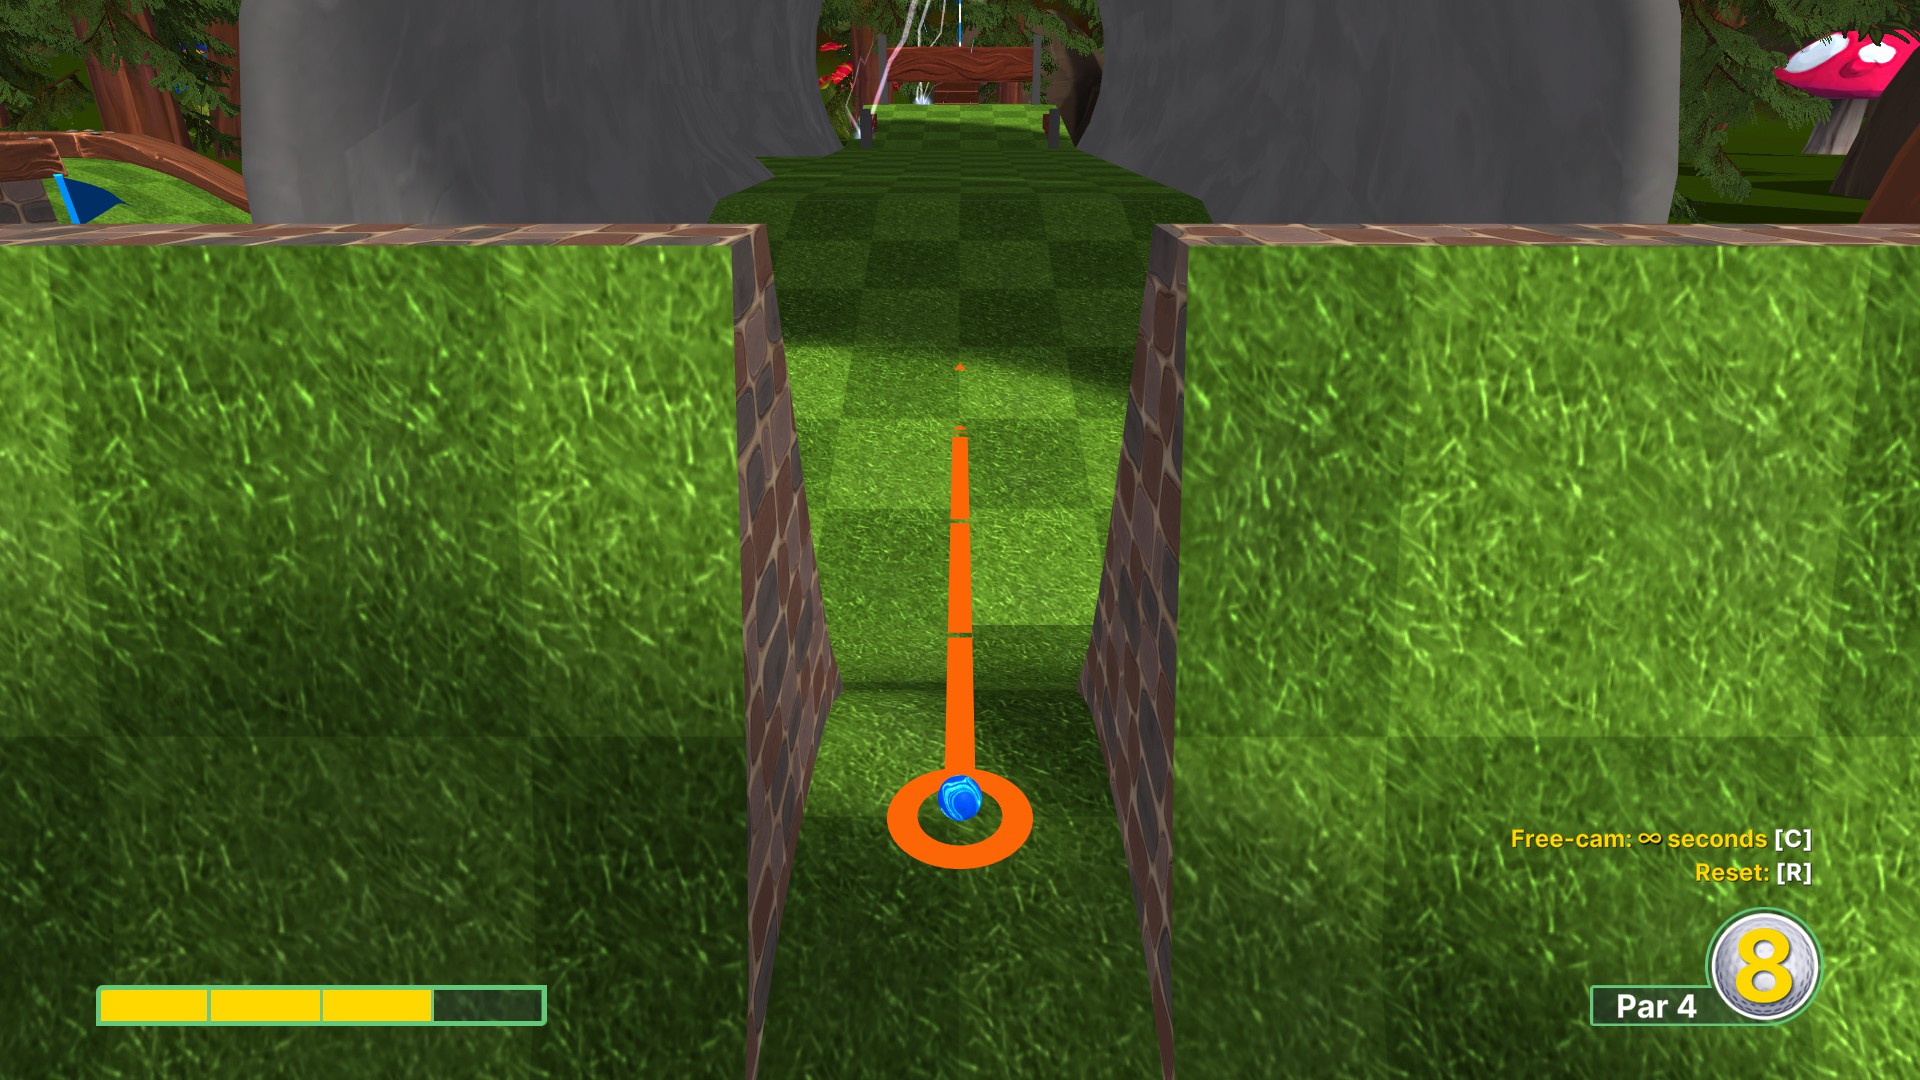
Hole 11 (で 1)
Looking at the brick wall in front, aim at the leftmost vertical white grout between the bricks and then a little bit to the left. Let go of the ball using about 1.33 bars of power.
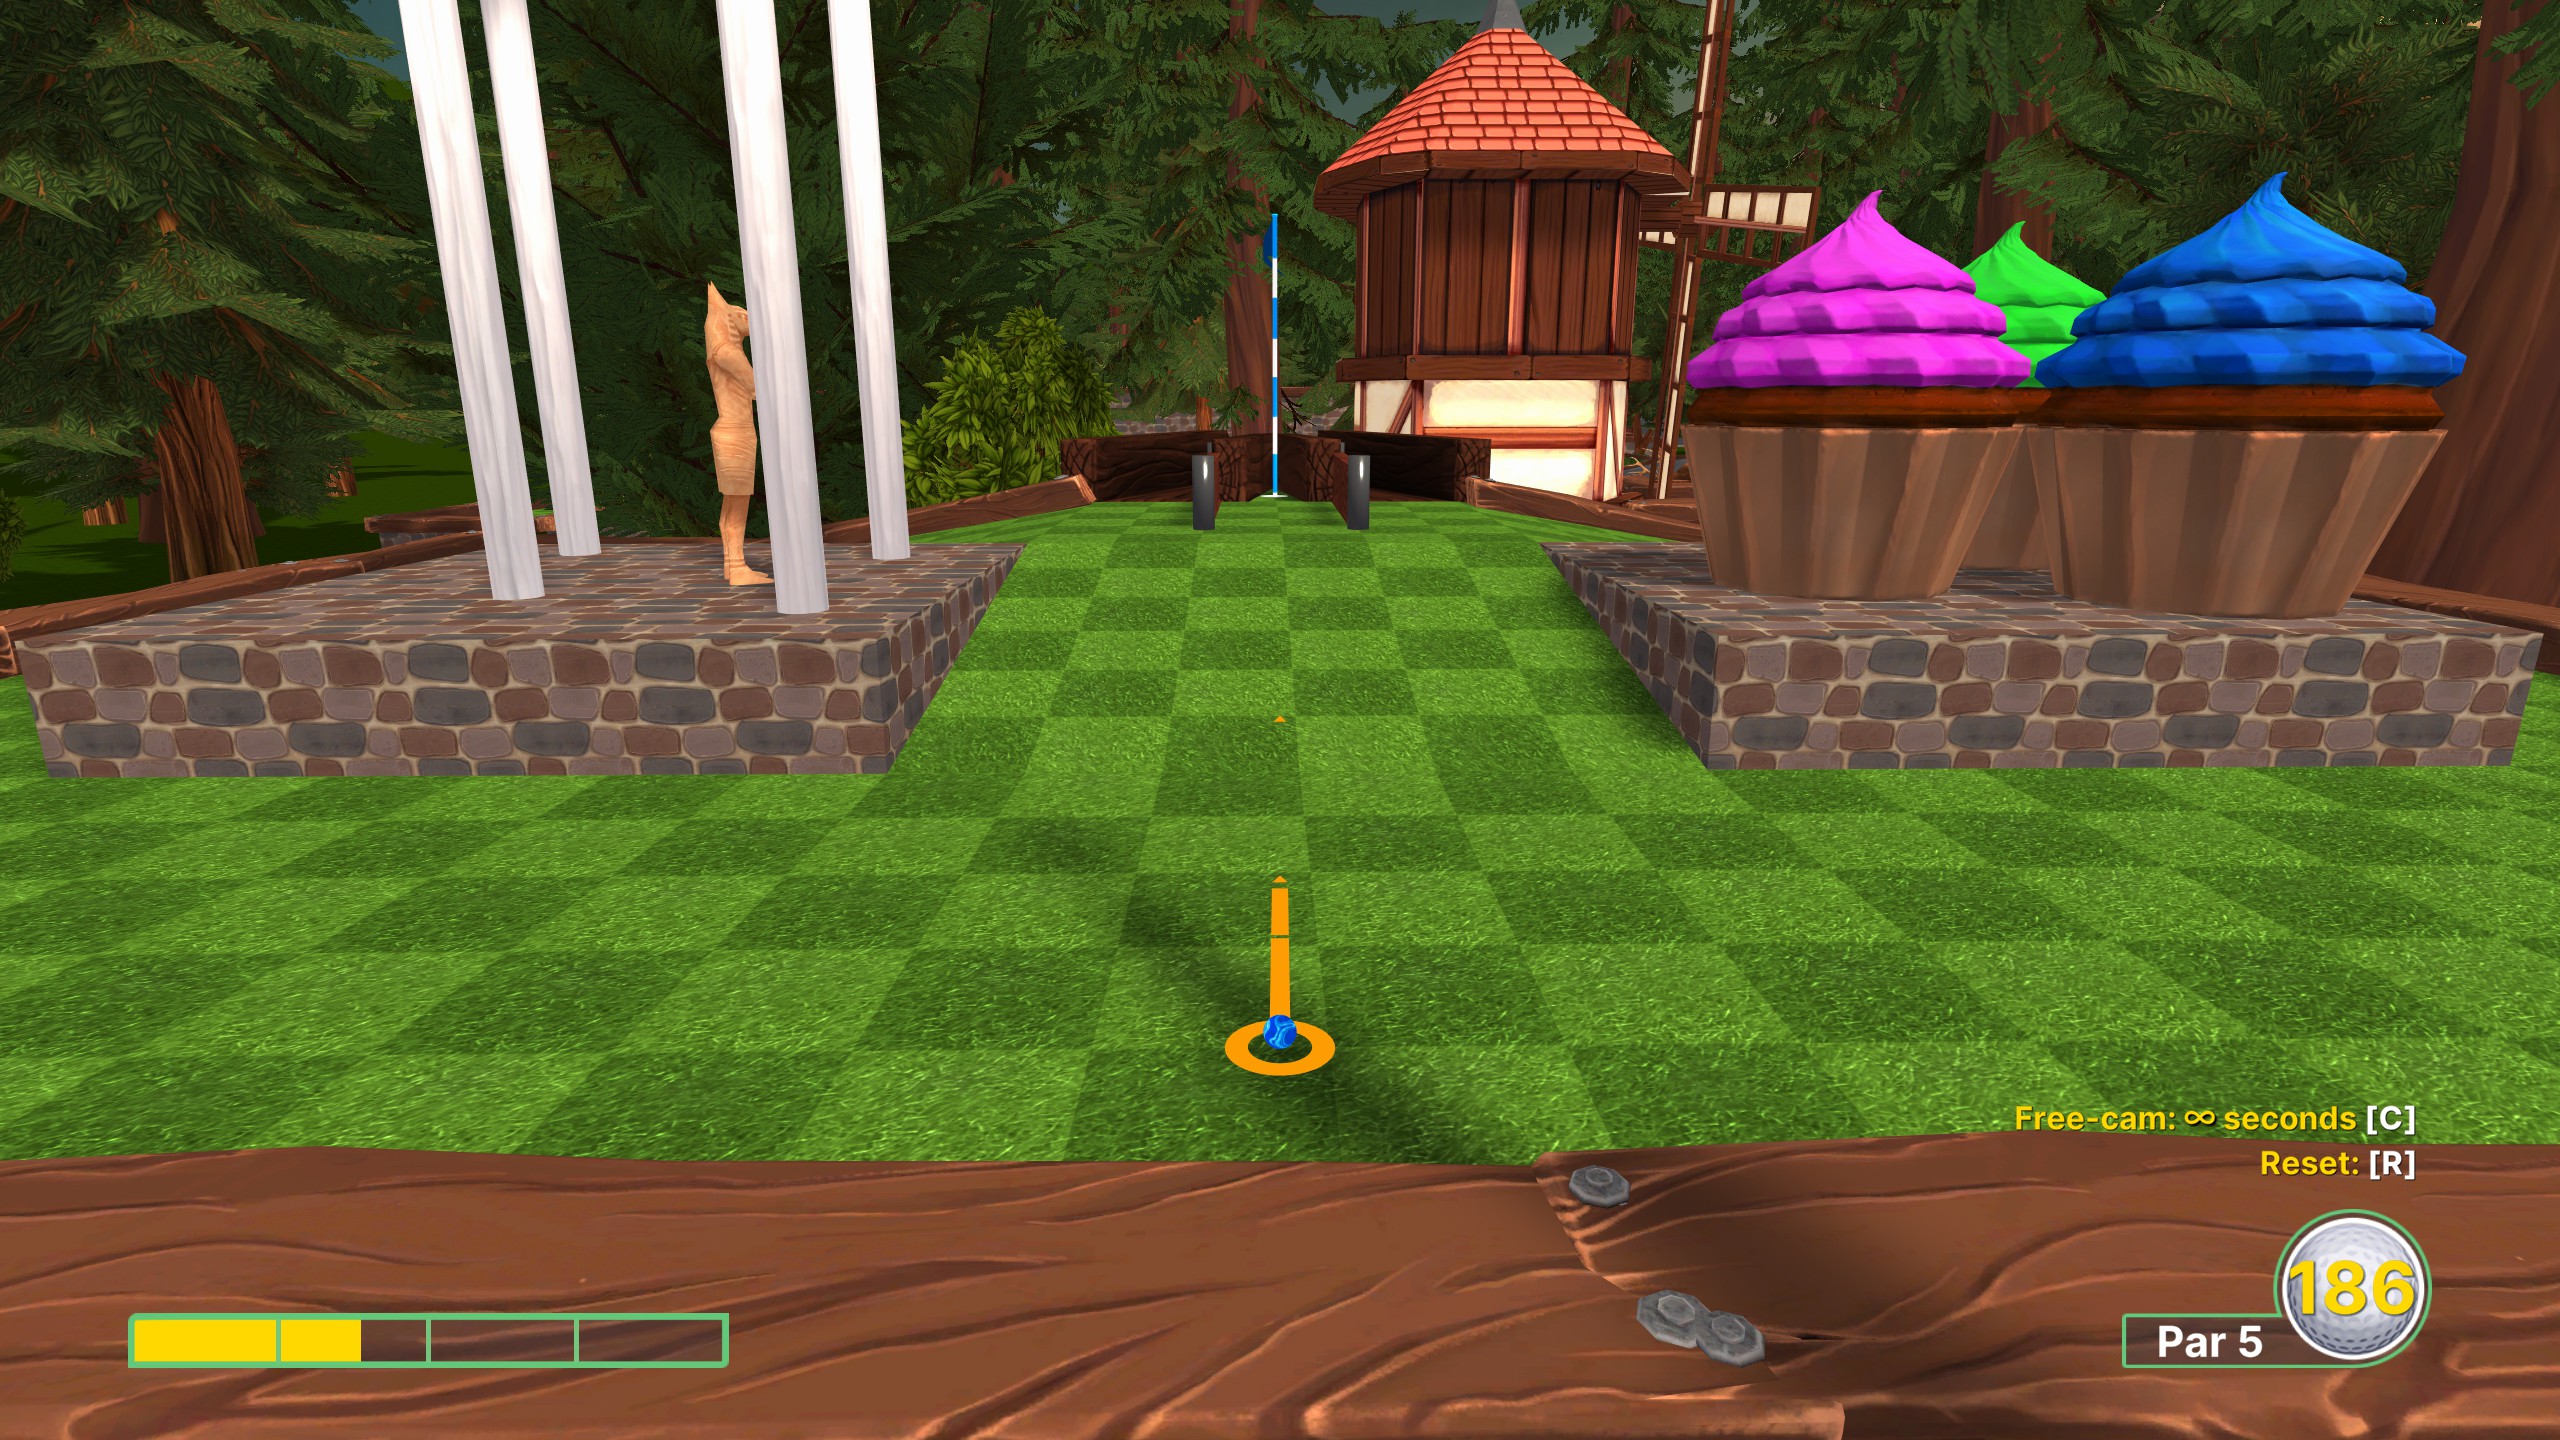
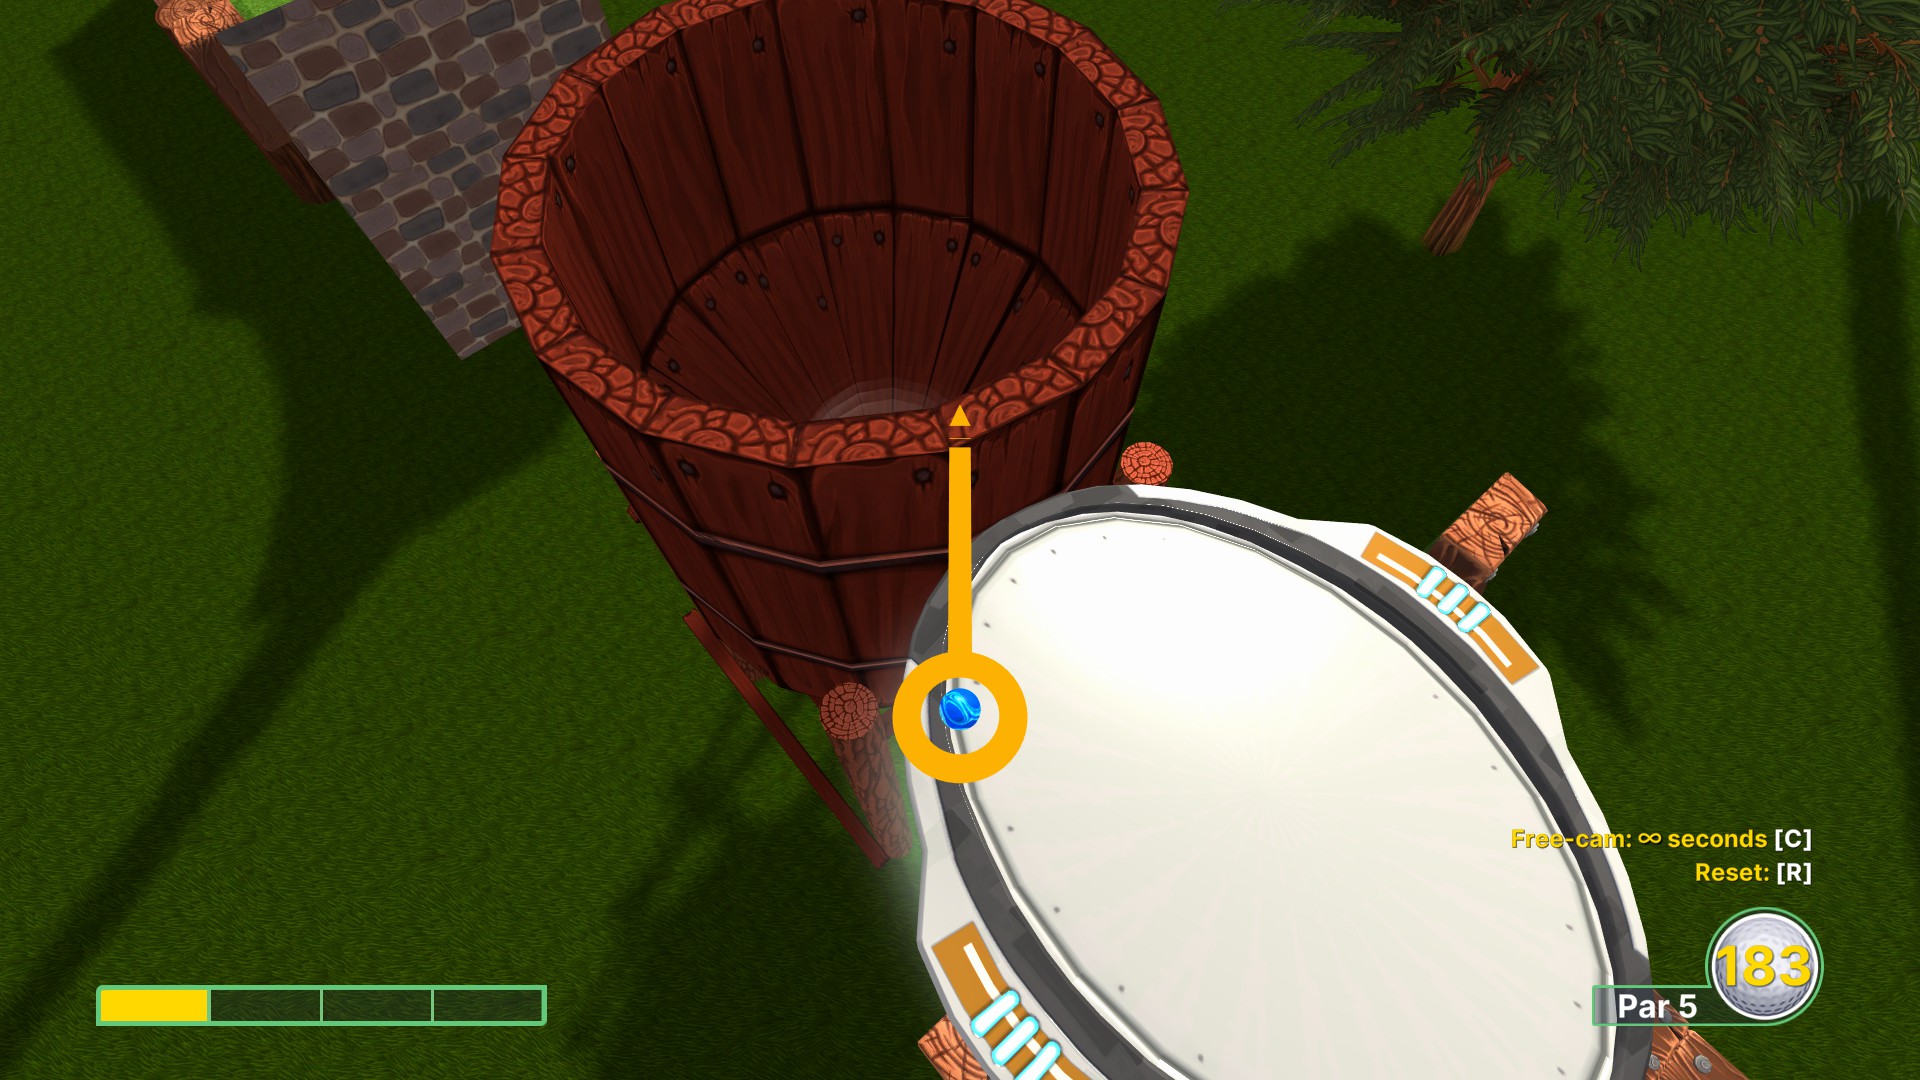
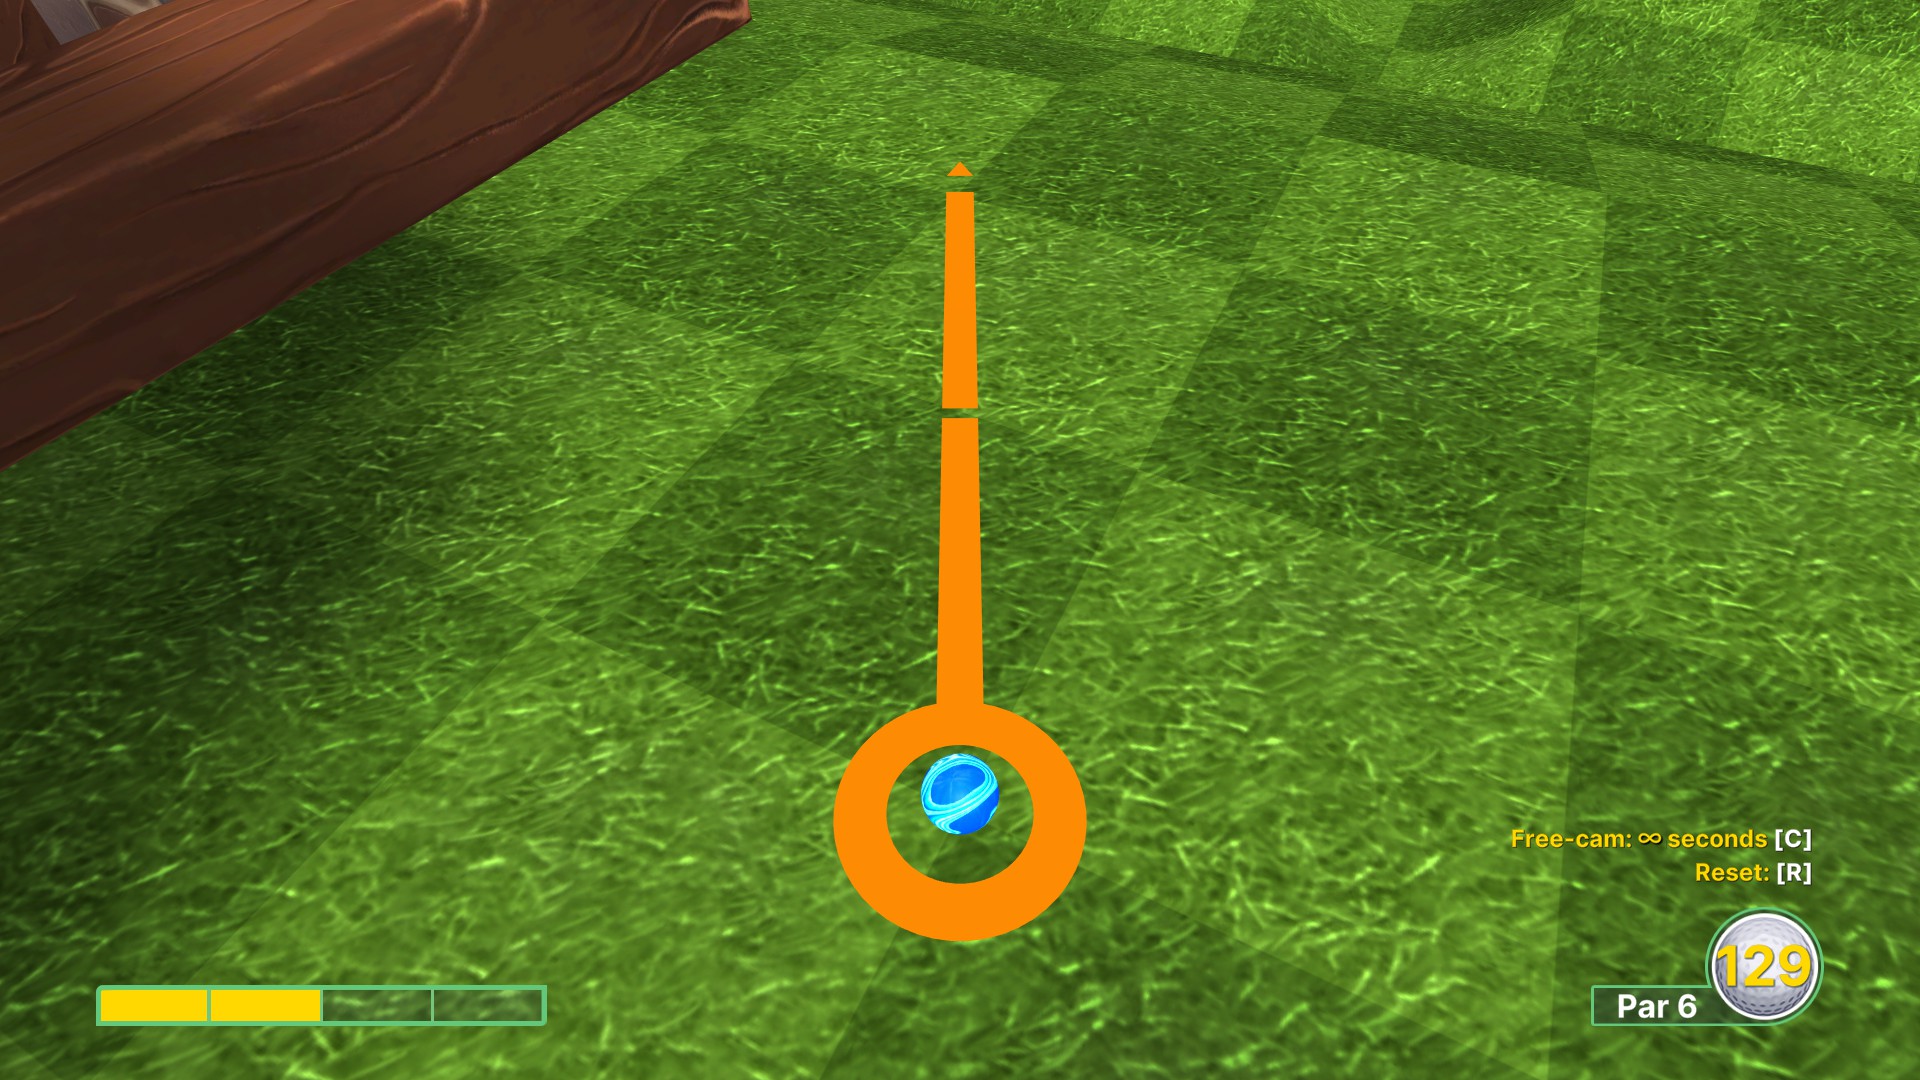
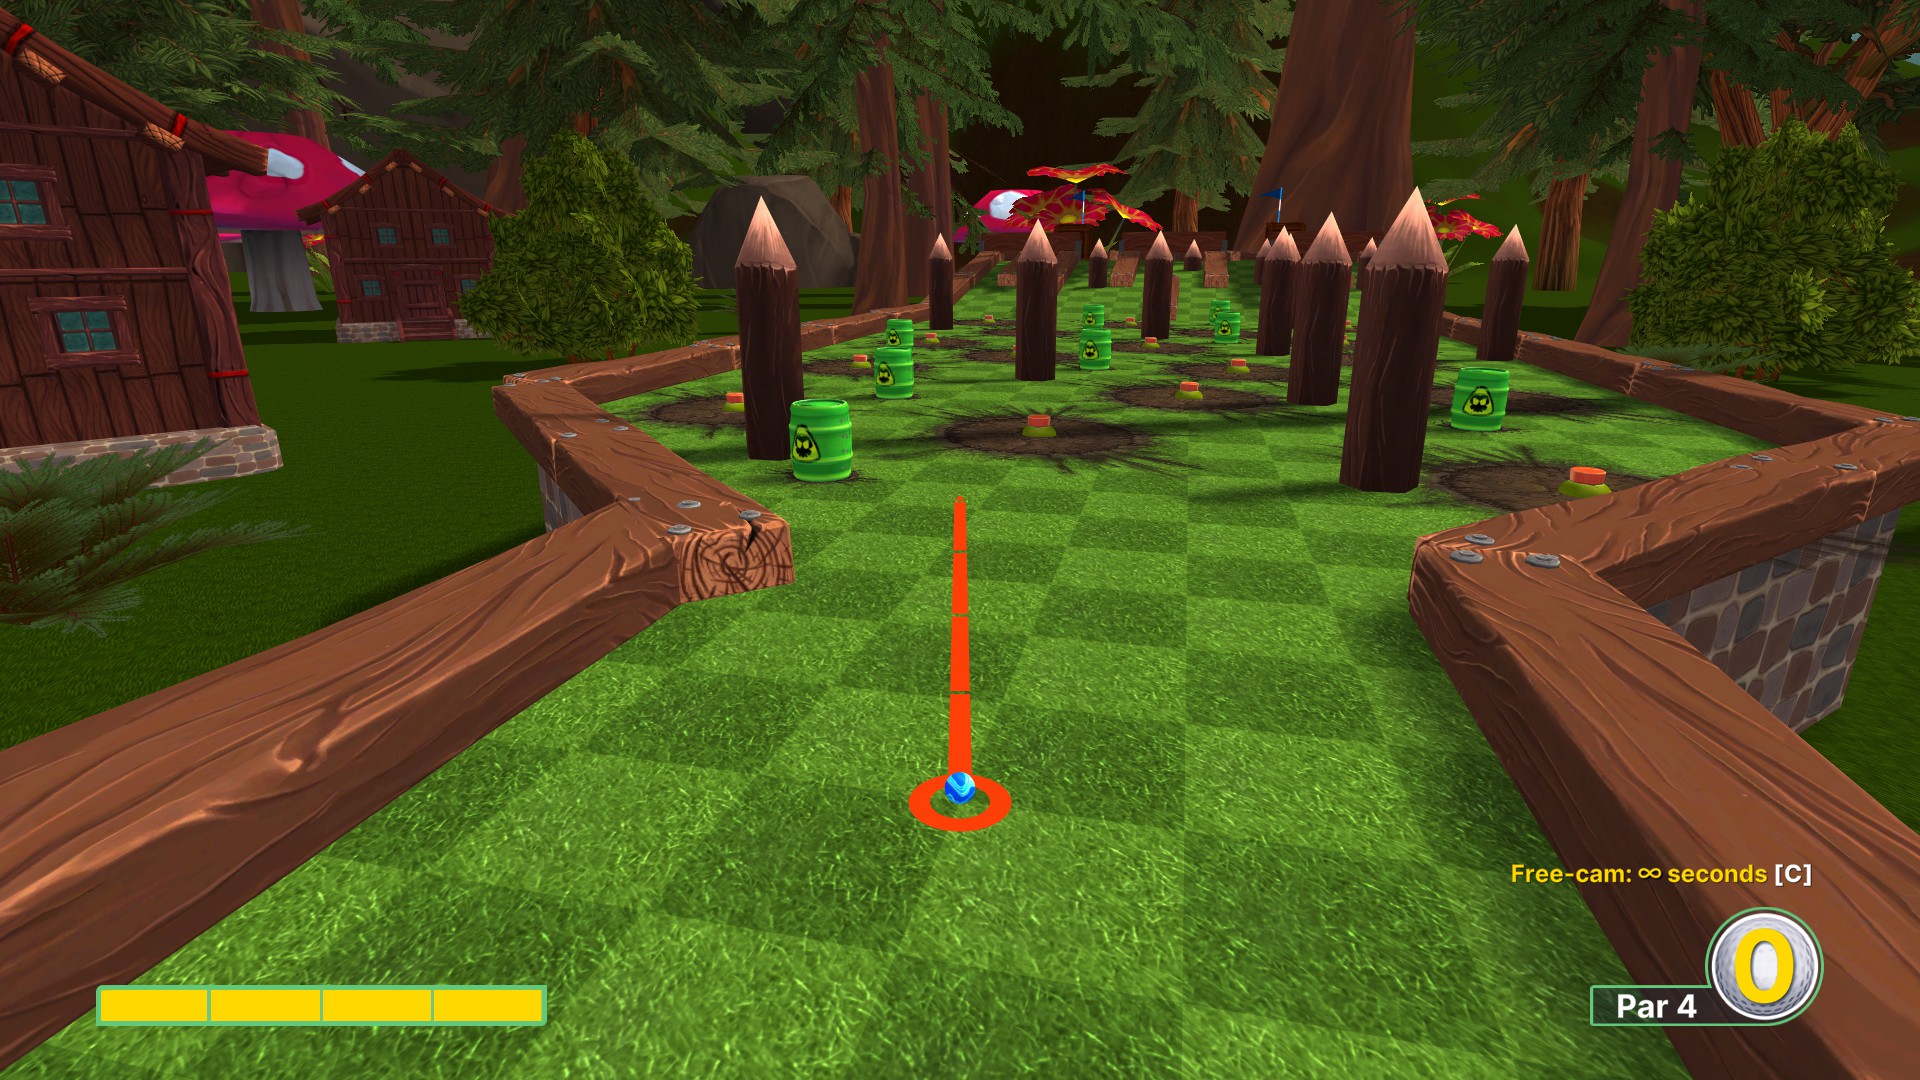
Hole 12 (で 3)
Aim the the top-right corner of the third dark grass tile to the right. Use about 3.33 bars of power. You should land on top of the portal.

From there go straight using 1 力.
The last part of this level is the same as in hole #1 – go straight at 3.5 力.
Hole 13 (で 1)
これはかなり簡単です. Wait for the right moment and choose the right path. Use full strength.
Hole 14 (で 1)
This one is also quite simple. Go straight at 3 bars of strength the moment the first gate opens.
Hole 15 (で 2)
Aim at the top-left corner of the white grass tile to the left and go at 2 力.
You will probably detonate the landmine, but there is a high change that it won’t blast you. From this position all you need to do is to go straight to the flag at about 2 or less power (1.8 worked fine).
Hole 16 (で 1)
Take a look at the ramp. Above the row of the stretched tiles there is a row of squares. Aim at the top-right corner of the first white tile from the right. Use exactly 2.5 power and let go of the ball.

Hole 17 (で 1)
Go through the leftmost path using full strength. Let go of the ball when the wooden barrier is at its top position.
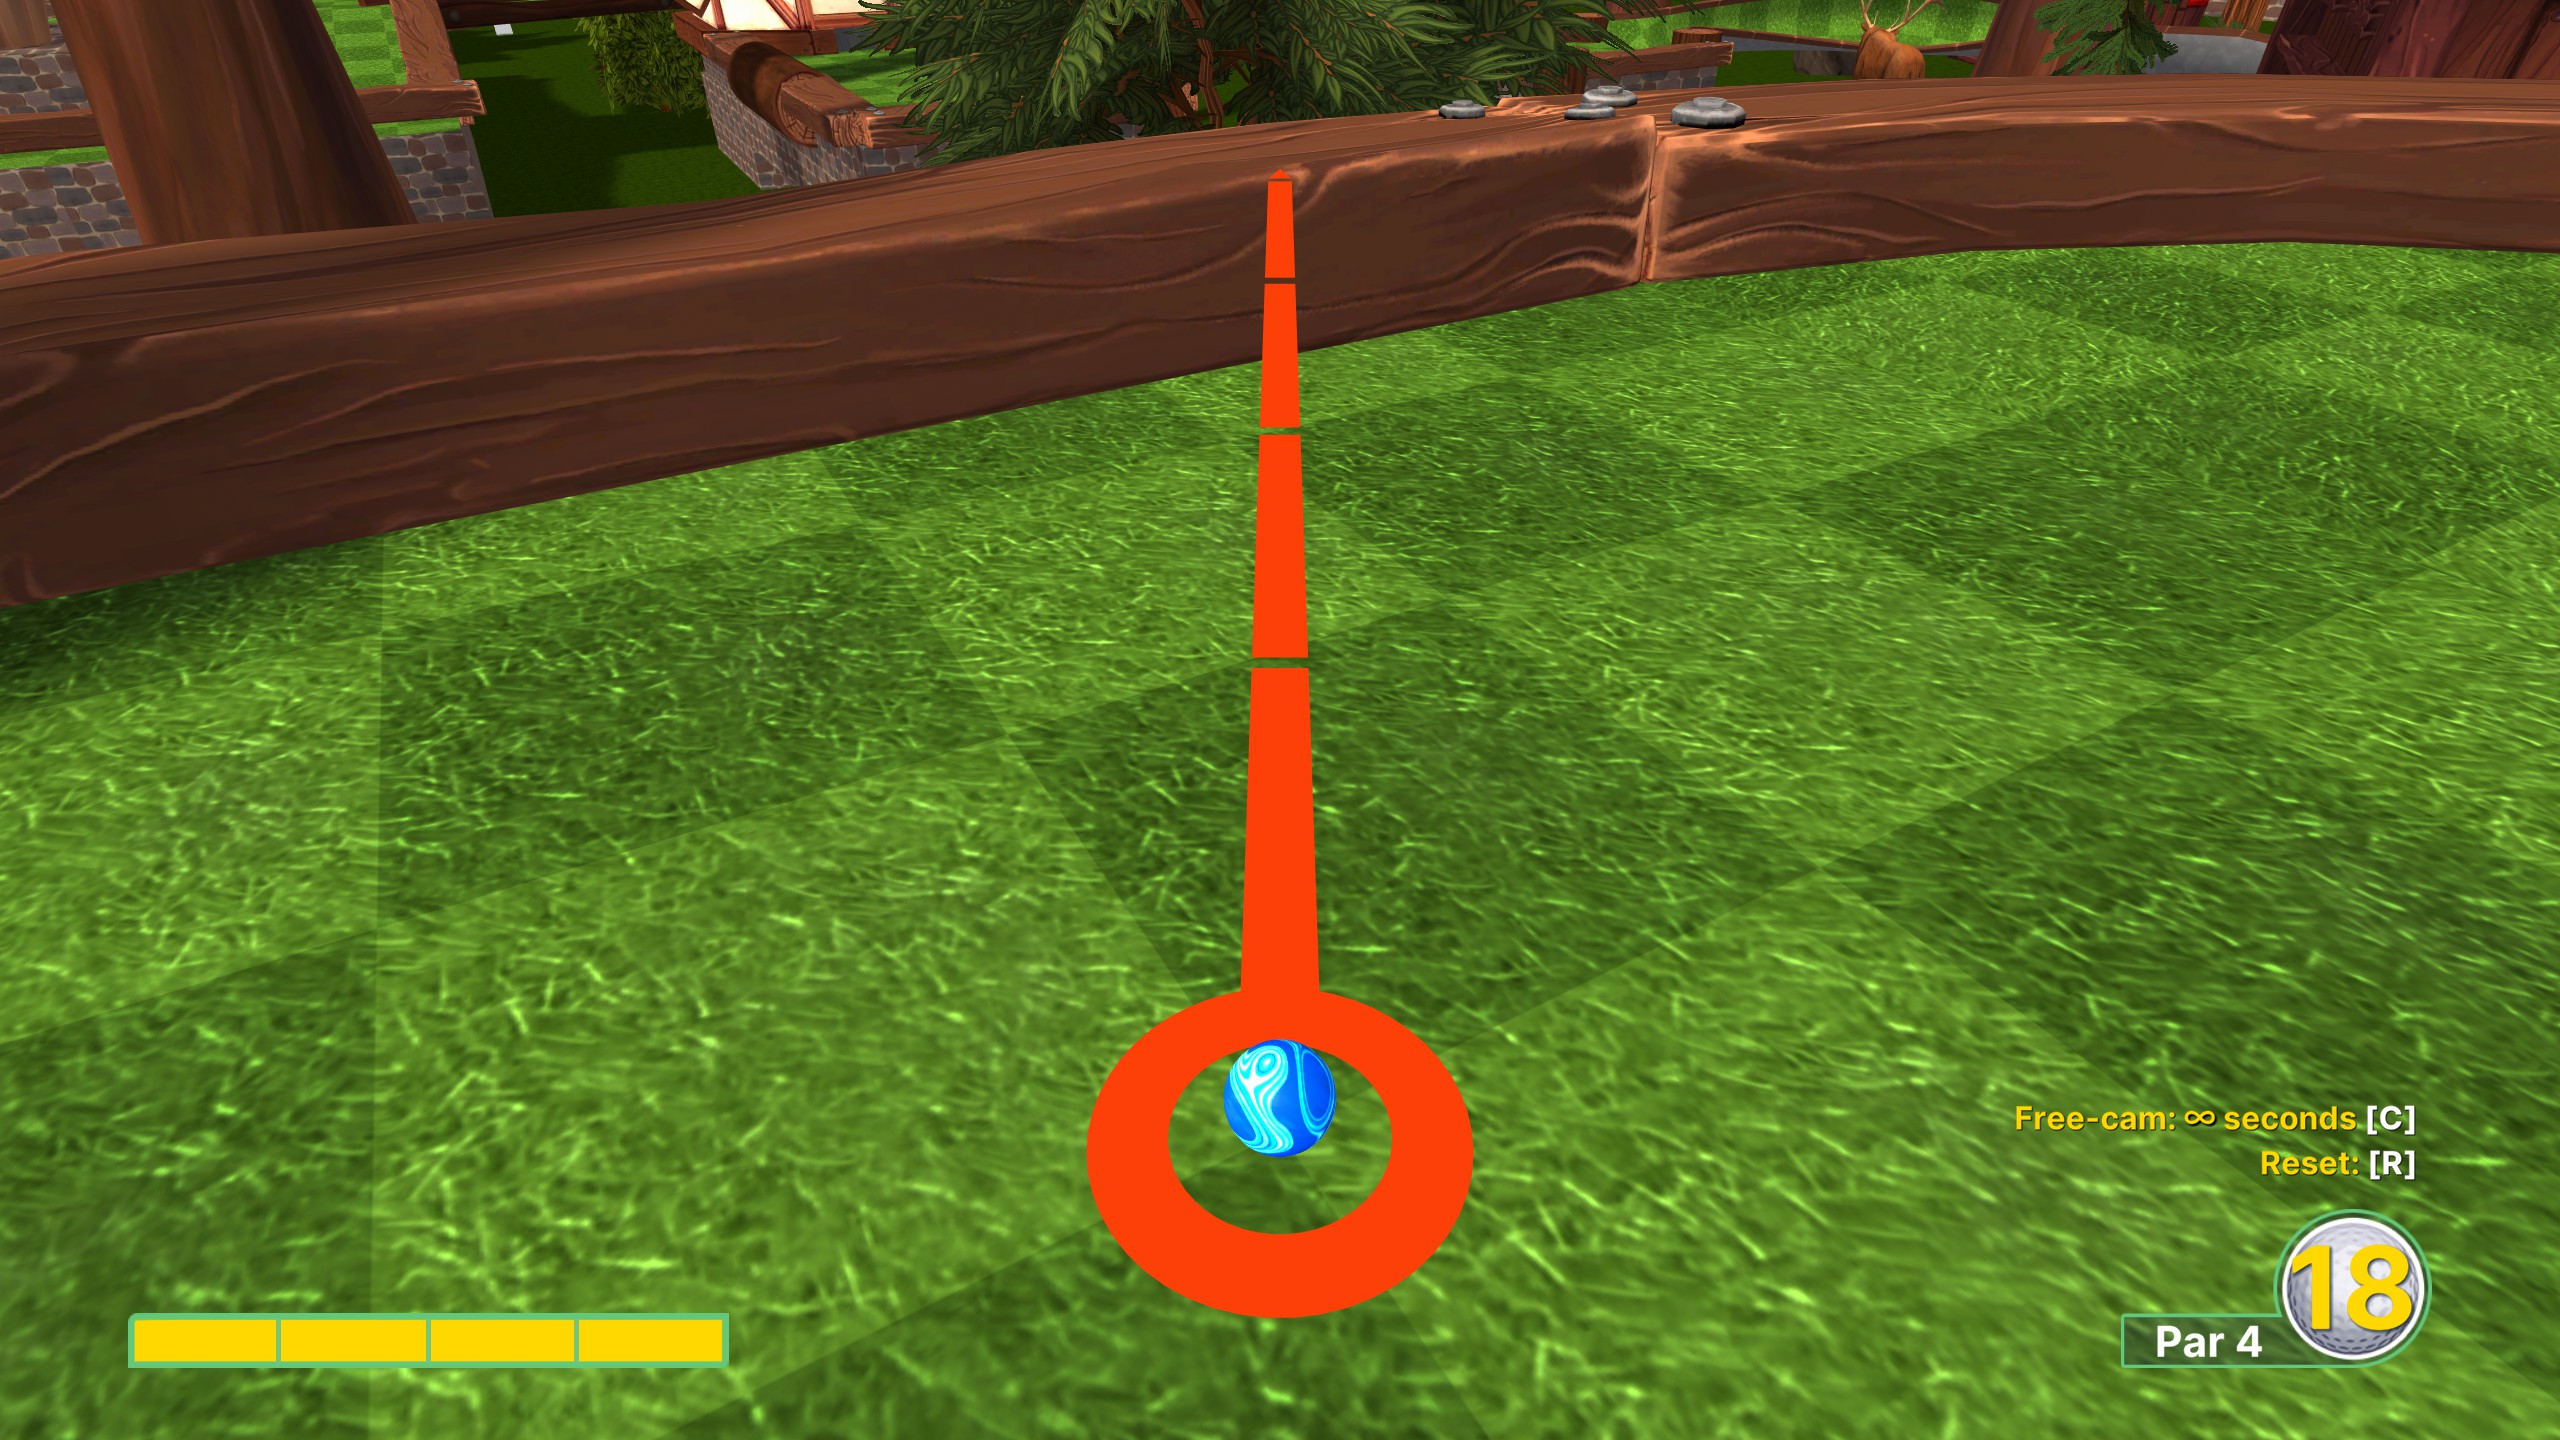
Hole 18 (で 2)
Aim at the wooden beam to the left so that the trajectory line crosses the corner of a white tile shown in the image.
Finish off the level and the whole map by using about 0.5 bars of strength.