- タイトル: ファイナルファンタジー VII リメイク インターグレード
- 発売日:
- 開発者:
- 出版社:
Final Fantasy VII Remake Intergrade に関する情報はまだ不完全です. これを使用してゲームの詳細を記入するのにご協力ください。 お問い合わせフォーム.
This guide will go through all the decisions of each chapter of the game and also explain how the Affection and Dress Mechanics work. It will also cover Dressed to the Nines, The Johnny Experience, Biker Boy, Divine Gratitude and Best in the Business achievements.
Affection Mechanics
The game has hidden values for Aerith and Tifa that alter the
章 14 Resolutions Witnessed. Each character will get a different cutscene in this chapter, depending on how much points they have. Tifa will get +2 points for each
Odd Jobssidequest completed in Chapter 3. Aerith will get +2 points for each sidequest in Chapter 8. At the start of Chapter 10, the character that you talk to first will get +1 ポイント. The character with the most points will be selected for the cutscene. If both Aerith and Tifa have less than 5 ポイント, Barret will be chosen instead.
After you beat the game, you can see how many
章 14 Resolutions Witnessedyou’ve got in Play Log on the main menu.
Dress Mechanics
Acquiring all 9 dresses is needed for the
Dressed to the Nines成果.
章内 3, when Tifa asks Cloud what type of dress she should wear for their night out later, you’ll have to choose between “Something refined”, “Something… sporty?”, または “Something exotic?”.
を入手するには、
Sporty Dressまたは
Exotic Dress, すべて完了する必要があります
Odd Jobssidequests in Chapter 3. If you want the
Refined Dress, just select the option or skip any sidequest.
For Aerith, her dress is chosen only by how many
Odd Jobssiquequests you’ve completed in Chapter 8.
を入手するには、
Sexy Dress, すべて完了する必要があります 6 sidequests. を入手するには、
Ordinary Dress, 完了する必要があります 3 sidequests. を入手するには、
Cheap Dress, you need to complete fewer than 3 sidequests.
Cloud’s dress is determined by what path you’ve chosen in Chapter 9,
Madam M’sまたは
Chocobo Sam’sand if you’ve completed their respective sidequests. The path is chosen by a hidden value based on what dialogue choices you had throughout the chapter. The character’s path with the most points will be chosen.
を入手するには、
Gorgeous Dress, you must choose Madam M’s path and complete all of her sidequests. を入手するには、
Ordinary Dress, you must choose Sam’s path and complete all of his sidequests. を入手するには、
Poor Dress, just skip all of their sidequests in either path.
After you beat the game, you can see how many
Dressesyou’ve got for each character in Play Log on the main menu.
The Johnny Experience
取得するため
The Johnny Experience成果, you need to complete all of Johnny’s sidequests in your playthrough. It is only possible to get this achievement if you’ve chosen Chocobo Sam’s path in your playthrough during Chapter 9, as one of the sidequest is only available in Sam’s path.
Johnny’s Quest List章 9 – Vagabond Johnny
章 9 – The Party Never Stops
章 9 – Rescue Tifa
章 14 – Tomboy Bandit
章 14 – Johnny’s Stolen Wallet
章 1: The Destruction of Mako Reactor 1
Set timer:This option changes how many minutes you’ll have to escape the reactor after beating the Scorpion Sentinel boss. Barret will give a comment depending on your choice.
- Twenty minutes – Jessie will give you an Ether and 2x Hi-Potion at the start of Chapter 2.
- Thirty minutes – You get nothing.
On Hard Mode, only the Twenty minutes option will be available.
章 2: The Fateful Encounters
ここ. This is for you.Cloud will get the flower regardless of your choice. This has no effect on any character’s Affection.
In your case… It’s on the house.This will only show up if you’ve chosen ‘How much?’ in the previous dialogue. Either choice will have no effect.
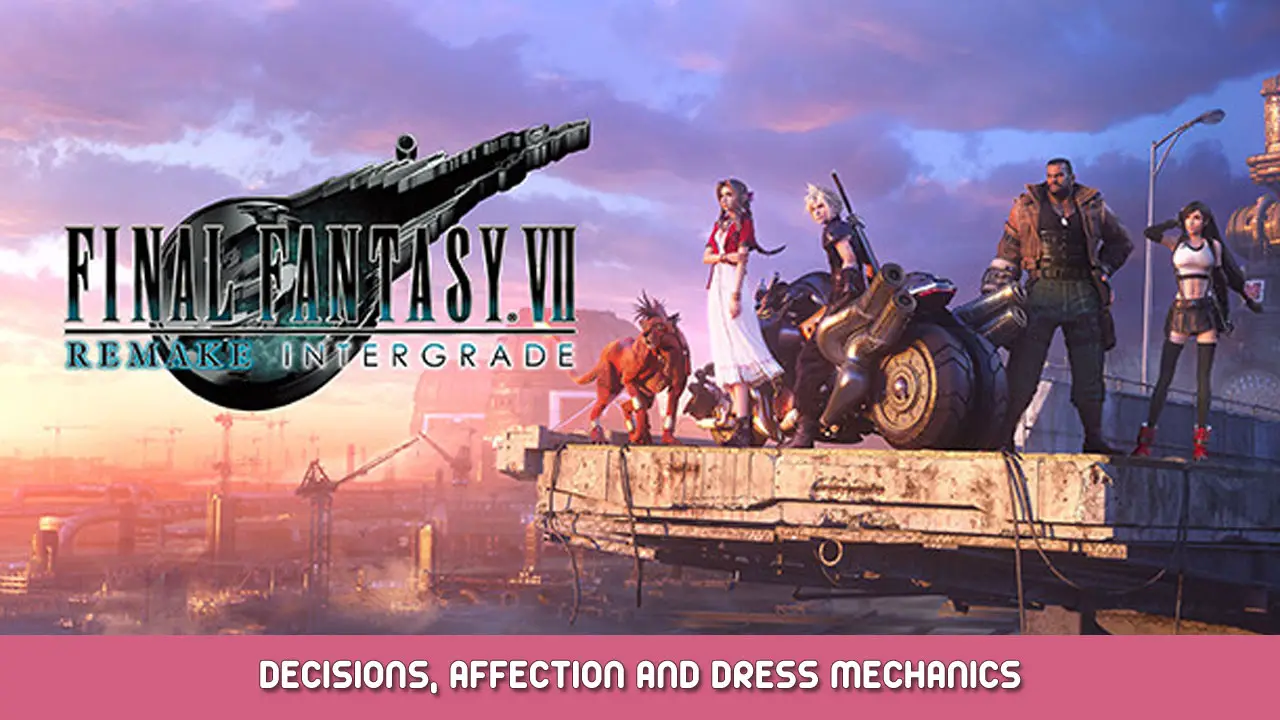
章 3: Home Sweet Slum
Alone at Last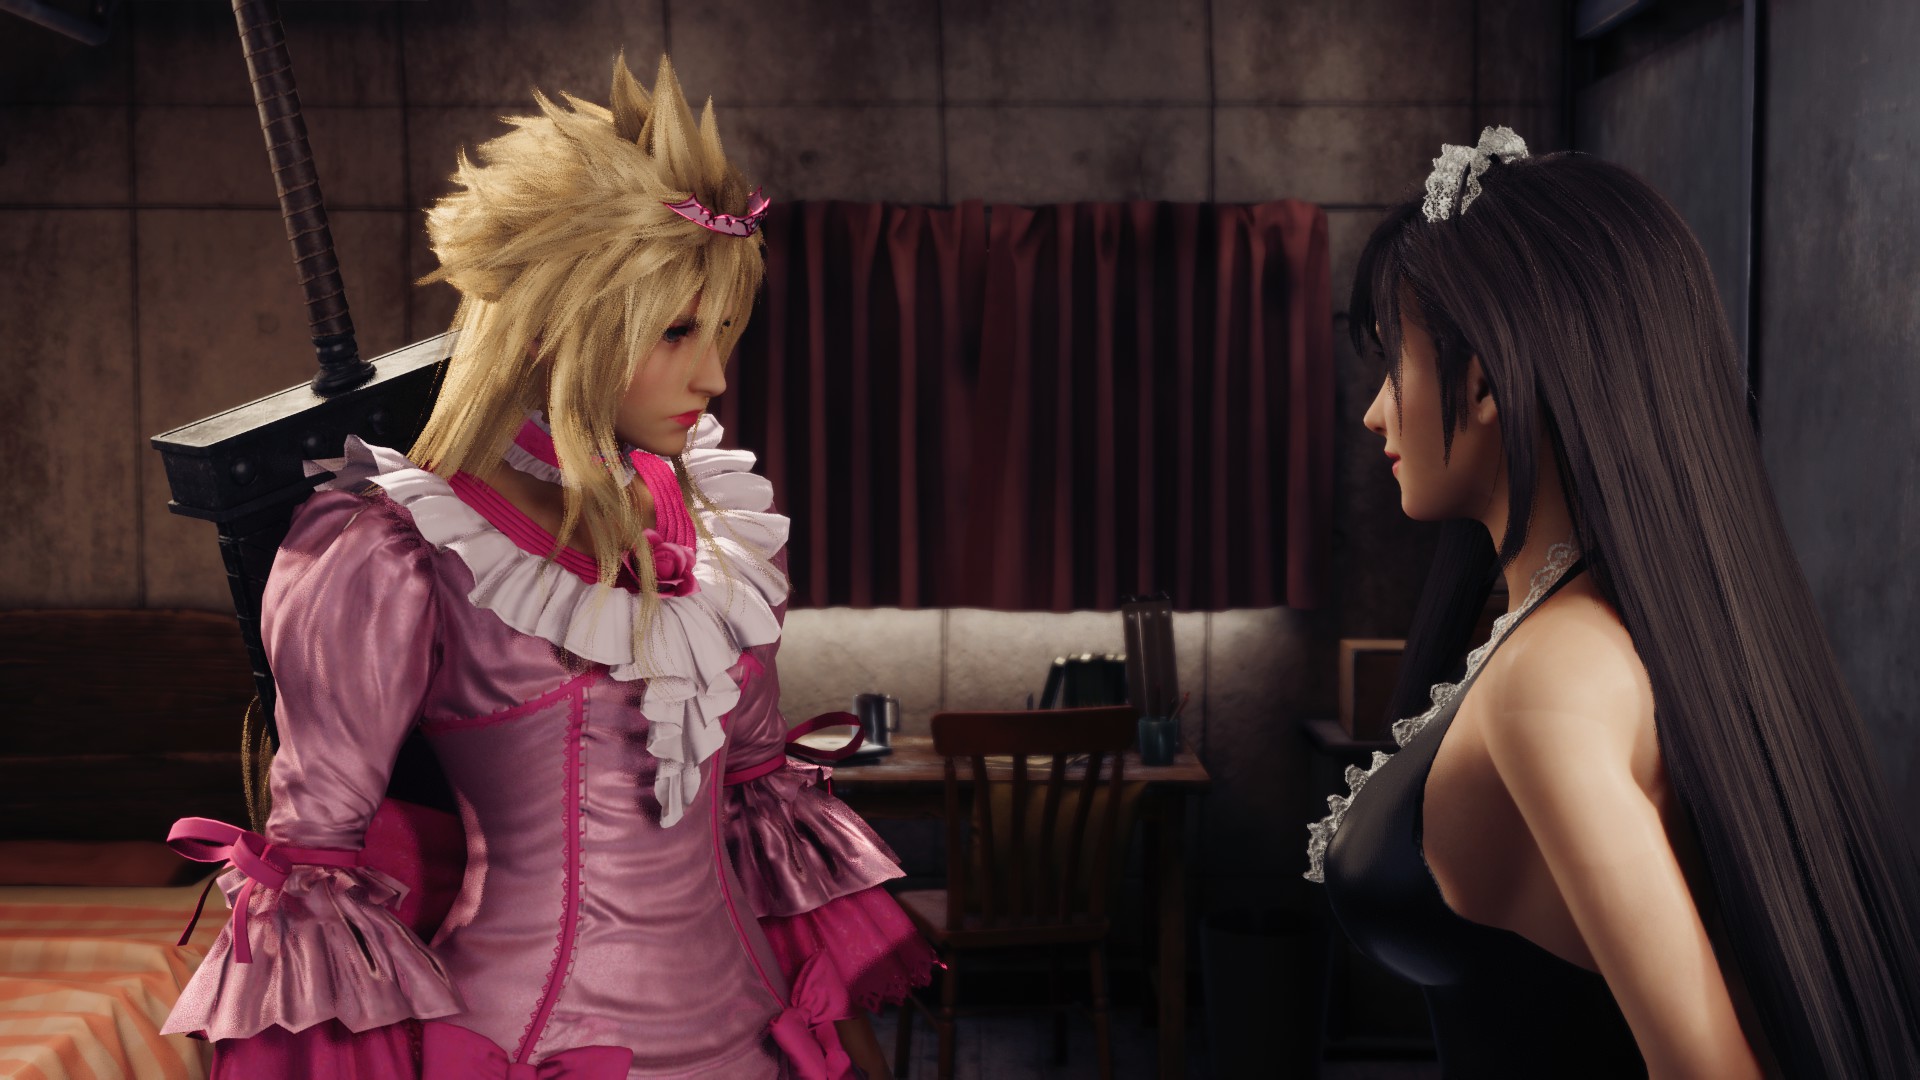
If you want to get either the
Sporty Dressまたは
Exotic Dressfor Tifa, you need to complete all
Odd Jobssidequests in this chapter. If you want to have Tifa’s
章 14 Resolution Witnessed, make sure you complete at least 2 sidequests to get +4 points for her. After completing all sidequests, go to the Discovery marker in Merle’s apartment.
I wonder what would suit me.
Here you can choose what dress Tifa will wear.
What’ll it be?
Cloud will end up drinking regardless of your choice. This has no effect on any character’s Affection.
章 4: Mad Dash
を入手するには、
Biker Boyachievement you need to finish the
Bike Mini-Game少なくとも 80% of your HP. On Easy difficulty, enemies will do less damage and you will be able to take them down faster. You can use HP Up Materia to increase your Max HP, you just need to allocate this materia before you enter Chapter 4, as the chapter starts with this mini-game and you can’t access your inventory while you’re at it.
If you get this achievement, Jessie will kiss Cloud on the cheek after you finish it.
This choice has no effect on the game, as the date never happens.
章 8: Building Bodyguard
章 9: The Town That Never Sleeps
章 10: Rough Waters
章 12: Fight for Survival
章 16: The Belly of the Beast
章 18: Destiny’s Crossroads
For the last battle, Cloud’s party will be determined by the party’s actions made during the fight against the
Whisper Harbinger. Each action adds hidden points for each character. If Aerith and Tifa win, they’ll appear in the order of their ranking. If Barret gets first of second place, he will be the third party member in the Final Boss fight.
Barret
- 能力, スペル, or Item: 24
- 制限休憩: 120
- Reducing a Whisper to 0 and staggering them: 120
Tifa
- 能力, スペル, or Item: 20
- 制限休憩: 100
- Reducing a Whisper to 0 and staggering them: 100
- Dealing the final blow to Whisper Bahamut or Whisper Harbinger: 250
Aerith
- 能力, スペル, or Item: 44
- 制限休憩: 220
- Reducing a Whisper to 0 and staggering them: 220
- Dealing the final blow to Whisper Bahamut or Whisper Harbinger: 550
これが今日私たちがこの目的で共有するすべてです ファイナルファンタジー VII リメイク インターグレード ガイド. このガイドは元々、次の者によって作成および執筆されました。 WhiteExperience. このガイドを更新できなかった場合, これに従って最新のアップデートを見つけることができます リンク.