In Days Gone, がある 12 Nero roadblocks. This guide shows all of their locations in the order of the game’s progress. Finding them all will unlock the World’s End trophy and complete the questline. Detecting and clearing a roadblock turns it into a fast-moving point. In them, you can find one injector (Injector), which is used to improve the indicators of the Deacon: 健康, strength reserve, concentration. 加えて, you can find one of the collectible items inside each checkpoint.
The concept is always the same: each checkpoint has a generator that needs to be refueled to turn on. いつもあるよ 2 fuel cans in the checkpoint area. Find one of them and fill up the generator. Then you can open the doors and go inside. Some roadblocks also require you to find a fuse, in which case you can simply interact with the fuse box and follow the prompts that will guide you to the goal. Sometimes you have to fix the generator, spending a little scrap on it.
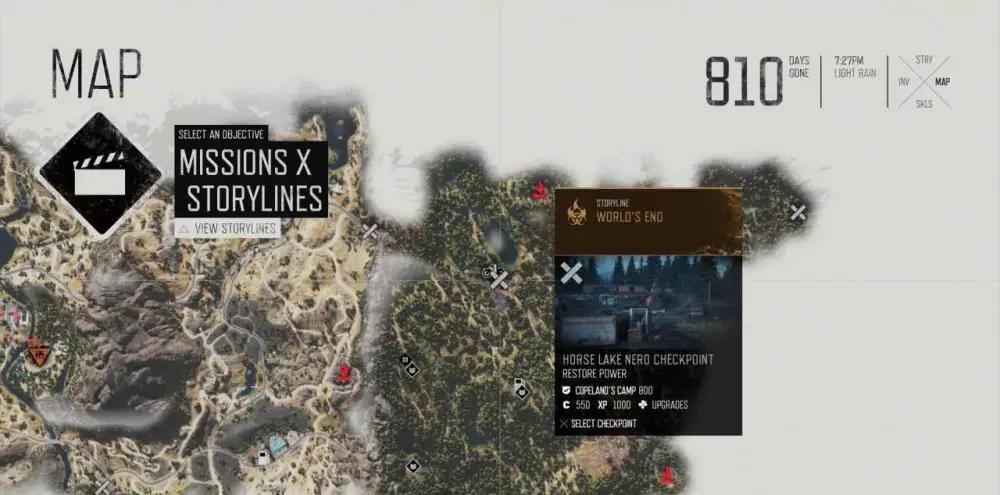
Roadblocks can not be missed, you can return to them after passing the plot of the game. After completing the story, you will be able to move freely through all regions, complete any side quests, and collect collectible items. It is worth noting that there are two temporary points of no return. One at the end of the 3rd region “Lost Lake” (Lost Lake) and another at the end of the 5th region “Crater Lake” (Crater Lake). This will block some regions until the end of the story. それから, after passing the plot, the whole map will open again.
Checkpoint Nero 1
地域: Cascades
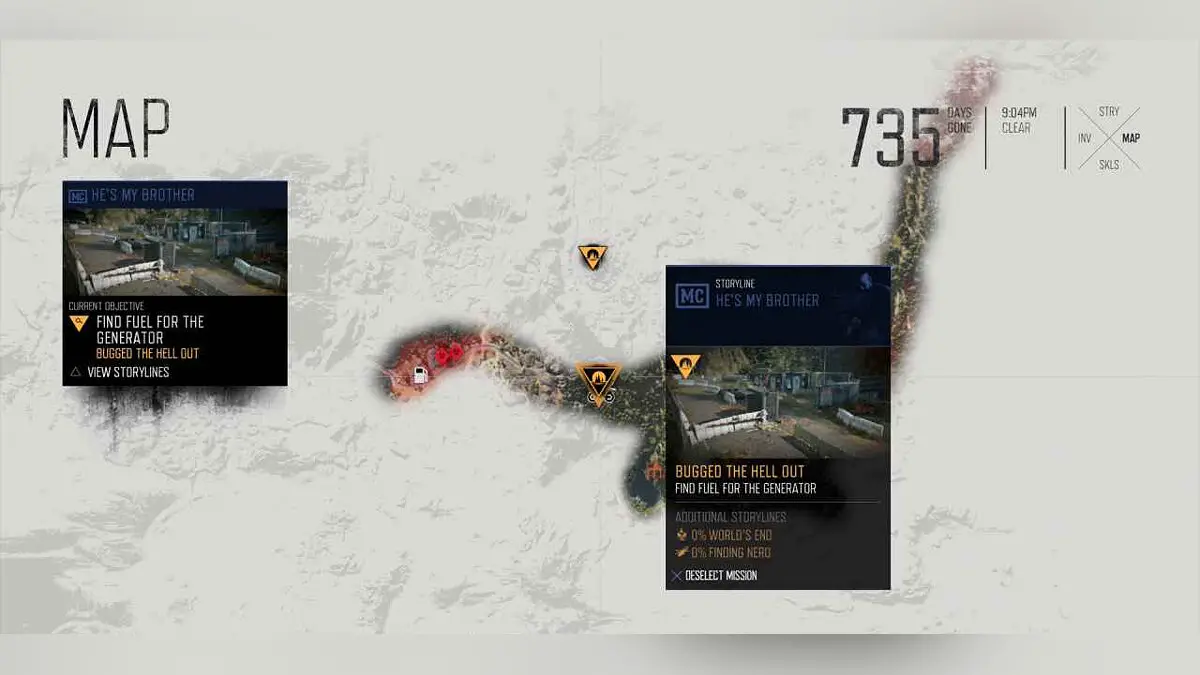
The first roadblock is related to the plot. You will go there during the story mission “Bugged the Hell Out” (one of the first missions). There is a generator next to the building. To turn it on, you must find one of the fuel cans nearby. It can be found in the back of a repair truck parked at the end of the street. Bring the canister to the generator and press “丸” to fill the fuel. You can now enter the building. Use the big white box to get the injector.
Checkpoint Nero 2
地域: Cascades
 There’s a car parked behind a building just above the hill. You can push this car (stand in front of the car and click “四角”) to climb the building. There you will find the generator. Fuel can be found behind the fence where the car was located.
Checkpoint Nero 3
地域: Cascades
Enter the area and deal with the phreakers. They’re guarding the fuel canister. You can then use this canister to fuel the generator, which is located next to the fence, near the Nero building.
Checkpoint Nero 4
地域: Belknap

The fuel canister at this checkpoint is located in the back of a military truck that is located near the tunnel. After you have to find the fuse. Go to the blue search area marked on the mini-map, which leads to the broken door panel. You can follow the footprints on the floor and find the fuse in a white container near the entrance to the tunnel.
Checkpoint Nero 5
地域: Belknap
Heading to the entrance to this roadblock, you can find a canister of fuel in the far left corner in a pile of garbage. でもまずは, the generator will have to be repaired.
Checkpoint Nero 6
地域: Salt Lake

Fuel for this roadblock can be found in one of the tents on the right side. The generator is located in the middle of the area near a large rock.
Checkpoint Nero 7
地域: Salt Lake
初め, you’ll have to burn the phreaker nest near the tunnel. Inside the socket you will find a fuse. Use this fuse on the fuse box in the building. Then you have to take the fuel (you can find it in the tent) and take it to the generator. It is located at the top.
Checkpoint Nero 8
地域: Salt Lake
Fuel can be found in the back of the SUV next to the building. The generator is located at the opposite end of the building.
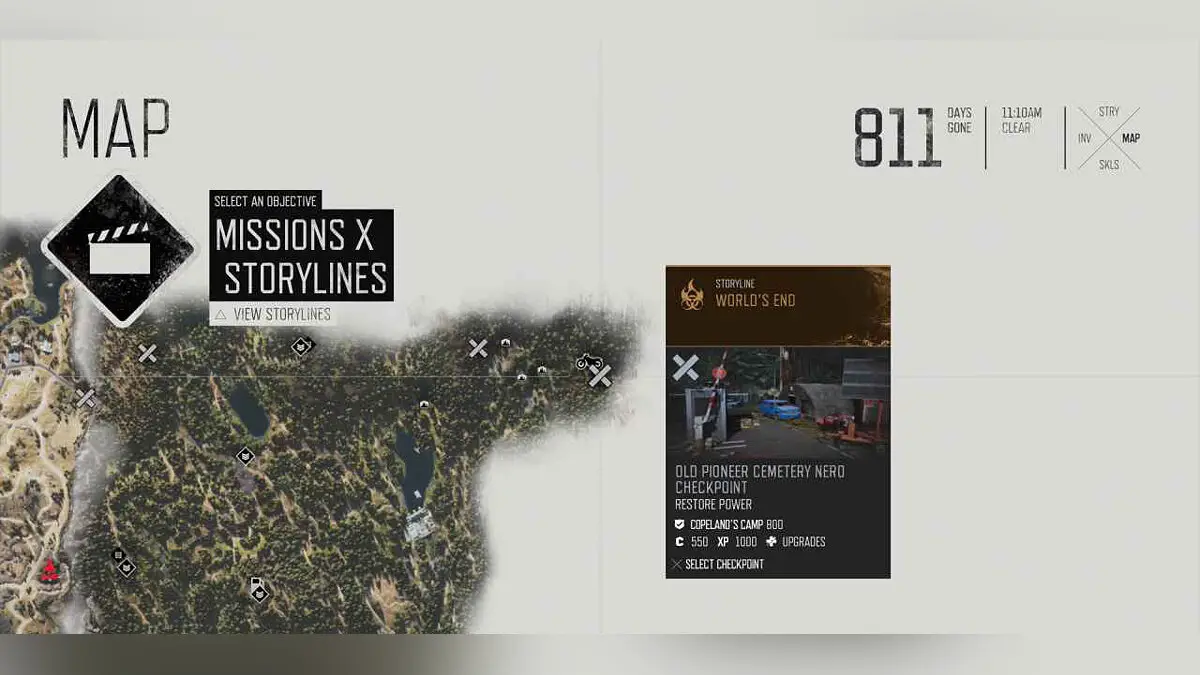
Checkpoint Nero 9
地域: Crater Lake
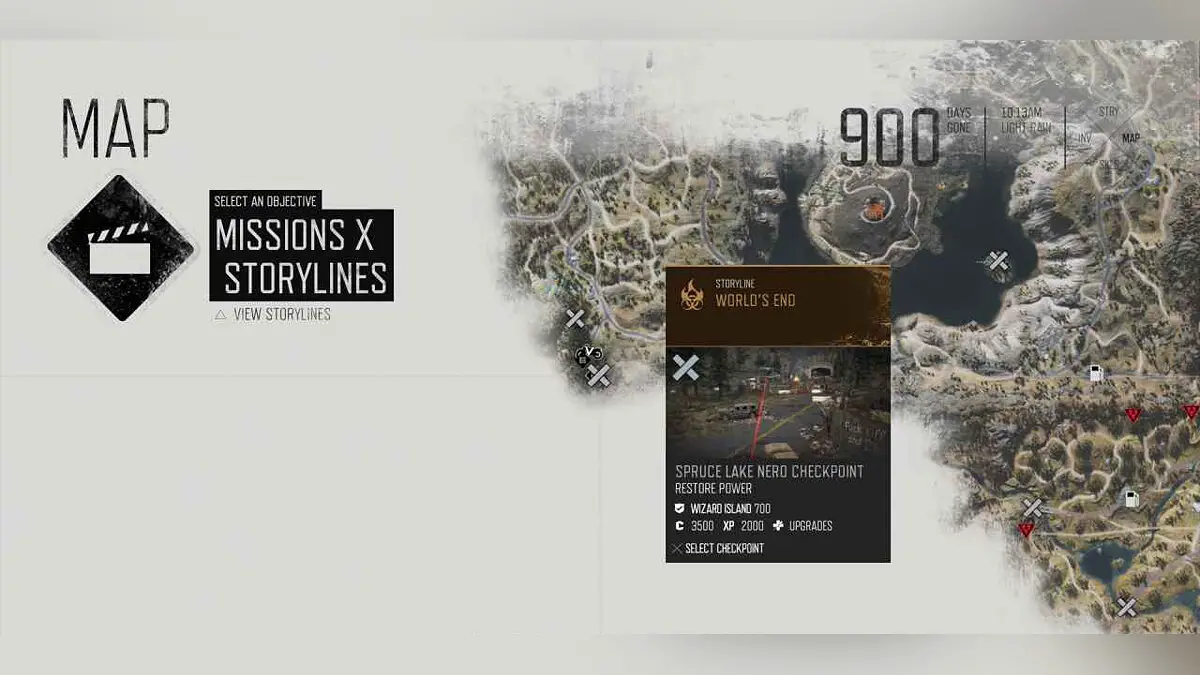
The first canister is located on the right side near the entrance to the camp, and the second in the tent on the left side. You should also find the fuse. Follow the prompts after inspecting the fuse box. The fuse is in a box on the mountain.
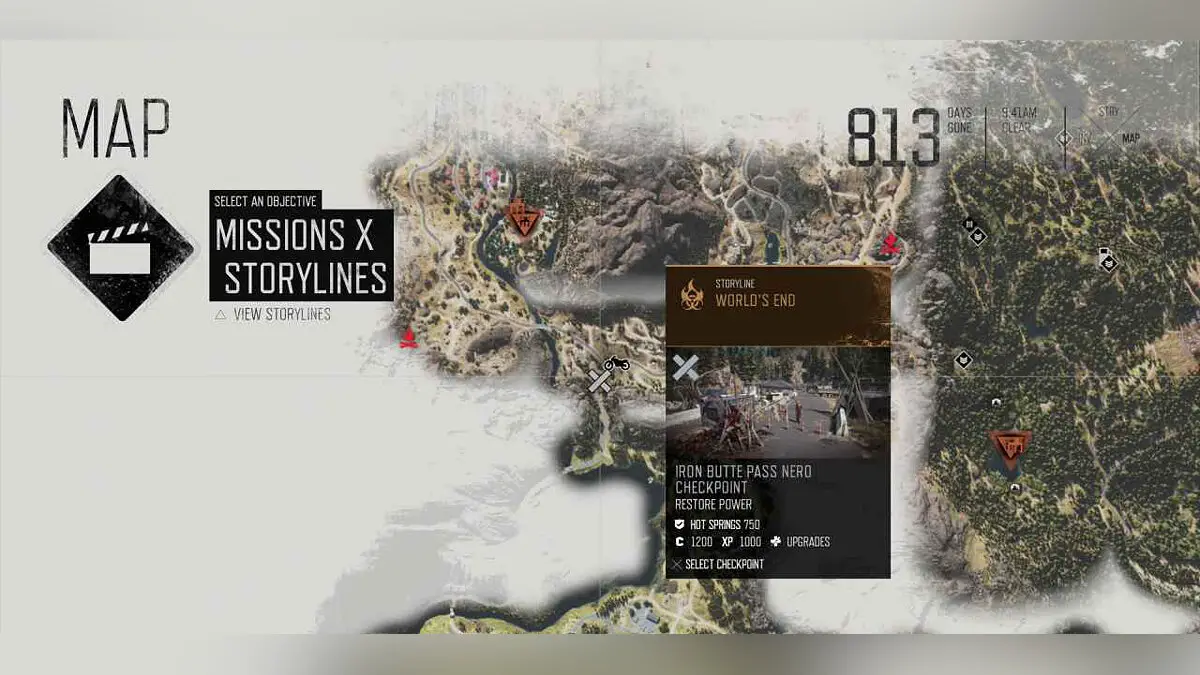
Checkpoint Nero 10
地域: Crater Lake
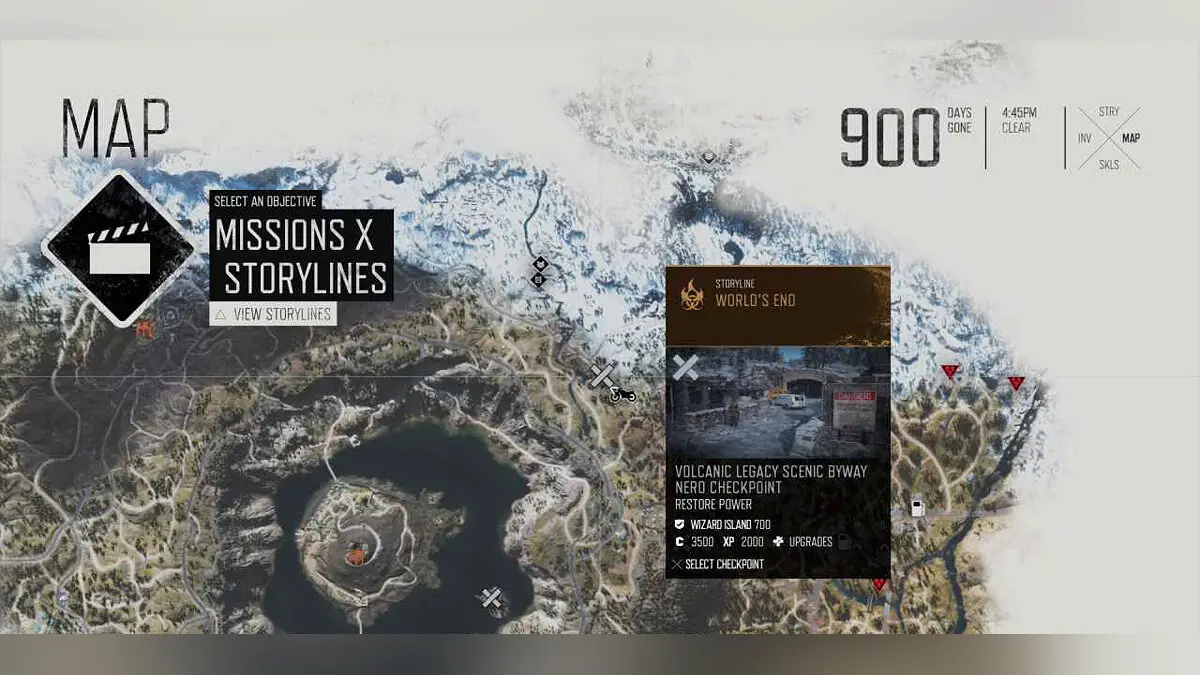
The fuel is behind the yellow school bus. The generator is located in a fenced area near the building.
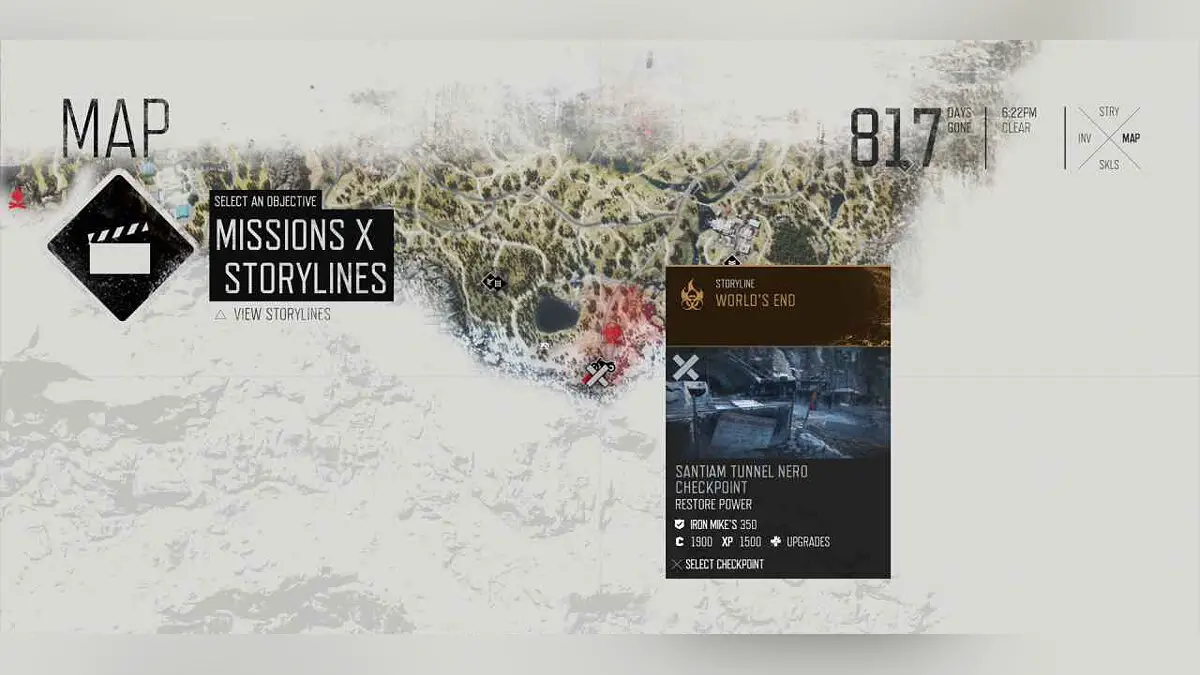
Checkpoint Nero 11
地域: Highway 97
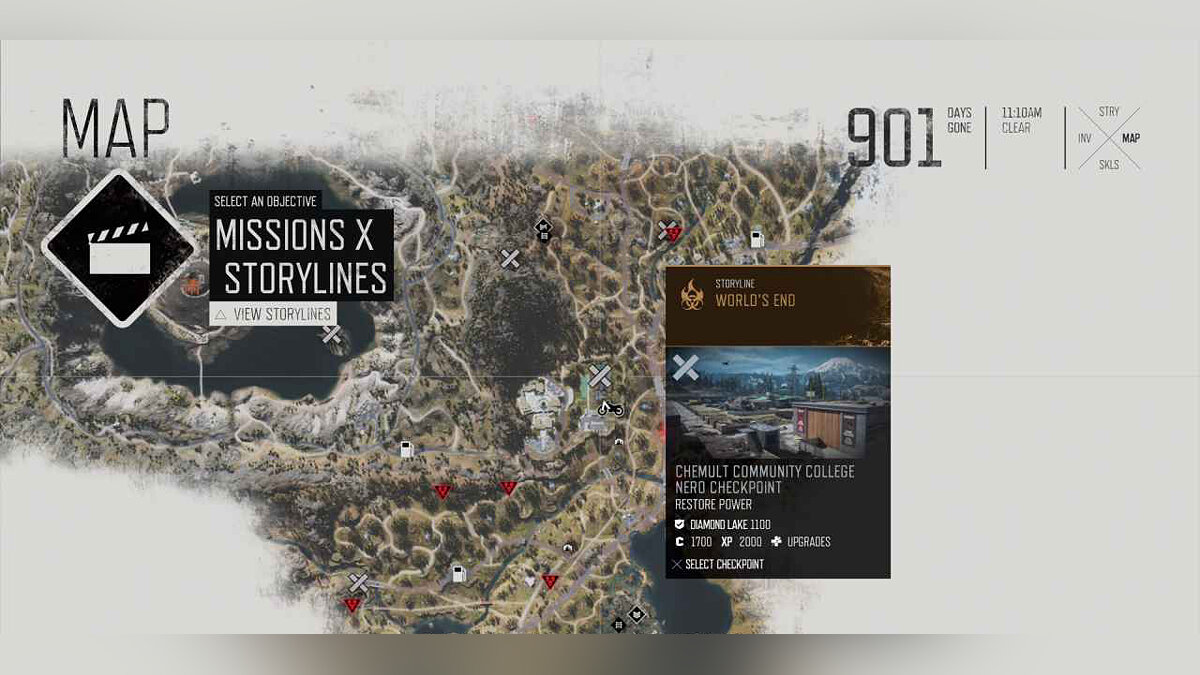
This area is blocked, you can get here by the plot. You need to pass the plot to the College area (complete more missions in the Crater Lake area). Once you have been there for the first time, you will be able to return. You must find the fuel and fuse. The fuse is located in one of the tents, just follow the prompts from the fuse box. Fuel can be found under the wooden roof right in front of the building.
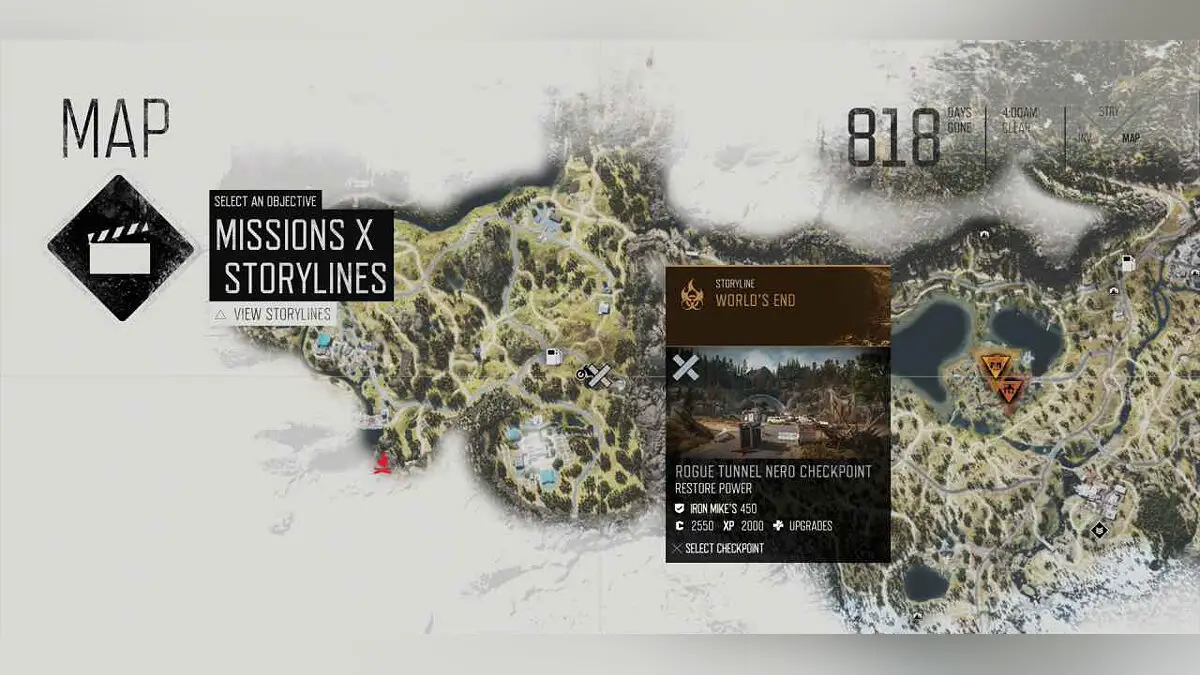
Checkpoint Nero 12
地域: Highway 97
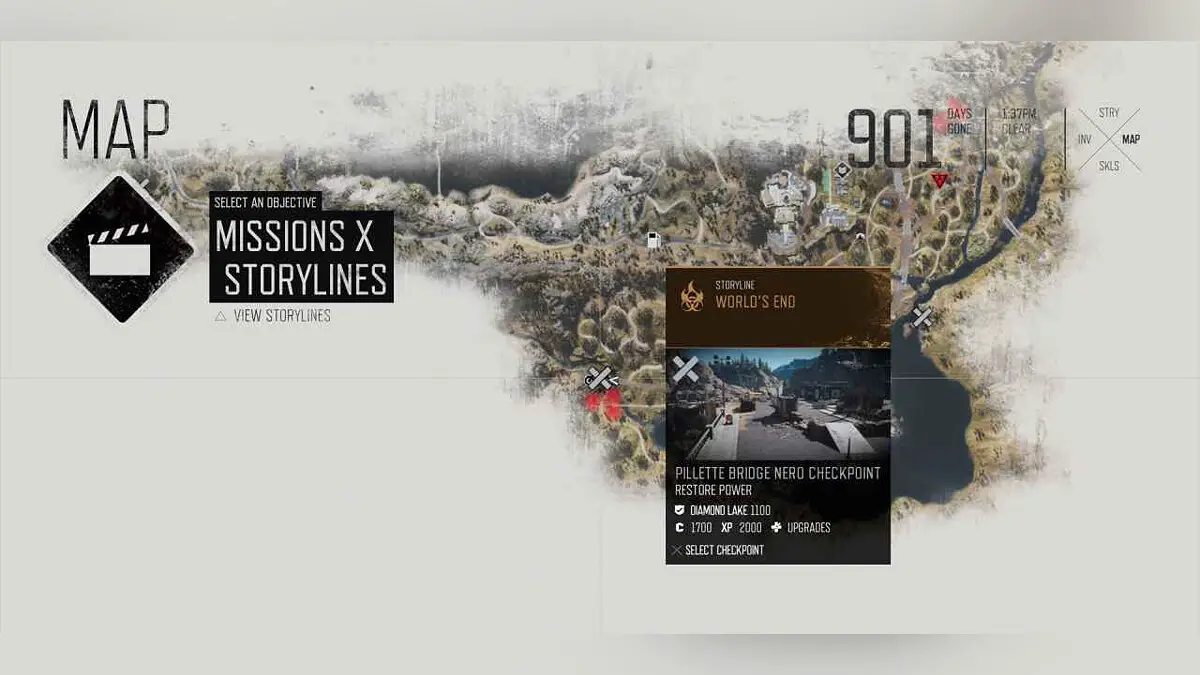
The fuel is located behind a small checkpoint building at the entrance to the area. The generator is located behind the Nero building in a fenced area, you will have to go around the fence to get to it.