

- タイトル: 椅子シミュレーター – 簡単かつ迅速にコインを入手する方法
- 発売日:
- 開発者:
- 出版社:
Information about Chair Simulator – How to Get Coins Easily and Quickly is still incomplete. これを使用してゲームの詳細を記入するのにご協力ください。 お問い合わせフォーム.
Most price ranges give you the same number of coins. But there are a few chairs where you get more for your money!
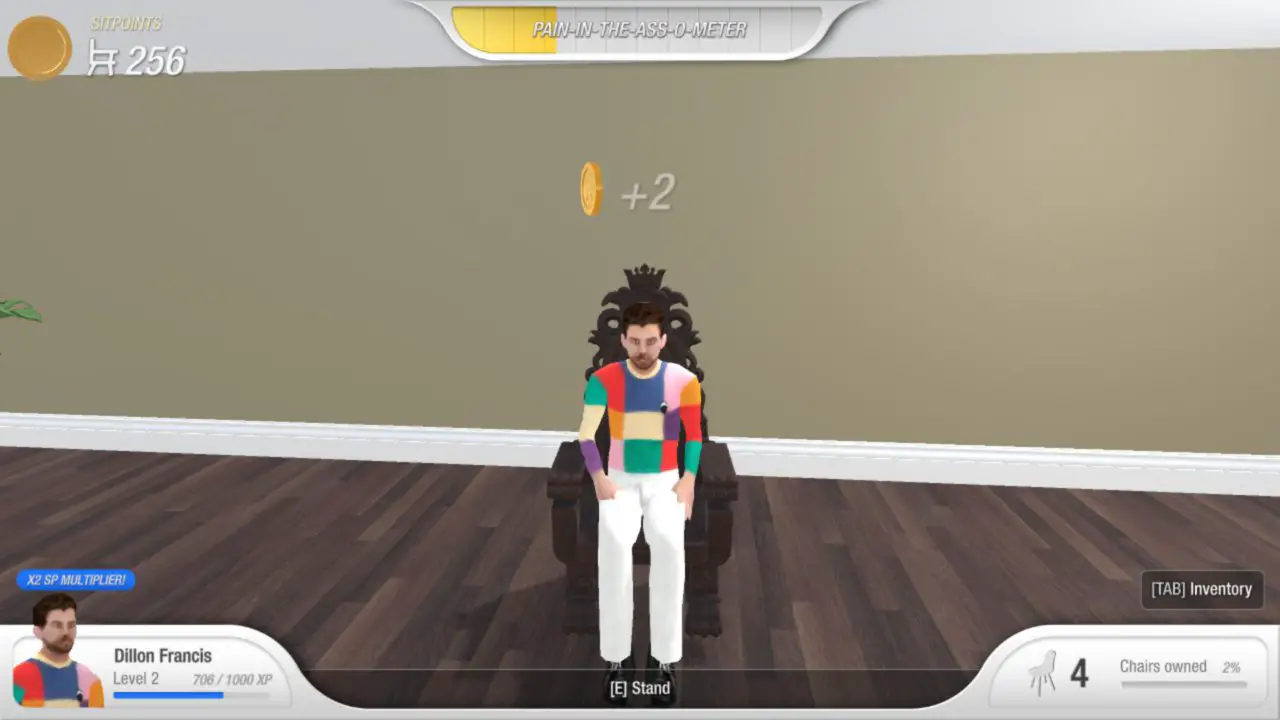
How to use the “PAIN-IN-THE-4SS-O-METER”
がある 3 levels in the O-METER: “普通”, “uncomfy” と “at death’s door!”.
To get most of the coins you have to stay in the normal range. This is where you get the most amount and only there does the multiplier come into effect. 例えば, if you are level 2 you will receive 2x coins. But only in the normal range!
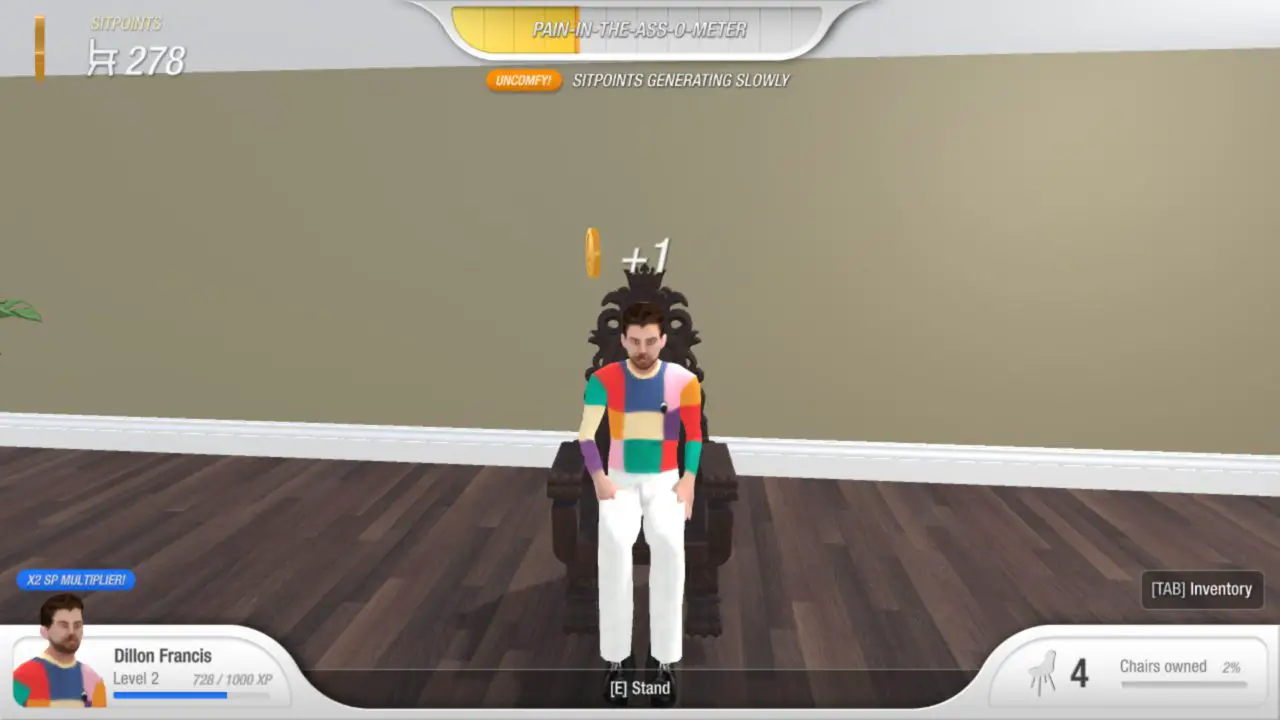
で “uncomfy!” Area you only get 1 coin and your multiplier is no longer effective. So there is no point in sitting any further. Stand up and sit down again when the O-METER is empty.
If you are in the “at death’s door!” Area then you should get up quickly! Here you lose coins and when the O-METER is full you die.

That’s how the O-METER works.
The chairs where you get more coins for the same price
There are different price ranges for chairs. And each price range has a number of coins that are generated per minute. 例: All chairs that cost 200 generate 50 coins per minute. But there are 2 exceptions:
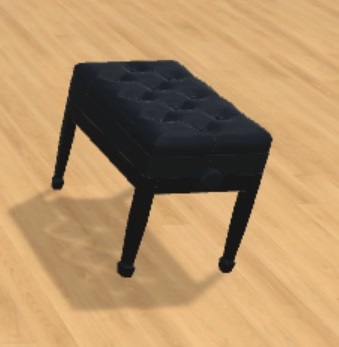
First is with the Piano Bench (費用 200) わかります 62 coins instead of the usual 50. Get this chair first!
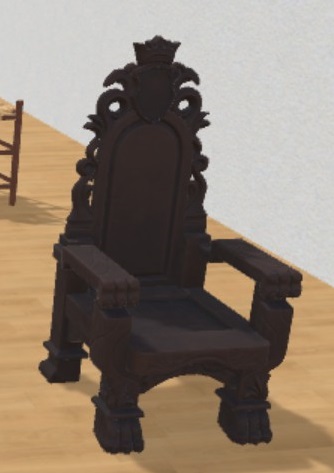
The second is with the throne (費用 450) わかります 87 coins instead of the usual 75. You should get this next!
It is also worth noting that for the 50 SP range the Deck Chair has the highest yield of 75 SP/M, but is bugged and will kill you instantly.
これがこのガイドで今日共有するすべてです. このガイドは元々、次の者によって作成および執筆されました。 Leonardo Gabriel. このガイドを更新できなかった場合, これに従って最新のアップデートを見つけることができます リンク.