- タイトル: 軍への呼びかけ
- 発売日:
- 開発者:
- 出版社:
Information about Call to Arms is still incomplete. これを使用してゲームの詳細を記入するのにご協力ください。 お問い合わせフォーム.
This guide will show you how to easily make a minimap for your own maps in Call to Arms.
基本
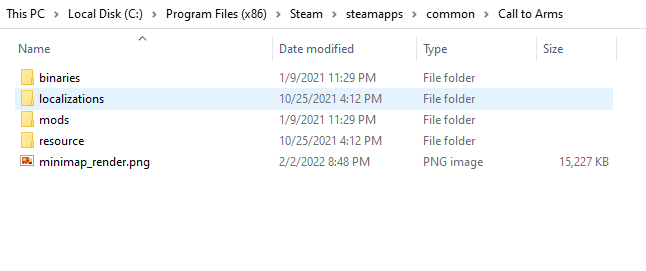
This guide will explain how to make a minimap to add an extra level of polish to your maps. 初め, you need to know the Call to Arms folder location which is “C:\プログラムファイル (x86)\Steam\steamapps\common\Call to Arms”
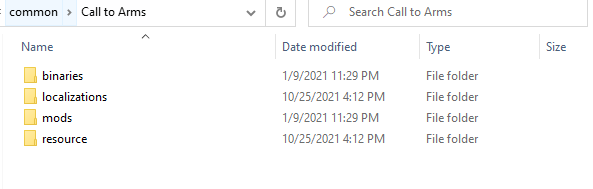
Your map will be located in “Call to Arms Folder\resource\map“. The map and all associated files will be stored in a folder named whatever you saved your map as.
序章
Open your map you want a minimap for, we will be using this map as an example.
Notice that we have no minimap for this map. We will fix this in this guide.
Checking Borders
初め, open your map and mission in the Call to Arms editor. Then press “F2” to go to the map section and navigate to the camera section. 次, click the check box next to “Show map borders”
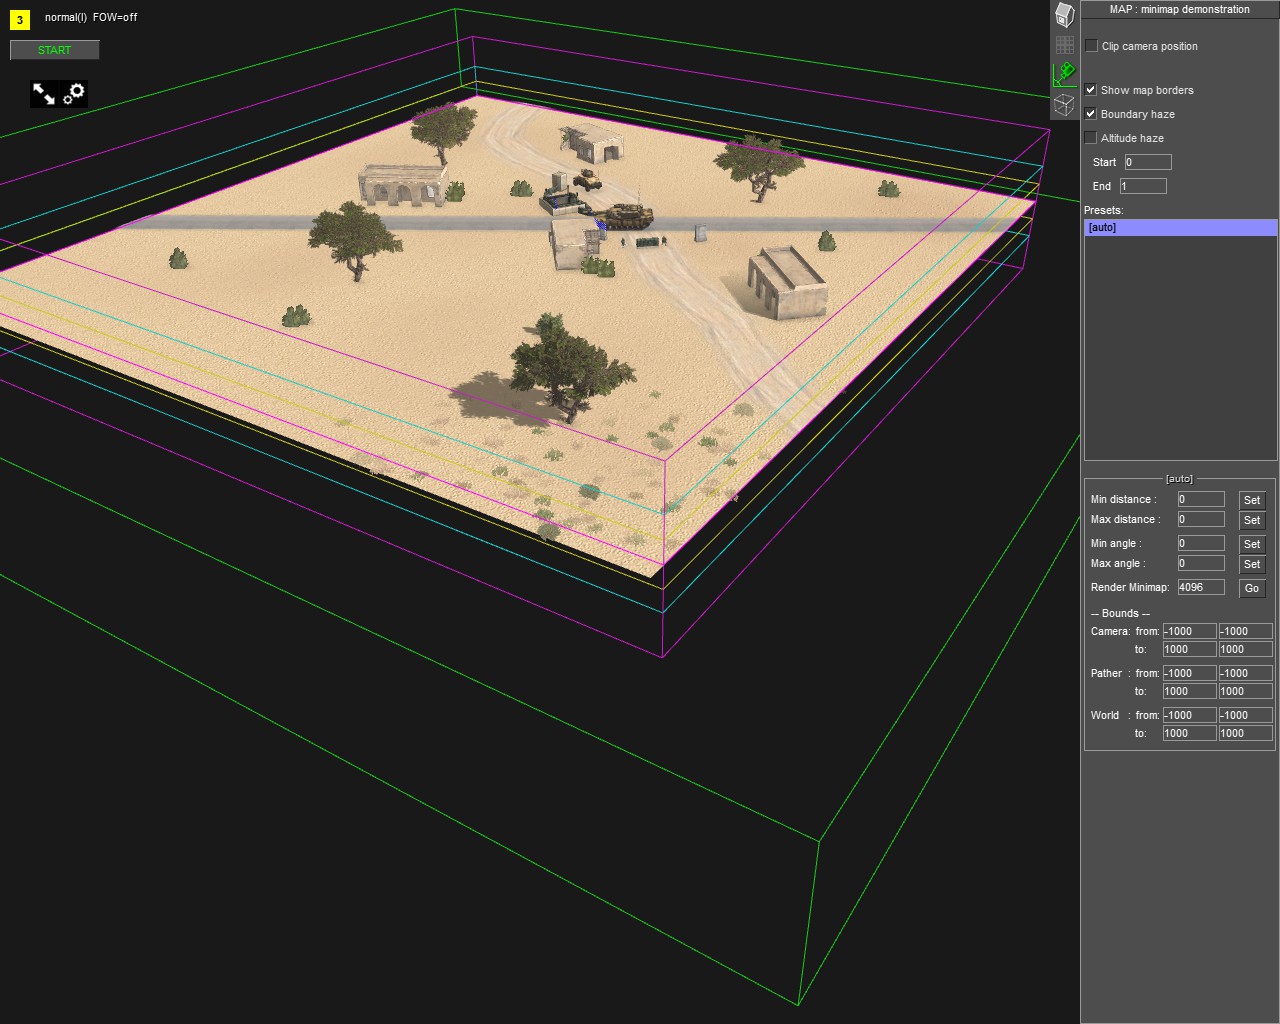
Make sure that the green lines for the border labeled “[auto]” cover the entire map you want a minimap for, as the game sizes the minimap based on this border. Also when making missions and maps never use the “auto” border just resize it as needed to cover your whole map. の “auto” border should be larger than all other borders you make for your mission/map.
Cleaning Up
Once the border is set make sure to uncheck “Show map borders” or the lines will come up in the minimap. We could make the minimap now but there are some changes we will want to do first.

Notice we have vehicles on our map, if we don’t want these to show up on our minimap we need to delete them like this.
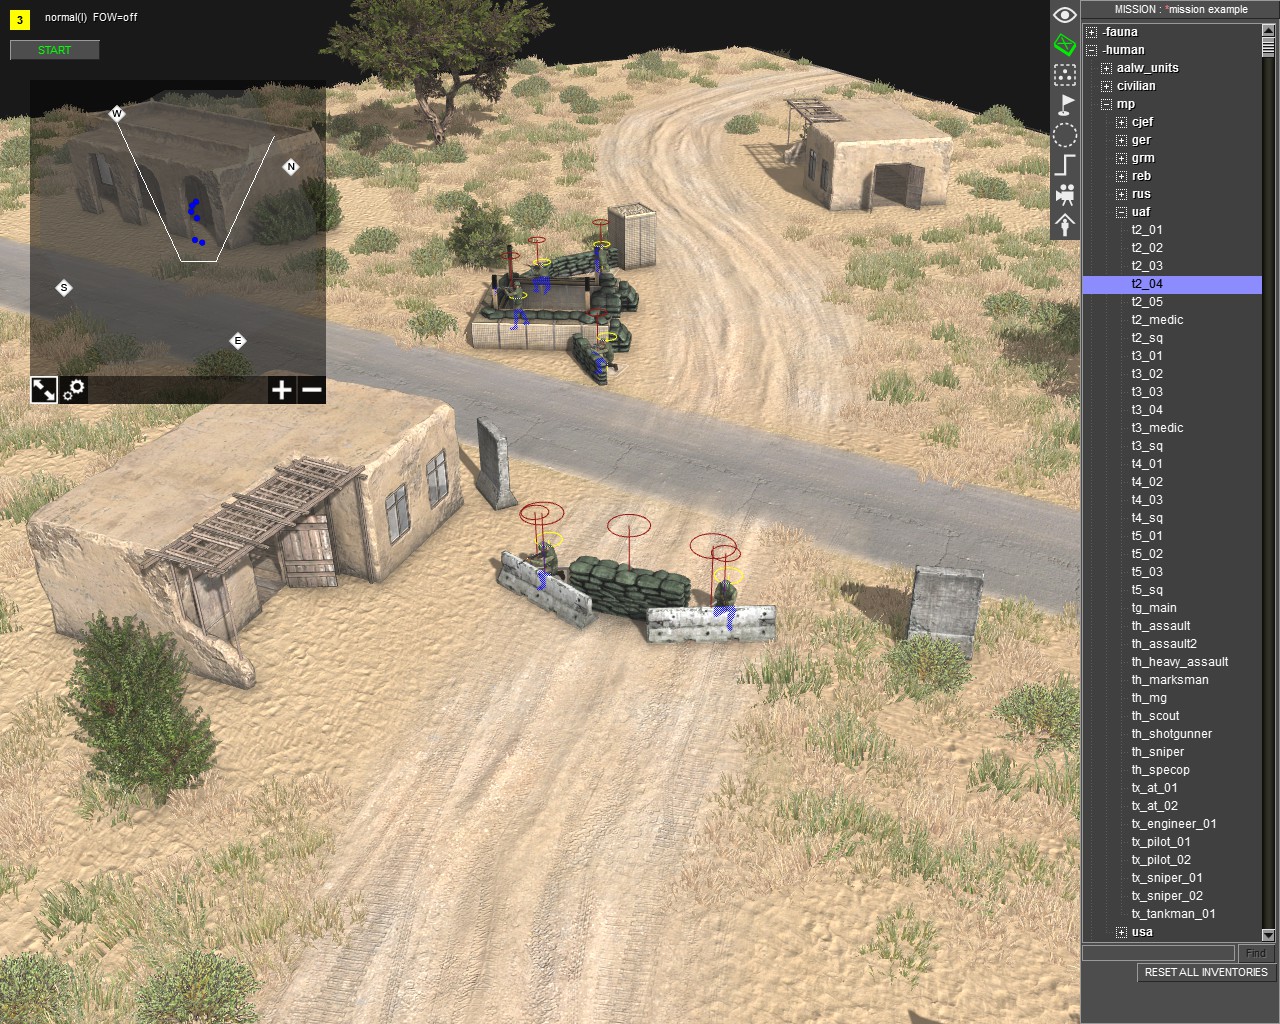
The same goes for any soldiers in our mission remove those as well as any mission markers example: an attack marker for an objective.
Notice how the map is clear of Vehicles Soldiers and Markers this means we are ready to continue.
Environment Selection
Next press “F6” to change environments. We want to select an environment that will make objects on the map stand out.
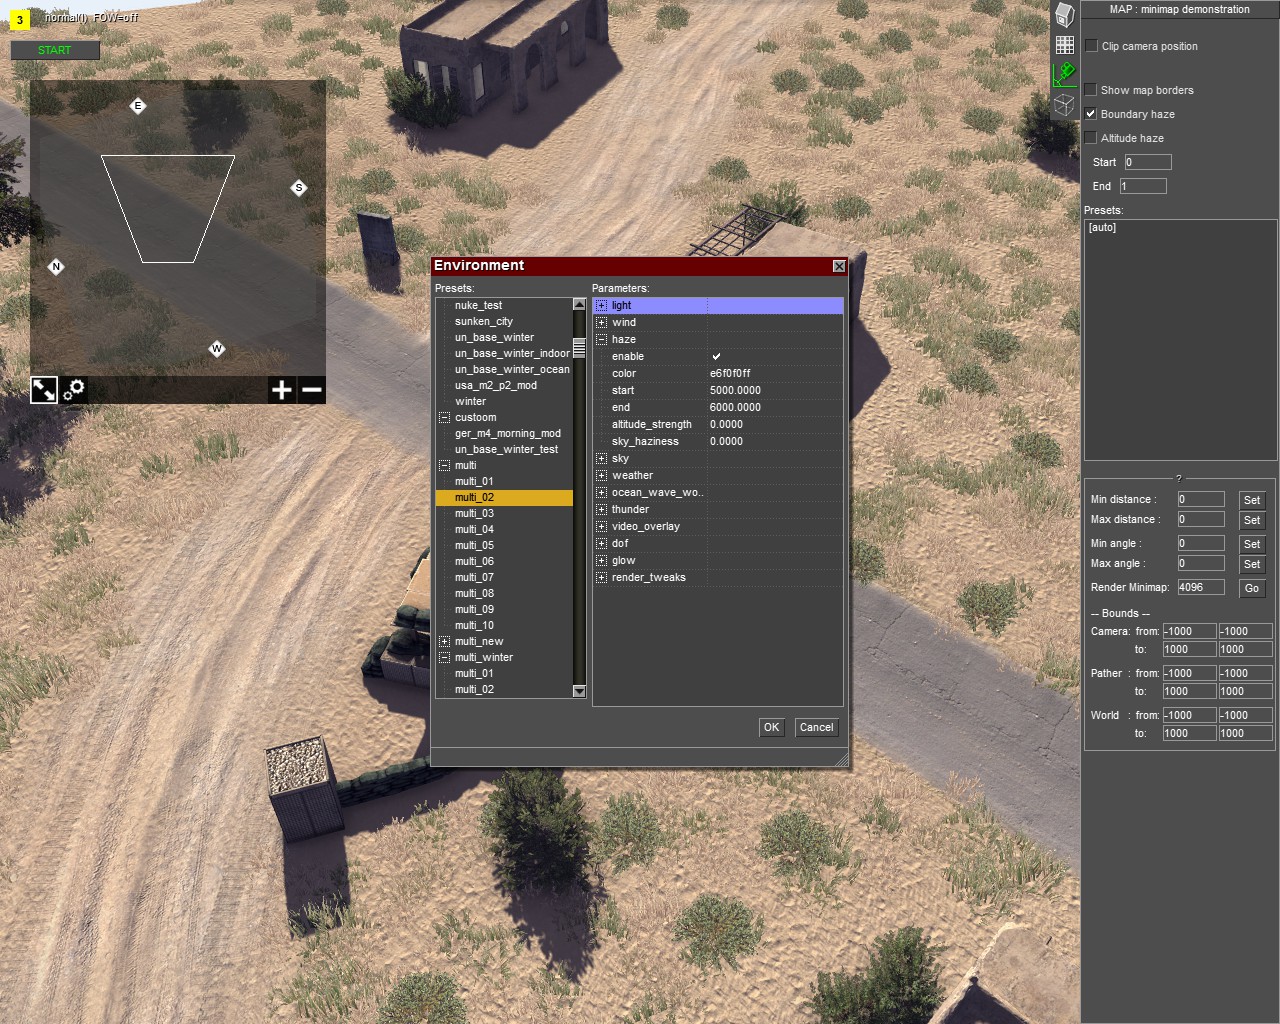
Environments “multi_01” – “multi_04” work well for this as well as the environment labeled as “minimap”.
Capturing the Minimap
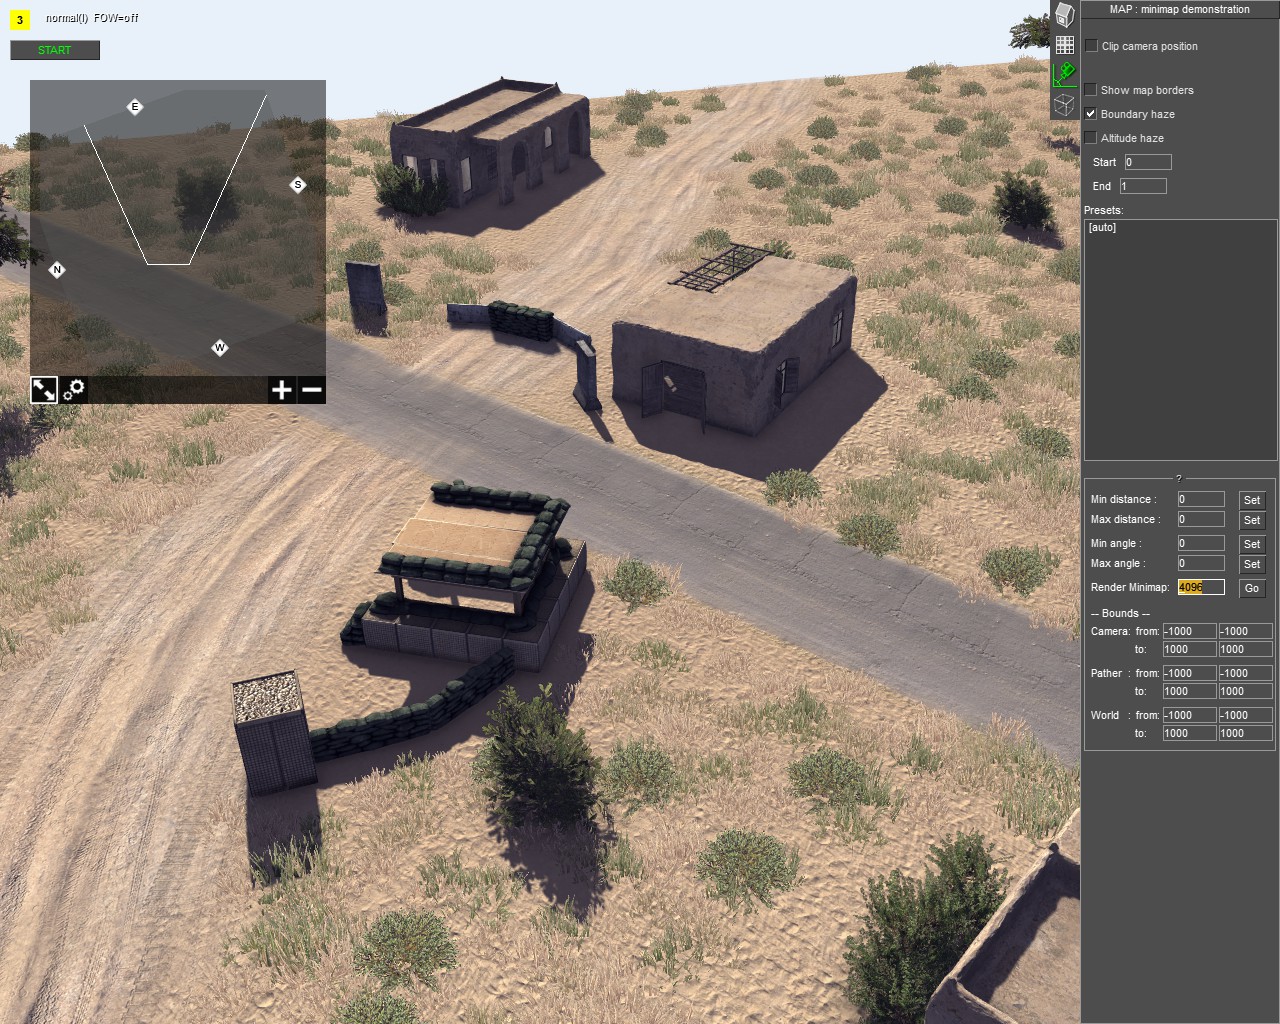
Now we are ready to take create the minimap! Call to Arms makes it very easy to do this compared to older gem 2 engine games. First press “F2” to go to map mode then go to the camera section. Make sure the “auto” boundary preset is selected. Then near the bottom right, you should see a line labeled “Render Minimap”.

This button will create a minimap automatically for us, but don’t select it yet. The number listed next to “Render Minimap” is the resolution of the minimap that will be created. The minimap must be a multiple of “1024” so you can use resolutions of “1024, 2048, 4096 6144, 8192” any higher than “8192” has a chance of crashing the game. Higher resolutions are better for larger maps while lower ones are better for smaller maps. Try to keep the resolutions under “4096” unless you have a huge map as the size of the map can get pretty big.
After choosing the resolution you want for your minimap click the “行く” button and the game will start rendering the minimap. It shouldn’t take too long but it may freeze your game temporarily, just wait until the game processes it. Once the game unfreezes the minimap was created. We aren’t done just yet though.
Moving the Minimap Render
Now you need to navigate to the location of the map render. Luckily it gets placed right in the call to arms folder located here: “C:\プログラムファイル (x86)\Steam\steamapps\common\Call to Arms”
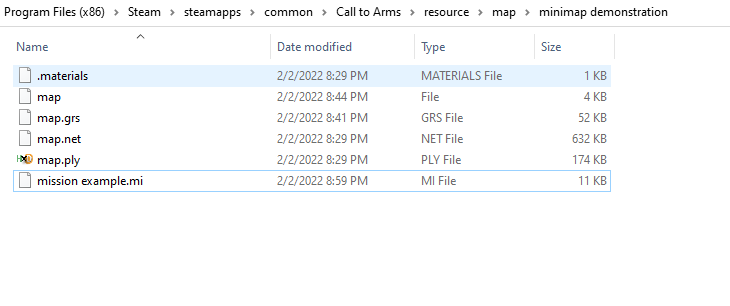
It will be labeled as “minimap_render.png” copy and back up this file. You then want to move this file into your maps folder location.
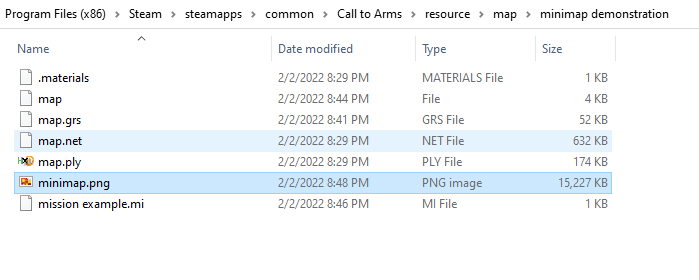
For this demonstration, the map is called “minimap demonstration”. Once you copy “minimap_render” over you need to rename “minimap_render.png” に “minimap.png”.
完了
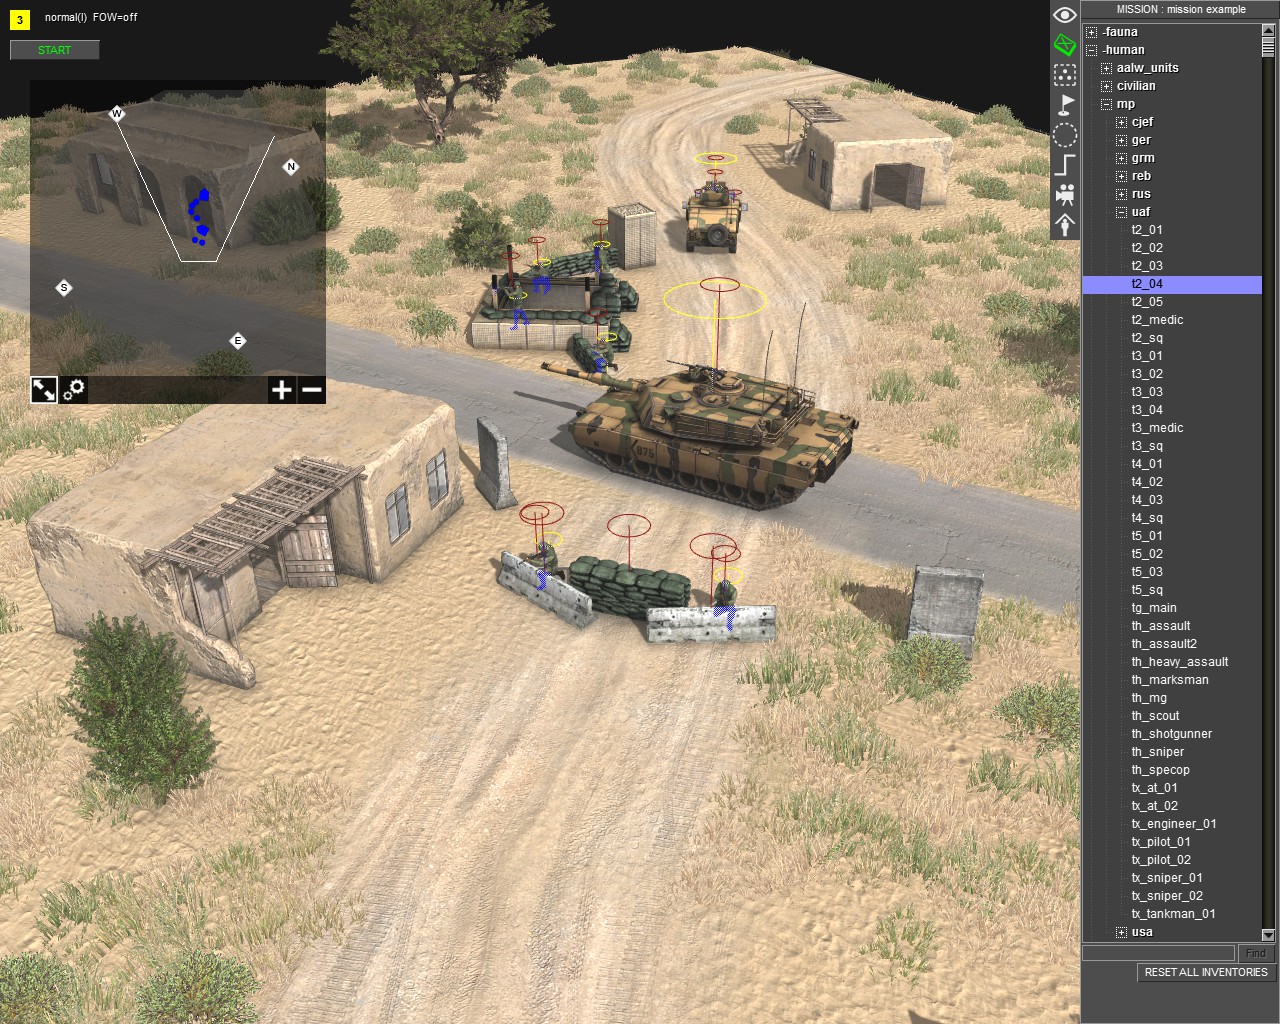
Now if we open our demonstration map there is now a minimap picture overlayed!
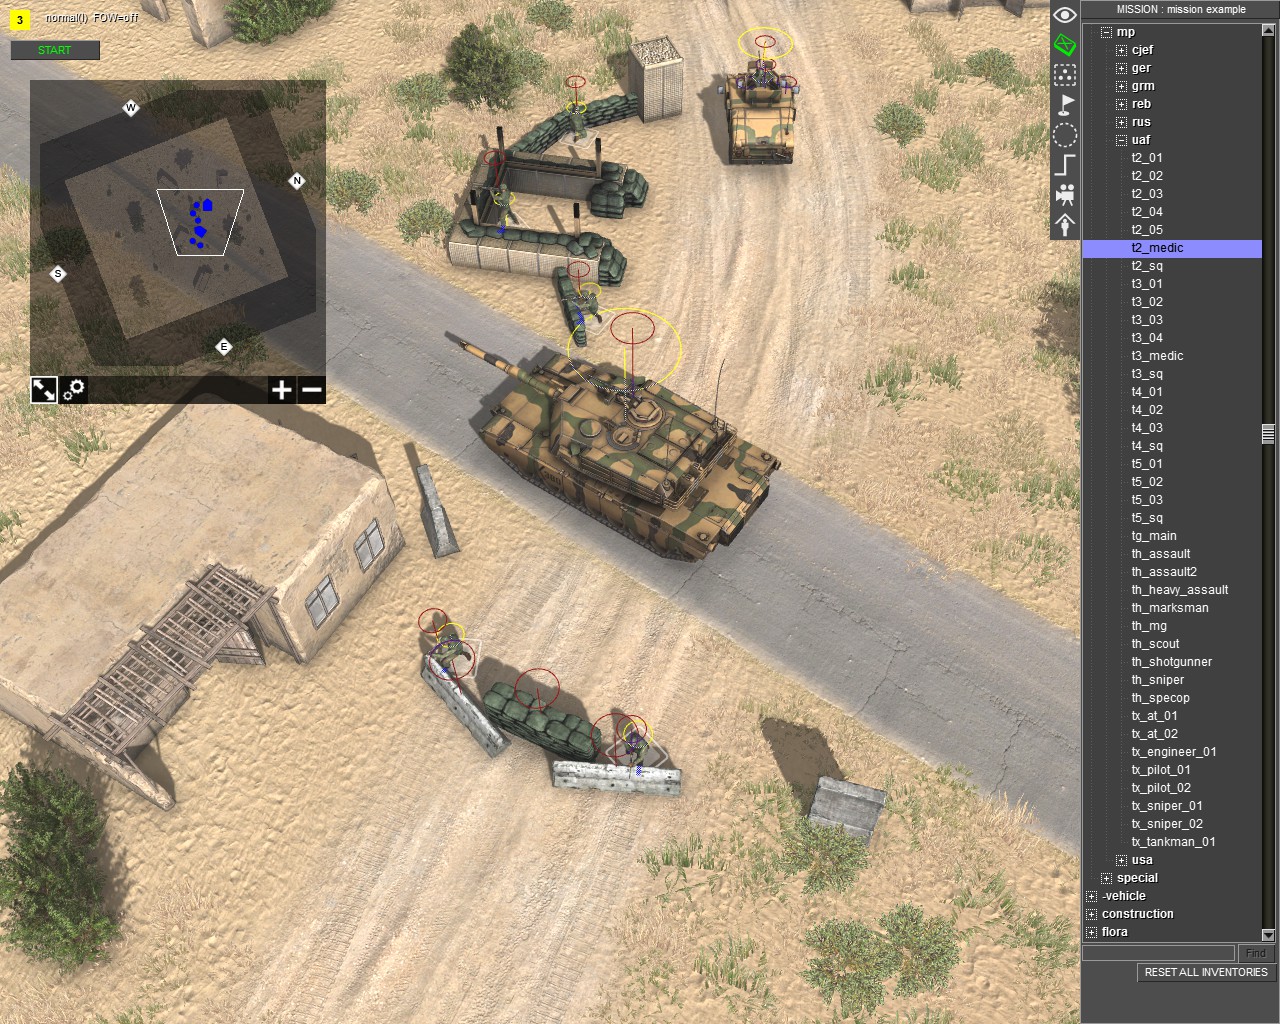
Notice the units are shown in their proper position on the map. The map will also adjust its size automatically to fit changing map borders during missions. おめでとう! You now have a nice-looking minimap to finish off your custom maps and give them that little bit of polish. 幸運を!