- Titre: White Lavender
- Date de sortie:
- Promoteur:
- Éditeur:
Information about White Lavender is still incomplete. S'il vous plaît, aidez-nous à remplir les détails du jeu en utilisant ceci formulaire de contact.
This guide aims to provide tips and advice for having an easy, comfortable time getting the speedrun achievement.
introduction
This guide will be written with the assumption that you’ve already played the game at least once to completion, know the locations and layout of the world, but simply want to have the easiest, most comfortable, least time-consuming experience getting the speedrun achievement. The achievement is very easy to get, even without a guide, so if you do die or make mistakes, il’s really not even going to be close. I got the achievement with a playtime of twenty some minutes with a litany of deaths. While this guide takes queues from actual speedruns, the route described here is designed with ease as its top priority, not getting the lowest time humanly possible.
There are really only two tricks you need to know when going for this achievement:
- Kettle Warping: When you quit to main menu and continue, the game will place you at whatever the last place you rested was, si tu’re confident you can get through a section without dying, you can cut out the backtracking as long as you avoid using most kettles.
- 3-Hit Combo: If you heavy and immediately input a light attack, the light attack should come out immediately after the heavy attack, and be able to hit the enemy twice. This should be your bread and butter for melting boss health bars.
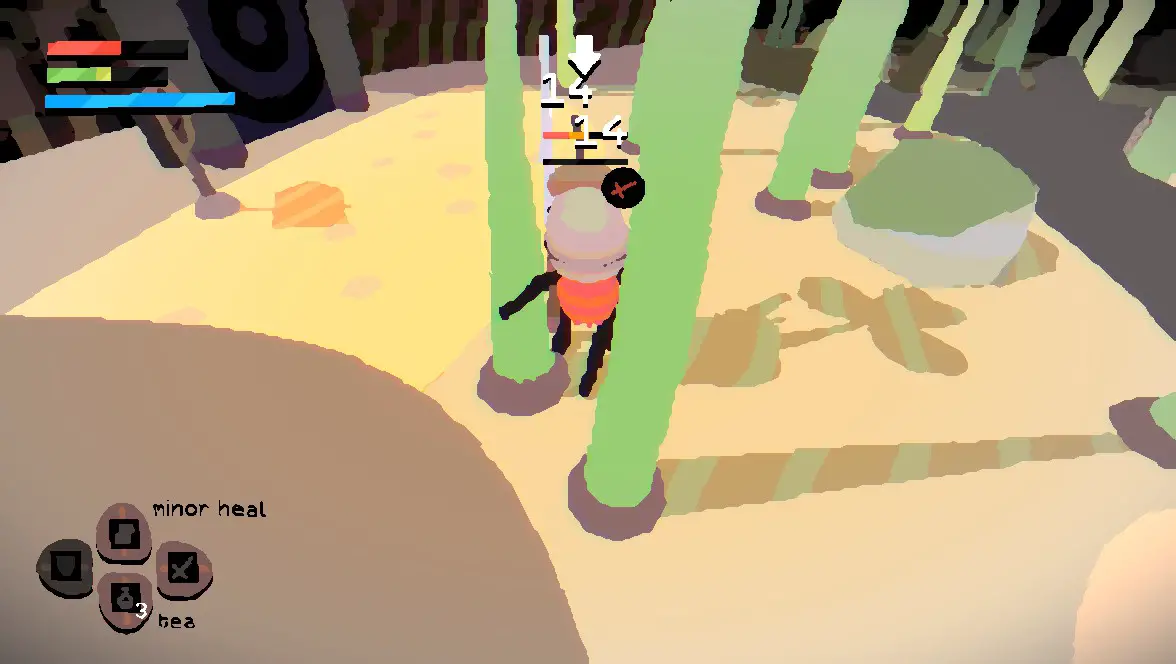
(light attack with an iron dagger dealing 14 damage twice)
Partie 1: Beginning of the Run
Before you start your run, consider backing up your save file. If you have other achievements left to hunt, or just want to keep your original file with all the exploration and memories, you should be able to find it in C:\Utilisateurs [Nom d'utilisateur]\AppData\LocalLow\Sokpop Collective, as a folder called ‘White Lavender’ simply make a copy of the folder somewhere else to put it back later.
j'ai’t personally tried deleting the folder as a means of clearing save file, but you can delete your save file in-game at the bottom of the options menu. Doing so will boot you to the main menu.
Start a new file, and begin your first White Lavender Speedrun.
Your first goal is to make a B-Line for the Village. You can mash through dialogue, but when speaking to the Old Mentor Bug, make sure you say he already trained you, no need to waste time in the tutorial. Before progressing further, make sure you pop into your inventory’s weapon section for the wooden sword to be equipped.
On your way to the village, I recommend killing a few enemies along the way, maggots are easy but don’t give much pollen so worms are a better choice, and four worms will be in your direct path. Ideally by the time you reach the village you want to have enough pollen to level up might twice, this will give you a little extra damage against the Green Locust. Throughout this playthrough you should only level up might, you wont get pollen for too many levels unless you stop to grind, and if you put it all into might you’ll be able to kill most bosses in just a couple combos.
You can also pick up and equip the Iron Sword in the last room of Clover Forest in the Alcove with the Ranger for a little extra damage though you’ll be replacing it immediately after the locust fight.
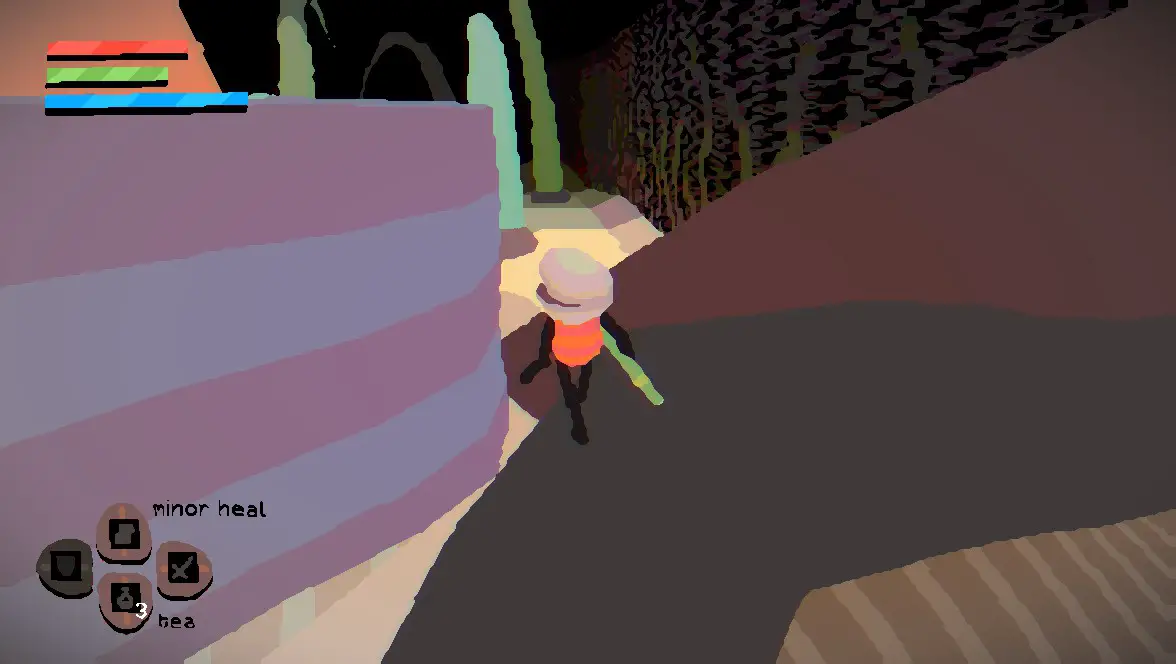
When you reach the village, you might as well rest at the kettle outside, juste au cas où.
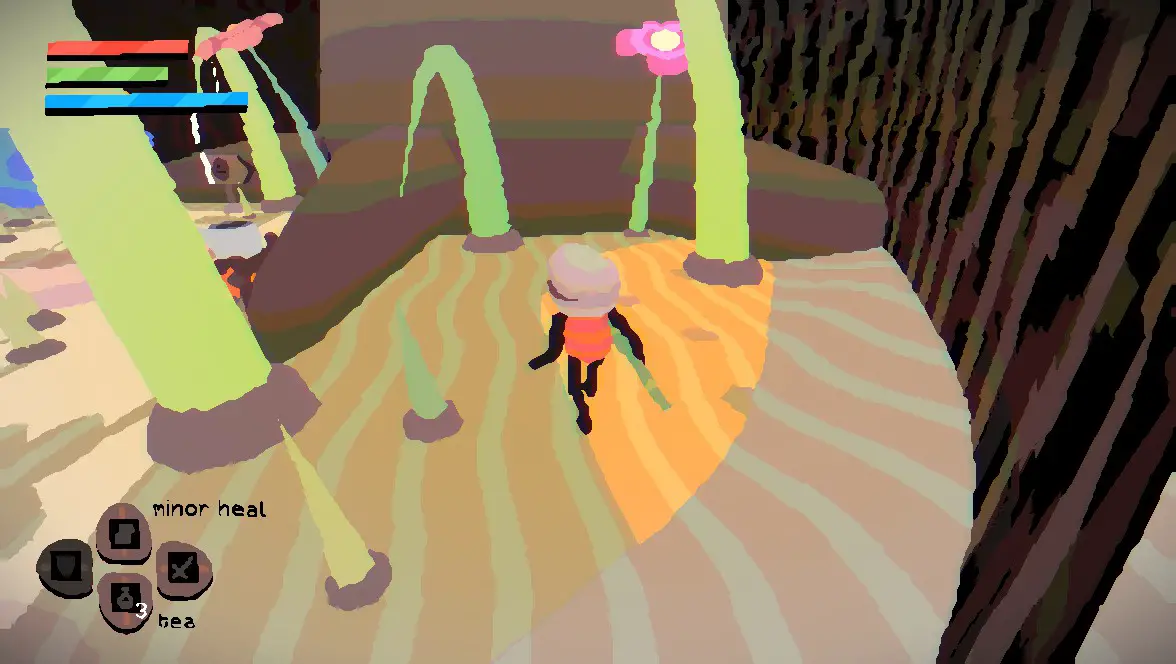
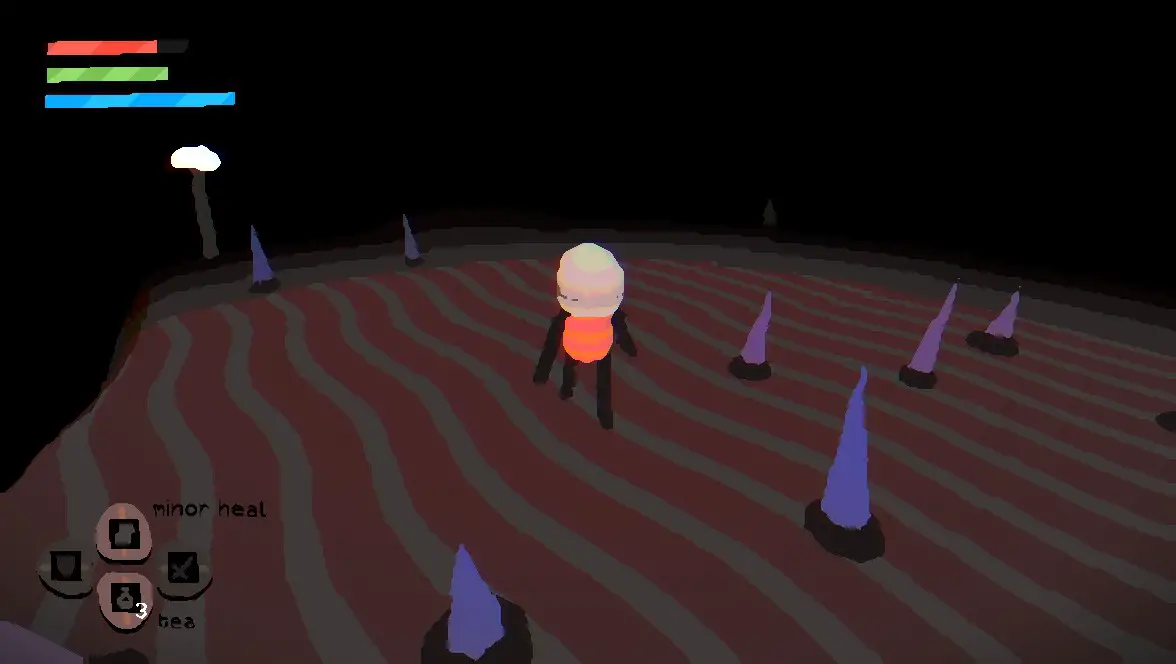
Beating the Locust isn’ce n'est pas dommage, just wait for it to jump at you, and get a combo off then dodge away and wait for it to jump again. Si possible, lead it during the fight closer to the Swamp to save a little travel time. After beating the Locust, you want to head to the swamp and rest at the kettle in the first room. Then you want to head back to the village, but turn right and head to the roots. in the wedge between the base of the roots and the town wall, you can walk up and over towards the Tree.
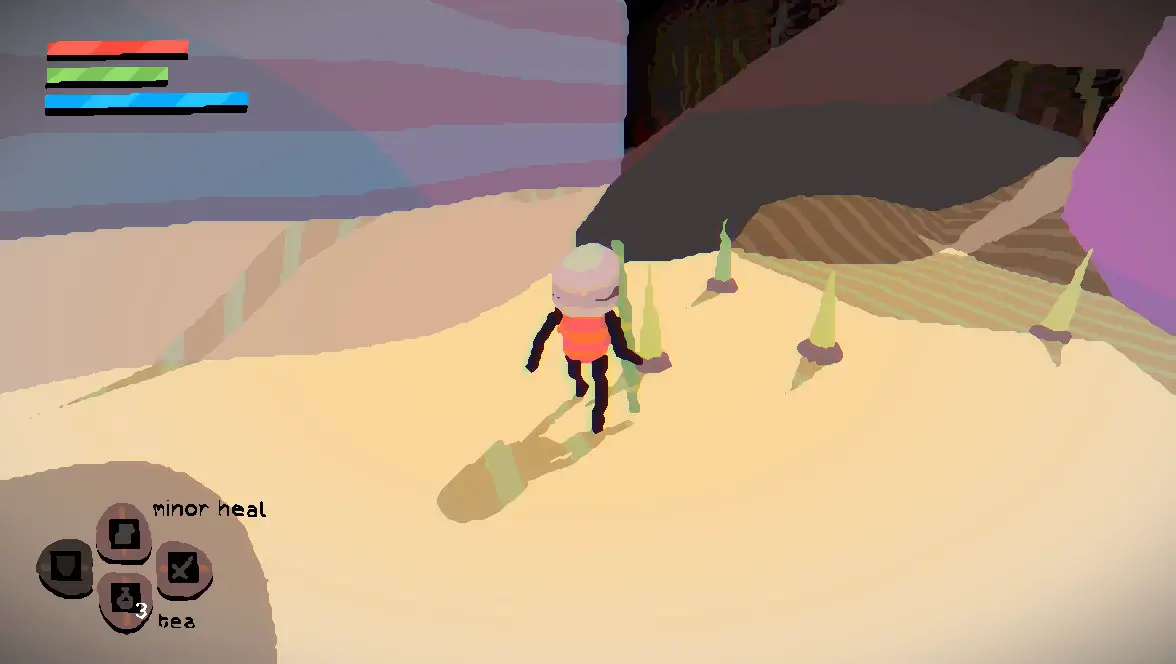
(route to get on the roots)
AVERTISSEMENT: j'ai’t been able to find a way to walk out of the area once you drop down, so DO NOT REST AT THE TREE KETTLE. You will need to quit to menu and reload to get out of here.
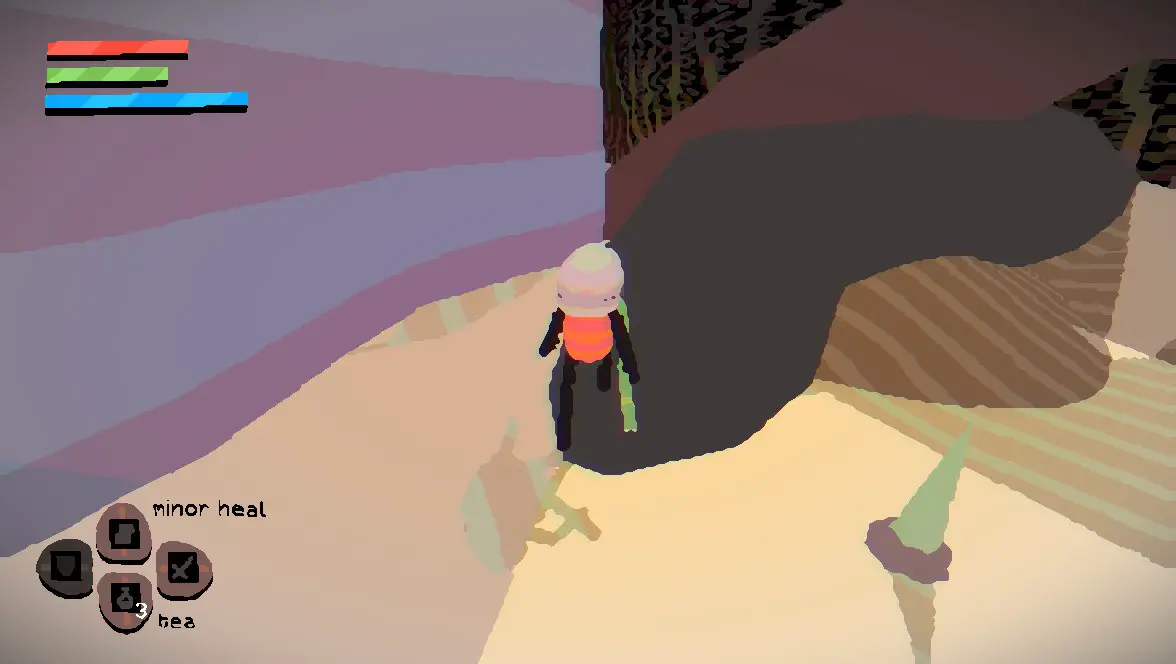
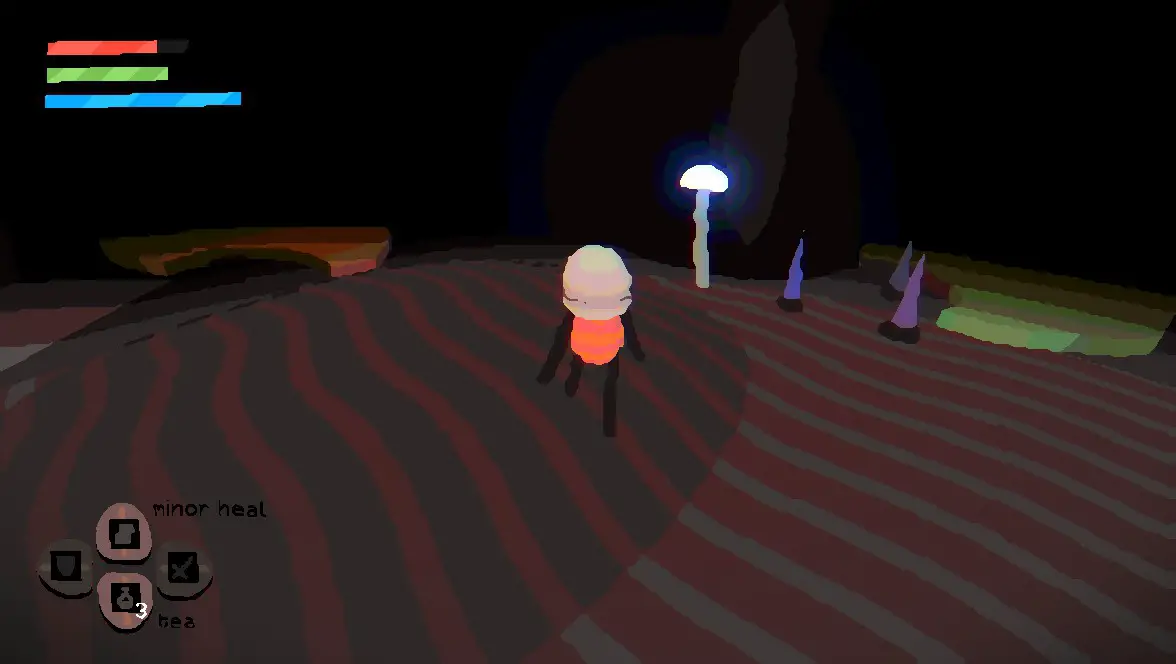
By taking this detour, you can find the Bamboo Stick on the right side of the tree. After equipping it (and using the pollen from the Locust fight to level Might further) quit and reload and the game should place you at the Swamp Kettle.
(bamboo stick location)
Partie 2: Bubblegum
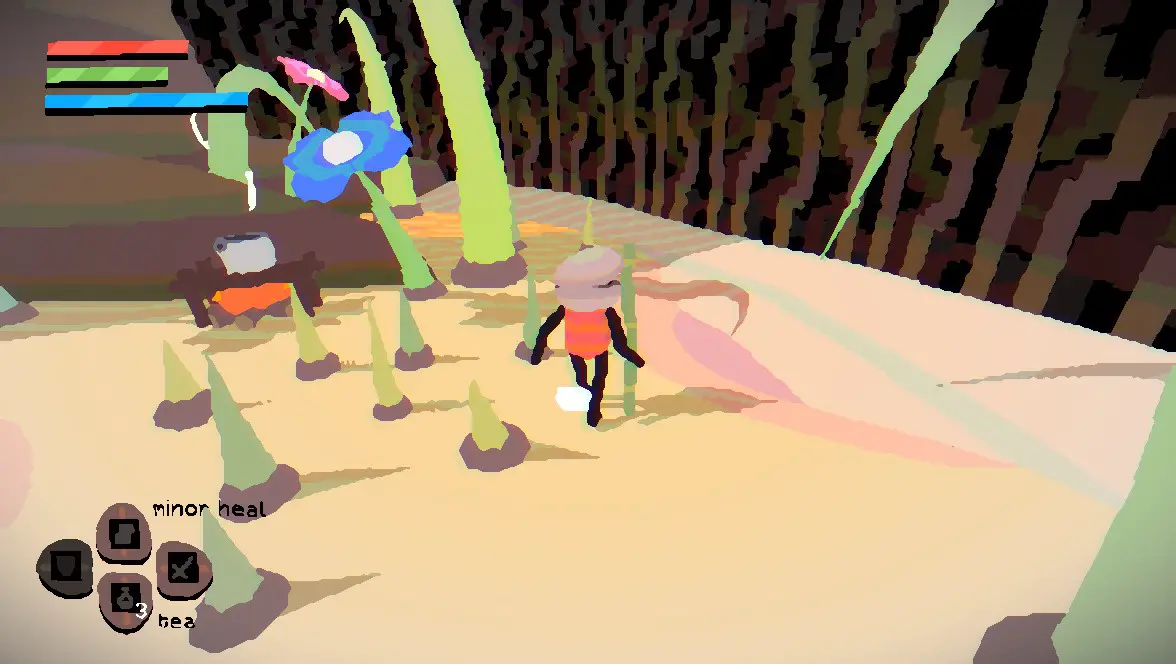
The first ingredient you’ll want to target is Bubblegum, head to the Big Fence with your new found Bamboo Stick and run through the tunnels, no need to kill anything. In the main chamber of the ant tunnels, you should be able to find the Swift Hands spell on the ground, which will aid in your quest to kill bosses before they have a chance to kill you.
(route to get to the swift hands spell)
Equip and use the swift hands spell and by this point it should only take a couple quick volleys to kill the Ant Boss, just make sure to dodge away after every success and it’ll die easy, level might, run past the garden and spidertown, with quick hands and simply strafing/dodging to the side, killing the spider boss should be a breeze, level might, proceed to the next room to get your bubblegum, and if you didn’t rest at any kettles through the whole process, you should be able to quit to menu, recharger, and already be at the Swamp for the next part, sinon, backtrack using shortcuts as necessary.
Partie 3: Frog Spawn
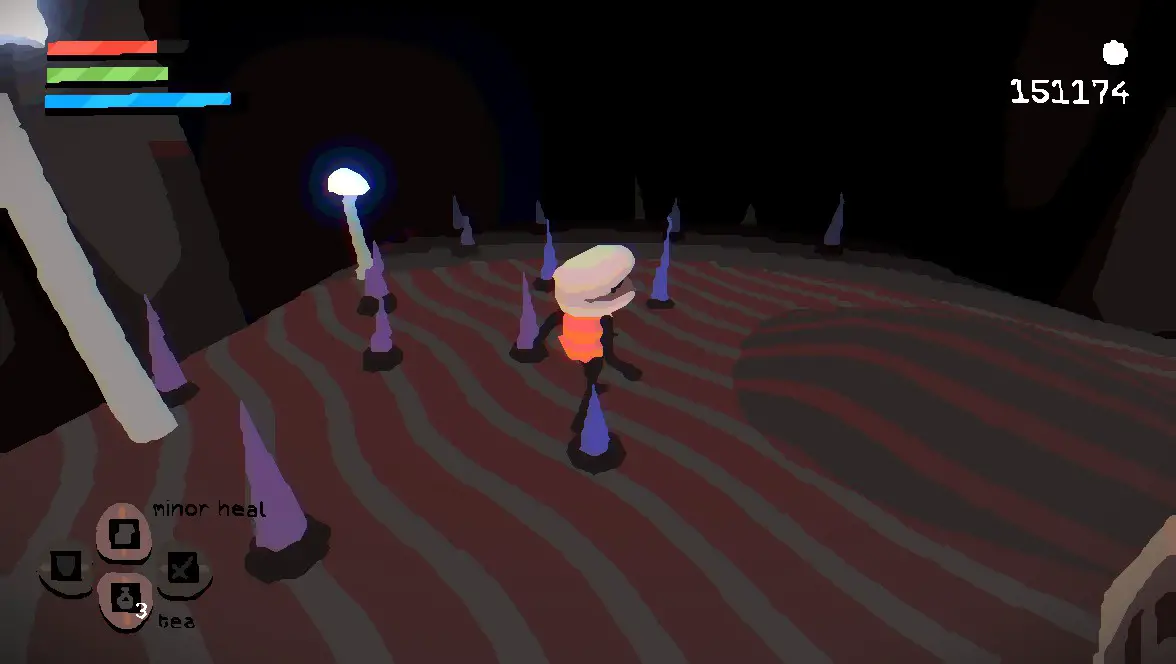
Une fois que vous’ve made your way back to the swamp, proceed through to the second room of the swamp, and veer left to the Holy Scribble Temple to grab the Blue Key. Si tu’re not confident in your ability to beat the Terror Frog first try, also use the kettle here to cut on travel time on repeat attempts.
Now make your way to the terror frog, the hardest part of the run. Pour une raison quelconque, the terror frog may have a normal amount of health (something around 850), or four times as much (sur 3,000). je’m not entirely certain ‘pourquoi’ the terror frog sometimes has a massive increase in health, though even if it has more health, il’s still completely doable to kill it. Simply make sure you’re under the effect of Swift Hands, do laps around the arena, dodge away when he’s about to land and unleash a volley before dodging away when he’s about to attack. Enfiler’t be afraid to skip an opportunity to attack if the timing puts you tight on Stamina, if you get greedy you might not have the stamina to dodge away and one swing will guarantee it kills you (unless maybe you took time off the beaten path to get/grind for armor).
Once you get lucky on a normal health run, or endure a gruling mega-health run, grab the frog spawn, remember to level might, and quit/reload, or just book it back to town.
Partie 4: White Lavender
Once you reach town, simply use the Blue Key to grabbed from the Holy Scribble Temple to unlock the locked house and grab your final ingredient, a nice easy second prize after beating the frog boss.
Partie 5: (Facultatif) Meggie helped me
Do you also need the ‘Meggie helped me’ réalisation? Now would be a great time to kill two birds with one stone, jeu de mots prévu.
Hop on over to the Worm Cave, kill the Hydra Worm, and proceed to the next room to get Meggie. Once Meggie is following you, make your way to the start of the cave, but be careful to veer to the left as soon as you exit the cave, if you get too close to the kid you lose Meggie and can’t get her back. If I understand correctly Meggie will return to the cave if you die, but the final boss should melt to your bamboo stick at this point, donc ça devrait’t be too much of an issue.
Partie 6: The Finish Line
D'ici, all you have to do is head back to the tree, run past all the bees and maggots, tuer le roi, mash through some dialogue, and then mash ingredients into the pot, (Si tu’re trying to get the Meggie helped me achievement, please note that after the game teleported me home, Meggie was not with me, but transitioning to another room caused her to appear, and I then returned home to put the ingredients in, je’m not sure if moving to another room and back is needed for the achievement to trigger), and you should get your achievement(s) and an in-game time. For me it was twenty-some minutes (forgot to screenshot), with most of that time being me floundering against the frog boss.
Conclusion
With or without this guide, getting the achievement shouldn’Il ne sois pas trop dur, especially once you know what to do and where to go. Toujours, hopefully someone gets some value out of this. If you have any advice or questions, feel free to post them in the comments and I’ll try to reply when I can.
C'est tout ce que nous partageons aujourd'hui pour cela White Lavender guide. Ce guide a été initialement créé et rédigé par Zilexion. Si nous ne parvenons pas à mettre à jour ce guide, vous pouvez trouver la dernière mise à jour en suivant ceci lien.