- Titre: Trépang2
- Date de sortie:
- Promoteur:
- Éditeur:
Les informations sur Trepang2 sont toujours incomplètes. S'il vous plaît, aidez-nous à remplir les détails du jeu en utilisant ceci formulaire de contact.
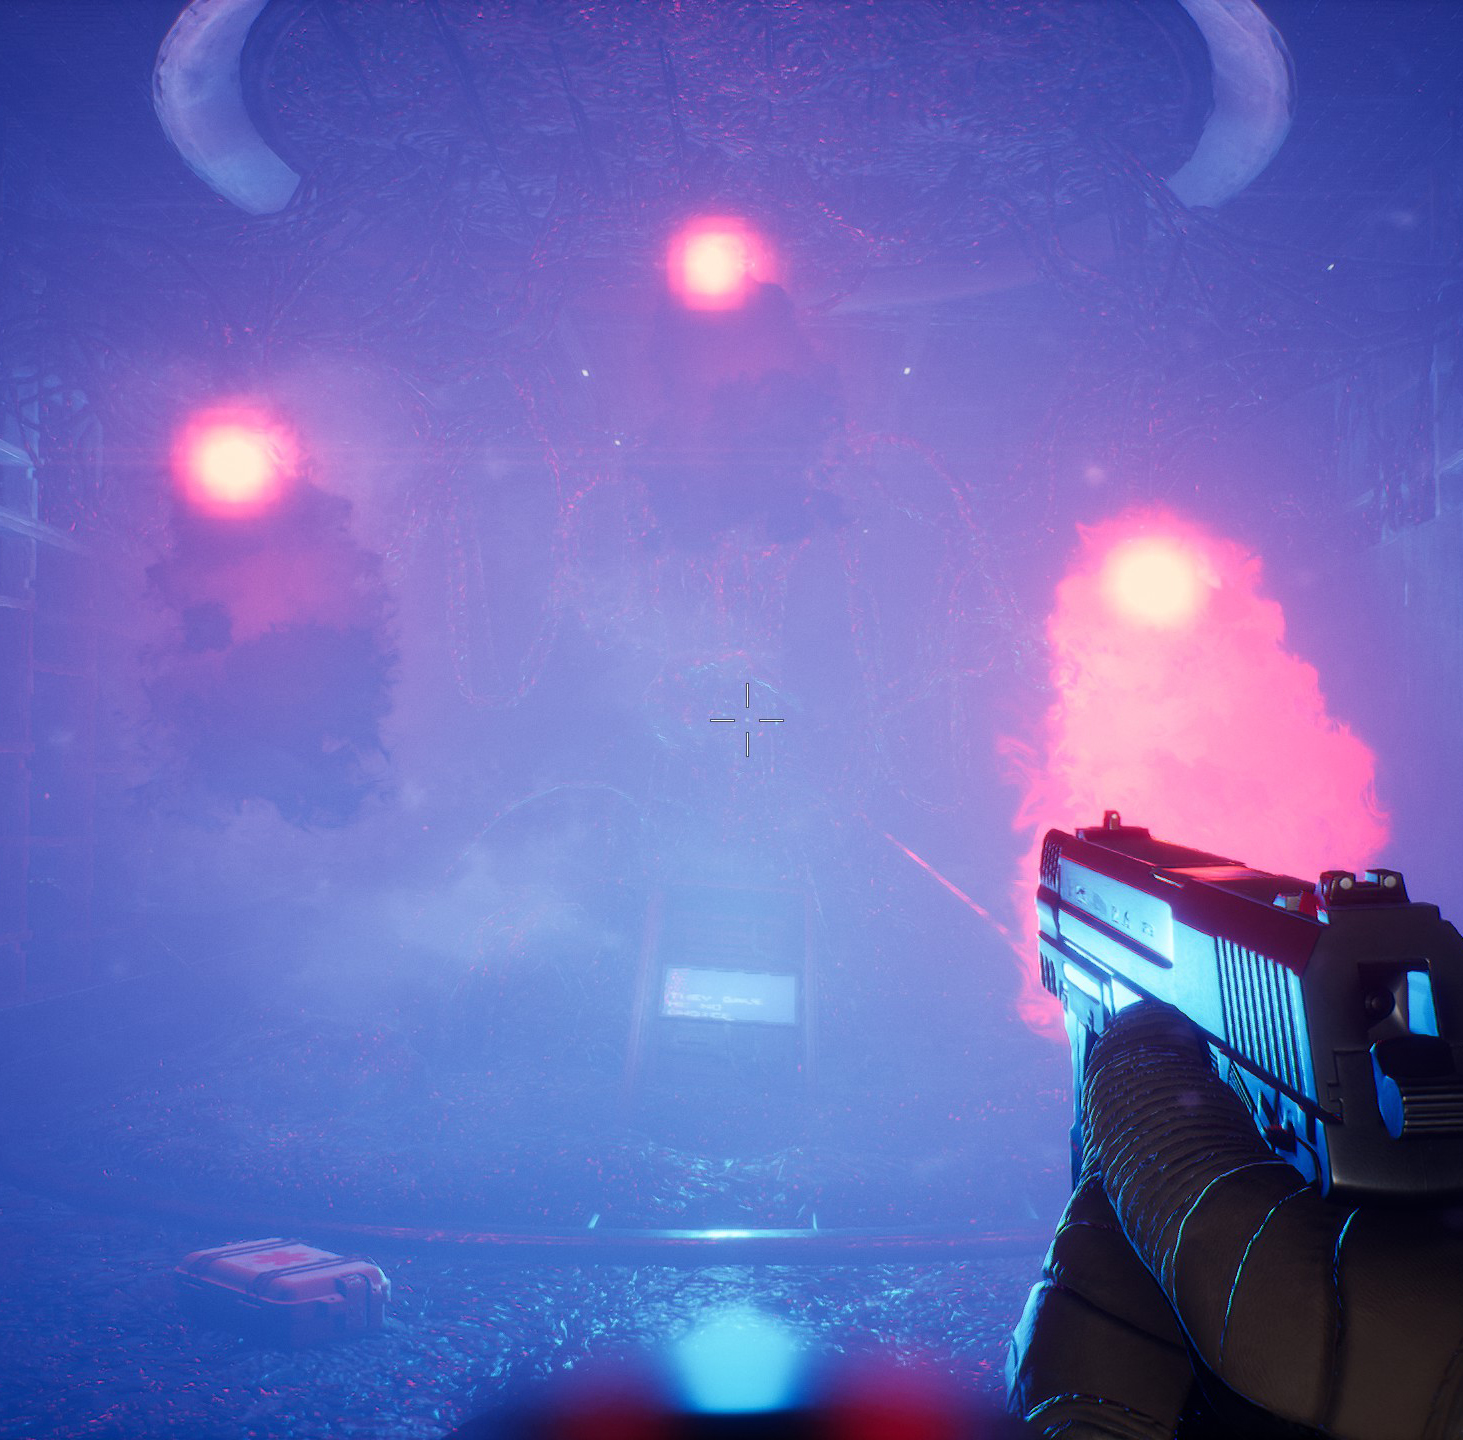
Statistics for the game’s weapons and enemies. Damage and health are approximations because the game’s math is frickin’ weird and it makes it impossible to get exact values.
Pistolet

- Dommage: ~26%
- Rate of Fire: ~420 rpm
- Taille du clip: 13
- Munitions maximales: 78
Remarques:
- Very little bullet spread and modest vertical recoil, but low capacity.
SMG

- Dommage: ~10.5%
- Rate of Fire: 850 RPM
- Taille du clip: 50
- Munitions maximales: 250
Remarques:
- Low vertical recoil, but moderate bullet spread
Fusil
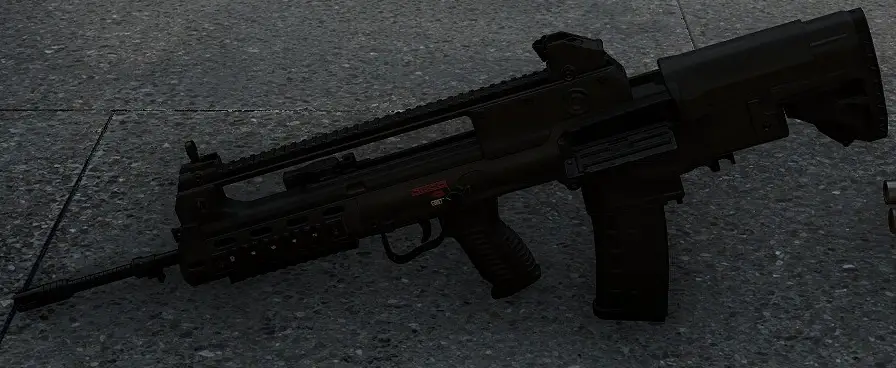
- Dommage: ~17%
- Rate of Fire: 650 RPM
- Taille du clip: 30
- Munitions maximales: 120
Remarques:
- Less bullet spread, but increased vertical recoil compared to the SMG.
Fusil de chasse
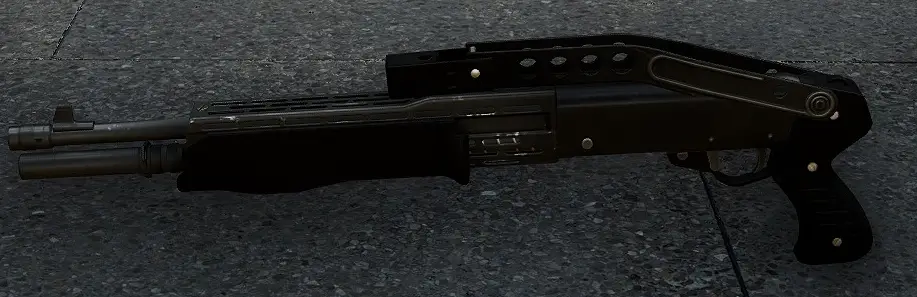
- Dommage: ~35% x 8 (~280%)
- Rate of Fire: ~85 rpm
- Taille du clip: 8
- Munitions maximales: 32
Remarques:
- Reduced damage against armor (but still does good damage even against armored enemies).
Dmr
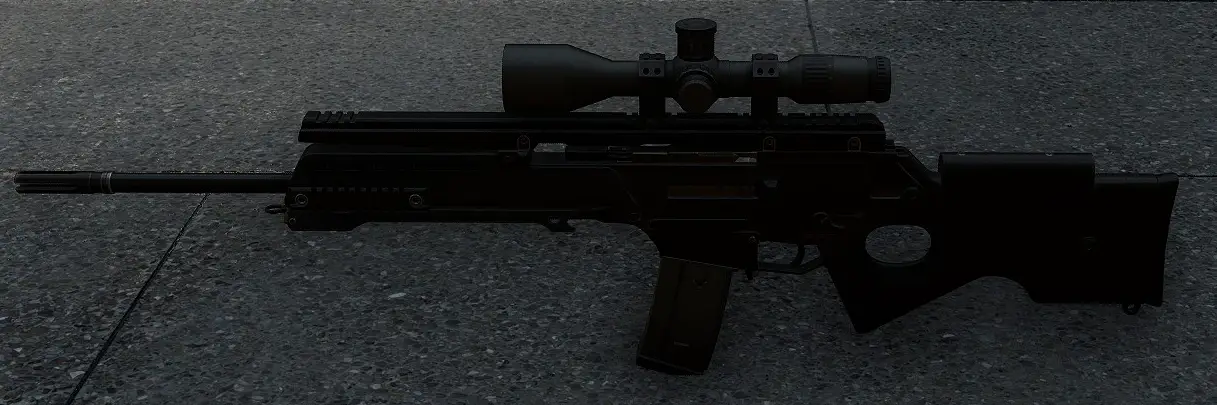
- Dommage: ~60%
- Rate of Fire: ~320 rpm
- Taille du clip: 10
- Munitions maximales: 40
Remarques:
- Does roughly double damage against armor.
Bolt Launcher
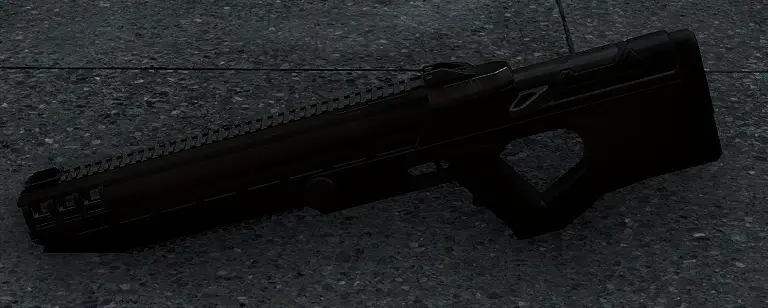
- Dommage (Explosive Bolts): ~300+% x 3
- Dommage (Penetrator Bolts): ~110%
- Rate of Fire (Penetrator Bolts): 120 RPM
Lance-grenades
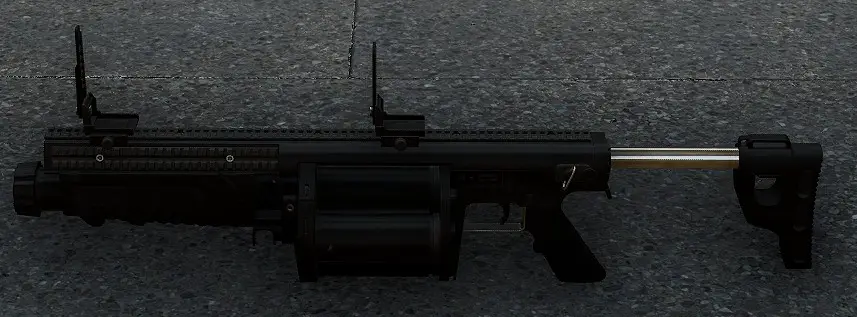
- Dommage: ~300+%
- Rate of Fire: ~150 rpm
- Taille du clip: 4
- Munitions maximales: 16
Remarques:
- Will stick to enemies instead of detonating on impact if the player is within the blast radius of the grenade. Impacts against walls and objects will still detonate immediately even if the player is too close.
Minigun
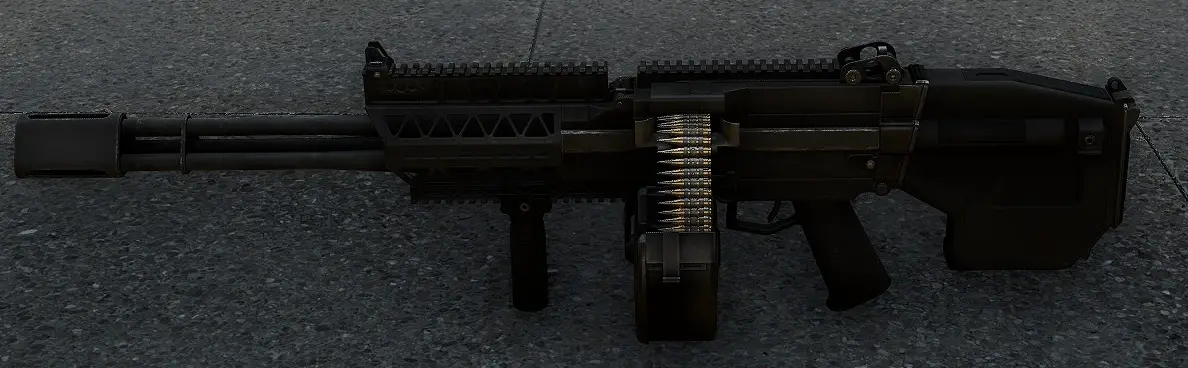
- Dommage: ~22%
- Rate of Fire: ~1170 rpm
- Taille du clip: 200
- Munitions maximales: 400
Remarques:
- Takes a second or so to spin up before firing.
- Less bullet spread, but high vertical recoil.
- Homing bullets do less than half the amount of damage that regular bullets do (slightly less damage than SMG bullets).
Objets jetables

- Frag Grenade = ~300+% damage
- Firebomb = ~70% damage
- Proximity Mines = ~270% damage
- Throwing Knife = ~35% damage
- Tomahawk = ~100% damage
- Rat Bombs = ~300+% damage
- Max Capacity = 5
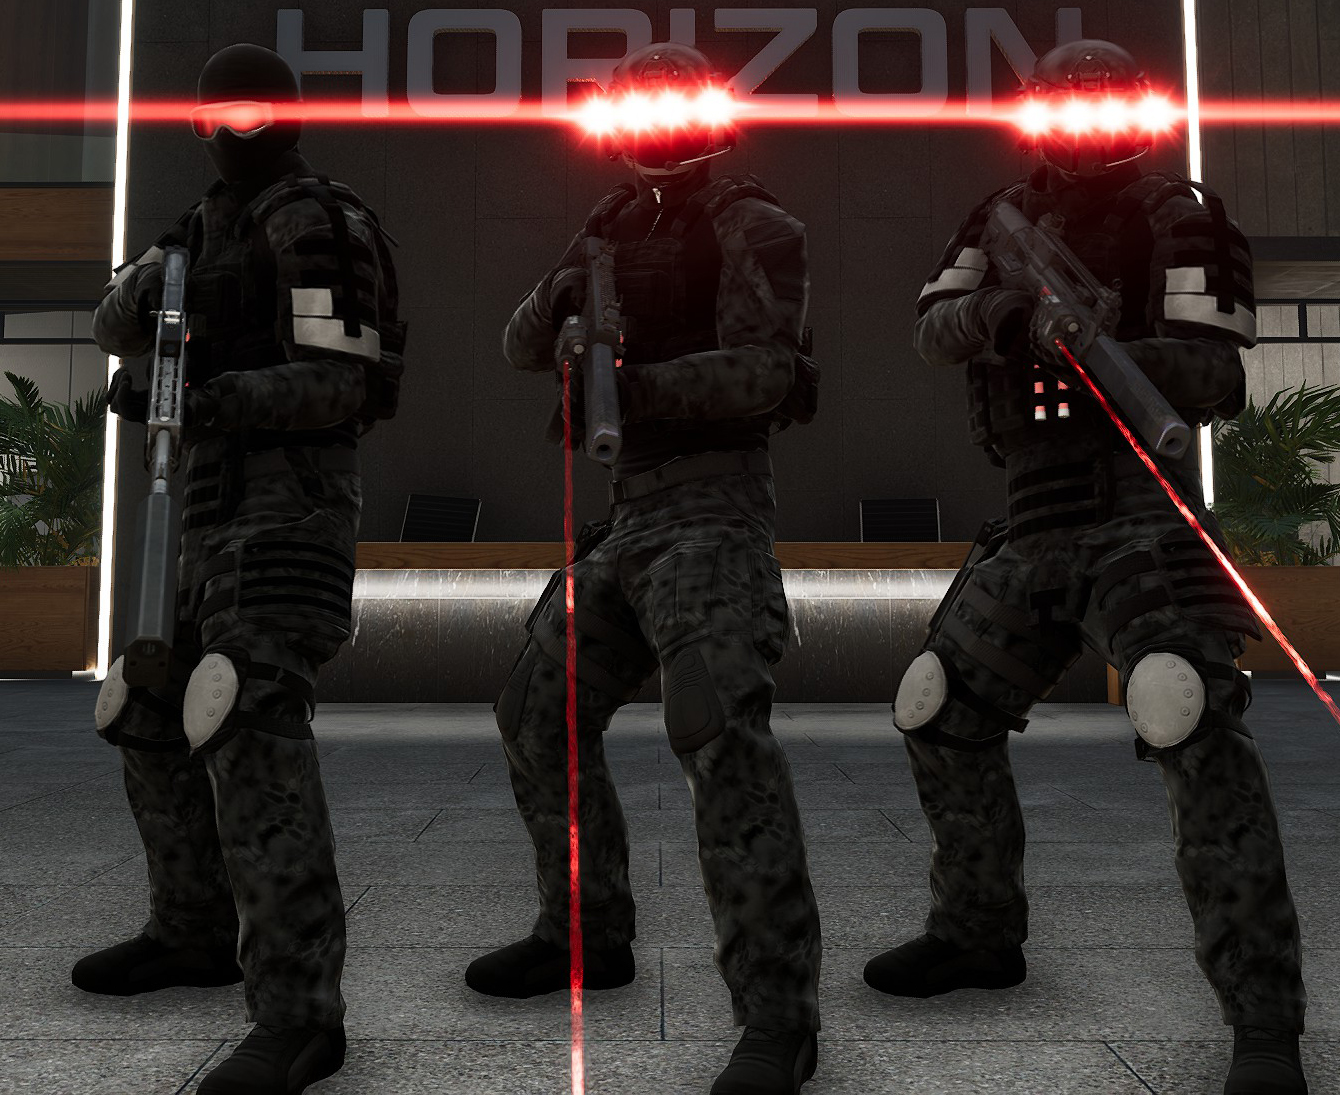
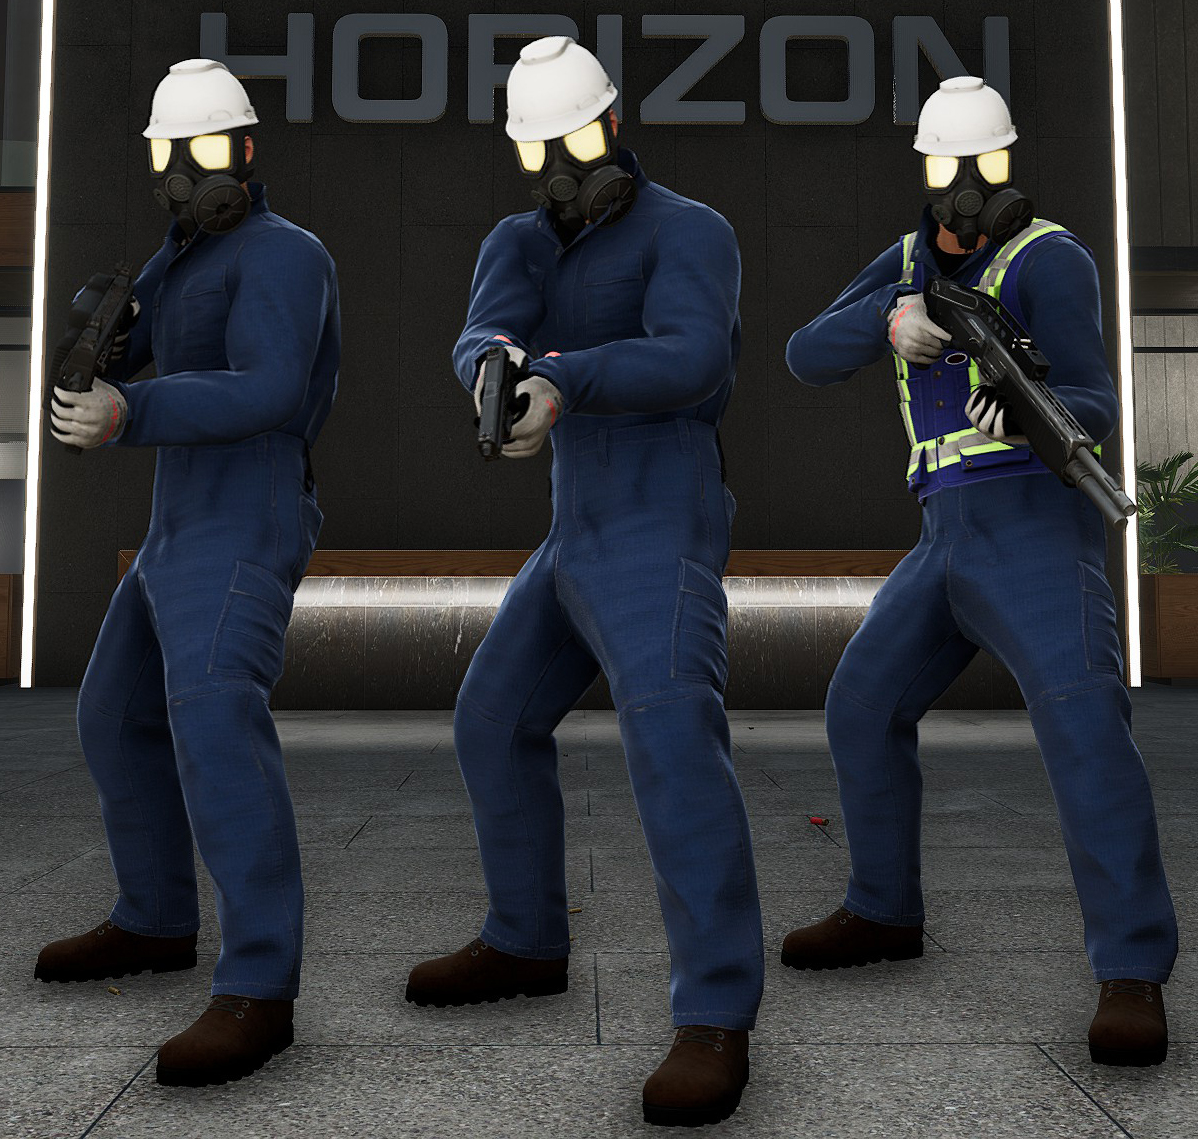
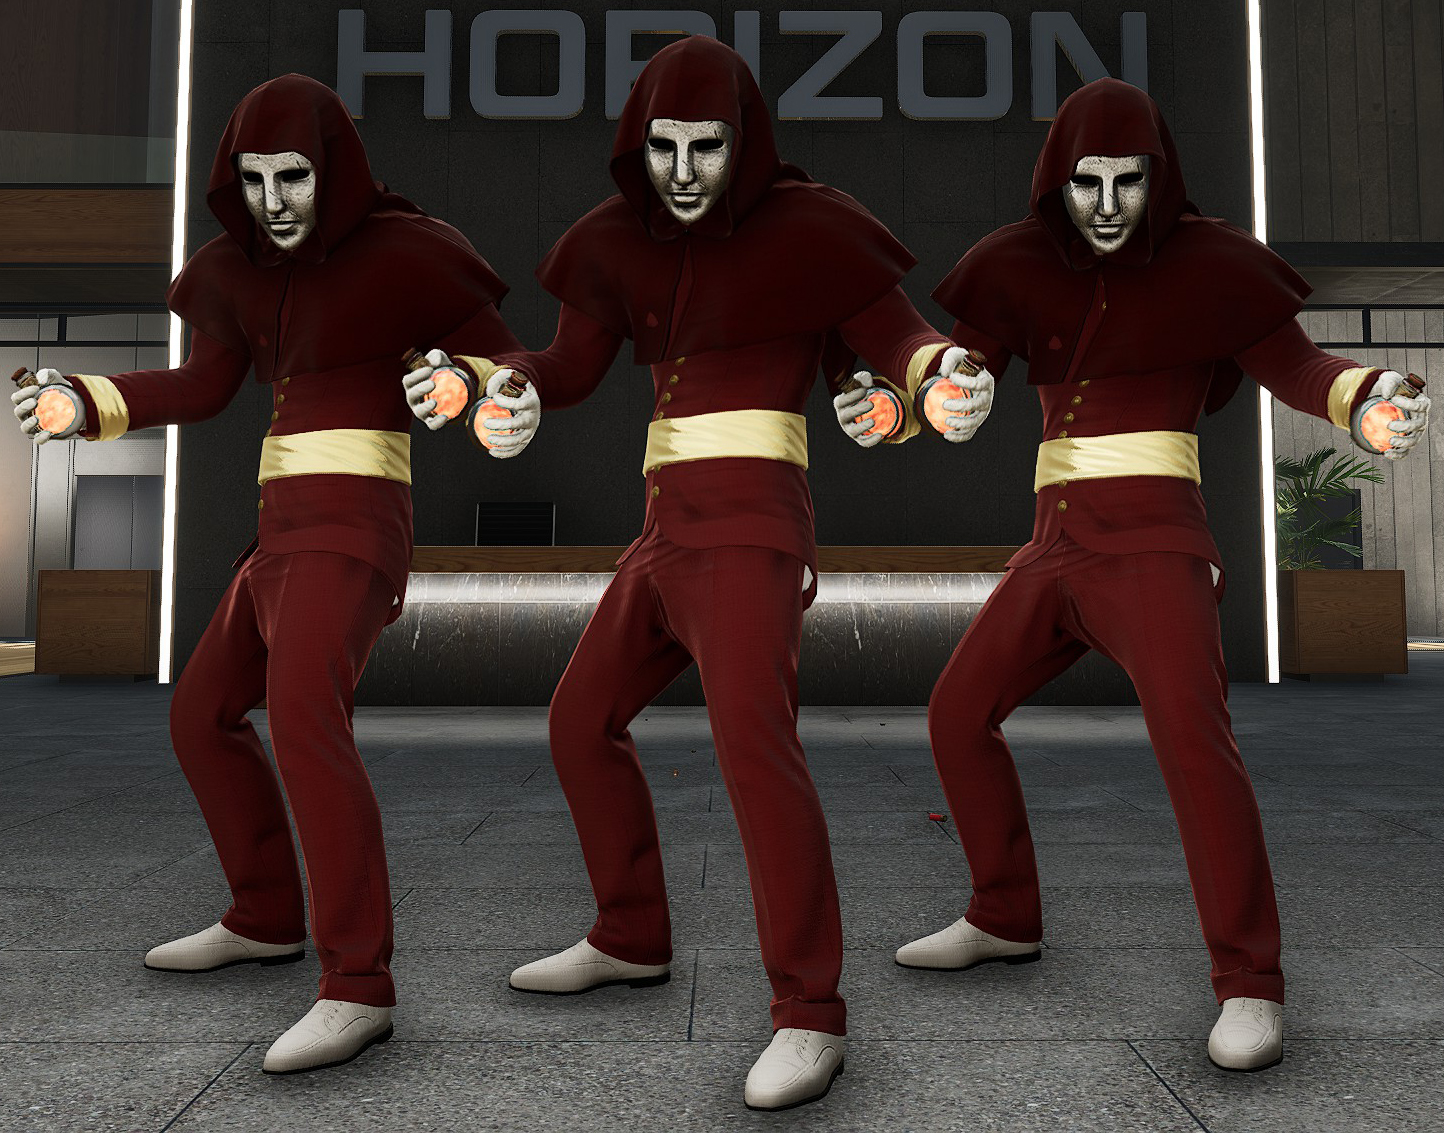
Mall Cop
Also known as Foxtrot Team
- Santé: ~60%
- Arme: Pistolet
- Shots to Kill:
- Pistolet: 3
- SMG: 6
- Fusil: 4
- Fusil de chasse: 1
- Dmr: 1
- Minigun: 3
- Lance-grenades: 1
- Bolt Launcher (Pénétrateur): 1
Remarques:
- Weakest enemy in the game.
- Only appear at the start of the first level, and in the first couple waves of the Combat Simulator and the wave-based side missions (Gunnarson Complex and Iron Dragon Data Center).
- 8 appear in the first level, 3 dont (in the second squad) are armed with SMGs.
- Ne’T Jetez des grenades.
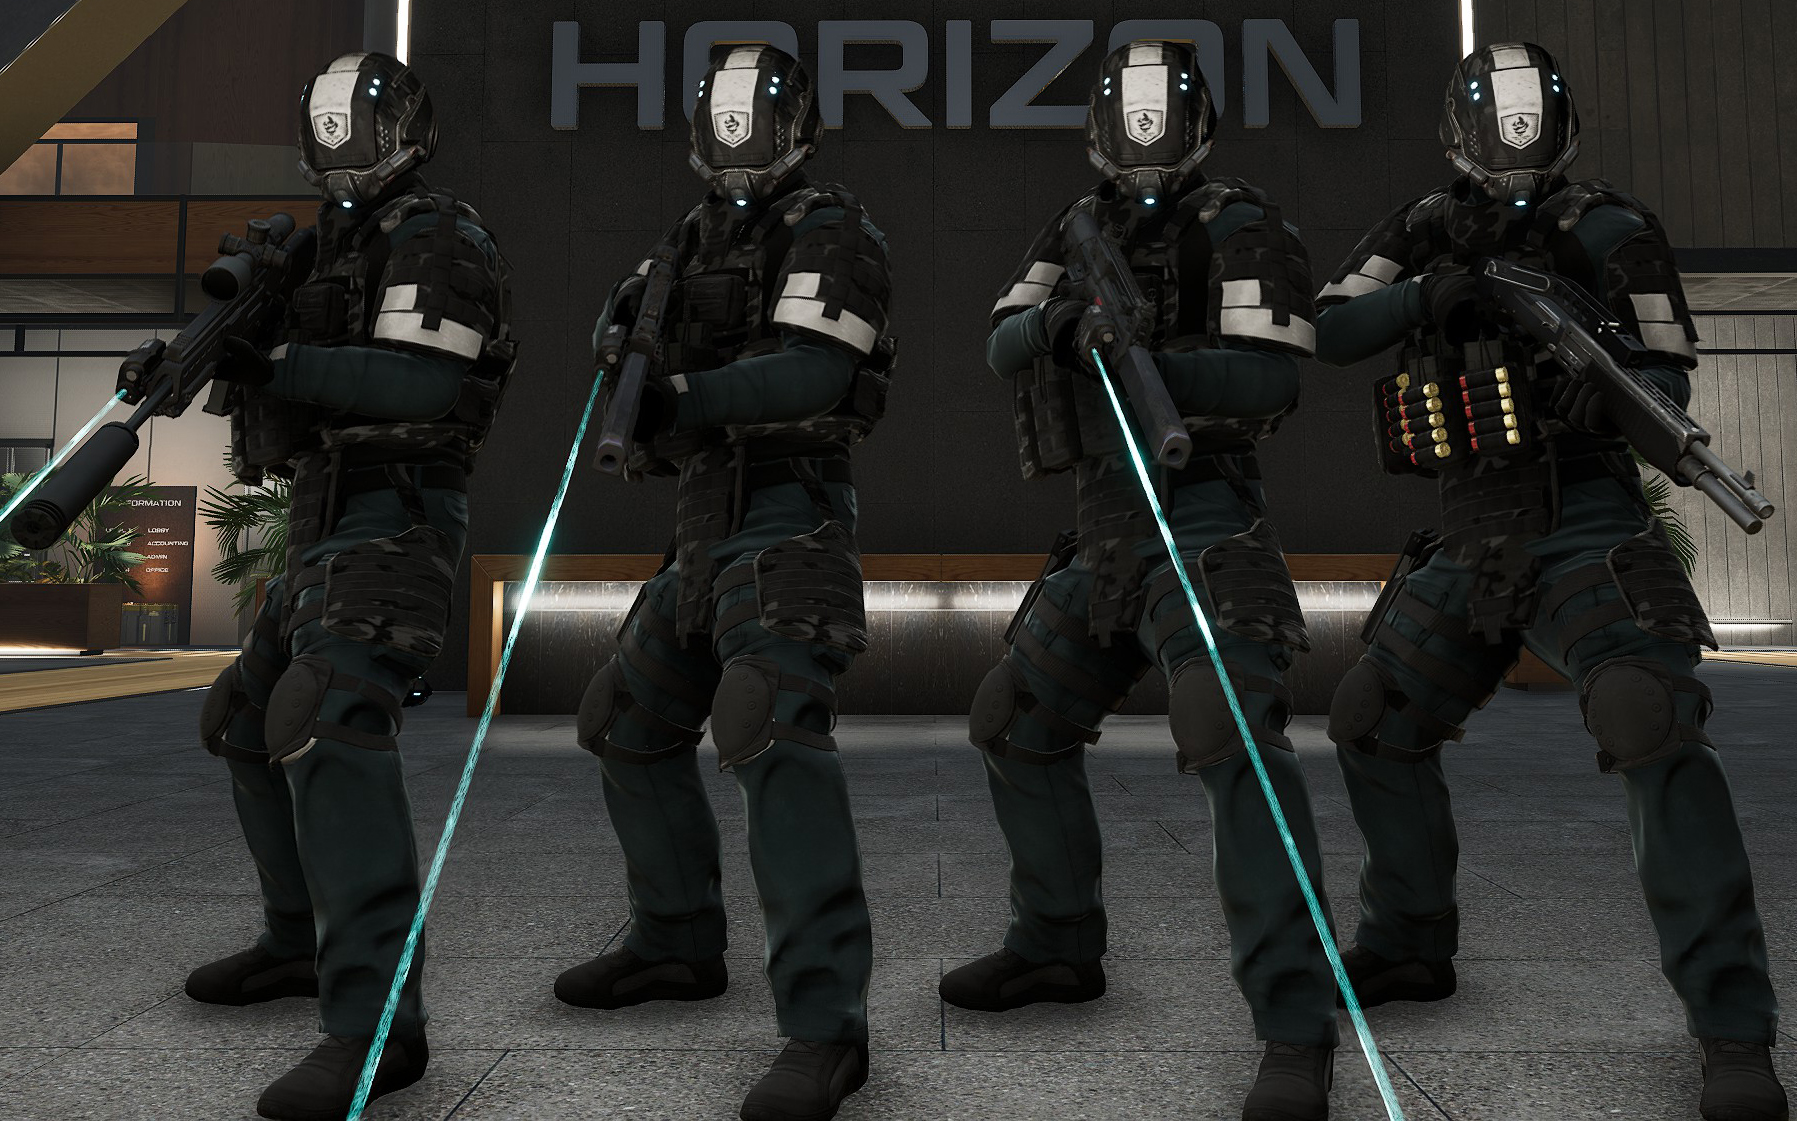
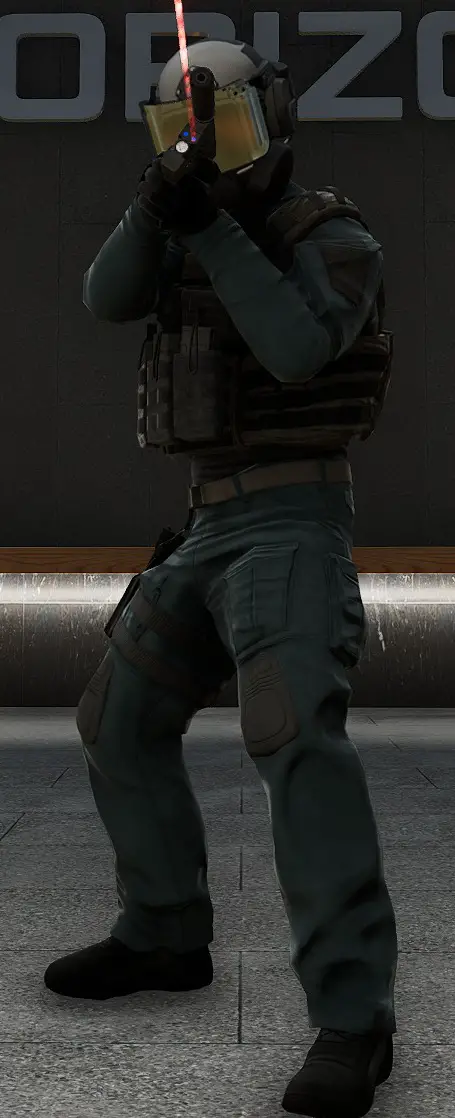
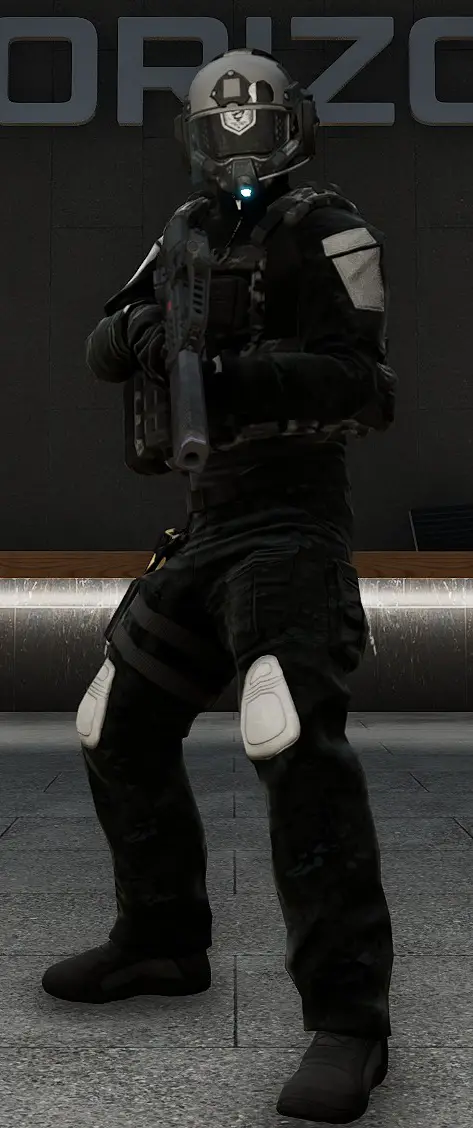
Horizon Soldier

Also known as Guards
Régulier:
- Santé: 100%
- Armes: SMG, Fusil, Bouclier d'émeute, Dmr
- Shotgunner:
- Santé: ~120%
- Armure: ~30%
- Arme: Fusil de chasse
- Shots to Kill:
- Pistolet: 5
- SMG: 10
- Fusil: 6
- Fusil de chasse: 1
- Dmr: 2
- Minigun: 5
- Lance-grenades: 1
- Bolt Launcher (Pénétrateur): 1
- Shots to Kill (Shotgunner):
- Pistolet: 1 (Armure) + 6 (Santé)
- SMG: 3 (Armure) + 11 (Santé)
- Fusil: 2 (Armure) + 7 (Santé)
- Fusil de chasse: 1
- Dmr: 3
- Minigun: 1 (Armure) + 6 (Santé)
- Lance-grenades: 1
- Bolt Launcher (Pénétrateur): 2
Remarques:
- Most common enemy in the game.
- Marksman variant with DMR only seems to appear in Unidentified Structure/Site 32 and later waves of Combat Simulator.
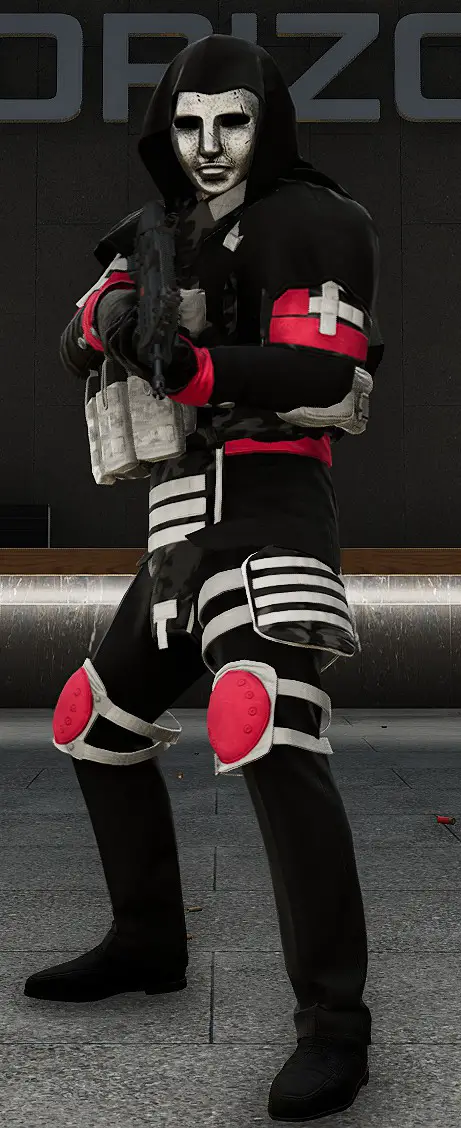
Horizon Elite Soldier
Also known as Guard Elite
Santé: ~120%
Armure: ~30%
Armes: Fusil, Fusil de chasse, Lance-grenades
Shots to Kill:
Pistolet: 1 (Armure) + 6 (Santé)
SMG: 3 (Armure) + 11 (Santé)
Fusil: 2 (Armure) + 7 (Santé)
Fusil de chasse: 1
Dmr: 3
Minigun: 1 (Armure) + 6 (Santé)
Lance-grenades: 1
Bolt Launcher (Pénétrateur): 2
Remarques:
– Armored counterpart to regular Horizon Guards.
– Usually appear later in missions or accompanying Black Ops.
– Grenade launcher variant is rare, one appears in Unidentified Structure/Site 32.
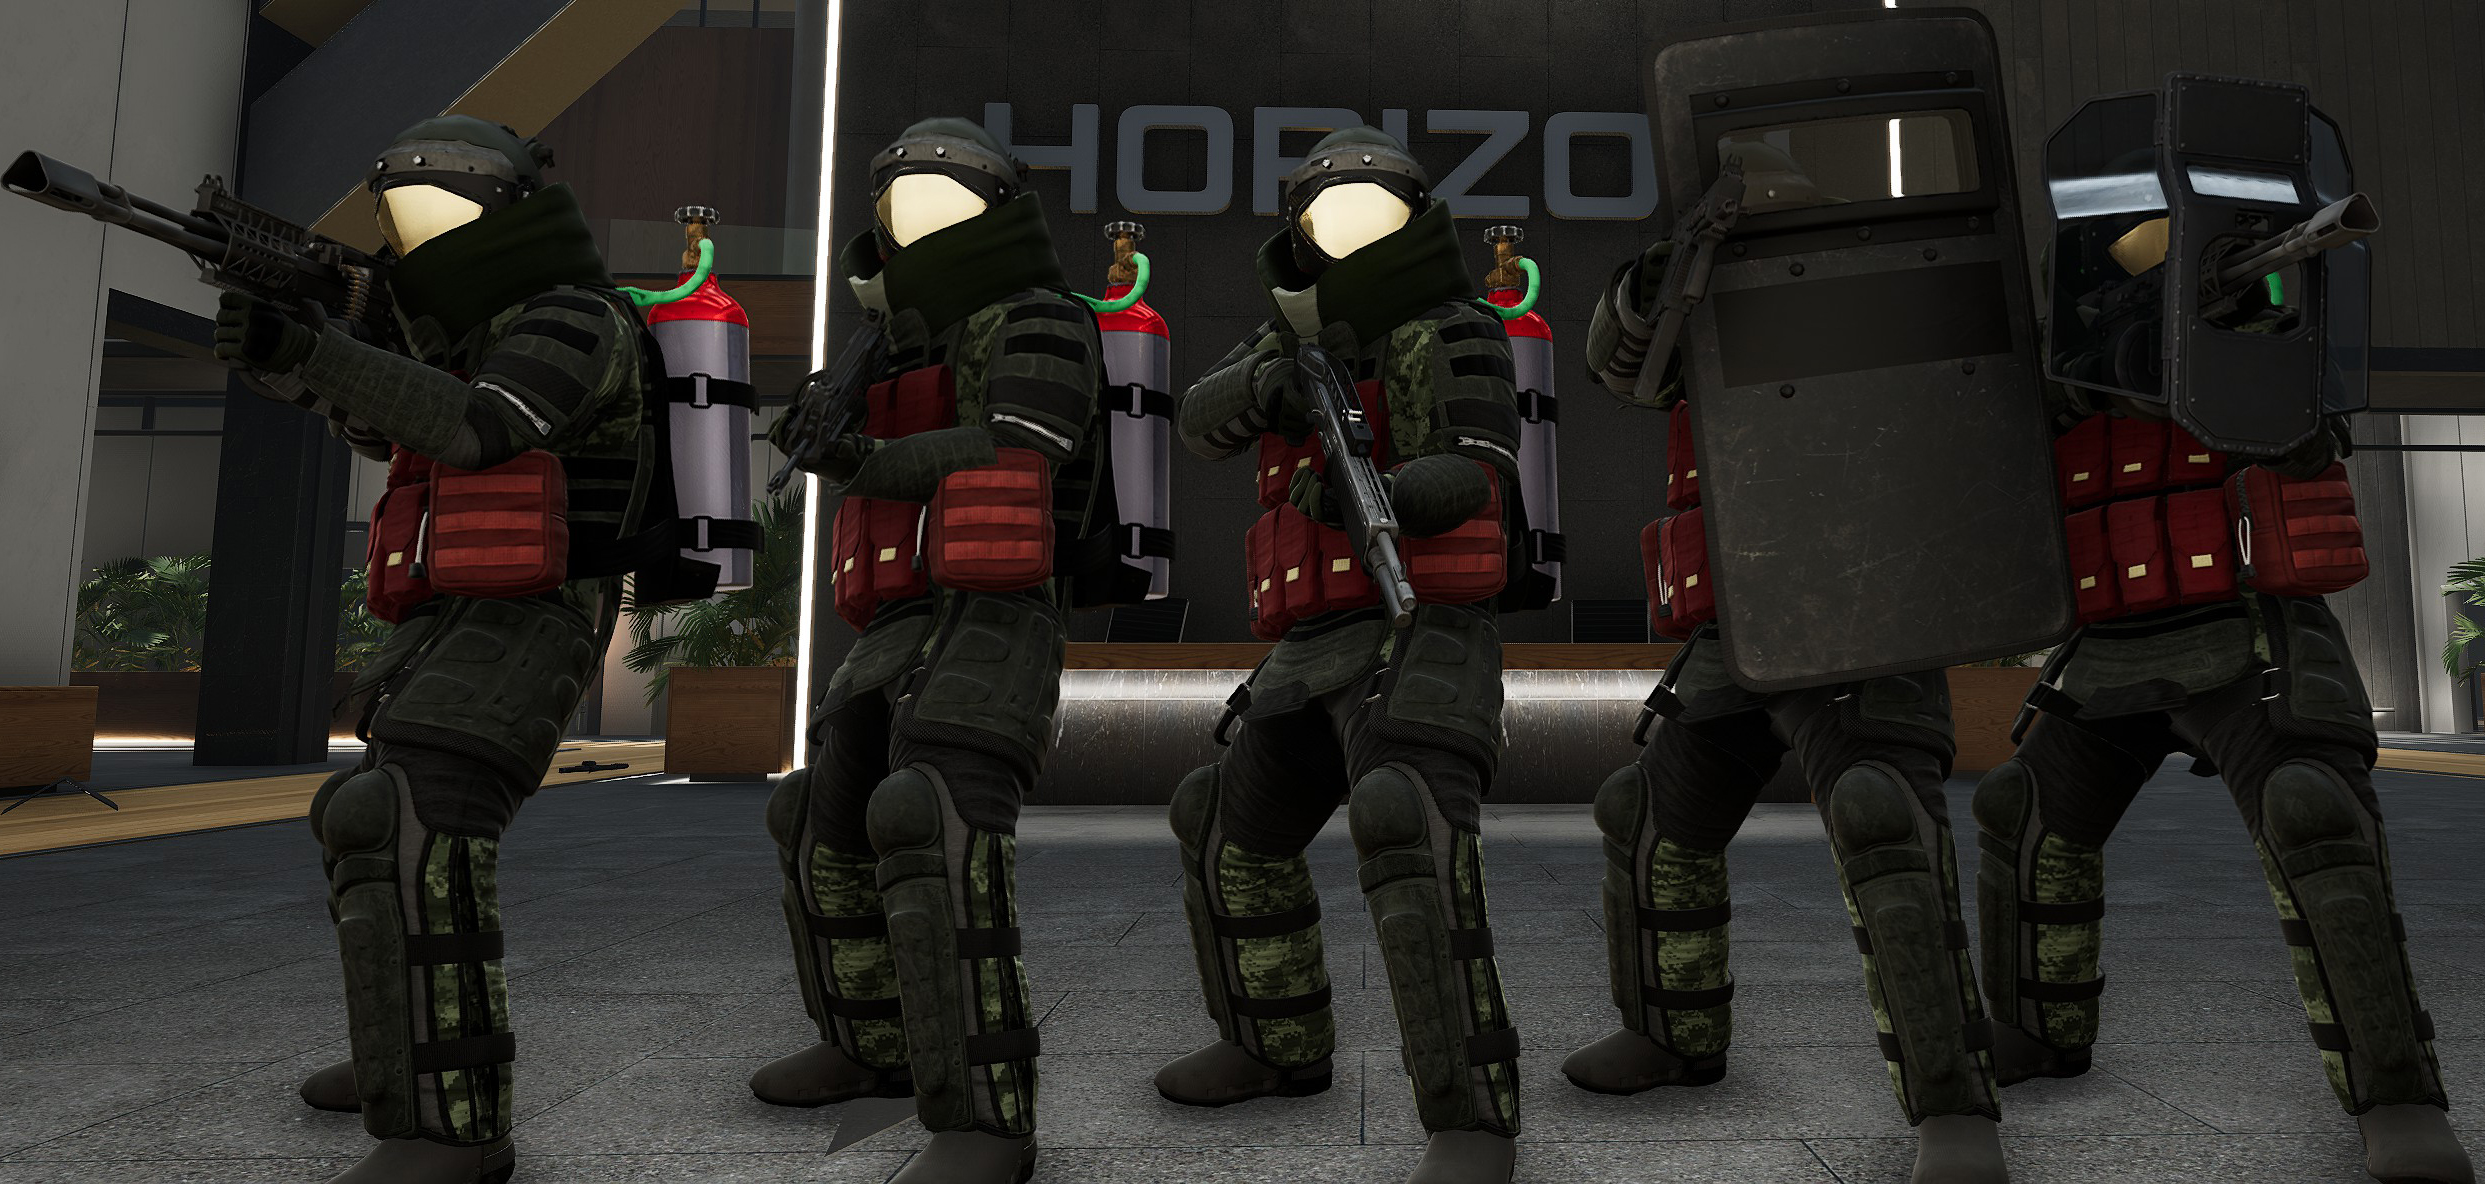
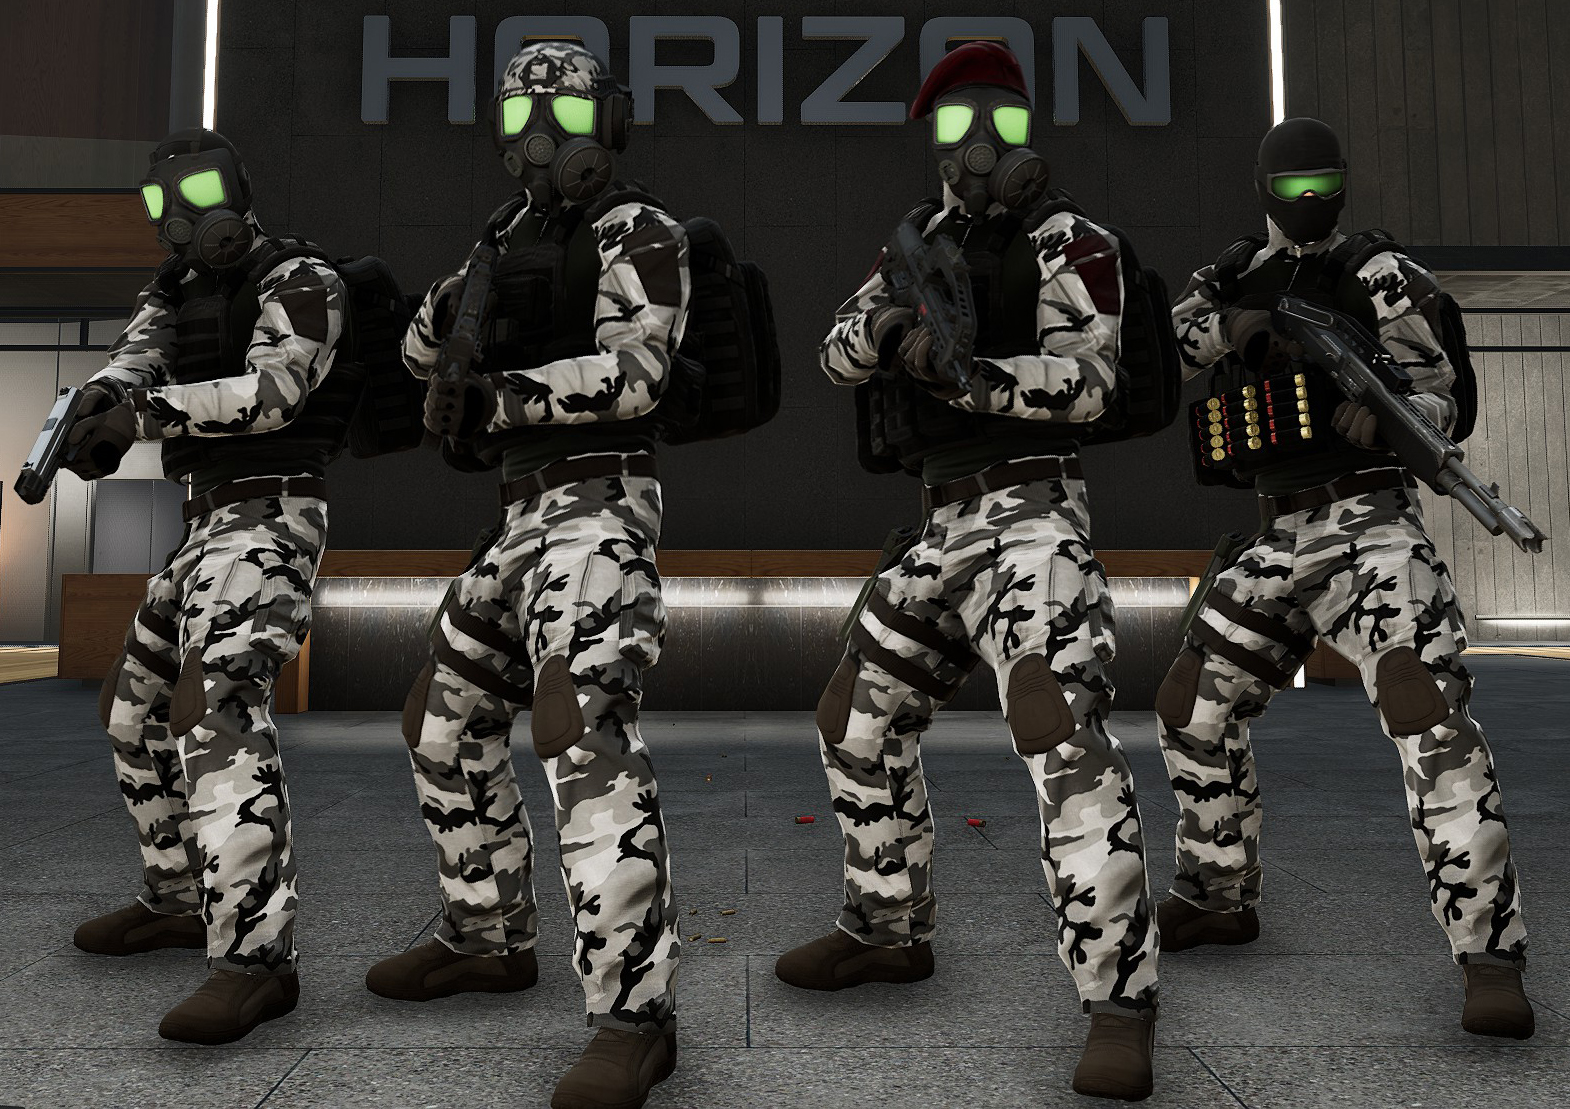
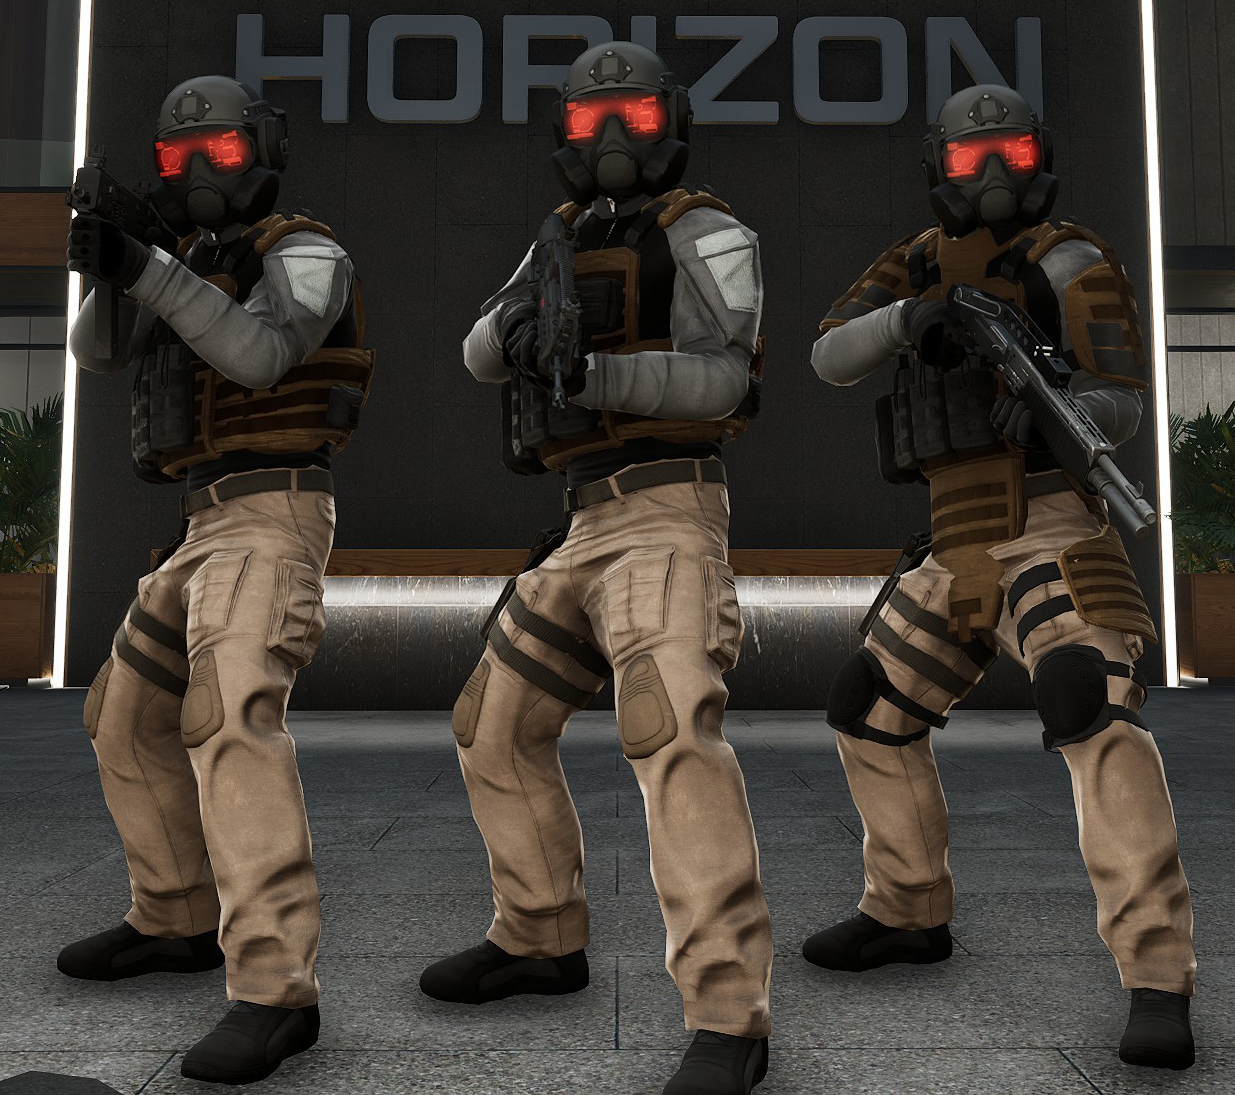
Horizon Black Ops
Also known as Talon Company, Horizon Elite Unit
Ops noirs:
Santé: 100%
Arme: SMG
Black Ops Heavy:
Santé: ~120%
Armure: ~40%
Arme: Fusil
Shotgunner:
Santé: ~120%
Armure: ~40%
Arme: Fusil de chasse
Shots to Kill (Ops noirs):
Pistolet: 5
SMG: 10
Fusil: 6
Fusil de chasse: 1
Dmr: 2
Minigun: 5
Lance-grenades: 1
Bolt Launcher (Pénétrateur): 1
Shots to Kill (Heavy and Shotgunner):
Pistolet: 2 (Armure) + 6 (Santé)
SMG: 4 (Armure) + 11 (Santé)
Fusil: 2 (Armure) + 7 (Santé)
Fusil de chasse: 1
Dmr: 3
Minigun: 2 (Armure) + 5 (Santé)
Lance-grenades: 1
Bolt Launcher (Pénétrateur): 2
Remarques:
– Horizon elites with better skill than regular soldiers.
– Weapons are equipped with silencers and laser sights.
– Only the unarmored Black Ops armed with SMGs typically appear in missions. Shotgunners and armored Black Ops with rifles only appear in later waves of the Combat Simulator. a couple Black Ops shotgunners appear in Unidentified Structure/Site 32.
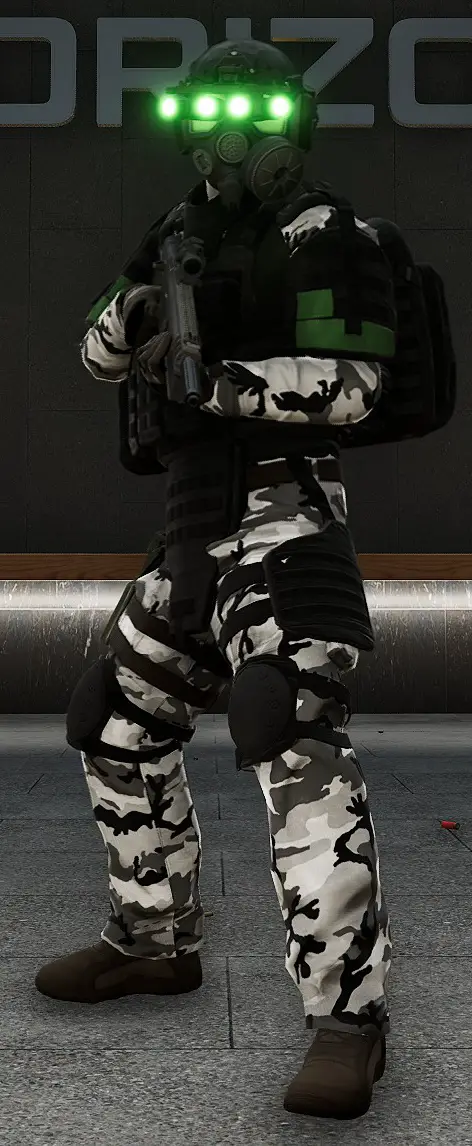
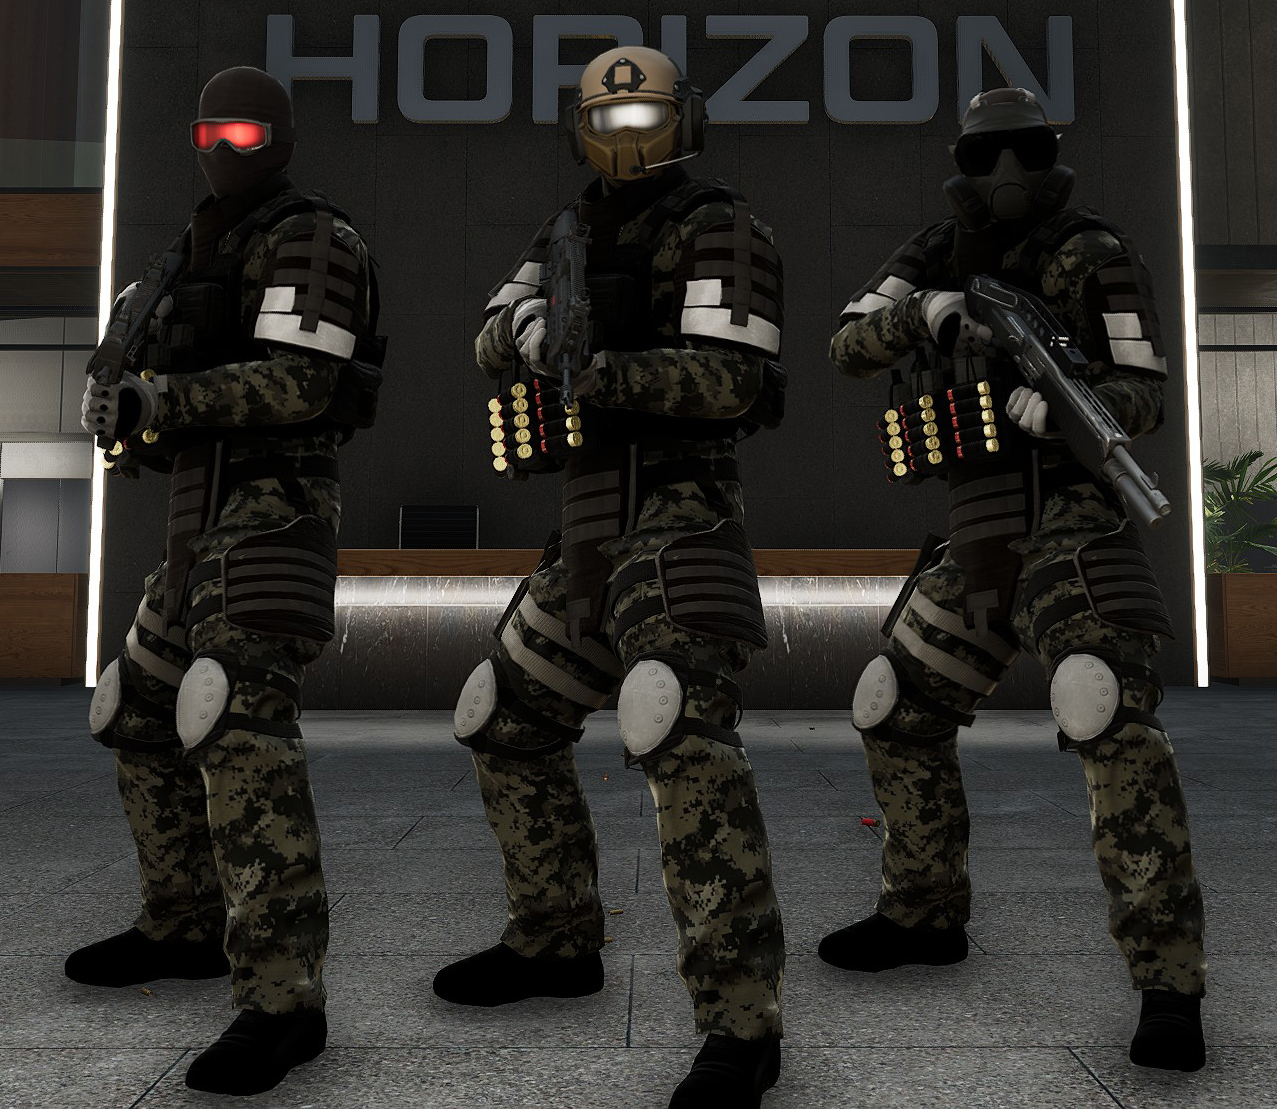
Horizon Heavy Soldier
Also known as Bulldozer, Juggernaut
Santé: ~240%
Armure: ~1200%
Armes: Fusil de chasse, Fusil, Bouclier d'émeute, Lance-grenades, Minigun, Minigun + Weapon Shield
Shots to Kill:
Pistolet: 43 (Armure) + 10 (Santé)
SMG: 112 (Armure) + 23 (Santé)
Fusil: 65 (Armure) + 13 (Santé)
Fusil de chasse: 8
Dmr: 10 (Armure) + 4 (Santé)
Minigun: 55 (Armure) + 10 (Santé)
Lance-grenades: 3
Bolt Launcher (Pénétrateur): 9 (Armure) + 2 (Santé)
Remarques:
– Most are armed with shotguns.
– Squads of Heavies armed with rifles appear in later waves of Gunnarson Complex, Iron Dragon Data Center, and Oil Rig.
– A Heavy armed with a Riot Shield and SMG occasionally appear in wave-based encounters.
– A single Heavy with a grenade launcher appears in Oil Rig.
– A single Heavy with a minigun appears in the last wave of Crash Site.
– A single Heavy with a minigun and weapon-mounted shield appears in the final wave of the Subject 83 fight at the end of Site 83.
– Oxygen tank on their back can be detonated (8 SMG shots will do) to take off about 40% of their total armor. The explosion will also knock them down, at which point they can be executed with a couple shotgun blasts to the head.
– Can be killed with 4 DMR headshots or 3 point-blank shotgun headshots.
– Heavies with miniguns do not need to reload.
Horizon Hazmat Unit
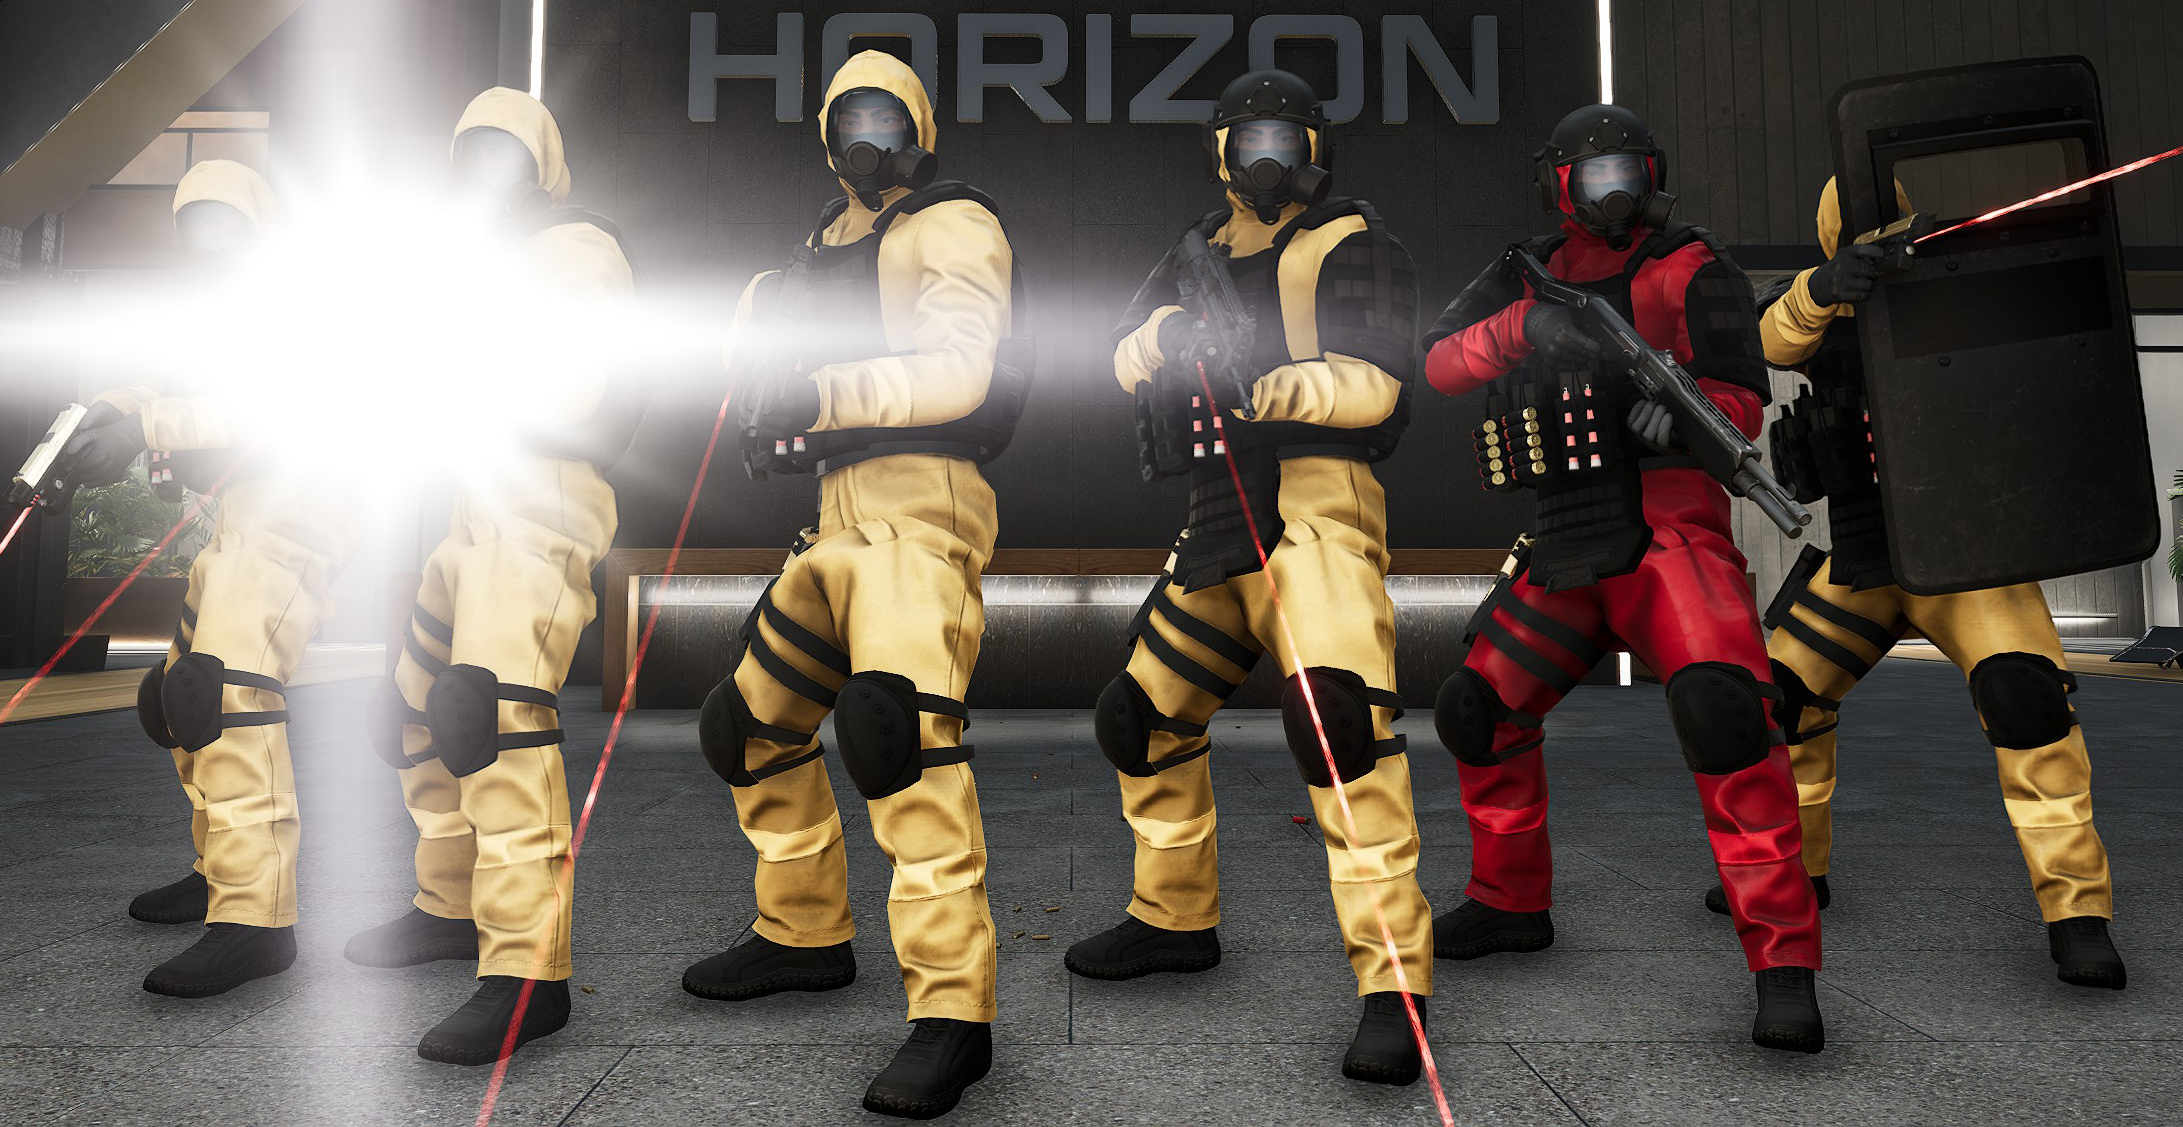
Also known as Site 83 Sécurité
Régulier:
Santé: ~120%
Armure: ~30%
Armes: SMG, Fusil, Fusil de chasse, Dmr, Pistolet
Bouclier d'émeute:
Santé 100%
Arme: Bouclier d'émeute
Shots to Kill:
Pistolet: 1 (Armure) + 6 (Santé)
SMG: 3 (Armure) + 11 (Santé)
Fusil: 2 (Armure) + 7 (Santé)
Fusil de chasse: 1
Dmr: 3
Minigun: 1 (Armure) + 6 (Santé)
Lance-grenades: 1
Bolt Launcher (Pénétrateur): 2
Shots to Kill (Bouclier d'émeute):
Pistolet: 5
SMG: 10
Fusil: 6
Fusil de chasse: 1
Dmr: 2
Minigun: 5
Lance-grenades: 1
Bolt Launcher (Pénétrateur): 1
Remarques:
– Carry full-auto pistols with laser sights and compensators as sidearms.
– Appears in Site 83 and first couple waves of Crash Site.
– Site 83 survivors primarily carry SMGs and rifles, with a few shotguns and riot shields in the waves in the Subject 83 arène. Crash Site units carry a mix of weapons.
– The ones armed only with pistols only seem to appear in the early waves of Combat Simulator for Hazmat Unit maps.
Horizon Black Ops (Crash Site)

Also known as Talon Company, Horizon Elite Unit, The Ship Friends, Pirates
Régulier:
Santé: ~120%
Armure: ~40%
Armes: SMG, Fusil, Fusil de chasse, Dmr
Bouclier d'émeute:
Santé: 100%
Arme: Bouclier d'émeute
Minigunner:
Santé: ~130%
Armure: ~70%
Arme: Minigun
Shots to Kill (Régulier):
Pistolet: 2 (Armure) + 6 (Santé)
SMG: 4 (Armure) + 11 (Santé)
Fusil: 2 (Armure) + 7 (Santé)
Fusil de chasse: 1
Dmr: 3
Minigun: 2 (Armure) + 5 (Santé)
Lance-grenades: 1
Bolt Launcher (Pénétrateur): 2
Shots to Kill (Bouclier d'émeute):
Pistolet: 5
SMG: 10
Fusil: 6
Fusil de chasse: 1
Dmr: 2
Minigun: 5
Lance-grenades: 1
Bolt Launcher (Pénétrateur): 1
Shots to Kill (Minigunner):
Pistolet: 3 (Armure) + 6 (Santé)
SMG: 7 (Armure) + 12 (Santé)
Fusil: 4 (Armure) + 8 (Santé)
Fusil de chasse: 1
Dmr: 3
Minigun: 3 (Armure) + 6 (Santé)
Lance-grenades: 1
Bolt Launcher (Pénétrateur): 2
Remarques:
– Horizon elites with better skill than regular soldiers. Have better weapons and armor compared to regular Black Ops.
– Only encountered in the last couple waves of Crash Site.
– À propos 3 minigunners in the last couple of waves.
– Minigunners have significantly reduced sprint speed. Other minigunner enemies don’je n'ai pas ça.
Woodchipper Squad
Also known as Hazmat Snipers
Santé: ~80%
Arme: Dmr
Shots to Kill:
Pistolet: 4
SMG: 8
Fusil: 5
Fusil de chasse: 1
Dmr: 2
Minigun: 4
Lance-grenades: 1
Bolt Launcher (Pénétrateur): 1
Remarques:
– A squad of 3 snipers that appears in Crash Site.
Oil Rig Workers
Santé: ~80%
Arme: Pistolet, SMG, Fusil de chasse
Shots to Kill:
Pistolet: 4
SMG: 8
Fusil: 5
Fusil de chasse: 1
Dmr: 2
Minigun: 4
Lance-grenades: 1
Bolt Launcher (Pénétrateur): 1
Remarques:
– Only appears on Oil Rig in the earlier waves.
– Does not drop armor plates when killed.
HECU
Also known as Horizon Engineering and Construction Unit, Grogner
Santé: 100%
Armes: SMG, Fusil, Fusil de chasse, Pistolet
Shots to Kill:
Pistolet: 5
SMG: 10
Fusil: 6
Fusil de chasse: 1
Dmr: 2
Minigun: 5
Lance-grenades: 1
Bolt Launcher (Pénétrateur): 1
Remarques:
– Only appears in Oil Rig.
HECU Penetrator
Santé: 100%
Arme: Bolt Launcher (Penetrator 2x Scope):
Shots to Kill:
Pistolet: 5
SMG: 10
Fusil: 6
Fusil de chasse: 1
Dmr: 2
Minigun: 5
Lance-grenades: 1
Bolt Launcher (Pénétrateur): 1
Remarques:
– Only appears in Oil Rig.
Horizon Bodyguard
Santé: 100%
Armes: SMG, Fusil, Fusil de chasse, Pistolet
Shots to Kill:
Pistolet: 5
SMG: 10
Fusil: 6
Fusil de chasse: 1
Dmr: 2
Minigun: 5
Lance-grenades: 1
Bolt Launcher (Pénétrateur): 1
Remarques:
– A couple bodyguards accompany each manager-type HVT (Fletcher, Armstrong, et Whitman).
– Bodyguards follow and defend their protectee.
– A number of bodyguards are among the defenders on the ground floor of Horizon HQ.
Horizon Specialist
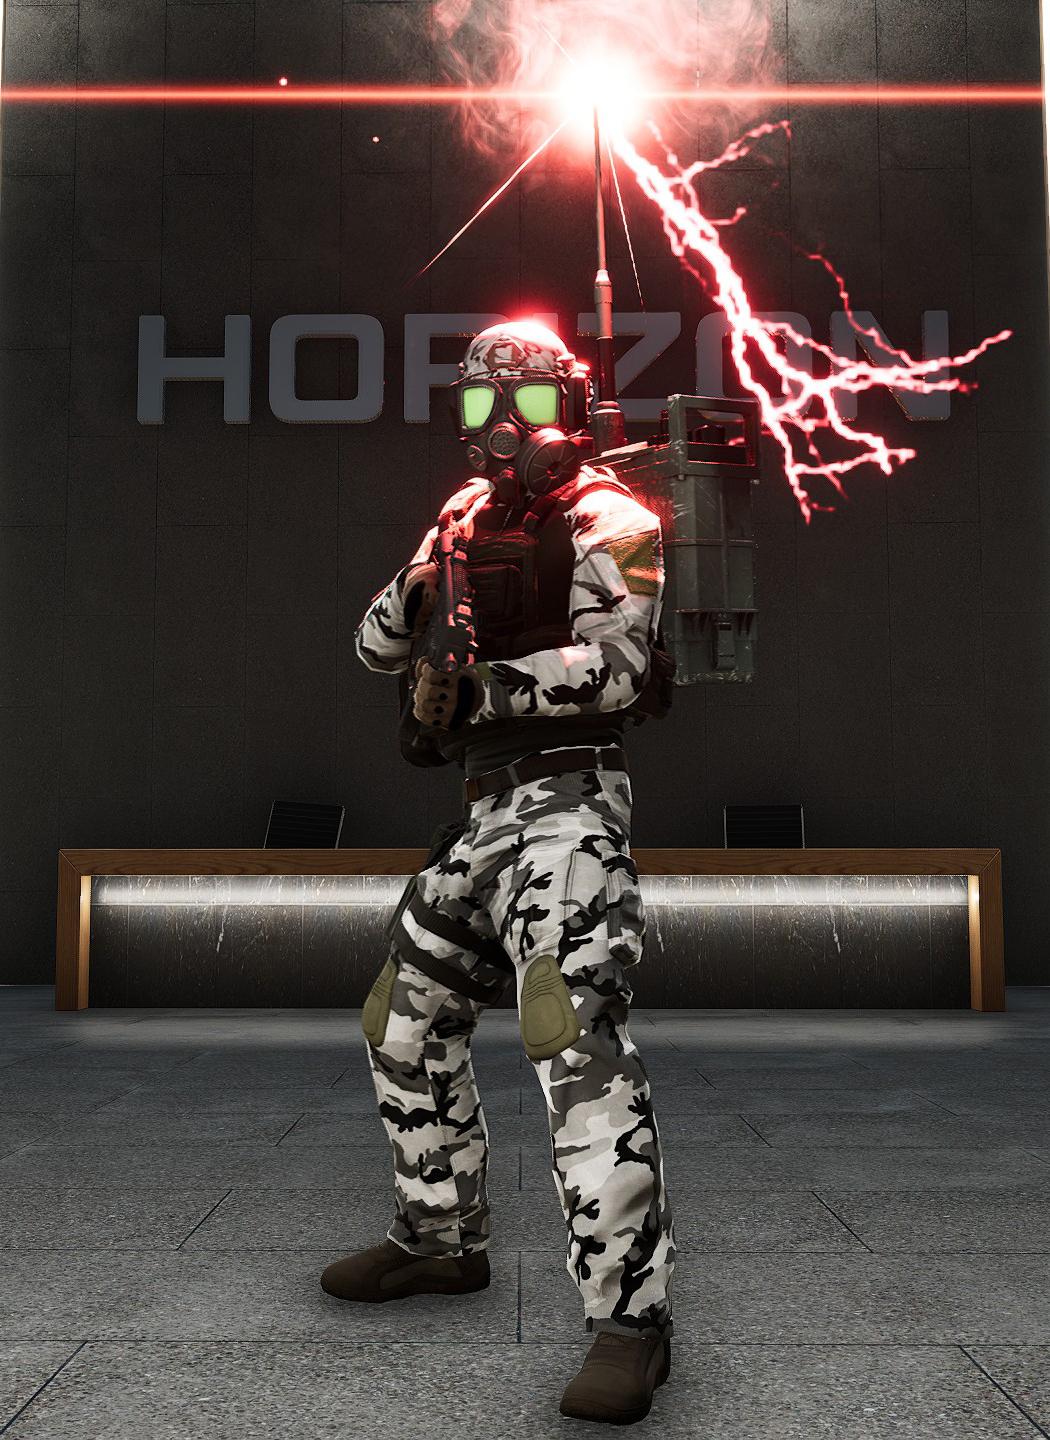
Also known as EMP Trooper
Santé: 100%
Armes: SMG
Shots to Kill:
Pistolet: 5
SMG: 10
Fusil: 6
Fusil de chasse: 1
Dmr: 2
Minigun: 5
Lance-grenades: 1
Bolt Launcher (Pénétrateur): 1
Remarques:
– Appears in Gunnarson Complex and Iron Dragon Data Center to counter-hack your hacking objectives.
– Will spawn infinitely until objectives are complete, regardless of the regular enemy spawn waves.
Horizon Corporate Soldier
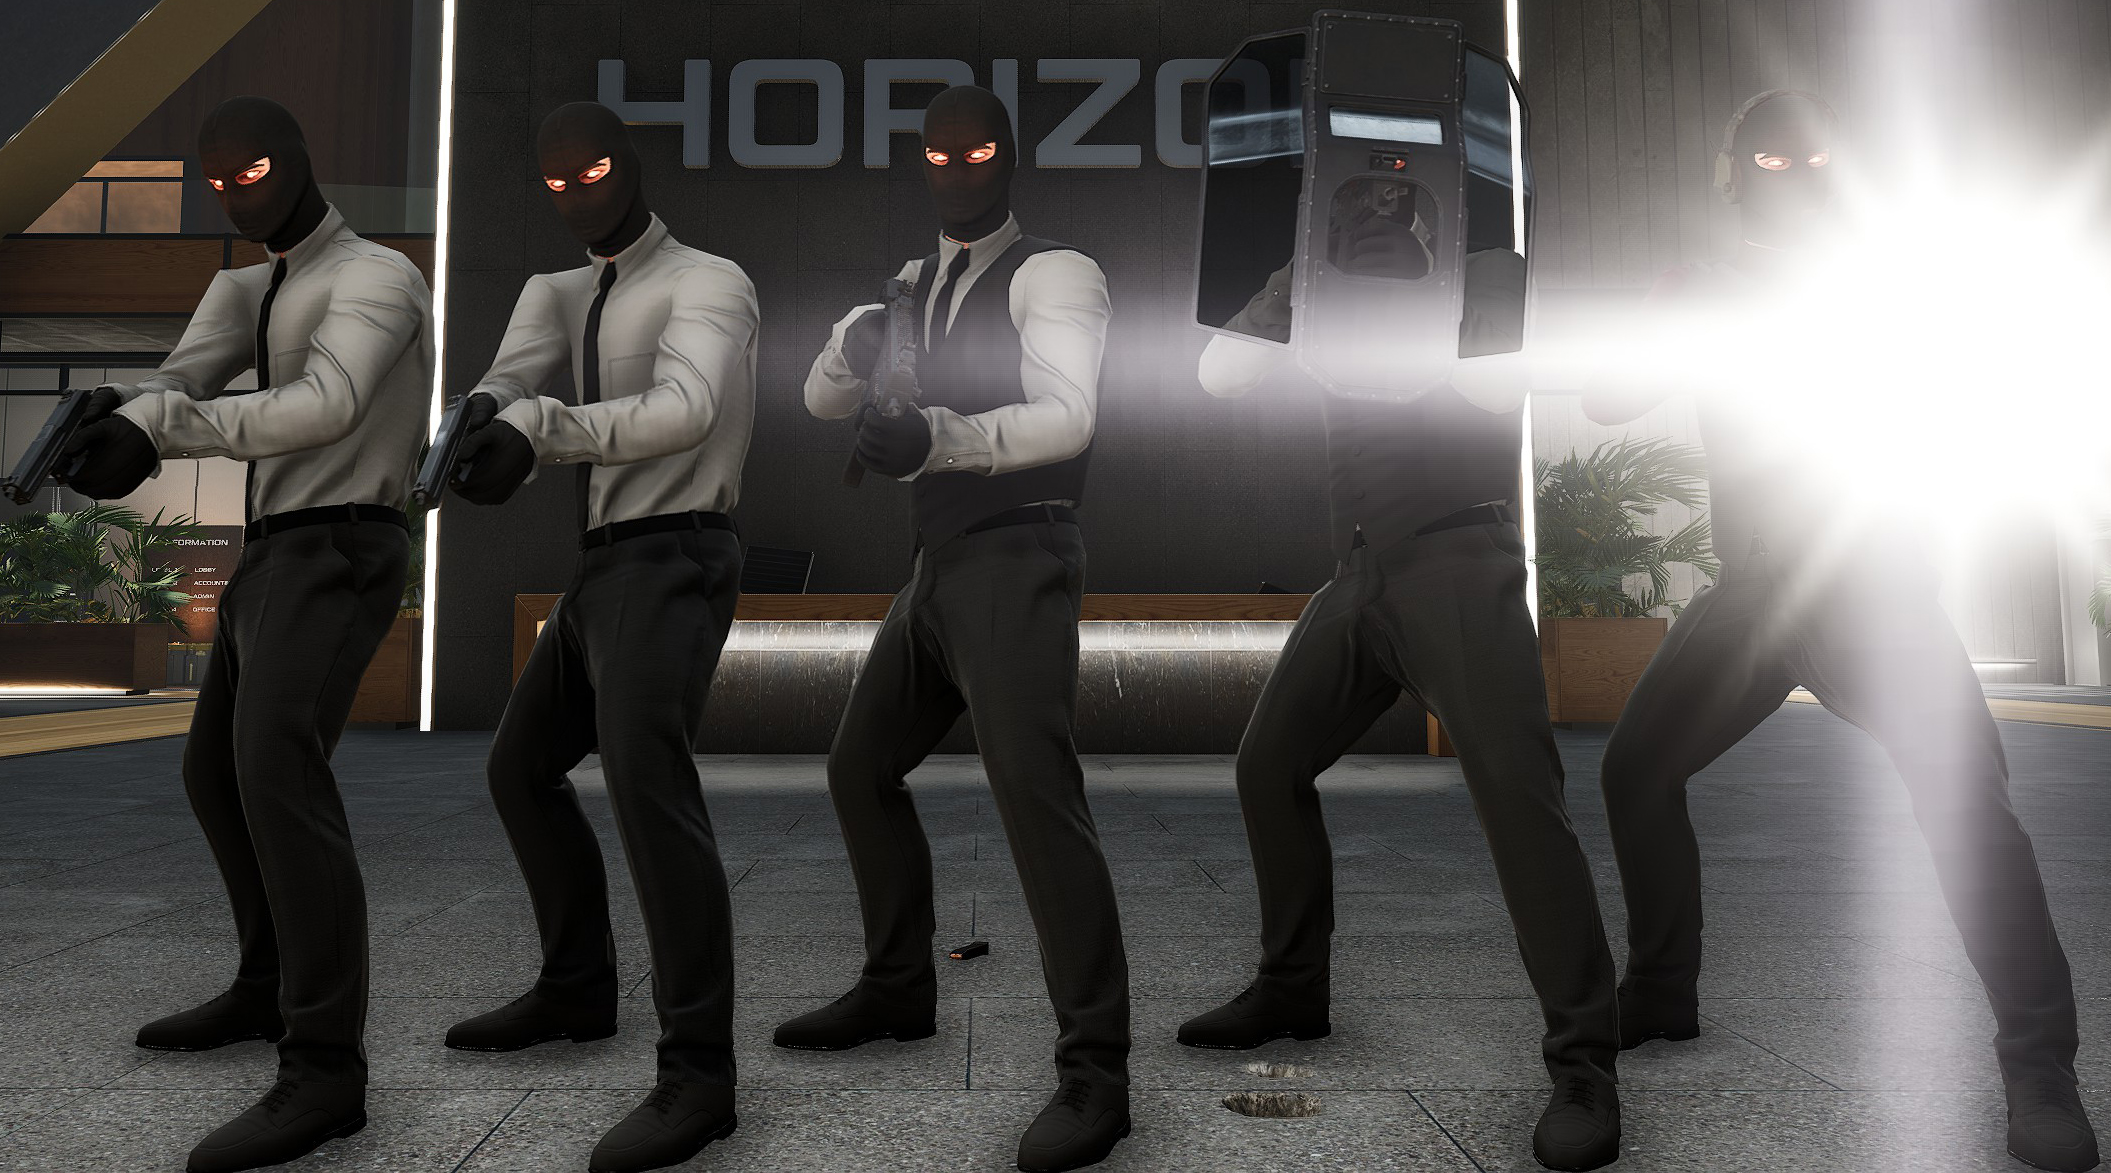
Also known as Lawyer Thugs
Santé: 100%
Armes: SMG, Dmr, SMG+Weapon Shield, Pistolet
Shots to Kill:
Pistolet: 5
SMG: 10
Fusil: 6
Fusil de chasse: 1
Dmr: 2
Minigun: 5
Lance-grenades: 1
Bolt Launcher (Pénétrateur): 1
Remarques:
– Only appears in Horizon HQ.
– Ones armed with pistols only appear in early waves of Combat Simulator levels set in Horizon HQ.
– Melee-focused ones armed with pistols appear in the last wave of Combat Simulator HQ levels.
Horizon Corporate Soldier (Blindé)
Also known as HSS Operatives, Lawyer Thugs
Santé: ~120%
Armure: ~ 120%
Armes: Fusil, Fusil de chasse, Fusil + Weapon Shield, Minigun
Shots to Kill:
Pistolet: 5 (Armure) + 5 (Santé)
SMG: 12 (Armure) + 11 (Santé)
Fusil: 7 (Armure) + 7 (Santé)
Fusil de chasse: 2
Dmr: 3
Minigun: 5 (Armure) + 6 (Santé)
Lance-grenades: 1
Bolt Launcher (Pénétrateur): 3
Remarques:
– Only appears in Horizon HQ.
– Only basic soldier that can survive a full shotgun blast.
– À propos 7 minigunners appear in Horizon HQ (3 in the Anton Lazar boss fight just before fighting Horizon One)
– 2 minigunners, 1 with a weapon-mounted shield, appear in the last wave of Combat Simulator HQ levels.
Cultiste
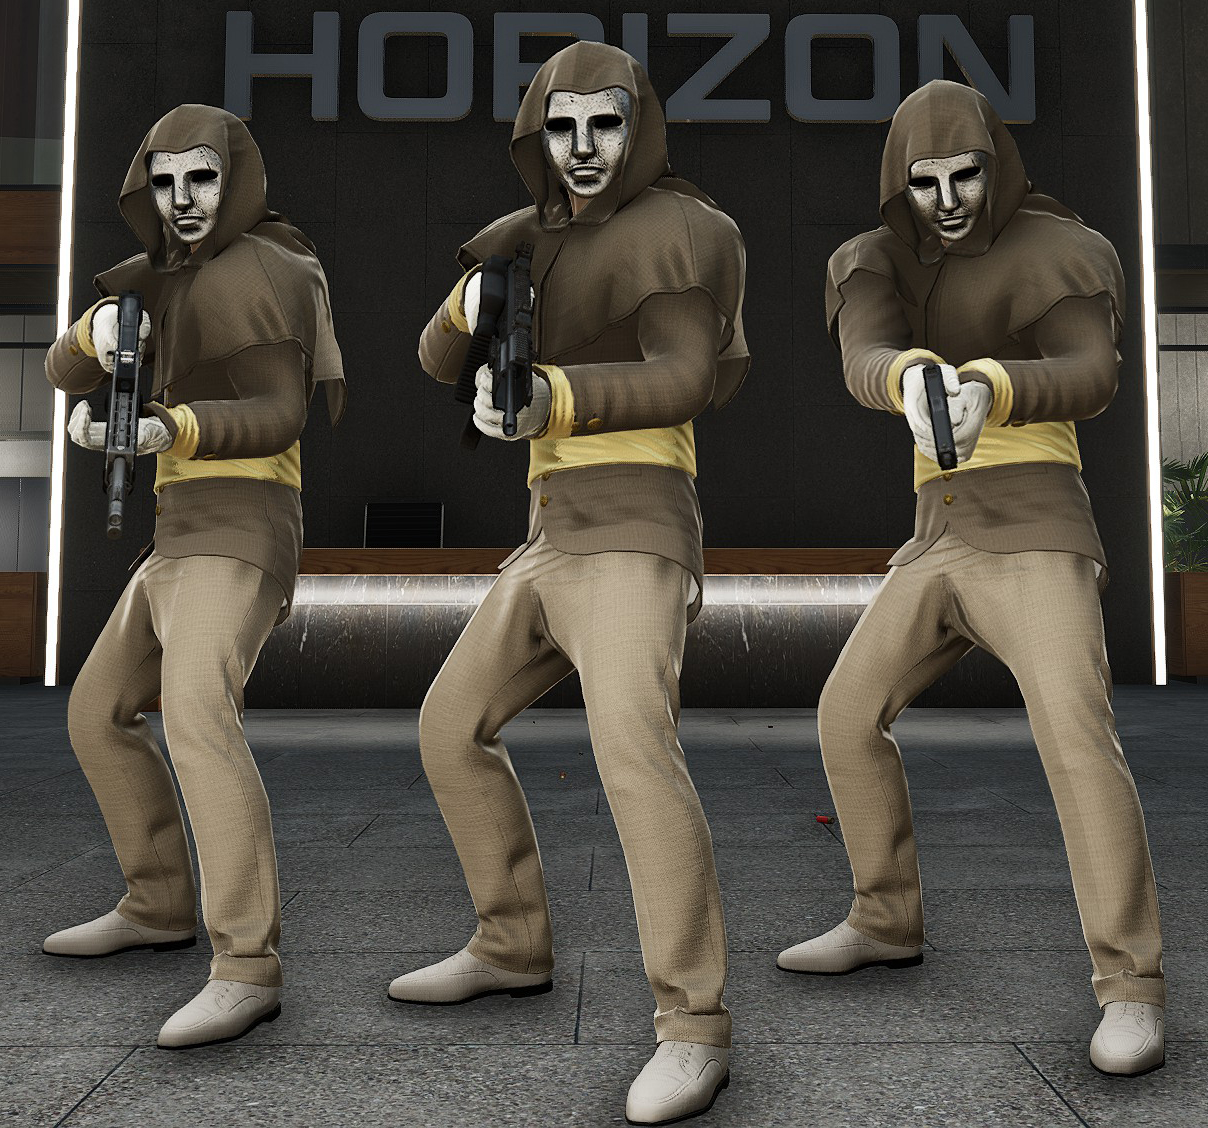
Santé: ~80%
Armes: SMG, Fusil de chasse, Pistolet
Shots to Kill:
Pistolet: 4
SMG: 8
Fusil: 5
Fusil de chasse: 1
Dmr: 2
Minigun: 4
Lance-grenades: 1
Bolt Launcher (Pénétrateur): 1
Remarques:
– Only appears in Jorvik Castle and Kellington Colliery.
– Throws firebombs instead of grenades.
– Does not drop armor plates when killed.
Cultist Martyr
Also known as Molotov Suicide Bomber
Santé: 100%
Arme: Firebombs
Shots to Kill:
Pistolet: 5
SMG: 10
Fusil: 6
Fusil de chasse: 1
Dmr: 2
Minigun: 5
Lance-grenades: 1
Bolt Launcher (Pénétrateur): 1
Remarques:
– Only appears in Jorvik Castle and Kellington Colliery.
– Will throw firebombs at a distance and also charge at you and set off their firebombs to set themselves and you on fire when they get close.
– Does not drop armor plates when killed.
Cultist Bolt Launcher
Santé: ~80%
Arme: Bolt Launcher
Shots to Kill:
Pistolet: 4
SMG: 8
Fusil: 5
Fusil de chasse: 1
Dmr: 2
Minigun: 4
Lance-grenades: 1
Bolt Launcher (Pénétrateur): 1
Remarques:
– Only appears in Jorvik Castle and Kellington Colliery.
– Throws firebombs instead of grenades.
– Does not drop armor plates when killed.
Tactical Cultist

Santé: 100%
Armes: RIfle, Fusil de chasse
Shots to Kill:
Pistolet: 5
SMG: 10
Fusil: 6
Fusil de chasse: 1
Dmr: 2
Minigun: 5
Lance-grenades: 1
Bolt Launcher (Pénétrateur): 1
Remarques:
– Only appears in Jorvik Castle and Kellington Colliery.
– Start to appear shortly before the Enforcer fight.
– Throws firebombs instead of grenades.
Tactical Cultist Elite
Also known as Chaplain’s Follower
Santé: ~120%
Armure: ~30%
Arme: Fusil
Shots to Kill:
Pistolet: 1 (Armure) + 6 (Santé)
SMG: 3 (Armure) + 11 (Santé)
Fusil: 2 (Armure) + 7 (Santé)
Fusil de chasse: 1
Dmr: 3
Minigun: 1 (Armure) + 6 (Santé)
Lance-grenades: 1
Bolt Launcher (Pénétrateur): 2
Remarques:
– Cultist elites with better skill than regular soldiers.
– Only encountered in the last 2 waves of Kellington Colliery, before and during the Chaplain HVT fight.
– Throws firebombs instead of grenades.
– Only Cultists to wear armor besides HVTs/Bosses.
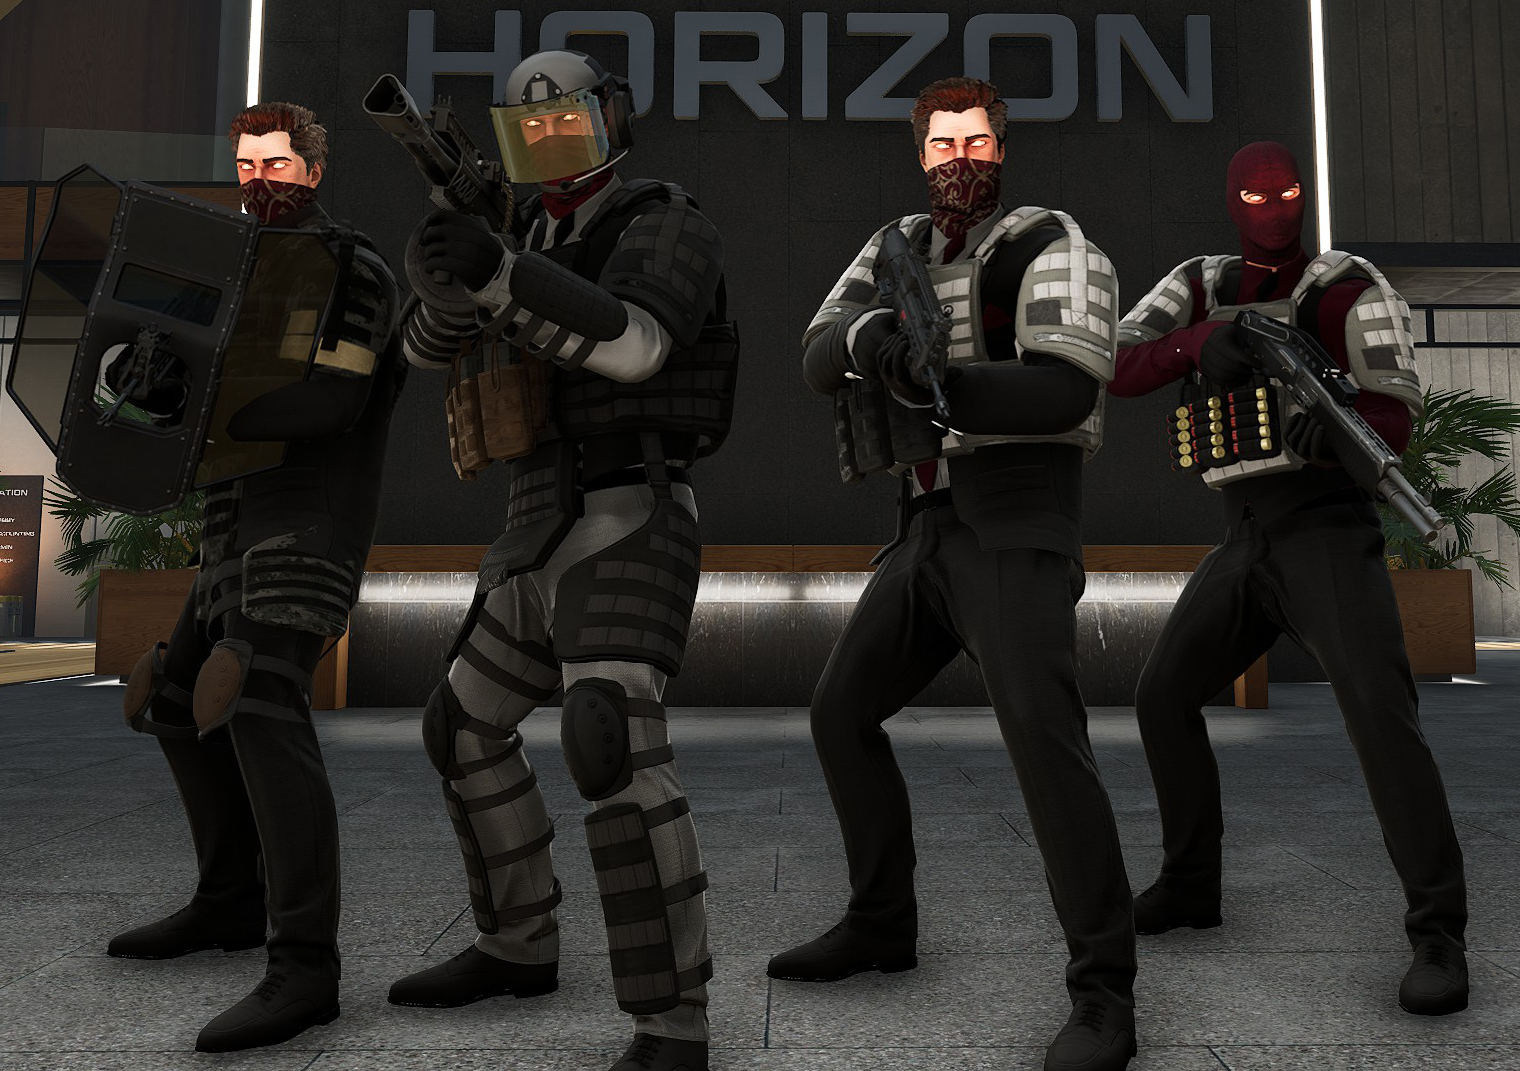
Groupe de travail 27 Soldat
Also known as Mercs
Santé: 100%
Armes: SMG, Fusil, Fusil de chasse, Dmr, Bouclier
Shots to Kill:
Pistolet: 5
SMG: 10
Fusil: 6
Fusil de chasse: 1
Dmr: 2
Minigun: 5
Lance-grenades: 1
Bolt Launcher (Pénétrateur): 1
Remarques:
– Allied with the player.
– Troopers with DMRs only seem to appear in Jorvik Castle.
– Troopers with Riot Shields only appear in the final level.
Groupe de travail 27 Elite Troopers
Also known as Cyber Mercs
Santé: ~120%
Armure: ~50%
Shots to Kill:
Pistolet: 2 (Armure) + 6 (Santé)
SMG: 5 (Armure) + 11 (Santé)
Fusil: 3 (Armure) + 7 (Santé)
Fusil de chasse: 1
Dmr: 3
Lance-grenades: 1
Bolt Launcher (Pénétrateur): 2
Remarques:
– Groupe de travail 27 elites with better skill than regular troopers.
– Only appear in the final level.
– Seulement 18 appear in total. 7 early on in groups of 2-3 leading squads of regular troopers, a squad of 4 et 2 Riot Shield troopers before the nuke room, and a full squad of 7 (1 of which is armed with a DMR) during the final boss fight.
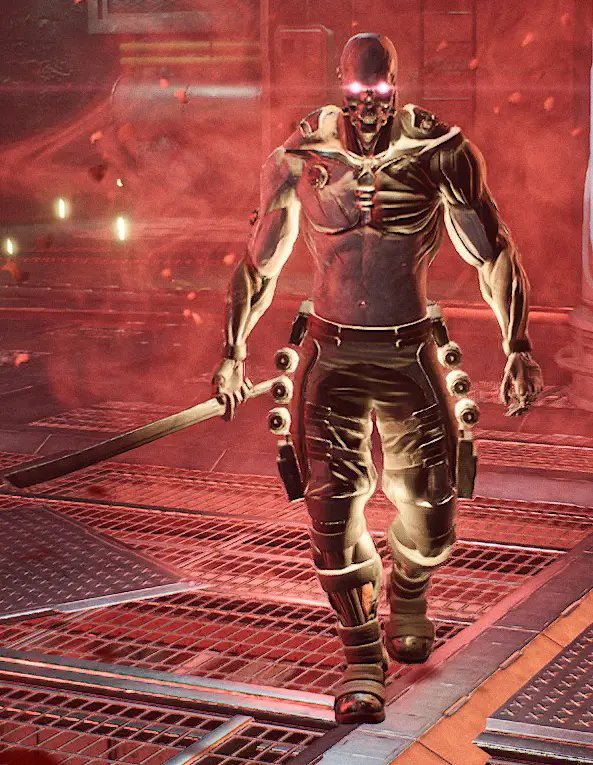
Zombi
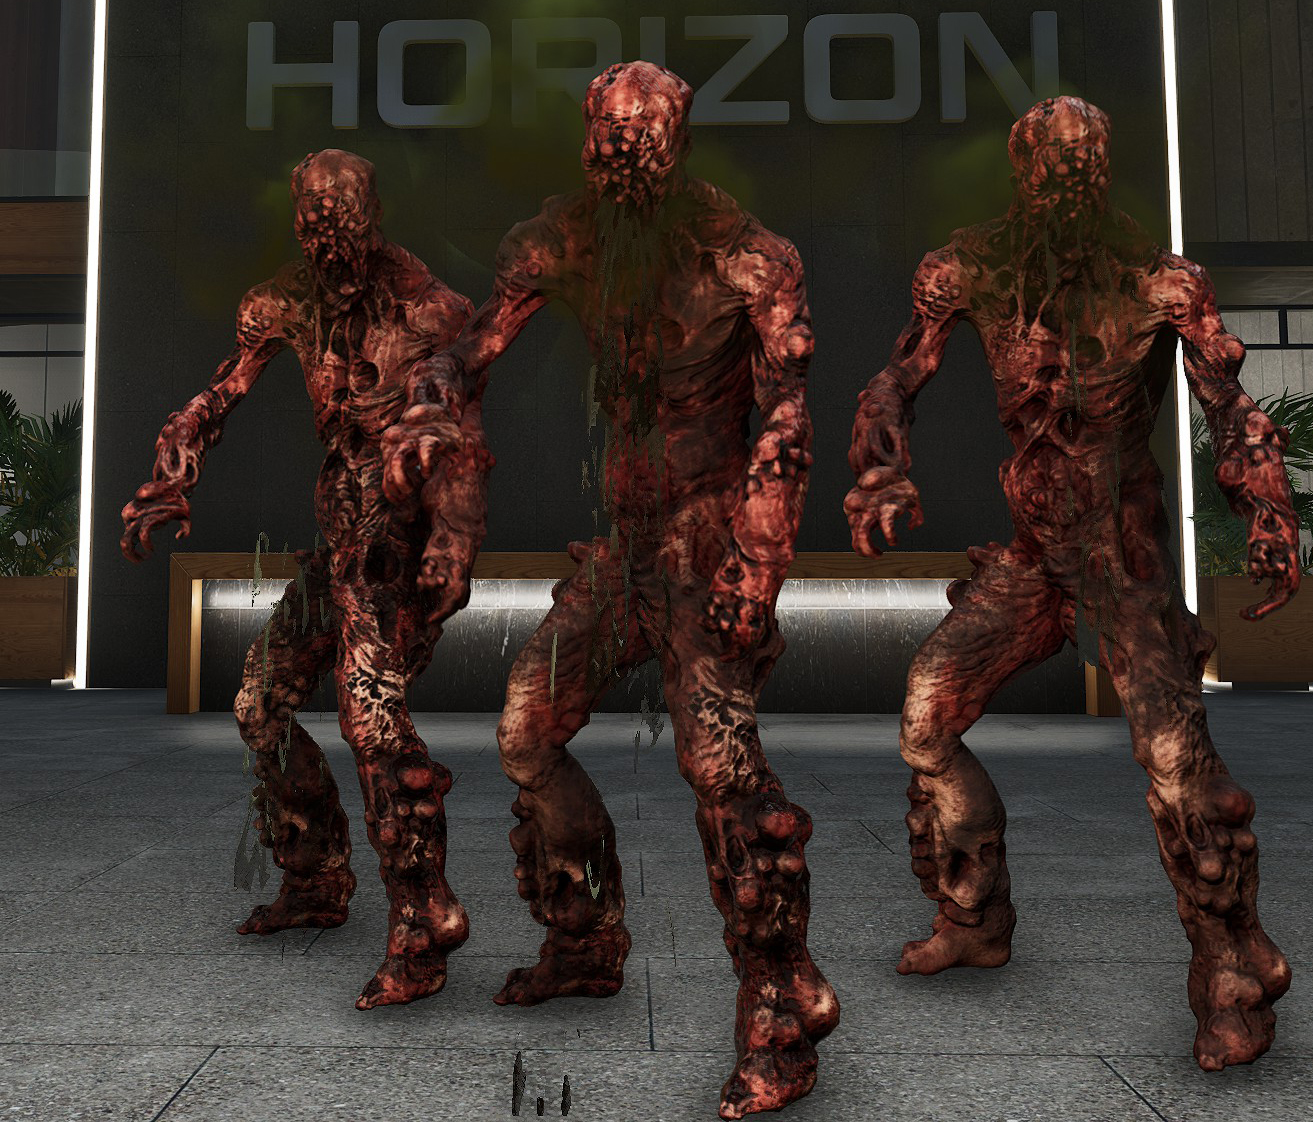
Also known as Jiggly Boi, Moth Minion
Santé: ~140
Shots to Kill:
Pistolet:7
SMG: 14
Fusil:9
Fusil de chasse: 1
Dmr: 3
Minigun: 7
Lance-grenades: 1
Bolt Launcher (Pénétrateur): 2
Remarques:
– Attacks with melee and a projectile vomit acid attack.
– Only appear in the later half of Pandora Institute, and in a couple waves of Combat Simulator.
– Any NPC killed by a zombie or the Mothman will become a zombie.
Opposing Force 27
Also known as Evil Mercs
Santé: 100%
Armes: SMG, Fusil, Fusil de chasse
Shots to Kill:
Pistolet: 5
SMG: 10
Fusil: 6
Fusil de chasse: 1
Dmr: 2
Minigun: 5
Lance-grenades: 1
Bolt Launcher (Pénétrateur): 1
Remarques:
– Only appears in Wave 12 of Combat Simulator.
– Evil pallette swap of the Task Force 27 troopers.
– Considered part of the Horizon faction.
Replica Soldier
Also known as TTMF, TTM
Santé: ~120
Armes: SMG, Fusil, Fusil de chasse
Shots to Kill:
Pistolet: 6
SMG: 12
Fusil: 8
Fusil de chasse: 1
Dmr: 2
Minigun: 6
Lance-grenades: 1
Bolt Launcher (Pénétrateur): 2
Remarques:
– Only appears in Wave 17 of Combat Simulator.
– Slightly tougher than regular soldiers.
– Considered part of the Cultist faction in sandbox.
– He may be a clone but he sure ain’t your brother.
Sujet 32 Projectiles
Also known as Wet Basement Smokey Monster
Santé: ~180
Shots to Kill:
Pistolet: 9
SMG: 17
Fusil: 11
Dmr: 4
Bolt Launcher (Pénétrateur): 2
Remarques:
– Only appears in the Subject 32 encounter in Unidentified Structure/Site 32.
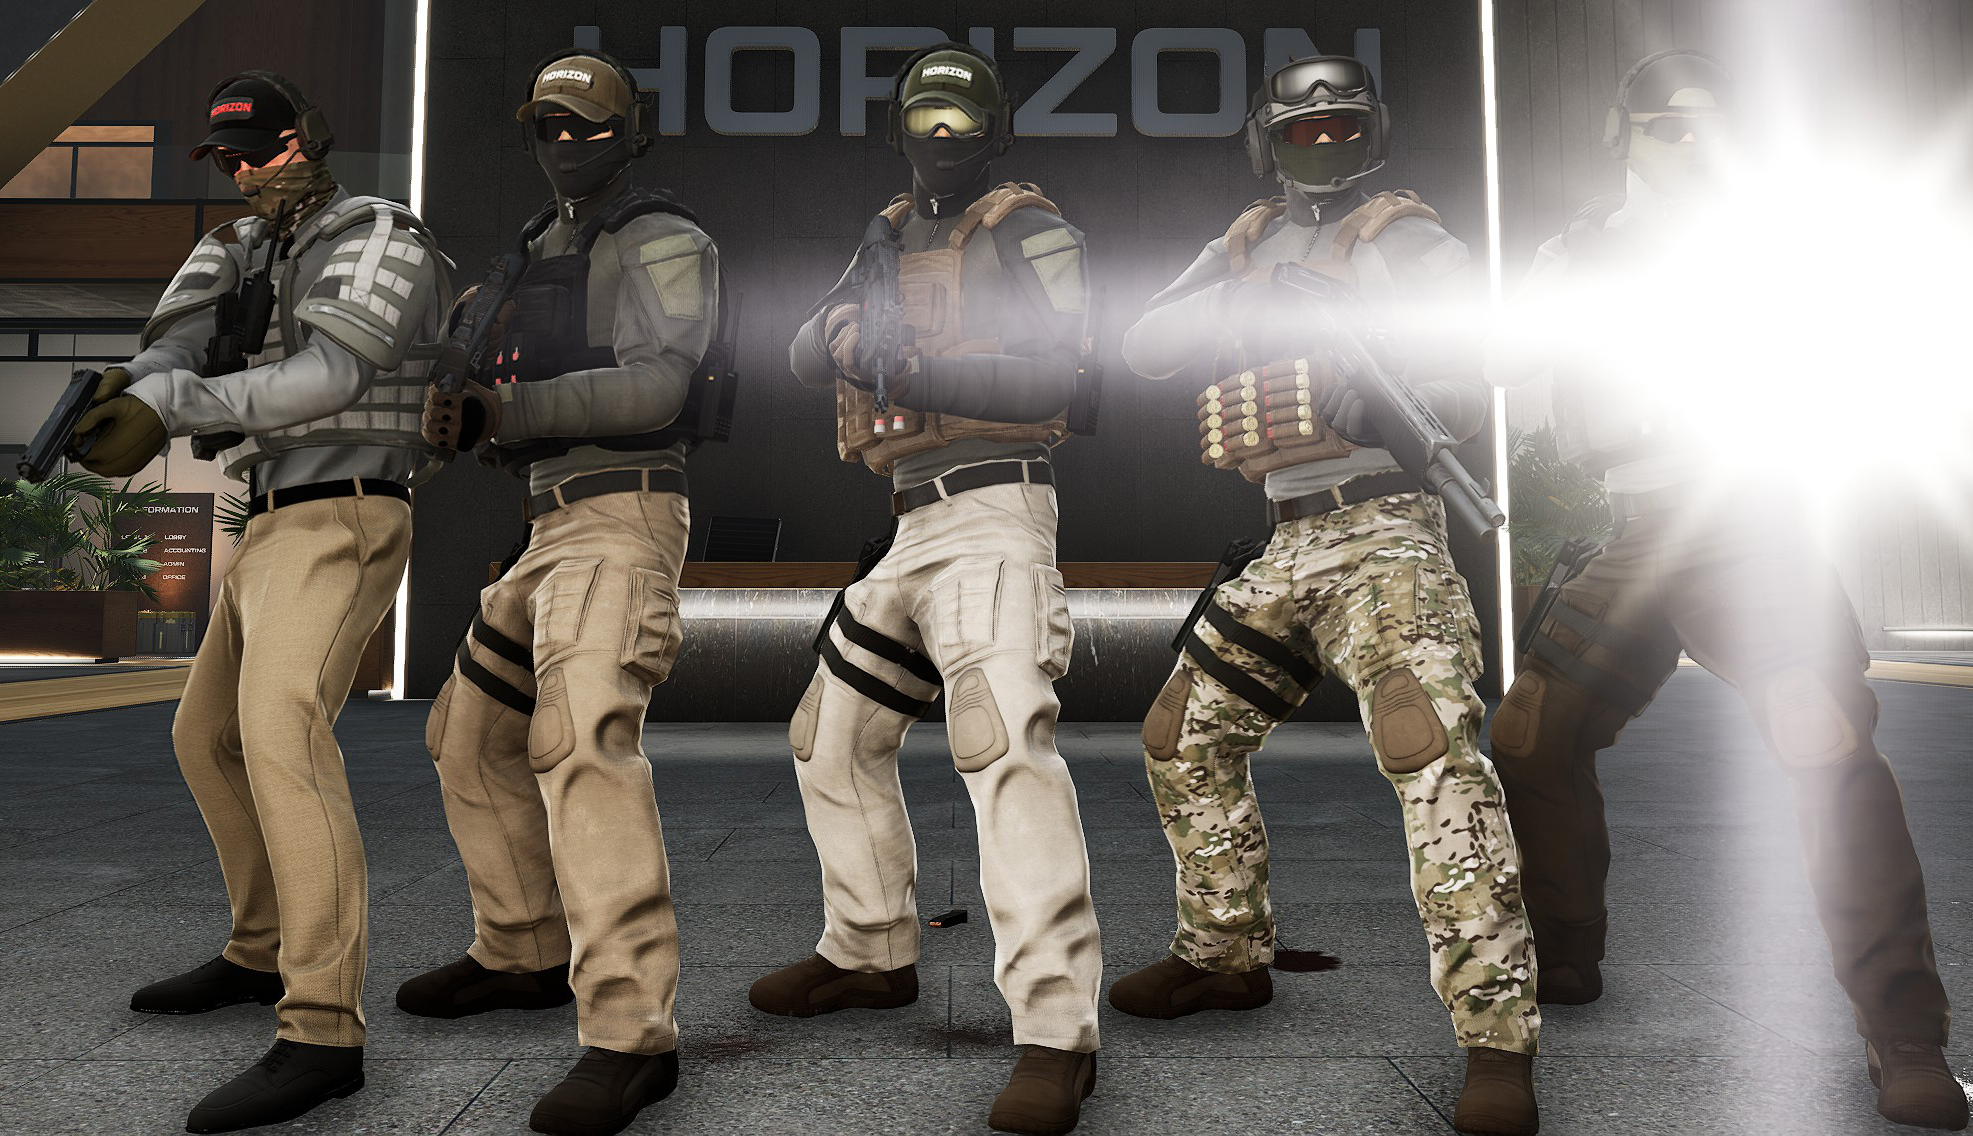
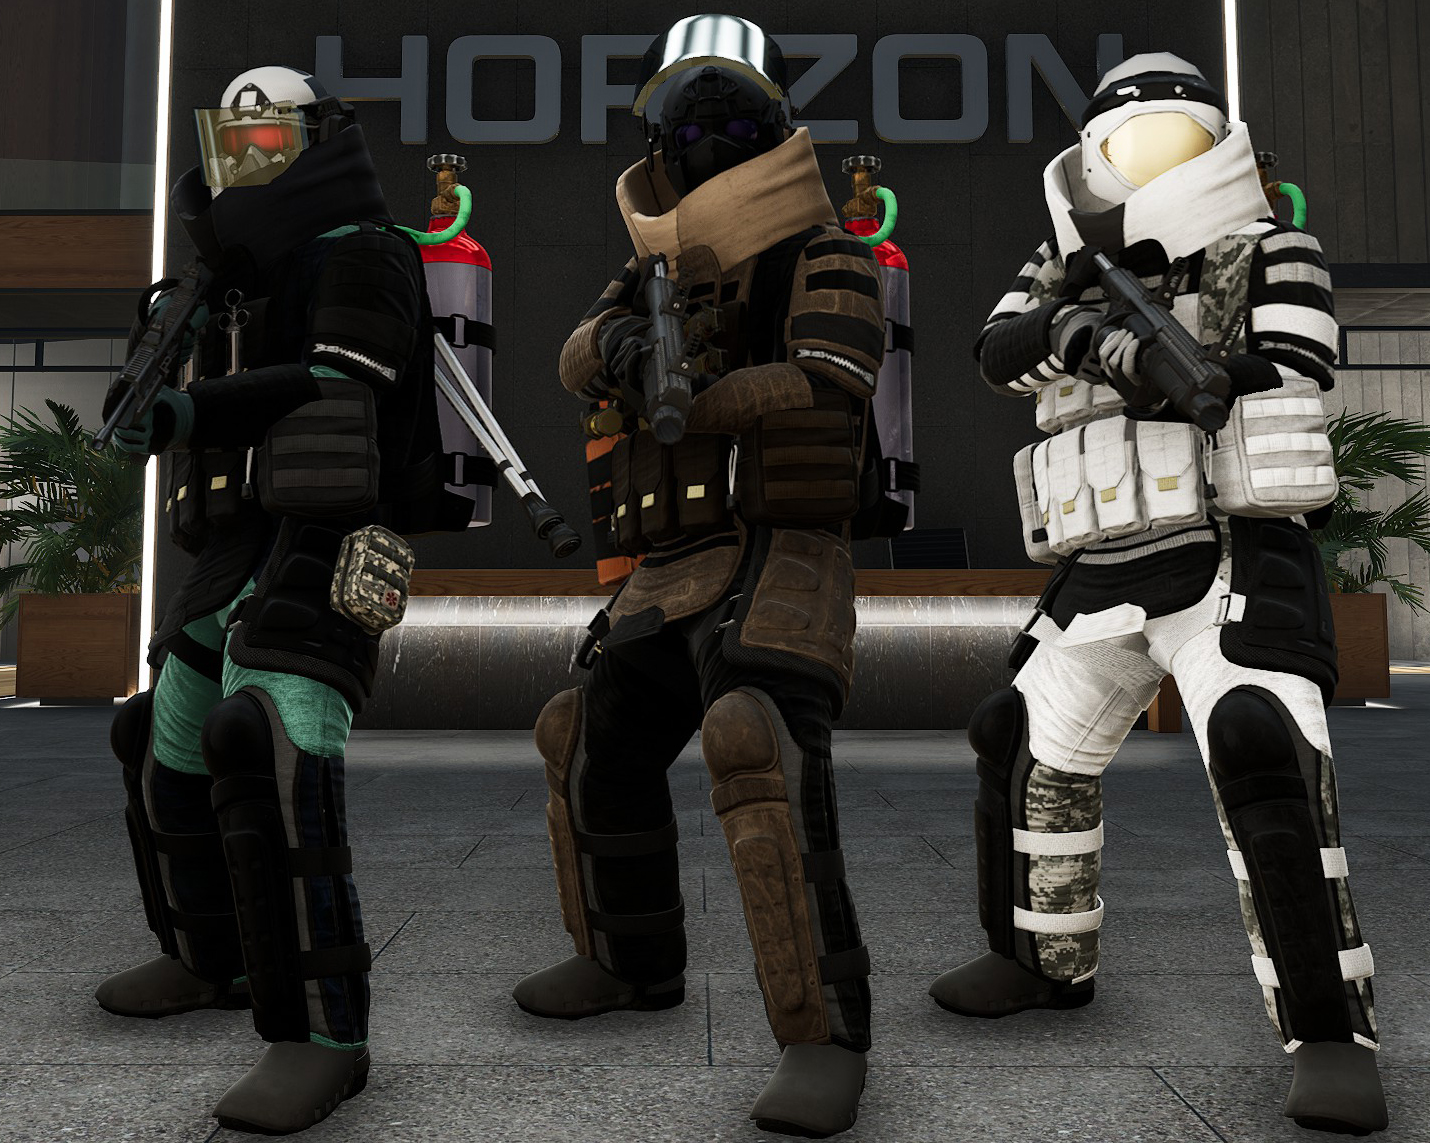
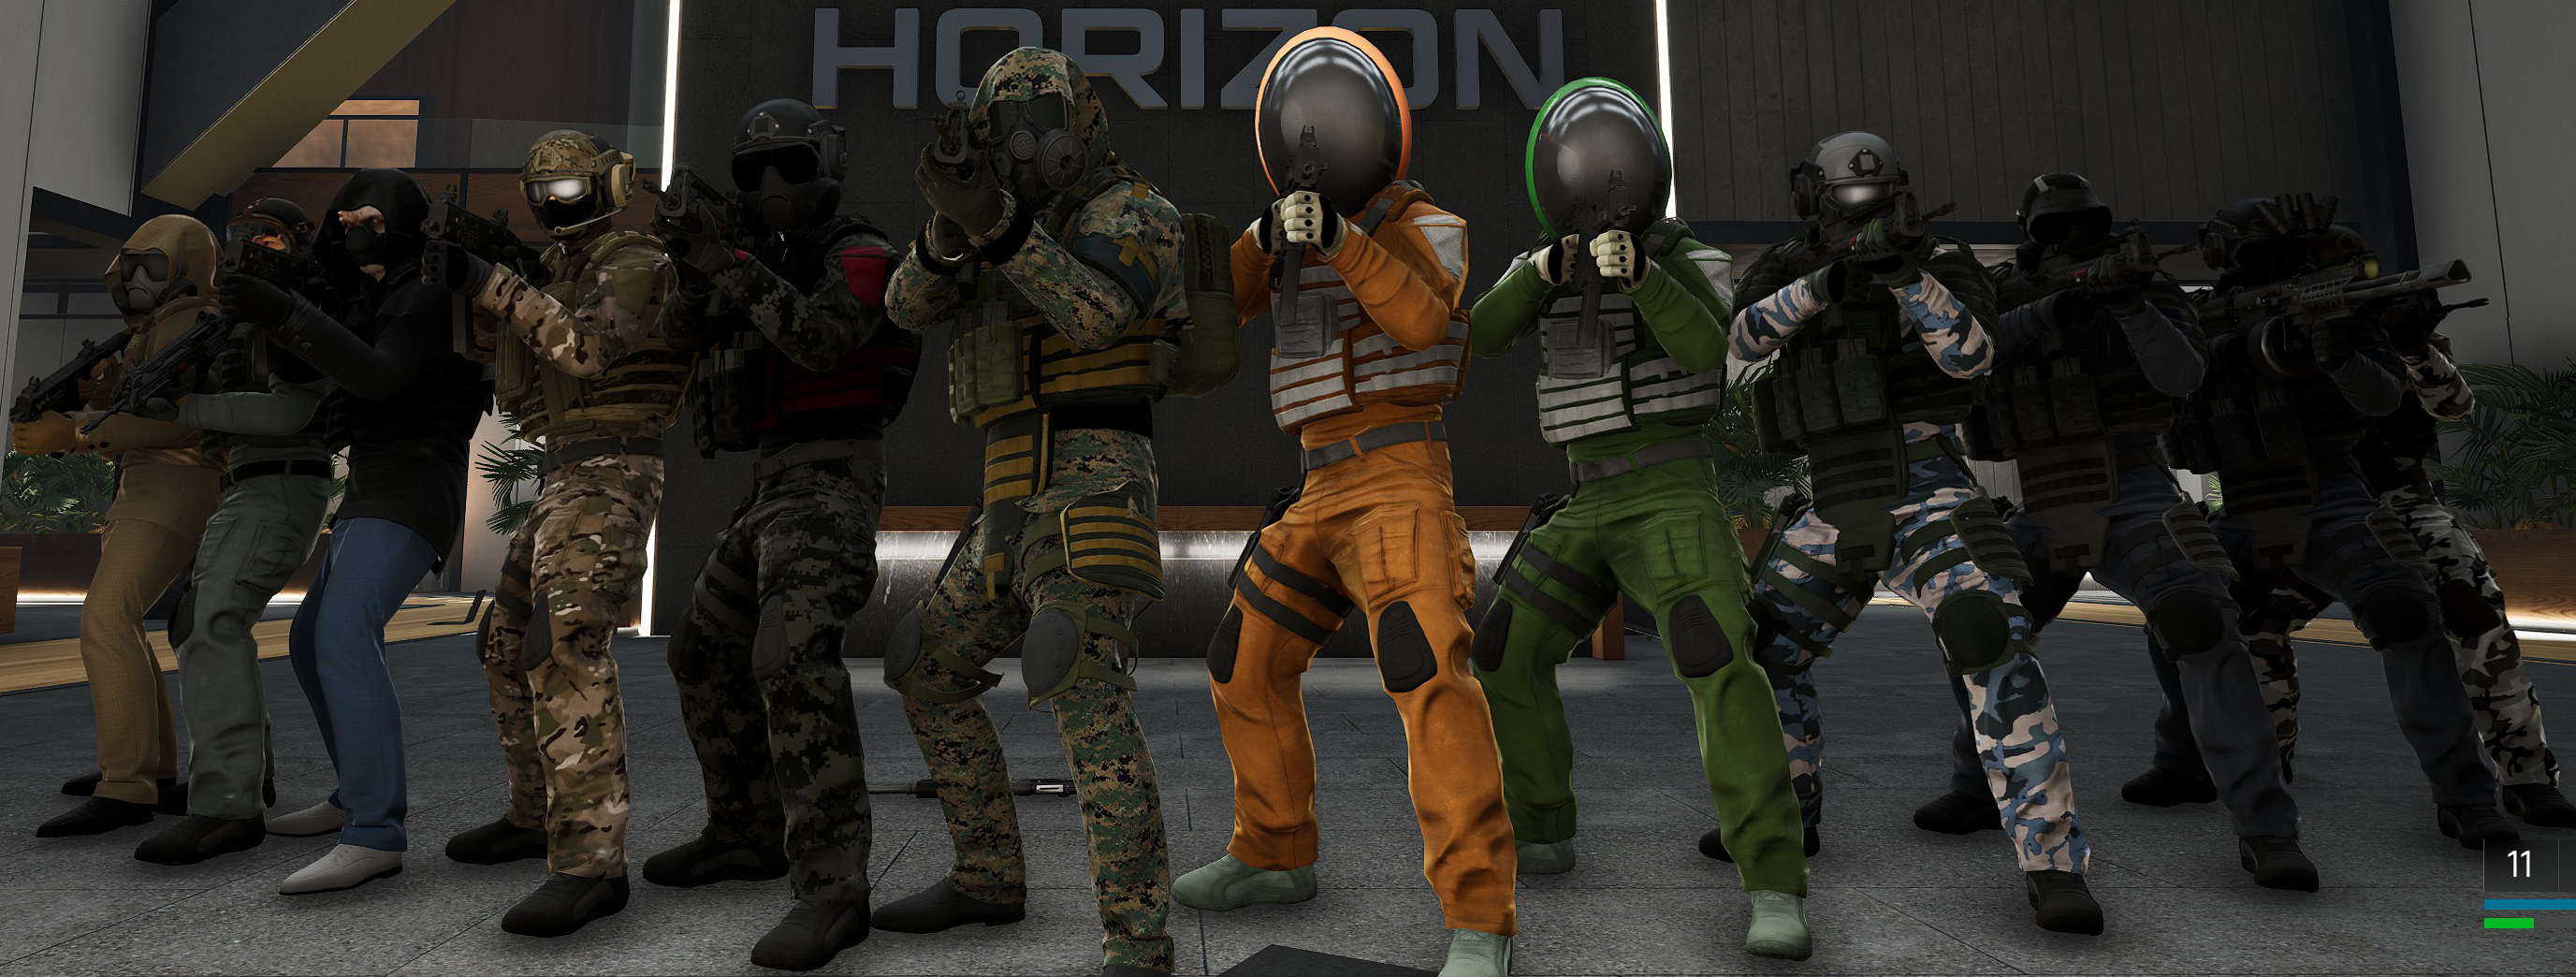
Horizon HVTs (Missions principales)

De gauche à droite: Chacal, Contrôle, Blue Sky Officer
Contrôle:
Santé: ~240%
Armure: ~50%
Arme: Fusil (2x Scope) + Fusil de chasse
Shots to Kill:
Pistolet: 2 (Armure) + 9 (Santé)
SMG: 5 (Armure) + 23 (Santé)
Fusil: 3 (Armure) + 14 (Santé)
Fusil de chasse: 2
Dmr: 5
Minigun: 2 (Armure) + 11 (Santé)
Lance-grenades: 1
Bolt Launcher (Pénétrateur): 3
Remarques:
– Encountered at the end of Site 14, leading a squad of several guards and a Heavy Soldier.
– Slightly larger than normal characters.
– Tougher than average for a Horizon HVT.
Chacal:
Santé: ~190%
Armure: ~70%
Arme: Fusil (2x Scope + Victoire laser + Silencieux)
Shots to Kill:
Pistolet: 3 (Armure) + 8 (Santé)
SMG: 7 (Armure) + 18 (Santé)
Fusil: 4 (Armure) + 11 (Santé)
Fusil de chasse: 2
Dmr: 4
Minigun: 3 (Armure) + 9 (Santé)
Lance-grenades: 1
Bolt Launcher (Pénétrateur): 3
Remarques:
– Encountered midway through Pandora Institute, at the end of the courtyard fight before the atrium.
– Stands at the entrance opening fire while several elite guards and black ops sweep the courtyard.
Blue Sky Officer:
Santé: ~160%
Armure: ~70%
Arme: Fusil
Shots to Kill:
Pistolet: 3 (Armure) + 7 (Santé)
SMG: 7 (Armure) + 16 (Santé)
Fusil: 4 (Armure) + 10 (Santé)
Fusil de chasse: 1
Dmr: 4
Minigun: 3 (Armure) + 8 (Santé)
Lance-grenades: 1
Bolt Launcher (Pénétrateur): 2
Remarques:
– Encountered towards the end of Site 83, leading a squad of Hazmat Unit survivors in the Backrooms.
– One of the most unremarkable HVTs, only slightly tougher than a regular armored soldier and has an unmodded weapon.
Horizon HVTs (Missions secondaires)
De gauche à droite: Épouvantail, Redfern
Épouvantail:
Santé: ~160%
Armure: ~50%
Arme: Dmr (Victoire laser)
Shots to Kill:
Pistolet: 2 (Armure) + 8 (Santé)
SMG: 5 (Armure) + 16 (Santé)
Fusil: 3 (Armure) + 10 (Santé)
Fusil de chasse: 1
Dmr: 4
Minigun: 2 (Armure) + 8 (Santé)
Lance-grenades: 1
Bolt Launcher (Pénétrateur): 3
Remarques:
– Appears leading the final wave of elite soldiers and black ops at the end of Unidentified Structure/Site 32.
– Will hang back and snipe at the house while his men charge in.
Redfern:
Santé: ~190%
Armure: ~70%
Arme: Fusil (Silencieux)
Shots to Kill:
Pistolet: 3 (Armure) + 8 (Santé)
SMG: 7 (Armure) + 18 (Santé)
Fusil: 4 (Armure) + 11 (Santé)
Fusil de chasse: 2
Dmr: 4
Minigun: 3 (Armure) + 9 (Santé)
Lance-grenades: 1
Bolt Launcher (Pénétrateur): 3
Remarques:
– Appears at the end of Oil Rig after the UFO is destroyed.
– Fights you solo because all his men run away once the UFO is gone.
Horizon HVTs (Higher Difficulty Levels)

De gauche à droite: Rama, Black-out, Hachette, Sokal
Black-out:
Santé: 200%
Bouclier: ~50%
Arme: Pistolet (Silencieux + Victoire laser) + Bouclier
Shots to Kill:
Pistolet: 10
SMG: 20
Fusil: 12
Fusil de chasse: 1
Dmr: 4
Minigun: 10
Lance-grenades: 1
Bolt Launcher (Pénétrateur): 2
Remarques:
– Appears in Gunnarson Complex on Hard difficulty or higher.
– Spawns around wave 4.
– Carries a buckler-type ballistic shield with limited durability.
Hachette:
Santé: ~195%
Armure: ~70%
Arme: Fusil de chasse (Incendiary Rounds)
Shots to Kill:
Pistolet: 3 (Armure) + 9 (Santé)
SMG: 7 (Armure) + 19 (Santé)
Fusil: 4 (Armure) + 11 (Santé)
Fusil de chasse: 2
Dmr: 4
Minigun: 3 (Armure) + 9 (Santé)
Lance-grenades: 1
Bolt Launcher (Pénétrateur): 3
Remarques:
– Appears in Oil Rig on Hard difficulty or higher.
– Spawns around wave 2.
– Explodes like a frag grenade several seconds after dying.
Sokal:
Santé: ~220%
Armure: ~40%
Arme: Fusil de chasse (Silencieux)
Shots to Kill:
Pistolet: 2 (Armure) + 9 (Santé)
SMG: 4 (Armure) + 21 (Santé)
Fusil: 2 (Armure) + 13 (Santé)
Fusil de chasse: 1
Dmr: 5
Minigun: 2 (Armure) + 10 (Santé)
Lance-grenades: 1
Bolt Launcher (Pénétrateur): 2
Remarques:
– Appears in Jorvik Castle on Hard difficulty or higher.
– Appears towards the end, in one of the final library sections, accompanied by a couple of Black Ops.
– Carries a full-auto silenced pistol as a sidearm.
Rama:
Santé: ~320%
Armure: ~70%
Arme: SMG (Victoire laser + Folded Stock) with weapon-mounted shield
Shots to Kill:
Pistolet: 3 (Armure) + 11 (Santé)
SMG: 7 (Armure) + 31 (Santé)
Fusil: 4 (Armure) + 19 (Santé)
Fusil de chasse: 2
Dmr: 6
Minigun: 3 (Armure) + 15 (Santé)
Lance-grenades: 2
Bolt Launcher (Pénétrateur): 3
Remarques:
– Appears in Iron Dragon Data Center on Extreme difficulty or Rage Mode.
– Will fire his weapon while charging at enemies to melee them.
– Carries a weapon-mounted shield.
– Toughest non-Heavy Soldier HVT.
– Is tough enough to require 3 DMR headshots to kill despite not wearing a helmet.
– Seems to take increased damage from the pistol for some reason.
Horizon HVTs (Heavy Soldiers)
De gauche à droite: Samaritan, Darman, Astro
Santé: ~240
Armure: ~1200
Shots to Kill:
Pistolet: 43 (Armure) + 10 (Santé)
SMG: 112 (Armure) + 23 (Santé)
Fusil: 65 (Armure) + 13 (Santé)
Fusil de chasse: 8
Dmr: 10 (Armure) + 4 (Santé)
Minigun: 55 (Armure) + 10 (Santé)
Lance-grenades: 3
Bolt Launcher (Pénétrateur): 9 (Armure) + 2 (Santé)
Samaritan:
Arme: SMG (Canon long)
Remarques:
– Appears in Pandora Institute defending the Atrium alongside the final handful of remaining Horizon soldiers.
– Tends to retreat down the hall.
Darman:
Arme: Lance-grenades
Remarques:
– Appears in the final wave of Crash Site.
Astro:
Arme: Lance-grenades (Homing Grenades)
Remarques:
– Appears after the first couple of waves in Gunnarson Complex on Very Hard difficulty or higher.
Horizon HVTs (Managers)
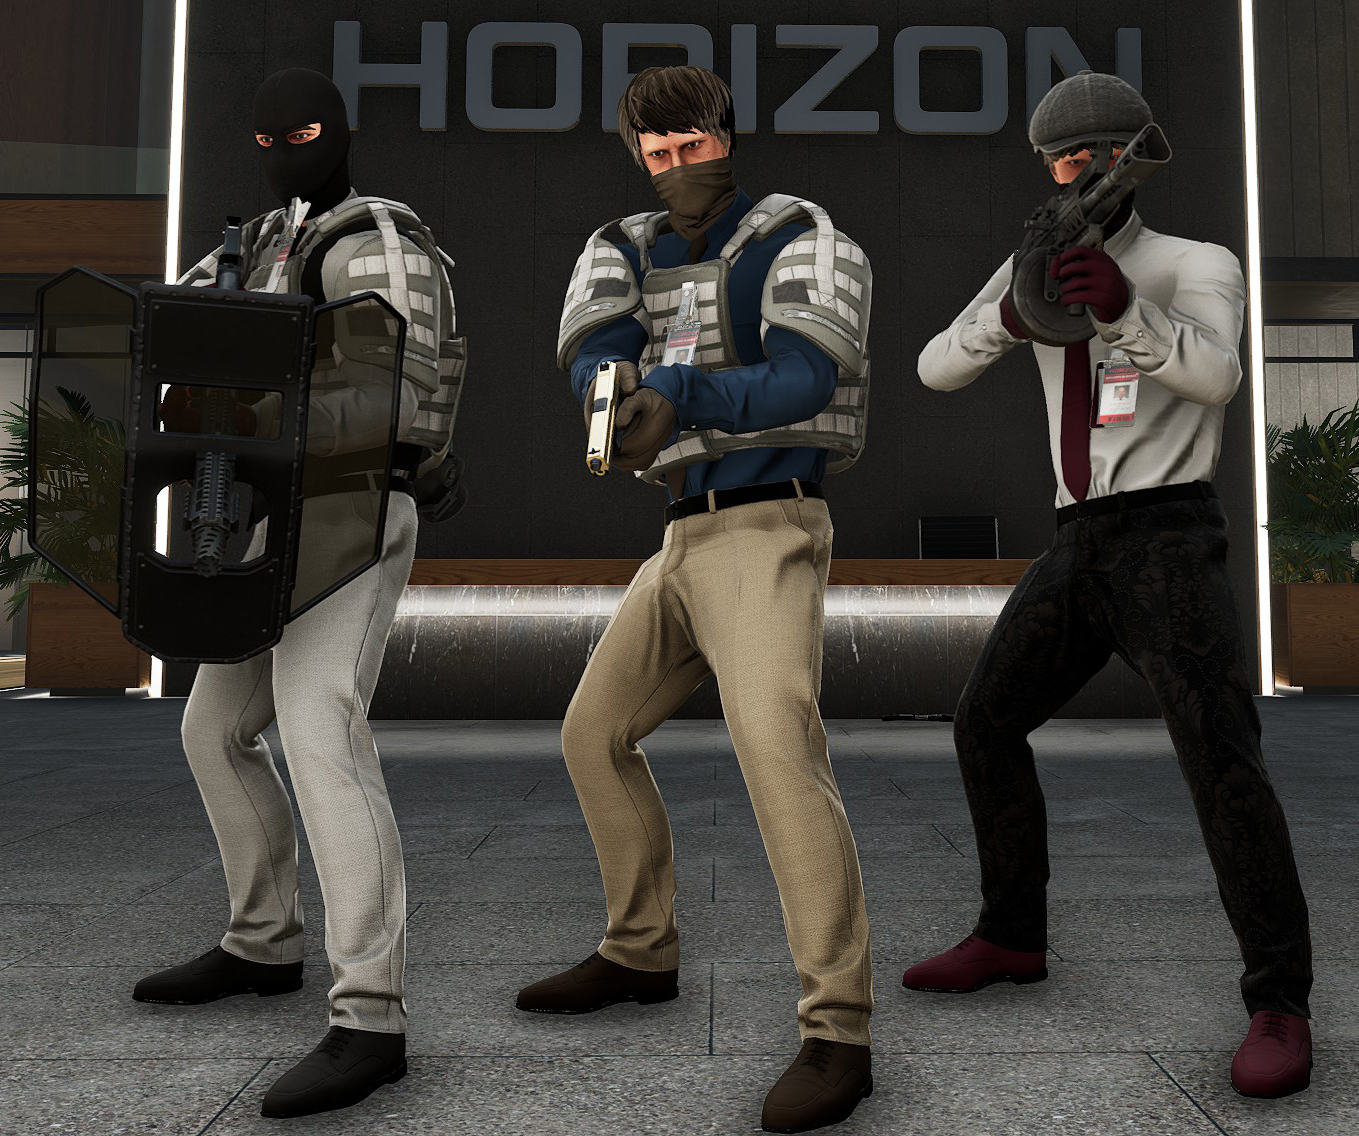
De gauche à droite: Fletcher, Armstrong, Whitman
Fletcher:
Santé: ~120%
Armure: ~50%
Arme: Fusil de chasse (Incendiary Rounds) with weapon-mounted shield
Remarques:
– Appears in Gunnarson Complex after a couple of waves/server hacks, accompanied by a pair of bodyguards.
– Has a weapon-mounted shield.
– Will make his way to the second floor lounge, où il’ll hide from the combat along with his bodyguards.
– Stats identical to Task Force 27 Elite Trooper.
Armstrong:
Santé: 100%
Arme: Pistolet (Entièrement automatique)
Remarques:
– Appears in Gunnarson Complex after you hack all 3 servers and kill Fletcher, accompanied by a pair of bodyguards.
– Will make a run for the exit (mais n'est-ce pas’t actually leave).
Whitman:
Santé: 100%
Arme: Minigun
Remarques:
– Appears after several waves in Iron Dragon Data Center accompanied by a pair of bodyguards.
HVT Imposter
Santé: ~140%
Arme: Pistolet (Victoire laser + Silencieux)
Shots to Kill:
Pistolet: 7
SMG: 14
Fusil: 9
Fusil de chasse: 1
Dmr: 3
Lance-grenades: 1
Bolt Launcher (Pénétrateur): 2
Remarques:
– Has a chance to appear in the safehouse after completing a mission on Extreme difficulty.
– I got him to appear by finishing SIte 14 on Extreme, quitting the game, playing a couple Combat Simulator rounds the next day, then selecting another mission on Extreme at the map table. The Imposter attacked me on my way to the helicopter.
– His health on Normal (and other difficulties) is on par with that of regular enemies on Rage Mode.
– Will aggressively charge at enemies (c'est à dire. toi).
– That visor is sus.
Cult HVTs

De gauche à droite: L'archiviste, The Alchemist, The Chaplain
L'archiviste:
Santé: ~120%
Armure: ~570%
Arme: Dmr
Shots to Kill:
Pistolet: 23 (Armure) + 3 (Santé)
SMG: 56 (Armure) + 11 (Santé)
Fusil: 33 (Armure) + 6 (Santé)
Fusil de chasse: 7
Dmr: 5 (Armure) + 2 (Santé)
Minigun: 28 (Armure) + 5 (Santé)
Lance-grenades: 3 (Armure) + 1 (Santé)
Bolt Launcher (Pénétrateur): 5 (Armure) + 1 (Santé)
Remarques:
– Appears in Kellington Colliery.
– Throws rat bombs instead of grenades.
The Alchemist:
Santé: ~350%
Armure: ~ 400%
Arme: Bolt Launcher (Pénétrateur) with weapon-mounted shield
Shots to Kill:
Pistolet: ~14 (Armure) + ~11+ (Santé)
SMG: ~39 (Armure) + ~33+ (Santé)
Fusil: ~23 (Armure) + ~19+ (Santé)
Fusil de chasse: 4 (Armure) + 3 (Santé)
Dmr: 3 (Armure) + 6 (Santé)
Minigun: 18 (Armure) + 14 (Santé)
Lance-grenades: 2 (Armure) + 2 (Santé)
Bolt Launcher (Pénétrateur): 3 (Armure) + 3 (Santé)
Remarques:
– Appears in Kellington Colliery on Hard difficulty or higher.
– Has a weapon-mounted shield.
– Ignites on fire as soon as he takes damage from the player. Will continue to fight while on fire.
– Armor does not visibly break apart when destroyed, unlike the Archivist, Chaplain, or Enforcer or Heavy Soldiers.
The Chaplain:
Santé: ~300%
Armure: ~900%
Arme: Minigun
Shots to Kill:
Pistolet: 33 (Armure) + 12 (Santé)
SMG: 86 (Armure) + 30 (Santé)
Fusil: 50 (Armure) + 18 (Santé)
Fusil de chasse: 9 (Armure) + 2 (Santé)
Dmr: 8 (Armure) + 6 (Santé)
Minigun: 41 (Armure) + 14 (Santé)
Lance-grenades: 5 (Armure) + 1 (Santé)
Bolt Launcher (Pénétrateur): 7 (Armure) + 2 (Santé)
Remarques:
– Appears in final wave of Kellington Colliery.
– Does not need to reload his minigun.
– Charges enemies aggressively.
– Armor and combat behavior is identical to the Enforcer, but has less health and seems to lack resistance to shotgun and explosives when unarmored.
Mothman
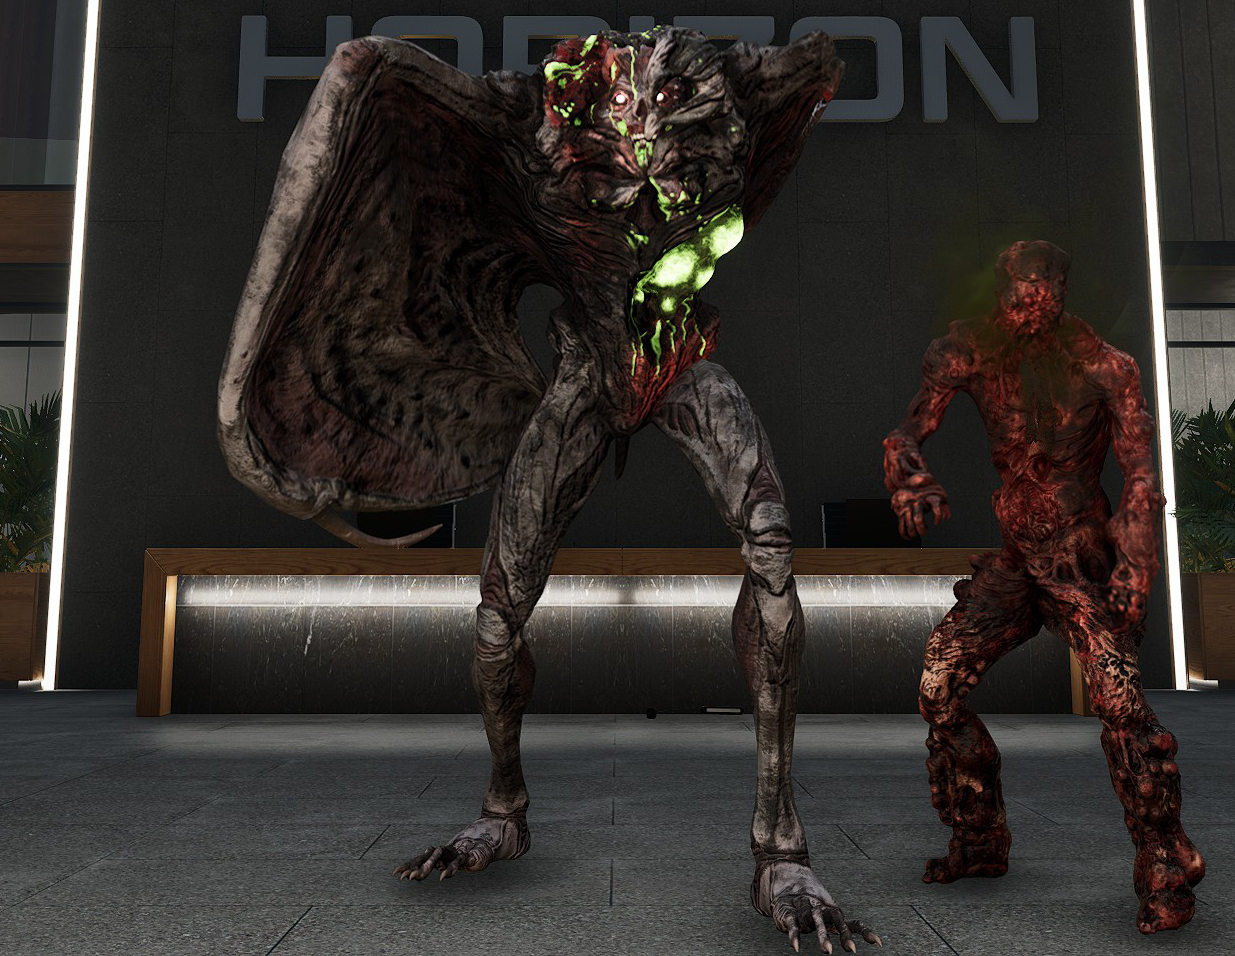
Santé: ~600%?
Shots to Kill:
Pistolet: ~24
SMG: ~61
Fusil: ~35
Fusil de chasse: 7
Dmr: ~14
Lance-grenades: ~5
Bolt Launcher (Pénétrateur): ~5
Remarques:
– Attacks with a kick, projectile acid vomit, and a grab attack that deals heavy damage to the player and instantly kills any NPC (will even kill Cycle 107 if the grab connects).
– Only vulnerable in exposed green hole in torso.
– After it takes a certain amount of damage (equal to a large attack such as a shotgun blast or penetrator shot), the next attack on Mothman will be deflected and only do very minor damage.
– Does not take damage from NPCs.
– Any NPCs killed by it will turn into zombies.
Flesh Golem

Santé: ~2400%
Shots to Kill:
Pistolet: 89
SMG: 234
Fusil: 136
Fusil de chasse: 15
Dmr: 42
Minigun: 314
Lance-grenades: 21
Bolt Launcher (Pénétrateur): 19
Bolt Launcher (Explosif): 19
Remarques:
– 2 appear in the game. One solo in a mini-boss fight, and one during the last 3rd of the Patriarch boss fight.
– Some resistance to the shotgun (similar to enemy armor).
– Moderate resistance to explosives.
– Highly resistant to the minigun.
Applicateur
Santé: 1000%
Armure: ~900%
Arme: Minigun
Shots to Kill:
Pistolet: 33 (Armure) + 37 (Santé)
SMG: 86 (Armure) + 96 (Santé)
Fusil: 50 (Armure) + 56 (Santé)
Fusil de chasse: 9 (Armure) + 6 (Santé)
Dmr: 8 (Armure) + 17 (Santé)
Minigun: 41 (Armure) + 46 (Santé)
Lance-grenades: 5 (Armure) + 5 (Santé)
Bolt Launcher (Pénétrateur): 7 (Armure) + 8 (Santé)
Remarques:
– Will teleport away and summon a wave of Cultists to fight you after his armor is broken (does not happen if spawned in sandbox).
– Does not need to reload his minigun.
– Aggressively charges enemies.
– Some resistance to the shotgun and explosives even when unarmored.
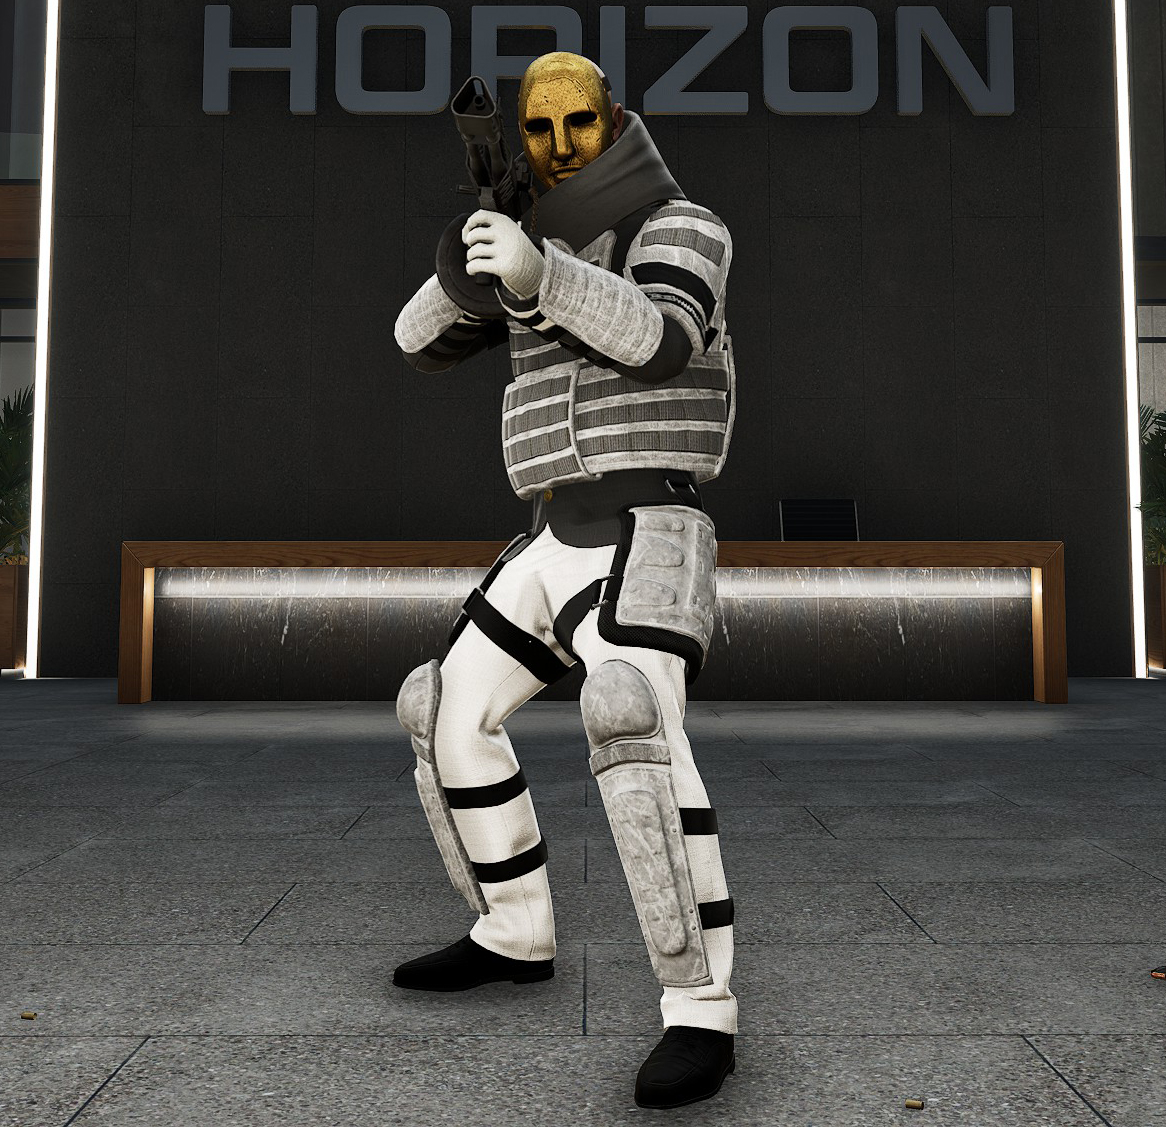
Patriarche
Santé: ~1800%
Arme: Fusil + Bolt Launcher
Shots to Kill:
Pistolet: 64
SMG: 168
Fusil: 97
Fusil de chasse: 15
Dmr: 30
Minigun: 197
Lance-grenades: 14
Bolt Launcher (Pénétrateur): 14
Bolt Launcher (Explosif): 12
Remarques:
– Can dash about a dozen feet in any direction instantly, which appears to be his version of the player’s slide ability.
– Will teleport away and summon Cultists to fight you every time he loses 1/3rd of his health (does not happen if spawned in the sandbox). Will return to the fight after a brief pause alongside the Cultists.
– The last 3rd of the boss fight includes a Flesh Golem among the Cultists.
– High resistance to the shotgun and explosives.
– Very high resistance to the minigun.
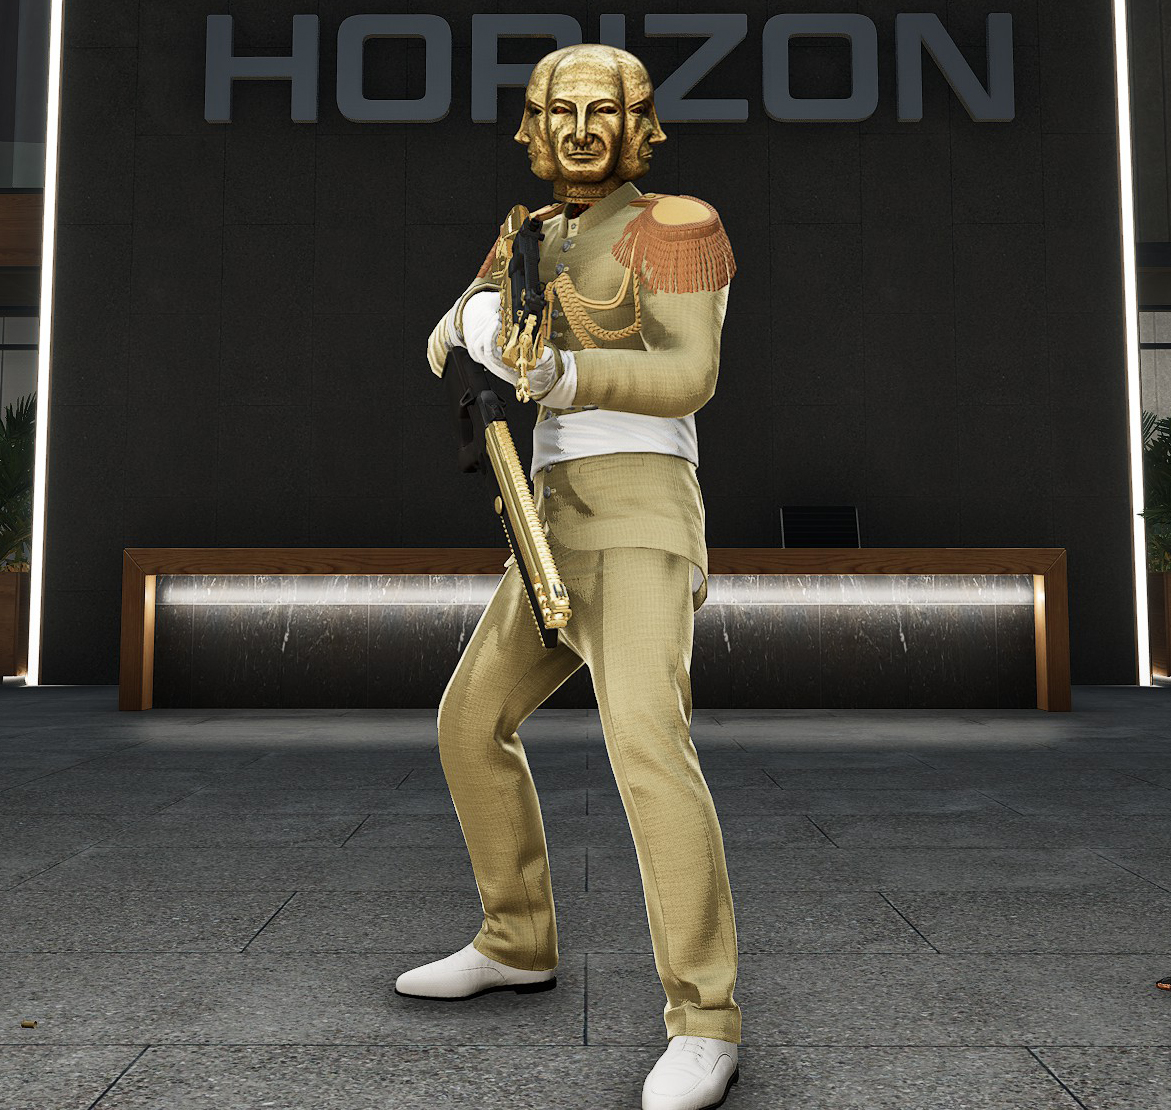
Horizon One

Santé: ~3000?
Shots to Kill:
Smg: <300
Fusil: <176
Minigun: <179
Lance-grenades: 15
Remarques:
– Armed with dual wing-mounted miniguns.
– Il’s best to kill off all the Corporate Soldiers (ils ne le font pas’t respawn infinitely) before picking up the breaching charge and spawning the helicopter.
– Easiest way to kill it is to grab one of the miniguns dropped by the 3 minigunners, pick up the breaching charge, and empty the minigun into the helicopter as soon as it appears.
– Because it flies around chaotically at long range, il’s difficult to hit with the shotgun or projectiles such as bolts or grenades.
Faire du vélo 107
Santé: ~3000% (total)
Arme: Katana + Lancer des couteaux
Shots to Kill (per phase):
Pistolet: 30
SMG: 77
Fusil:45
Fusil de chasse: 8
Dmr: ~19
Remarques:
– Attacks with a katana strike, a DMC stinger dash (indicated by a yellow eye light flash), and a throwing knife toss (indicated by a purple eye light flash). All of his attacks can be dodged with a slide.
– Katana strikes takes off all of your armor, ou (if unarmored) à propos 40% of your health, on Normal difficulty.
– 4 phases in total.
– Will deflect bullets with his katana while slow-walking in the 3rd and 4th phase.
– Moderate resistance to the shotgun and DMR.
– If spawned in sandbox mode, will become invincible after losing 25% de sa santé. May glitch out and freeze after killing an enemy. Does not use his dash attack.
Count Your Strikes

Santé: 100%
Remarques:
– Only found in TMod Sandbox.
– Characters are America 6, Sassy, GeeNine, and Giggins.
– Not aligned with any faction.
Creepers
Remarques:
– Only found in TMod sandbox.
– Characters are Alone Rookie, Alone XP, Robber Rookie, Army XP, GetOuttaHere XP, Hippy XP, Biologist Rookie, Biologist XP, BlueSky XP, Merc XP, Merc Master, Lunatic XP.
– Different characters are aligned with different factions (c'est à dire. rookies are aligned with the player, Lunatic XP aka Monolith are aligned with the Cultists).
– Stats are identical to regular guards and armored guards, depending on whether or not they have armor.
Bot Killahxtwenty
Santé: ~220%
Armure: ~190%
Arme: Fusil
Shots to Kill:
Pistolet: 9 (Armure) + 6 (Santé)
SMG: 19 (Armure) + 21 (Santé)
Fusil: 11 (Armure) + 13 (Santé)
Fusil de chasse: 2 (Armure) + 1 (Santé)
Dmr: 1 (Armure) + 5 (Santé)
Minigun: 9 (Armure) + 11 (Santé)
Lance-grenades: 2
Bolt Launcher (Pénétrateur): 2 (Armure) + 1 (Santé)
Remarques:
– Only appears in TMod Sandbox.
– Is included under Count Your Strikes, but is aligned with the player/Task Force 27.
– Has maxed out skill sliders (rate of fire, précision, etc.).
– Health is roughly equal to that of the player on Normal difficulty.
– Armor is roughly 3-4 times that of the player on Normal difficulty.
– Uses the Heavy Soldier voice lines.
C'est tout ce que nous partageons aujourd'hui pour cela Trépang2 guide. Ce guide a été initialement créé et rédigé par Généralement inoffensif. Si nous ne parvenons pas à mettre à jour ce guide, vous pouvez trouver la dernière mise à jour en suivant ceci lien.