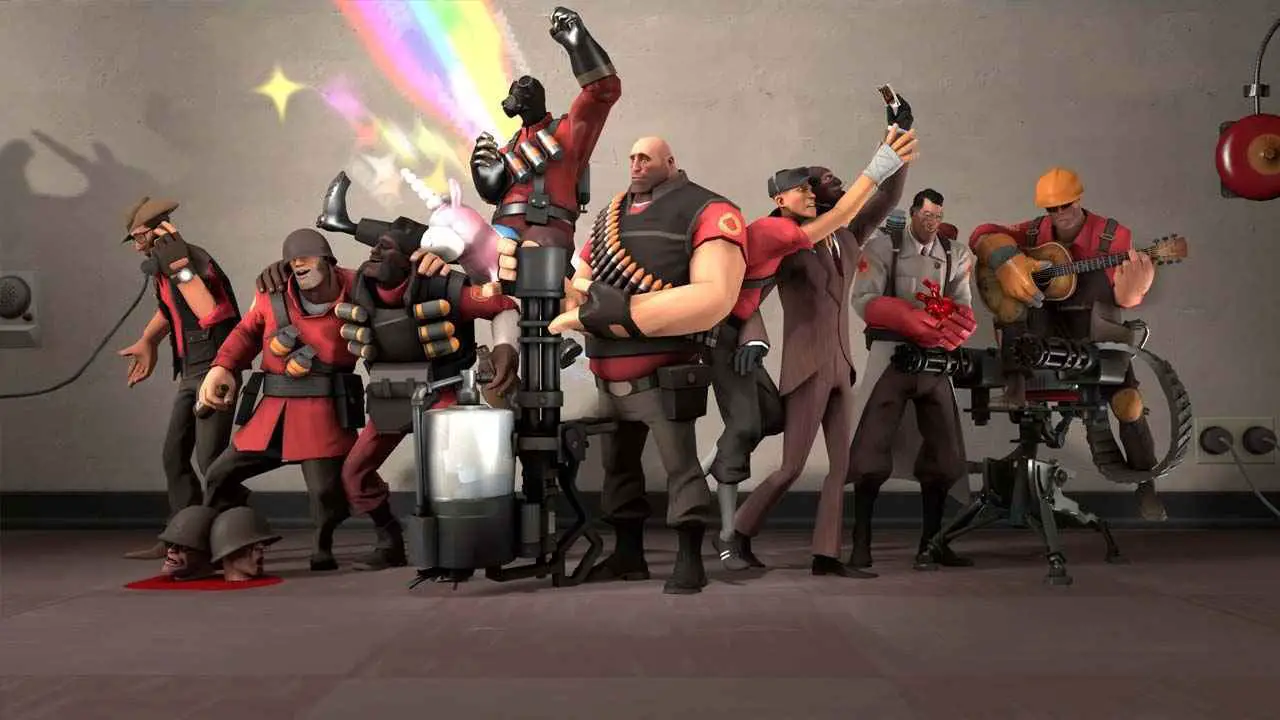
Check out this Team Fortress 2 guide to learn how you can auto-execute console commands in the game. Si tu’re one of the TF2 players who are tired of typing the same commands all over again, this guide will help you skip this process.

How to Auto-Execute Console Commands in TF2
Enable TF2 Console
For those who haven’t enabled the console in Team Fortress 2, here is the step on how to do it:
- Launch Team Fortress 2
- Cliquez sur le Paramètres bouton
- Aller à Claviers > Avancé and check the second option
- Quit Team Fortress 2
- Ouvrir Vapeur > Jeux > Right-click on TF2 and select Propriétés
- Cliquez Définir les options de lancement and type the following commands:
- -console
- Relaunch TF2 and type the following commands
- Lier [YOUR KEY] toggleconsole
Creating the AutoRun File
Now that we have enabled TF2 console, nous’re now going to create the automation. Suivez simplement les étapes ci-dessous.
- Go to the directory of Team Fortress 2.
- Une fois que vous’re already in the directory folder, aller à tf > CFG dossier
- Create a new .txt file and name it to autoexec.
- After creating a new text file named autoexec.txt, change the .txt extension to .CFG.
- The final result should be Autoexec.cfg
Console Command Customization
Nous’re now going to customize the autoexec console commands. Edit the autoexec.cfg by performing the right-click on your mouse and select open with notepad. De là, you can customize the commands. Please note that the file will be following one command per line.
C'est tout ce que nous partageons aujourd'hui pour ce guide. Ce guide a été initialement créé et rédigé par Personnel RB. Si nous ne parvenons pas à mettre à jour ce guide, vous pouvez trouver la dernière mise à jour en suivant ceci lien.
