
- Titre: Pignon
- Date de sortie:
- Promoteur:
- Éditeur:
Les informations sur Sprocket sont toujours incomplètes. S'il vous plaît, aidez-nous à remplir les détails du jeu en utilisant ceci formulaire de contact.
Instructions on how to use custom backdrops for scenarios in the new Scenario interface
The Jist
Recent updates to Sprocket have opened new possibilities to customization. One can see that a pre-added backdrop shows up when you cursor over a scenario in the new interface. This image can be changed and this guide will tell you how.
File walkthrough
Go to the following in your computer files:
Ce PC > Fenêtres (C:) > Fichiers programme (x86) > Vapeur > applications steam > commun > Pignon >
Sprocket_Data > StreamingAssets > Scénarios > Éclabousser
In splash, there should be a handful (nine at the time of this guide’s posting) .png files named:
Embuscade, Croisement, Défense, (Not my misspelling, but Hammish’s) Dunes, Champs, NTL, (No Tank’Terre) Chemin de fer, SilentBorder, and Taiga. All of these .png files are 1920 x 1080 pixels, so to avoid poor quality custom splash, use images of those dimensions or higher. D'ici, get whatever custom image you want to replace the original with, (The custom image HAS to be a .png file, and it has to have the same name as the original image, else it wont work) and copy-paste it over the original image. Unless any of the above errors took place, you should have custom splash images!
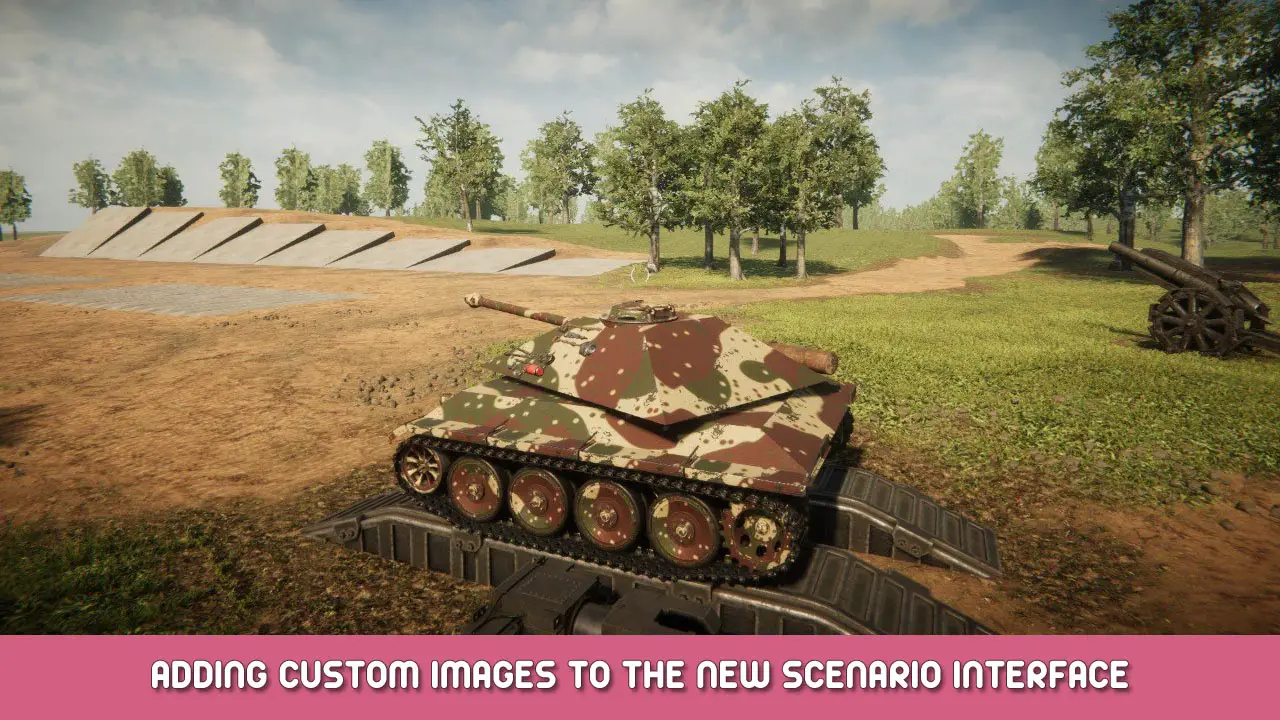
My example of the finished result

An example that I have put into my own game files: A skeptical Panther tank!
C'est tout ce que nous partageons aujourd'hui pour cela Pignon guide. Ce guide a été initialement créé et rédigé par Chris Pratt "Mario". Si nous ne parvenons pas à mettre à jour ce guide, vous pouvez trouver la dernière mise à jour en suivant ceci lien.