UN 100% achievements guide along with detailed overviews of every challenge in Entropy: Zéro 2
introduction
The guide is going to be split into two main parts — le campaign achievements et défis.
Campaign achievements will be split into sections based on their unlock method (story achievements, ending achievements, miscellaneous achievements). All of these achievements will be sorted in their individual sections in chronological order.
Challenges will be split into sections based on the map they take place in.
This guide is not a 100% achievement playthrough guide.
Réalisations de l'histoire
You will automatically achieve these as you progress through the game.
 Never had it anyway
Relive the past

 New body. New Boots.
Fight to the extraction point in Nova Prospekt.
 Then came the Combine
Lead the invasion of Arbeit Communications.
 My Evil Twin
Meet the Miscreant Agent.
 Friends in low places
Meet Wilson.
 Kill it with a GUN
Kill the gigantic man-eating monster.
 DEVIATION
Escape the chamber catacomb beneath Arbeit 1.
 Ghost Hunt
Enter the domain of the Project on your way to Arbeit 2.
 On a Road
Drive to Arbeit 2.
 Custody Assistant
Capture Judith Mossman.
 The Project
And there it is.
Fin des réalisations
These achievements are awarded for achieving different endings in Chapter 6 (
Chirality).
Before you proceed with any ending, it is highly advised to make a quick save right before killing your clone, as otherwise you will have to load the autosave at the beginning of the map.
 Problem Soul
Stop your predecessor.
 Supposed Brothers
Decide against pulling the trigger.
 There will be pain
Kill the Advisor.
After dealing with your clone near the end of Chapter 6, an Advisor will appear behind you and attempt to wipe your memory. Damaging the Advisor will anger it and begin a boss fight. After killing the Advisor, you need to walk up to the ship’s control panel, expose all of the 4 entropy cells, and destroy them.
After being sucked into the ship and talking with G-Man credits will roll. After the credits there will be an additional cutscene. When the cutscene ends, this achievement should be awarded. This may not always be the case though. Si vous ne’t get the achievement after this cutscene, reload the save and try again.
 There will be darkness
Wipe the slate.
 Toujours en vie
Il’s in the system.
 Battre le flic
Complete the game on Normal difficulty or higher.
 Mauvais flic
Complete the game on Hard difficulty.
Réalisations diverses #1
These achievements have specific unlock conditions that will likely not be achieved through normal gameplay.
The achievements are sorted chronologically, si possible. Ones that cannot be sorted this way will be placed at the beginning.
Radio Recon,
Closet Cleareret
Temporal Troubleswill have their own sections due to their size and the fact that they span across multiple chapters.
 Please Knock
Kick open 60 portes.
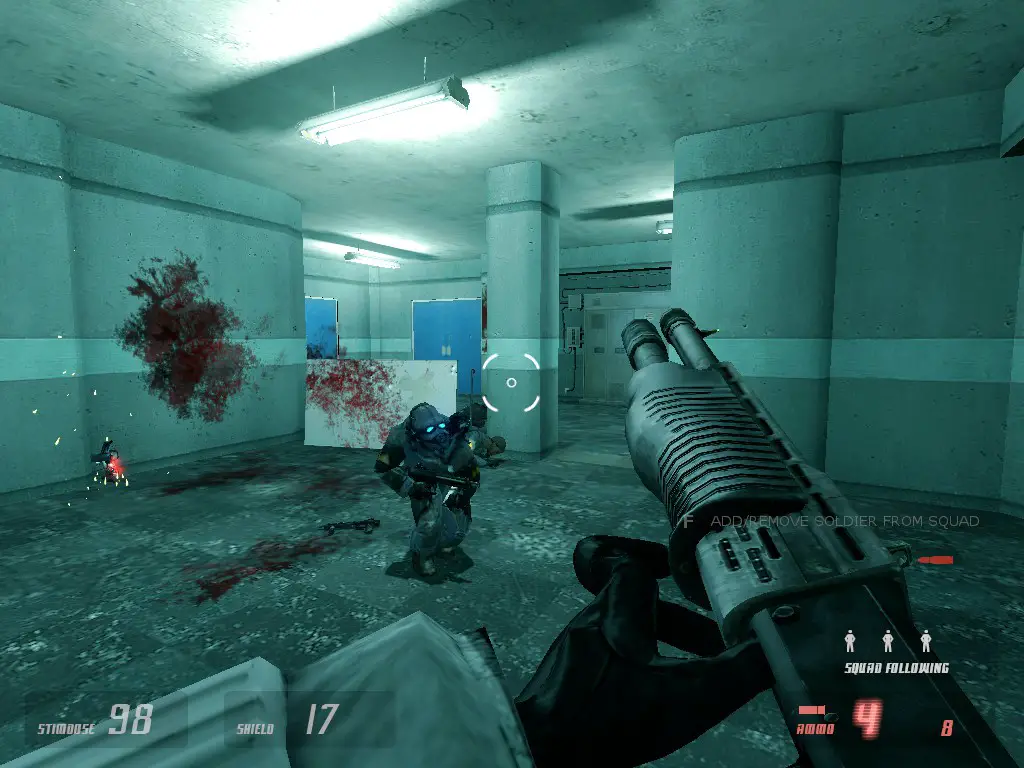
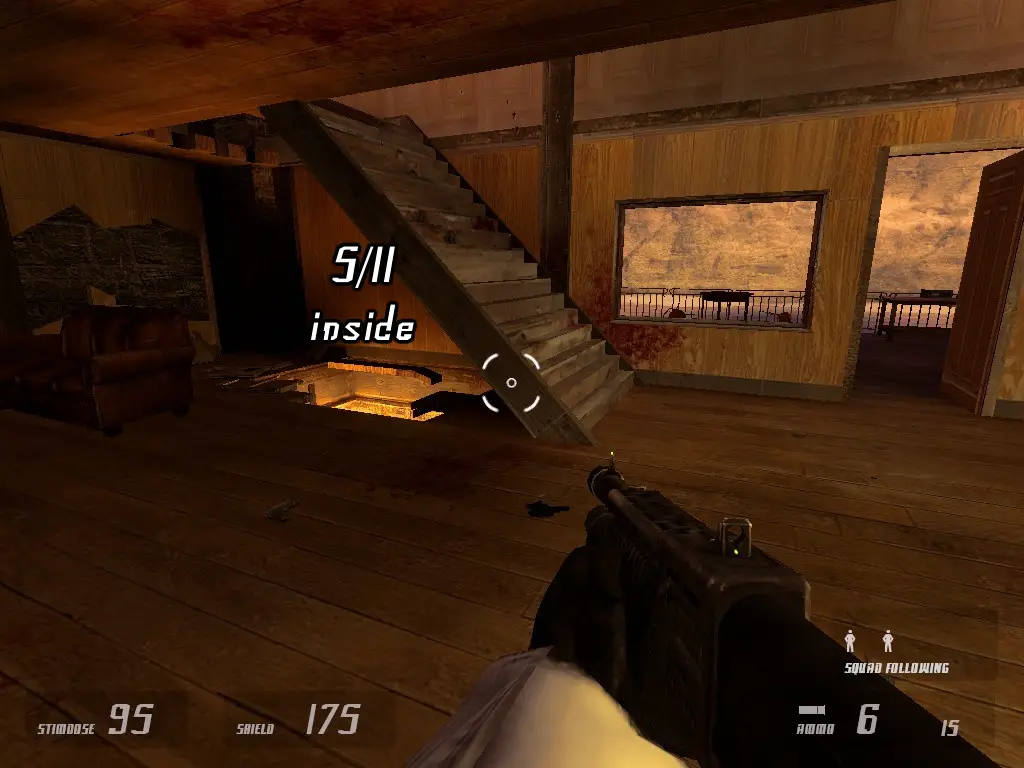
 Cell Division
Reach the extraction point with four soldiers.
Au chapitre 1 (Cendres), you need to reach the shower area near the end of the Chapter with four Combine Soldiers in your squad. Along your way to that area you will meet 5 militaires, one of which is scripted to die from an Antlion Worker.
The first soldier is unmissable, comme il’s visible right after exiting the elevator at the beginning of the chapter. You will find the second soldier shortly after opening the gate and getting your hands on the Pulse Rifle.
Soldat #3 will be operating a manned gun, visible shortly after the crate where you can acquire the SMG/MP7. Soldat #4 will be inside of the control room, which you will have to jump out of to progress the game.
You can prevent them from dying by commanding them to go to a safe place, while you clear out the area ahead. Playing on the easiest difficulty is heavily recommended, as your squad will take much less damage that way. I recommend also quicksaving often. Before you enter a loading area, check if your entire squad is nearby, as entering a loading area with a squadmate that’s too far will make them disappear, voiding the achievement.
Below is the area you get the achievement in.
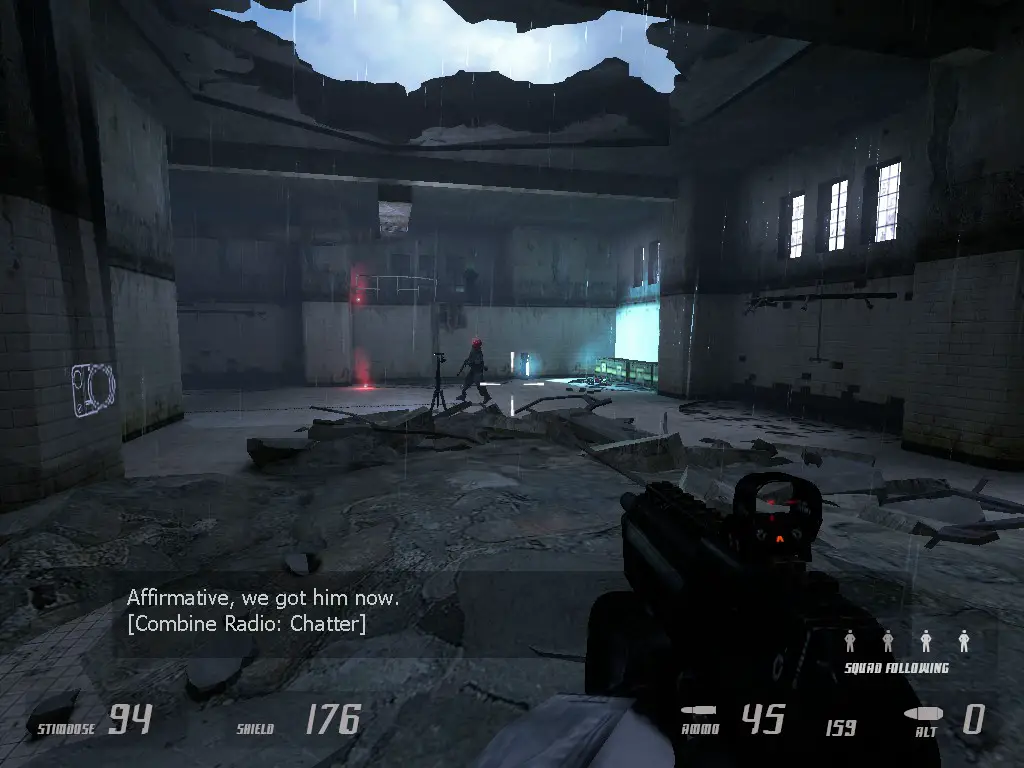
You should get it once the Shotgun Soldier says Affirmative, we got him now
 Interdependency
Get health from a surrendered medic.
This achievement can be earned as early as the very beginning of Chapter 2 (Contact Aberration). To make an enemy surrender, you need to kick weapons out of their hands to render them defenseless, and then interact with them.
To get health from an enemy medic, they need to be surrendered while standing up. Vous pouvez aussi’t be at full health. Due to the clunky AI, the medic may take a good while before giving you health. Simply stand near them and wait for them to give you health.
 Science Team
Reach the secret lab within Arbeit 1 with five soldiers.
Au chapitre 2 (Contact Aberration), vous devez reach the airlock to the secret lab avec five Combine Soldiers in your squad.
The first three soldiers will jump down from the ledge after killing three rebels in the area pictured below. If you kill only two and can’t see the third, il’s very likely that the third rebel’s AI failed and is sitting in its spawn location. To see it, toi’ll have to move back a bit.
The next soldier will appear during the fight with the rebels inside Arbeit 1.
The fifth and final soldier will be much farther ahead in a secret area, which you will encounter after getting through the explosive-rigged room. You will need a SLAM mine to bust through. You will also need to bring Scar Zero a weapon for him to become a part of your squad. Fortunately the game will spawn and highlight a pistol on the table right outside the wall you just destroyed.
Place your 5-man squad in a safe place before using the control room. Après, kill all of the enemies, and neutralise the sniper above the airlock by tossing a grenade into his nest. The achievement should be awarded when all 5 squadmates are in the airlock with you.

 Astuce de fête
Kill a long-jump rebel whilst they are in mid-air.
 Worth the Weight
Consommer 10,000 kg with Xen grenades.
Shortly after there will be a section with three zombies, where Wilson will instruct you to throw one of the grenades at them.You can quicksave in this section and keep reloading the savefile to farm the weight.
Alternativement, you will probably get this achievement through regular gameplay.
 Dirty Harry
Tuer 18 rebels using the 357.
Réalisations diverses #2
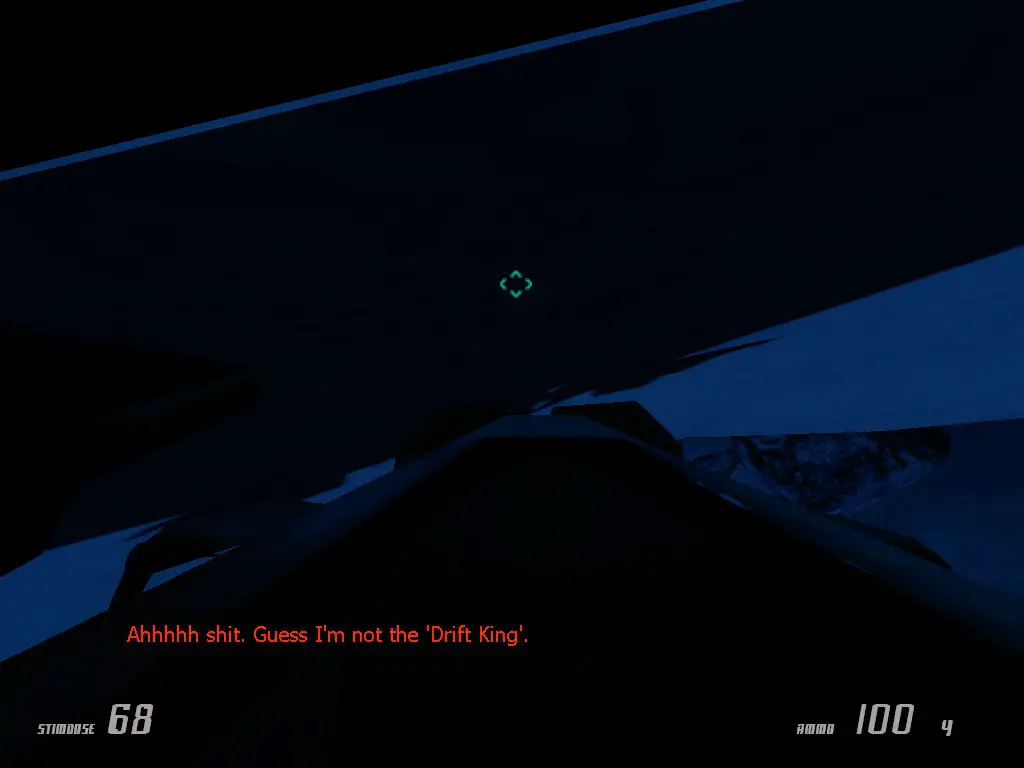
 Drift King
Flip your APC.
Au chapitre 4 (Venture Ghost) you will eventually come to a checkpoint that will need its power to be restored to open the gate. Near the power station there will be a ledge that you can use to flip your vehicle.
 Far Distant Eyes
Witness the secret temporal overlay in the monitoring station.
 Rebar Huntsman
Tuer 25 alien creatures with the crossbow.
 Now there are two of them!
Kill both of the gonomes in the Xentarium.
 No Chance of Escape
Neutralize Dr. Mossman’s helicopter on the Arbeit 3 helipad.
 Scar Zero
Reunite with Scar Zero at Entropic Control.
Awarded automatically upon reaching the Temporal Wall Transport Platform area, assuming the player has escorted Scar Zero to the secret laboratory underneath Arbeit 1 (upon doing so, Scar Zero will speak a unique voiceline when you’re about to talk to your clone).
Le joueur ne peut pas escort Scar Zero, and start a new game on Chirality afterwards, as this will count as two separate playthroughs, et je le ferai pas grant the achievement. The player will need to play the game uninterrupted from escorting SZ to entering Entropic Control.
 Délivrance
Bring Wilson to the upload station at the end of the game.
 Overwatch says « Stop kicking it »
Kick the Advisor.
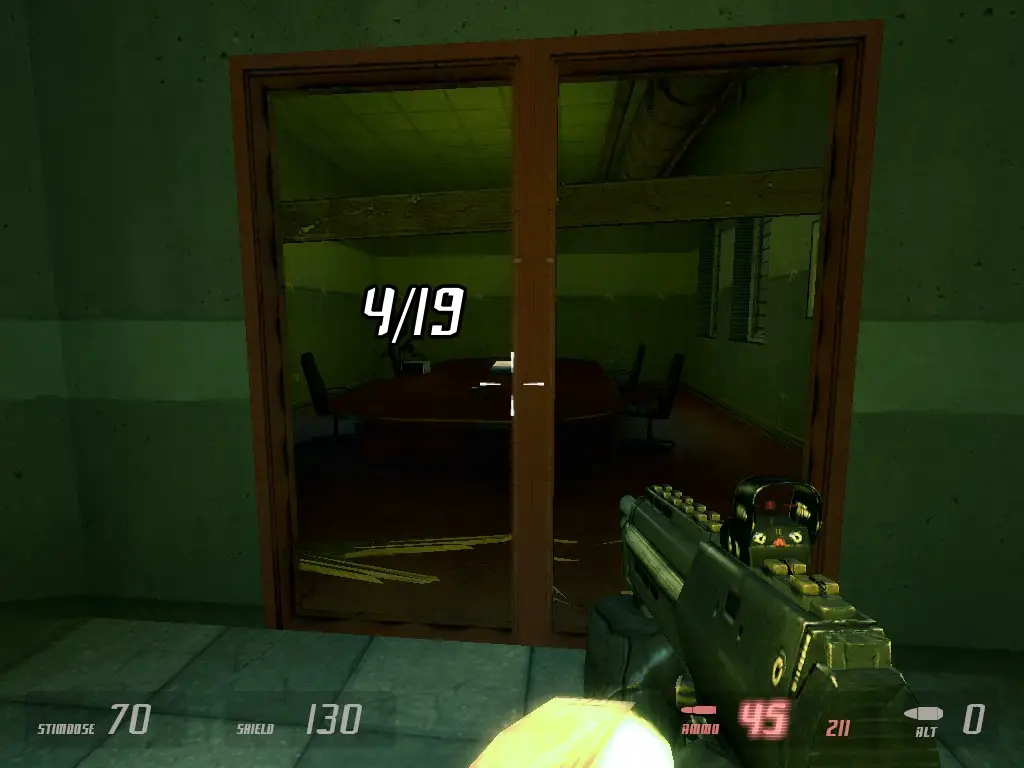
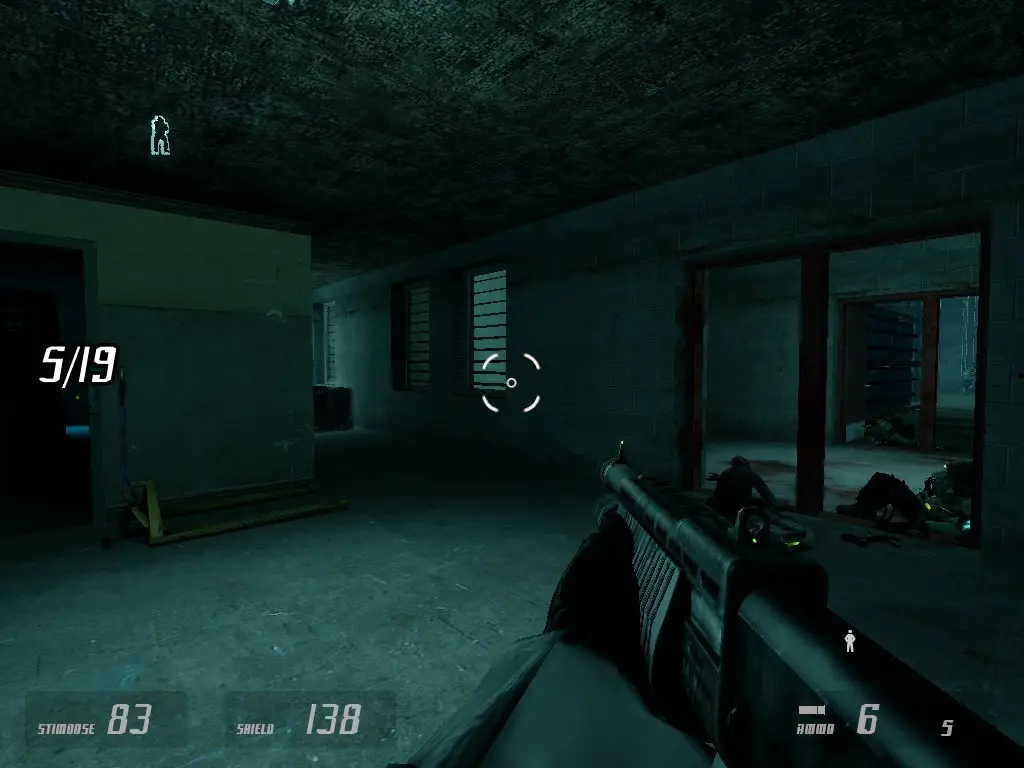
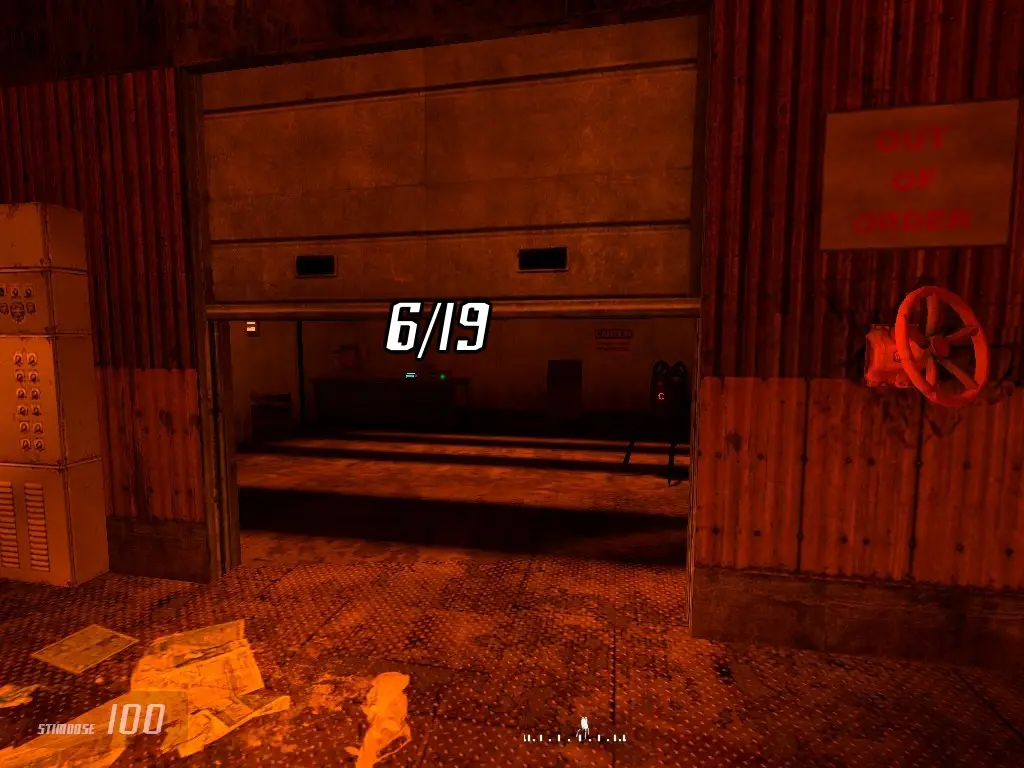
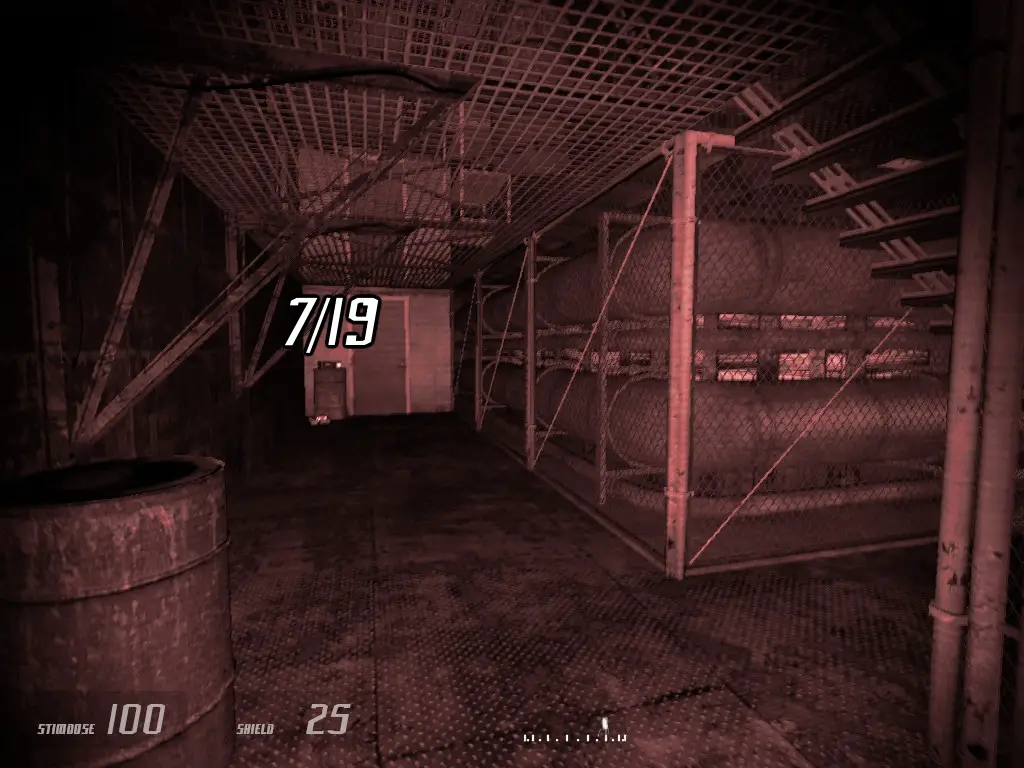
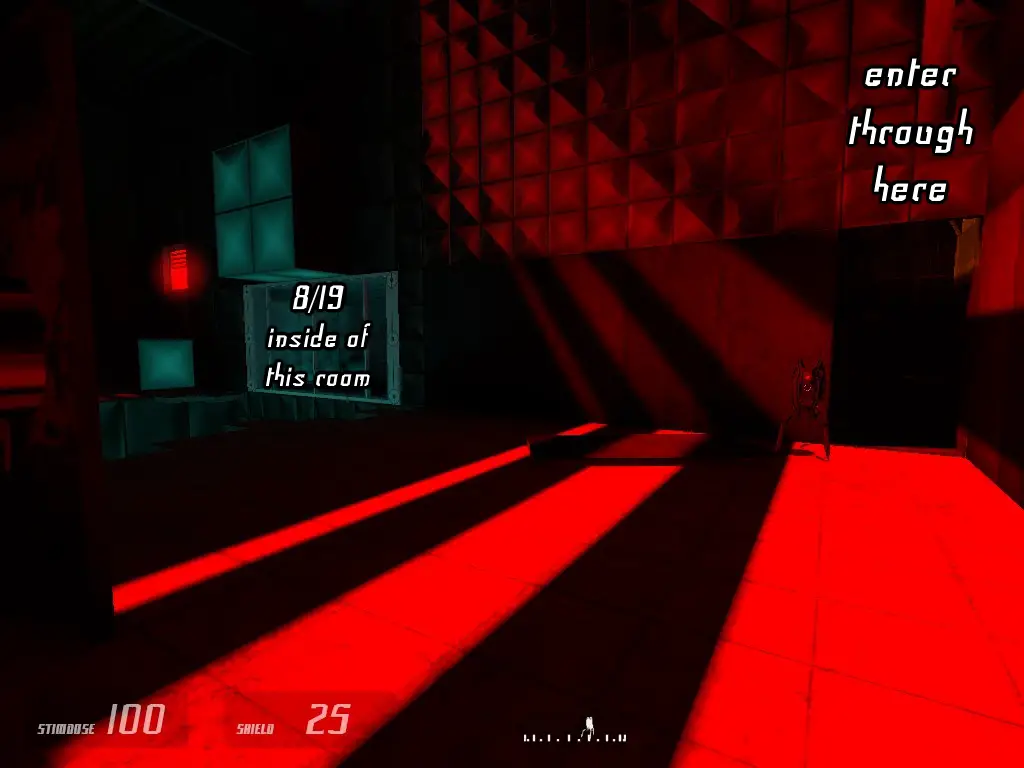
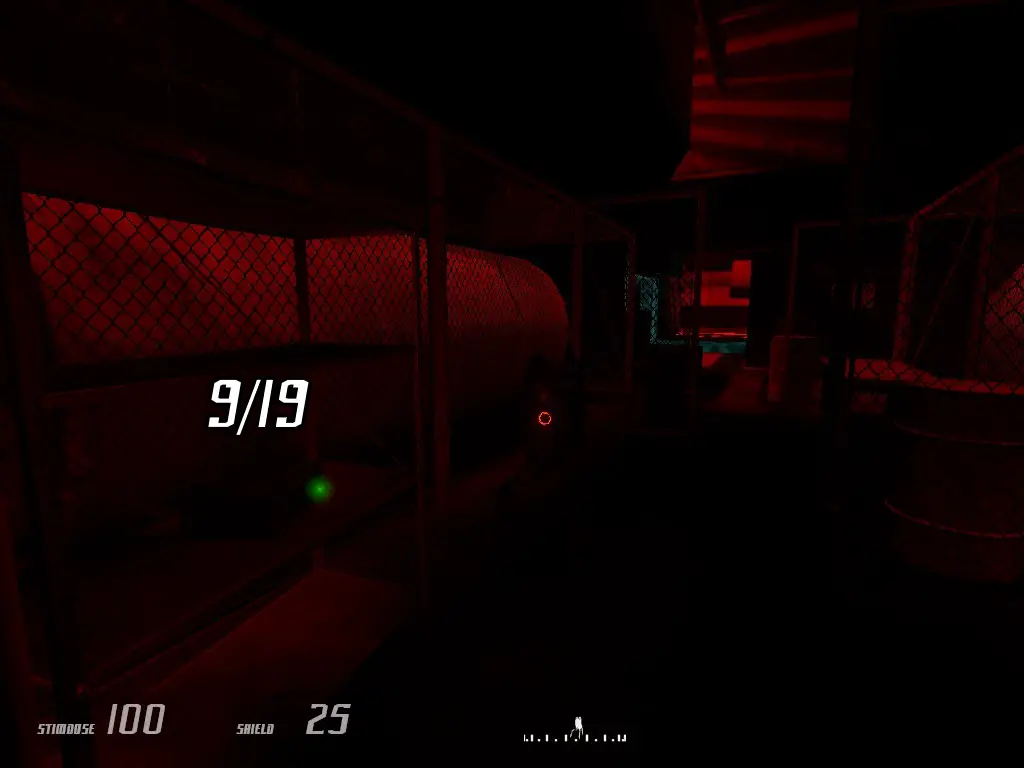
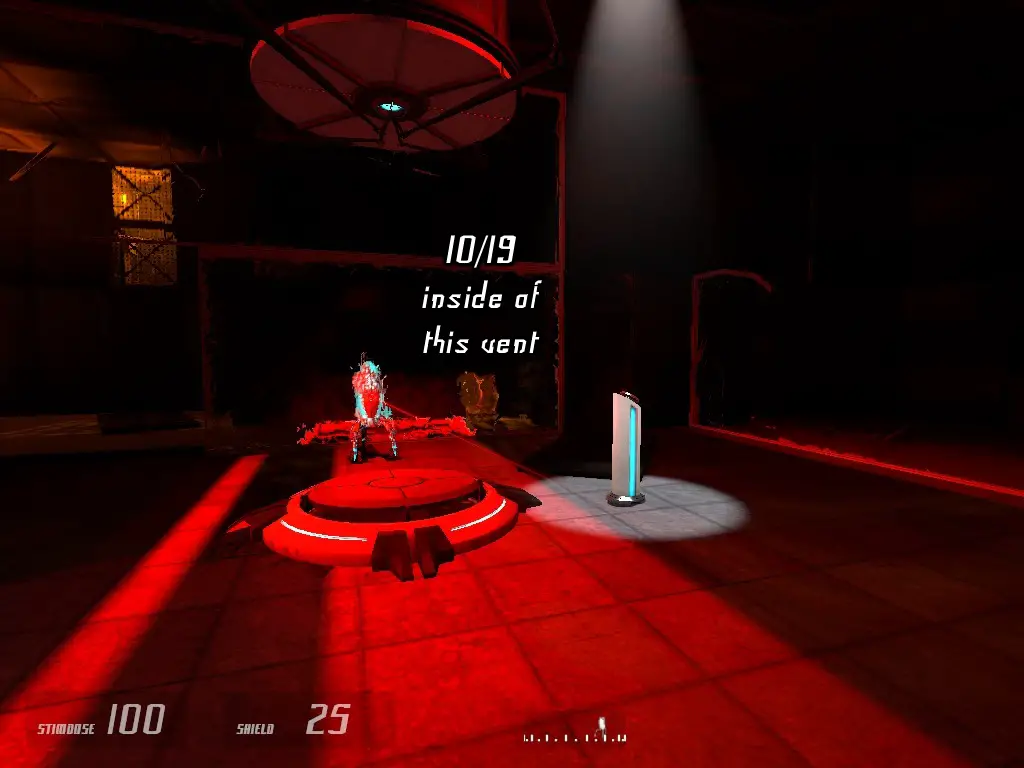
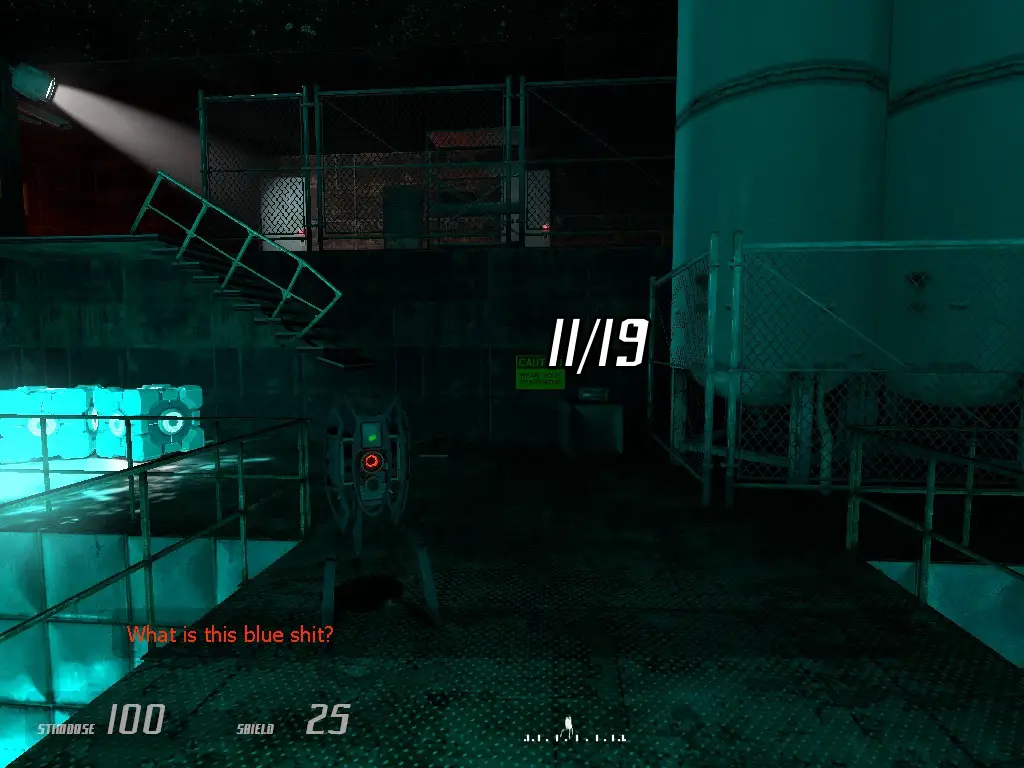
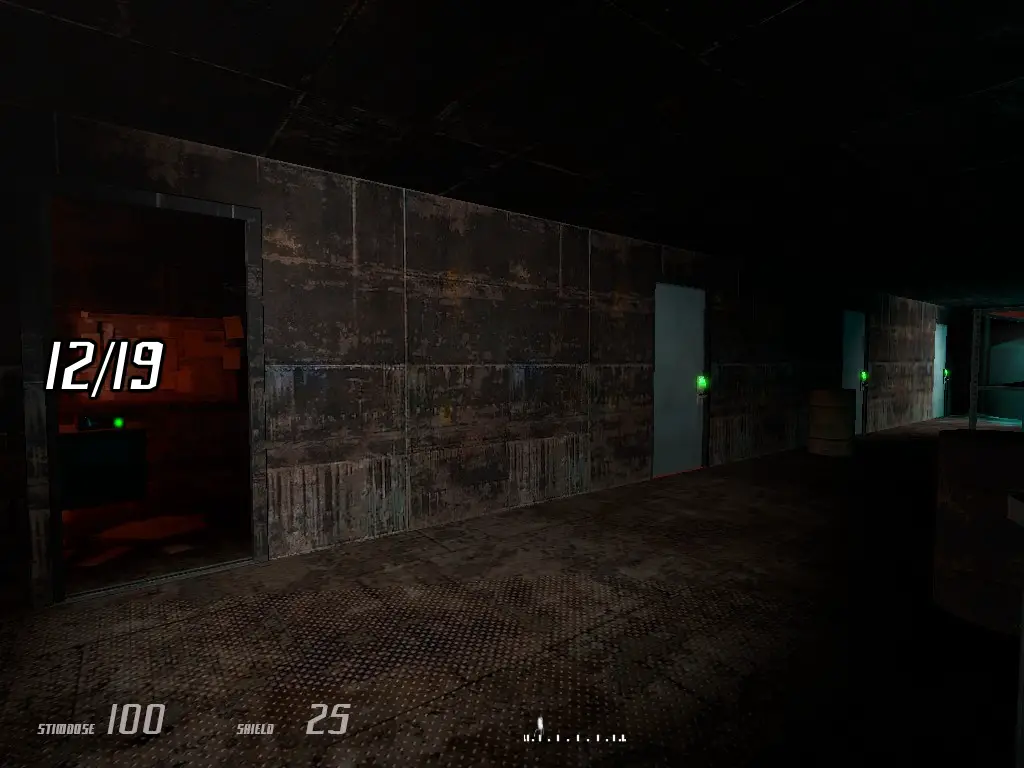
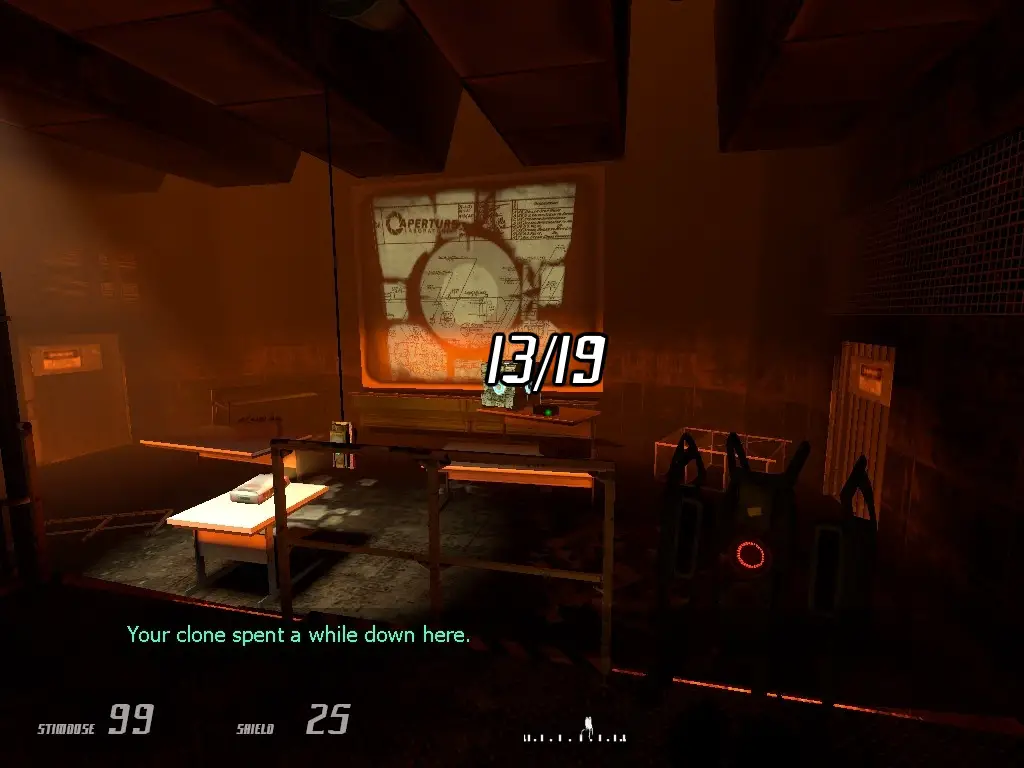
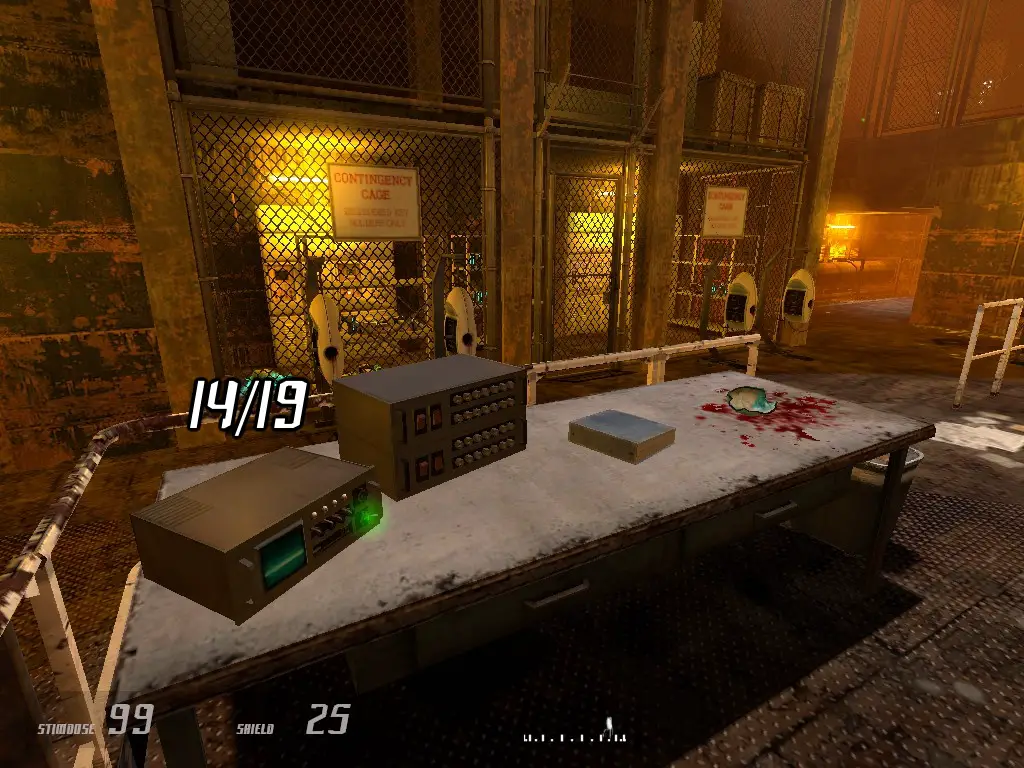
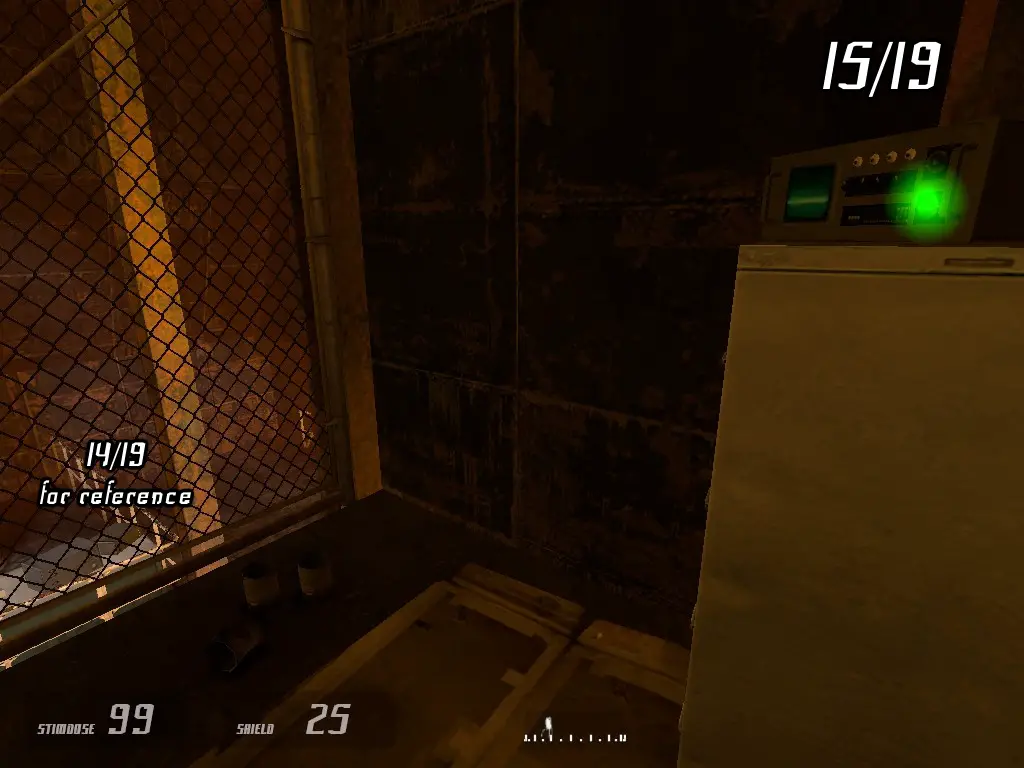
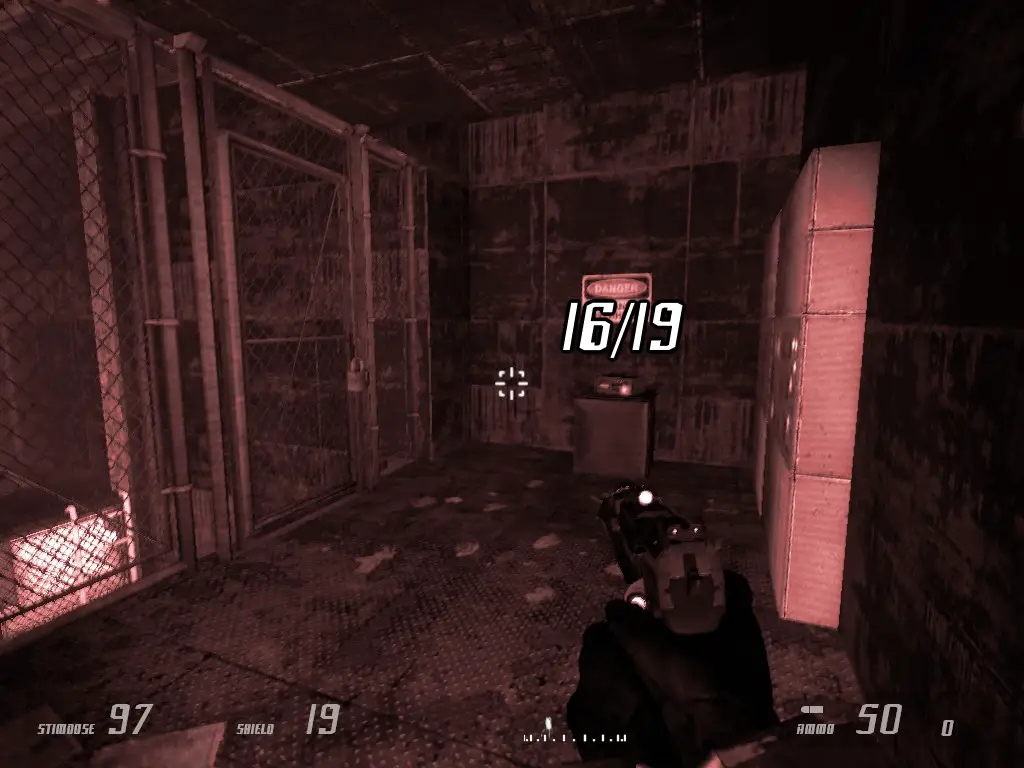
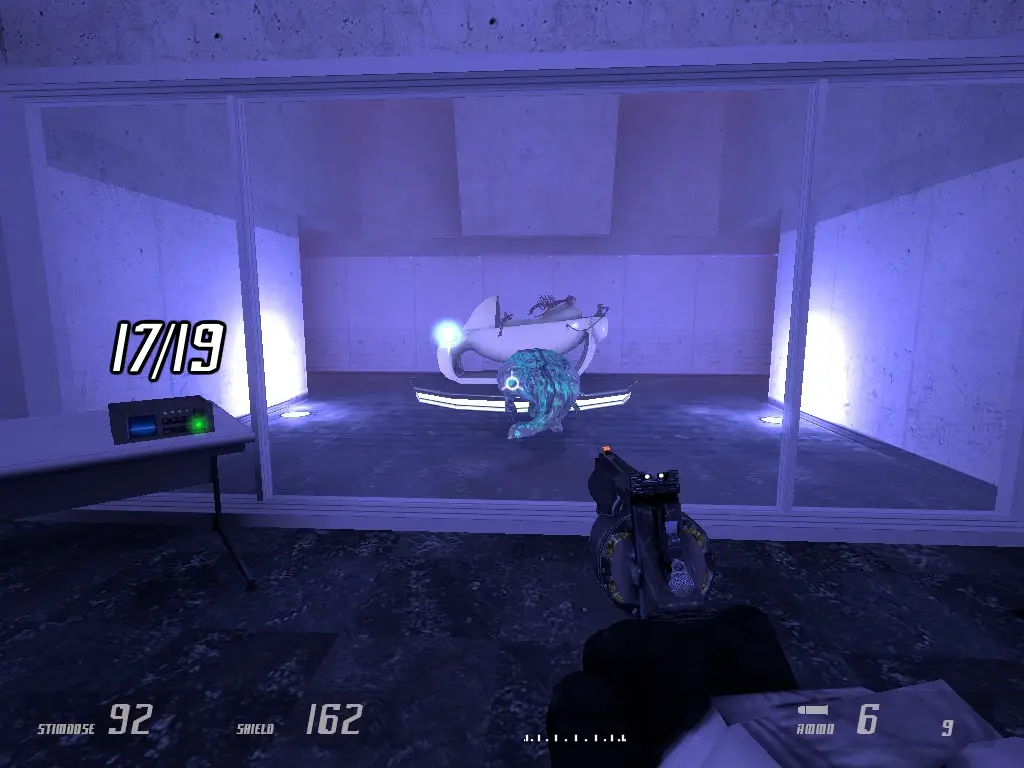
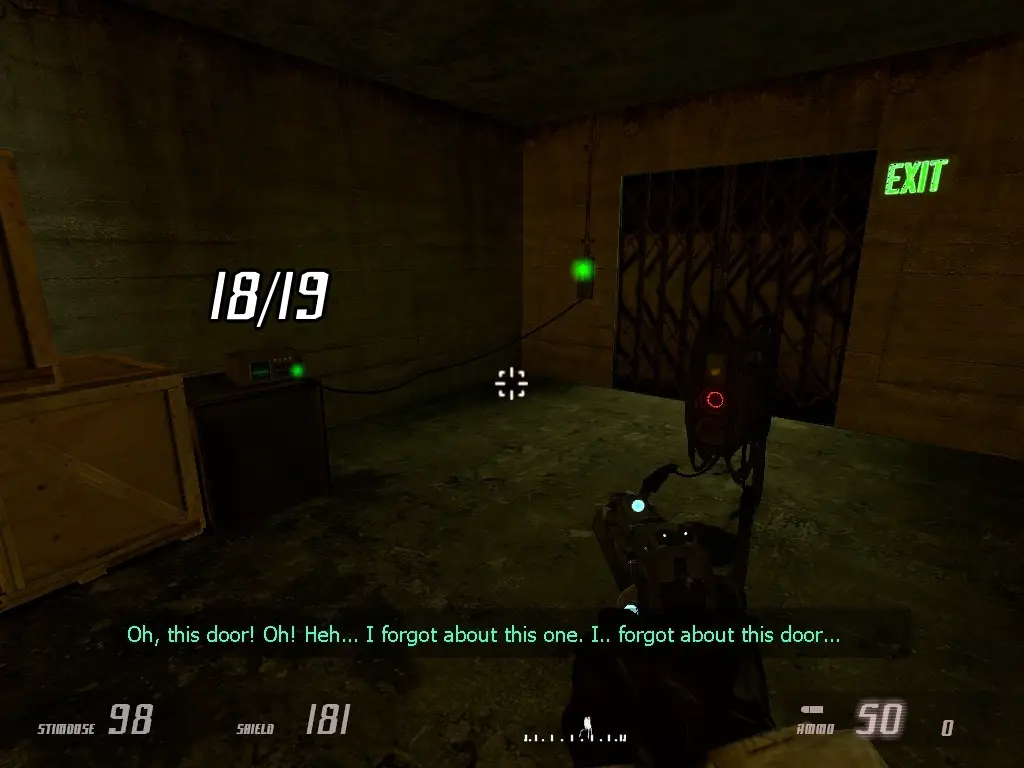
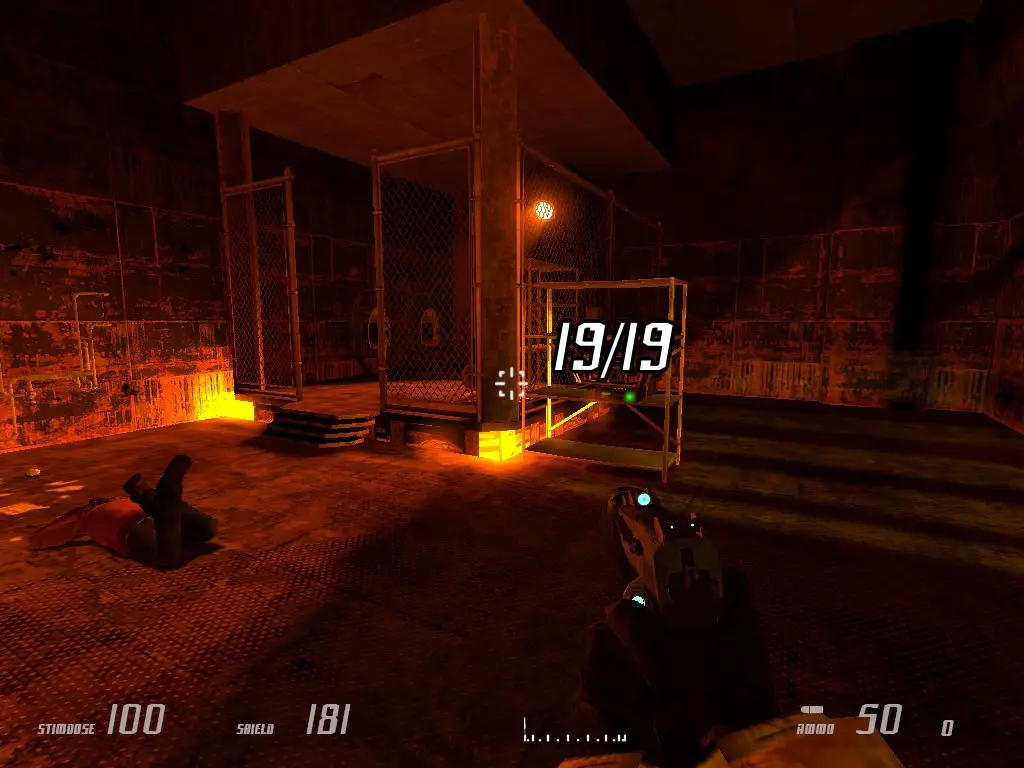
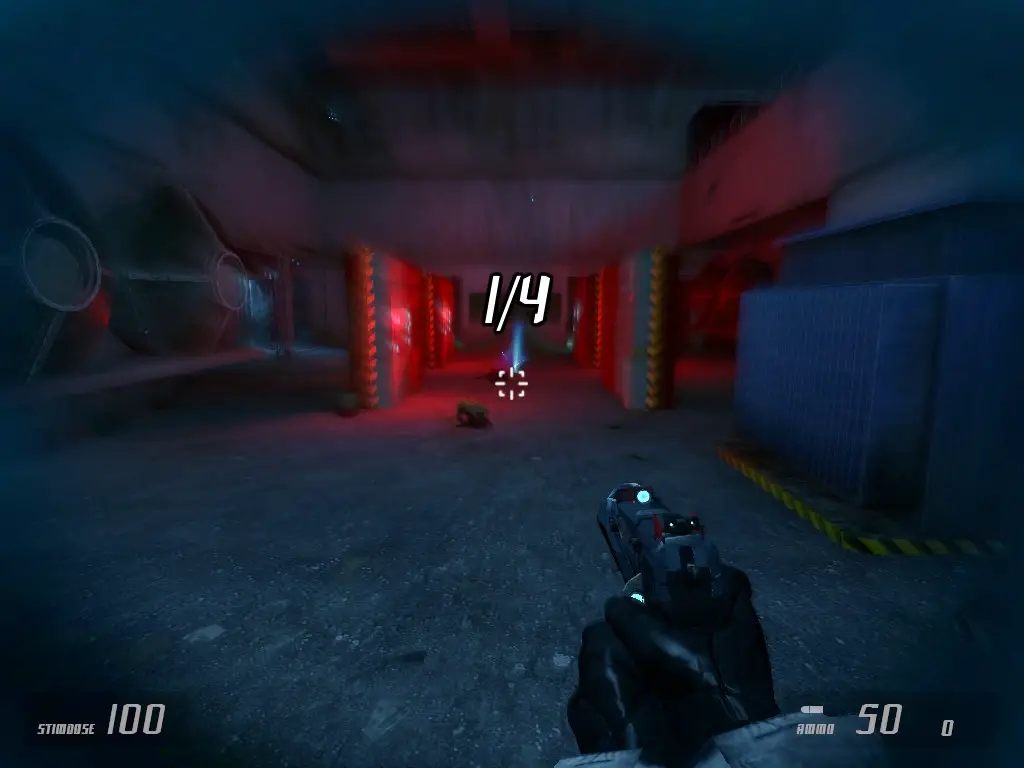
Radio Recon

Radio Reconrequires the player to find 19 relatively hidden audio recordings in Arbeit 1, which spans across three chapters —
Contact Aberration,
Chamber Catacomb, and the very beginning of
Venture Ghost. Below are pictures with the locations of the 19 radios along with detailed information of their whereabouts.
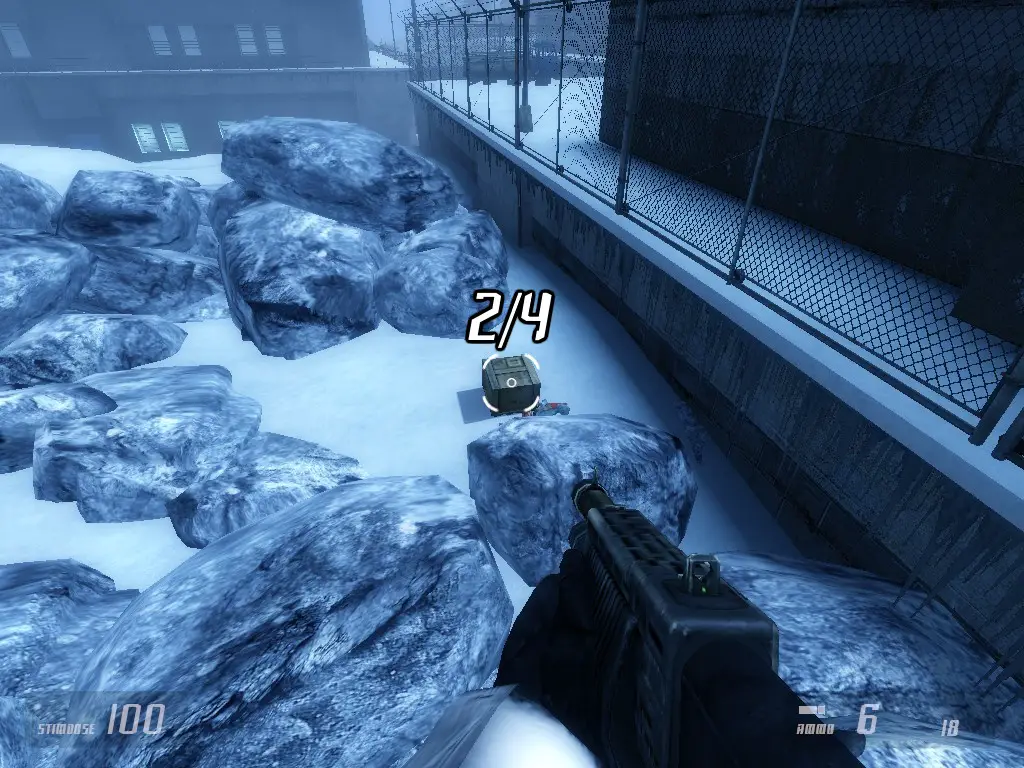
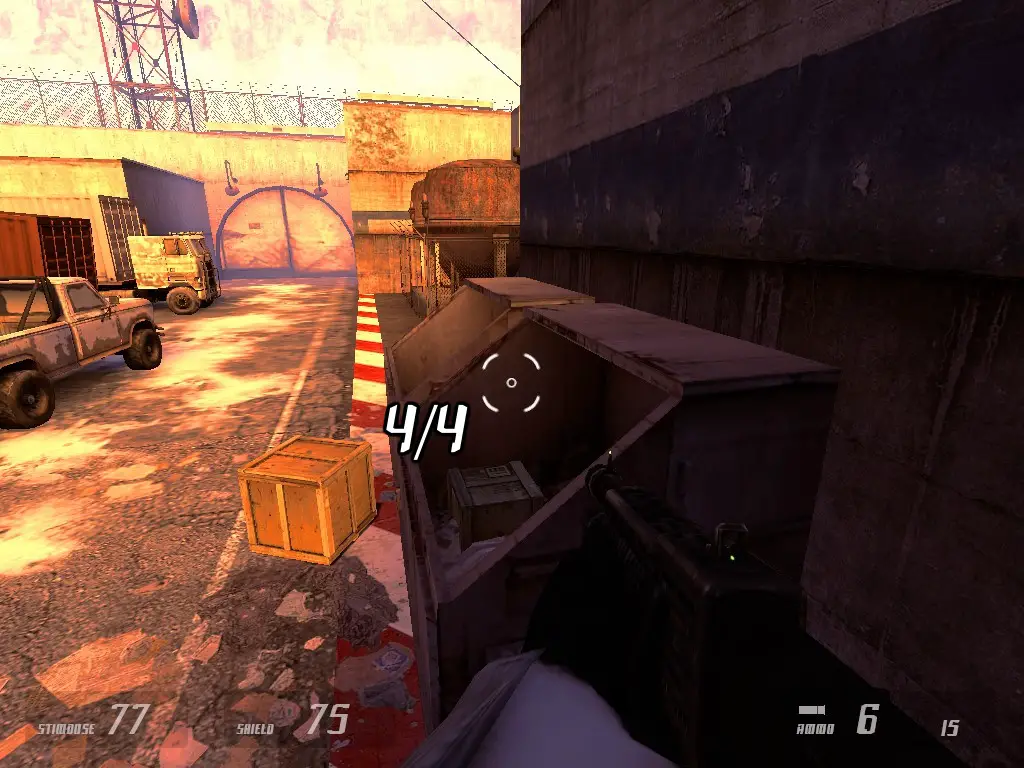
Closet Clearer

Closet Clearerrequires the player to bring
Wilson du chapitre 3 (
Chamber Catacomb) to the surface, and take him with you in order to
ouvrir 11 placards, which span multiple chapters, up to the end of Chapter 5 (
Apprehension).
Below are pictures with details on the whereabouts of the closets.
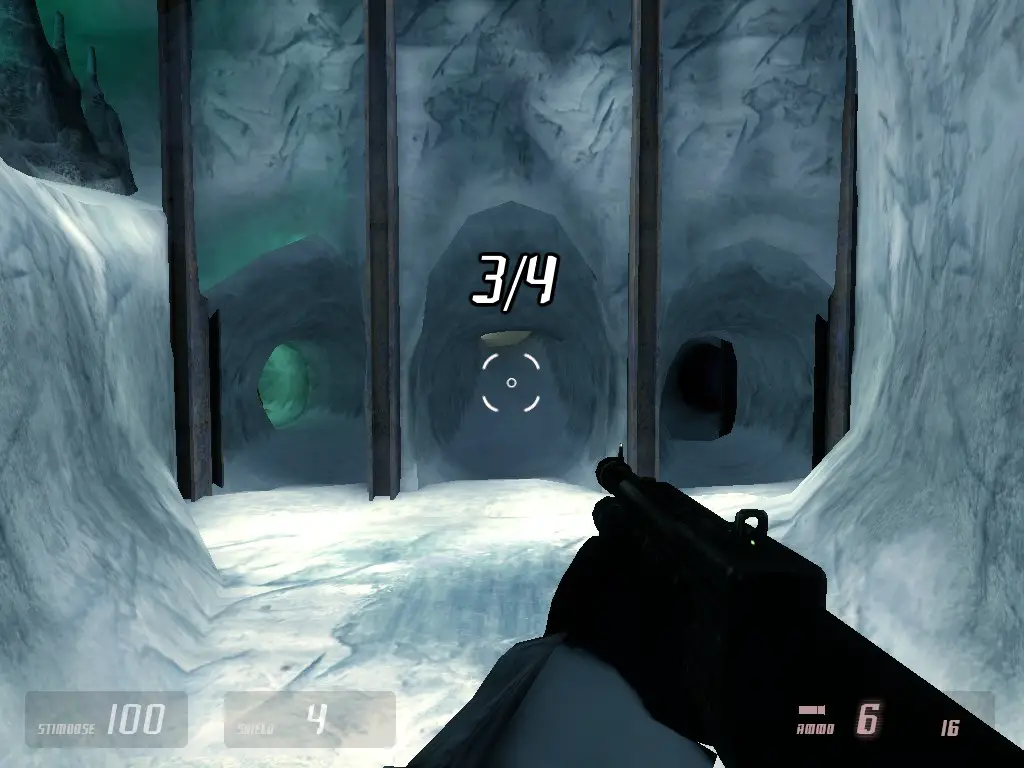
Temporal Troubles

Temporal Troublesrequires the player to kill 4 instances of the
Temporal Headcrab, which appear in
Chapter 4a(
one instance), et
Chapitre 5(
three instances).
Below are pictures and details of their whereabouts
Défis
In addition to the campaign, the player can also earn achievements in E:Z2’s
défis, situé dans le
Cartes bonussection in the main menu. The challenge folder contains
8 cartesthat each have a set of
five challenges:
- Least Damage
- Take as little damage as possible
- Least Bullets
- Fire as little bullets as possible
(projectiles like Crossbow bolts, et des explosifs, including APC rockets don’je ne compte pas)
- Fire as little bullets as possible
- Least Time
- Complete the map as fast as possible
- The game starts counting down immediately from when you spawn in.
- Complete the map as fast as possible
- Least Kills
- Complete the map with as little player-caused kills as possible
- Most Mass
- Suck up as much mass using Xen Relay Grenades as you can, and finish the level.
(the game will start you out with 9 Xen grenades)
- Suck up as much mass using Xen Relay Grenades as you can, and finish the level.
This equals to a total of
40 défis, that the player needs to pass to earn the challenge achievements.
Challenges will also always start the player off on the Combine Elite (Dur) difficulté. Changing the difficulty mid-game will fail the challenge.
Challenges additionally have different
rangs — Bronze, Argent, and Gold, and as expected, the higher it is, the harder it is to get. The three challenge achievements require the player to beat every challenge with at least bronze, argent, and gold ranks respectively.
Below is a list of each and every one of the 40 challenges with tips on how to get the gold rank.
Challenges are pretty time-consuming and also quite difficult at times. Si vous ne’t want to deal with them for whatever reason, you can just turn on
SV_CHEATSusing the console and turn on godmode, nullifying the difficulty (
remember to turn sv_cheats off before completing the challenge). Mais ça’s scummy.
The information below provides the baseline information for completing all of the challenges.
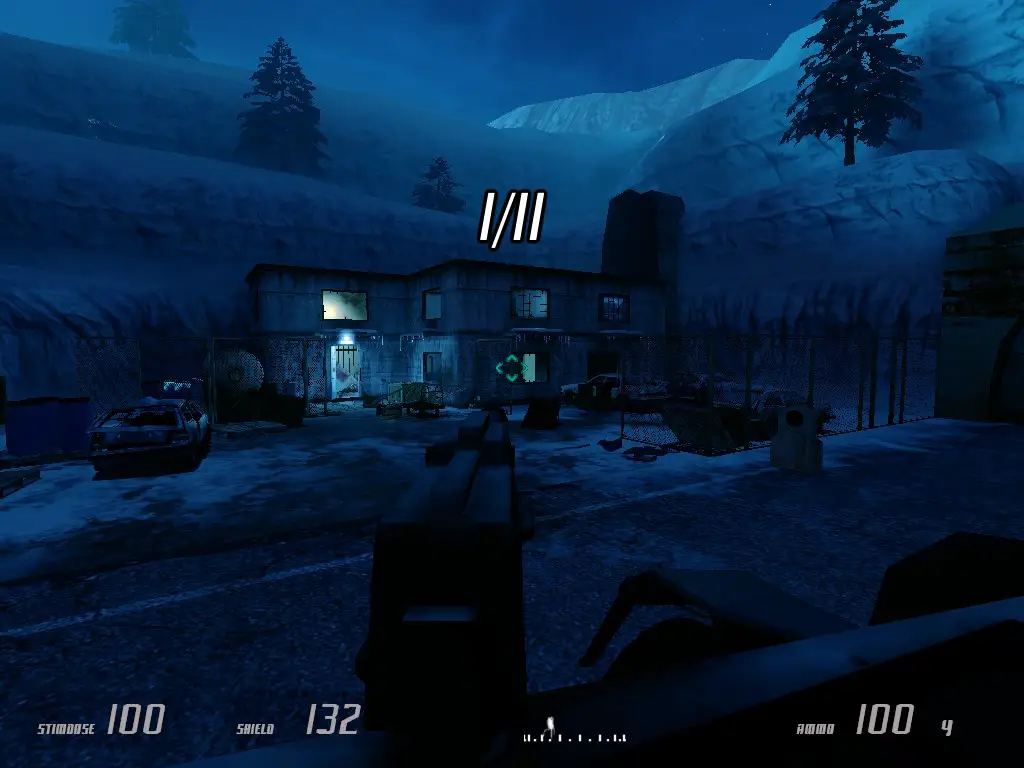
Arbeit Offices

Abuse quicksaving and prioritise finding armor, not much else to say.
Use your squad to take care of enemies, but make sure to not overload them, comme toi’ll need them for the entire map. Once the rollermines spawn in, I heavily recommend taking advantage of them for the rest of the map.
Definetely the hardest challenge of this map. Give it a few tries, get familiar with enemy positions and behavior. Quicksave often if you feel like you have a good pace. You should have about 5 à 10 seconds left once you reach the last room, but you can get as much as 20 if you get lucky.
Pretty much identical strategy to Least Bullets. Use your squad and abuse rollermines. Use explosives if you’re feeling like it.
Second hardest. Clear the entire map and afterwards bunch up a ton of props into one place if possible. Toi’re going to need at least 555 mass/grenade to get to 5000, and there aren’t that many props on the map, donc toi’ll need to suck a good chunk of it up.
Shipping Center

Toi’re going to have to abuse quicksaves to be equal to or under 10 damage for the entire period
before using the control room. The less damage you take the better. After you open the airlock, run back down, get a load of armor, et toi’ll be able to just run off to the side and get to the airlock with under 35 dmg in most cases.
Use your squad and explosives to your advantage. Because you have no damage restrictions, once you open the airlock you can just rush to it and finish the challenge.
The level can be beat comfortably in under three minutes. Je ne devrais pas’t pose an issue if you’re familiar with the map.
Identical strategy to Least Bullets. The limit for gold is quite generous, so you can kill a few enemies if they stand in your way (
especially the ones in the lobby on the way to the control room).
The big warehouse space has quite the amount of props for you to suck in.
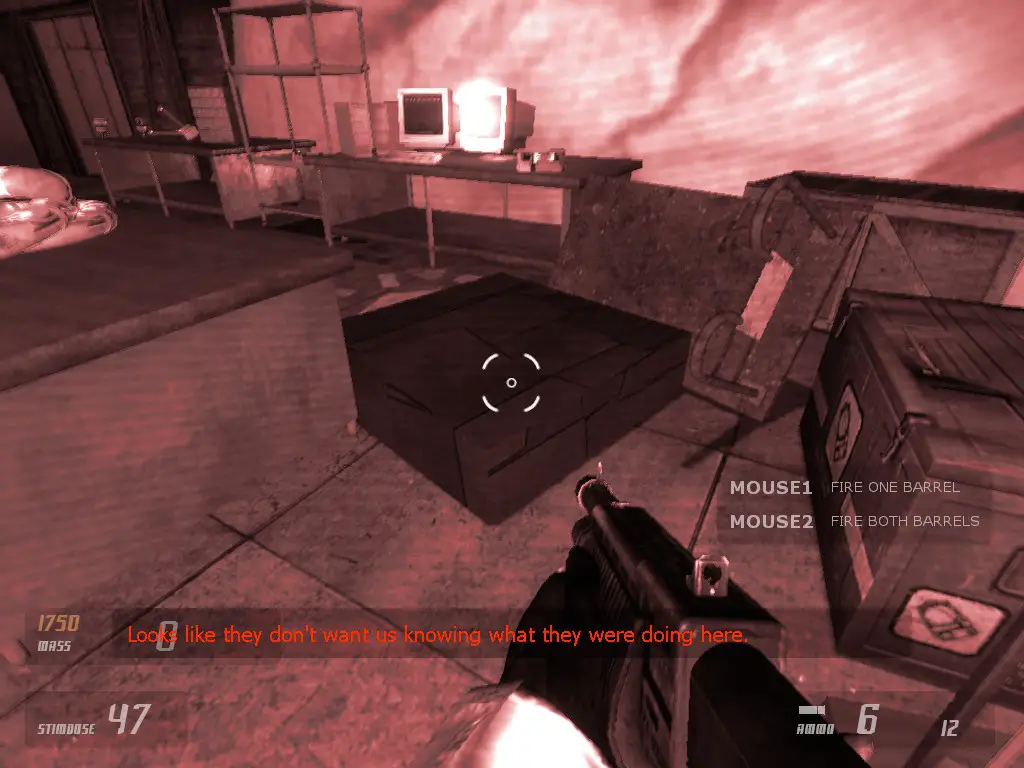
APC Assault

There are two RPGs that will ruin this challenge for you; one up high, au pont, and one on top of the building, on its left side. Take those out first, avoid their rockets, and the rest is up to you. The APC offers a lot of protection from damage. Use that to your advantage.
Actually quite easy since you can use APC missiles to kill enemies.
Instantly book it for the power station. If you do that, the rest should be quite easy to complete in under 5 minutes
This one is quite hard. Use the Hunter to kill the rebels and turn on the power (
unfortunately the lad on the bridge is out of the Hunter’gamme, donc toi’ll have to keep evading him). Drive slowly through the bridge before the warehouse in order to not accidentally run over any enemy. You need no more than one kill to make it through the warehouse at the end of the map, since inside of it are 7 Pit Drones. Kill six, and evade the last one.
Surprisngly easy, since you can just keep sucking in the APC, as new ones will be dropped via dropship. Make sure to suck in the APC
aprèsthe dropship despawns, otherwise the game might bug out. Also be prepared to fight the swarms of Antlion Guards
Lake Tuurngait

NOTE:This map is slightly bugged and spawns you in front of all of your items. You will need to exit the APC and walk back to pick up all of your stuff. Sinon tu as gagné’t have any weapons, gagné’t be able to sprint and won’t be able to use night vision.
Just rush through the level using whichever path you like. The top one is more consistent for not taking damage.
Same as Least Damage, just rush through the level, use APC missiles if necessary
Relatively diffcult. Go down the lower path and make heavy use of nitro (Maj gauche) to make it through as fast as possible. By the time you reach the beginning of the tunnel you should have about 10 à 15 seconds left.
Take the top path and leave the APC before you encounter the crates in the tunnel. Just walk past those.
The two APCs present on the map (
y compris le vôtre) total to 6’000 de la 9’000 mass needed, donc toi’ll need to get 3’000 mass with the 7 grenades you will have in stock.
Déclenchement électrique

NOTE:This map is slightly bugged and spawns you in front of all of your items. You will need to exit the APC and walk back to pick up all of your stuff. Sinon tu as gagné’t have any weapons, gagné’t be able to sprint and won’t be able to use night vision.
Slowly and methodically kill off every enemy in the level, especially RPGs. In the beginning part of the level you may encounter the bug where an enemy will be shooting you from under the ground, from no apparent source. Tu as gagné’t be able to do anything about that, and you will just need to push through it. Past the area where the bridge gets blown up, there will be two crates with a bunch of armor baterries, which will boost your armor to about 175. You can use the armor to tank through the rest with little difficulty.
Use APC missiles.
One of the harder if not the hardest speedrun challenges. Quicksave if you feel like you’re on a good pace. By the time you reach the tunnel you should have 15 à 20 seconds left.
Drive slowly, take any suit battery you can, and generally stay in your APC and try not to roadkill.
10’000 mass and nine grenades means you’ll have to have 1111 mass/grenade at least. Key things that you can suck in are the falling dropship near the exploded bridge, the props in the bridge control room, the props in the infested area before the challenge finish area, and obviously your own APC.
Xentarium

Your only real enemy in here will be the Pit Drones, which will make your life absolute hell.
Abuse quicksaves and kill every Pit Drone you see. Keep an eye out for Bullsquids and surprise headcrabs.
Simply speedrun the area, most enemies won’t target you first anyway, giving you time to power up the place without much risk. Remember that you can still use crossbow bolts, explosifs, and energy pellets.
You need to get onto the tram before 2m30s elapse, as the tram ride takes around 1m30s, leaving you with one minute left.
Very similar to Least Bullets. Just speedrun the area, and watch out for any small enemies that can get stuck under your feet, as they will be automatically killed, and will count towards the challenge.
You can rack up a good amount of mass by simply chucking a few Xen grenades in the middle of the Xentarium. Save at least two grenades for after the tram ride though, as the two rocks after you open the valve door will give a quite large amount of mass. After those rocks there will also be one giant boulder in front, which can actually be sucked in as well, giving even more mass.
Chantier de fouilles

Abuse quicksaves and take all of the suit batteries near the fire the rebels started for a nice boost to tankiness.
Vous serez
besointo use projectiles to get through this map. One good place to use a SLAM is right at the beginning with the three rebels that are burning their research. Rush out into the open, throw a quick SLAM, and detonate. The rest is up to you.
The time limit is pretty tight but is definetely within limits
This is absolutely the hardest challenge of the entire set. What you will want to do is subdue every rebel up to the point where you see the three rebels starting a fire. Kill two of them (I prefer to kill them with an energy pellet), and subdue the third. Après, you will be up against 3 long-jump rebels. Kill the one with the Pulse Rifle, and try to take as little damage as you can. Rush past the two other rebels, hoping not to get shot to death instantly, blow the door open, rush in, and mutilate the guy rappelling from the top. Après, only subdue rebels and use your squad to take care of the rest. Once you get your hands on Xen grenades, you can use those to kill enemies, as being sucked in does not count towards the kill count. Ceiling Turret kills also don’je ne compte pas, garde ça à l'esprit.
This is the polar opposite of Least Kills, as it is the easiest challenge of the entire set. In the area with the three rebels, the one that was already mentioned three god d§mn times right above, there is going to be a piece of combine metal with two chargers attached to it. This panel will often be face down, concealing the chargers. Below is a picture of the charger panel. You will need to get that panel to be face up. Après l'avoir fait, you can toss a Xen grenade on top of the chargers and instantly get gold, as each charger is 5’000 masse.
Dernier combat

This is surprisingly the easiest map of all due to a little trick you can do to render the holdout section pretty much effortless.
You basically need to go to the ground floor of the building, arrange the two double crates into a little fort, and cave yourself in with supply crateson the floor above. This breaks enemy pathfinding and prevents them from acknowledging you.
Parfois manhacks or random grenades may destroy your tiny fort, so make sure to quicksave every now and then while waiting for the holdout to finish. Below is a video showcasing this.
This trick nullifies basically every challenge on this map with the obvious exception of Most Mass. But the area of gameplay is so small that searching for mass to suck up shouldn’ça ne sera pas dur. You can start by sucking up the three dumpsters in front of the main doors to the building.
C'est tout ce que nous partageons aujourd'hui pour cela Entropie : Zéro 2 guide. Ce guide a été initialement créé et rédigé par spider. Si nous ne parvenons pas à mettre à jour ce guide, vous pouvez trouver la dernière mise à jour en suivant ceci lien.