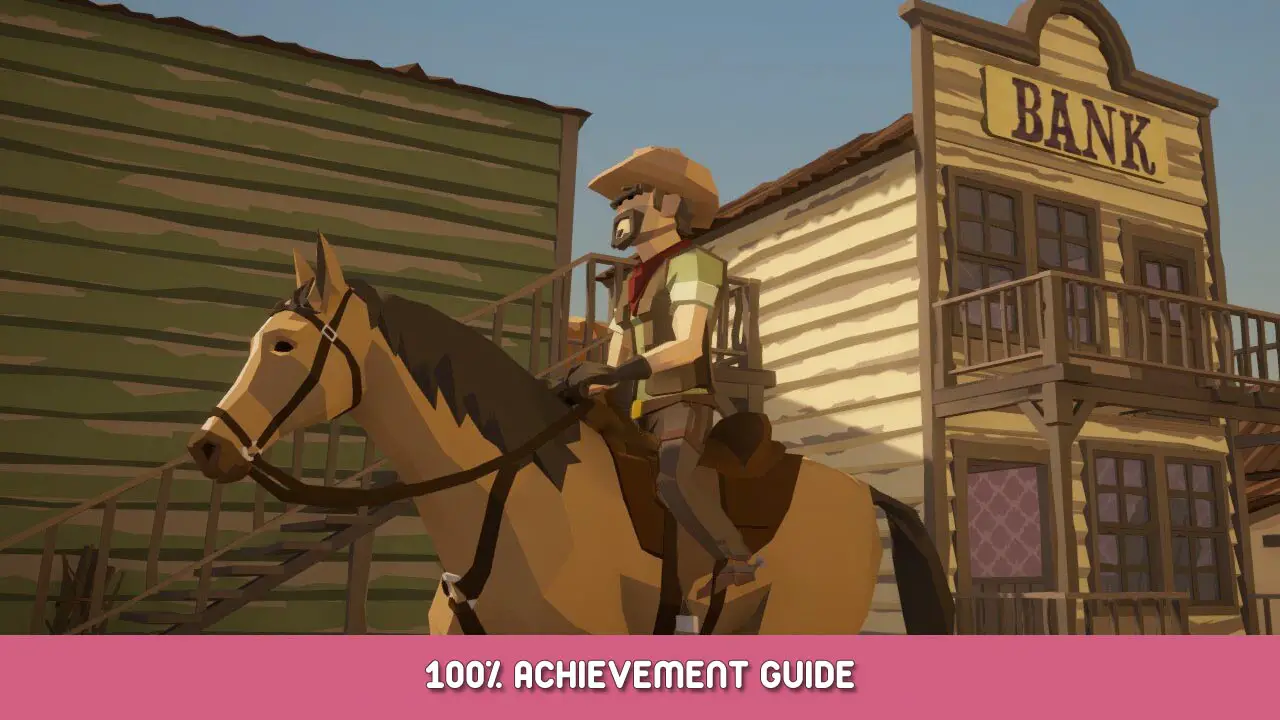
- Título: Take That
- Fecha de lanzamiento:
- Revelador:
- Editor:
Information about Take That is still incomplete. Por favor ayúdanos a completar los detalles del juego usando esto formulario de contacto.
Comprehensive overview for getting all Achievements in Take That.
Descripción general
All of the Achievements are pretty straight foreward. Aún, this Guide will provide some explanation on how to obtain them and some tips. Completion took me roughly 1 hora. This is my first game guide, so feel free to leave some feedback.
Currently the profile features of «Take That» are limited, lo que significa, that it will not contribute towards your achievement count/game completion on Steam.
If you still want to unlock those cheevos, no dude en continuar.
Map Related Achievements

Villa – Completa el «Villa» map once

Forest camp – Completa el «Forest camp» map once

Mío – Completa el «Mío» map once

Saloon – Completa el «Saloon» map once

Red Cliff – Completa el «Red Cliff» map once

Tribe – Completa el «Tribe» map once
solo golpea «Quick Play» and progress through the Wanted Posters. For some of them i did not receive any notification but it still unlocked. Después «finishing» the Quick Play Mode, you should have all of them.
Varios. Logros

Wild Wild West – Get your first reward
Just complete your first Mission. Quick play recommended.

Enter the Endless – Play Endless Mode Once

Hyaaa! – Ride a Horse
En el menú principal, just hit Endless Mode. Once loaded, approach the horse and press «mi». There you go.

Quick Hands – Win a west duel with speed less than 0.1 segundo
In the main manu, ingresar «Mini Games» and start «Western duel». Your opponent will walk across your field of view from left to right. Once they stay put, your crosshair shows and you need to be quick or be dead. Try to follow your opponent with your mouse, to aim at their head as soon as you are able to shoot. If you can’t seem to shoot fast enough, just start spamming Mouse 1 before the crosshair shows.

Alguacil – Conseguir 10 gana

the Medal of Honor – Conseguir 50 Victorias
Story Mode and Quick Play seem to contribute to your wins. Mini Games no.

Make a killing – Make 10k bounty in total
You need to earn 10.000$ overall to earn this one.

Get some help – Hire a bounty hunter in the camp
In the Main Menu click on «Acampar» in the lower left area. There you can buy any bounty hunter you want. Buy only one and take the cheapest to safe money for the next Achievement…

Gold medal – Upgrade one ability to the max level in the camp.
You will need to earn 10000$ por eso, so you can go for it once you achieve «hacer una matanza». The first Upgrade cost 1000$, el segundo 2000$, the third 3000$ y el ultimo 4000$. En este punto, the achievement popped up for me, although I could invest in another upgrade costing 5000$. Not sure if that’s a bug. Peor de los casos: you need to grind 5000$ más.
Some tips for the grind
I personally played through the «Historia» (se necesita 5-10 minutos) y el «Quick play» mode first.
Después, all you can do is grind your wins and earn the needed Dollars along the way.
I used the first map in quick play mode. You can change the difficulty to hard without problems, the game is not really challenging. Increasing the number of waves is not really worth it, the rounds will take longer and the reward is not that much higher.
With zero waves on Hard, you should get roughly 340-350$ per round, taking you between 20 y 40 artículos de segunda clase. Just mute the game and watch some youtube.
If you stick to the first map, make sure to use the building in front of you as cover (default spawn), just aim down the main road and shoot. My weapon of choice was the sniper rifle. Kill all the goons and start all over again. Some times a couple of enemies walk up behind you, make sure to be aware of your back, as there is no hit feedback, so you could lose life without realizing it. If some enemies get stuck, check the left side of the house, just where you spawned or the other side of the road, sometimes they get stuck somewhere behind the staircase.
Por supuesto, you can choose any map or weapon you like, this is just the way that seemed to be most effective for me and my playstyle.
Eso es todo lo que estamos compartiendo hoy para este Take That guía. Esta guía fue originalmente creada y escrita por segador. En caso de que no actualicemos esta guía, puede encontrar la última actualización siguiendo este enlace.