
This guide will be showing you where to find and how to get all available badges in the Calamity Reef in Shadow Gambit: La tripulación maldita.
Lighthouse Locations
I Knew He Was Annoying
Kill the Prognosticar before entering the lighthouse
This badge pertains to the Prognosticar, who serves as the second mission target, not the one located at the entrance to the lighthouse.
Deadly View
Kill a guard with a crewmate who is positioned on the lighthouse
I’m uncertain whether this tactic would be effective with anyone besides Teresa.
Small Crew, Big Plans
No Need For Bloodshed
Don’t attack or kill anyone
This situation is rather unusual. There’s a Prognosticar positioned in front of the ship, and it seems to move only after you’ve eliminated most of the guards nearby.
A potential strategy to navigate this challenge is to consider sacrificing one of your team members who may be stunned by the Prognosticar. This distraction could allow you to steal the ship while the Prognosticar is preoccupied. Alternativamente, you might utilize John to raise an alarm by deliberately getting spotted and then seek refuge in the Belowm area. This could potentially lure the Prognosticar away from his post as he searches for John, creating an opportunity to seize the ship unnoticed.
No Iudex Were Harmed During This Mission
Don’t attack any Iudex
You should bring along two crew members to help divert the attention of the two Iudexes who are currently focused on the mission objective.
GeorgiaëCarta de Lle (Ch. 1)
Cannoness Ready!
Shoot a cannon and kill at least 2 guardias
Close to your destination, there is a cannon guarded by two individuals who are stationed there permanently. If you exercise some patience and wait for the third guard who passes by, you’ll have the opportunity to unlock the Piercing Shot badge as well.
Suleidy is a reliable choice for a wide range of missions, and if you opt to have her as part of your team, this mission should become significantly easier.
Let’s Not All Go There
Only one crewmate is allowed to enter the deck of the Brine Razor
Tenga cuidado, as virtually every wooden component associated with the Brine Razor holds significance in this context. I suggest considering individuals such as Suleidy, John, or Pinkus for this task. If you prefer a more secure approach, include Teresa in your team to benefit from her Ashen/Iron Judgement skill for additional support.
La perfección de Toya (Ch. 2)
Blades Won’t Do
Always kill Sam Bellamy with a firearm
para aclarar, when referring to firearms in this context, it specifically pertains to pistols. Although I haven’t personally tested Teresa’s Iron Judgement, once you’ve eliminated all the guards surrounding your target, using pistols should prove to be a straightforward and effective approach.
Clear Target
Don’t kill anyone except Sam Bellamy
I’ve successfully completed this task without incapacitating guards, so I’m uncertain if that approach factors into the badge requirements. Sin embargo, pursuing this badge in such a manner can be quite challenging. If you intend to undertake this method, it’s essential to have Suleidy on your team due to her Cover Seeds, and Wander Dust will prove highly beneficial as well.
If you’ve achieved this badge by incapacitating guards, kindly share your experience in the comments section!
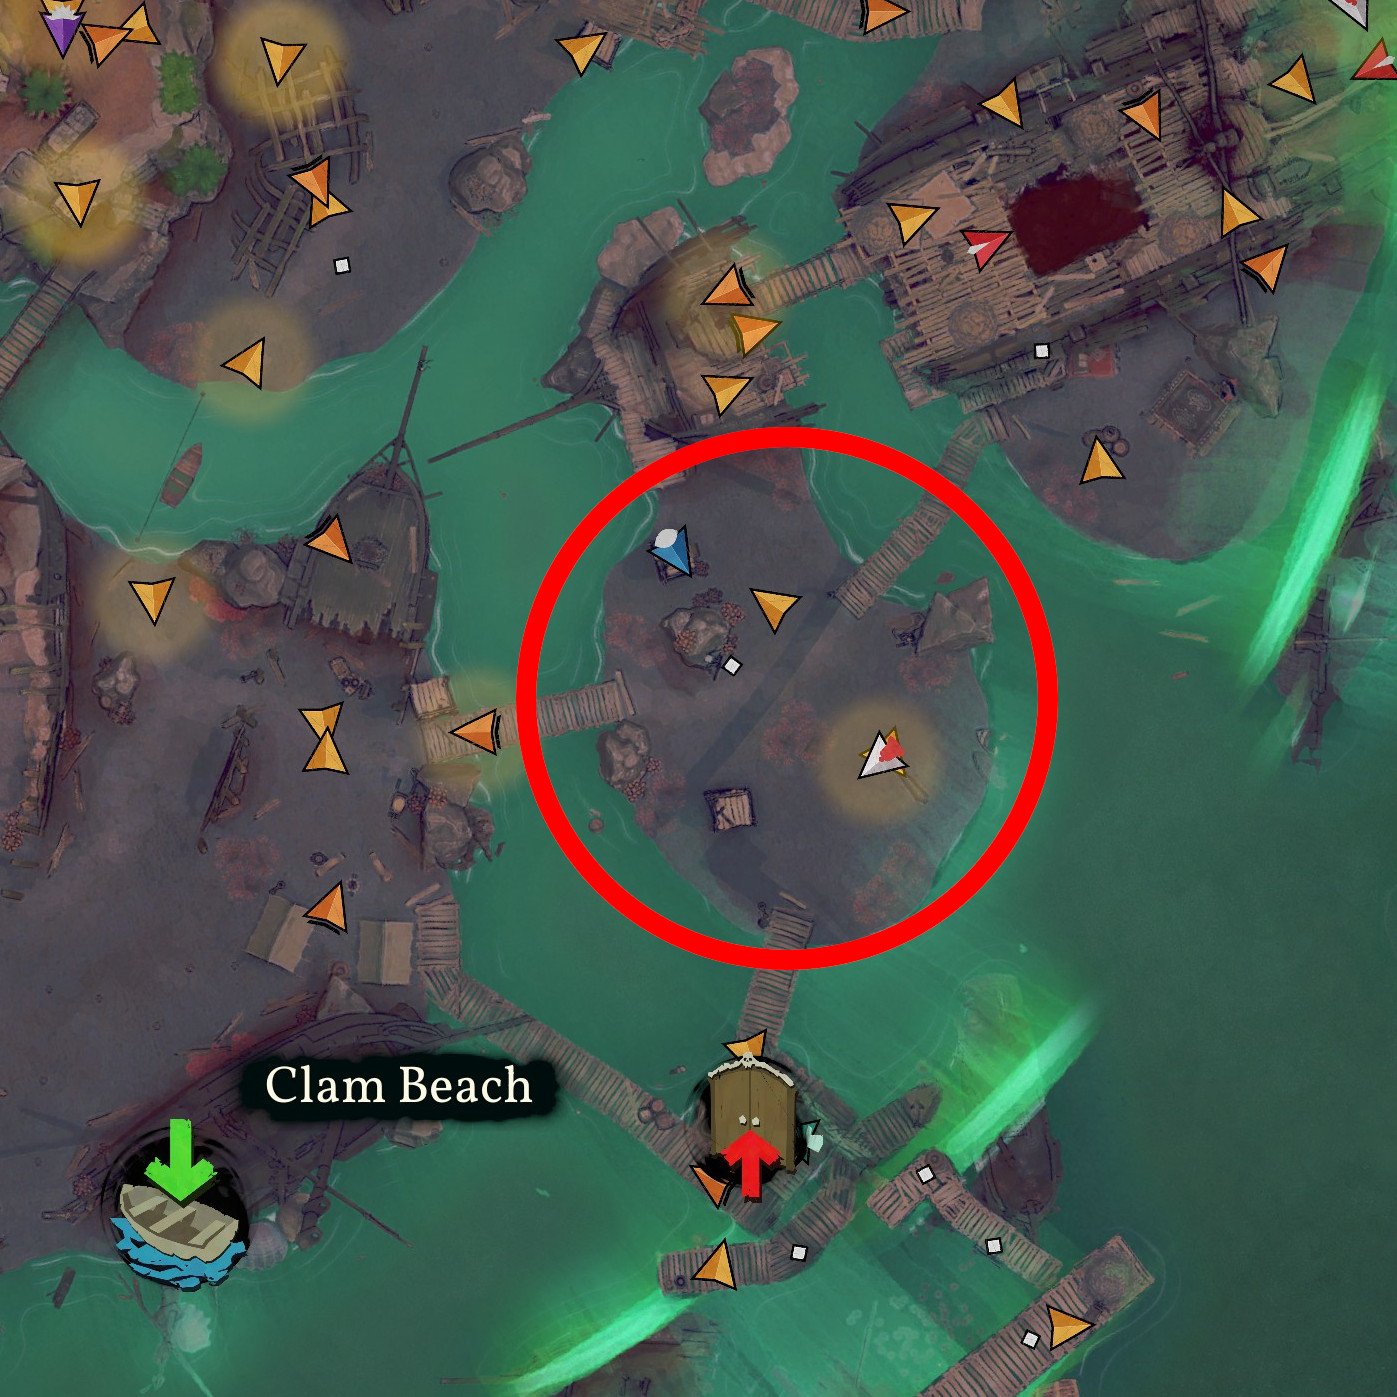
Water-Shy
Don’t touch any water
The initial phase of the mission presents some challenges, particularly because your first task is situated close to a partially submerged shipwreck surrounded by water. Sin embargo, once you overcome this hurdle, the remainder of the mission becomes considerably easier in terms of earning this badge.
For a foolproof approach, consider including Gaëlle in your team. You can use her to shoot Toya over the watery areas, and then safely retract him back into her Kanol, ensuring a secure and efficient progression.
La caza de Quentin
What Else Is He Going To Do
Quentin is not allowed to use any skill other than his Treasure Rod
Once you’re familiar with the mission route and the locations of your objectives, you’ll notice that there aren’t many guards to contend with. You can either eliminate them with ease or opt for distraction using your two other team members.
If you decide to solely distract the guards, it becomes possible to acquire all the badges in a single playthrough, streamlining your mission progress.
No Need For Bloodshed
Don’t attack or kill anyone
The initial challenge arises with the first objective due to the presence of three guards in close proximity to the chest. I would suggest employing the skills of Gaëlle and Suleidy for this task. Rather than approaching on foot, initiate the plan by shooting Suleidy from a strategically advantageous position, then activate the Cover Seeds ability. Después, target Quentin, shoot him into the nearby bushes, and employ the Treasure Rod to retrieve Gaëlle.
By consistently executing this strategy, it is possible to attain all badges in a single playthrough.
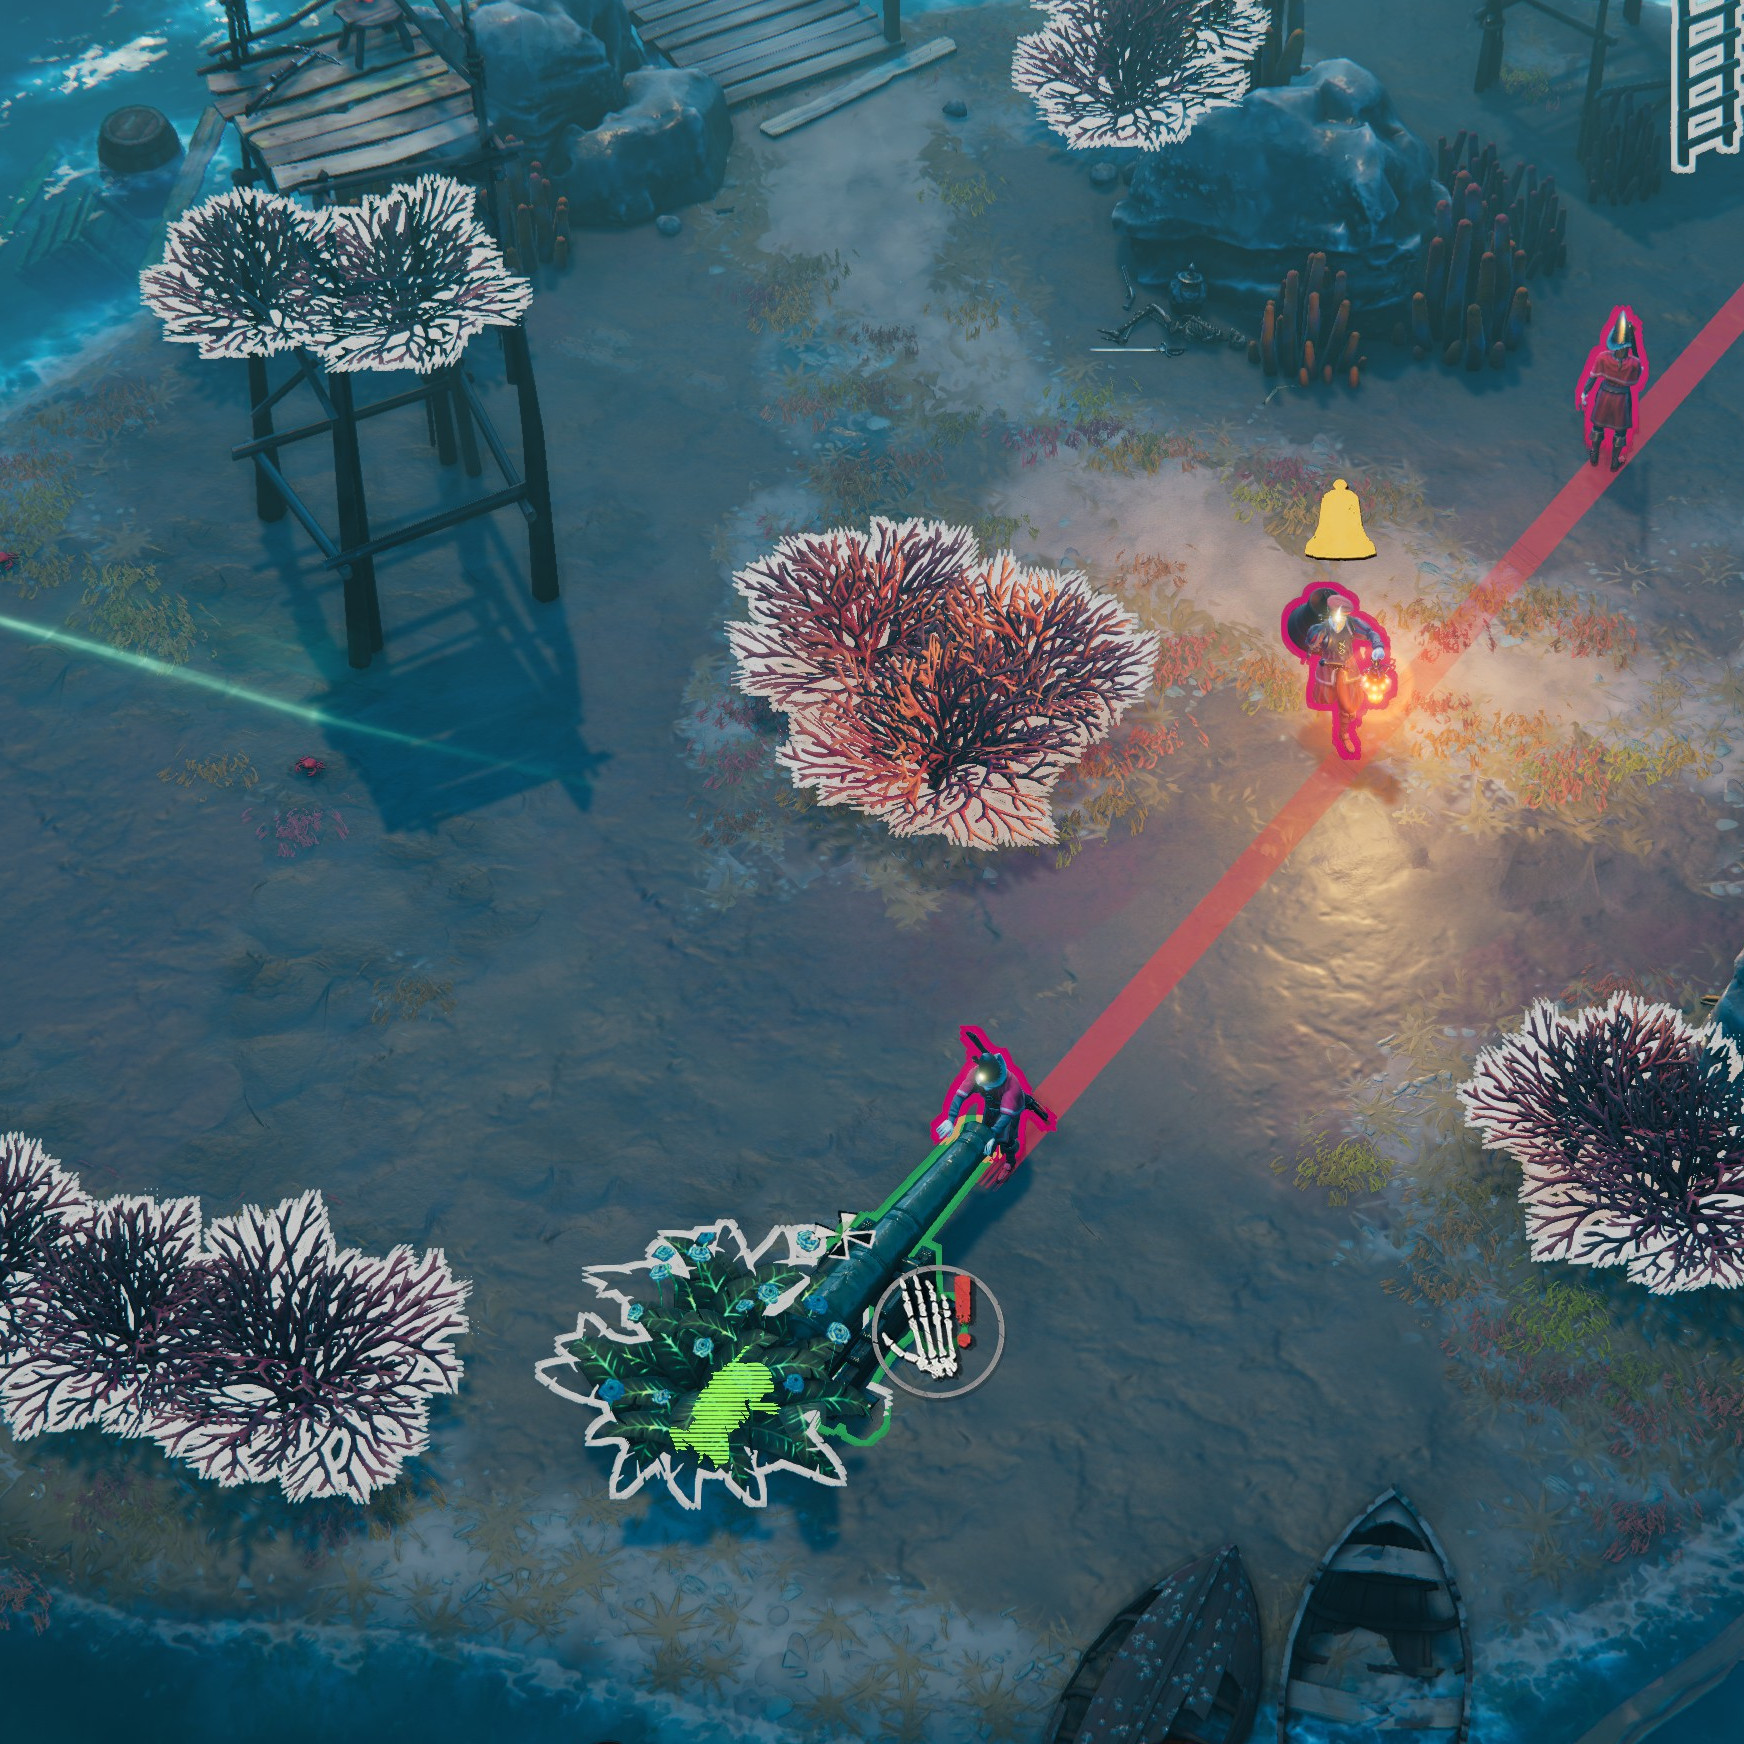
bombero
No apagues ninguna luz
It’s important to note that this principle applies to guards who are carrying lamps as well. If you accidentally eliminate one of them, exercise caution and avoid walking too close to their location, as this could inadvertently extinguish the light.
Afortunadamente, there aren’t a significant number of lights that require extinguishing, with the exception of two guards carrying lamps. Sin embargo, there are relatively straightforward methods to circumvent these particular guards.»
Conectado a tierra
No crewmate may move higher then the lowest level
Afortunadamente, for this mission, only less than half of the map is essential.
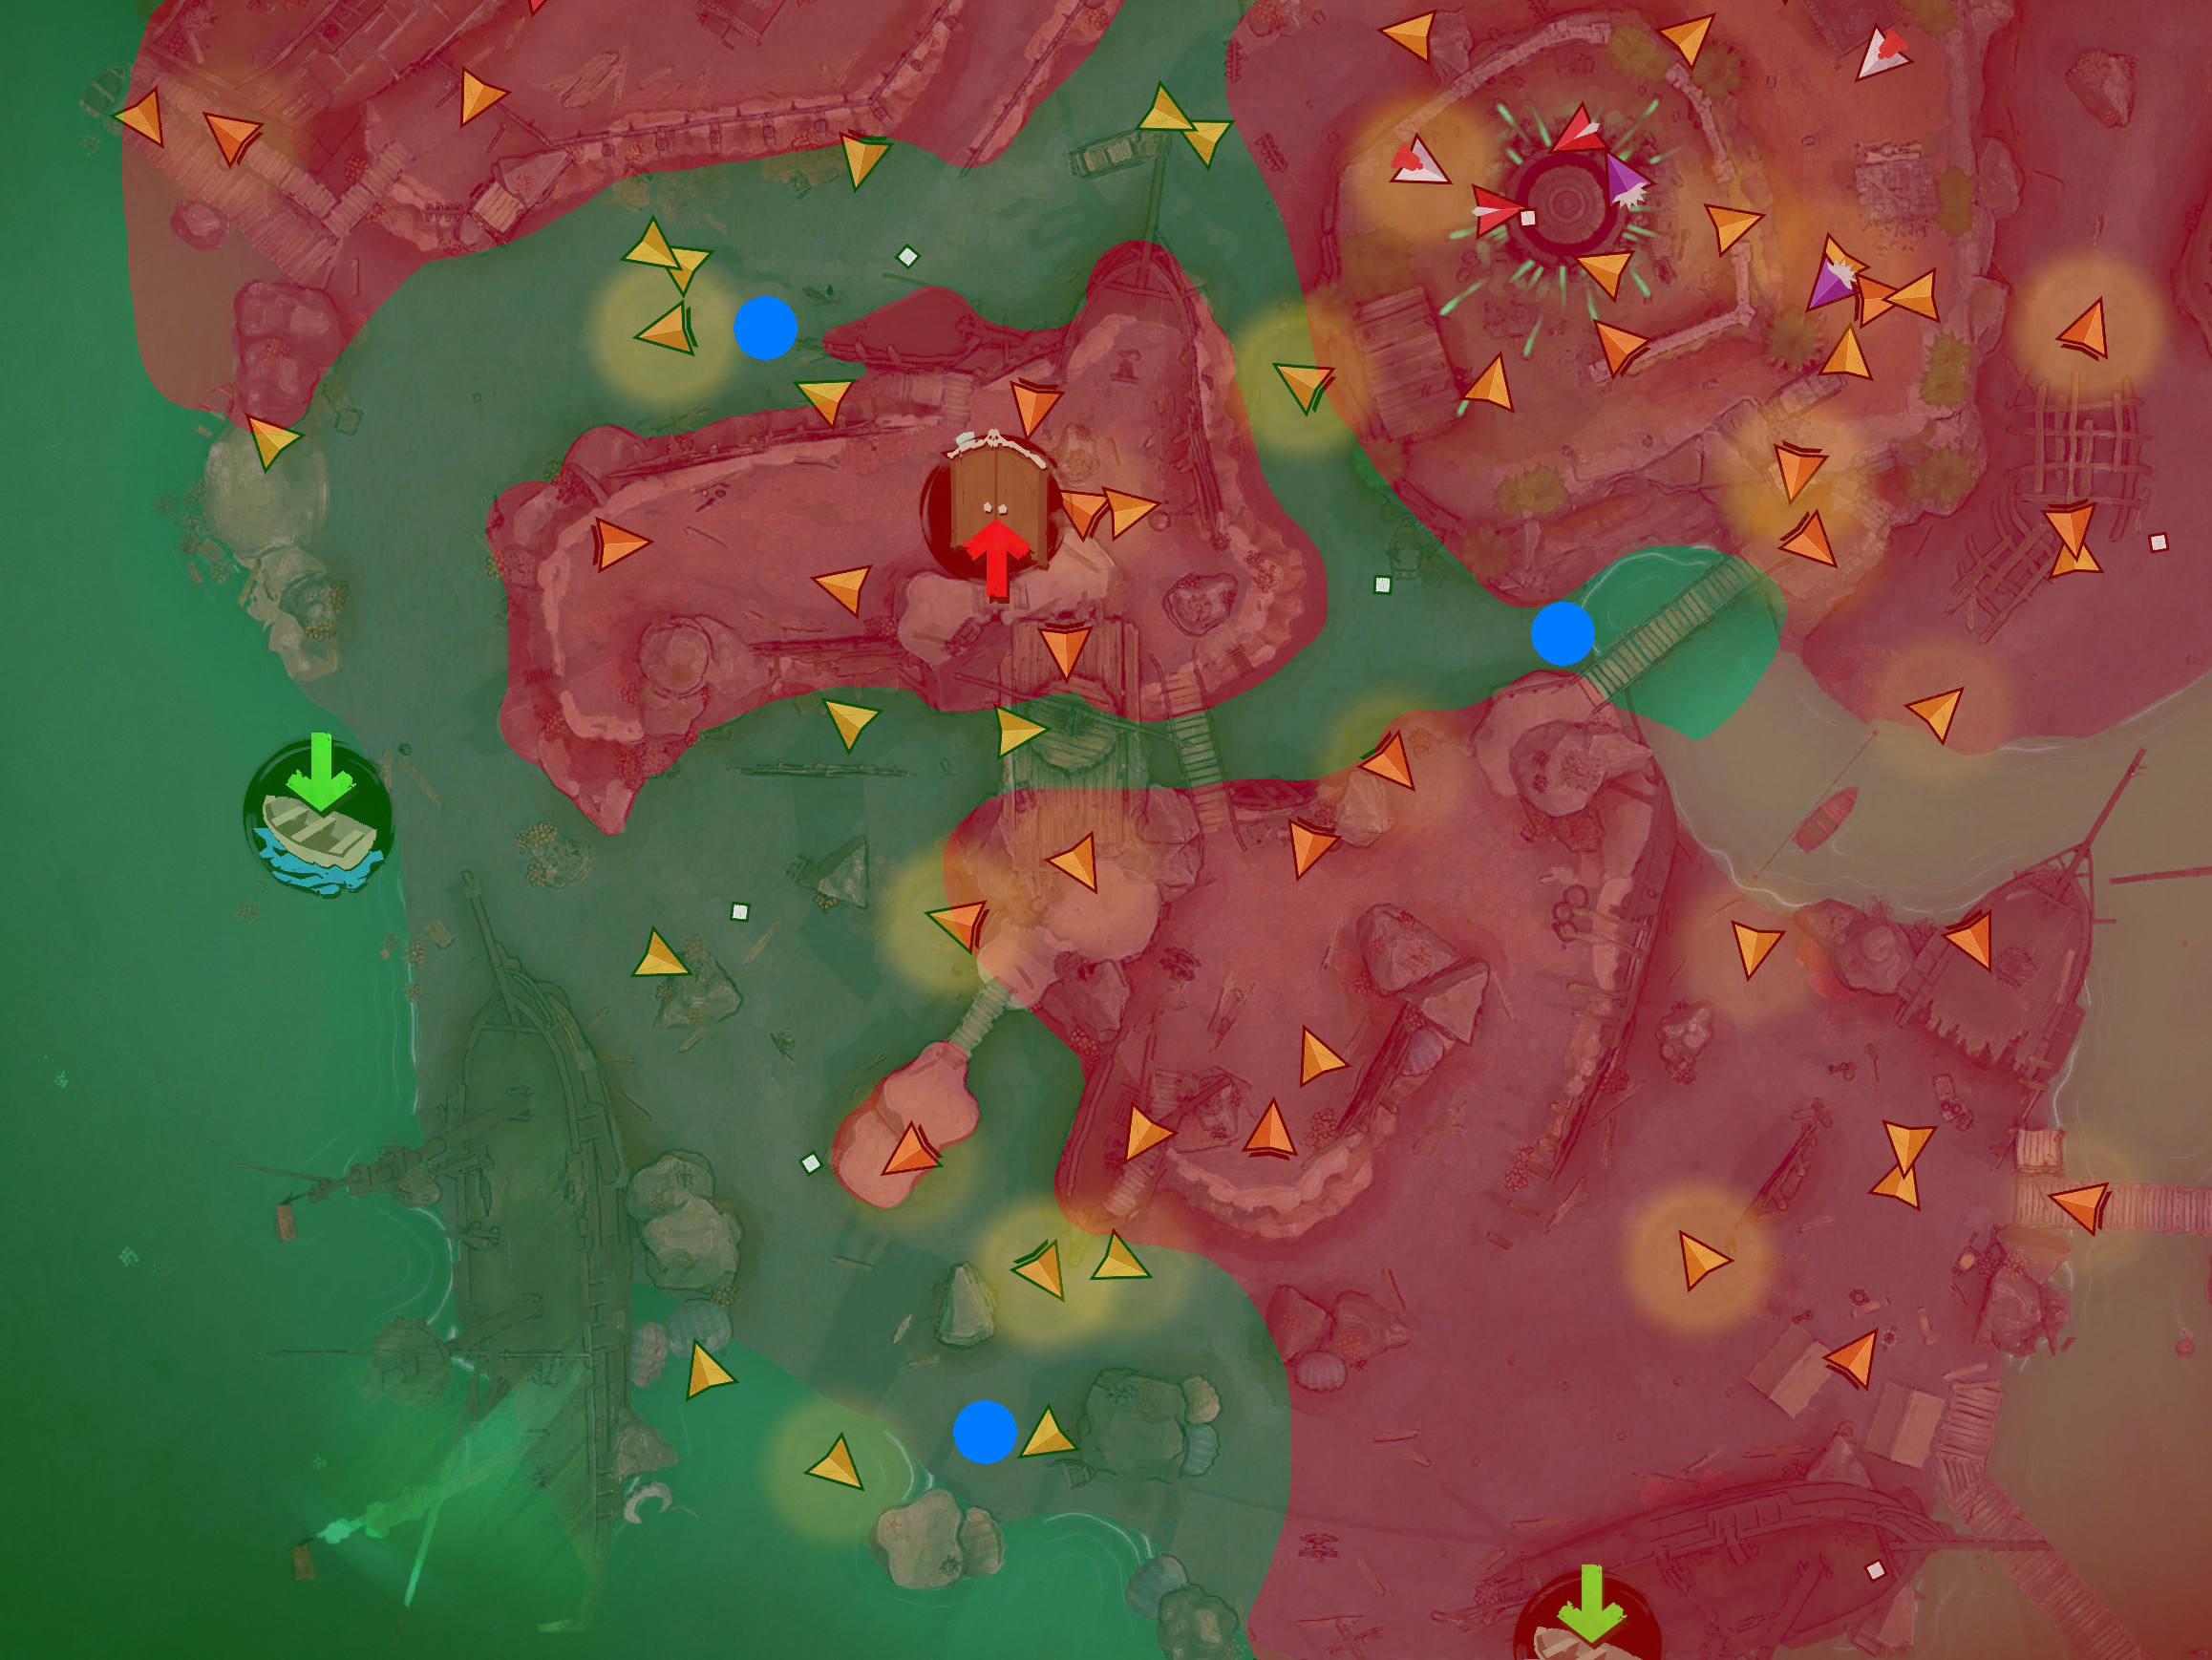
- Verde: Area where you are allowed to move.
- Rojo: Area to avoid or not needed for the mission.
- Azul: Mission objectives.
Eso es todo lo que estamos compartiendo hoy para este Gambito de sombra: La tripulación maldita guía. Esta guía fue originalmente creada y escrita por Puedes alcanzar el pico. En caso de que no actualicemos esta guía, puede encontrar la última actualización siguiendo este enlace.