- Título: Mecánico de chatarra
- Fecha de lanzamiento:
- Revelador:
- Editor:
Information about Scrap Mechanic is still incomplete. Por favor ayúdanos a completar los detalles del juego usando esto formulario de contacto.
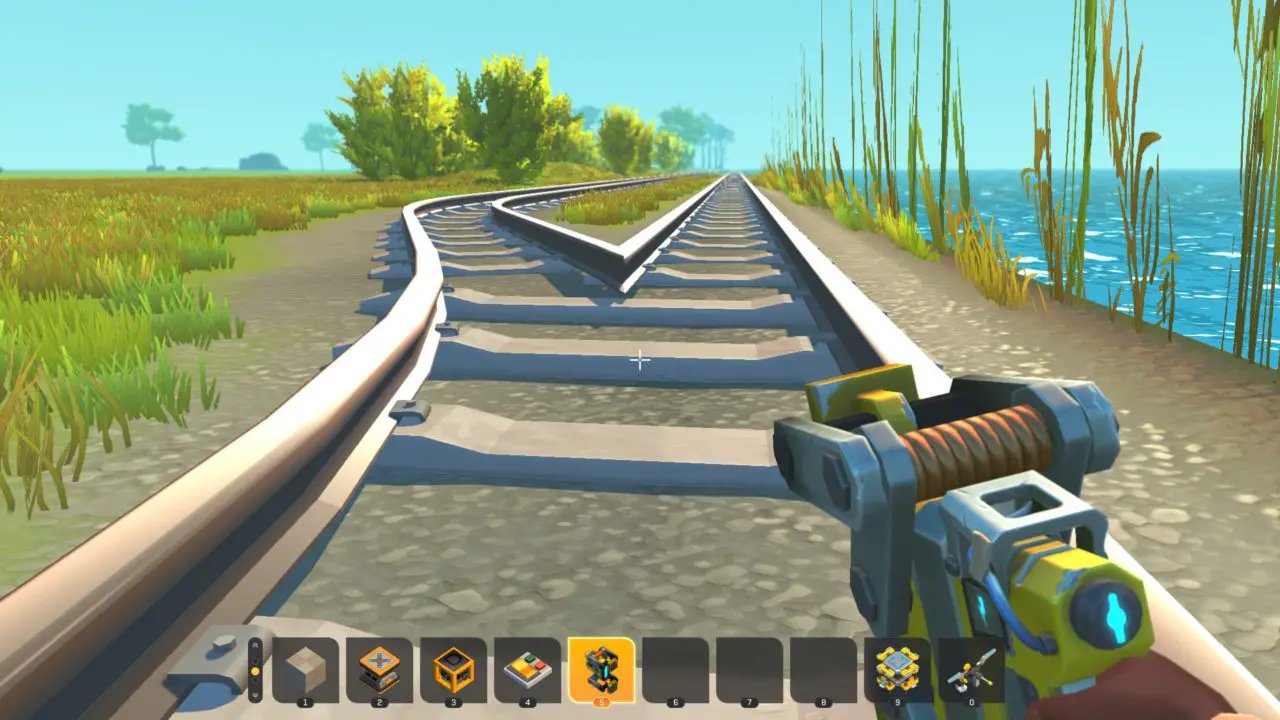
This is how to make the switch points on train track assets functional with only one moving part, and an easy setup.
Mod Dependency
This only requires one mod: The Modpack Polygons, by Durf. Follow this enlace to get the mod.
How to install your switch
These are the things you will need first. A building block, a level one piston, a logic gate, a switch, a welding tool, the lift, and a connecting tool. You will also need to download this blueprint.
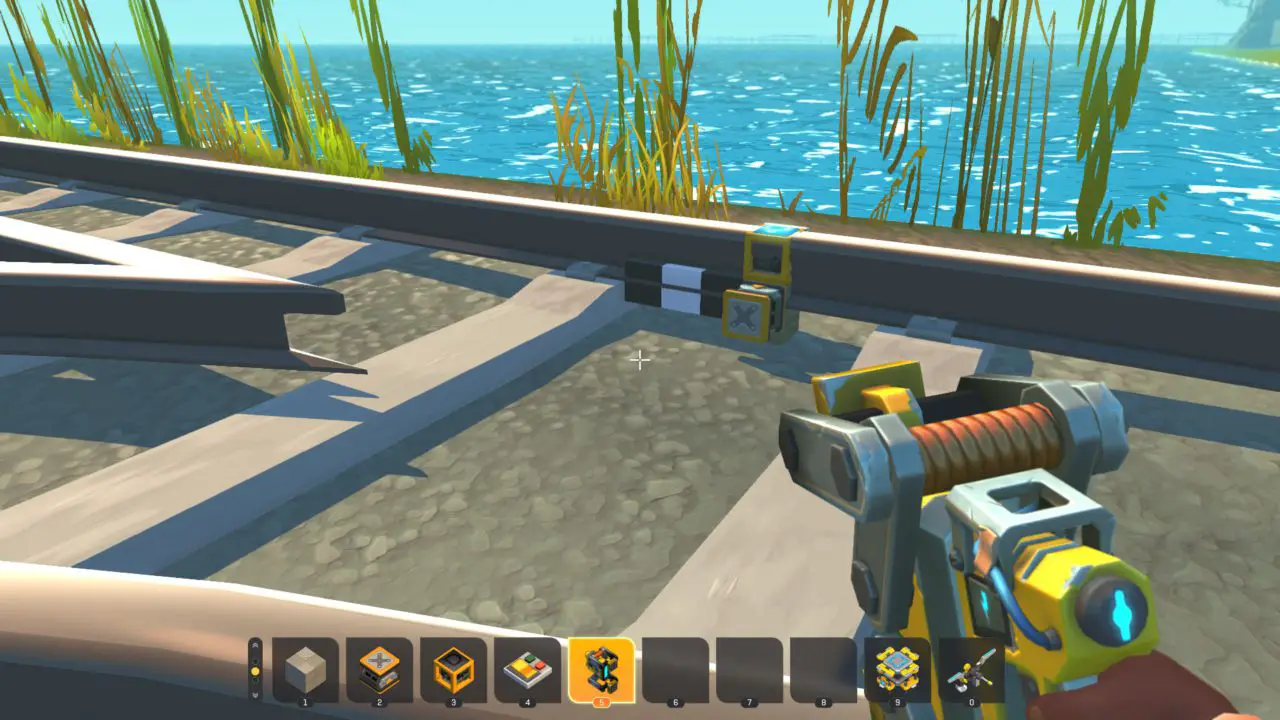
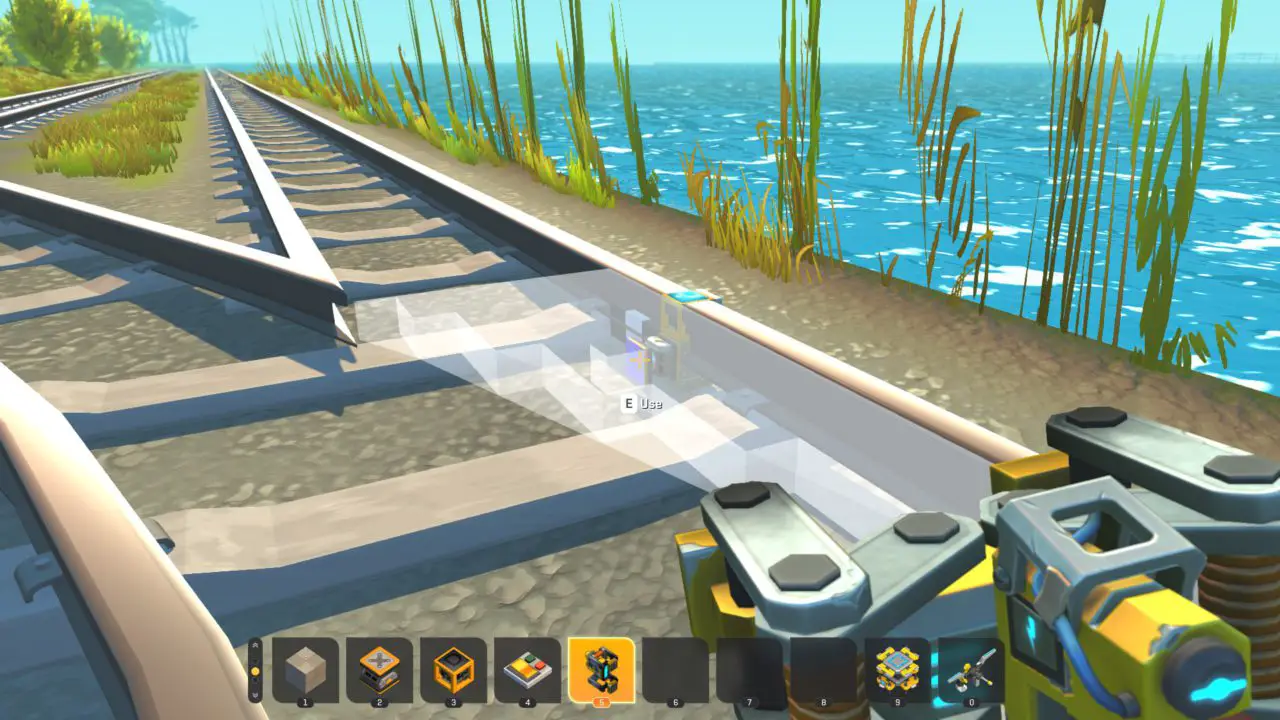
Build this mechanism. Poner 2 building blocks on top of each other, 2 blocks from the tie where the rails join, directly under the rail. (Ignore the fact that there are 3 blocks in the screenshot. I accidentally built it wrong) This will cause the mechanism to clip through the asset, which is normal. On top of the building blocks, put a logic gate. The gate should clip just through the top of the rail. Put a piston on the block below the logic gate, facing into the track. Put a switch on the logic gate, facing out of the track. Wire the switch to the logic gate, and wire the logic gate to the piston. Set the piston to max length (7 bloques) and set the logic gate to NOR.
Finalmente, spawn in the switch blade and weld the extra block on the bottom to the piston. As soon as you do this, the piston should extend and align the switch to the straight position.
Y ahí lo tienes! A fully functional switch!
Nota: On certain train tiles, the roadbed is too close to the top of the rails, and may cause the switch to get stuck when you try to operate it. si esto sucede, replace the metal block that connects the blade to the piston with a curved small pipe.
Eso es todo lo que estamos compartiendo hoy para este Mecánico de chatarra guía. Esta guía fue originalmente creada y escrita por turnerdeedo. En caso de que no actualicemos esta guía, puede encontrar la última actualización siguiendo este enlace.