- Título: LEGO el señor de los anillos
- Fecha de lanzamiento:
- Revelador:
- Editor:
Information about LEGO The Lord of the Rings is still incomplete. Por favor ayúdanos a completar los detalles del juego usando esto formulario de contacto.
A method for unlocking the buggy «It wont be that easy» achievement for LEGO The Lord of the Rings.
About The Achievement
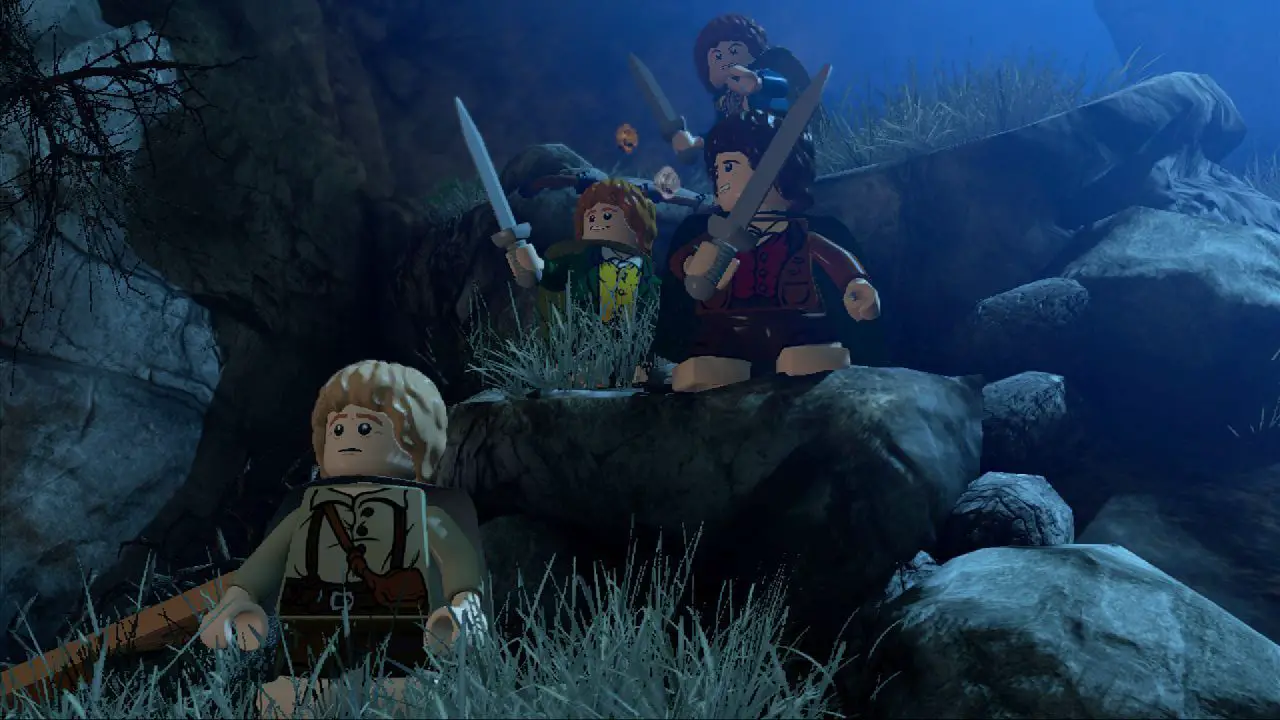
«It won’t be that easy!» is an achievement available in the first level of LEGO® El Señor de los Anillos™ (noble «Prólogo») in either story mode or free play. The achievement requires you to run and jump into the lava of mount doom as Isildur, rather than run to the end of the platform to trigger the end of level cut scene.
Fácil, bien? Oh, my dear Frodo…
The achievement (for many players) has lived up to its name, and is well documented to be buggy, with more and more players over time running into the issue. My speculation is that with changing/improving PC hardware, the achievement is more likely to be bugged due to the game code not being written with these new gen specs in mind, especially players with high resolution monitors (como yo, currently playing on a 3440x1440p monitor).
En esta guía, I will explain what I did to get the achievement to unlock, and also get the achievement to unlock for an handful of people I showed this method to who were also unable to get the achievement to unlock themselves.
Hopefully this helps you out too!
El método
Most of the help available online will tell you to go into the video settings menu in game and change the following settings:
- Resolution set to 1024×768
- Aspect ratio set to 4:3
- V-Sync set to ON
If simply doing this works for you, fantastic! Sin embargo, for me an many others, changing these settings via the in game menu does not work, as the settings revert with hardware detection as soon as you hit ‘Apply’ and ‘Keep Current Settings’ botones. En cambio, I recommend force changing these settings via the config file directly, and changing back once you’re done.
Paso uno: Find the .txt file titled «pcconfig», the path for which should be of the form:
C:\Users\USER\AppData\Roaming\Warner Bros. Interactive Entertainment\LEGO The Lord of the Rings
dónde «USER» is your user profile name. Your drive letter may also not be «C» depending on how many hard drives you have and which one the game is installed on – change accordingly. Once you’ve found this file, make sure the game is not running and open it in notepad or another suitable text editing app.
Paso 2: Edit the relevant data values in your «pcconfig» file so they match the following:
Ancho de pantalla                   1024
Altura de la pantalla                  768
Ancho de ventana                   1024
Altura de la ventana                  768
VerticalSync                  1
AspectRatio                   0
The other lines can be left as they are. If you are worried about doing something wrong while changing these settings, just make a copy of the original file to your desktop before you edit anything, then swap it out later once you’re done.
Paso 3: Make sure you are connected to the internet and logged into steam. Load the game up and check the settings are correct in the video settings menu. One of the people I showed this method to said that their aspect ratio had not changed to 4:3, but simply changing this in the menu made it stick. Other video settings do not seem to affect the achievement (texture quality, refresh rate etc.), just the 3 enumerado arriba.
Paso 4: Start a new save file with no extras unlocked, reach the inside of mount doom, switch to Isildur and jump (make sure you jump) off the platform/bridge into the lava. Hopefully as soon as you hit the lava, like for me, el logro explotará.
Paso 5: Revert the changes made to your «pcconfig» file for a more enjoyable visual experience for your monitor. O no, that’s fine too…
Eso es todo lo que estamos compartiendo hoy para este LEGO el señor de los anillos guía. Esta guía fue originalmente creada y escrita por Sløwpøke. En caso de que no actualicemos esta guía, puede encontrar la última actualización siguiendo este enlace.