- Título: Last Days of Lazarus
- Fecha de lanzamiento:
- Revelador:
- Editor:
Information about Last Days of Lazarus is still incomplete. Por favor ayúdanos a completar los detalles del juego usando esto formulario de contacto.
This guide is to help you get a full 100% completion on the prologue for Last Days of Lazarus.
Acto I – 5 Logros / 5 Documentos
Documento #1 – A Note From Lyudmila
Tan pronto como comiences el juego, look down at the table next to the bag in front of you for this document.
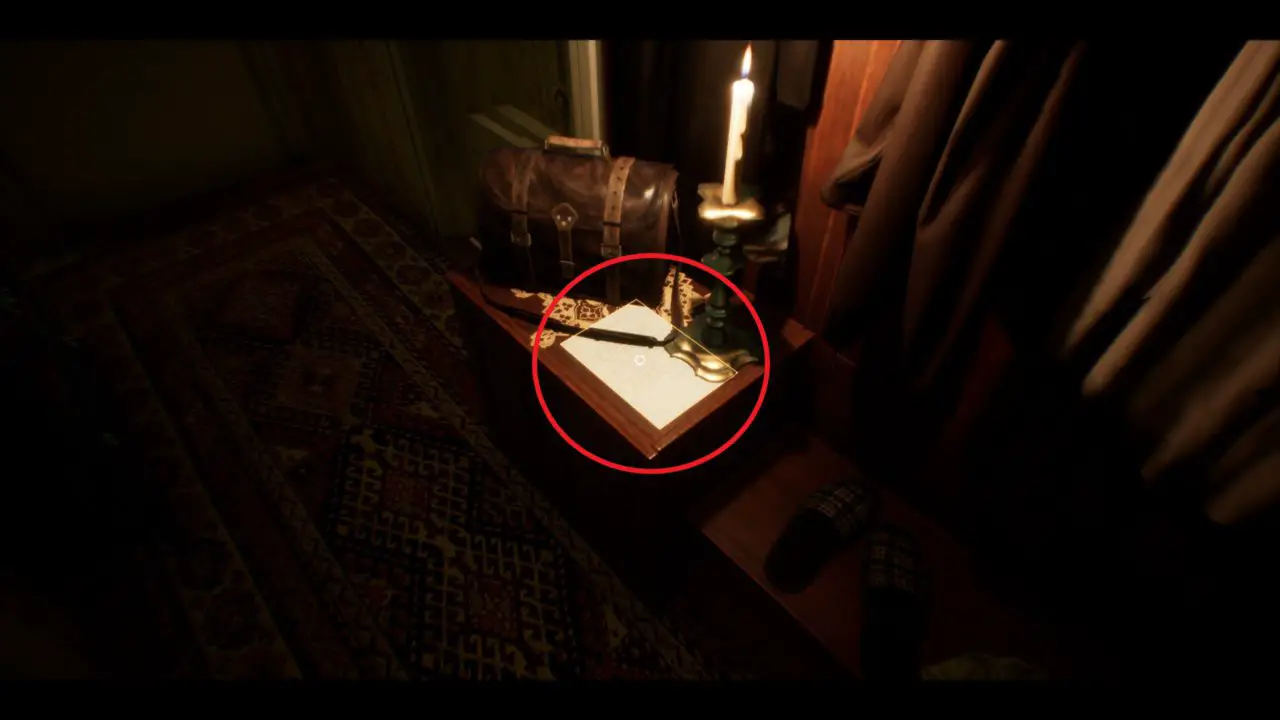
More to Know – Find a first document.
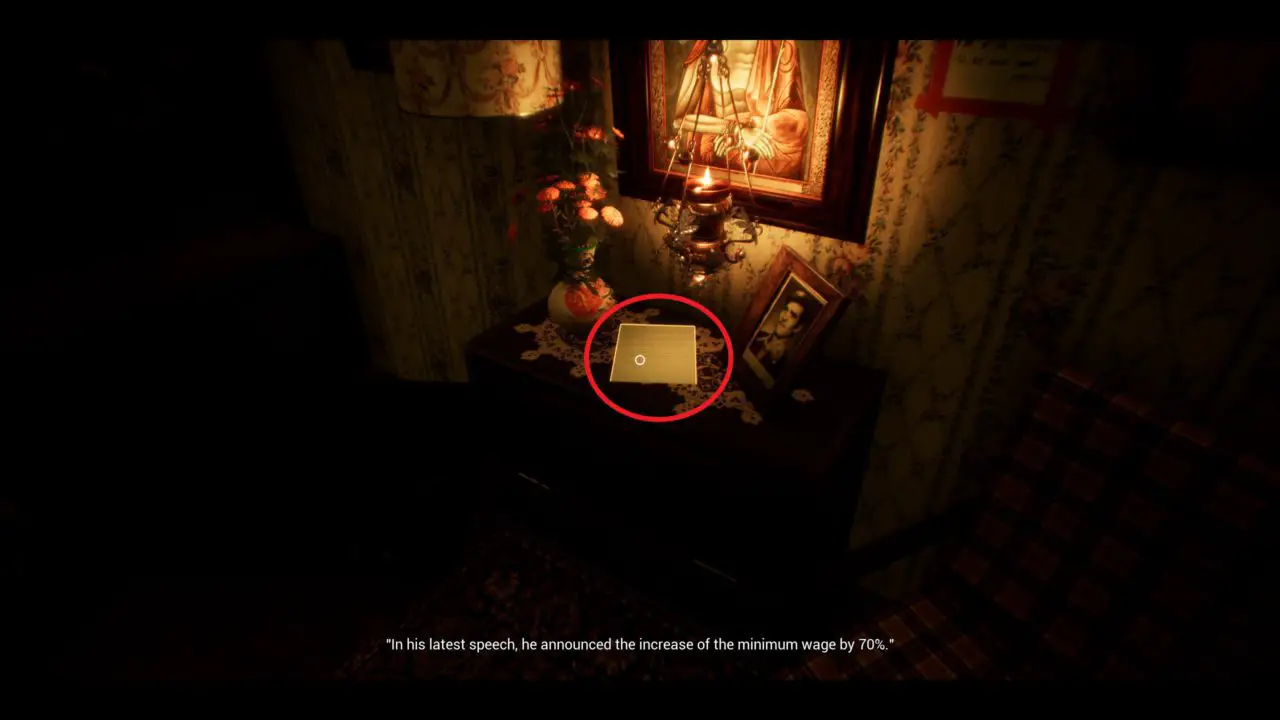
Documento #2 – Mom’s Obsession Note
Once you grab the first document, head into the living room. Immediately turn right once you open the door and on the desk is another document.
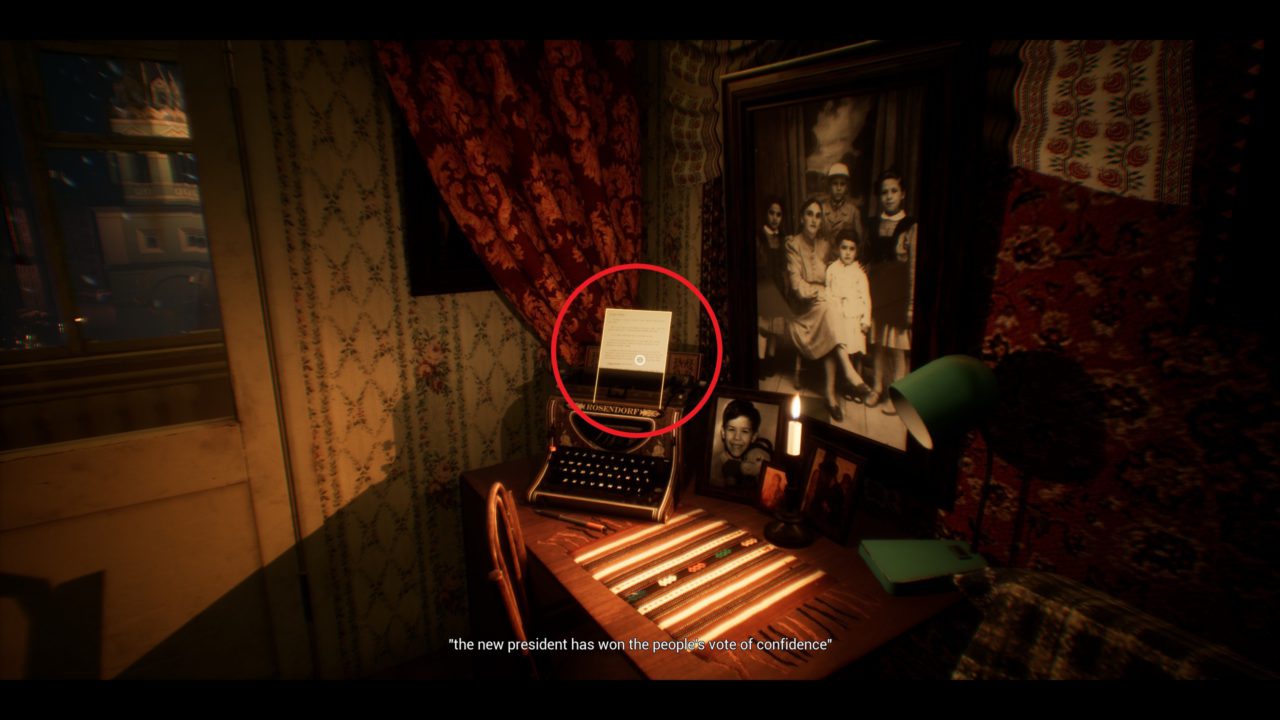
Documento #3 – Unsent Letter Note
In that same room, look directly across from the previous document. Near the window on the desk is a typewriter with another document.
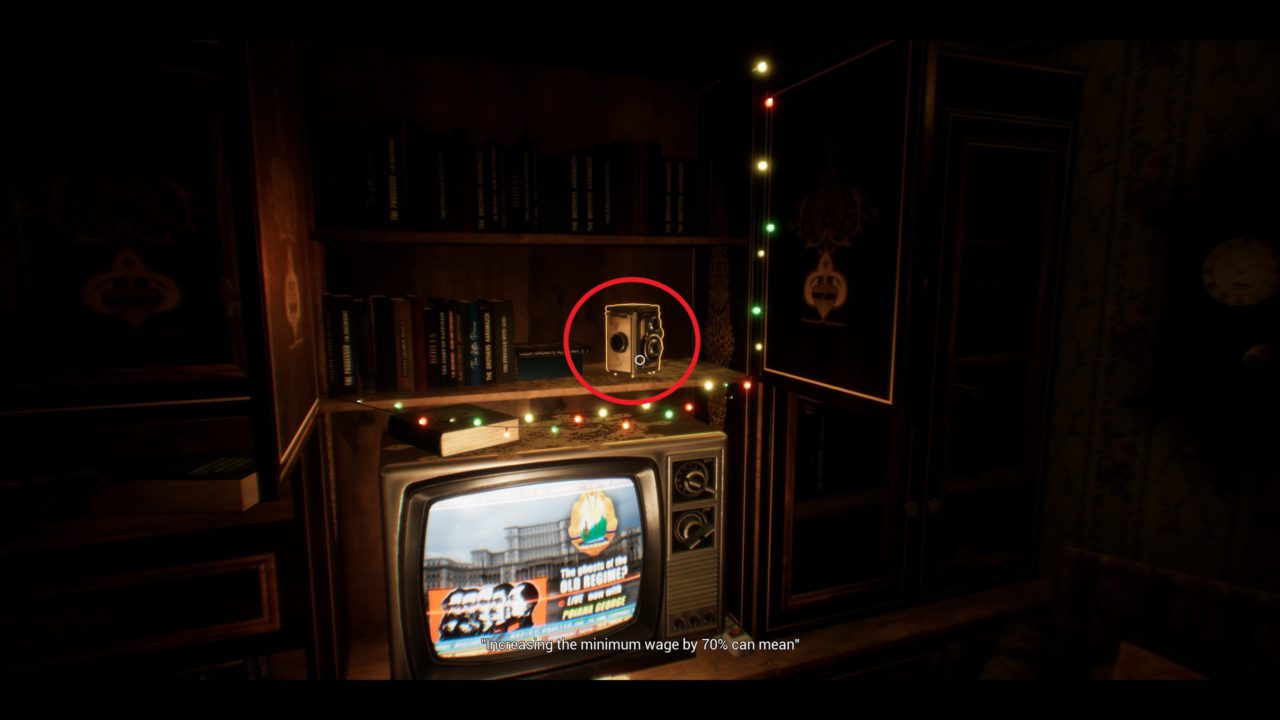
Old Memories – Find the Old Camera.
- In the same room as those 2 documentos (Sala de estar), Look inside the cabinet above the television. There is a camera inside there. Grab the camera.
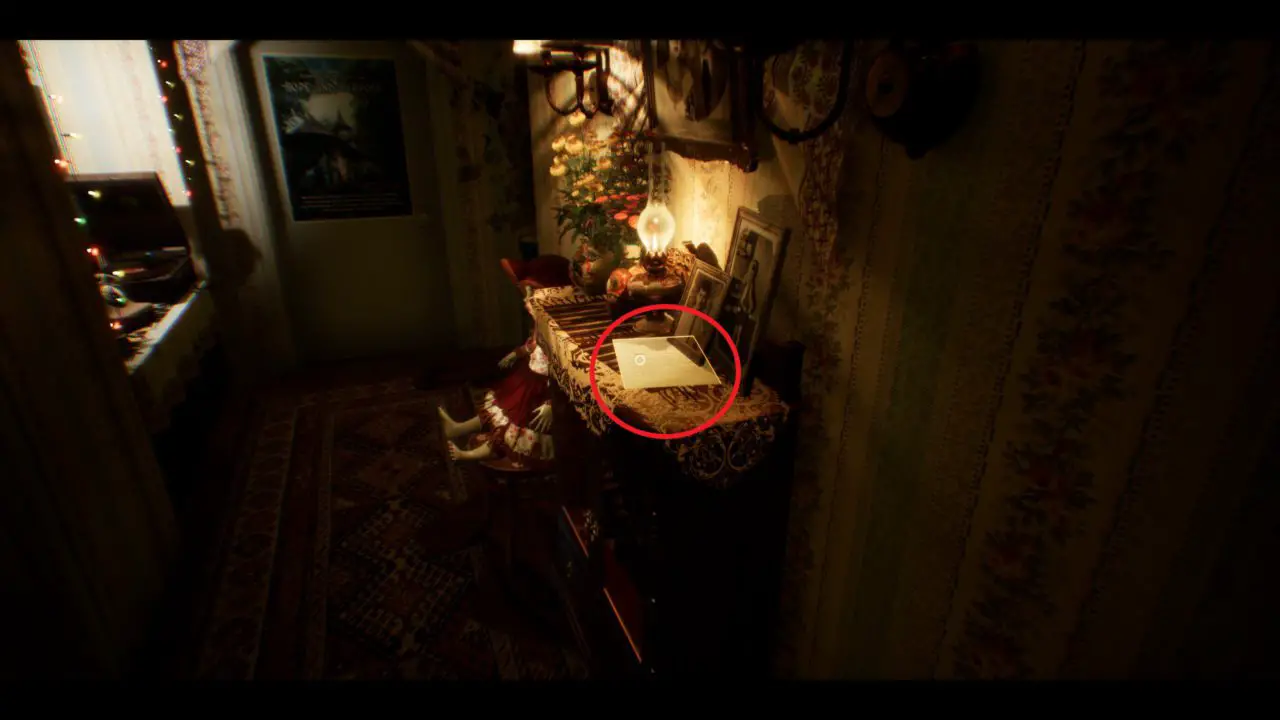
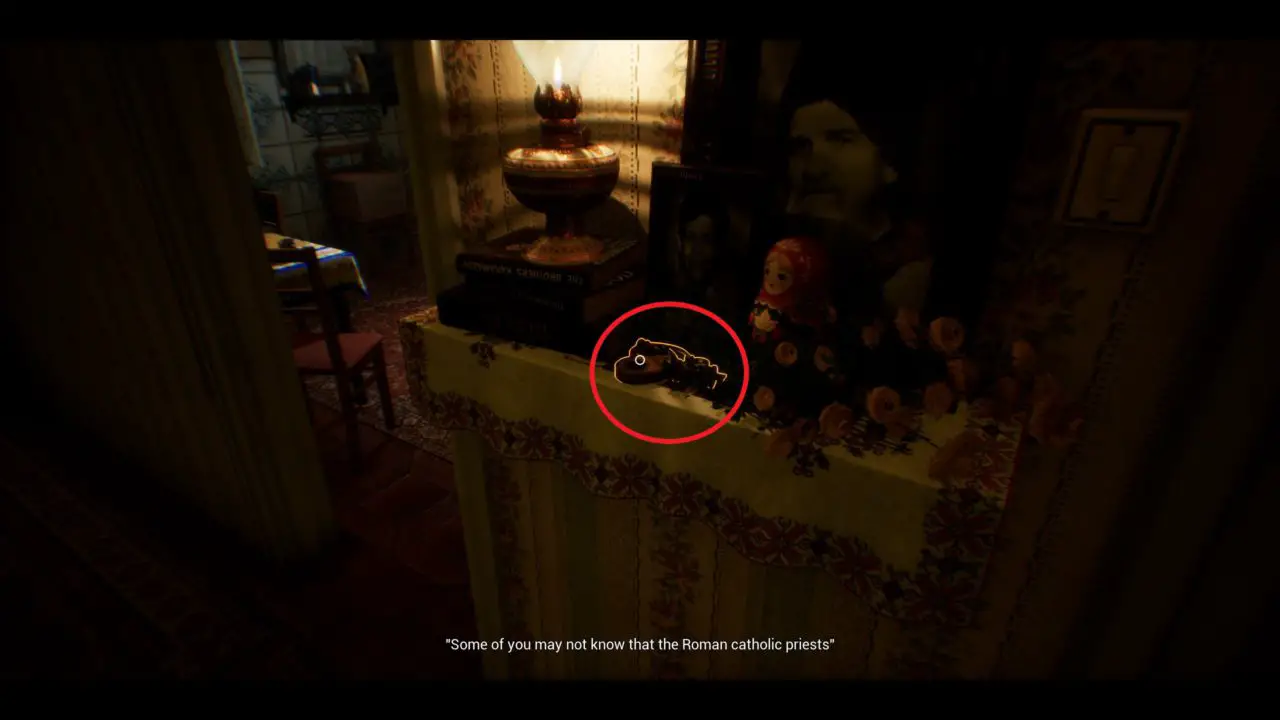
Documento #4 – Mom’s Paranoia
Once you leave the living room and advance into the next area, the second you open the door there will be another document to the right sitting on a counter near the creepy doll.
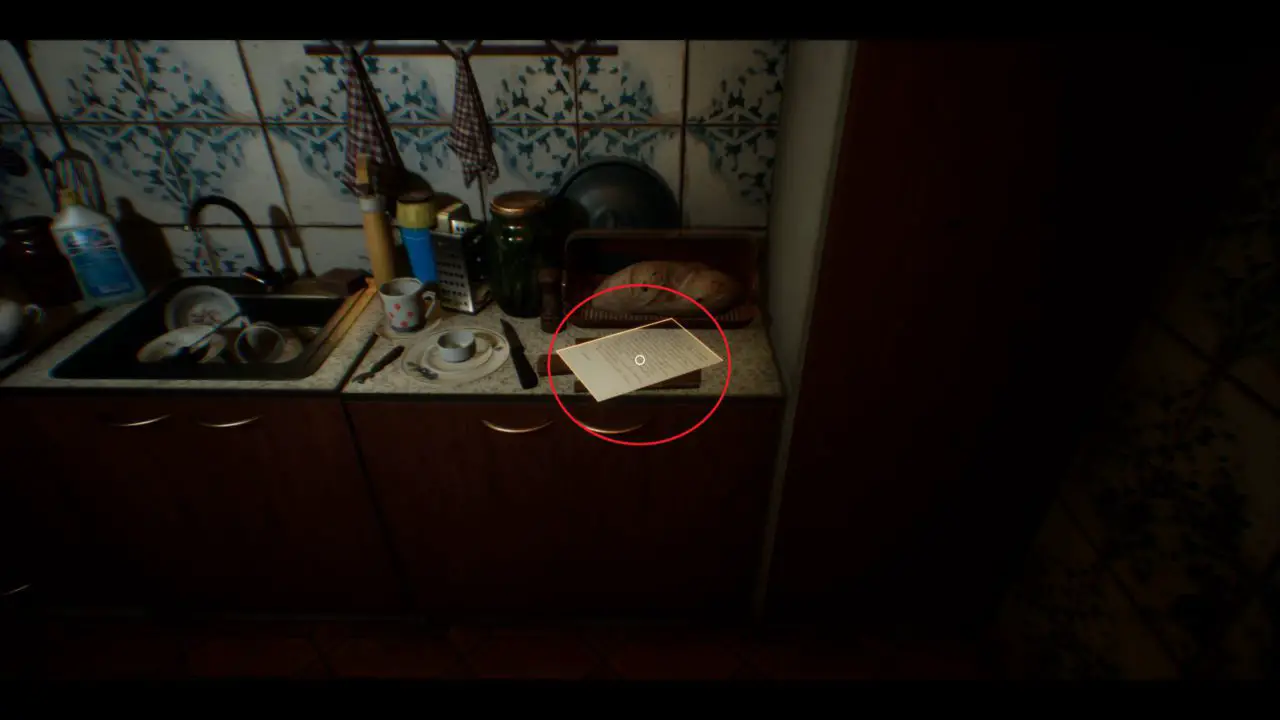
Documento #5 – Lyudmila’s Reproaches
You can find this final document for the first chapter in the kitchen sitting on the countertop.
Sí, That’s Enough – Tried to pet the cat a second time.
- Por este logro, you need to pet the cat twice. The cat is located in the kitchen and is sitting on the table. Just click the cat and trigger a cutscene, then click the cat again after the cutscene ends. (I don’t think I need to circle the cat for you)

Beautiful Lines Achievement Part 1
In between the bathroom and the kitchen is this train key. Grab it for now. It has no use at the moment but will be used in Chapter III for the Beautiful Lines achievement.
No! – Have a close encounter with Martha.
- During the 2nd earthquake, after hanging up the phone with the police. Go to the closet near the entrance of the apartment and open the door.
To Hell With This Place Complete Act I.
- Unmissable story achievement.
Acto II – 2 Logros / 4 Documentos
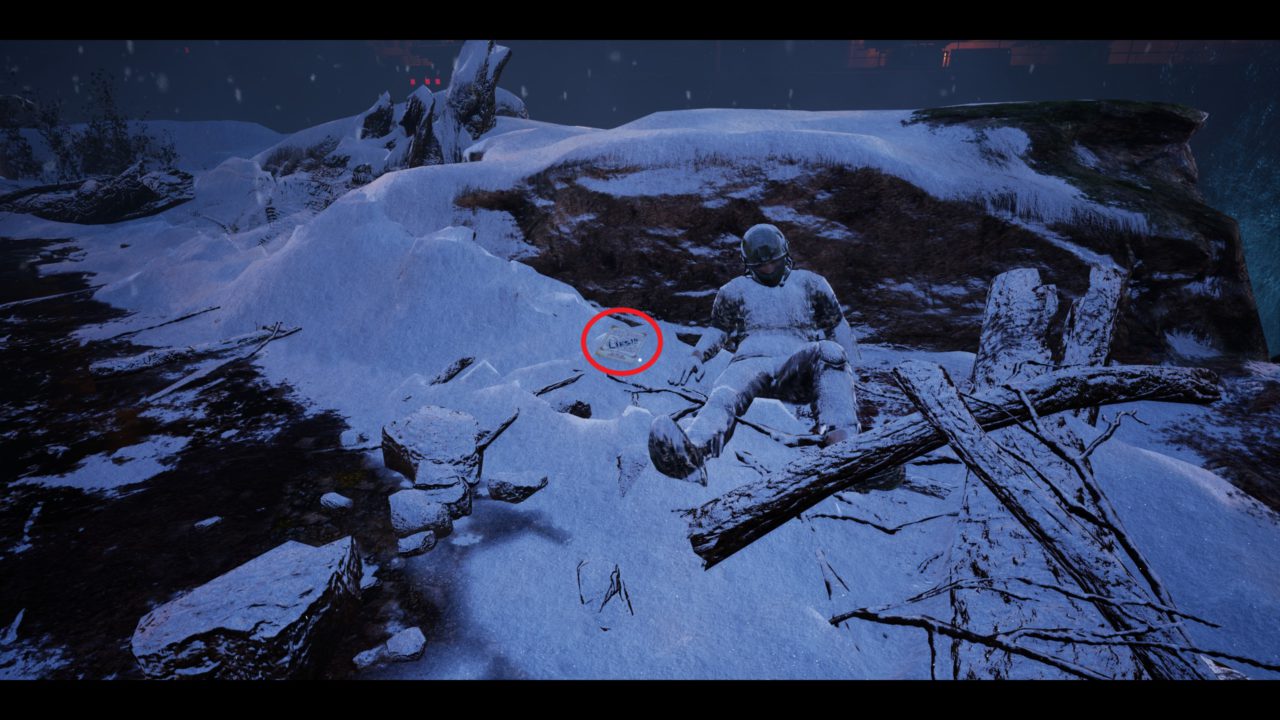
Documento #1 – Hideous Propaganda
As you’re walking, there will be a frozen dead man to the right with a note beside him that says the words «LIES!!!» in black ink.
Documento #2 – Unexpected Heroes
Another dead man just a few steps ahead of the previous one with another note next to his feet. (Also to the right)
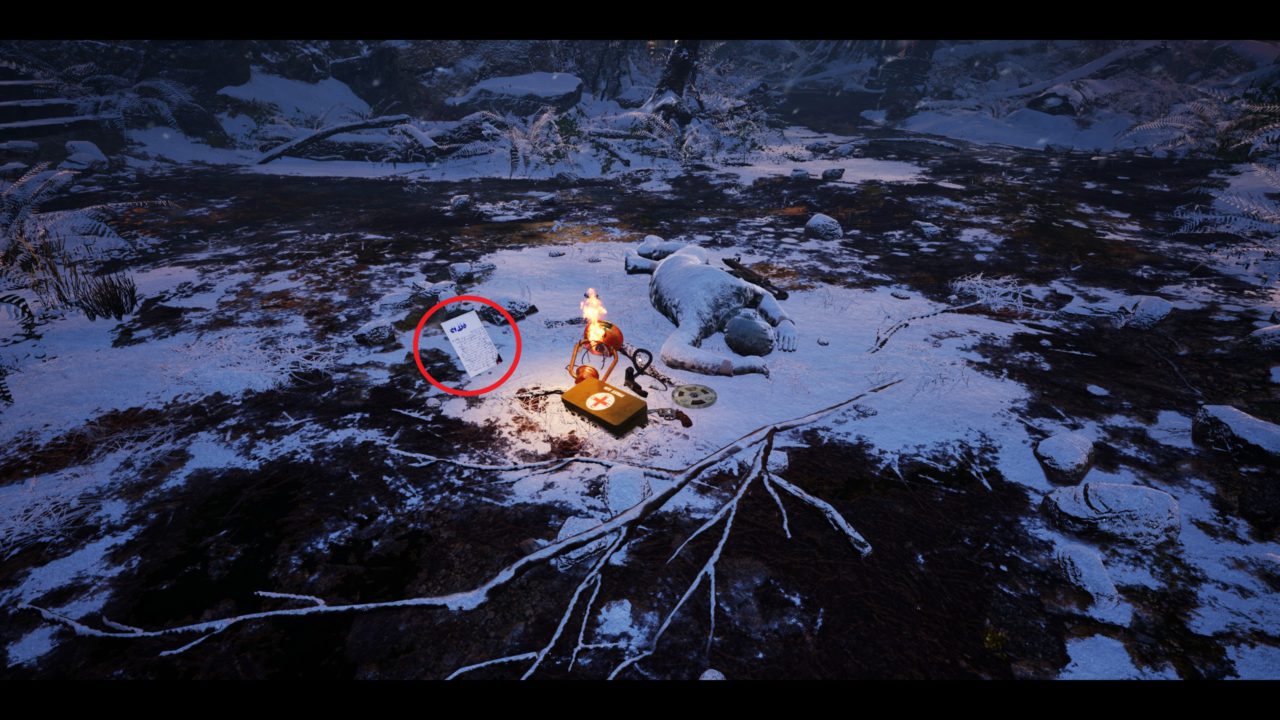
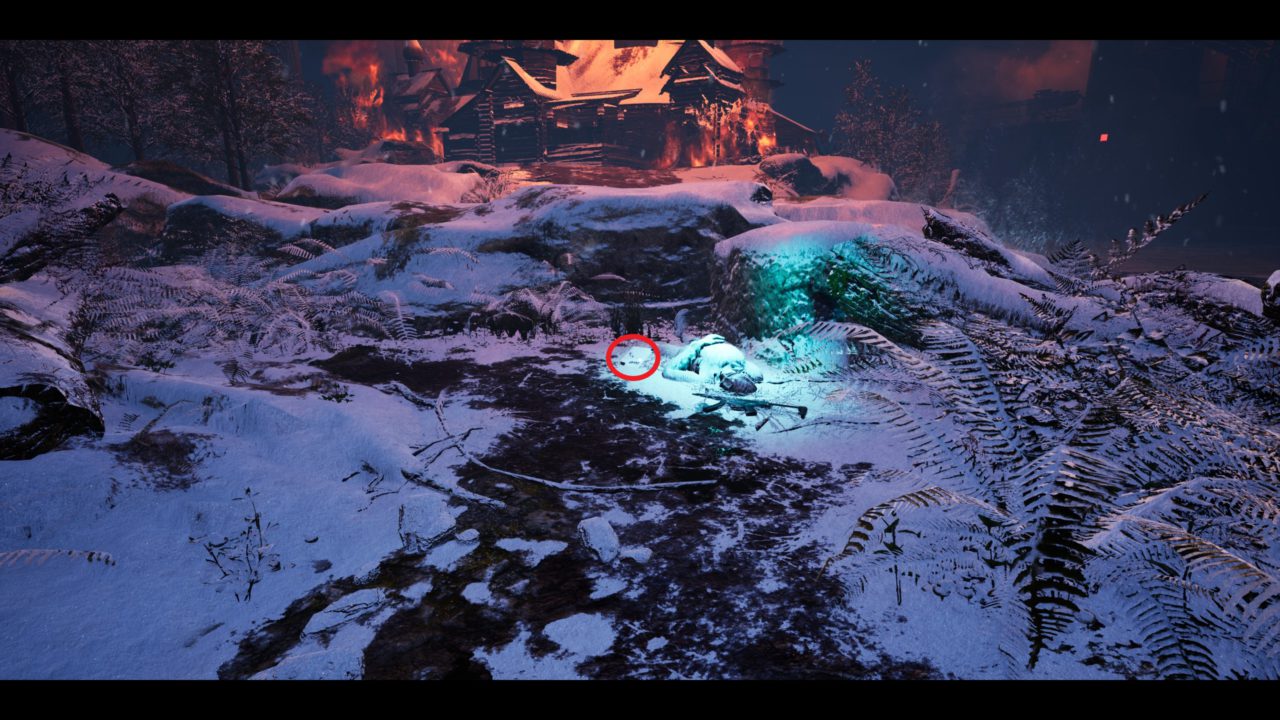
Documento #3 – Soldier’s Confession
Yet another dead soldier just after a small cut-scene lying in the middle of the path with a note near his body.
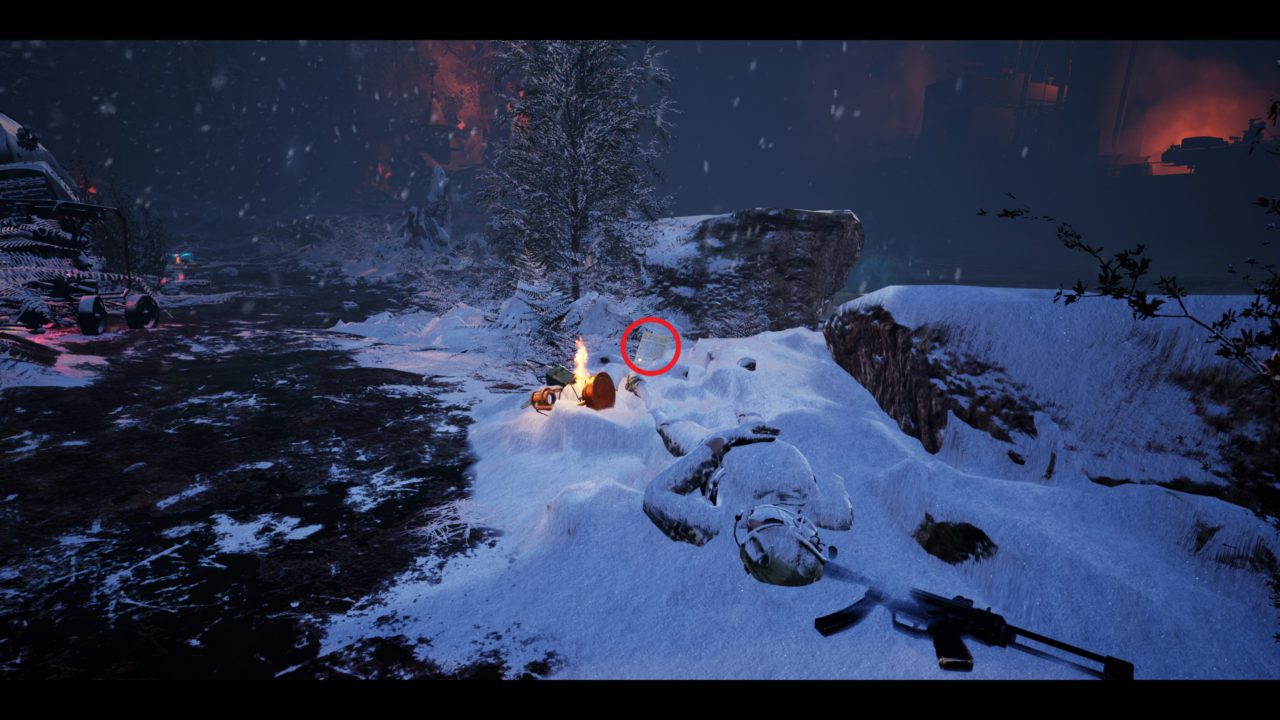
Documento #4 – Soldier’s Note
For the final document of this chapter. From the previous document, look straight ahead towards the burning building. Head towards it and there will be another dead body with a note next to his leg.
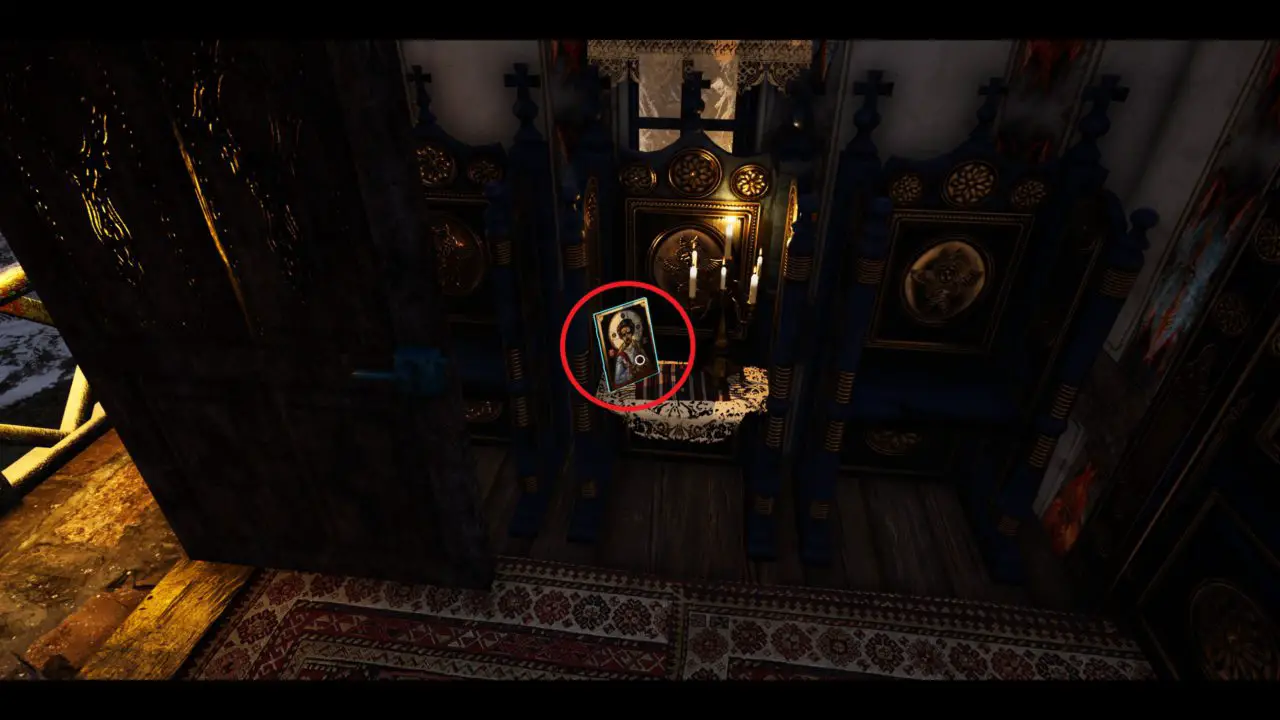
Oración – Find the Icon of Christ
- In the little mausoleum across from the last dead body. As soon as you open the door, look to the left on the chair. (You have to go through this building to progress through the game).
This is Legit War – Complete Act II
- Unmissable Story Achievement
Acto III – 3 Logros / 2 Documentos
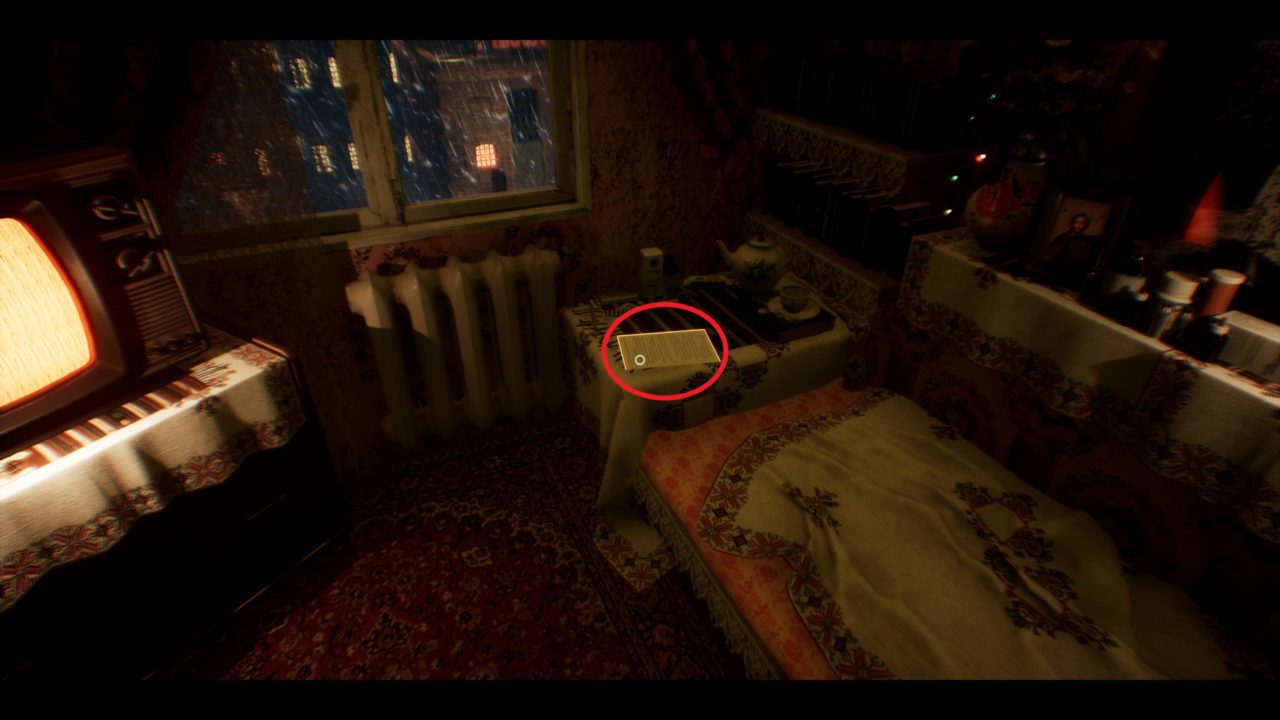
Documento #1 – Was She Insane?
Exactly where you’re standing from the start of Chapter 3, look to the right of the TV on a table is a document.
Beautiful Lines Achievement Part 2
Beautiful Lines – Find the First Phylactery.
- Above the Television is a train, use the Train Key that you got in Chapter 1 on this train and a phylactery will come out of it.
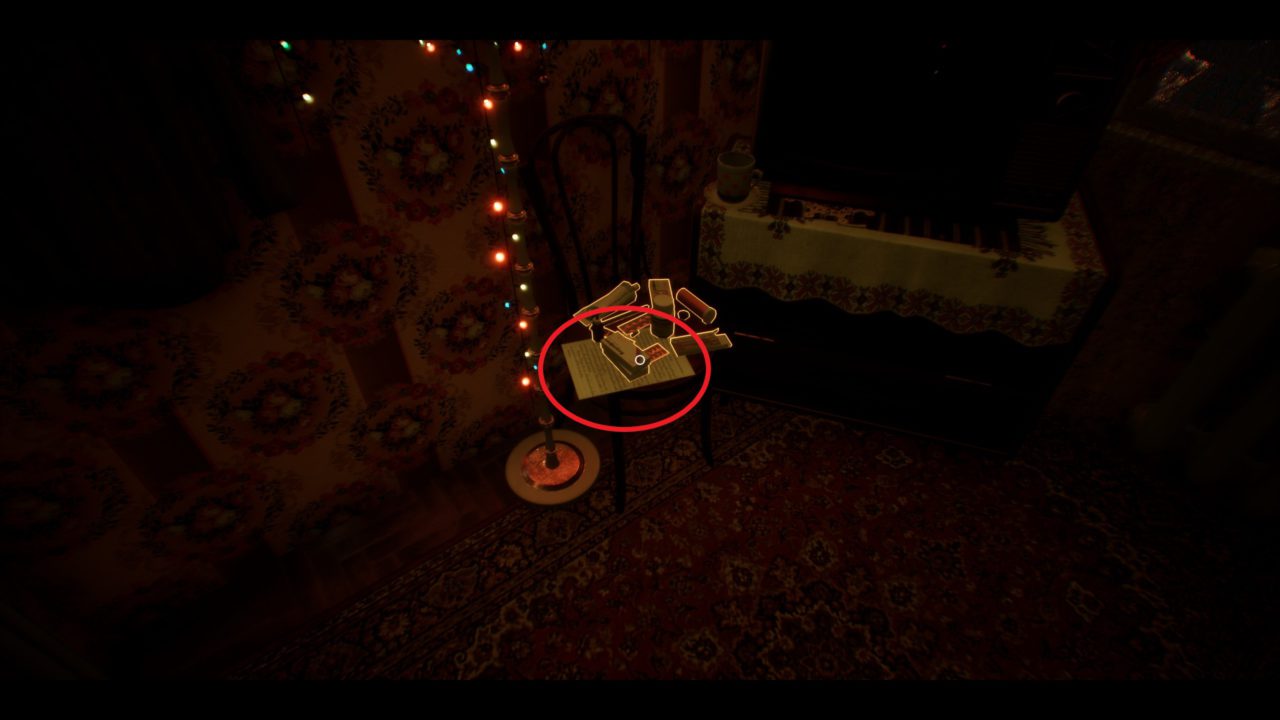
Documento #2 – Lyudmila’s Dreams
En la misma habitación, on the chair next to the television and under the pills is another document.
The Devil is in the Details – Find all the documents in the Prologue.
- This should unlock as you grab the last document in Chapter 3.
Just Look Away – Finish Last Days of Lazarus – Prólogo.
- Unmissable Story Achievement.
Eso es todo lo que estamos compartiendo hoy para este Last Days of Lazarus guía. Esta guía fue originalmente creada y escrita por NutellaOrgies. En caso de que no actualicemos esta guía, puede encontrar la última actualización siguiendo este enlace.