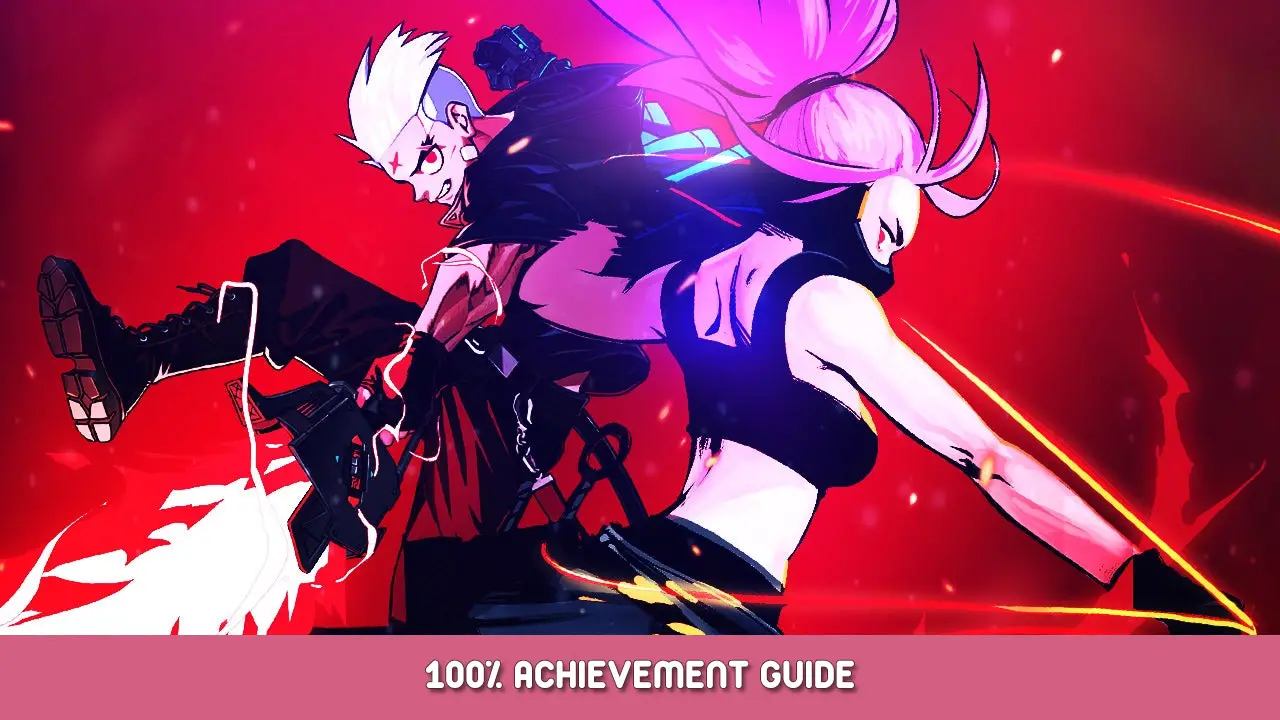

Guía detallada sobre cómo completar el logro para el asalto de la cuchilla. Incluye hojas de cálculo hechas personalmente para el seguimiento del progreso para algunos logros más complejos. Además, algunos de los logros en este juego son un poco complejos y requieren realizar un seguimiento de algunas cosas para saber lo que te estás perdiendo.. So I made myself a spreadsheet while I was working on them and added a bit more to it to share it with other achievement hunters here.
General
Ones you will get naturally or while working towards other ones.

An Unfamiliar Ceiling
Wake up in Hank’s room after falling from Esperanza.
Imperdible, get it at the start of the game.

A Familiar Ceiling
Wake up in Hank’s room after your first death.
I’m sure you’ll see it soon..

Human Capybara
Increase all resistance member’s friendship levels to the maximum.
A game changer in ability to clear runs well. Alimento, jenny, and Hank are good starts.

Jacobo’s Disciple
Upgrade all passives taught by Jack to the maximum level.
This one’s a bit time gated but it’ll come in time.

Pervy Sage
Convocar [Jira] as Jenny.
Naruto reference, pog. To do this you need the Convene ability on Jenny, and level it until it can summon Jira. Will need to level Convene anyway for Chain and Sickle.
jefes
Bastante explicativo, you unlock these as you beat each boss the first time. Some tips have been added below.

Do you know of the renegade who lost his name?
Defeat the chapter 1 jefe, Impermeable.
Simple and straightforward fight. Wait for explosions to pass.

Ratmotan Joe
Defeat the chapter 2 jefe, Ratmotan.
Can just jump up to avoid his slams. Multi-dash will help avoid bombs, and Jenny’s range allows for attacking during poison attack.

The Itsy Bitsy Spider
Defeat the chapter 3 jefe, Charlotte.
bastante fácil, can ignore the eggs and just kill them secondhand. Avoid touching the acid floor.

Man-eating Plant
Defeat the chapter 4 jefe, Plantos.
A fun challenge. Watch the hazard warnings for vine wave attacks. Can go left, bien, or all at once.

Robot Collector
Defeat the chapter 5 jefe, Cyclops.
Simple, but can’t be hit by ground target attacks.

Bzzz!
Defeat the chapter 6 Comandante, Electra.
Hard to hit with ground target attacks and short range. Shock Immunity will help.

Ruler of the Floating City
Defeat the chapter 6 jefe, Panus.
Doesn’t move a lot, just has large sweeping wave attacks. Transforms at half health and becomes close range.

Panus’ Identidad
Defeat the chapter 6 jefe final, Ouranos.
Easiest boss. Just stand in place in front of it and whack away. Staying close enough avoids giant laser beam.
Assault Level
These achievements are for beating the campaign on the respective Assault Level. Basically New Game+, displayed on the top right of the screen and adjusted with the NPC next to the exit. If you struggle try playing with Inquisition or Sidewinder and using Great Thunderbolt or Bone Chill cores.

Resistance Recruit
Clear Assault Level 3.

Experienced Rebel
Clear Assault Level 5.

Hardened Rebel
Clear Assault Level 8.

Resistance Veteran
Clear Assault Level 10.
The Grindy Part
Alright these are why I had to make the spreadsheet that I linked at the beginning of the guide.
Far too many things to obtain and upgrade and no in game record of any of it. I tested it myself but you do indeed have to upgrade Main Weapon cores and get each level of Elixir for their achievements.
Definitely try the core re-roll skill in the skill tree, can help a lot. First thing to note is you must upgrade the Main Weapon cores to max to unlock these. That’s because each upgrade is treated as a separate core in your inventory. Second is that you won’t find certain cores unless you meet certain requirements. Like you won’t see half the Cryo ones if you don’t have a Cryo core that allows you to chill and/or freeze enemies. Also that you can’t get Shock Grenade: Desparramar if you don’t have Shock Grenade, o Frozen Spear if you don’t have Frost Arrow. This made getting some take a bit longer for me until I realized that.

Shock Therapist
Acquire all types of Electric Cores.
Obtain every unique Electric core once, that includes upgrading the Main Weapon cores.

Ice Cold Baby
Acquire all types of Cryo Cores.
Obtain every unique Cryo core once, that includes upgrading the Main Weapon cores.

The Pyromaniac
Acquire all types of Ignition Cores.
Obtain every unique Ignition core once, that includes upgrading the Main Weapon cores.
These are unlocked by maxing each unique upgrade for each weapon.
NO
the passives you spend Chips on. The Hank upgrades will help narrow down which you need as you can reload his choices with the Give Up button in the menu until you find what you want.

OMS’s Laughing Now?
Upgrade Kil’s weapon [Destructor] to Lv.5.
Top Blade is quite fun and very effective when paired with Furious Wave.

Nobody Expects This!
Upgrade Kil’s weapon [Inquisidor] to Lv.5.
Whirlwind is op.

Él’s a Machine Gun!
Upgrade Kil’s weapon [Evil Hunter] to Lv.5.
Worst weapon, but it has some fun moments.

Guerrero demonio
Upgrade Darcy’s weapon [Silencio] to Lv.5.
Has one really awesome ability, Odachi I think, feels like ♥♥♥♥ de lo contrario.

Chain and Sickle
Upgrade Jenny’s weapon [Sidewinder] to Lv.5.
Strong without any skills with gem passive. Has a lot of great skills regardless.
This is likely to take the longest. Not even because there are 111 different gears, but because Actives come up so rarely. I went through everything else, tal vez 100 runs through and only saw Actives show up 8 veces. Bad rng on actives or elixirs could really add to the time it takes. Easily take care of all the Risk Gears in one swoop by visiting Sophia well stocked to just buy out all 7 de ellos a la vez.

Detective Gadget
Acquire all types of Gears.
Obtain every unique gear once, includes Risk Gear, Drones, Gambit, Dados, and each level of Elixir.
Eso es todo lo que estamos compartiendo hoy para este Asalto con espada guía. Esta guía fue originalmente creada y escrita por Penitencia. En caso de que no actualicemos esta guía, puede encontrar la última actualización siguiendo este enlace.