
- Título: Un cuento de plaga: Inocencia – Guía de gráficos mejorada
- Fecha de lanzamiento:
- Revelador:
- Editor:
Información sobre Un cuento de plaga: Inocencia – Improved Graphics Guide is still incomplete. Por favor ayúdanos a completar los detalles del juego usando esto formulario de contacto.
This guide describes how to improve the game’s graphics and at the same time increase the game’s performance.
What’s wrong with the graphics?
The very first time you play ‘A Plague Tale: Inocencia’ you might notice that despite the game’s gorgeous graphics, everything outside your focus seems a little blurry.
While some of you may not mind this effect, other players find it very annoying. Desafortunadamente, you can not disable this distortion in the graphics setting in the game. Sin embargo, you can disable it in a configuration file.
Access the File
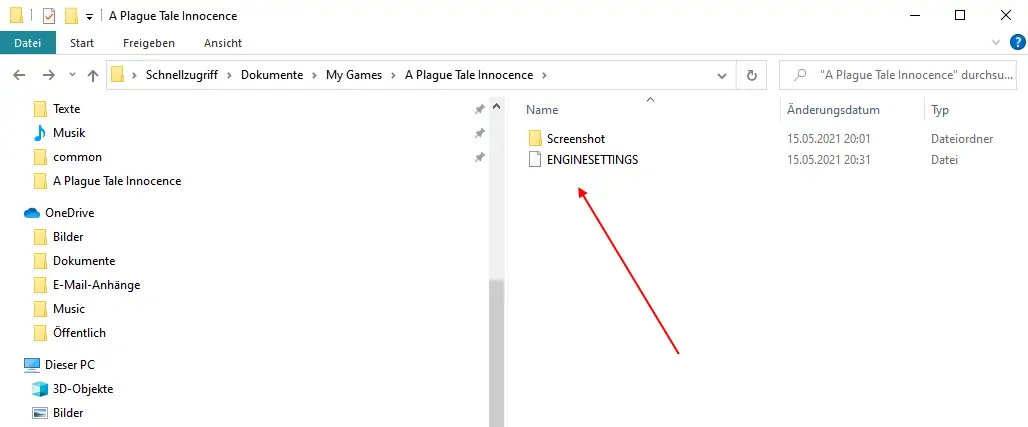
Please note that before you change anything the game should not be running! This should be clear. Por defecto, the file in question is located here:
C:\Users\YOUR NAME\Documents\My Games\A Plague Tale Innocence\ENGINESETTINGS
The file ENGINESETTINGS does not have a file extension but you can open it in any editor. In order to do so search for the file in your Windows Explorer. Copy the following line:
%userprofile%\Documents\My Games\A Plague Tale Innocence\
Now open the Windows Explorer by pressing the Windows key and E. Click on the top line and paste the directory path.

Press enter and you should see the configuration file.
Backup the File
Before we change anything let’s create a backup of the file, por si acaso, something goes wrong or your wish to use the original settings after examining the changes.
Select the file (haga clic en él) and press Ctrl & C to copy the file. Then press Ctrl & V to create a copy of the file.
Adjust the Configuration
Right-click on the file ENGINESETTINGS and select Open with.
Select Editor. In case you have Notepad++, UltraEdit, TextPad or any other editor you can of course open the file with this as well.
Now move to the bottom of the file. Here you will find the following section:
{PostProcess
Enabled 1
EyeAdaptation 1
ColorGrading 1
Afilar 1
Franja 1
LensDistortion 1
Dirt 1
LensFlare 1
FilmGrain 1
Vignette 1
LensBlurMultiplier 1.000000
FringeMultiplier 1.000000
}
}
The setting that causes the blurriness is Fringe. Switch it from 1 a 0 so it looks like this:
{PostProcess
Enabled 1
EyeAdaptation 1
ColorGrading 1
Afilar 1
Franja 0
LensDistortion 1
Dirt 1
LensFlare 1
FilmGrain 1
Vignette 1
LensBlurMultiplier 1.000000
FringeMultiplier 1.000000
}
}
Save the file and start the game.
Inspect the Changes
Let’s take a look at what has changed.
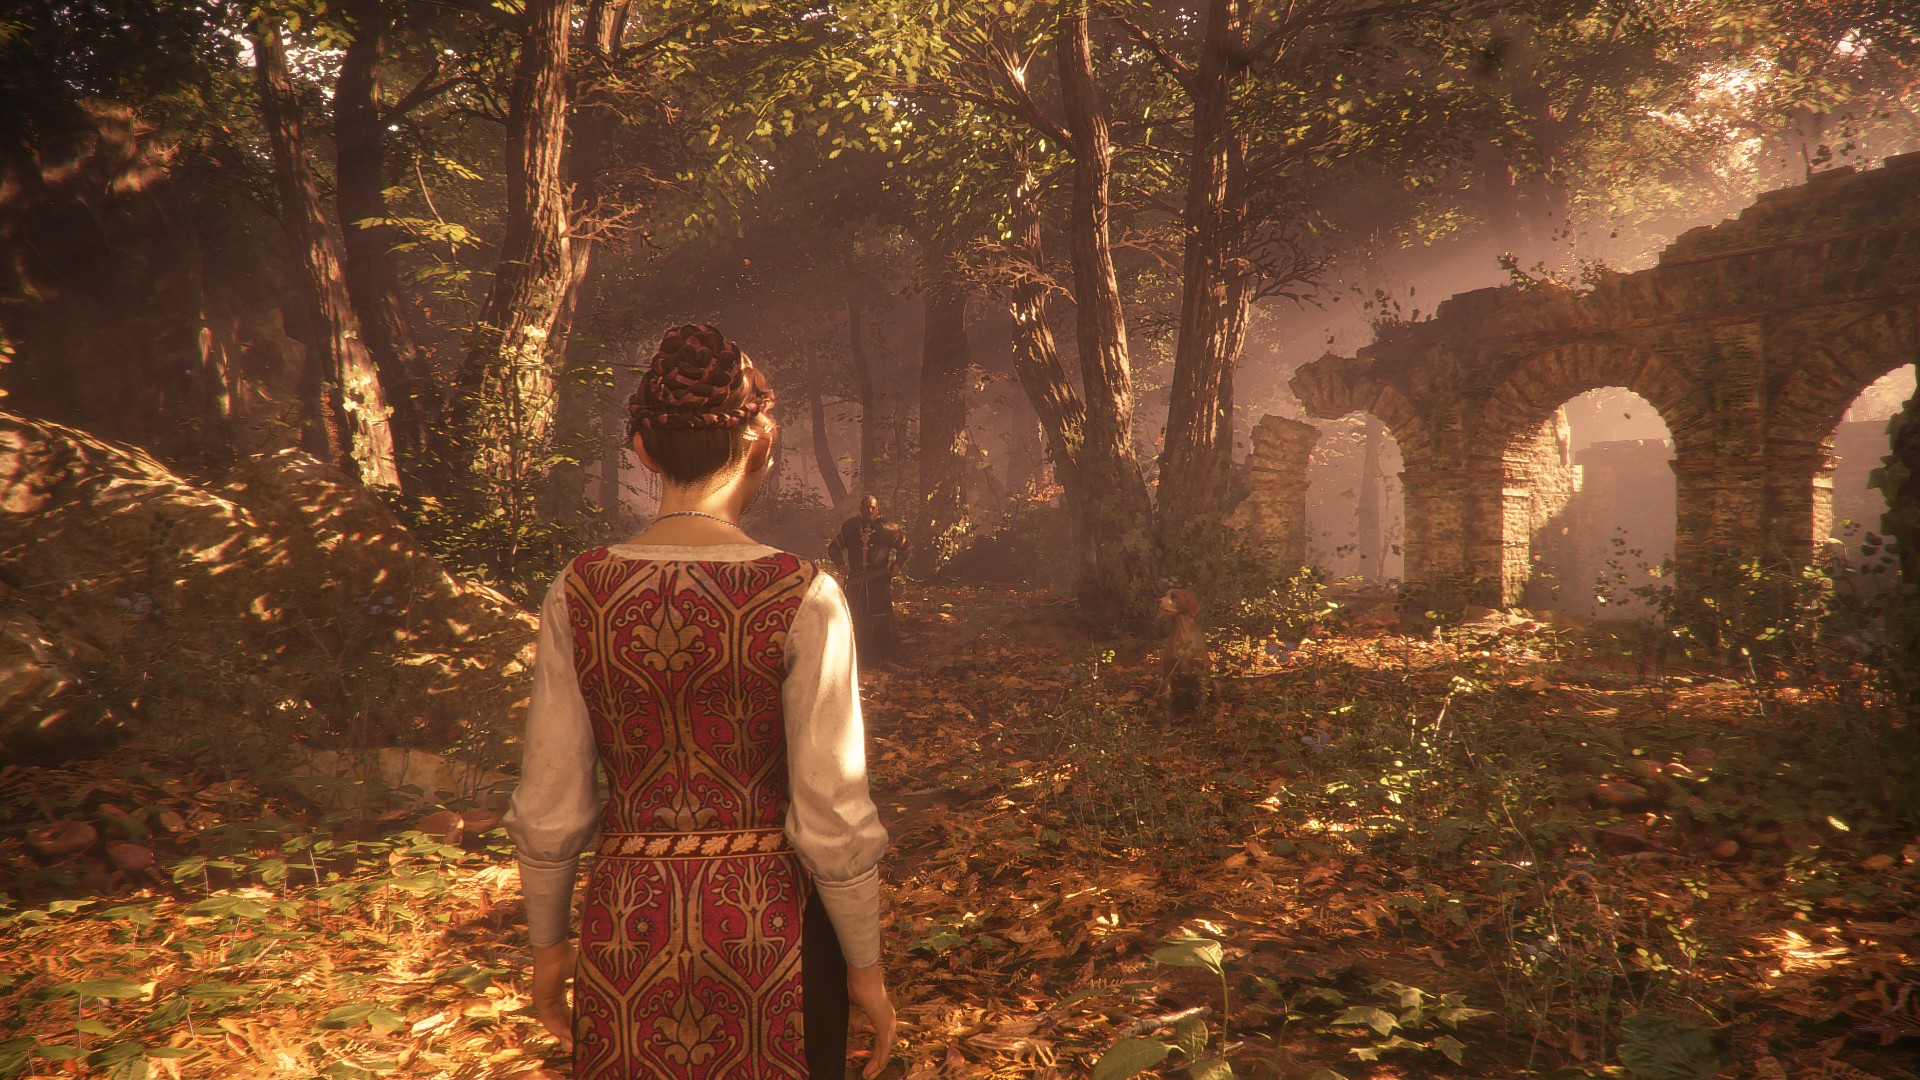
Antes (with fringe):
Después (without fringe):
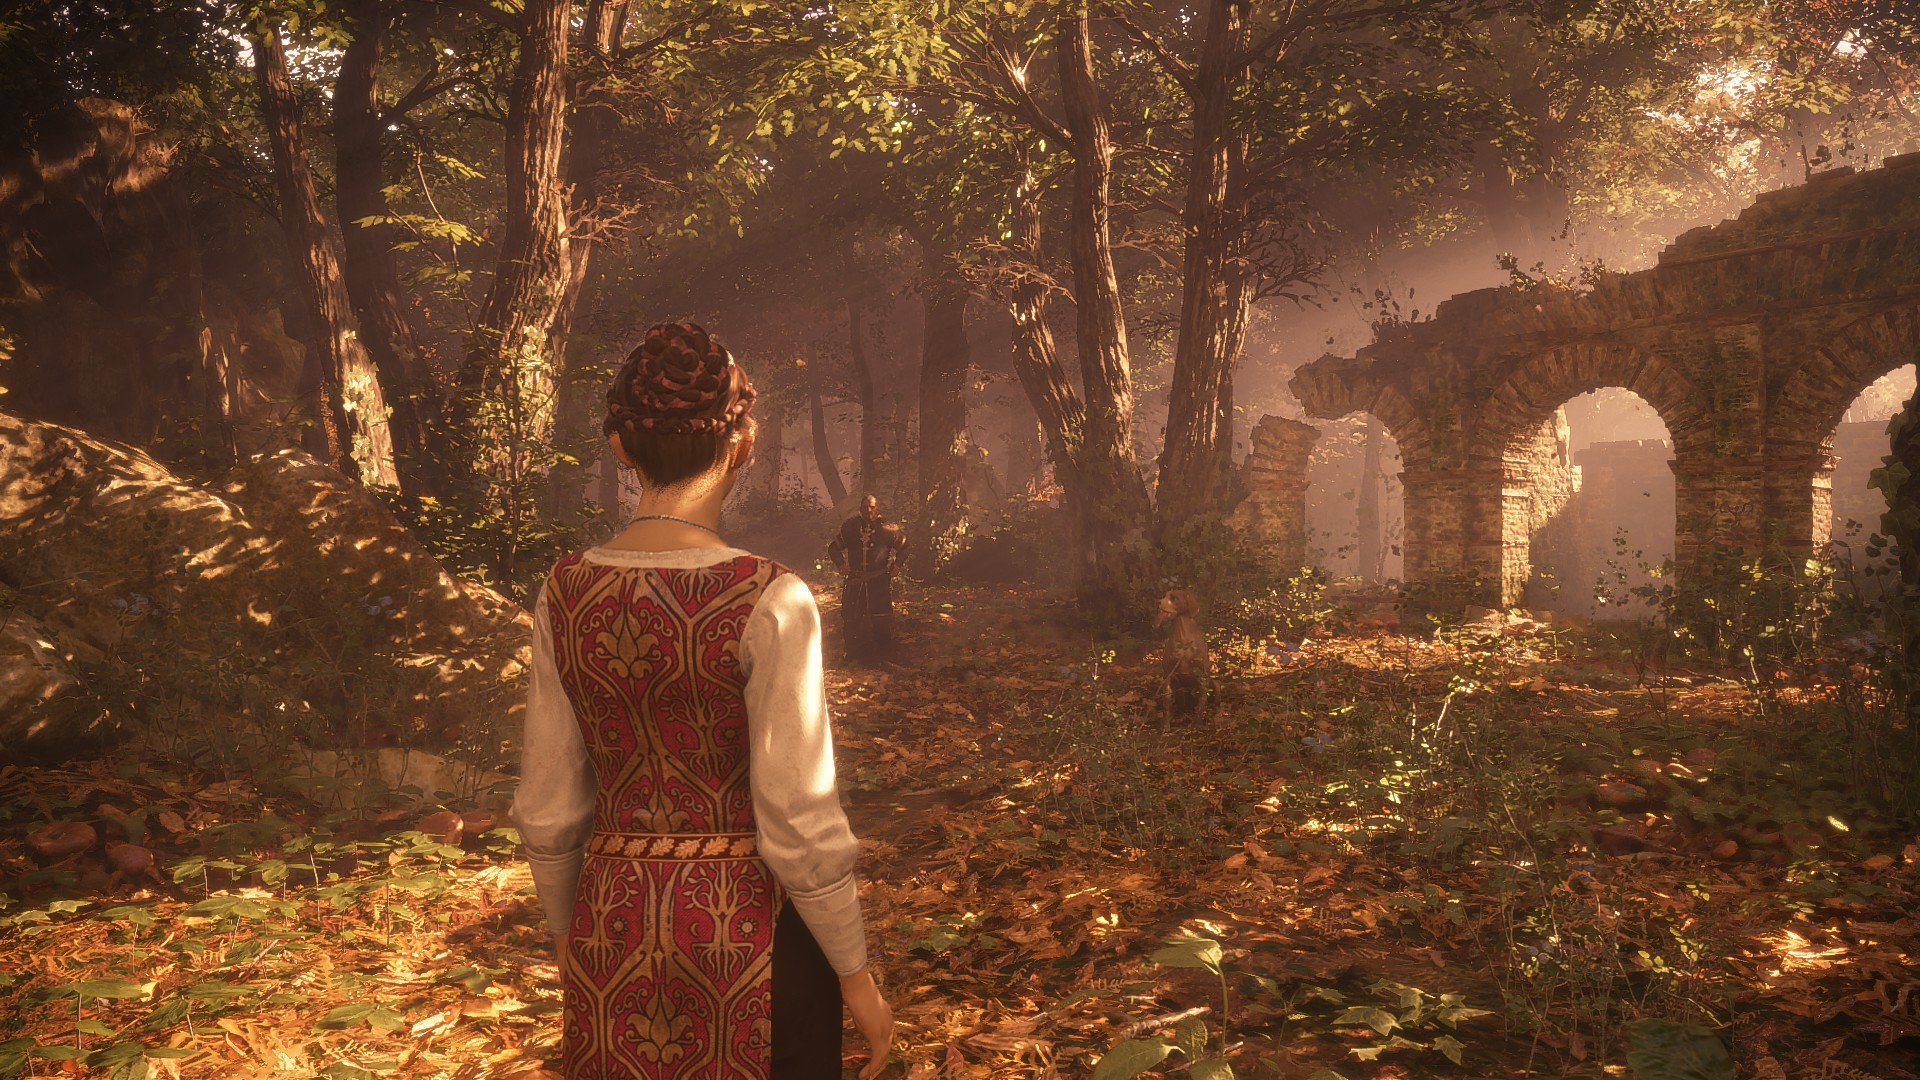
Take a look at the leaves growing near the ground left of Amicia. They are blurry with the original settings. Compare the small twigs to the right of Amicia. Everything looks crisper and at the same time graphic performance significantly improves, which means you get more fps (fotogramas por segundo) with better pictures.
Is there more?
Sí, hay mas. So far we only changed a single setting, the fringe. When I played the game I also disabled:
- DOF
- MotionBlur
- LensDistortion
- LensFlare
- FilmGrain
- Vignette
Disabling each of these settings improves graphic performance, meaning you get more fps. Pero por supuesto, tastes are different and while most players hate FilmGrain, there may be some who don’t.
So it is up to each of you to decide which setting you like to change. The procedure is the same. Quit the game. Abre el archivo. Deactivated with 0 and activated with 1. Then save and restart the game to check the change.
Eso es todo lo que compartimos hoy para esta guía.. Esta guía fue originalmente creada y escrita por Chane. En caso de que no actualicemos esta guía, puede encontrar la última actualización siguiendo este enlace.