
This guide will show you where and how to get all violins in illWill. Finding all of these in-game violins will also unlock the illWill achievement angerufen Violin master.
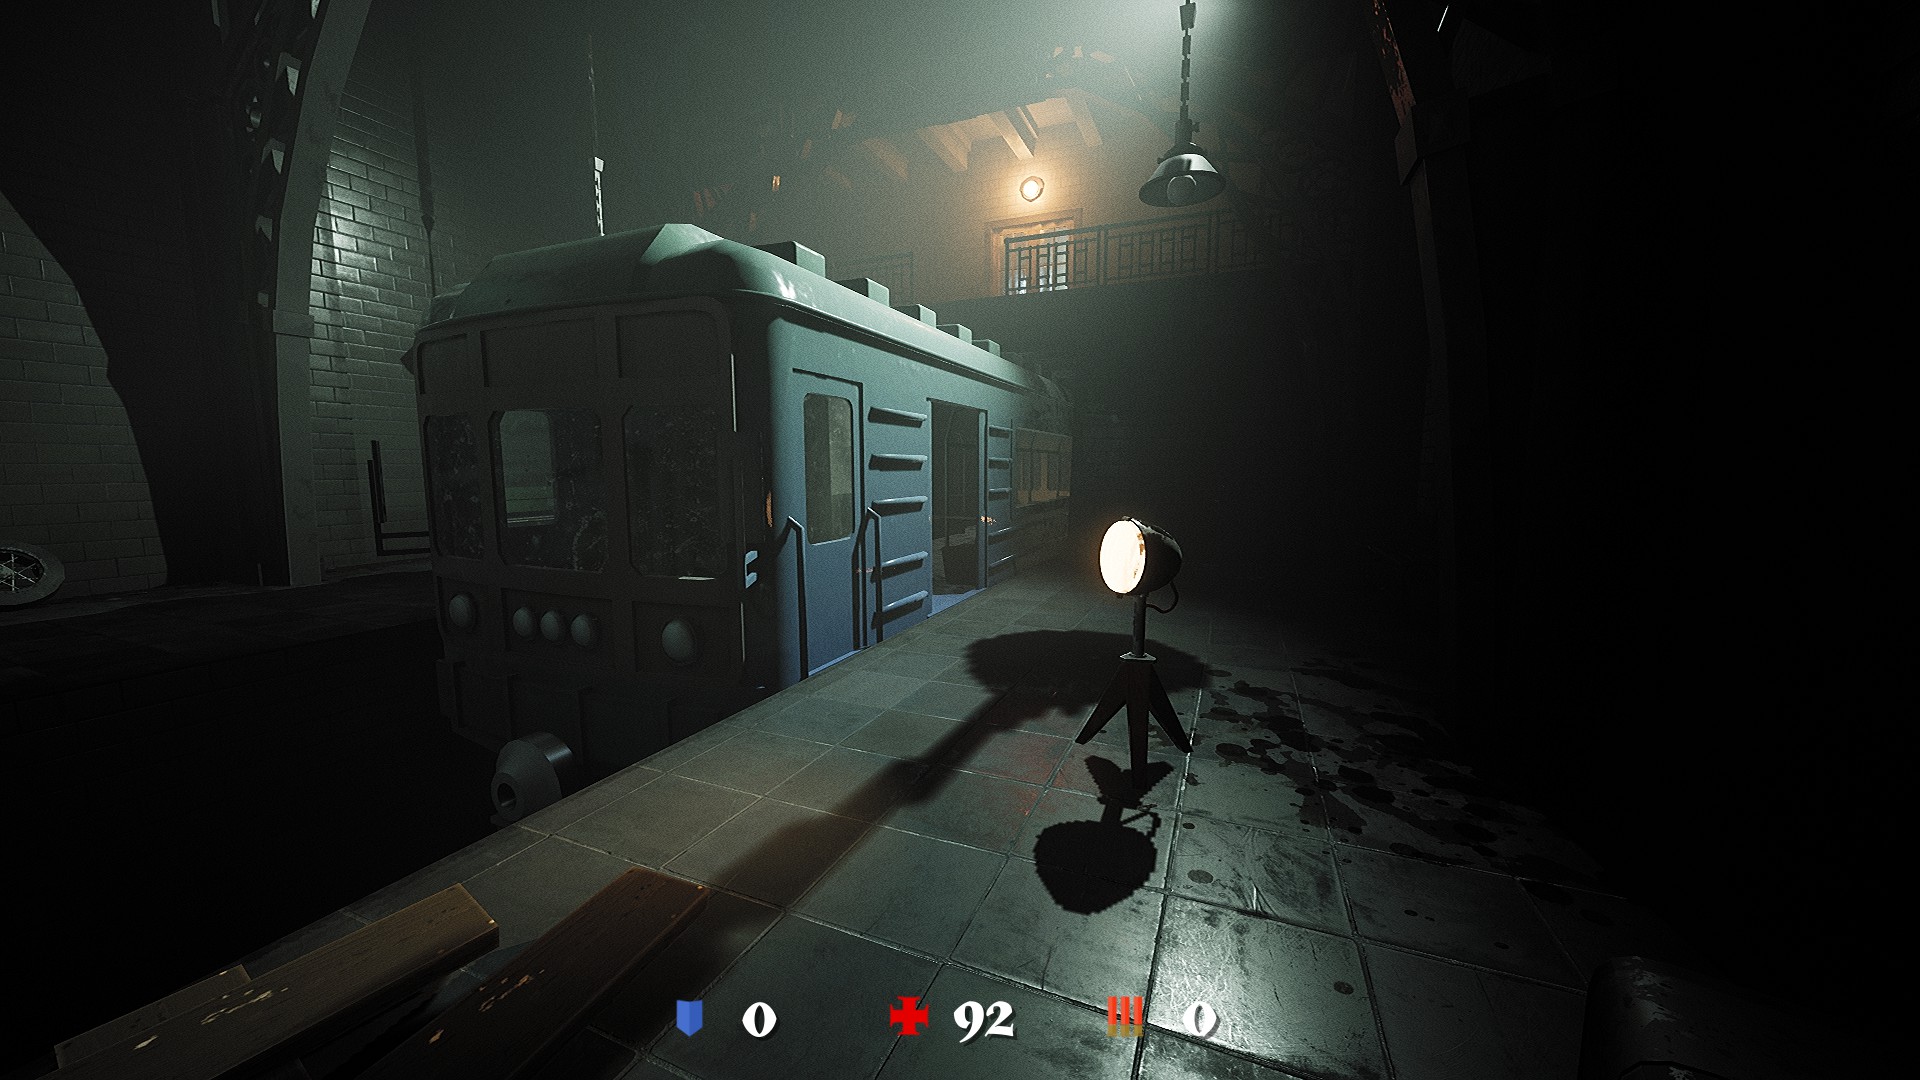
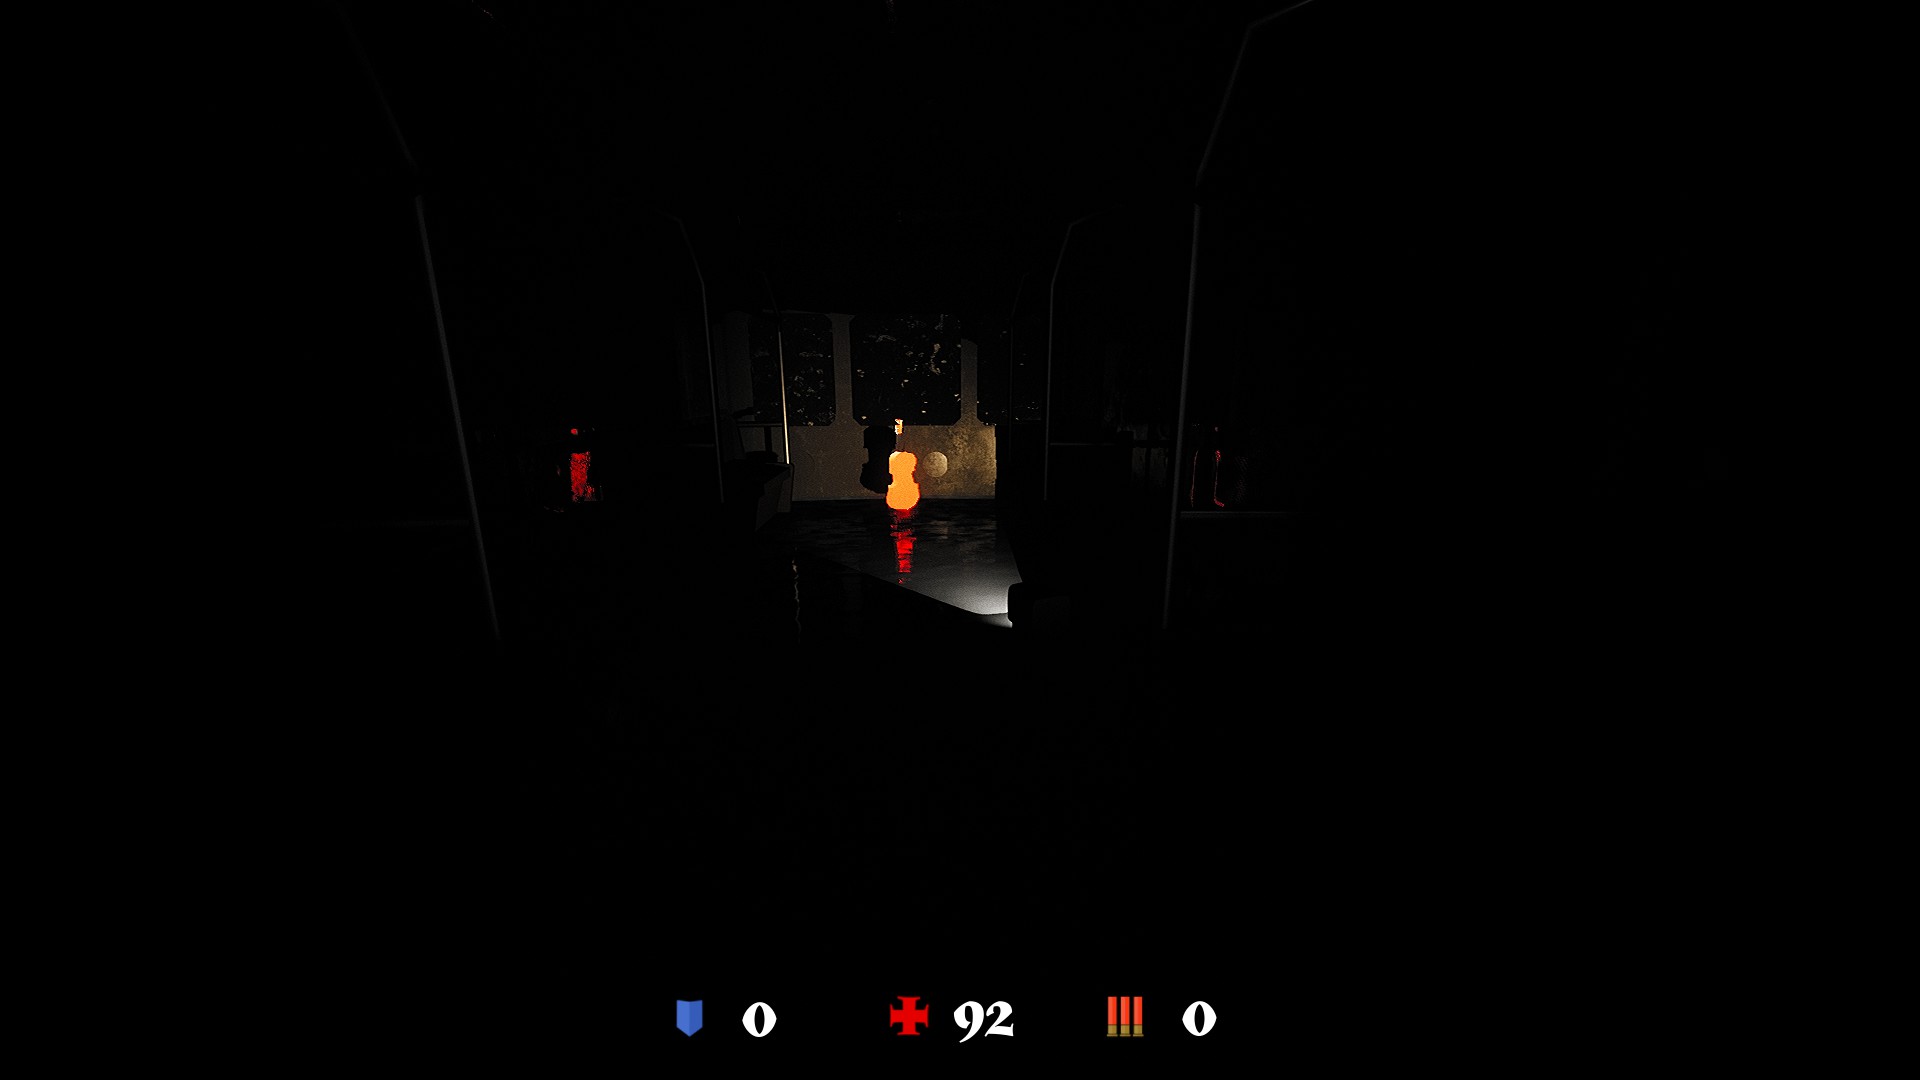
First Level
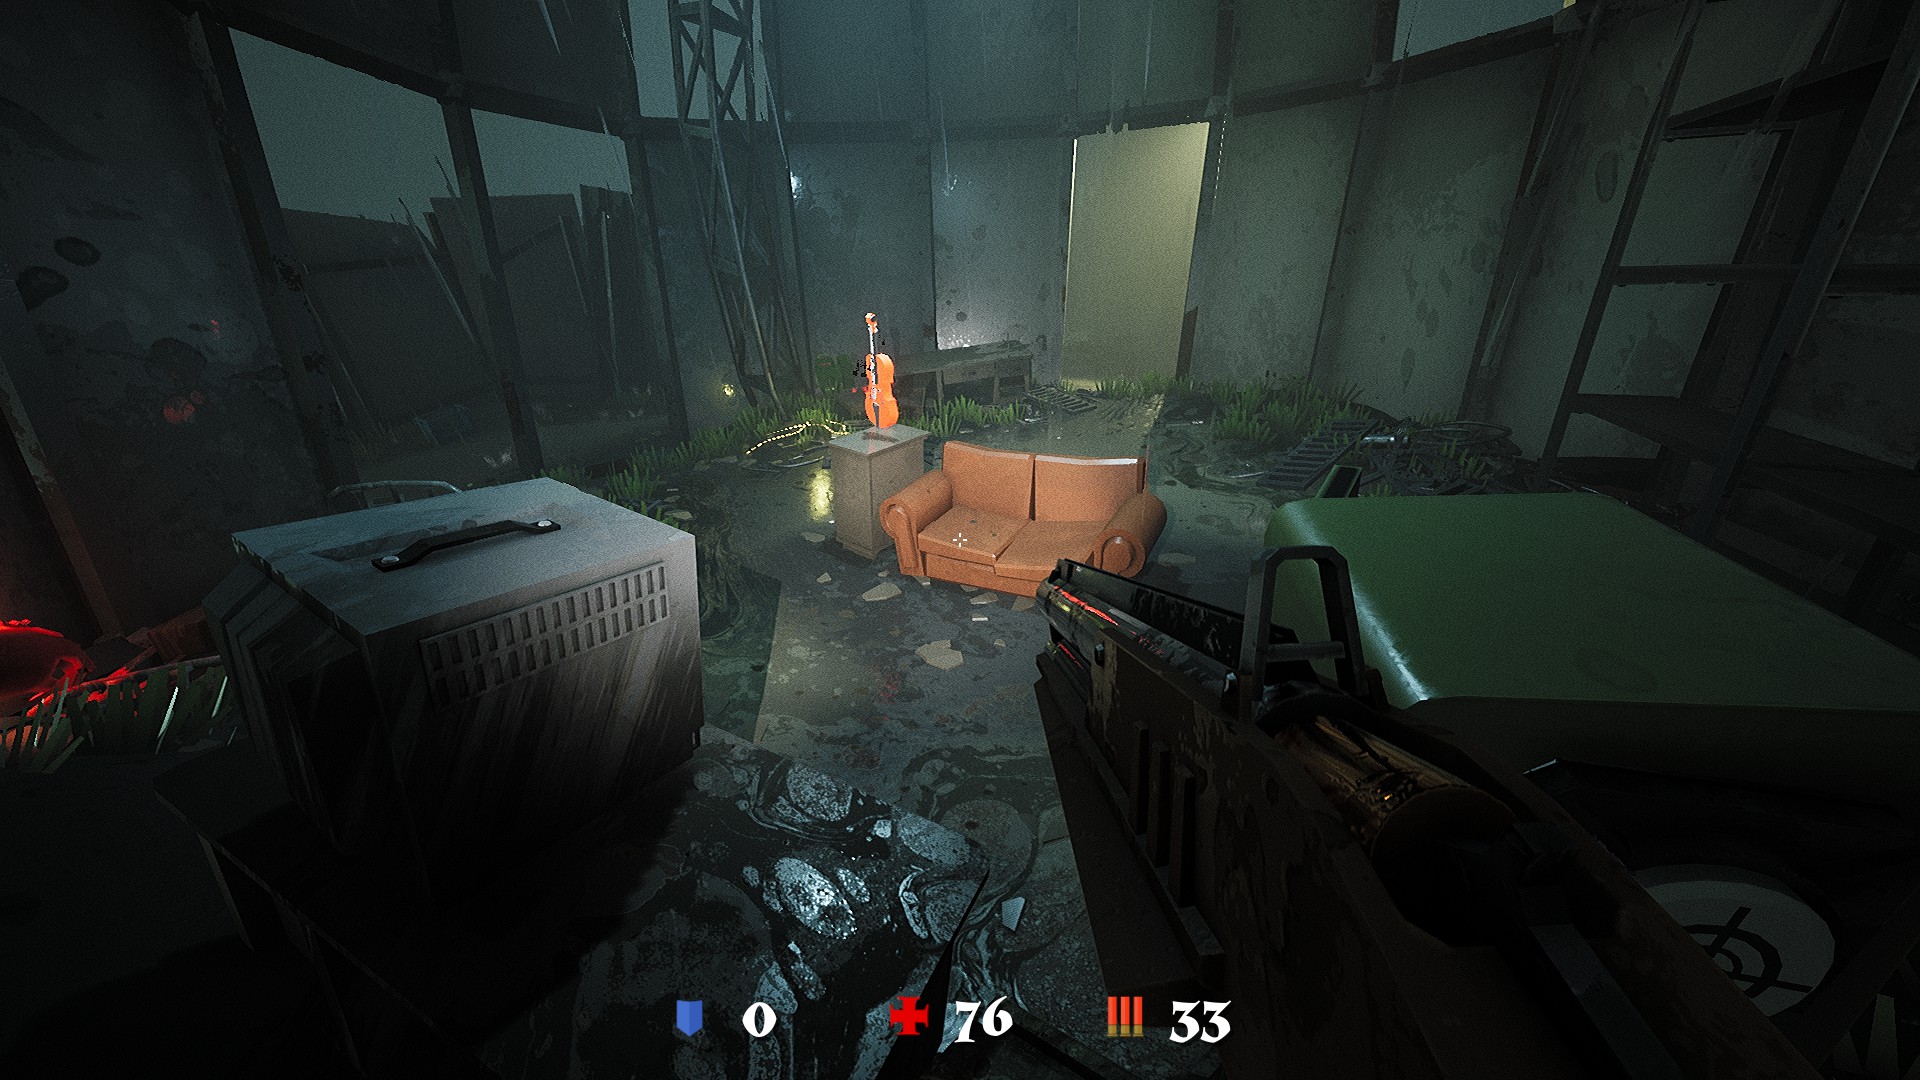
The initial violin is located within the carriage.
The second violin can be discovered while progressing towards the room with the green key. Um darauf zuzugreifen, we must venture into the adjacent room after defeating all the enemies.


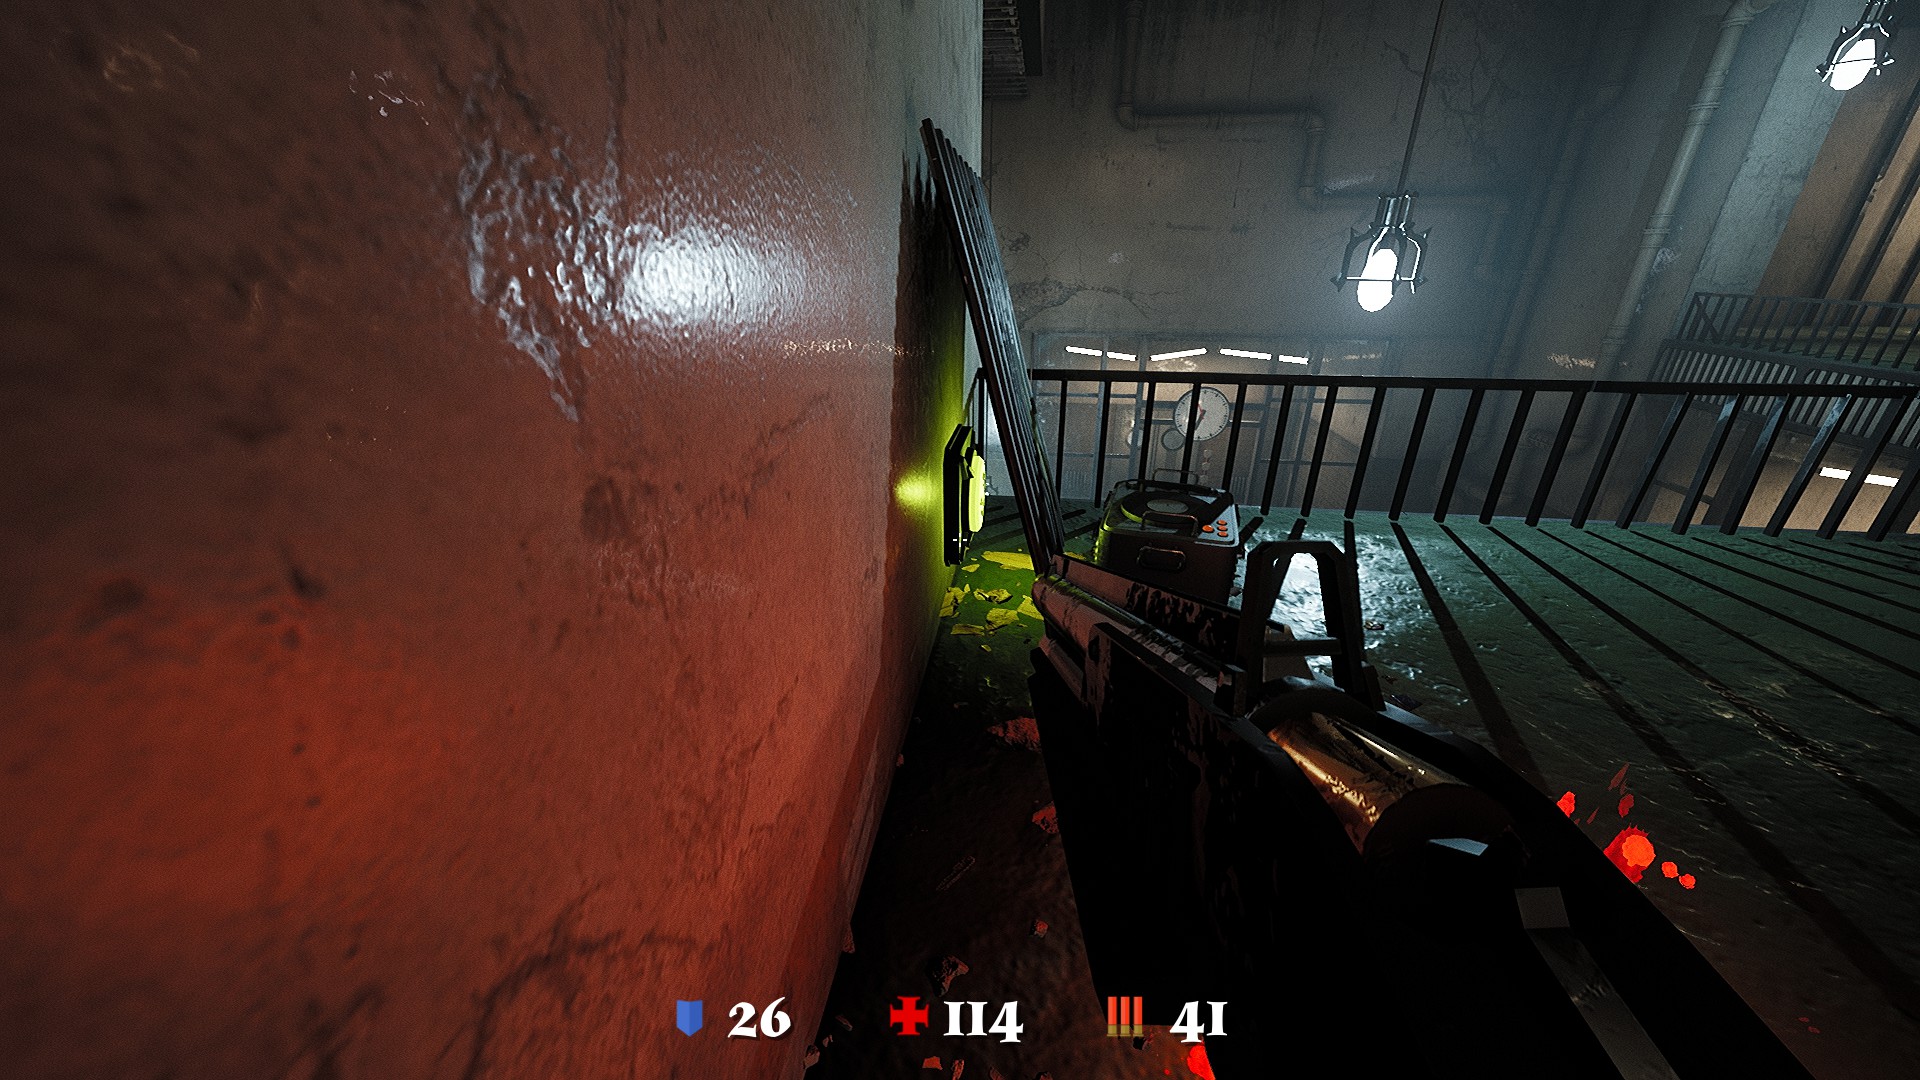
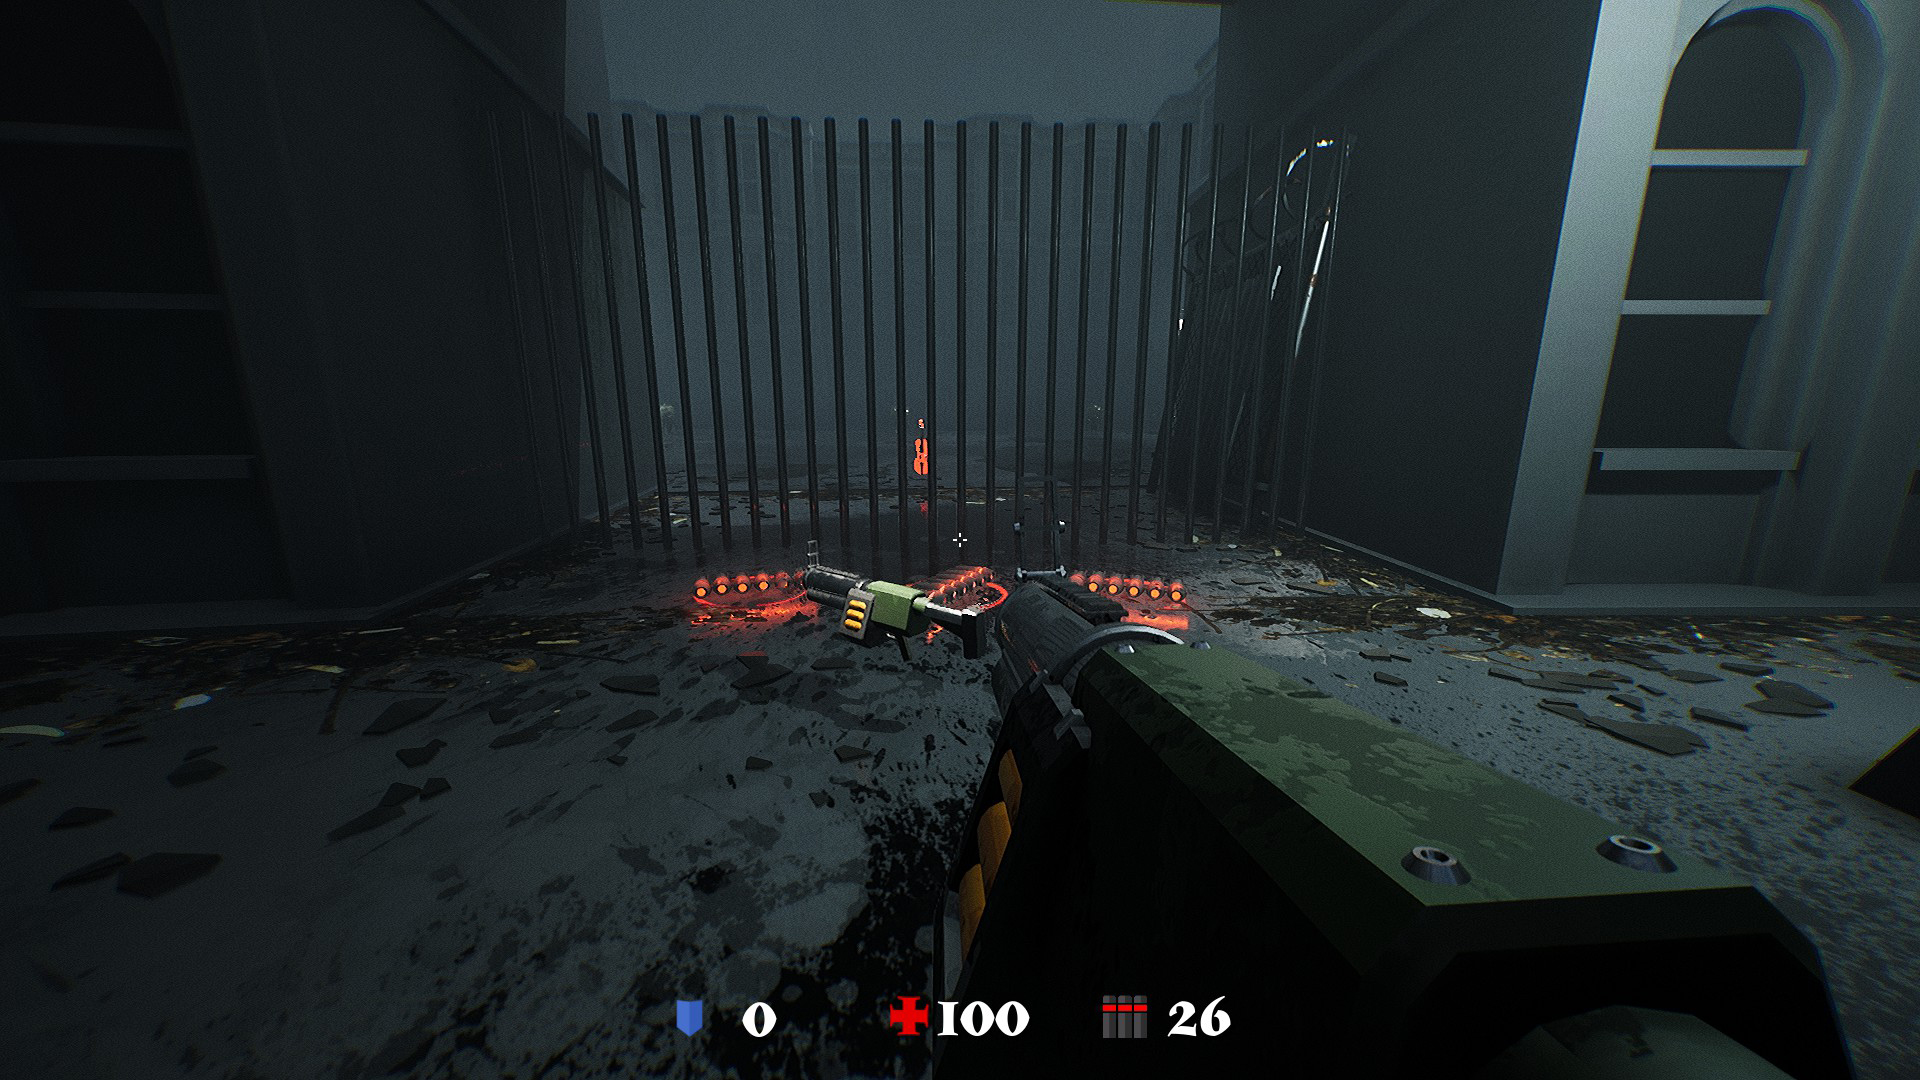
The third violin is situated behind bars. These bars can be unlocked by targeting and shooting at the switches on the wall.


Second Level
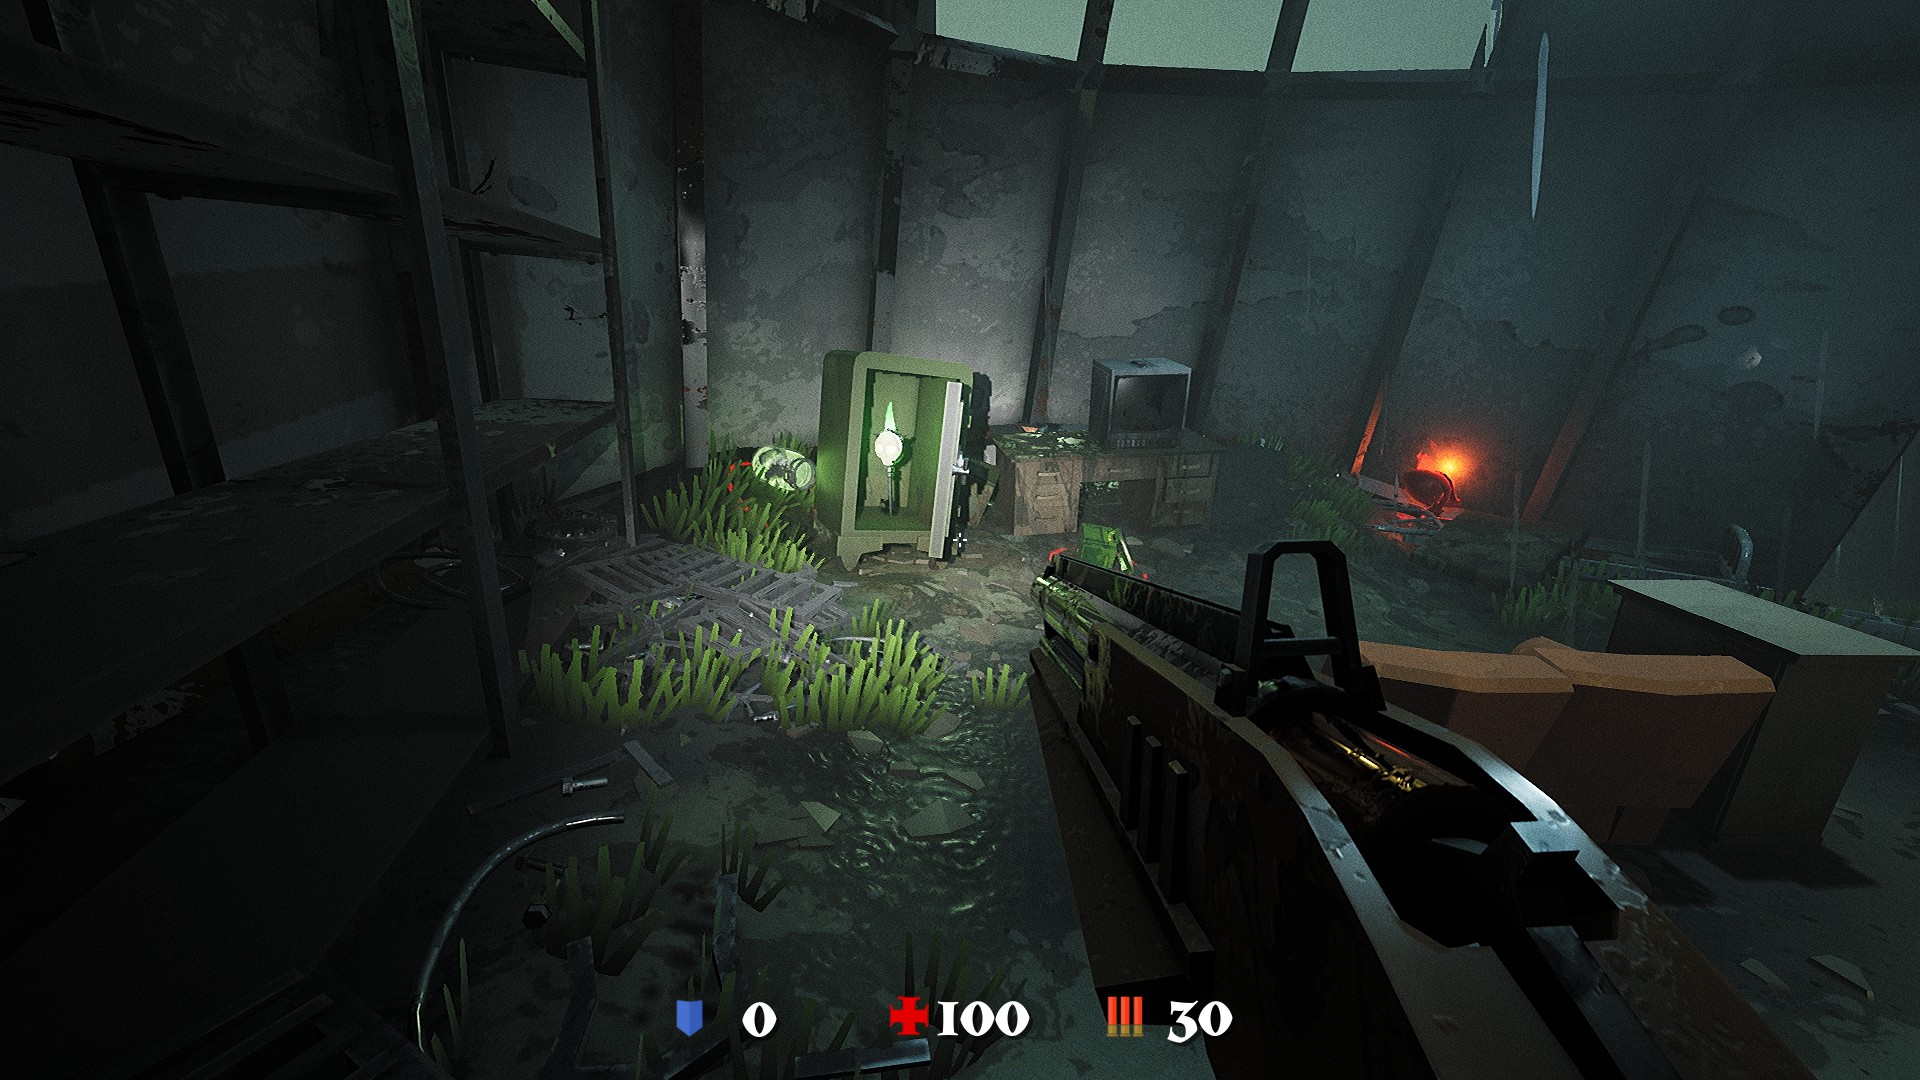
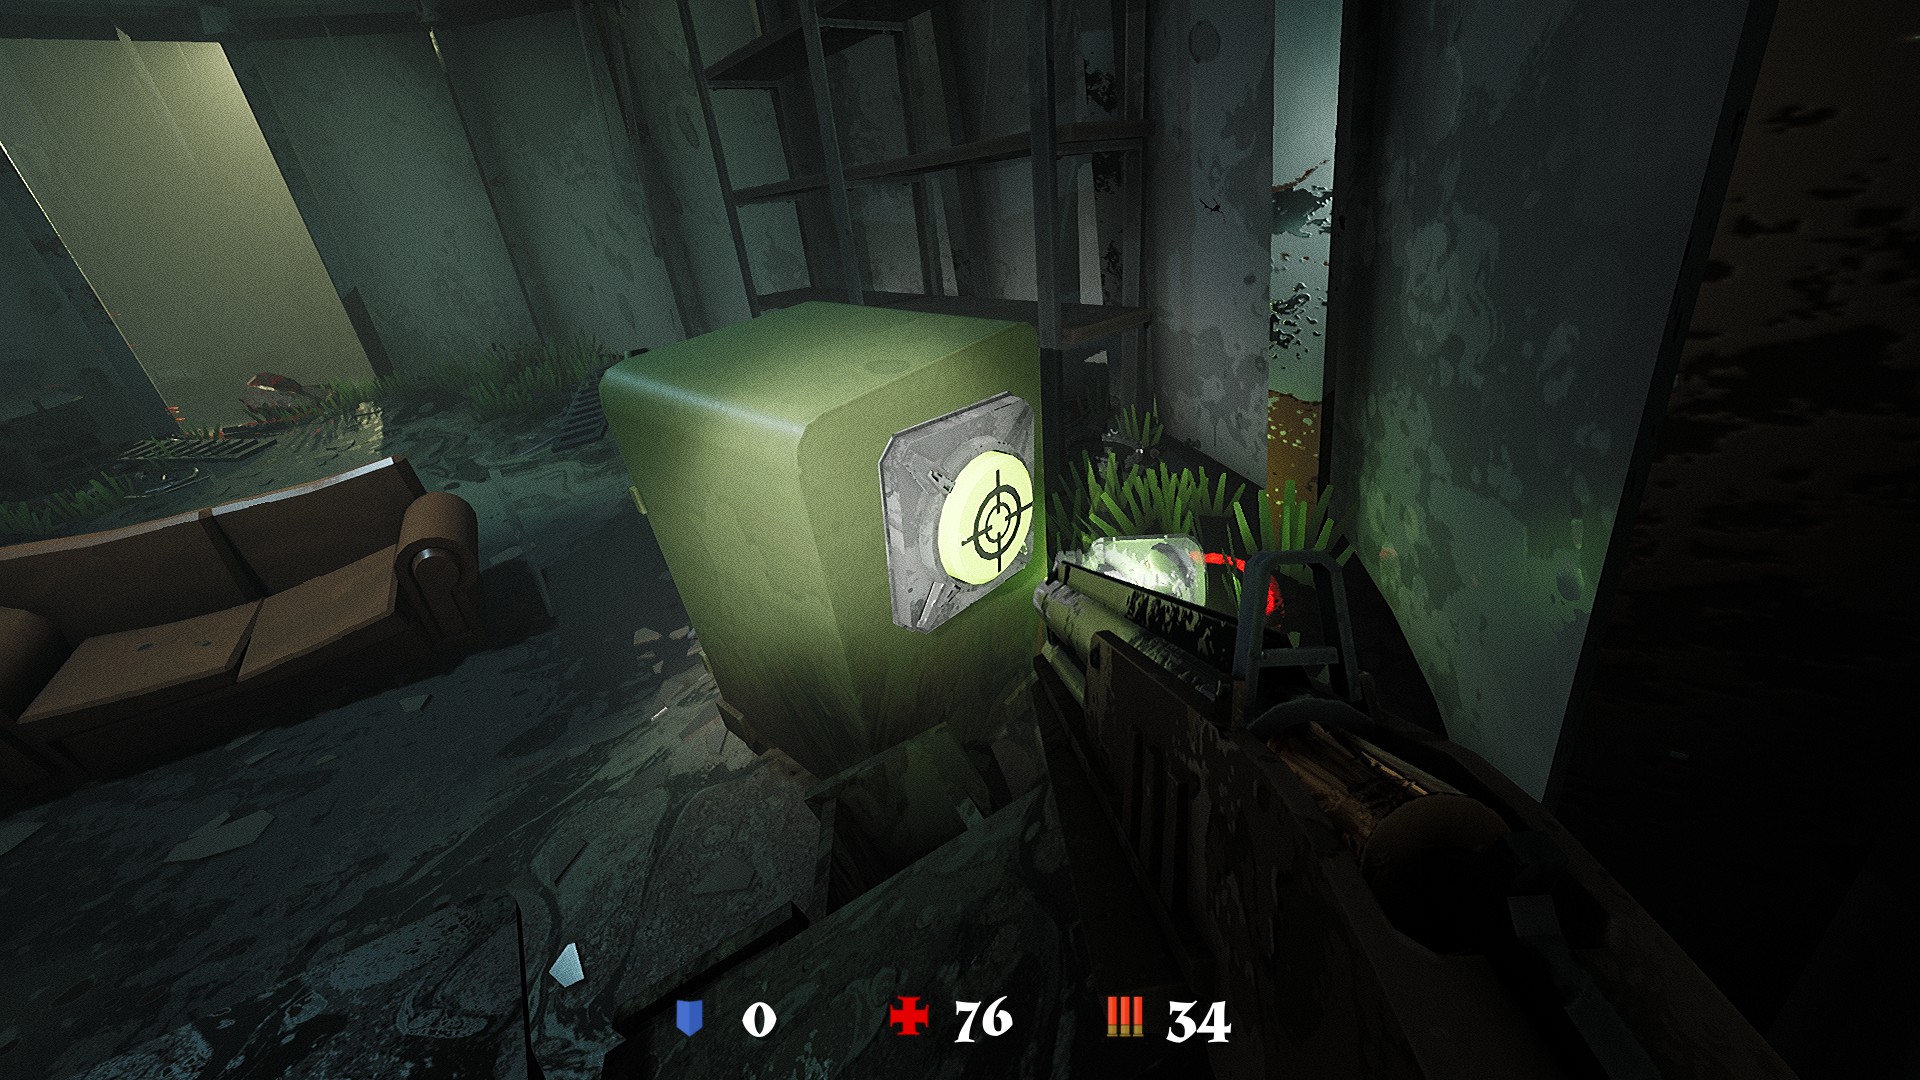
Anfänglich, the first violin awaits discovery at the start of the level within a room containing a green key. To unveil it, locate the switch concealed behind the safe housing the key. Einmal gefunden, aim and shoot at the switch, and the violin will materialize directly in front of you.
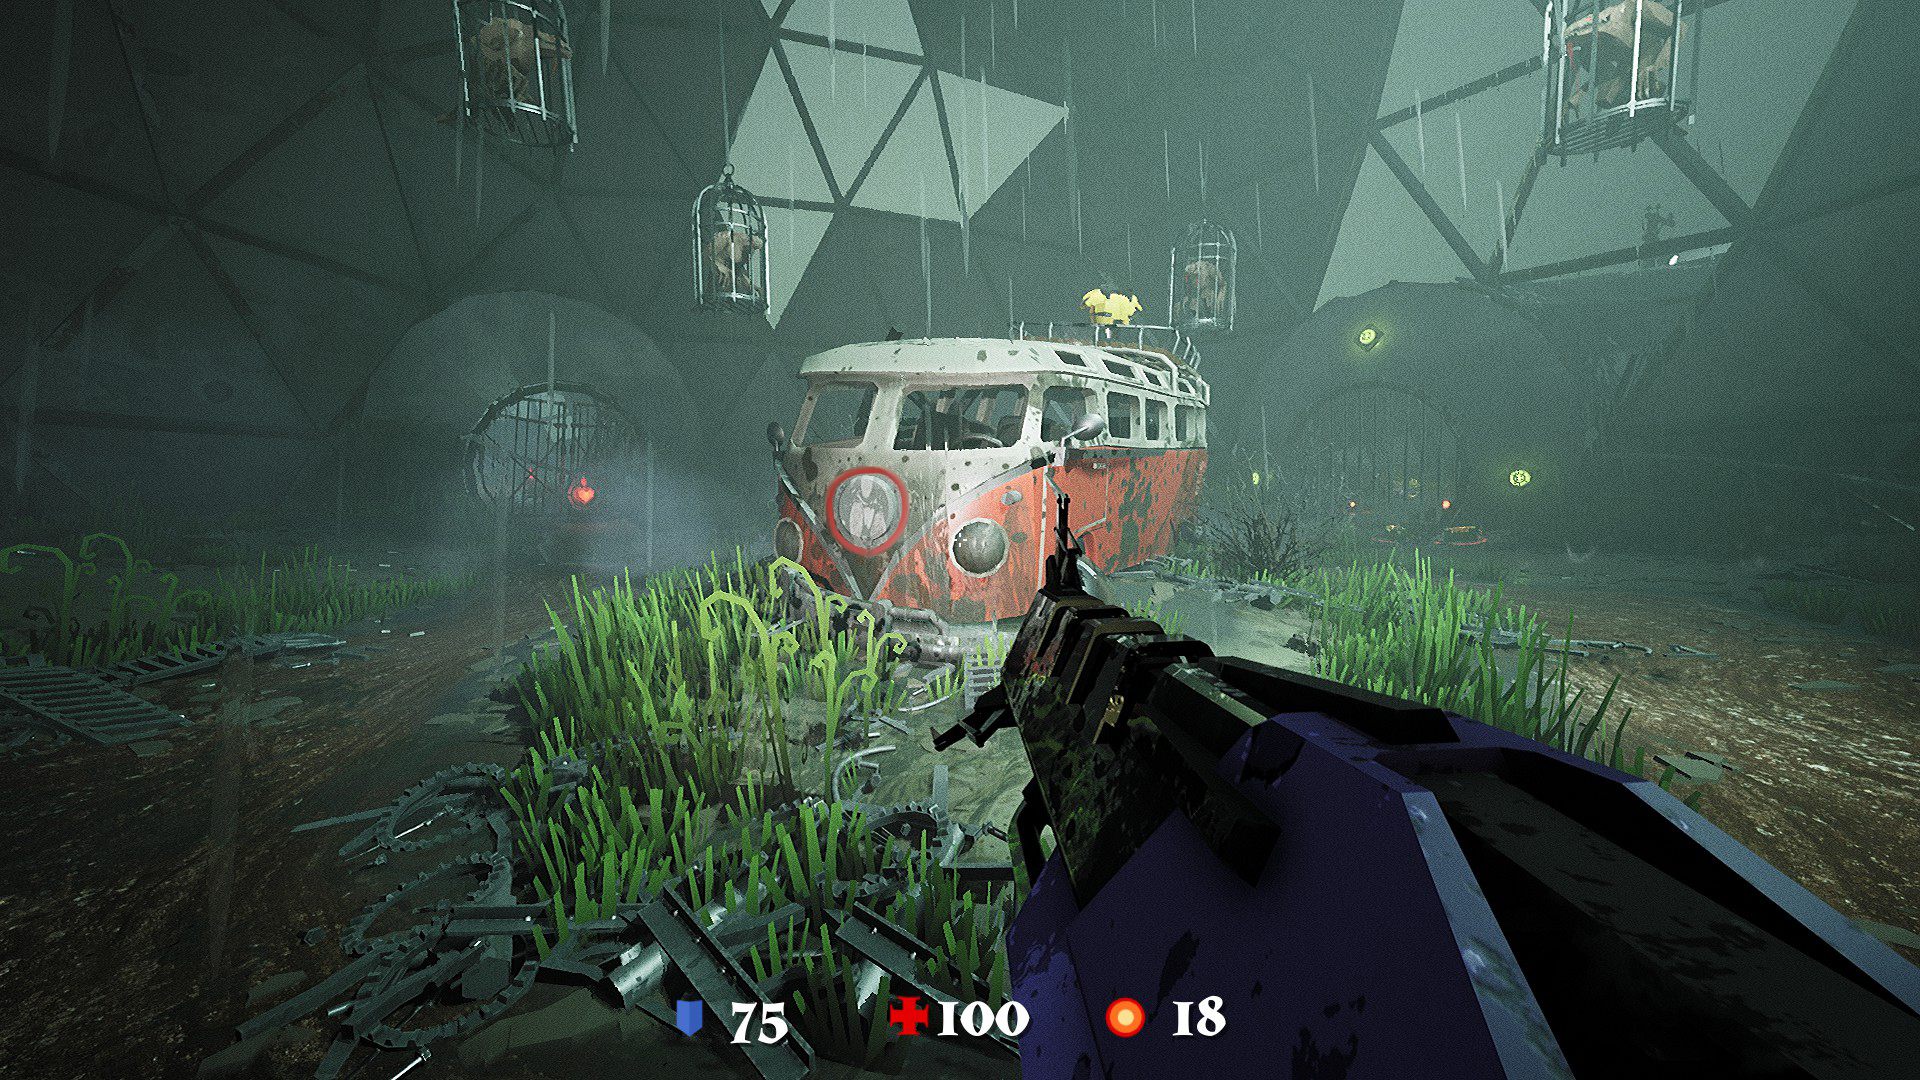
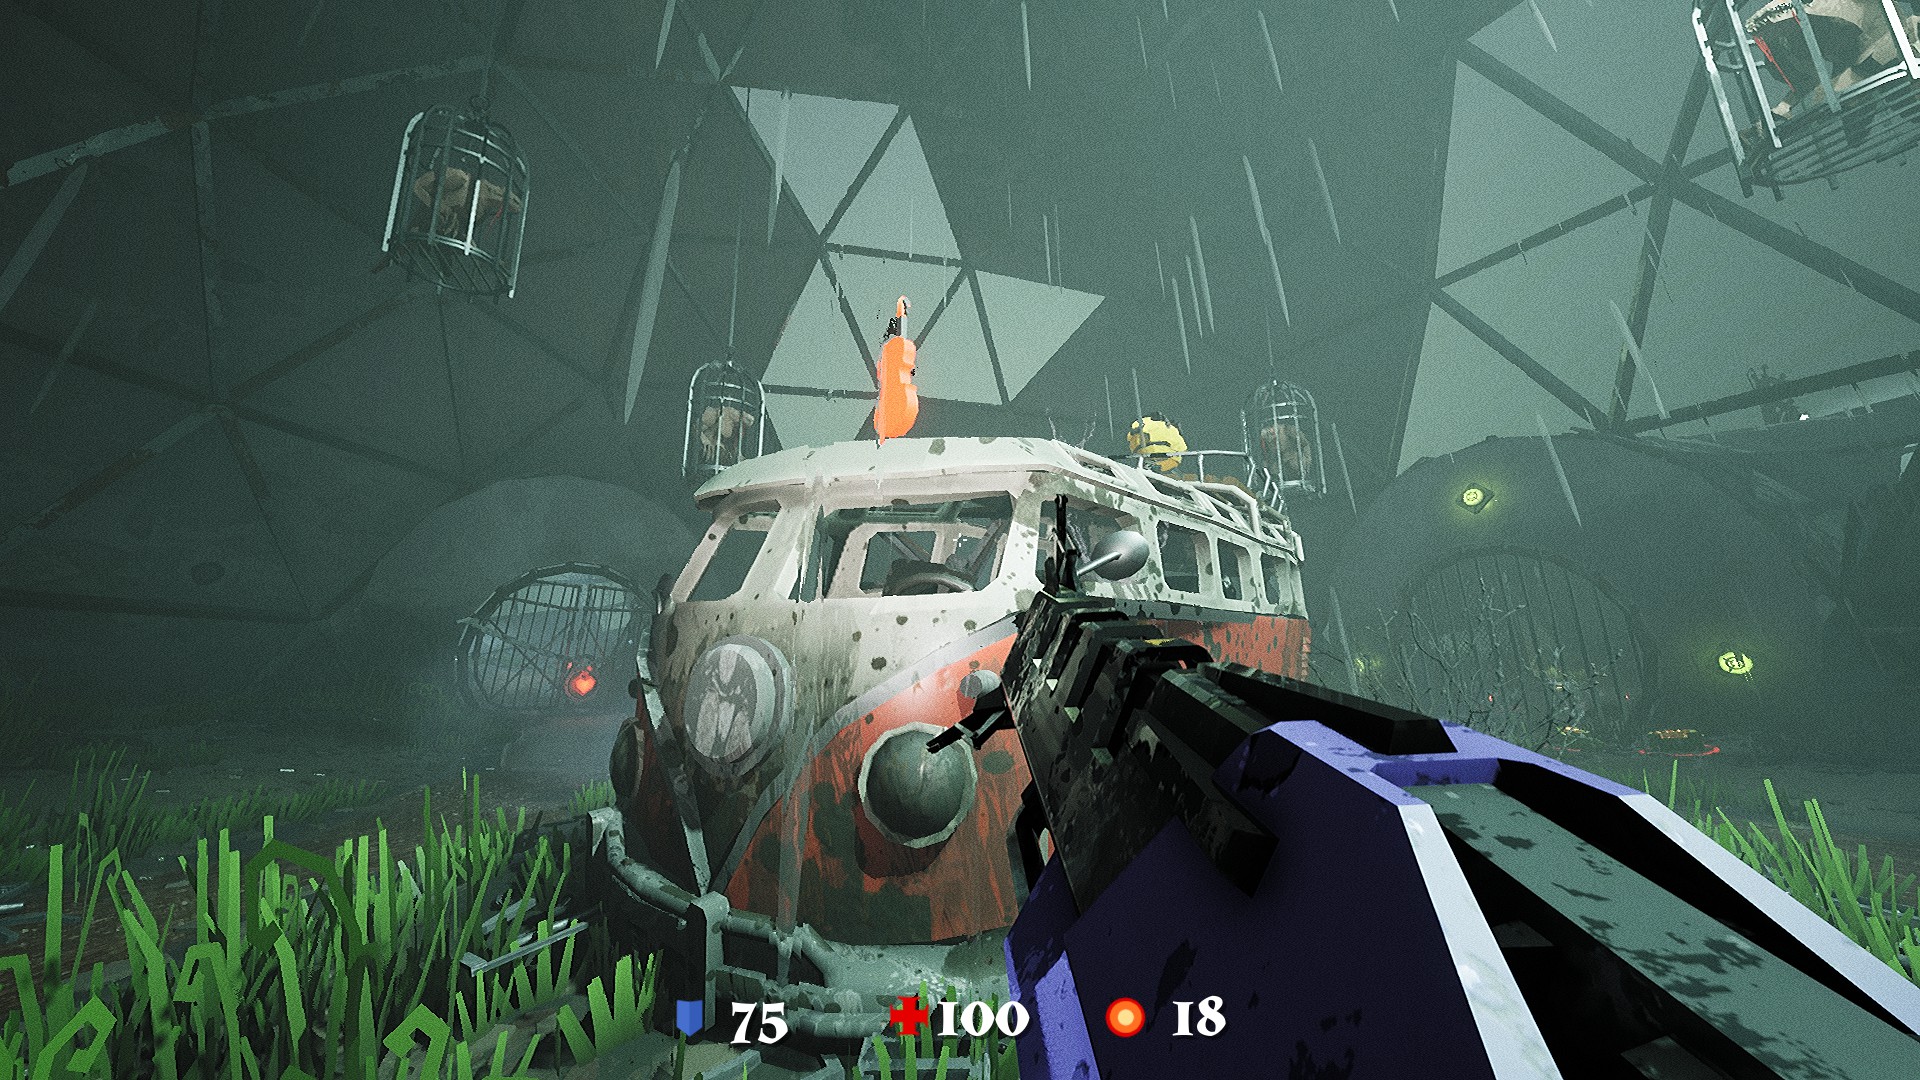
The second violin is situated within the area housing the minibus. Um es zu erhalten, locate and press the button positioned atop the hood of the vehicle. Anschließend, the violin will manifest on the roof of the car.
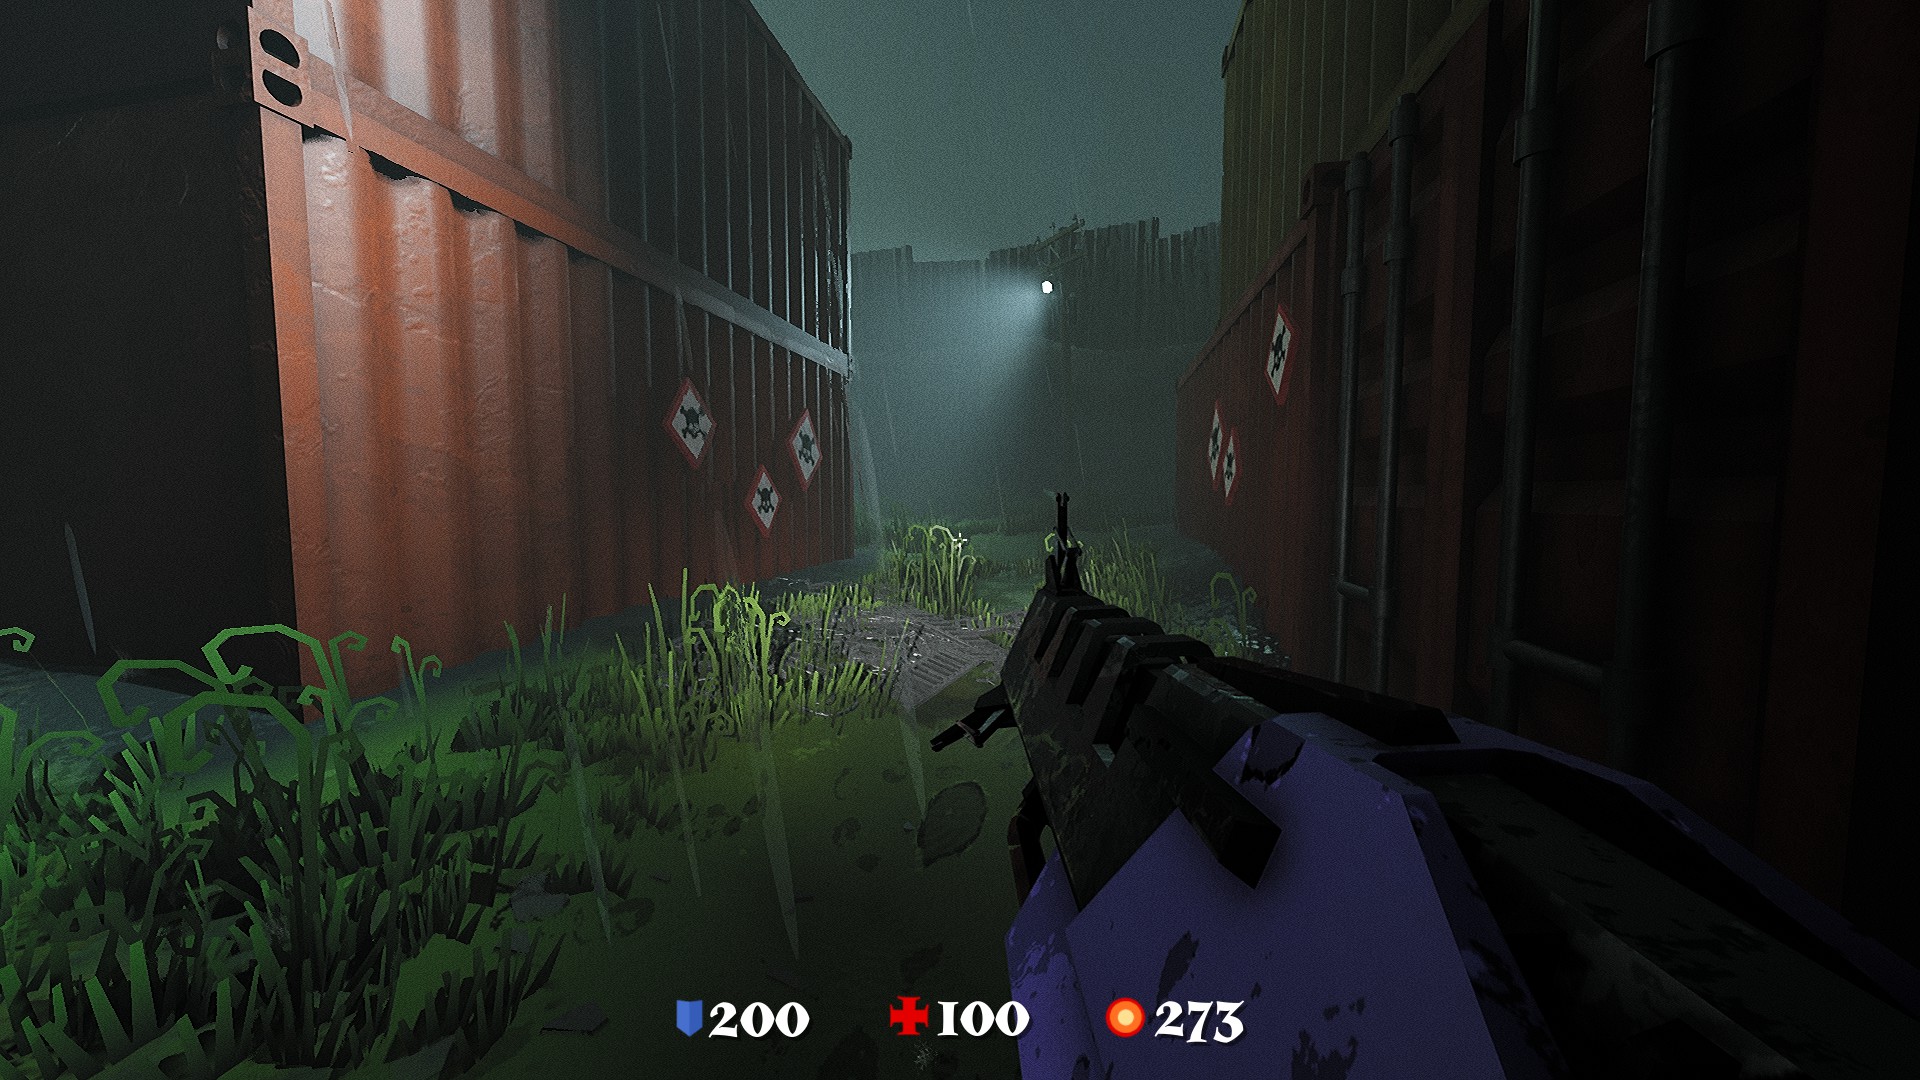
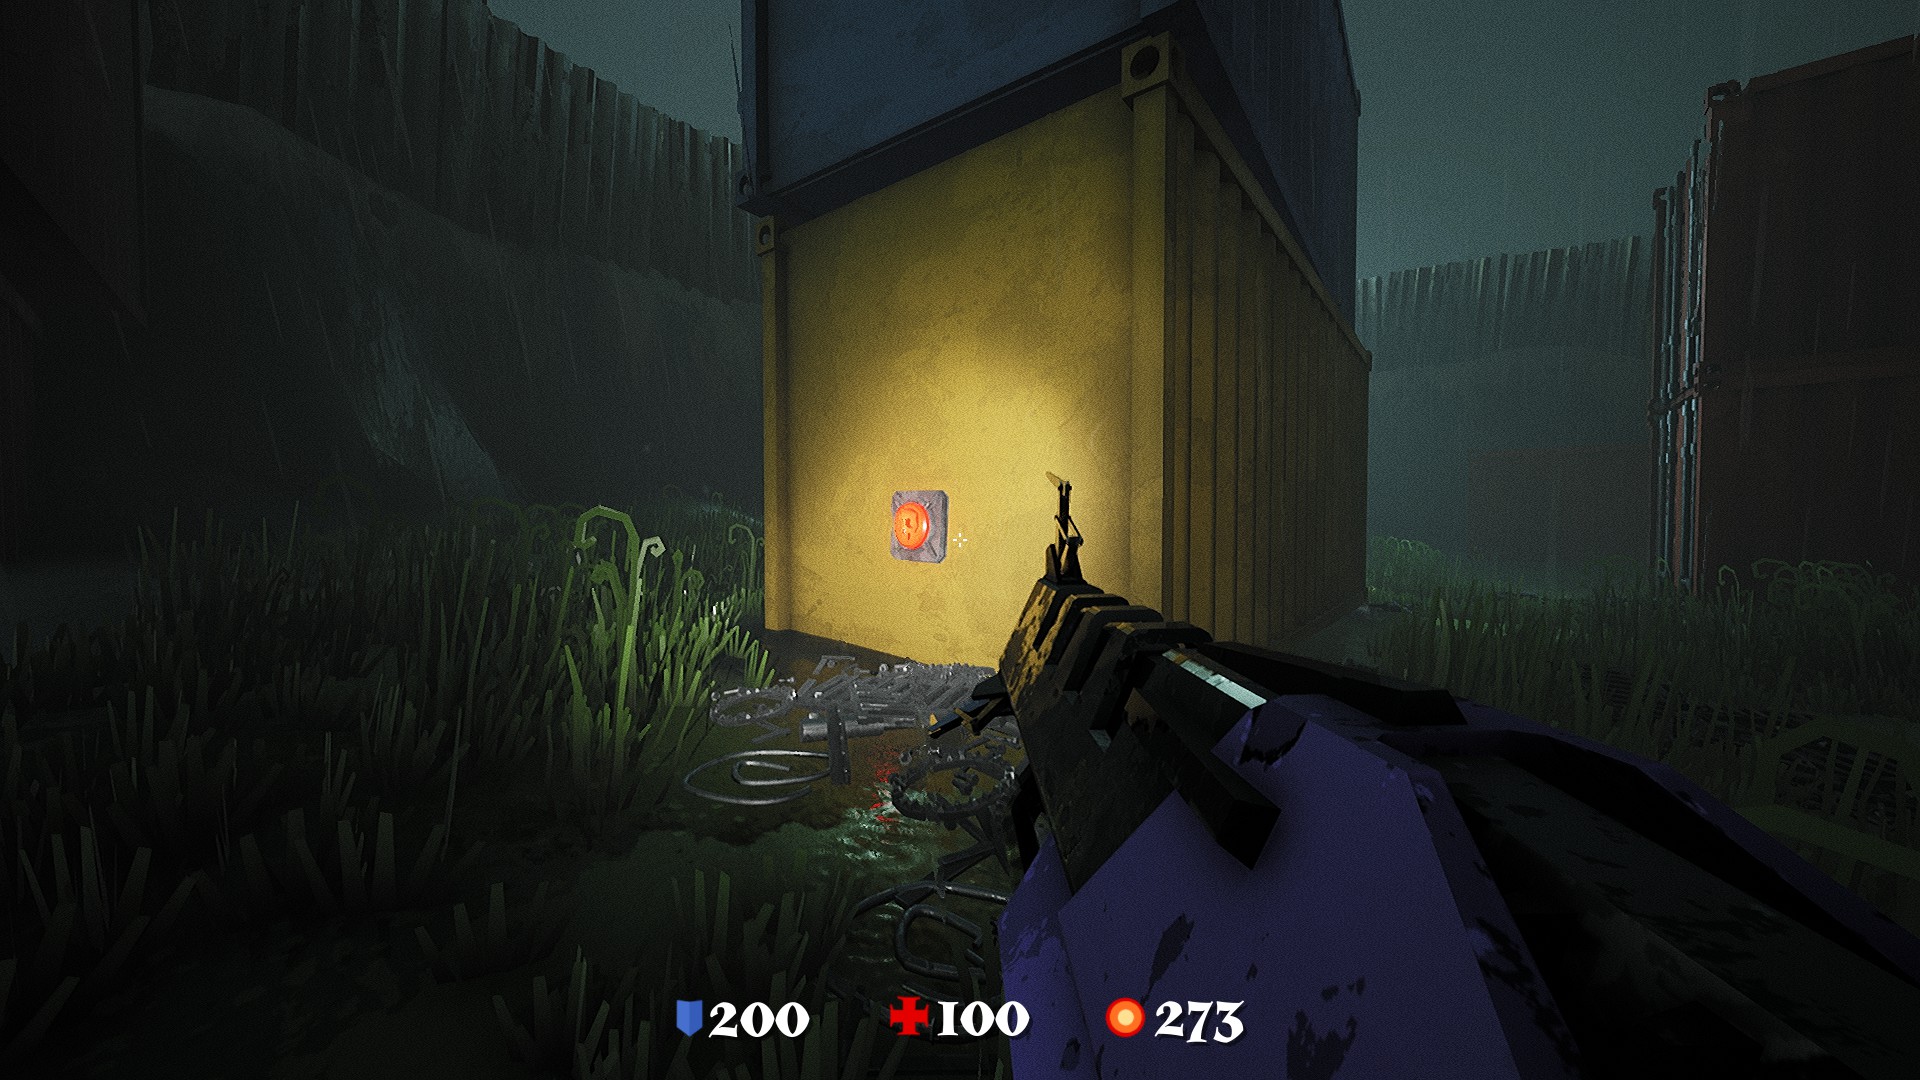
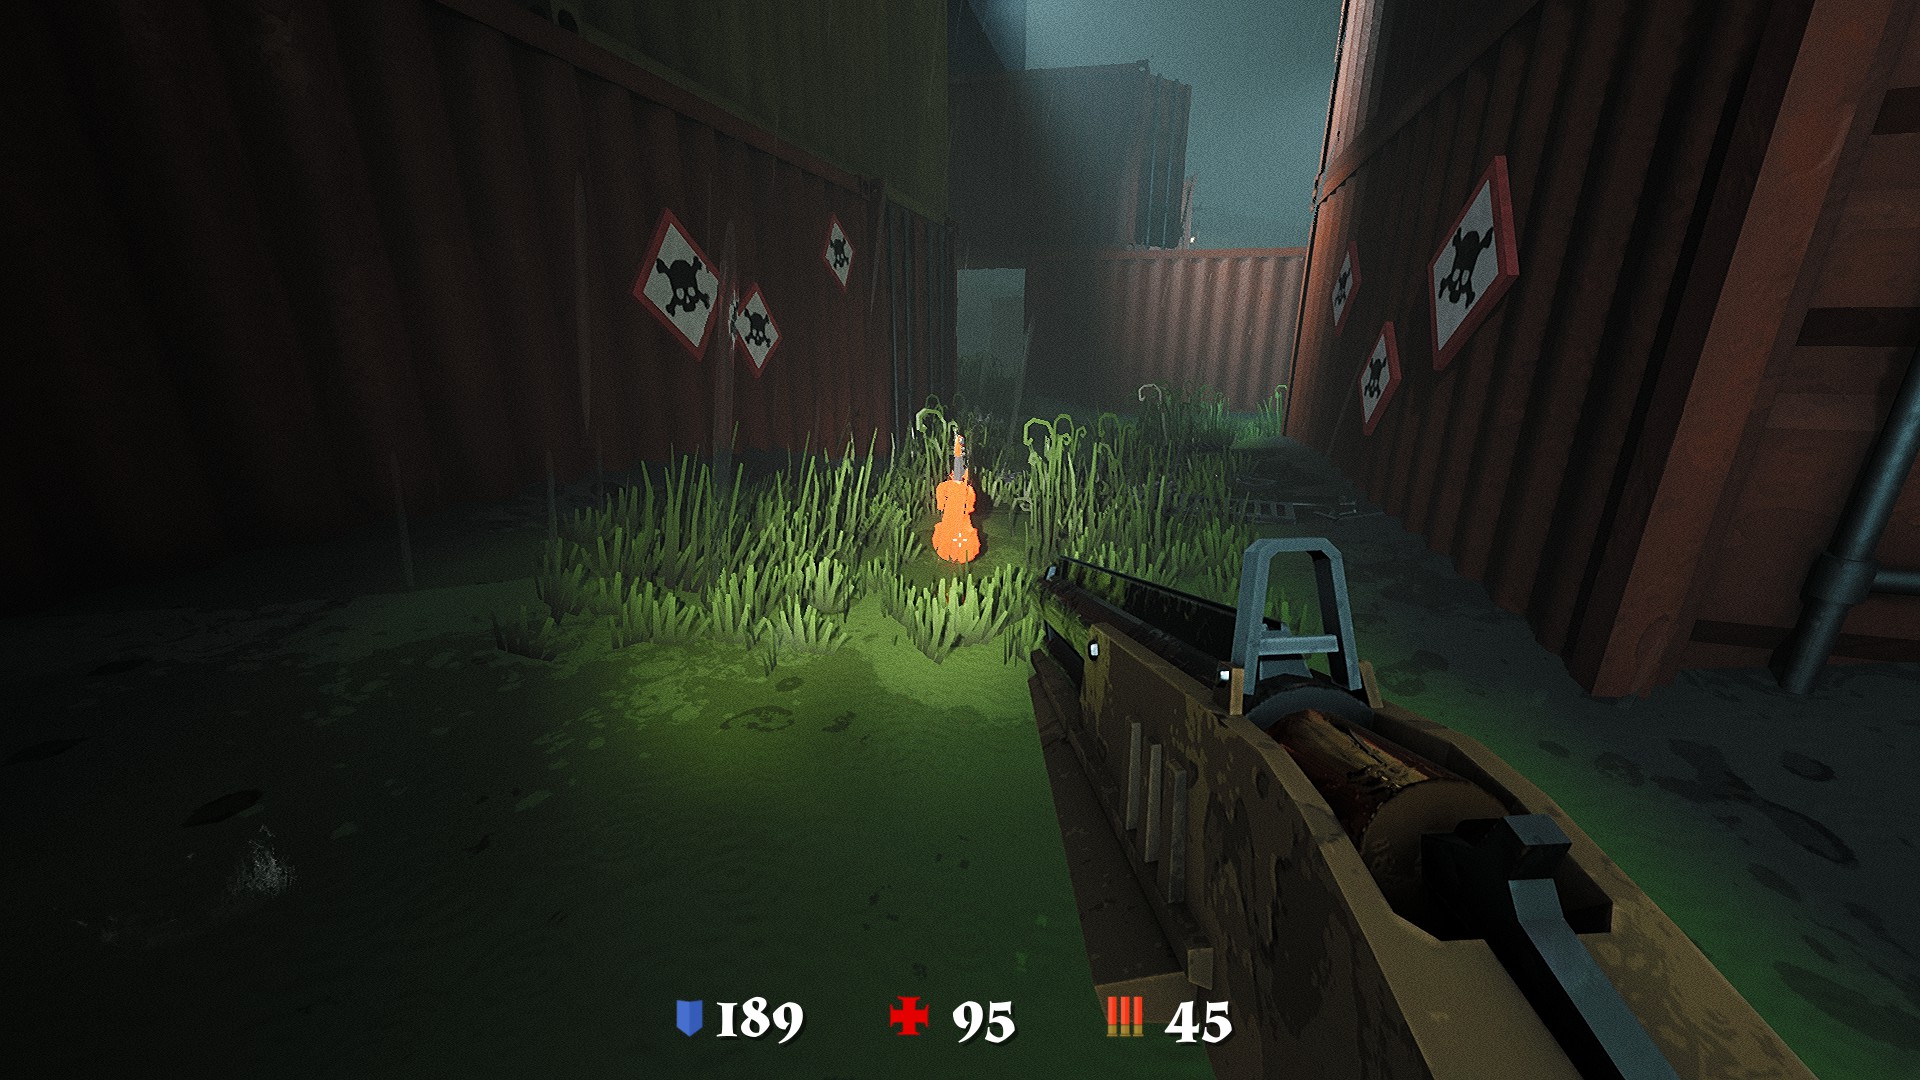
The third violin is positioned within the section containing containers. Seek out an area adorned with signs, then navigate behind the yellow container to locate the switch. Activate the switch and confront the enemies that spawn. Upon their defeat, the violin will emerge for collection.
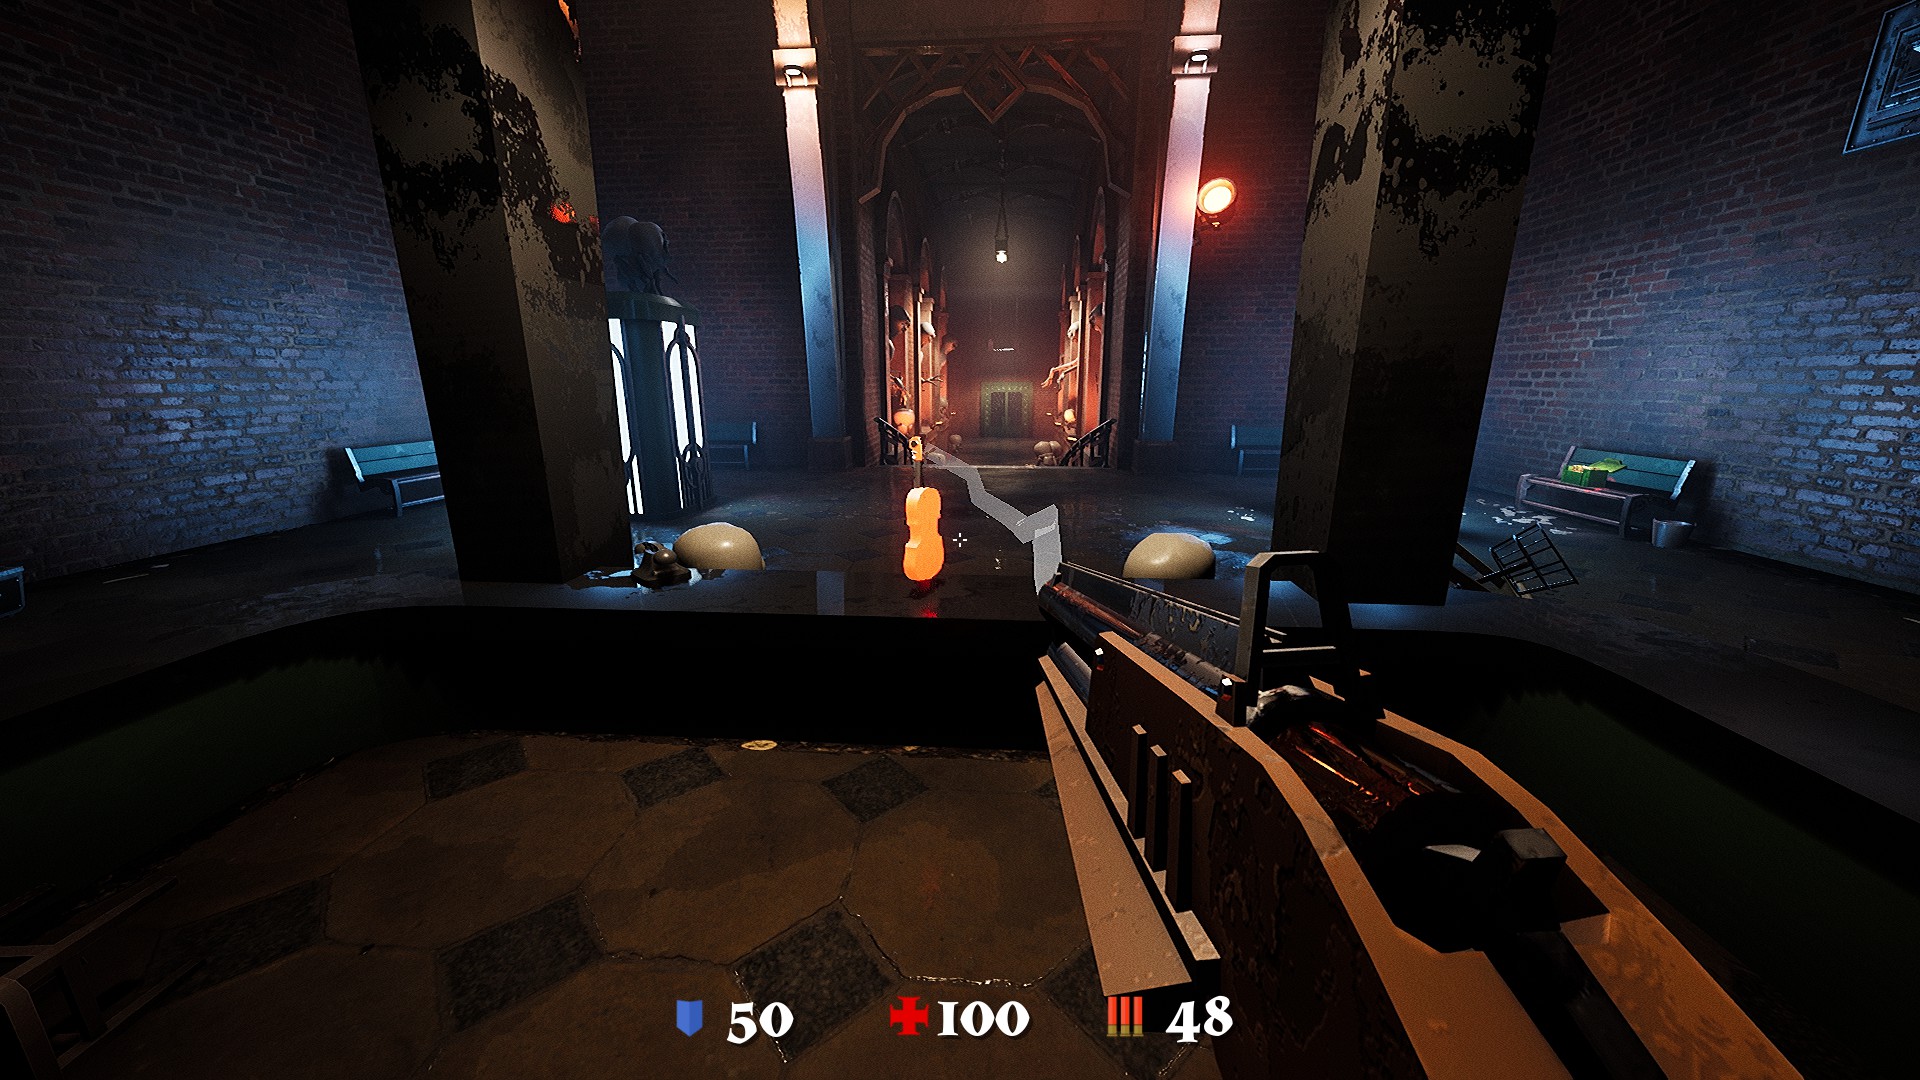
Third Level
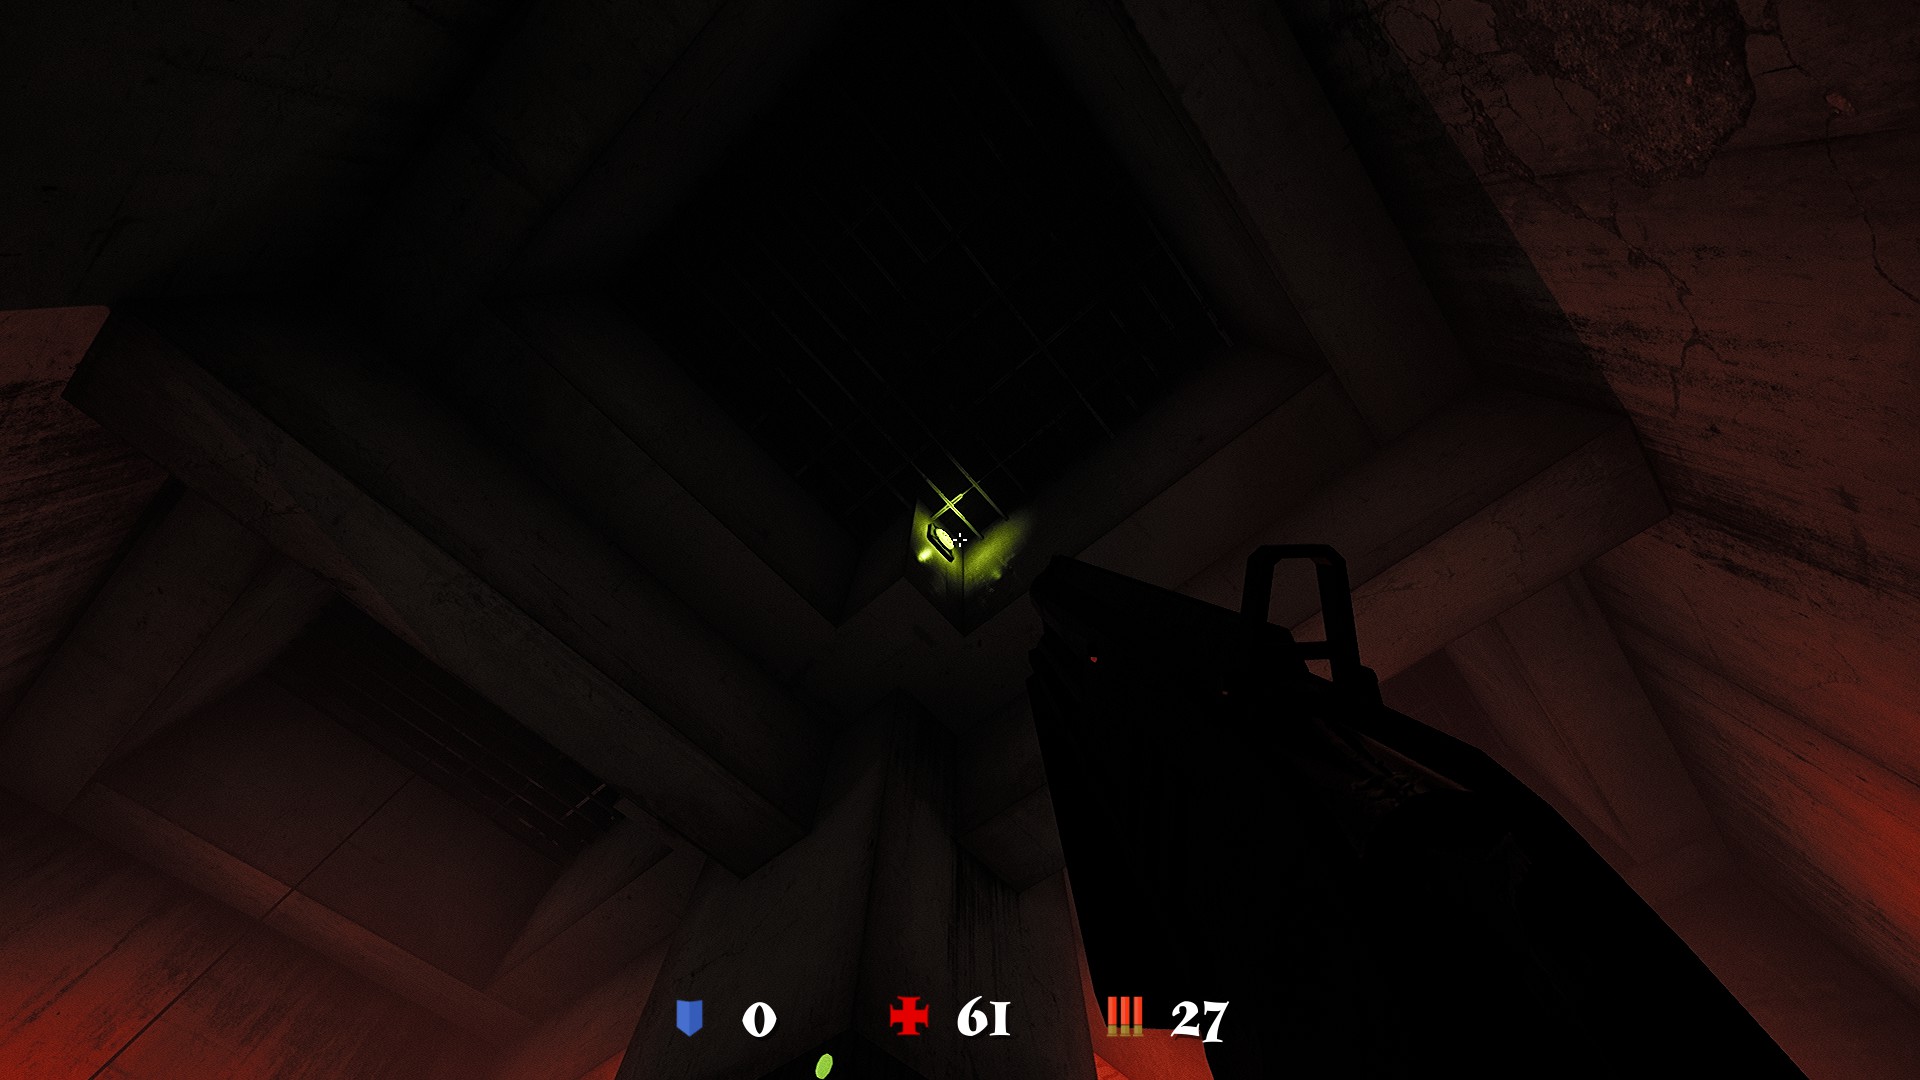
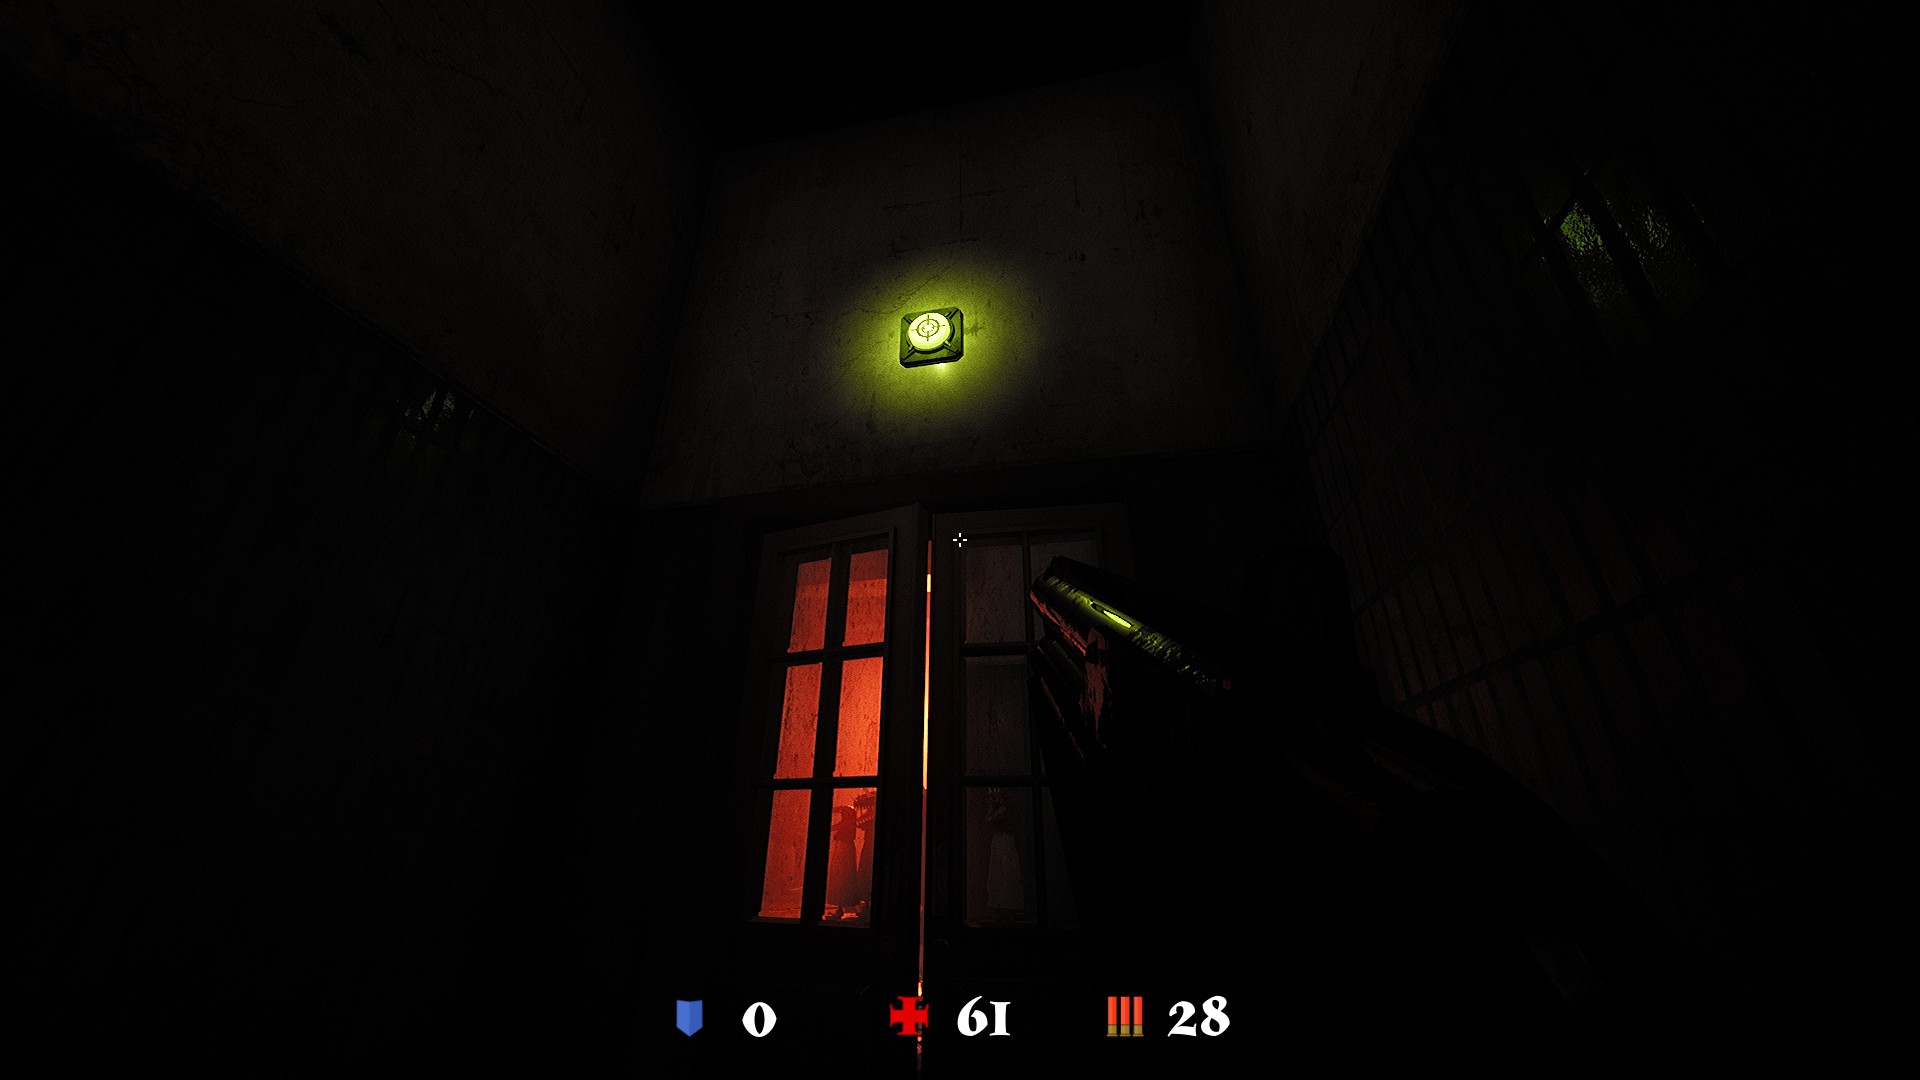
The first violin is positioned at the commencement of the level. Locate the switches to reveal it. The initial switch is situated directly behind the coffin. Proceed to uncover the next switch positioned beneath the ceiling at the room’s center. zuletzt, find the third switch immediately above the door as you exit the room. Im Anschluss daran, the violin will materialize within the room itself.

The second violin is situated on the second floor, adjacent to the room housing the plot switch. Discover the green button concealed behind the slate sheet and activate it. Anschließend, the violin will appear directly in front of you.


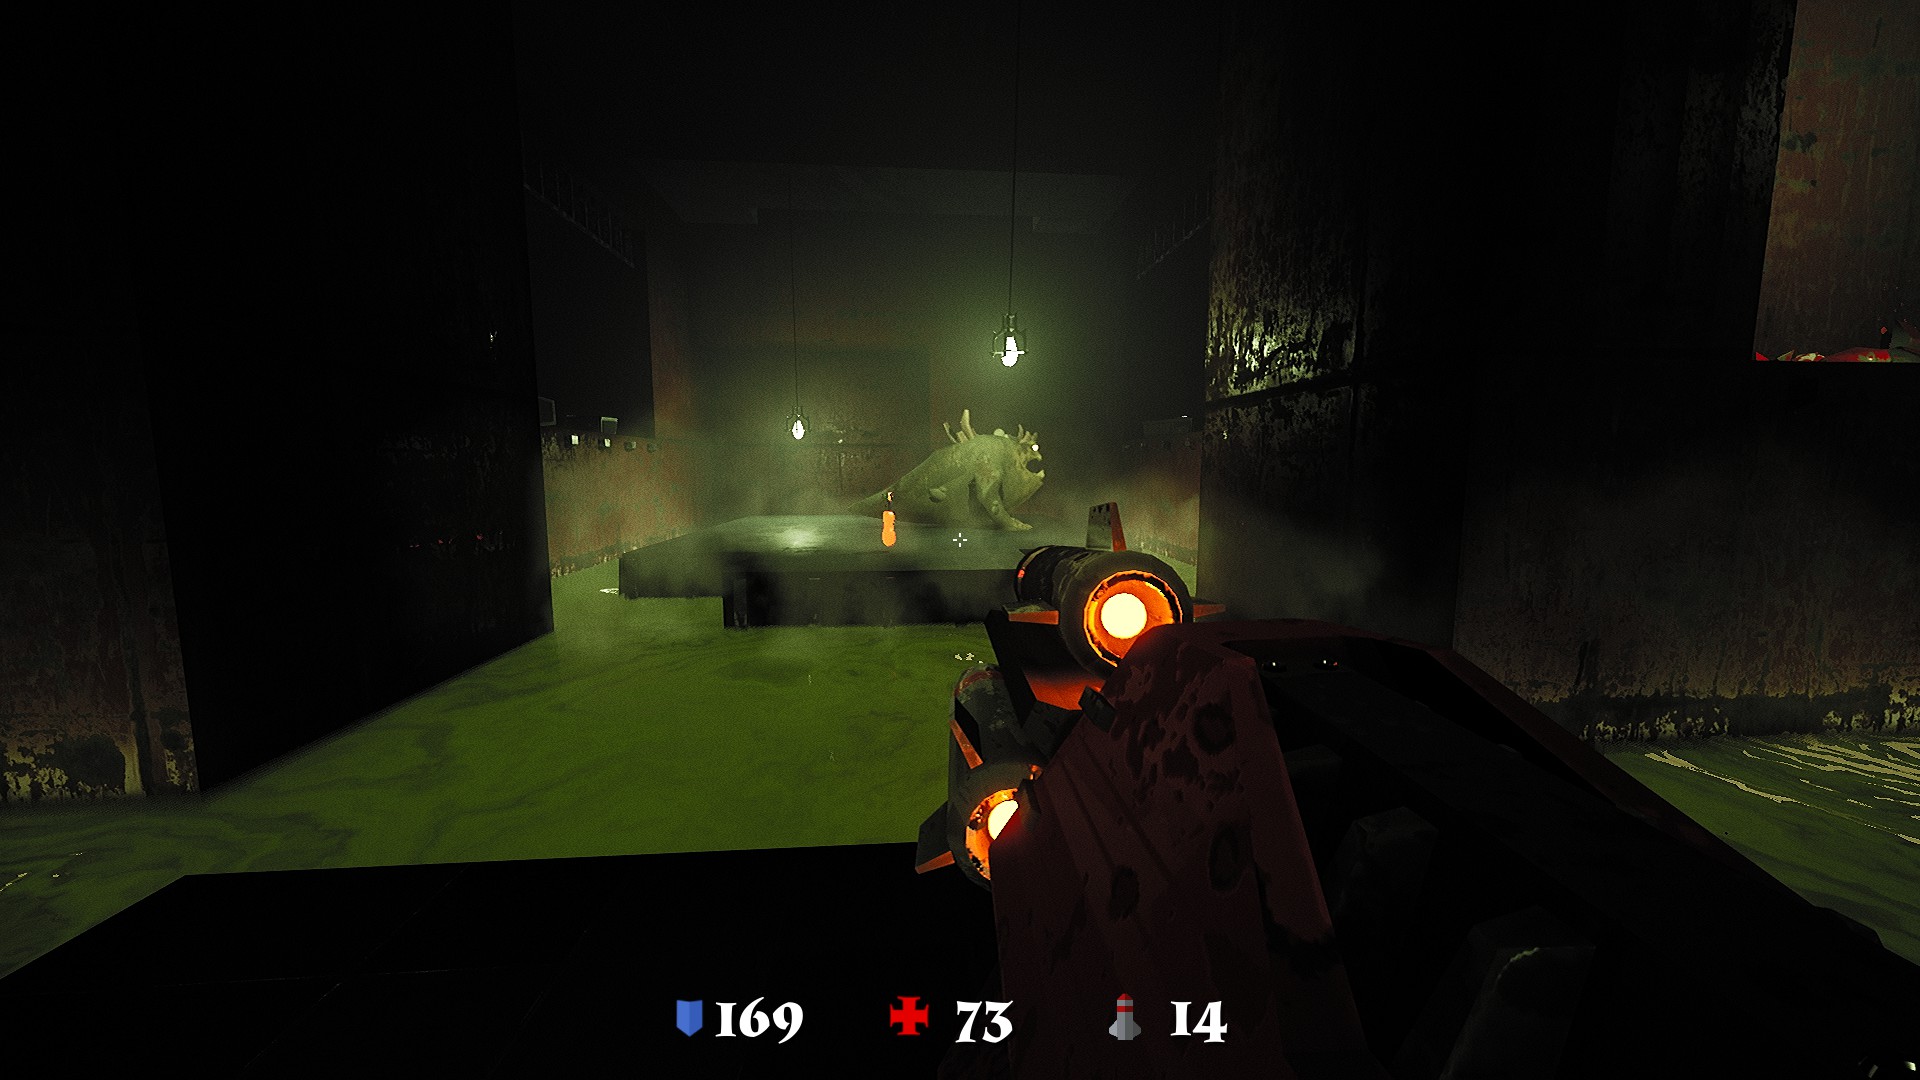
The third violin is concealed within the room beyond the imposing monster, atop the box within the dimly lit space.

Fourth level
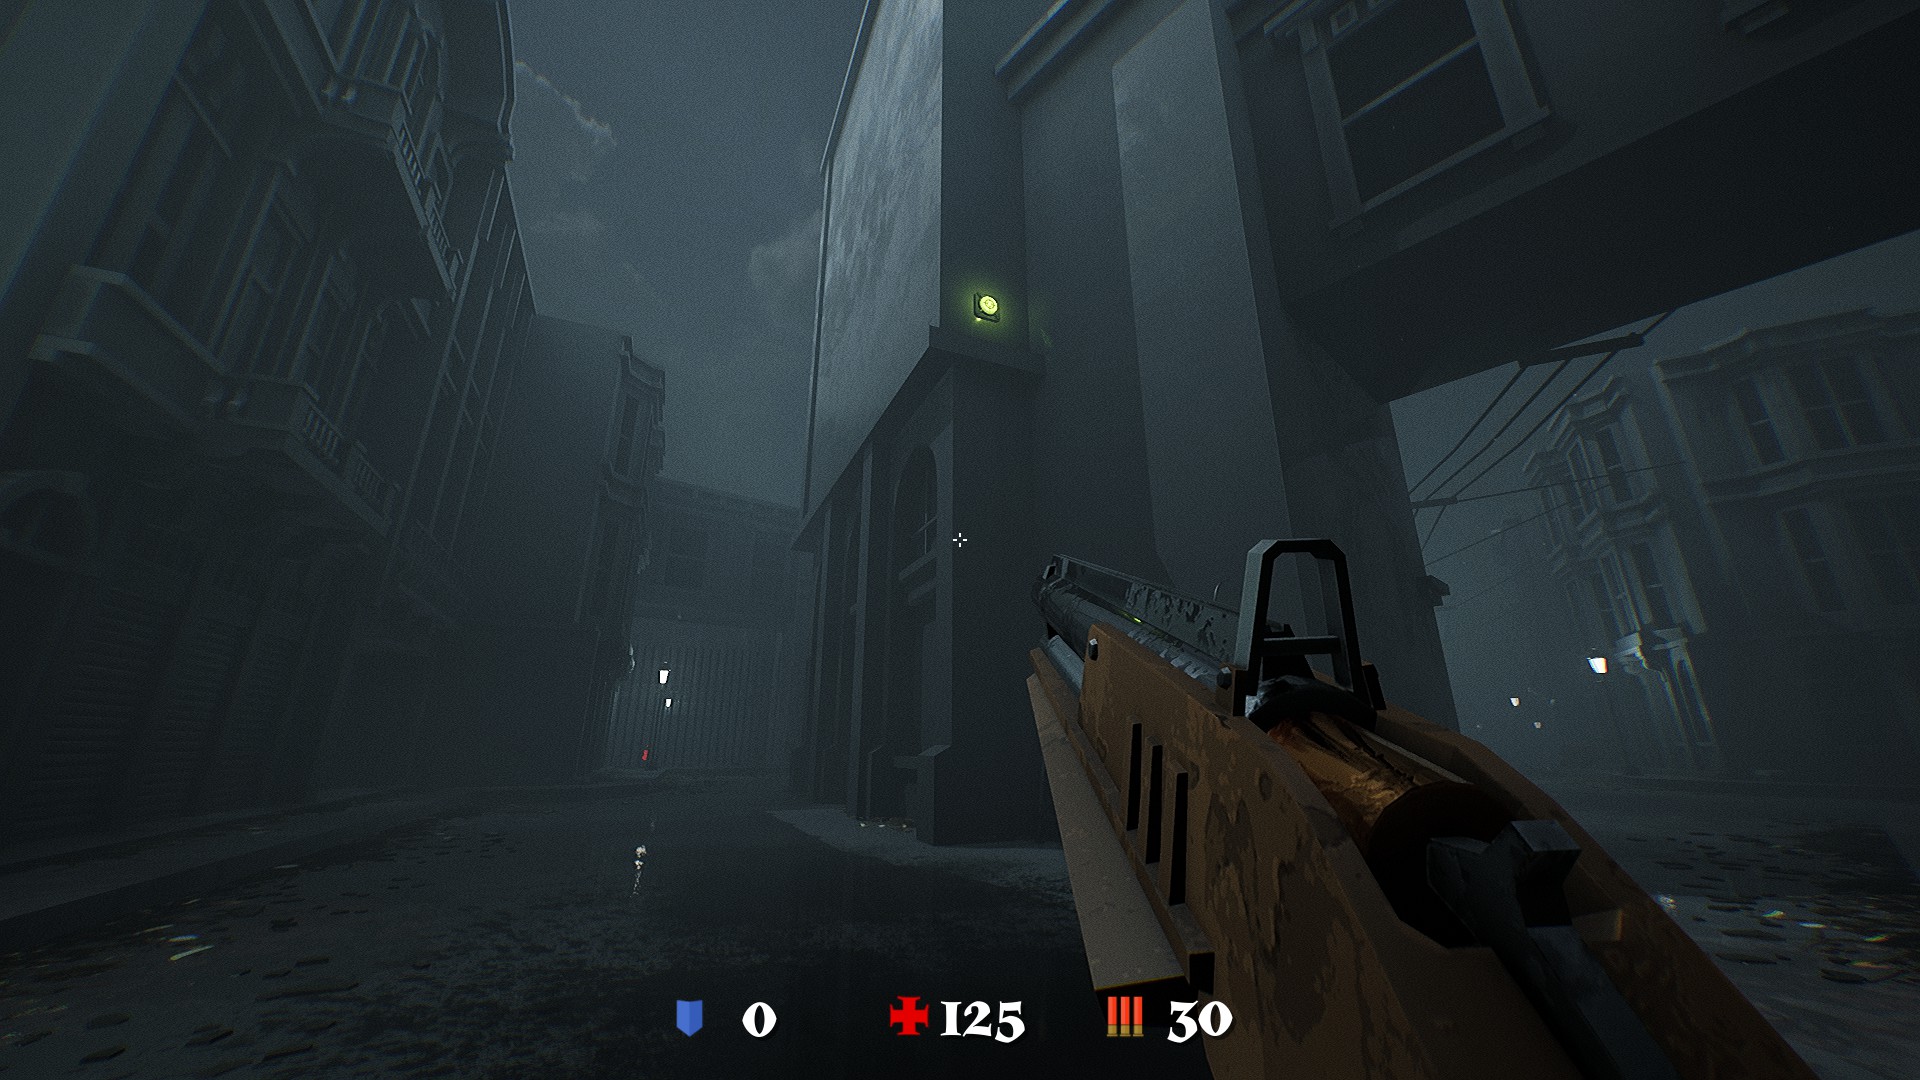
To acquire the first violin, head to the area with a grate at the onset of the game, where it is concealed. Unlocking it requires locating two switches. The initial switch is situated within the alley featuring a barrel, positioned atop the wall around the corner.


The second switch is found on the building opposite the grate.
zuletzt, activate the third switch, which is a red button in proximity to the grate. Doing so will unlock this area.

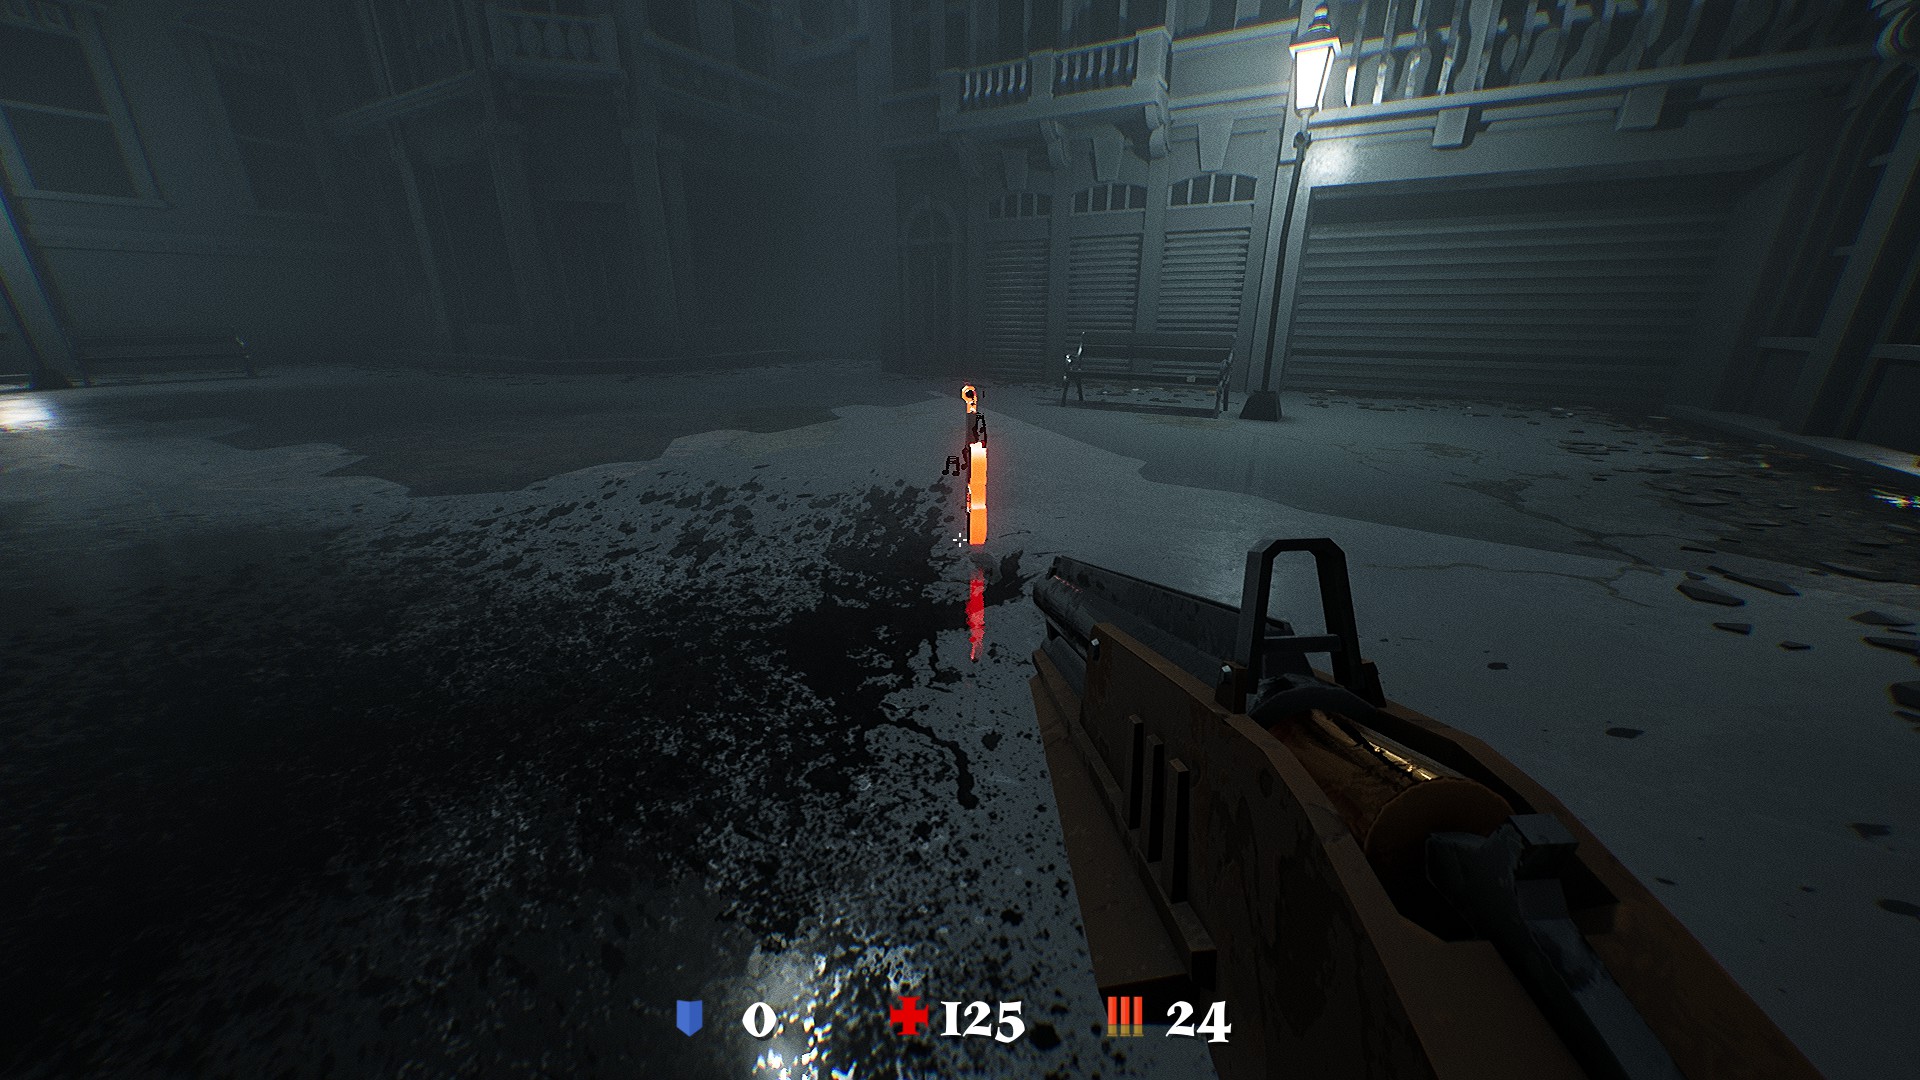
The second violin awaits at the conclusion of the street. Navigate to the left of the statue within the square, then continue along the path until reaching the river with bridges. Proceed leftward and advance to the terminus to locate the violin.
The third violin is positioned behind a grate near the grenade launcher. Utilize the launcher to eliminate the enemies obstructing access to it. Once the enemies are vanquished, the grate will open, granting access to the violin.

Fifth Level
The first violin is situated at the onset of the level. Um es zu erhalten, activate the switches located above the reception area. Following this action, the violin will materialize directly in front of you.
The second violin can be found in the leftmost toilet stall within the central restroom.
The third violin is located in the basement, near the blue armor. Target and shoot the cage containing the monster, then eliminate it. Upon its demise, the violin will manifest directly in front of you.
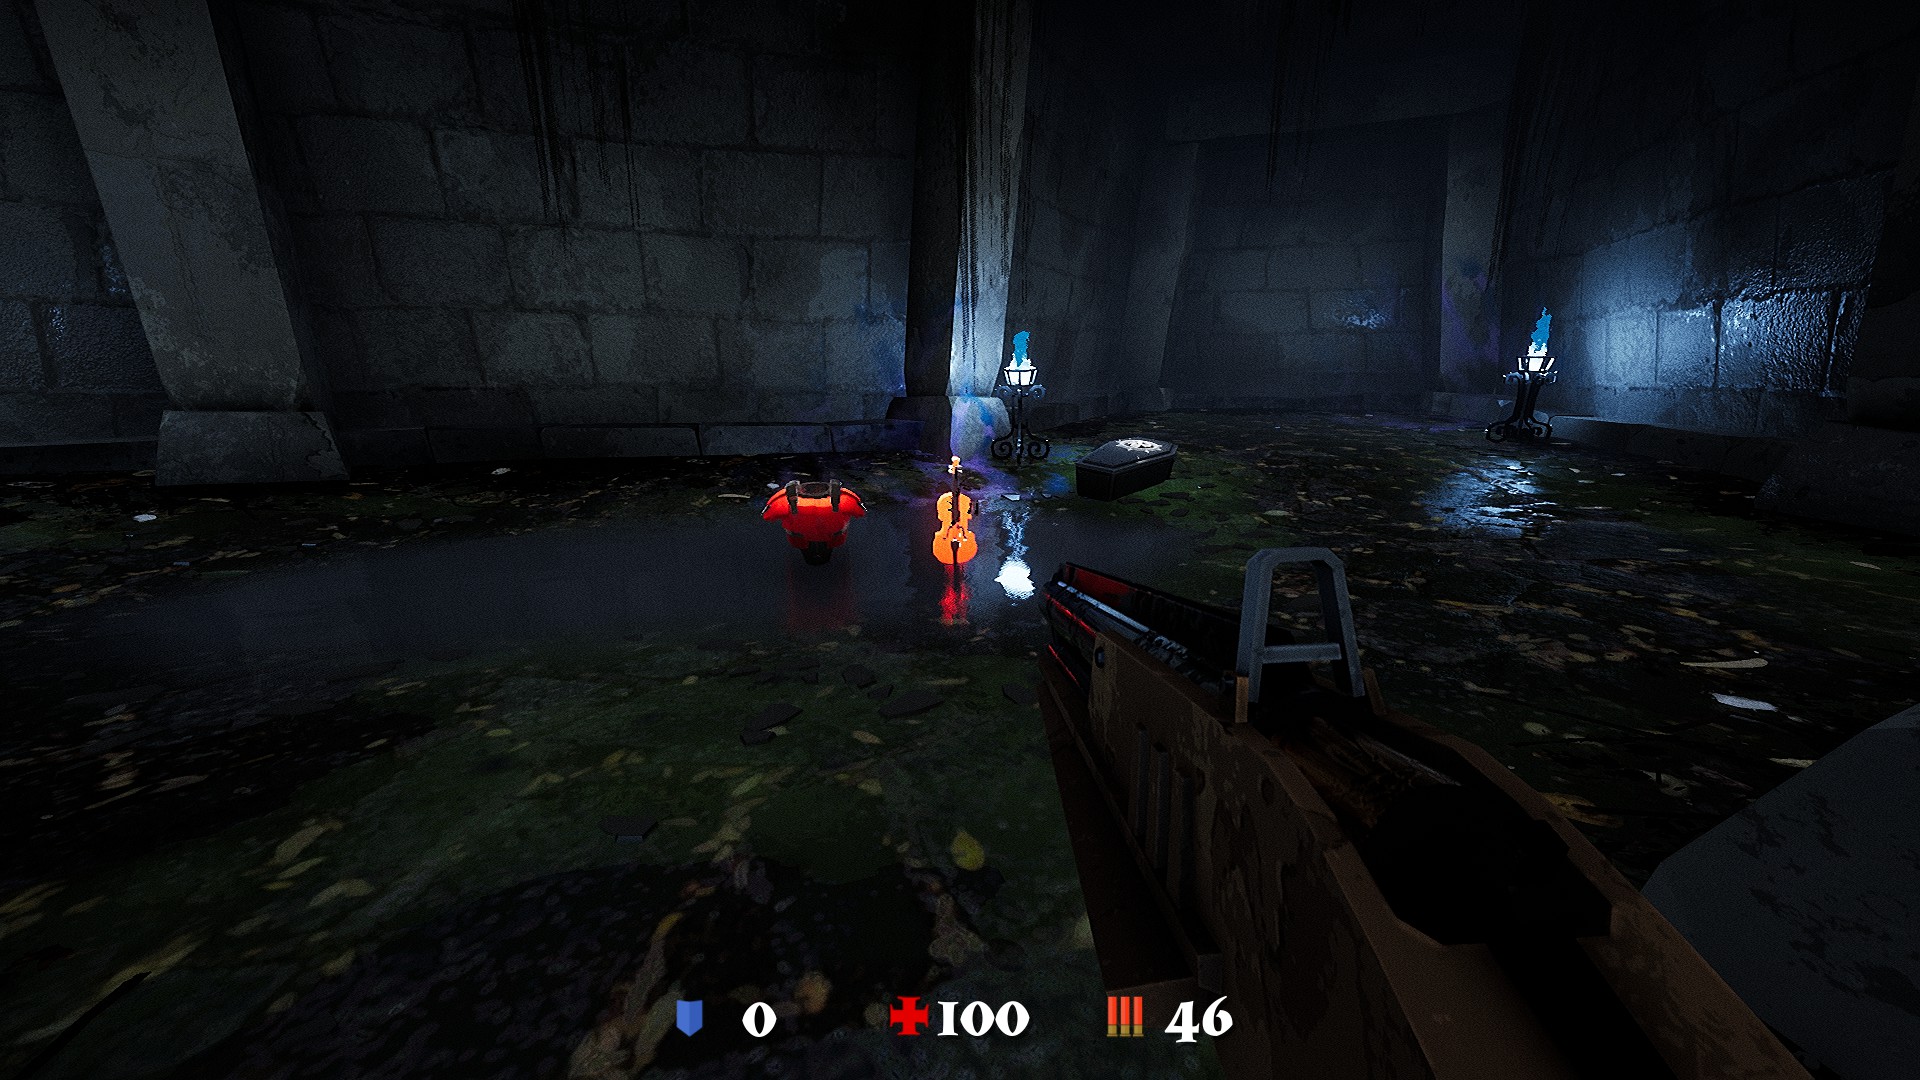
Sixth Level
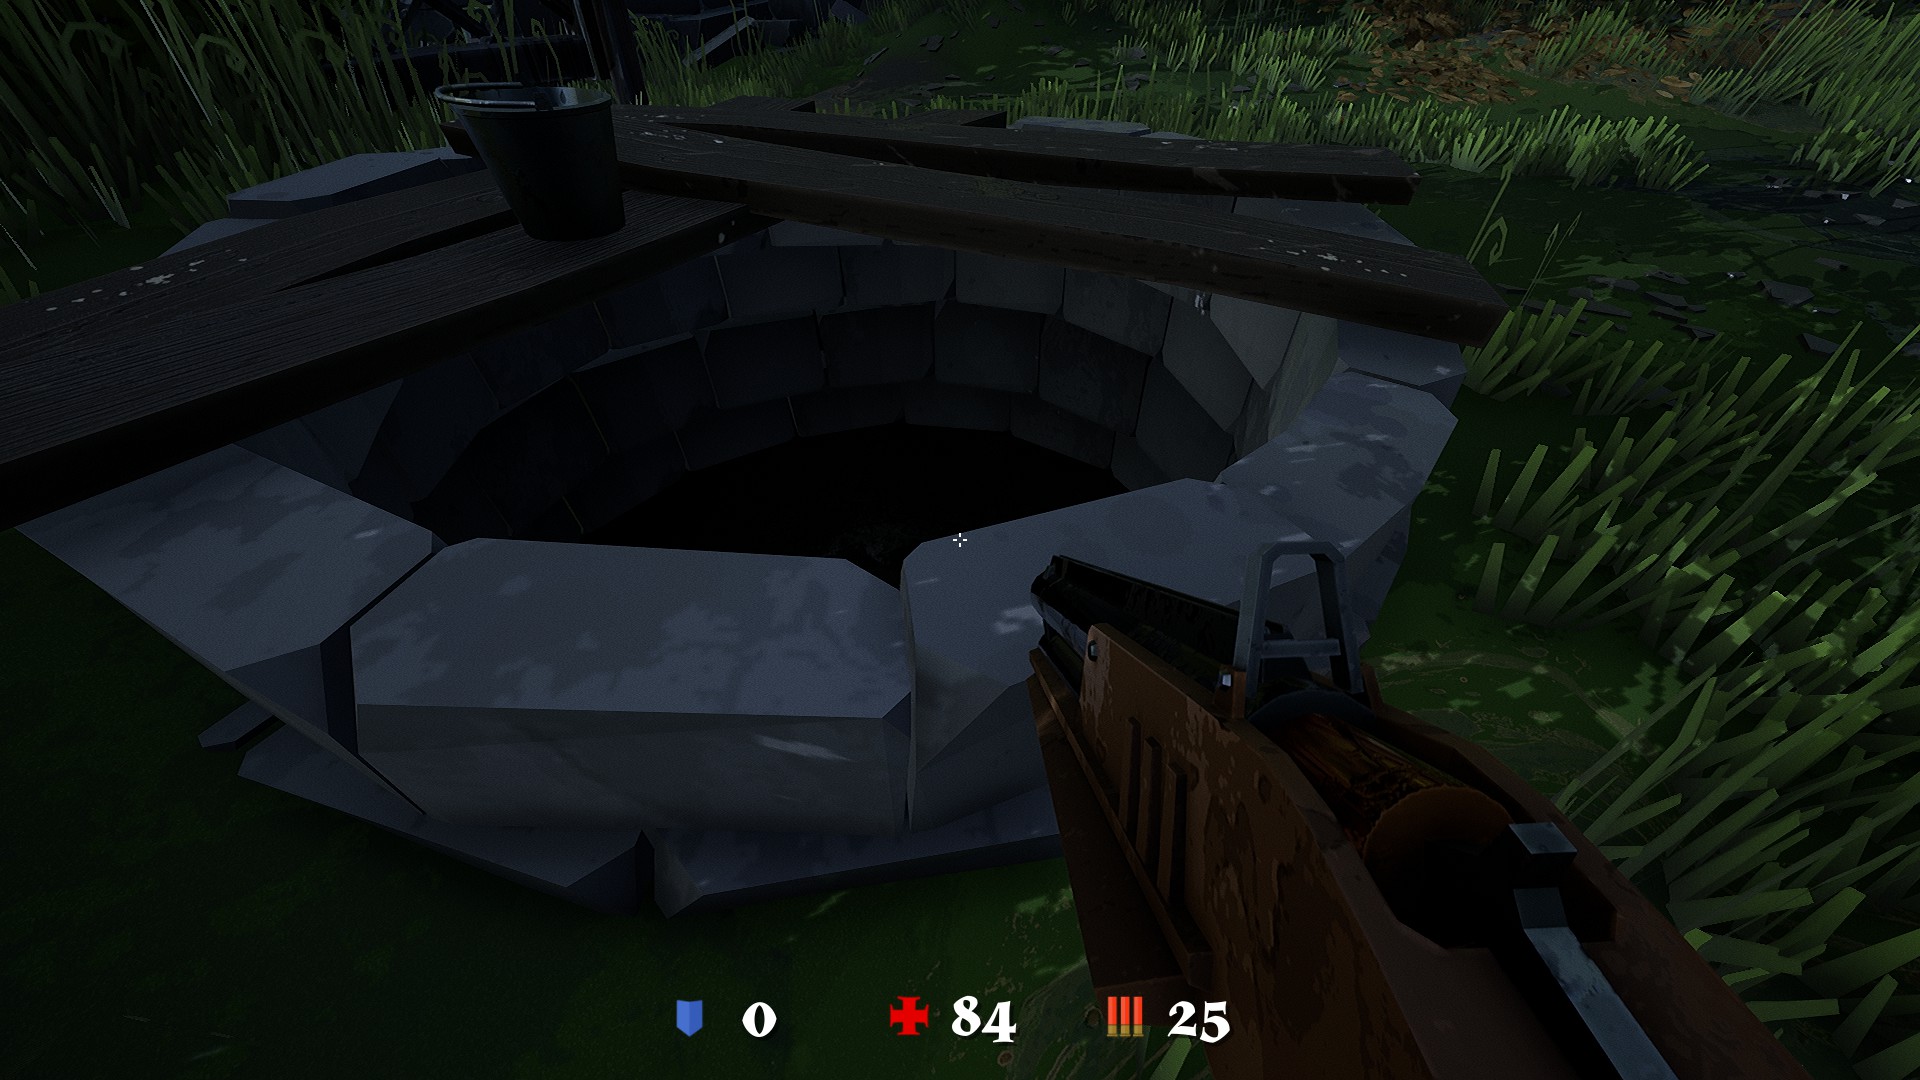
To find the first violin in the Sixth Level, you need to go underground by jumping into the well. Innen, there’s a grate that needs opening. Um dies zu tun, activate three switches: the first one is at the beginning under the ceiling, the second is in the left corridor, also above, and the third is on the right side of the grate, under the ceiling.

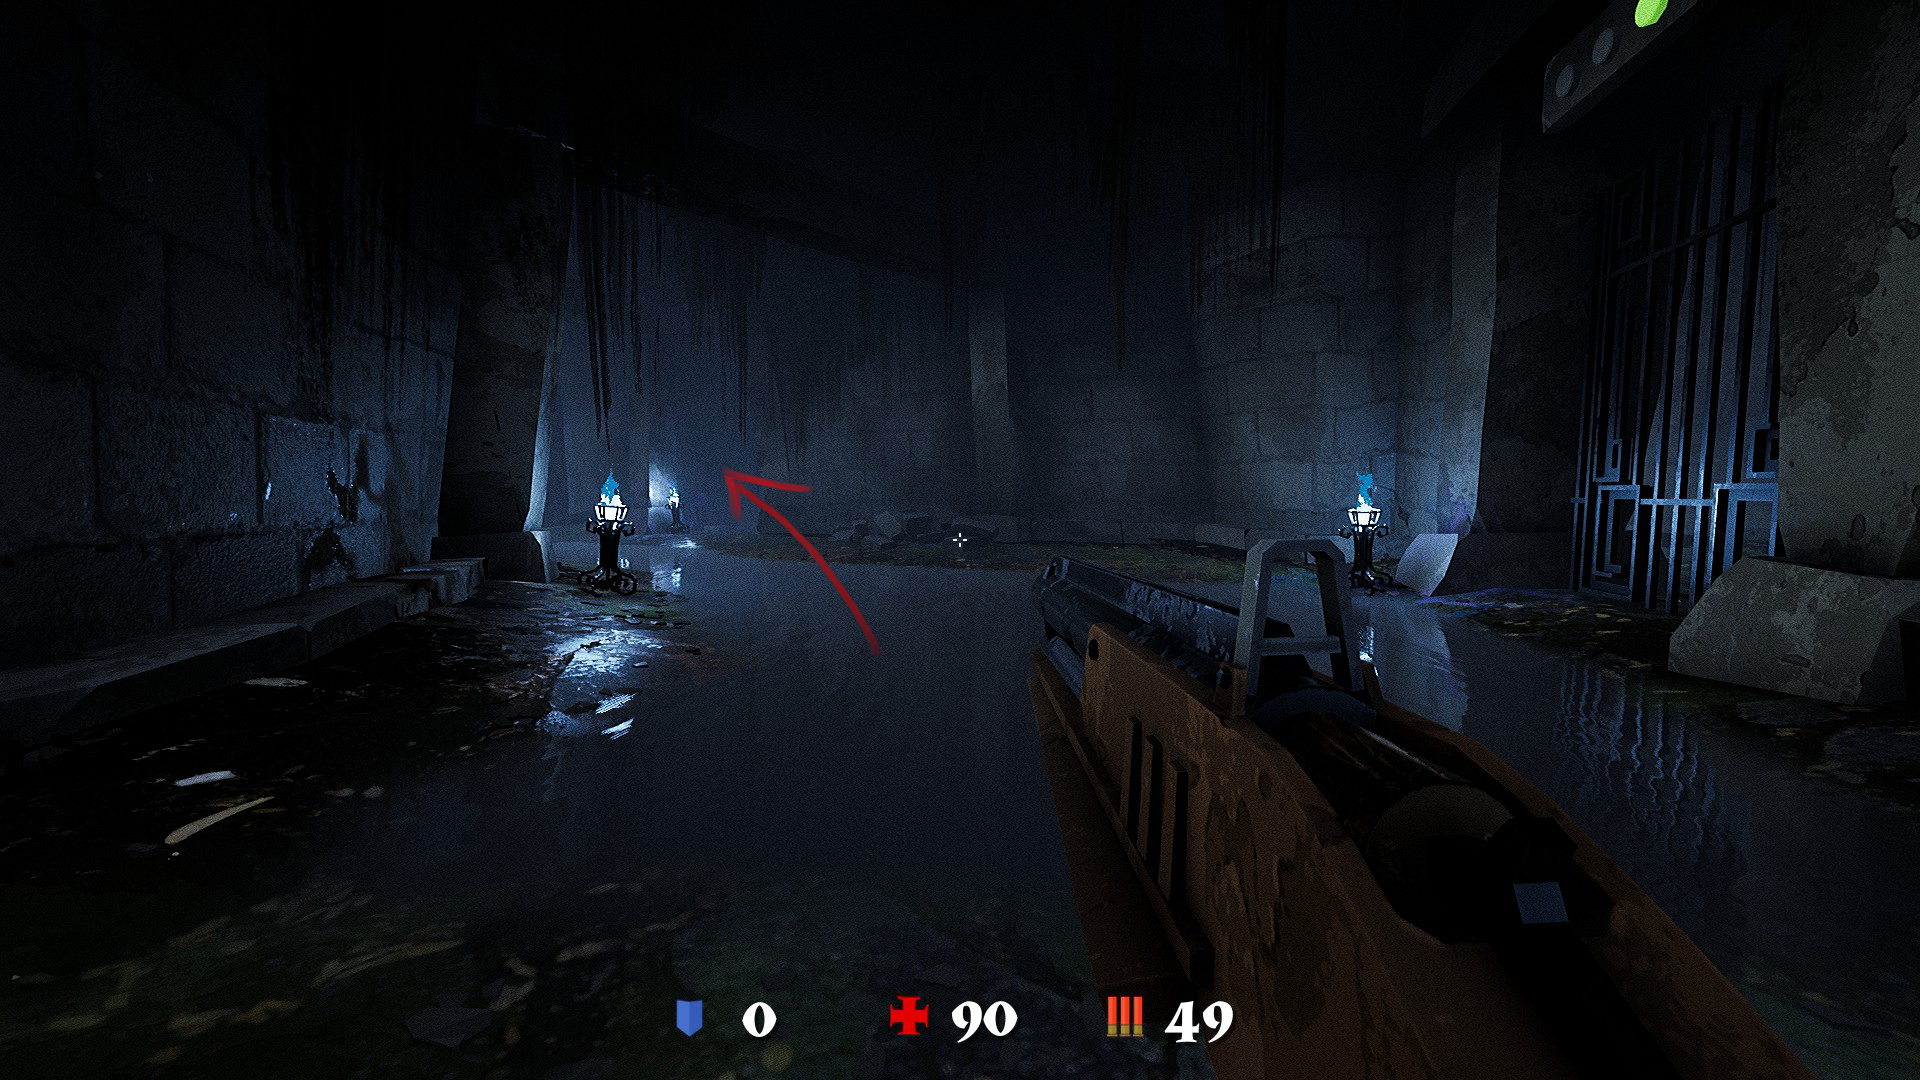
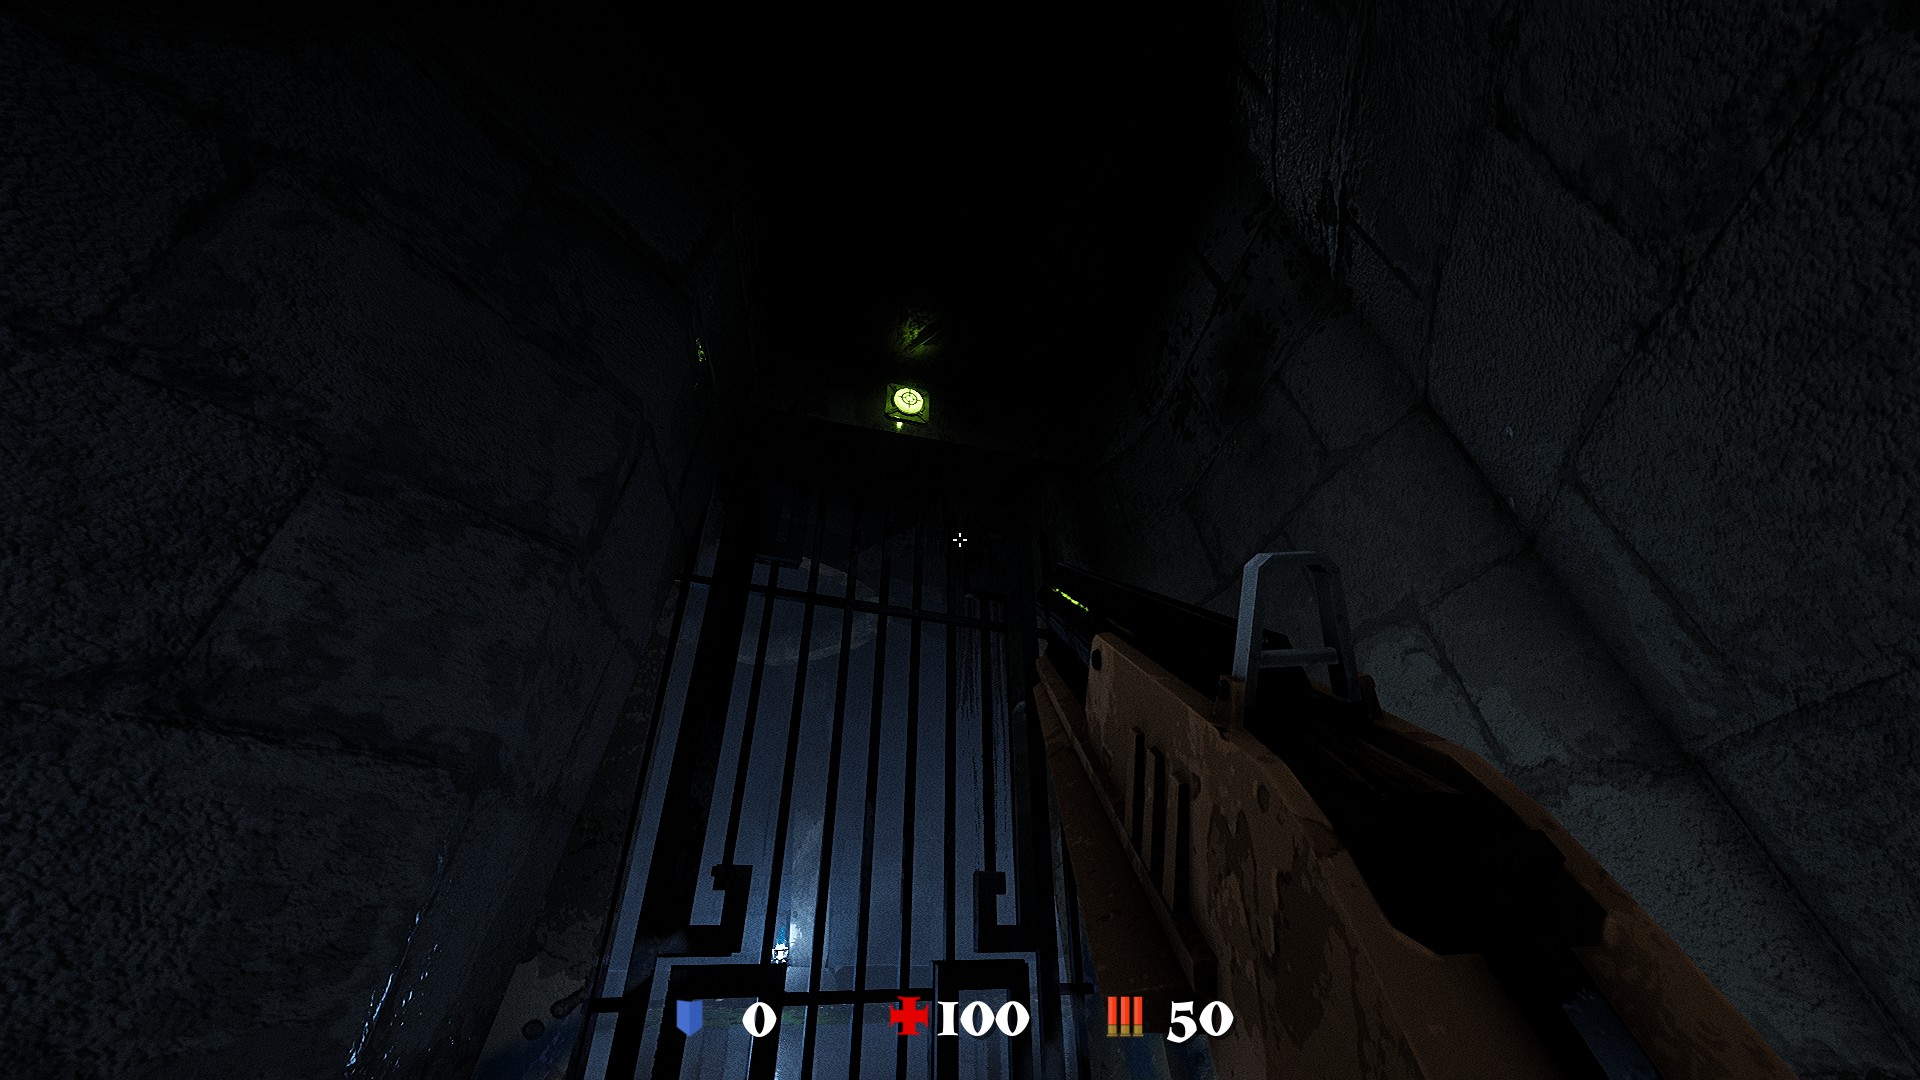

Once all switches are activated, the grate will open.
The second violin is located far behind the tree to the left of the mill.


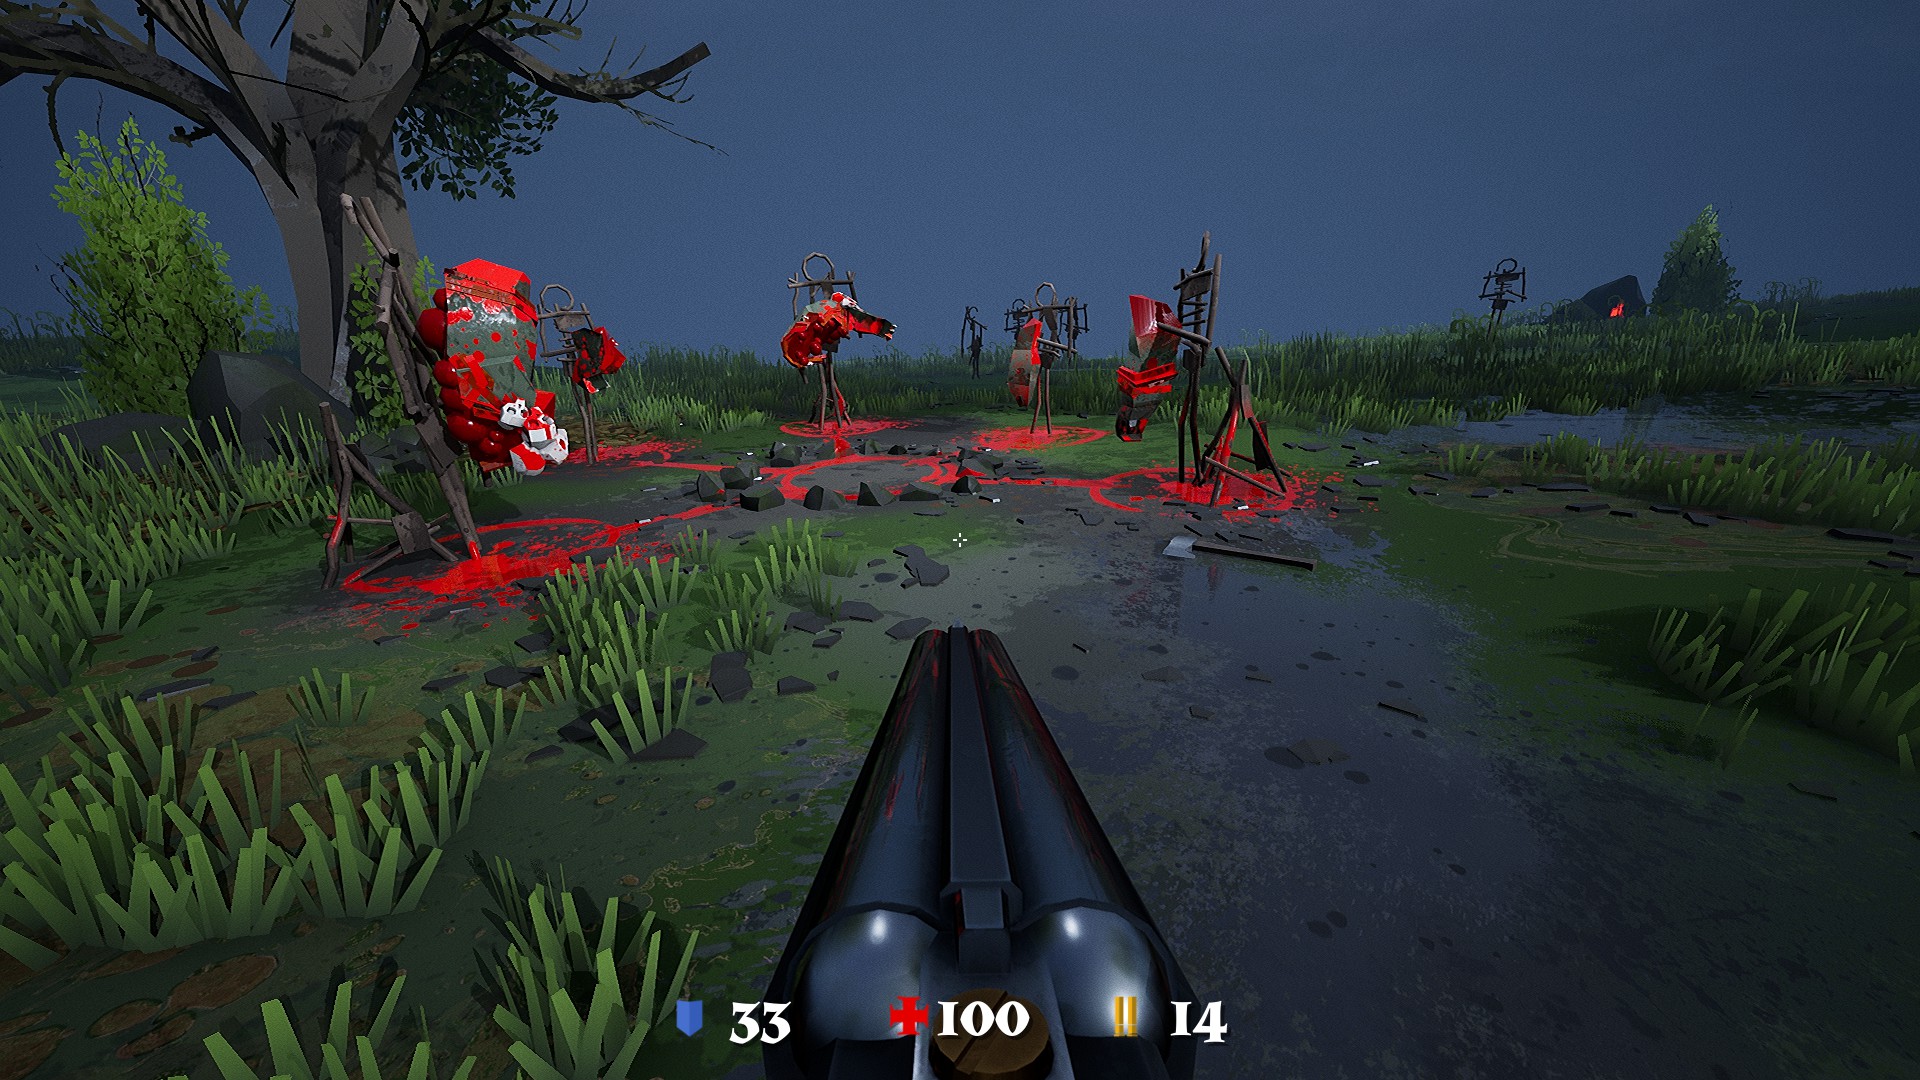
To acquire the third violin, you must complete the dark ritual. This involves luring an enemy into the center of a circle and using a laser gun to tear it to pieces.


Seventh Level
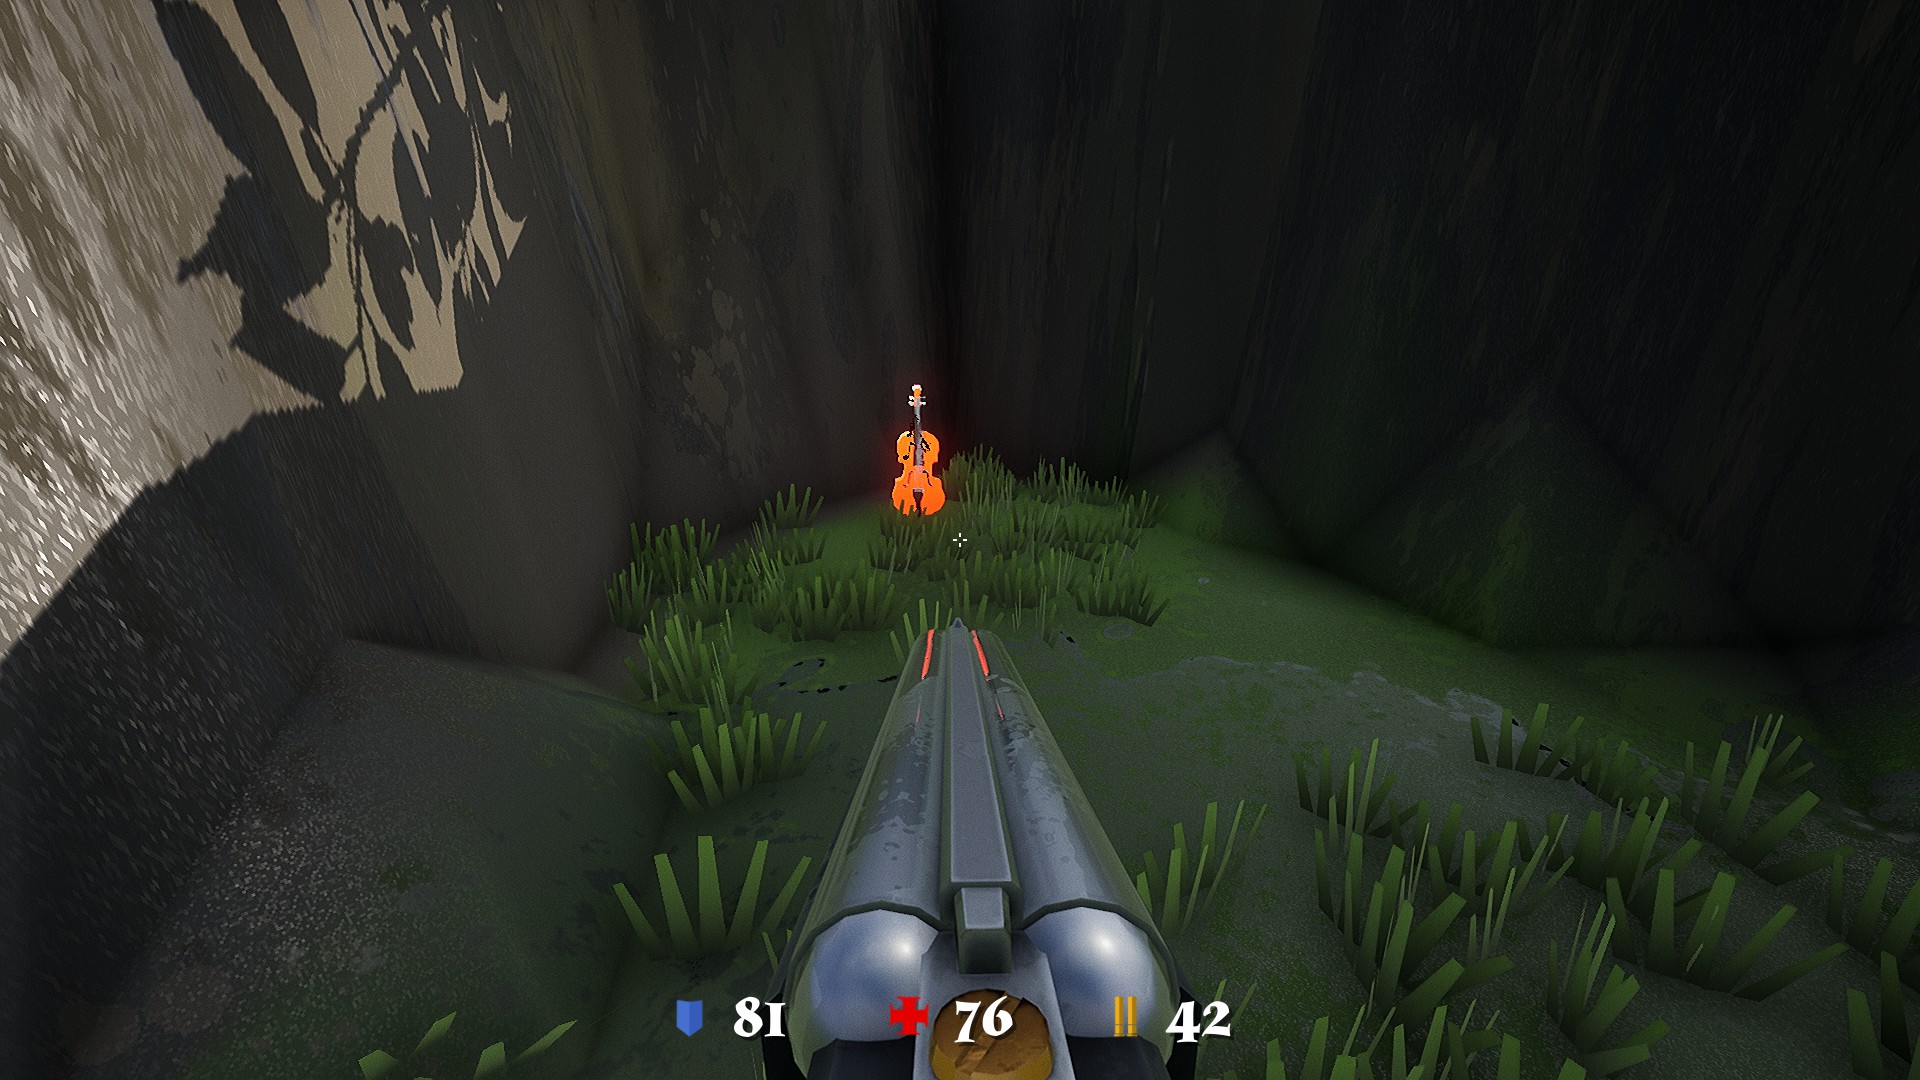
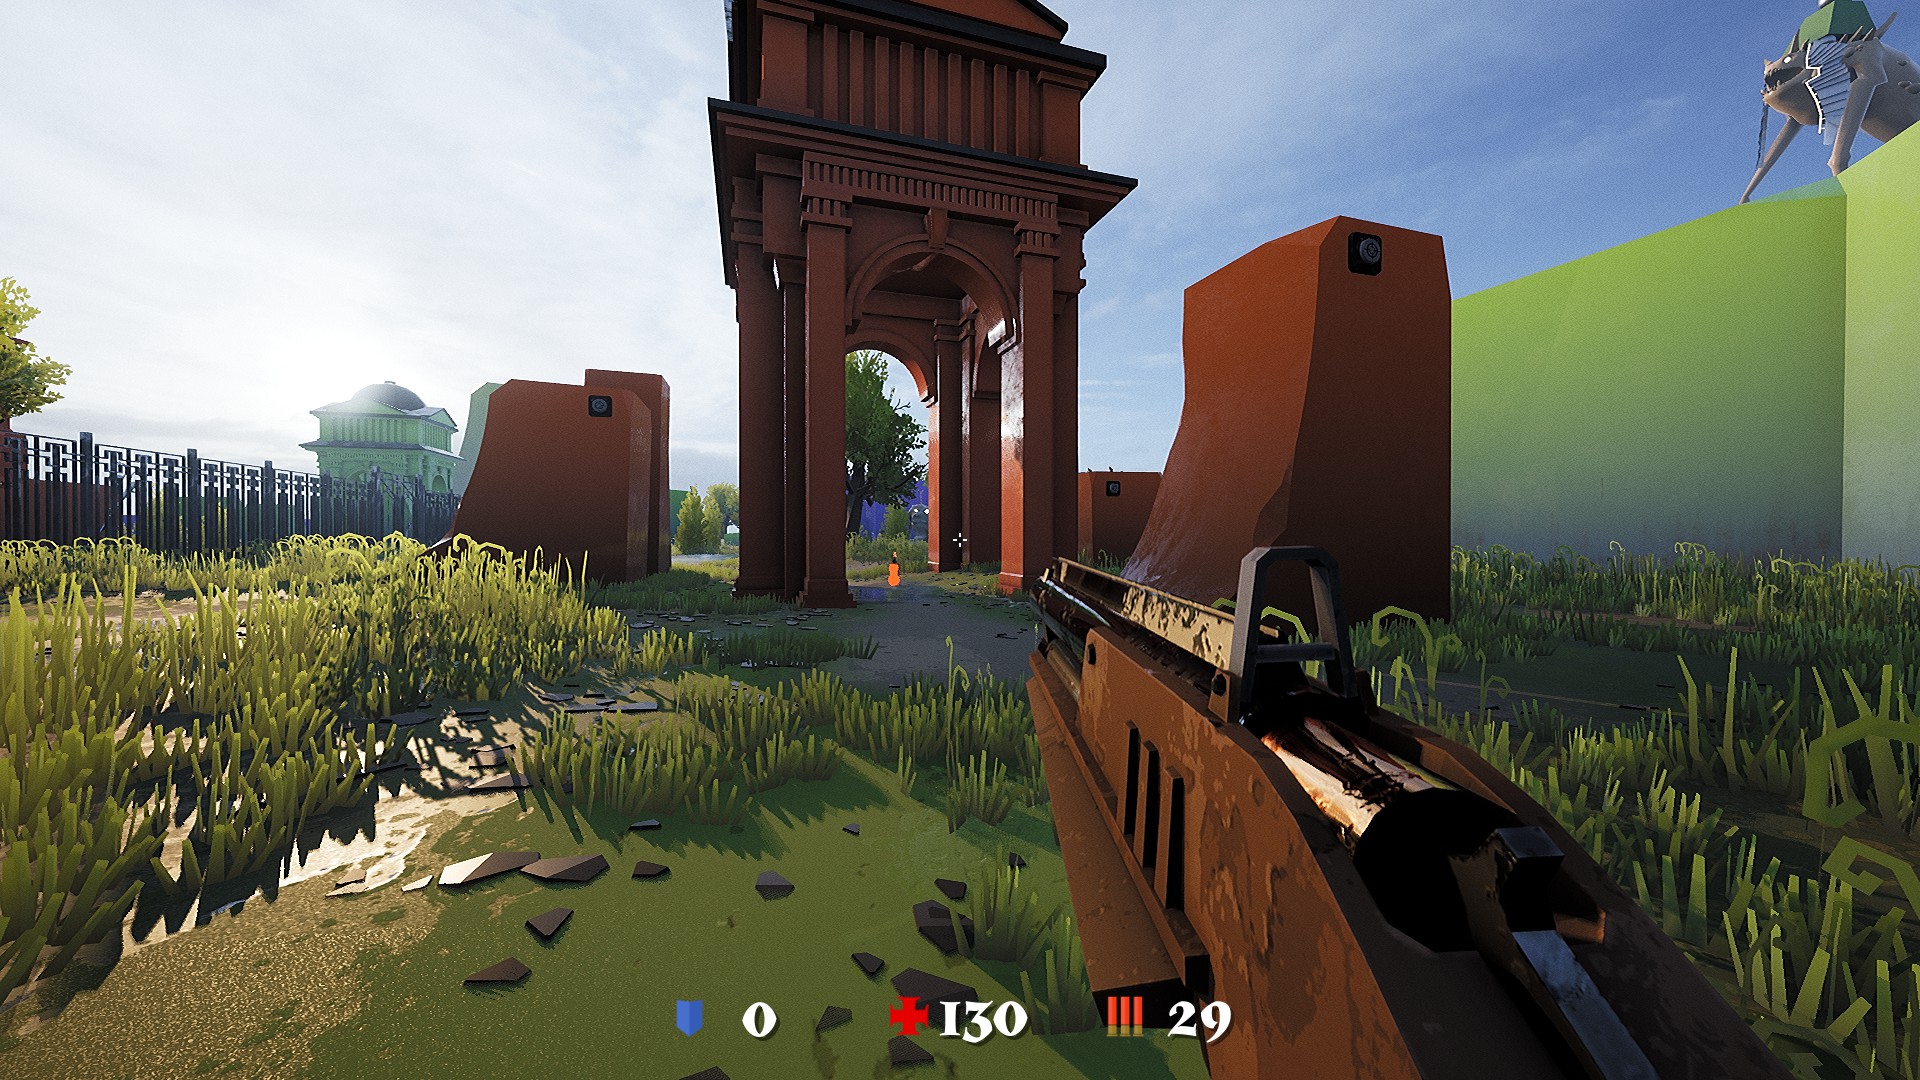
Upon entering the Seventh Level, after passing the gate, head left into the thickets where a large monster sits. This is where you’ll find the first violin.


The second violin is located within the maze.
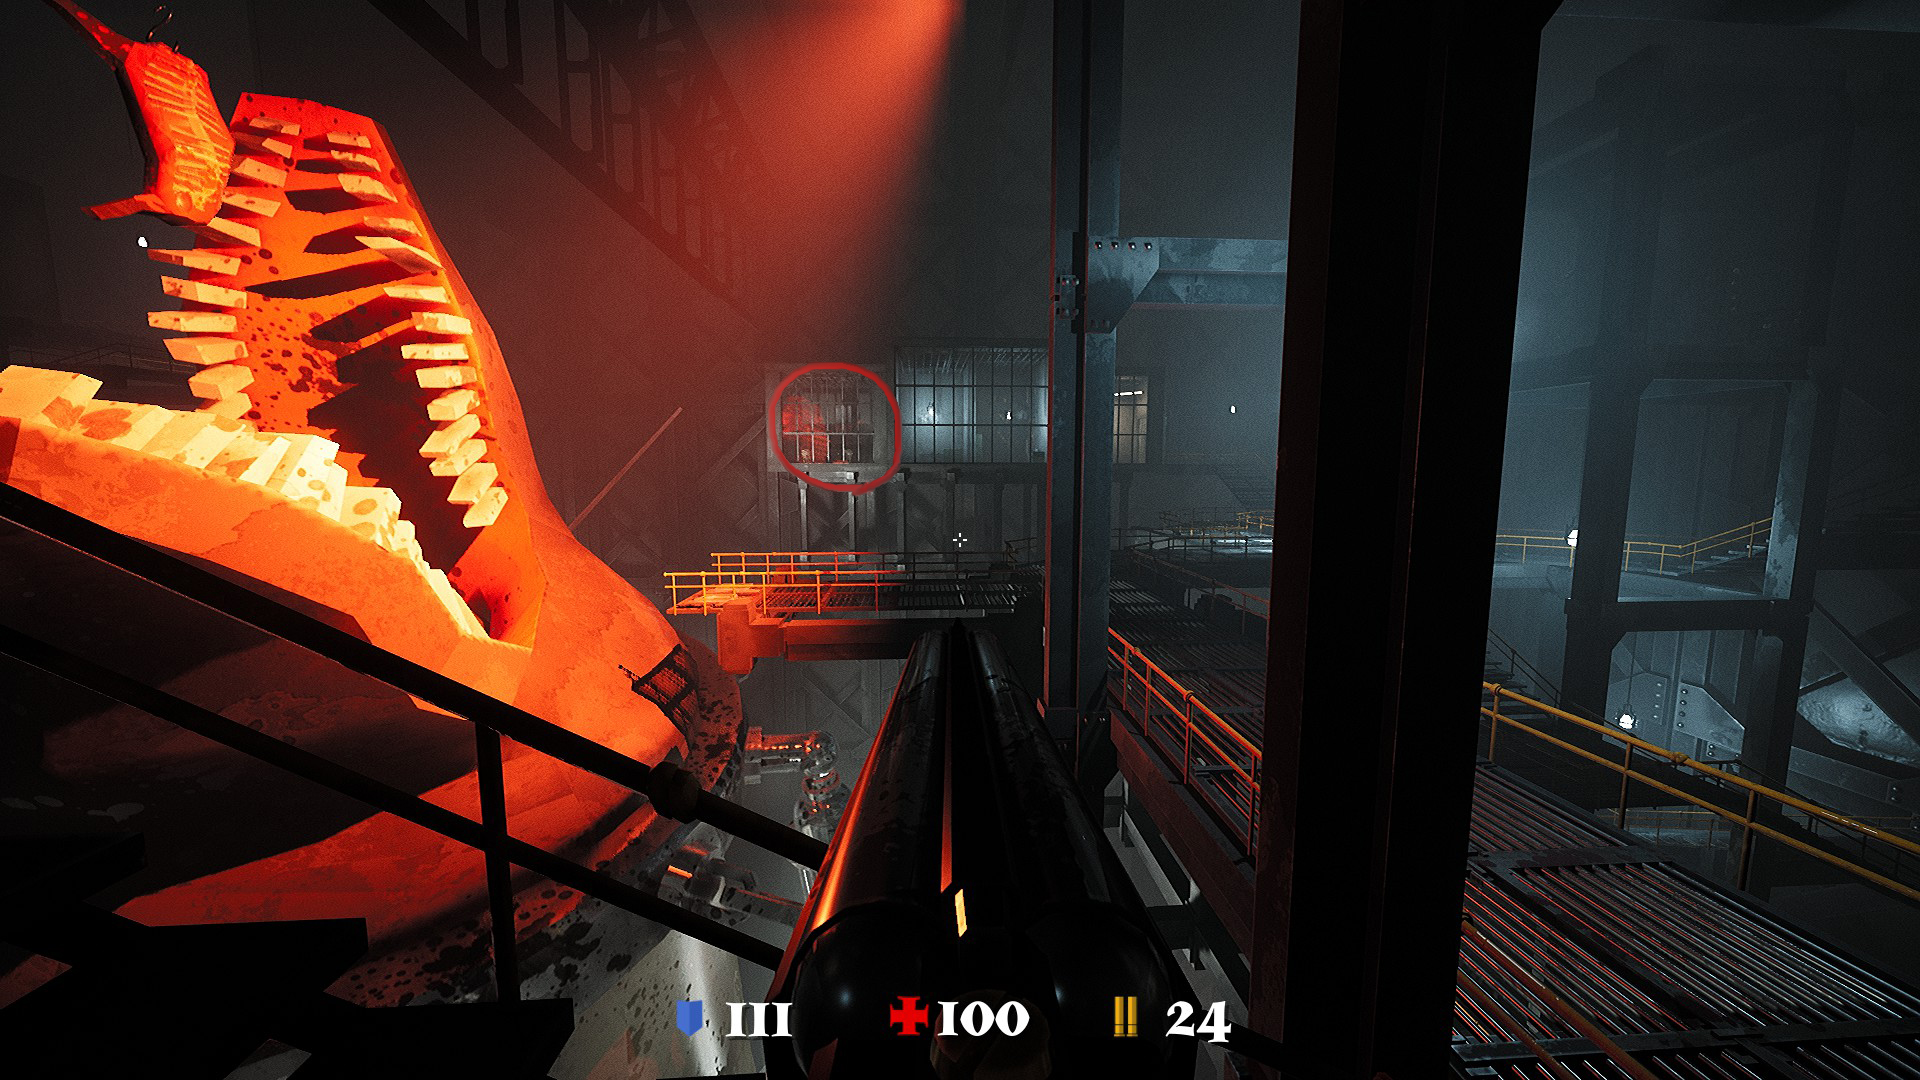
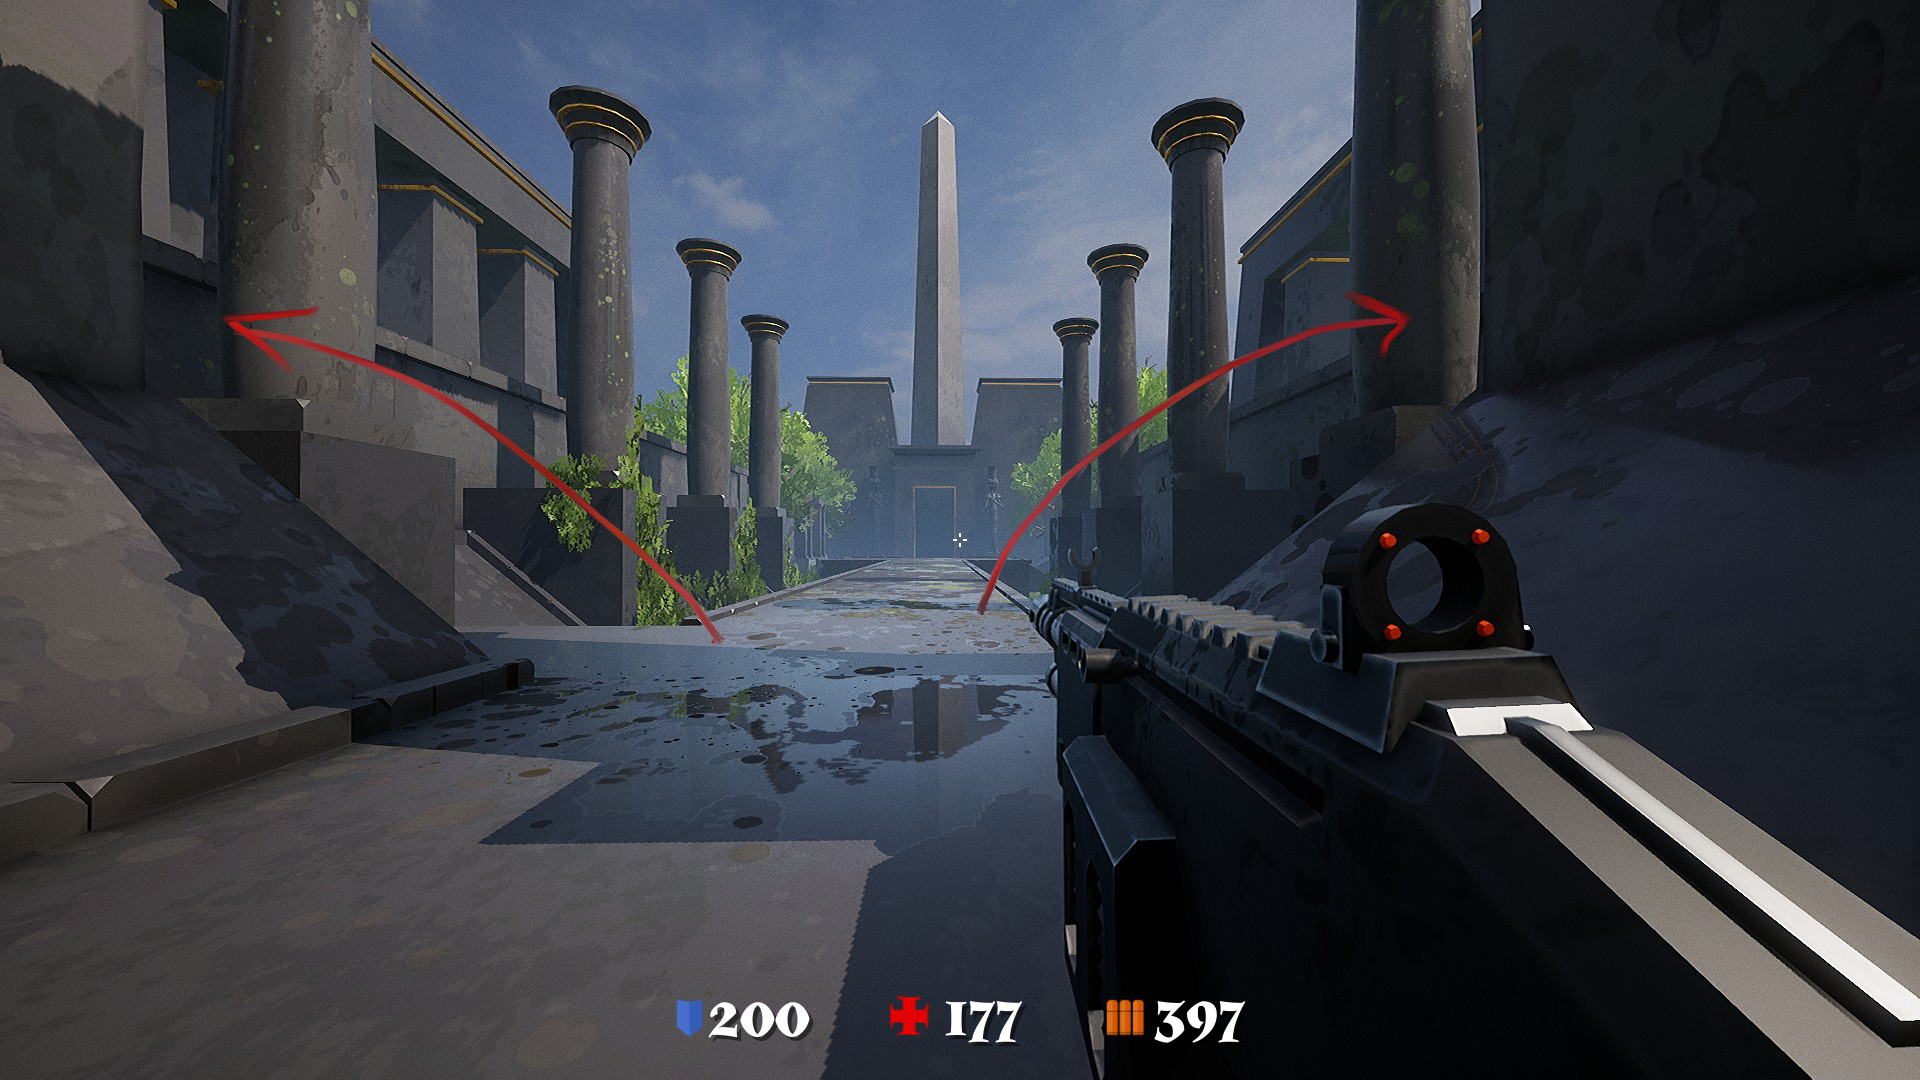
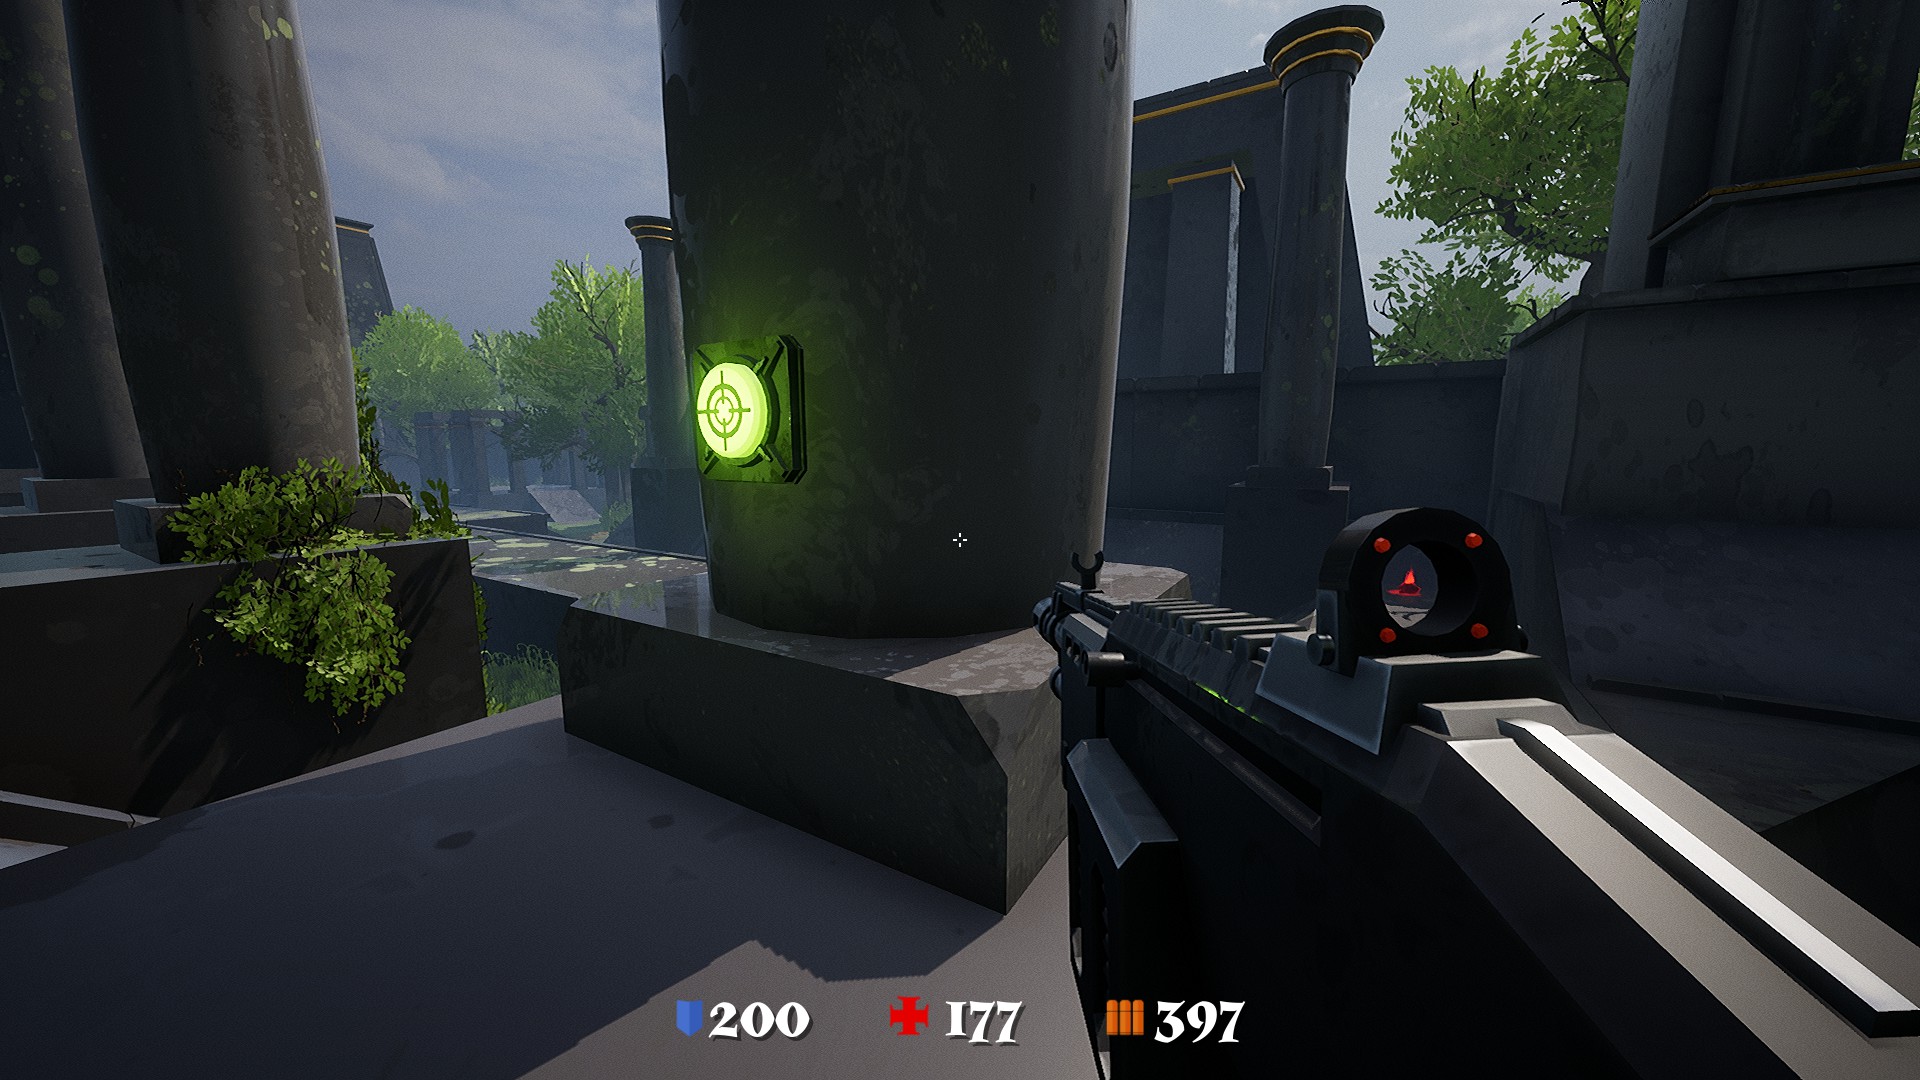
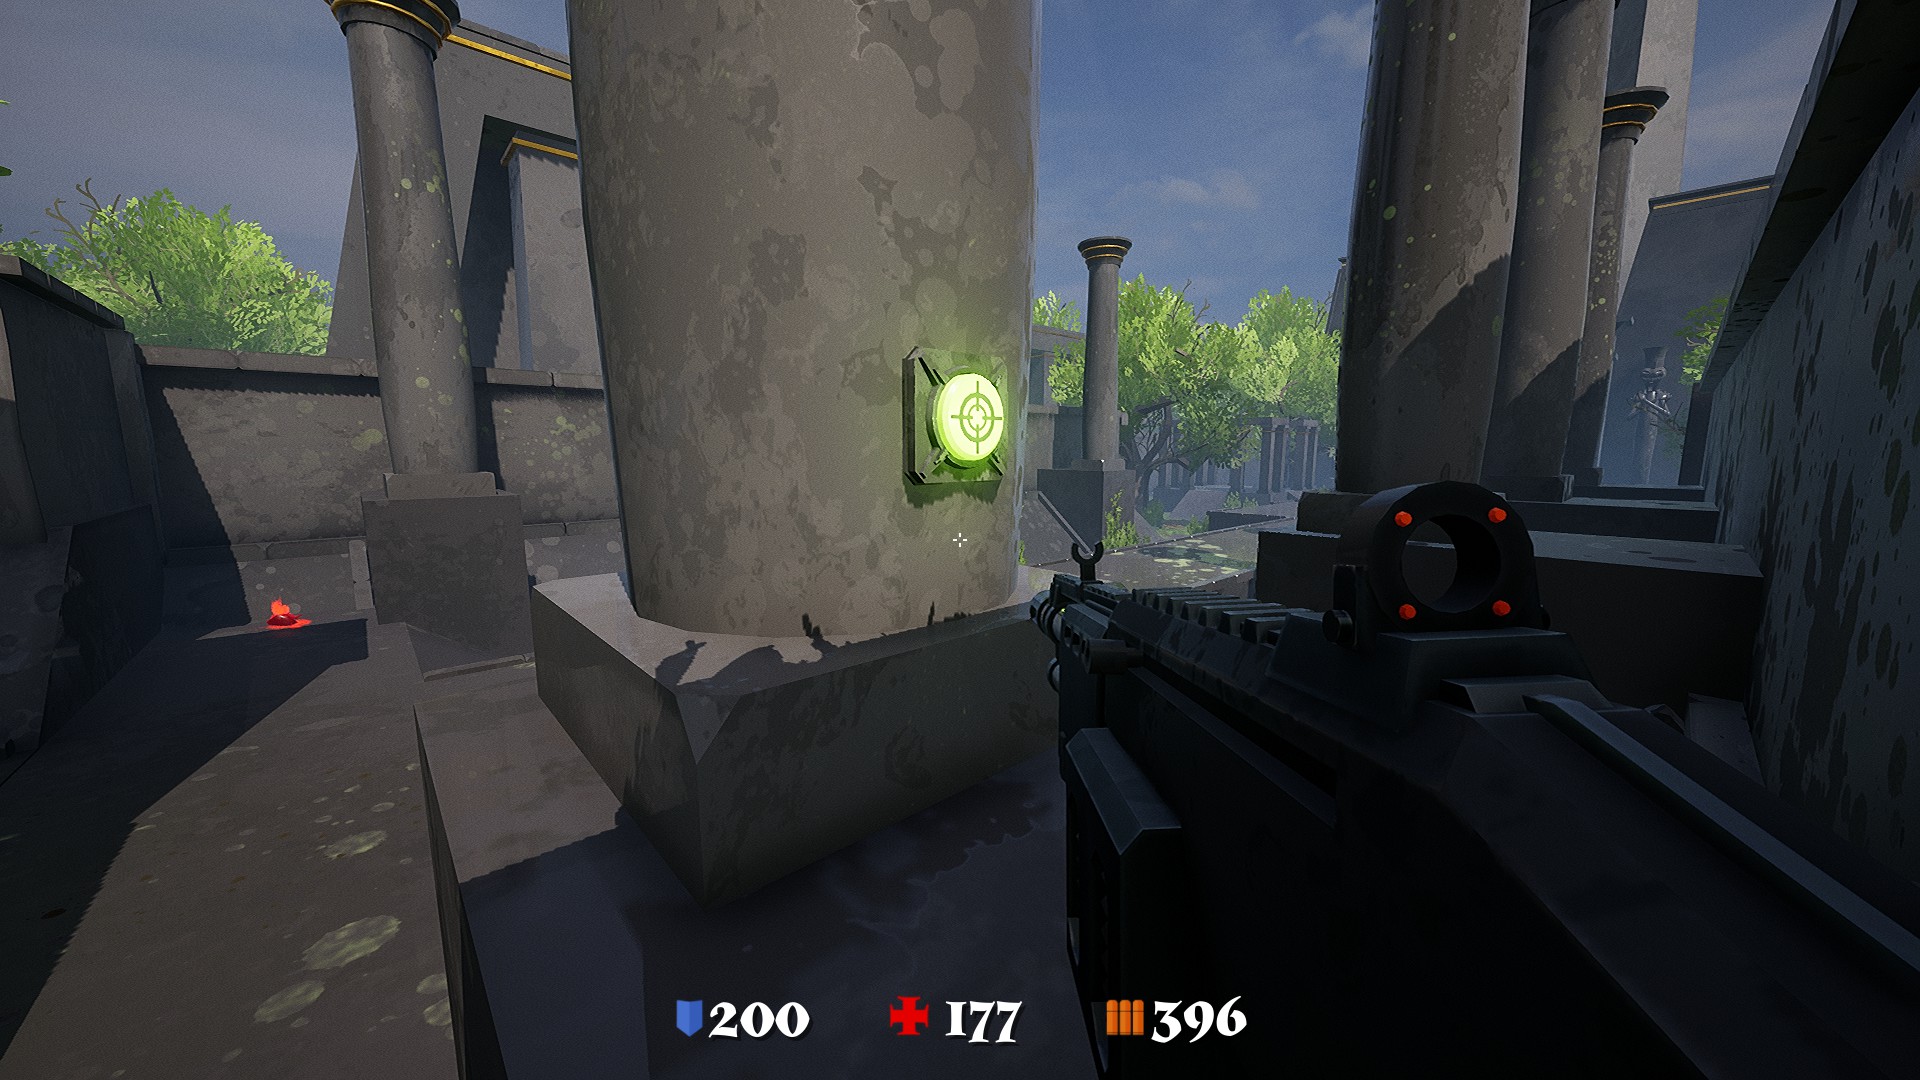
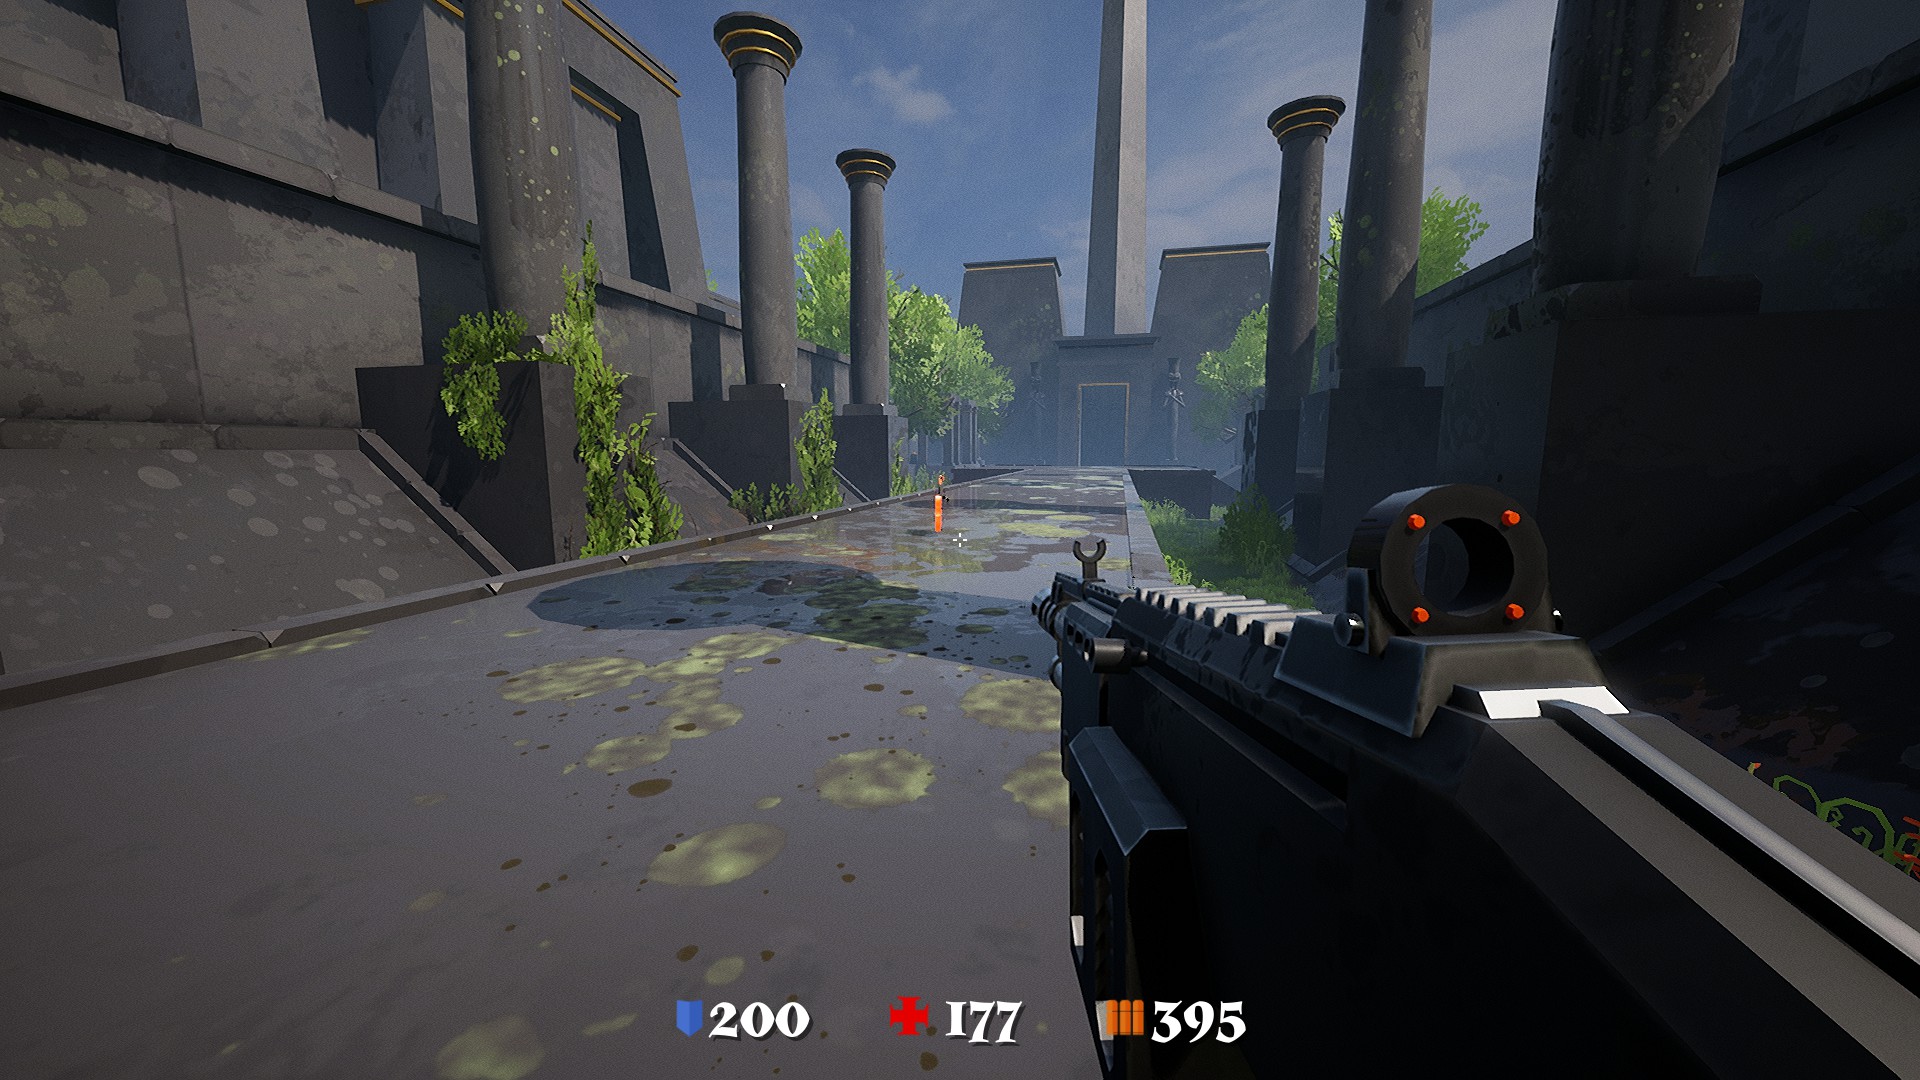
To obtain the third violin, you’ll need to open a gate with the green key. Behind the first columns, there are switches that need activating. Einmal aktiviert, the third violin will appear in the center.
Eighth Level
To find the first violin on the Eighth Level, head to the building on the right of the green one. Dahinter, you’ll discover three switches. Activate these switches, and the violin will appear inside.

Behind the green building, there are platforms. Follow them to the end to locate the second violin.

For the third violin, you’ll need to reach the greenest building. This involves passing through the arena inside this building. Um darauf zuzugreifen, head to the left of the entrance where you’ll find a blue cube that rises up and down. Use it to reach the top and find the third violin.


Ninth Level
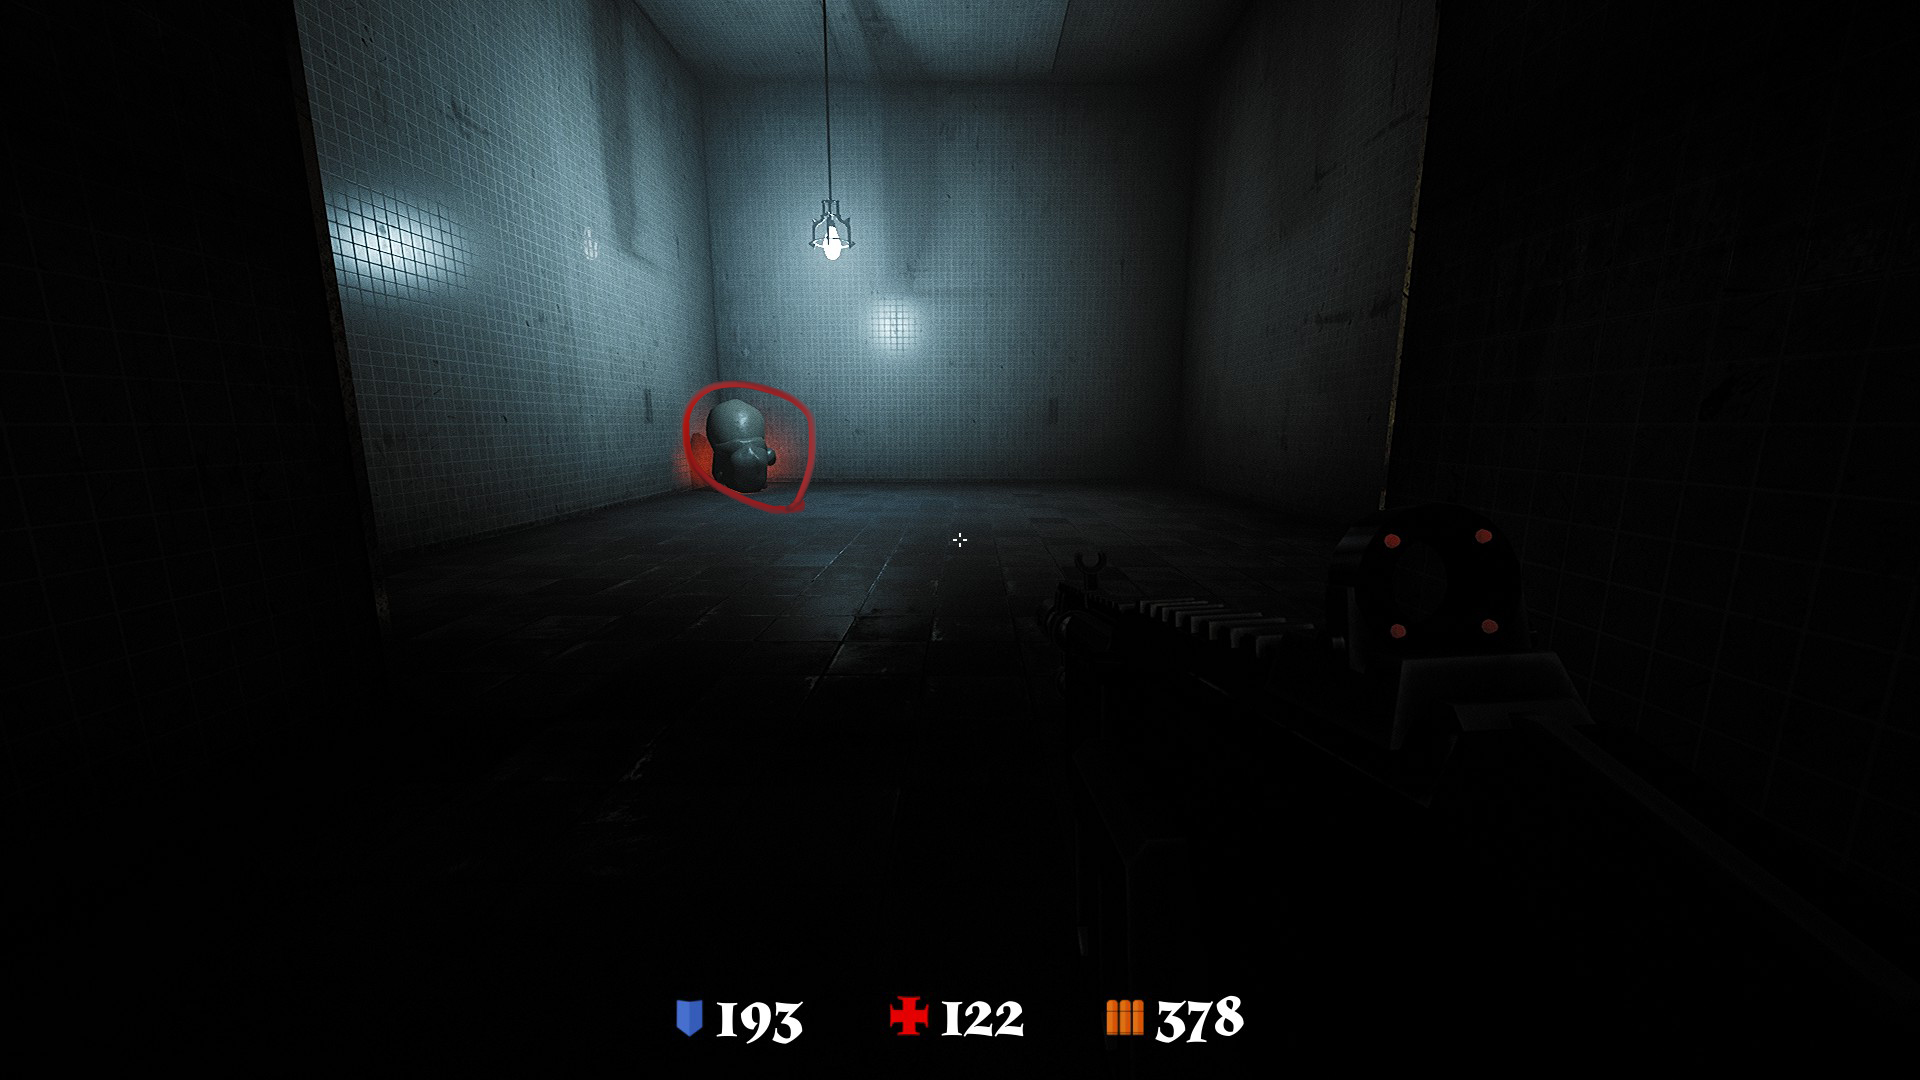
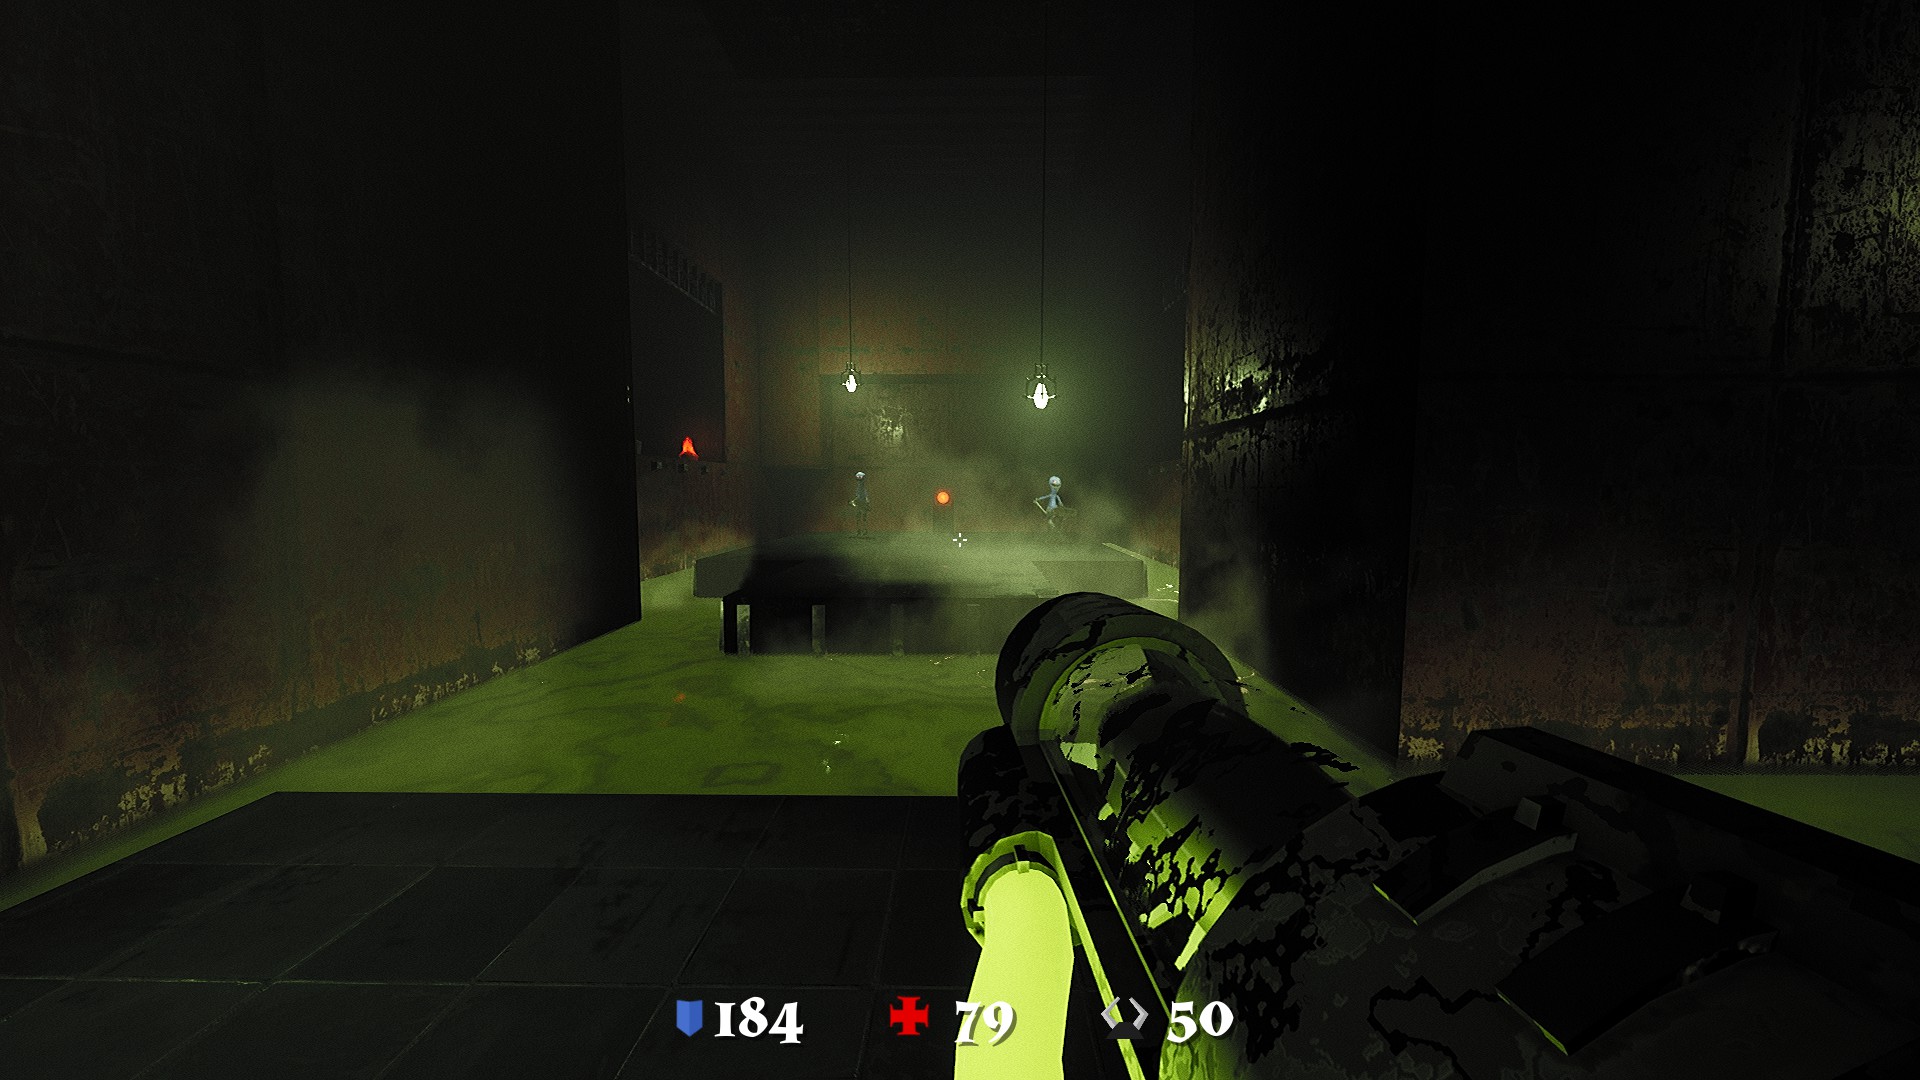
To obtain the first violin on the Ninth Level, start by shooting at the figure sitting in the corner. This action triggers the spawning of enemies. Defeat them in the center of the room to reveal the violin.

For the second violin, head to the room with the red switch. Touch all four lanterns to turn them red, and a violin will appear.

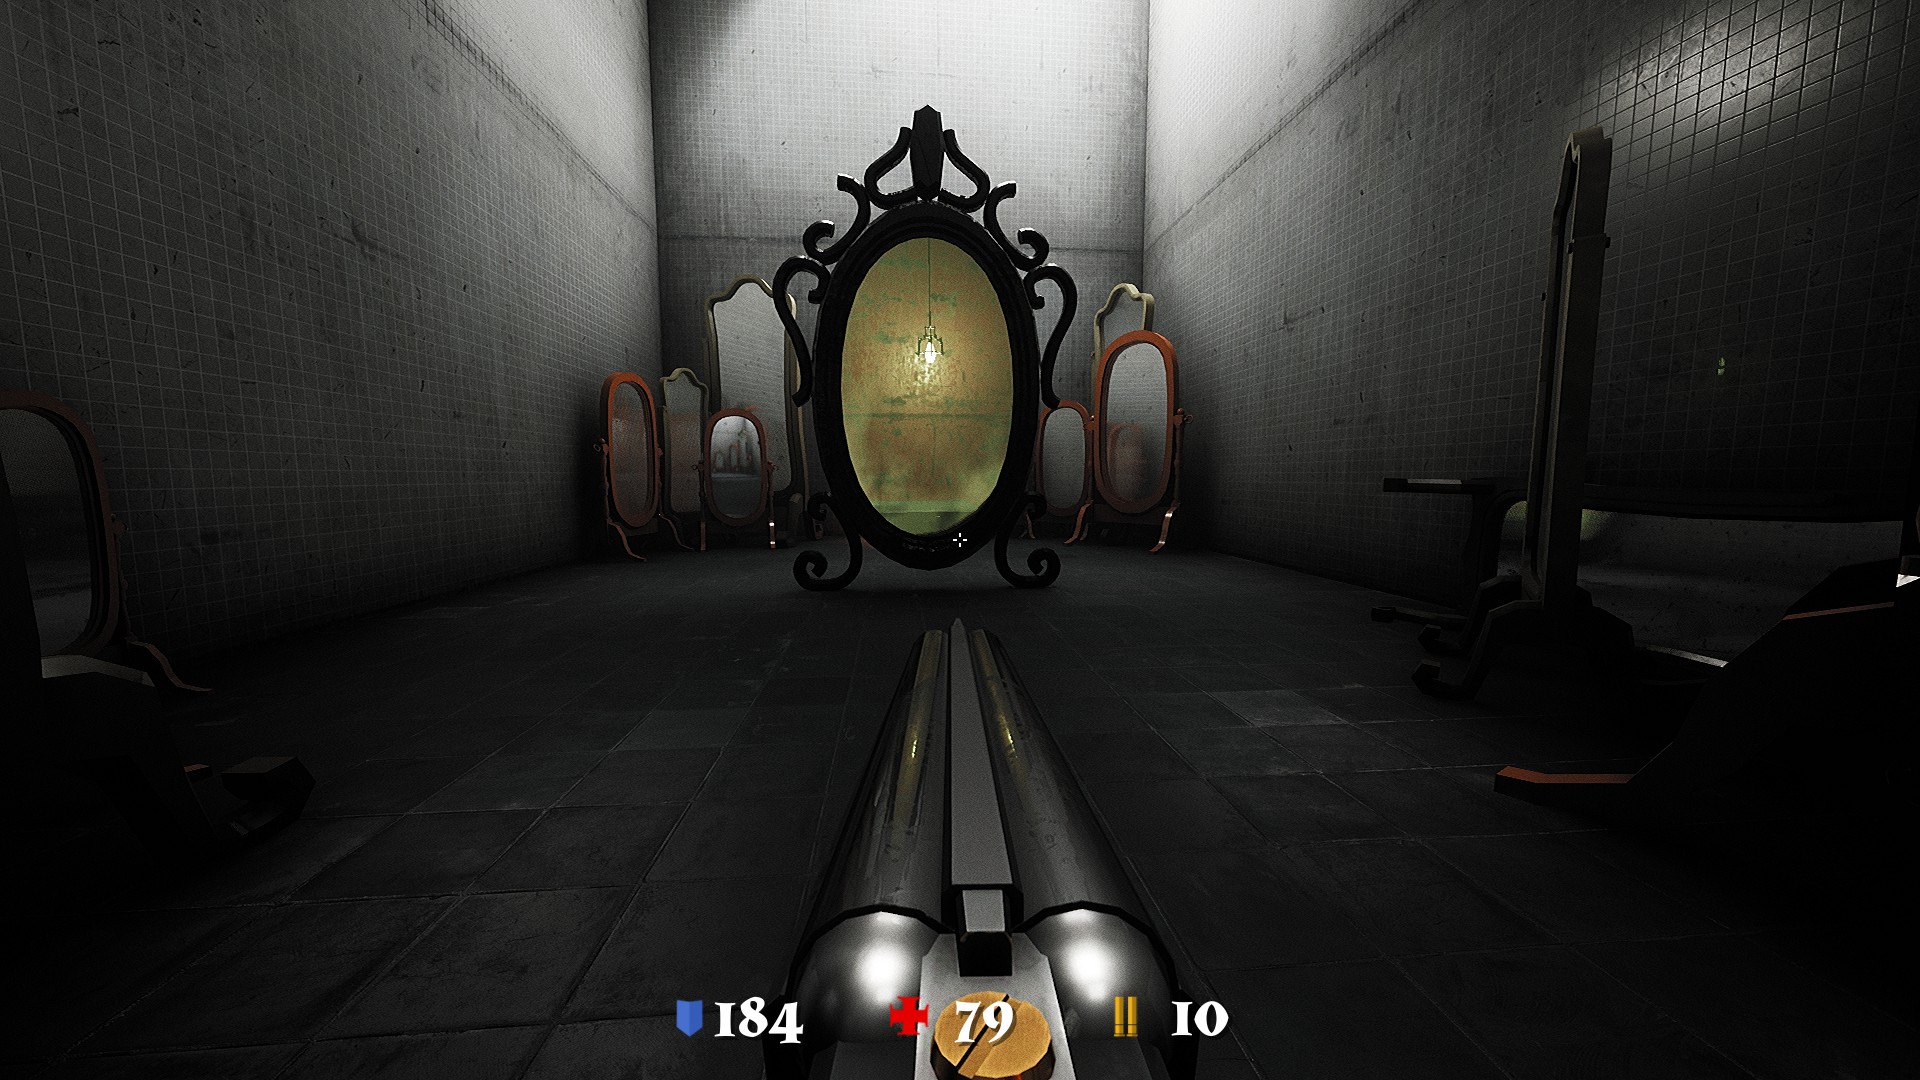
To acquire the third violin, enter the corridor to the left of the clock where you’ll find a mirror. Go through it to discover a switch that opens a grate. Behind it lies the third violin.

Tenth Level
On the Tenth Level, the approach is straightforward. You’ll encounter three-story arenas where you can find violins. Simply progress through each arena to collect the violins located within them.


Das ist alles, was wir heute dafür teilen illWill Führung. Dieser Leitfaden wurde ursprünglich erstellt und geschrieben von OriginAl.21.12.. Für den Fall, dass wir diesen Leitfaden nicht aktualisieren können, Sie können das neueste Update finden, indem Sie diesem folgen Verknüpfung.