
This guide will show you how to easily create a multi-layered armor that you can use in العواصف: البناء والإنقاذ.
مقدمة
With the arrival of the Stormworks Search and Destroy expansion, new weapons joined the game. ومن الغريب, the developers didn’t include armor. Players had to come up with ways to make their own. حالياً, two types of armor are known. The first involves using numerous individual structures layered one on top of the other, often called grids.
لكن, the grid method is quite shaky due to its many connections, and it uses a lot of computer power. Another approach involves crafting armor plates from polygons. Although the triangular armor method is better, it doesn’t ensure complete protection.
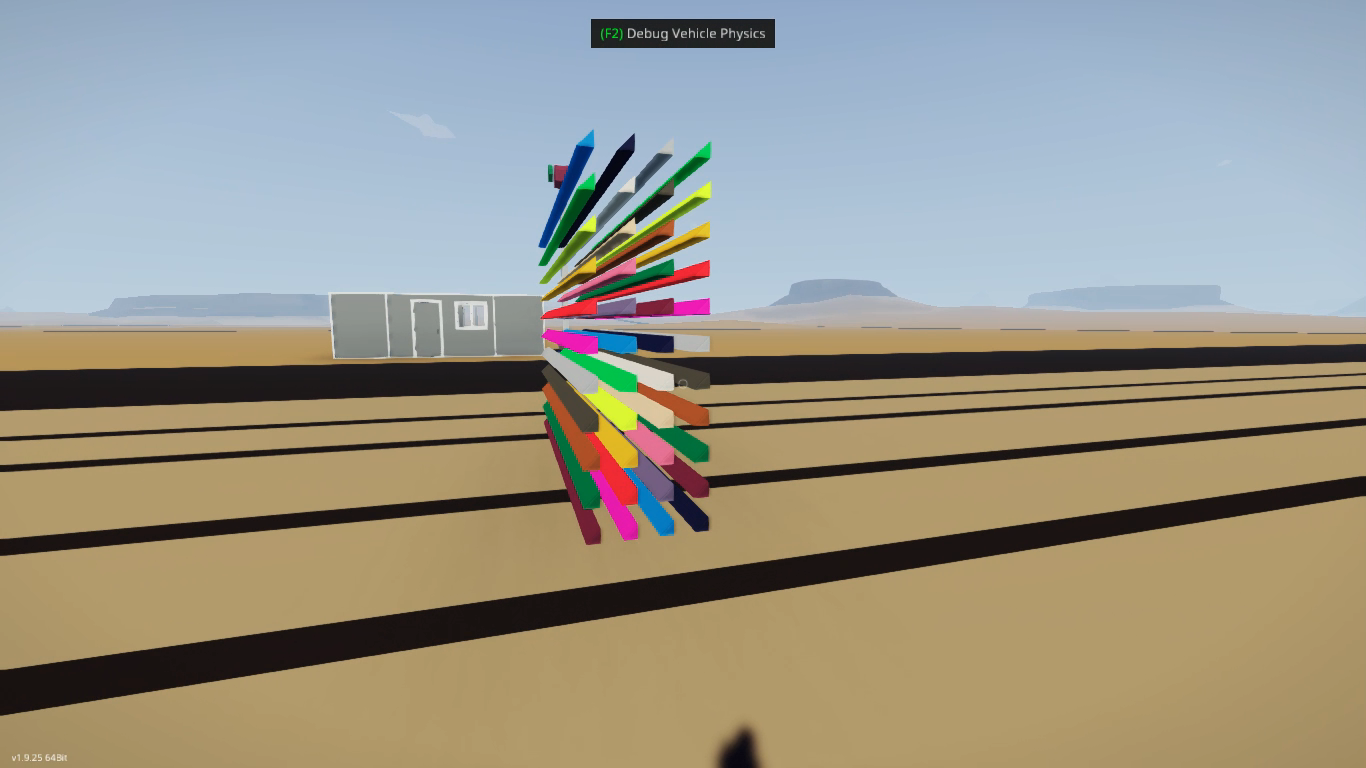
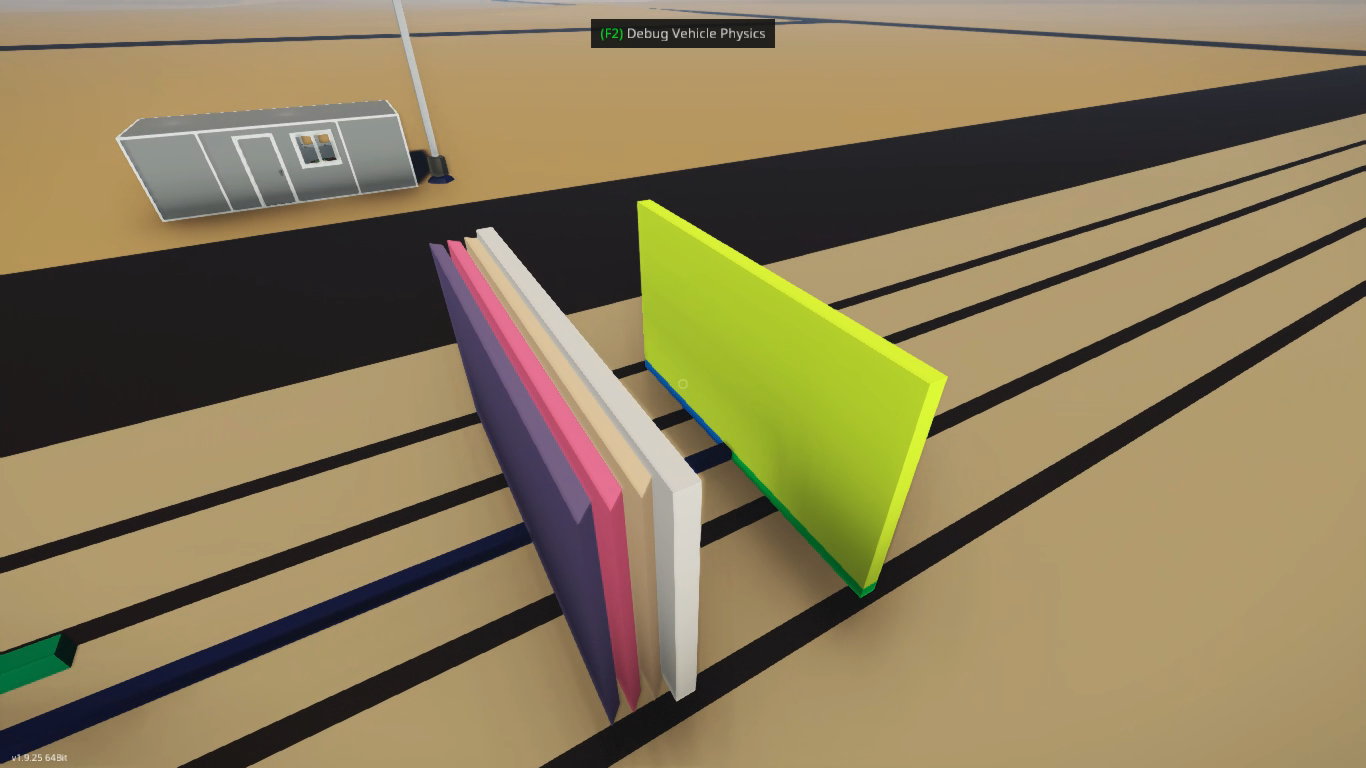
Neither option suited me, so I explored alternative armor creation methods. By pressing the F2 button, a special mode reveals block hitboxes. Observing this, I realized that triangular armor works because projectiles must pass through as many triangles as possible. لذا, I attempted to create a hitbox resembling a triangle but covering the entire plane of the armor plate by combining these two methods.
Creating a Third Armor Type
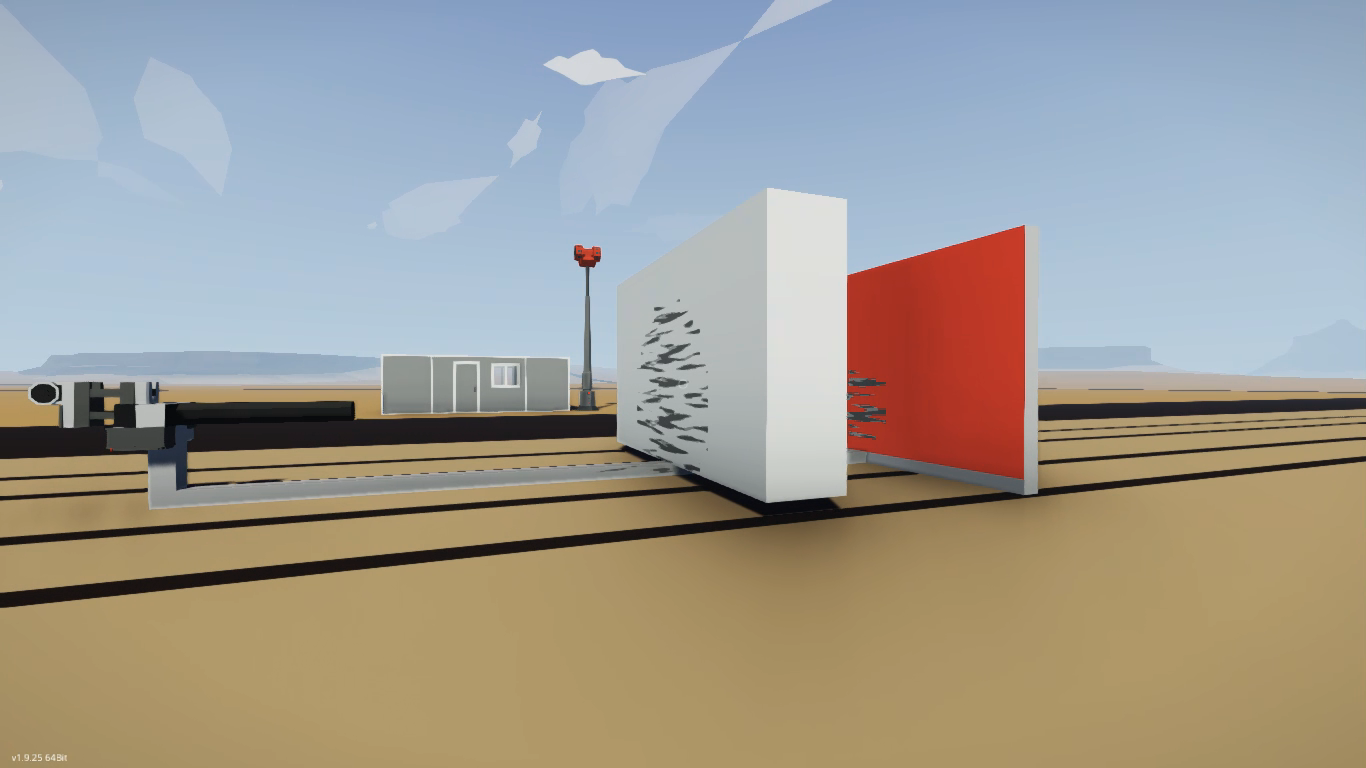
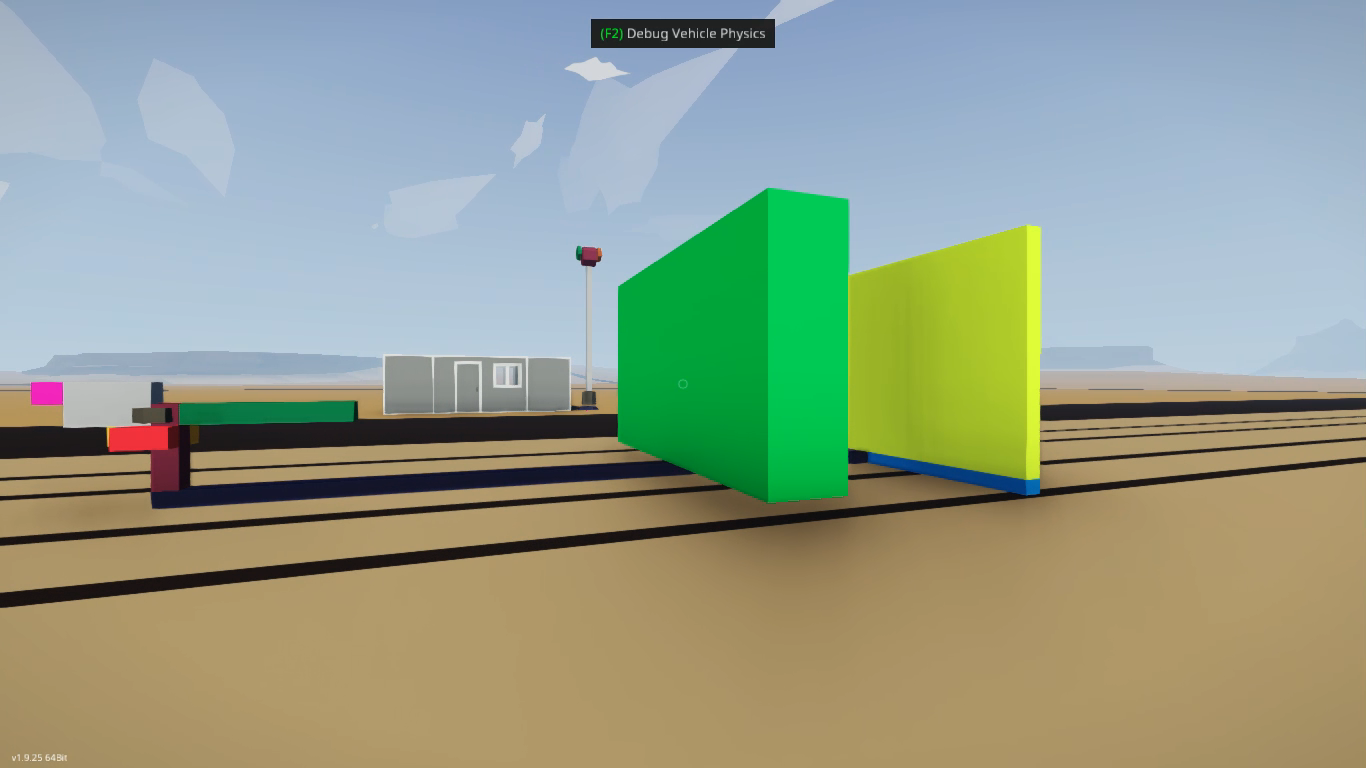
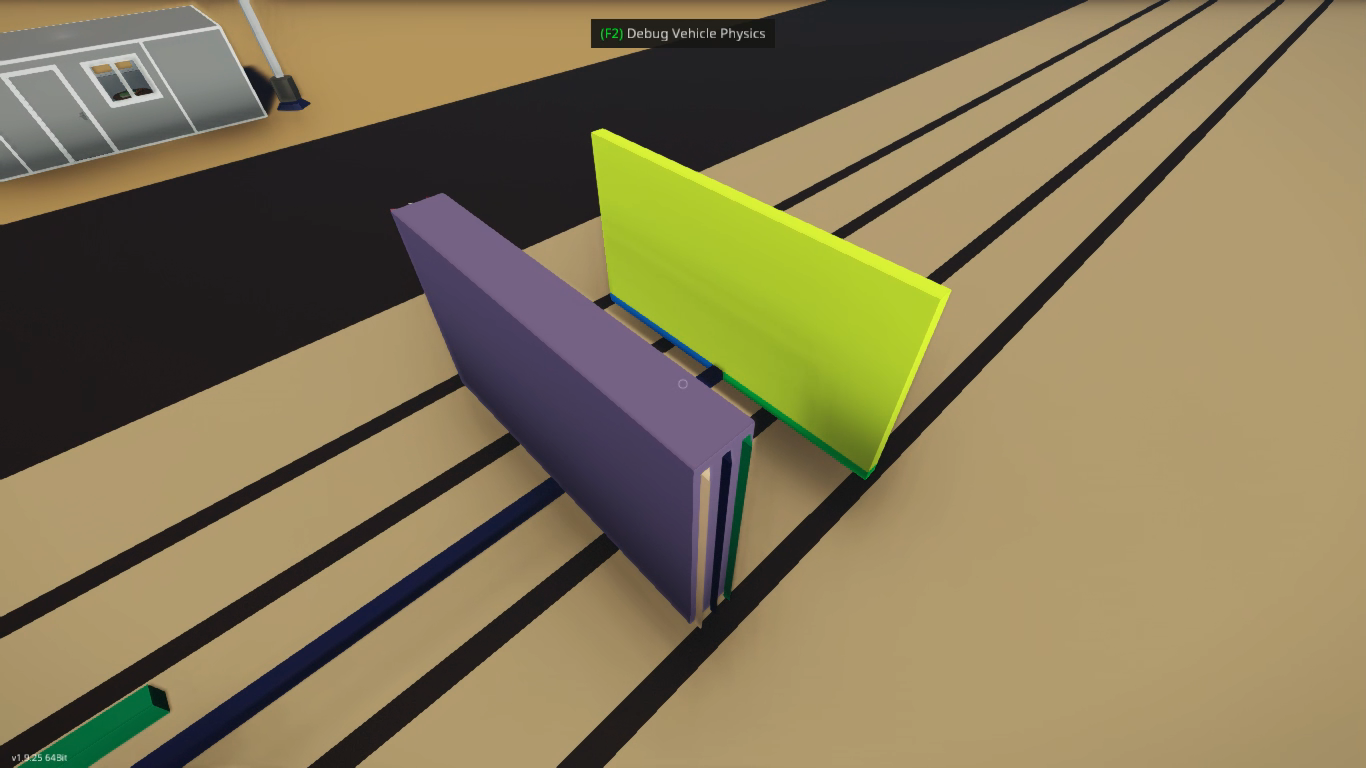
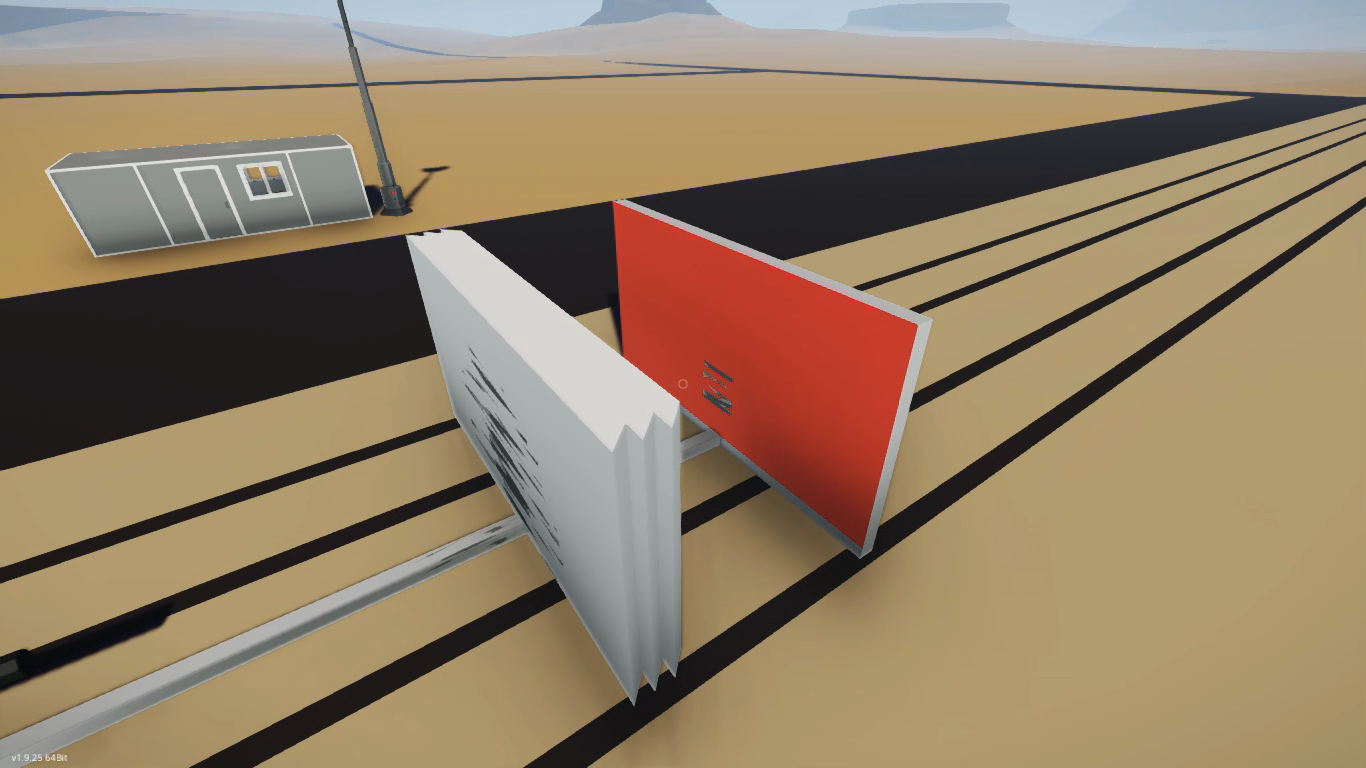
In this part, we’re creating a new kind of armor. We’re building a stand with a control screen displaying the damage caused by a projectile passing through the armor. In front of the screen, there’s an armor plate, and the cannon without extra barrels shoots an armor-piercing projectile.
الآن, let’s construct a wall that’s three blocks thick and position our stand.
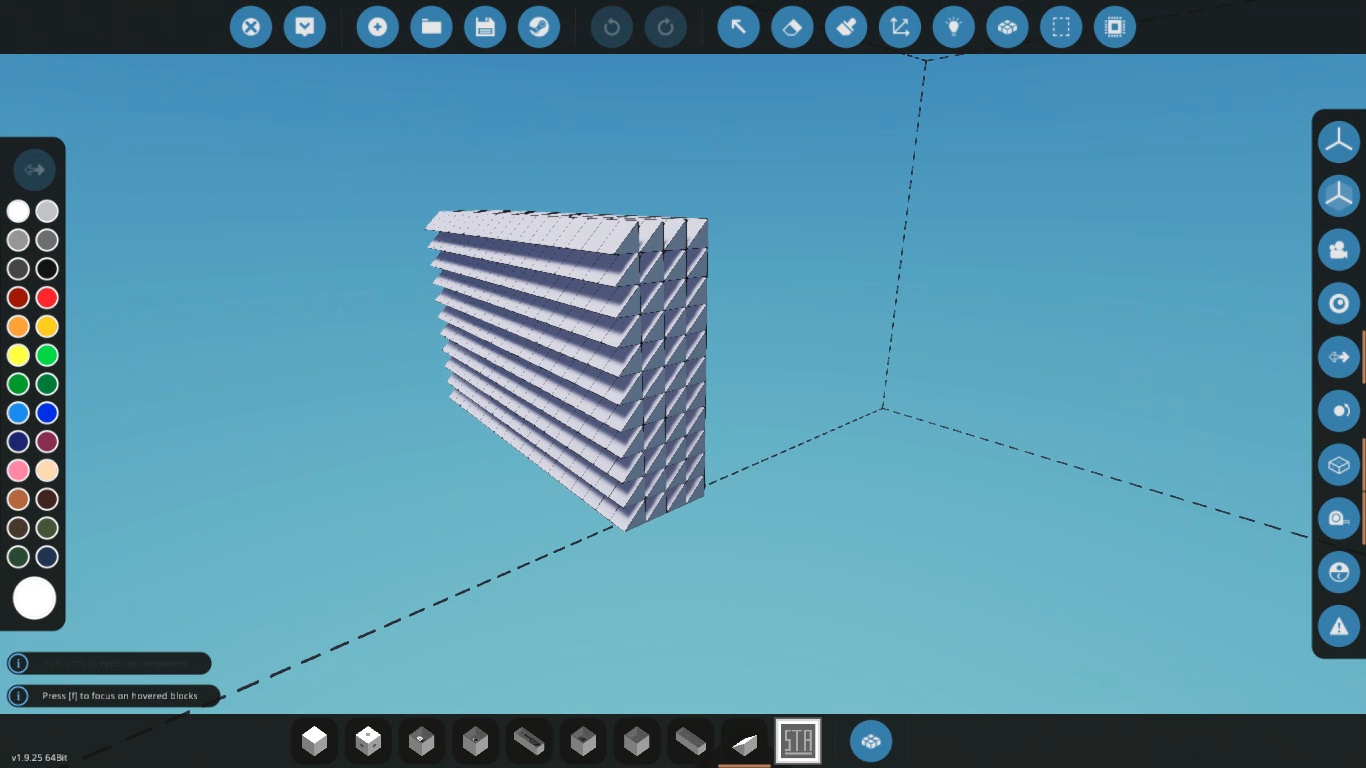
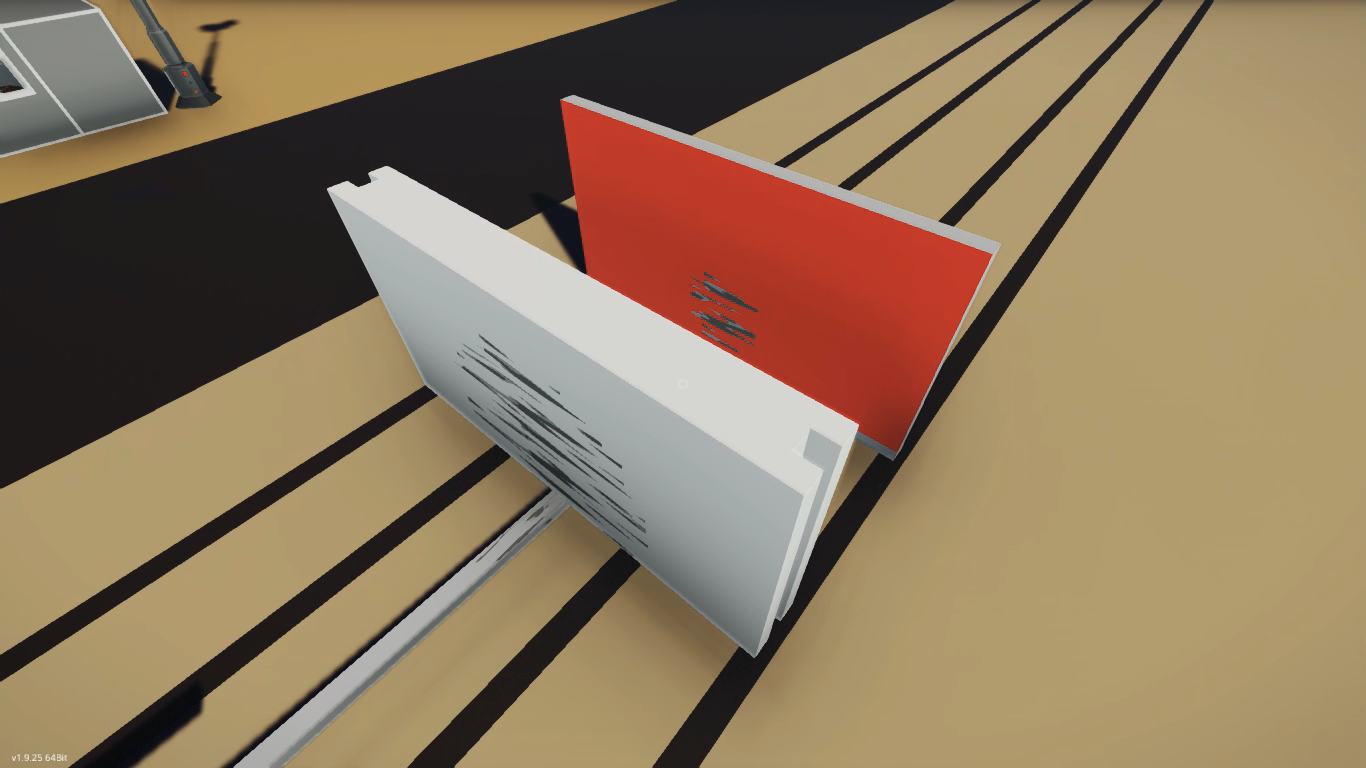
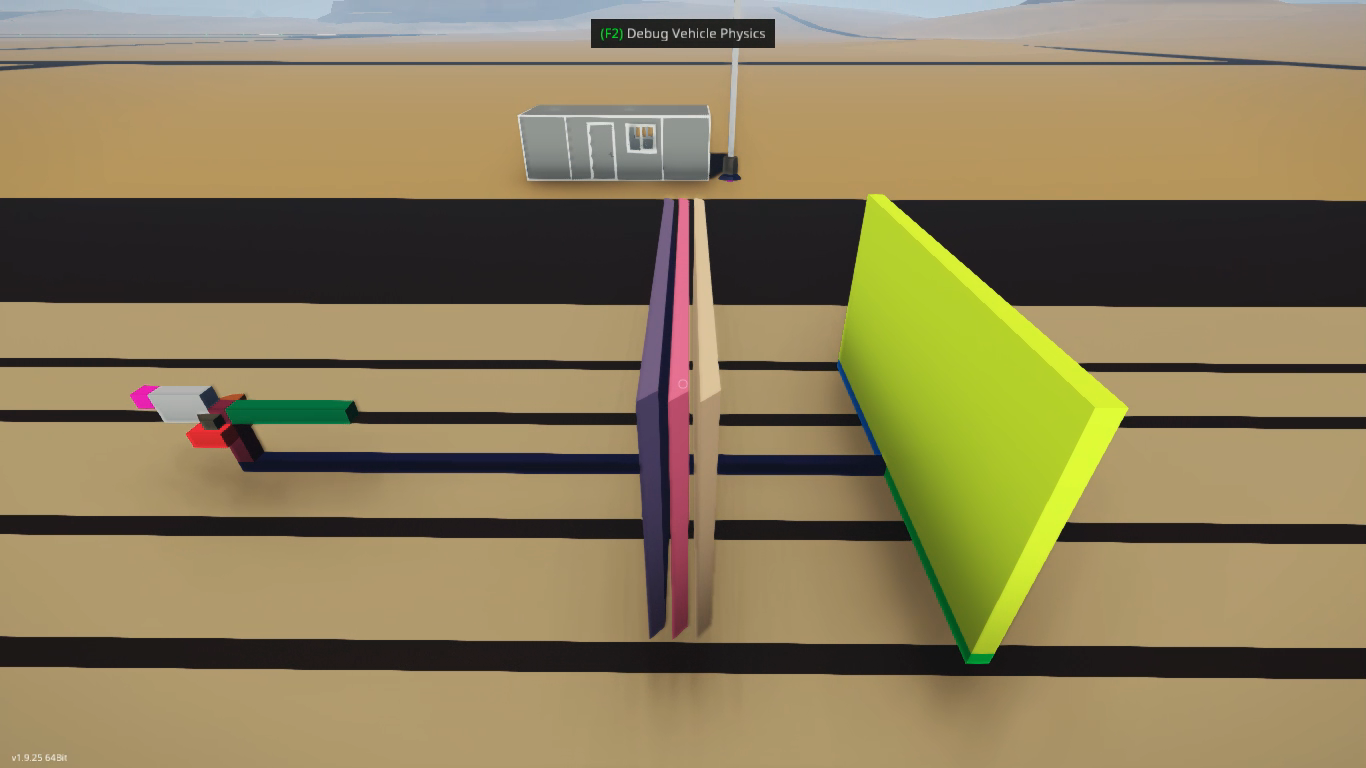
Upon examination, we notice that the plate was easily penetrated. In the F2 mode, it’s apparent that the slab is solid.
Our goal is to divide this slab into distinct layers.
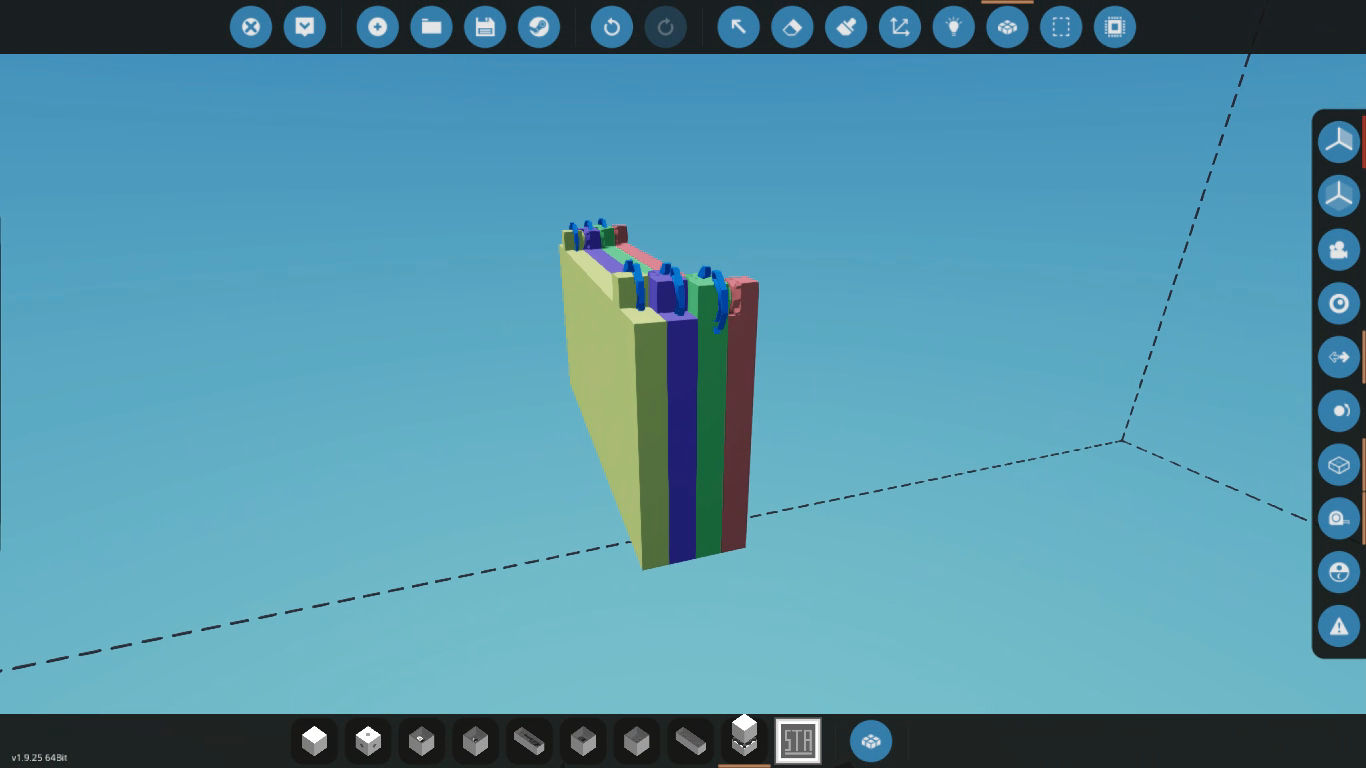
There are various ways to achieve this, such as removing or adding blocks. لكن, I find the most effective method to be placing triangles on the edges of the plate.
This system is somewhat perplexing, and I’m not entirely sure how it operates.
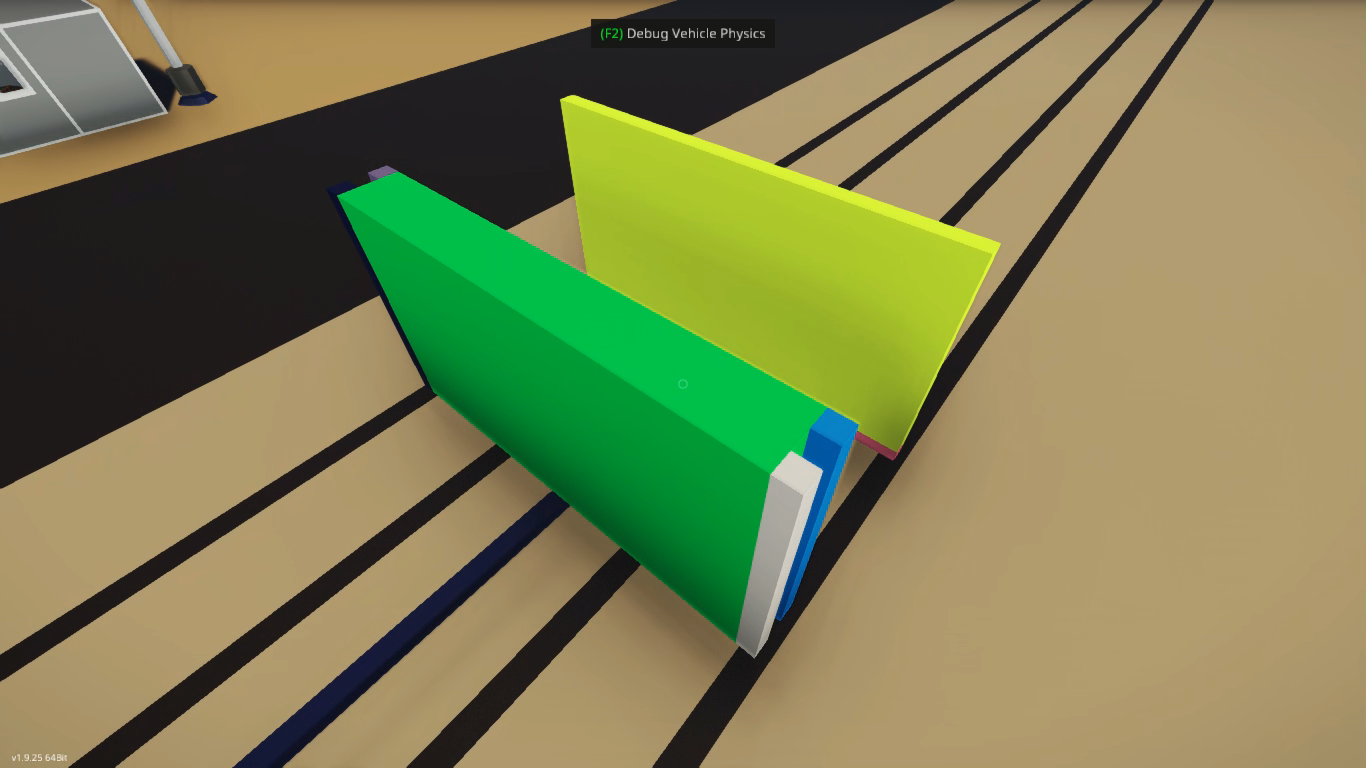
في هذه الحالة, clearing the blocks didn’t prove effective. لذا, let’s enhance the armor by adding triangles on the edges.
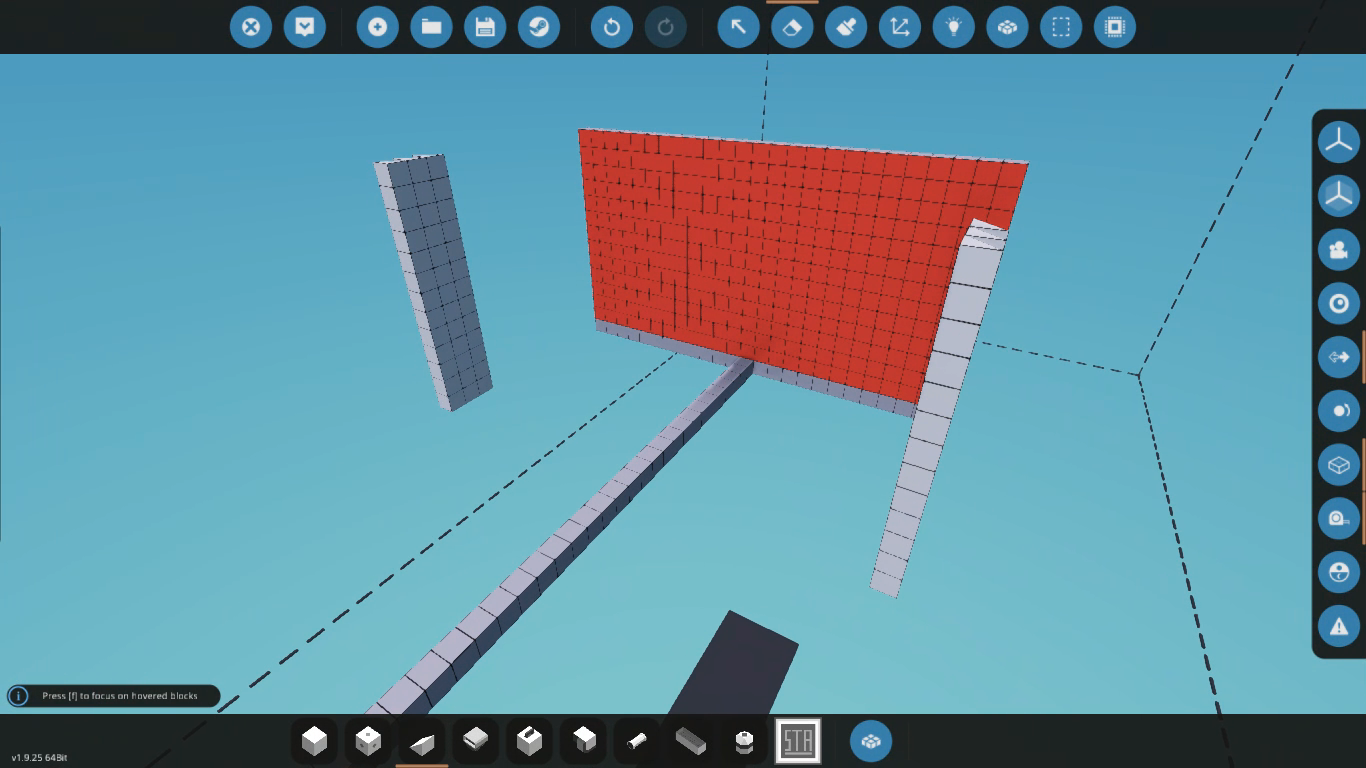
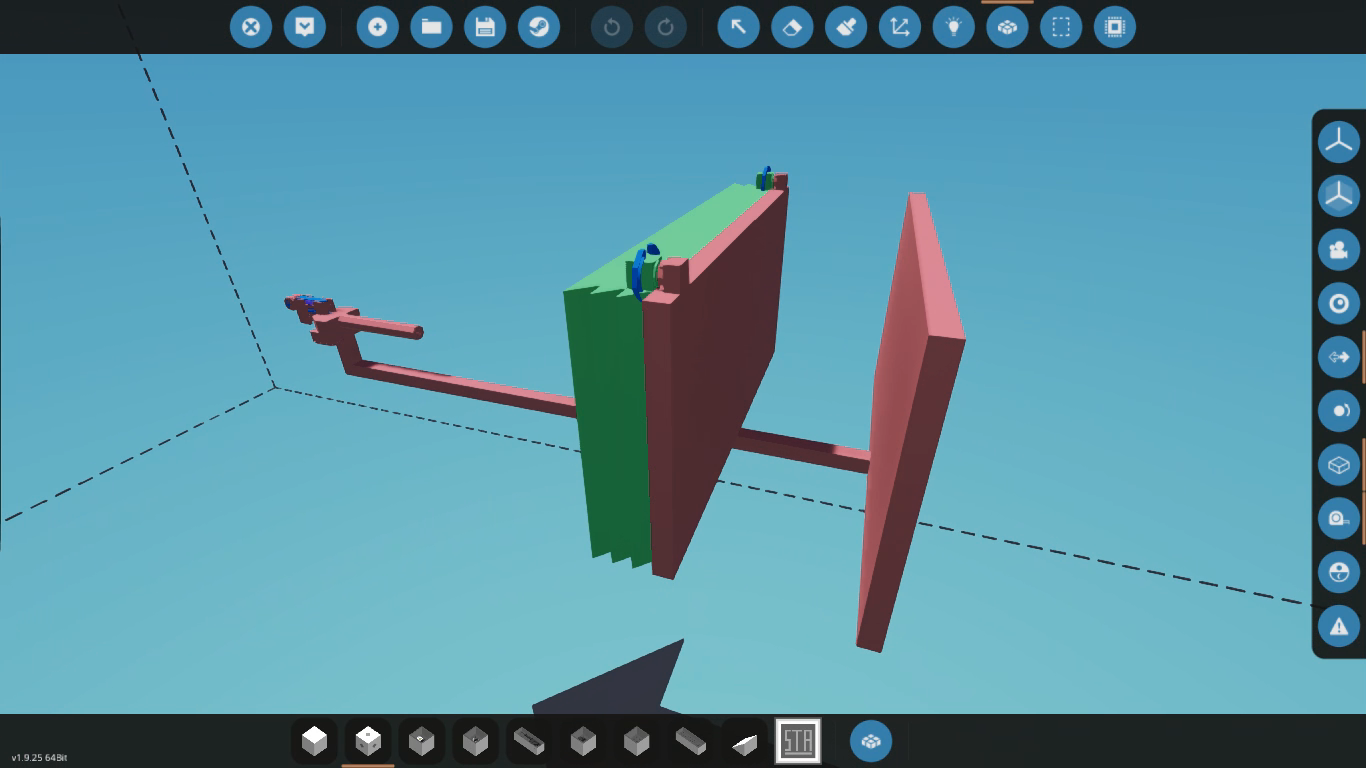
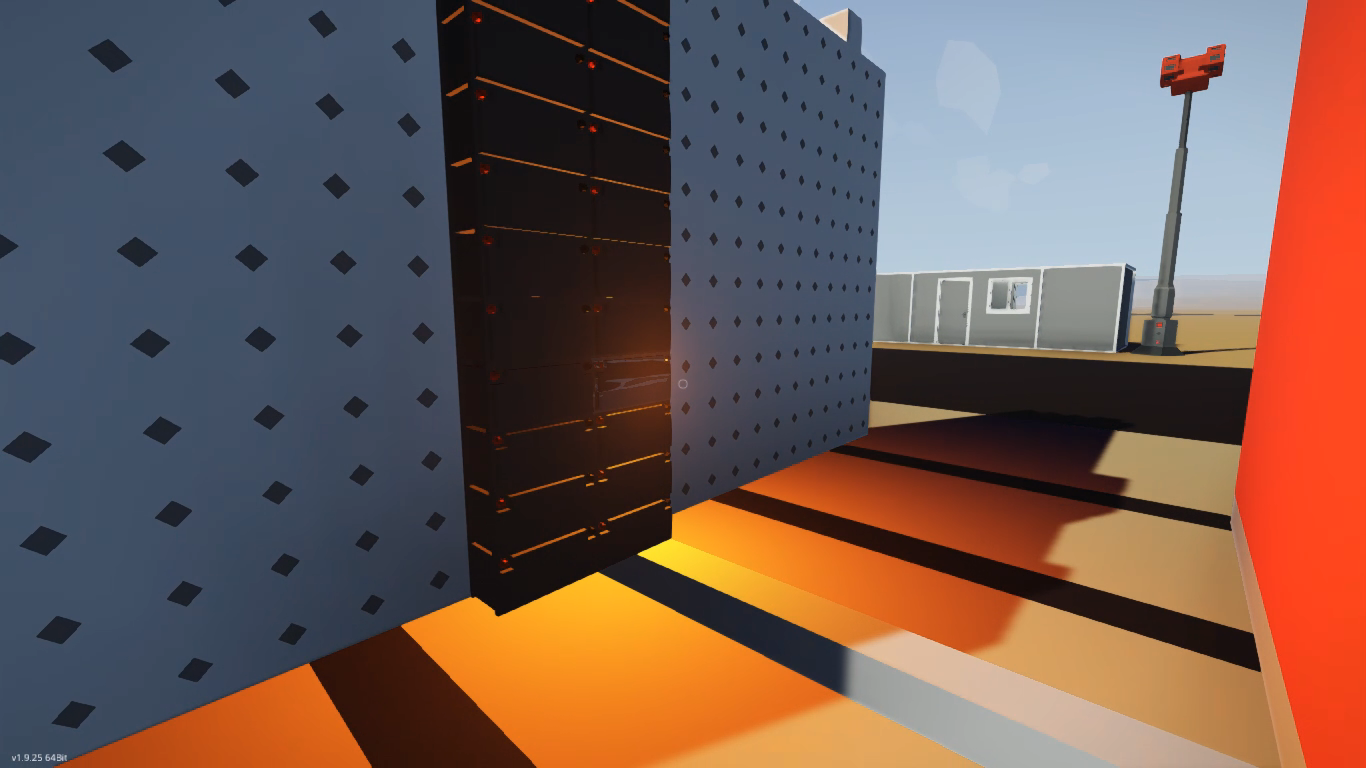
لكن, even with this addition, the plate was easily pierced. Switching to F2 mode reveals that the wall remained solid, and the triangles became separate entities.
To remedy this, we need to cut out the plate itself, leaving triangles on the edges. ثم, we extend the wall from one side with triangles to the other, following the provided illustration. Repeat this process multiple times to make the armor plate closely resemble the previous one.
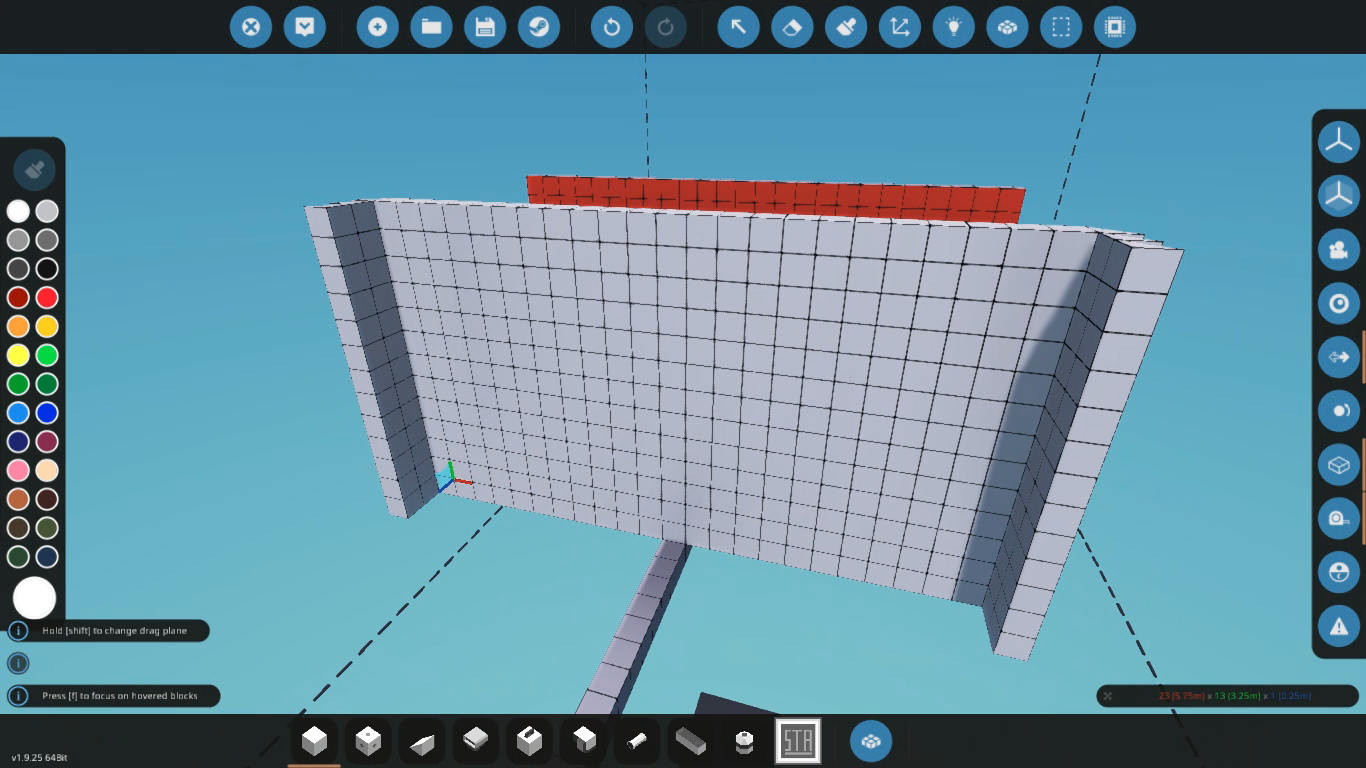
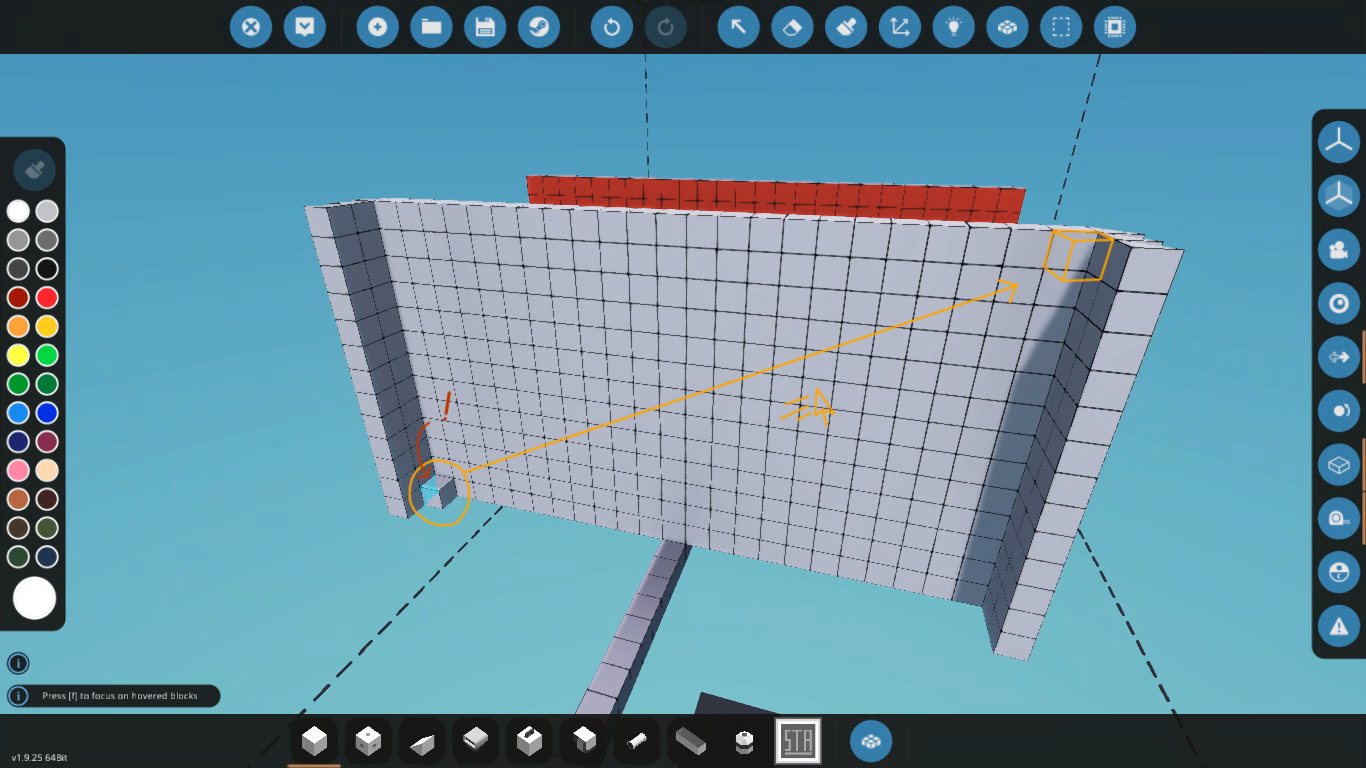
It’s crucial to place the block precisely on the triangle, not on some other block.
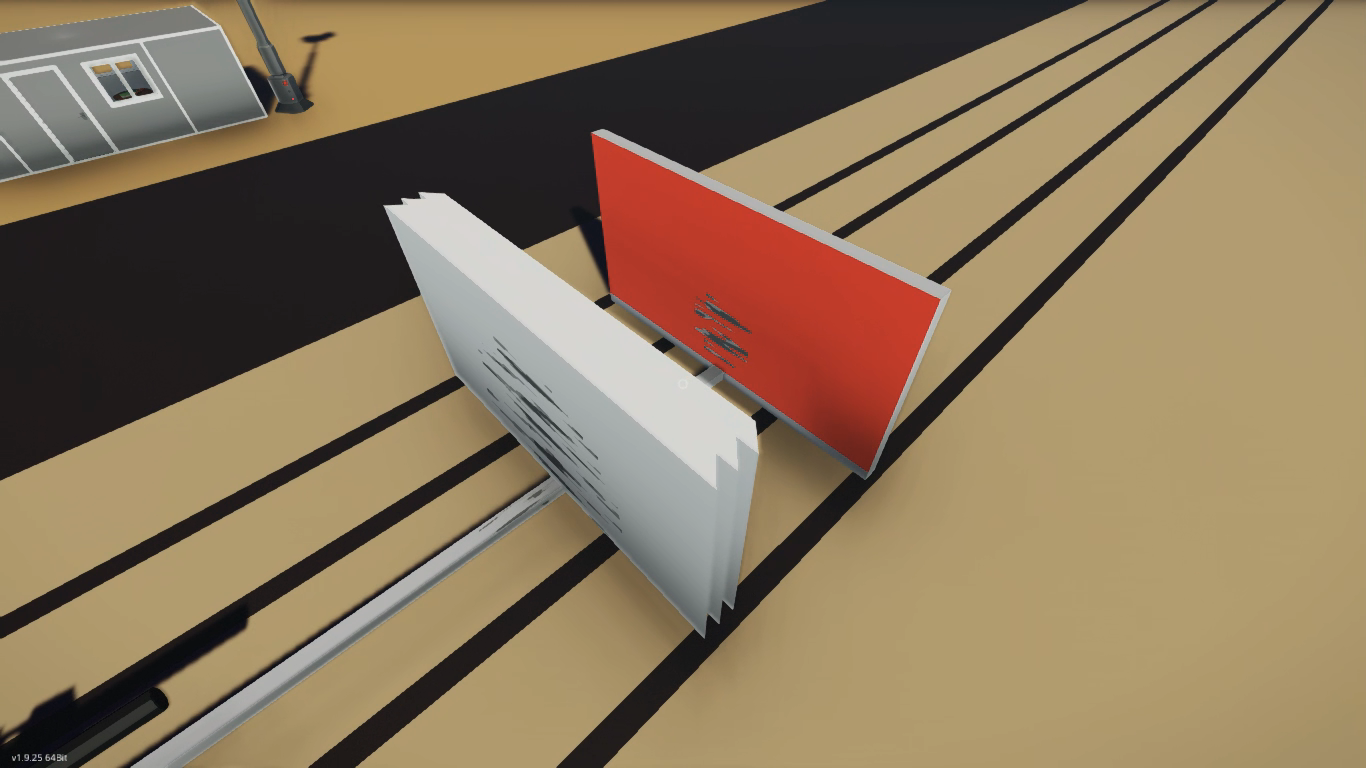
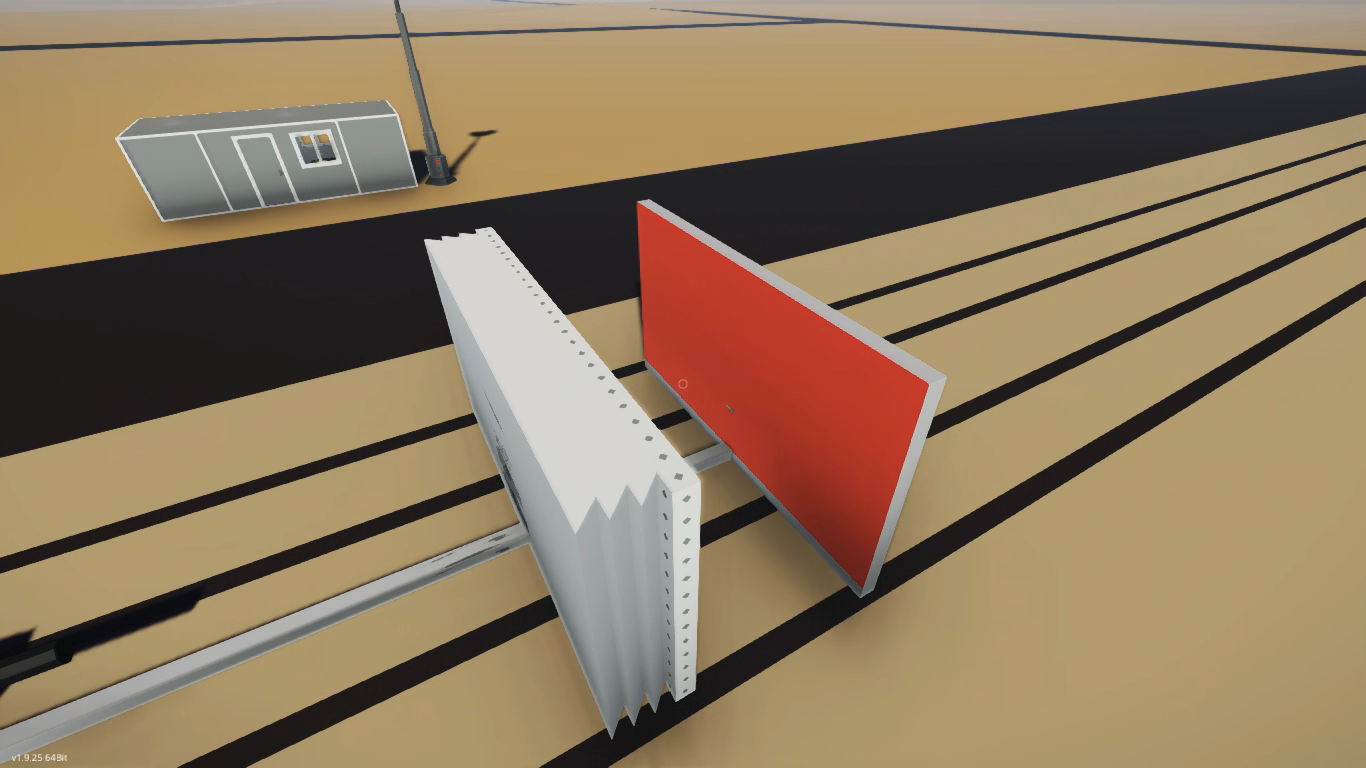
الآن, let’s position our stand for spawning and observe the outcome. كما ترون, it turned out to be miraculous! The control screen shows a reduced affected area. Checking in F2 mode, we can see that we successfully divided the armor plate into three separate layers.
الآن, the most crucial part is complete!
After conducting experiments, I discovered that an outer layer of blocks acting as a separate body minimizes damage to the control plate. لكن, the damage to the armor itself remains high. This approach is suitable for large structures like ships, where you can create a one-block gap between the armor and the payload inside the ship.
بدلاً عن ذلك, replacing this outer layer with heavy blocks transforms them into an anti-fragment pad, absorbing most of the damage. The number of layers is more crucial than their thickness.
This armor with a heavy block layer is excellent for various equipment, such as tanks. Imagine this as tank armor with important components behind it, like batteries. I placed a bunch of batteries on the inner plate to test how many would be affected.
As seen, only one battery is affected. While this armor doesn’t completely eliminate all damage, it significantly reduces it, leaving only a small hole.
After a lot of information, I’ve shared everything I know about the armor I invented. Feel free to use and experiment with it. It would be fantastic if someone comes up with an even better armor design!
هذا كل ما نشاركه اليوم من أجل هذا العواصف: البناء والإنقاذ مرشد. تم إنشاء هذا الدليل وكتابته في الأصل بواسطة AVUMP. في حالة فشلنا في تحديث هذا الدليل, يمكنك العثور على آخر تحديث باتباع هذا وصلة.