
- عنوان: Sprocket
- تاريخ الافراج عنه:
- المطور:
- الناشر:
Information about Sprocket is still incomplete. الرجاء مساعدتنا في ملء تفاصيل اللعبة باستخدام هذا نموذج الاتصال.
Add mortise and tenon structure to your tank’s armor to show its thickness more intuitively.
Modeling part and effect part
The thickness of armor in the game is not visible, 5mm and 500mm look the same. This tutorial shows a simple way to add mortise and tenon structures.
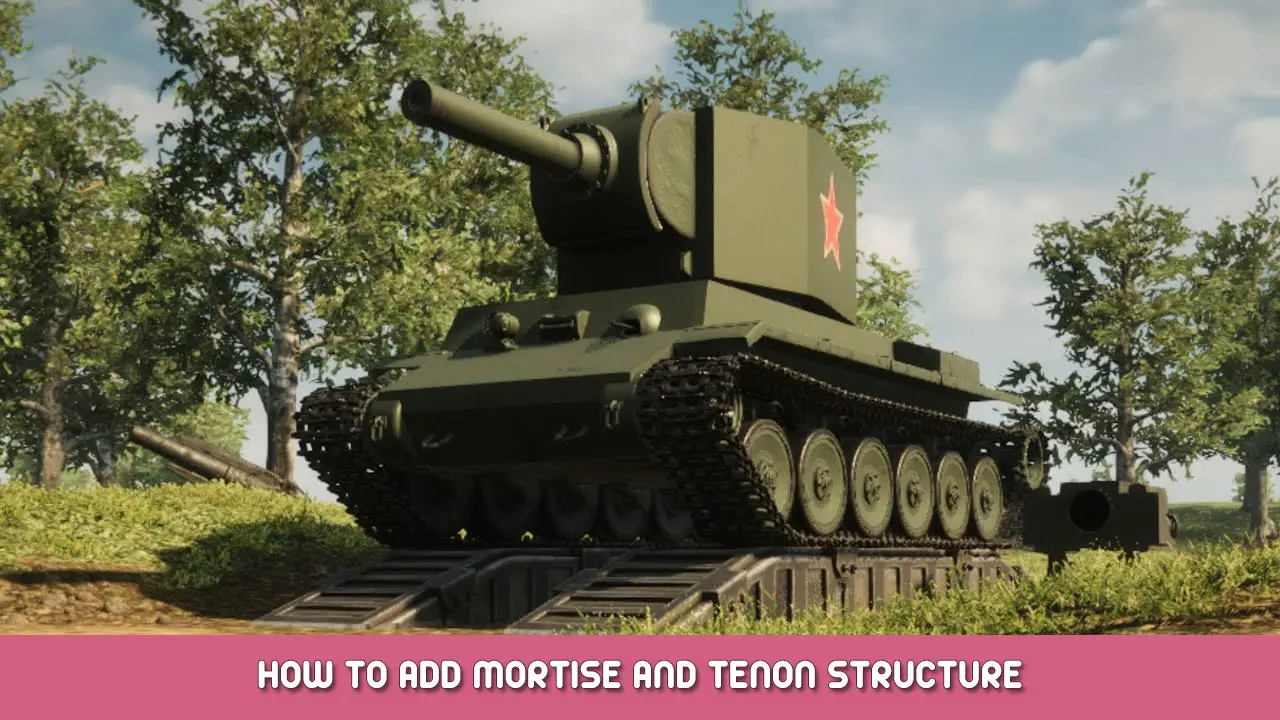
This is the final effect.
Before start, تأكد
Edit Option/Mirroris on.
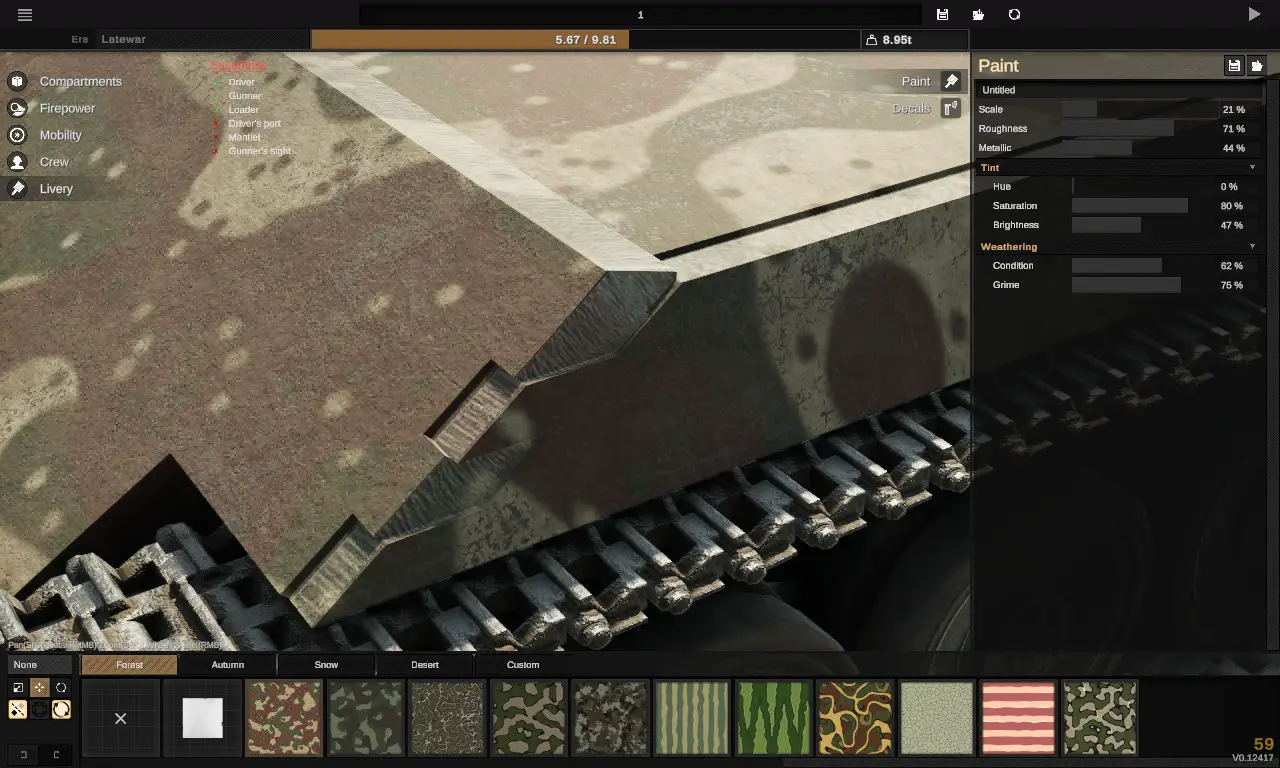
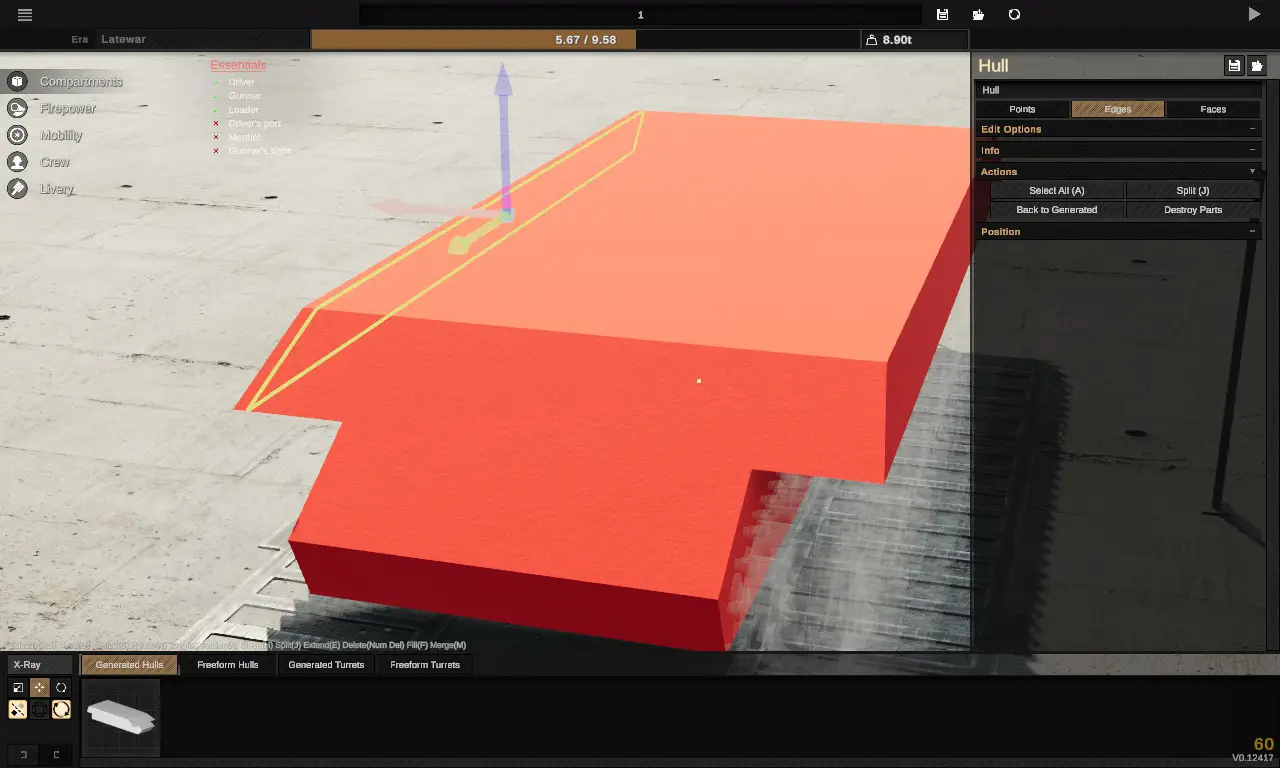
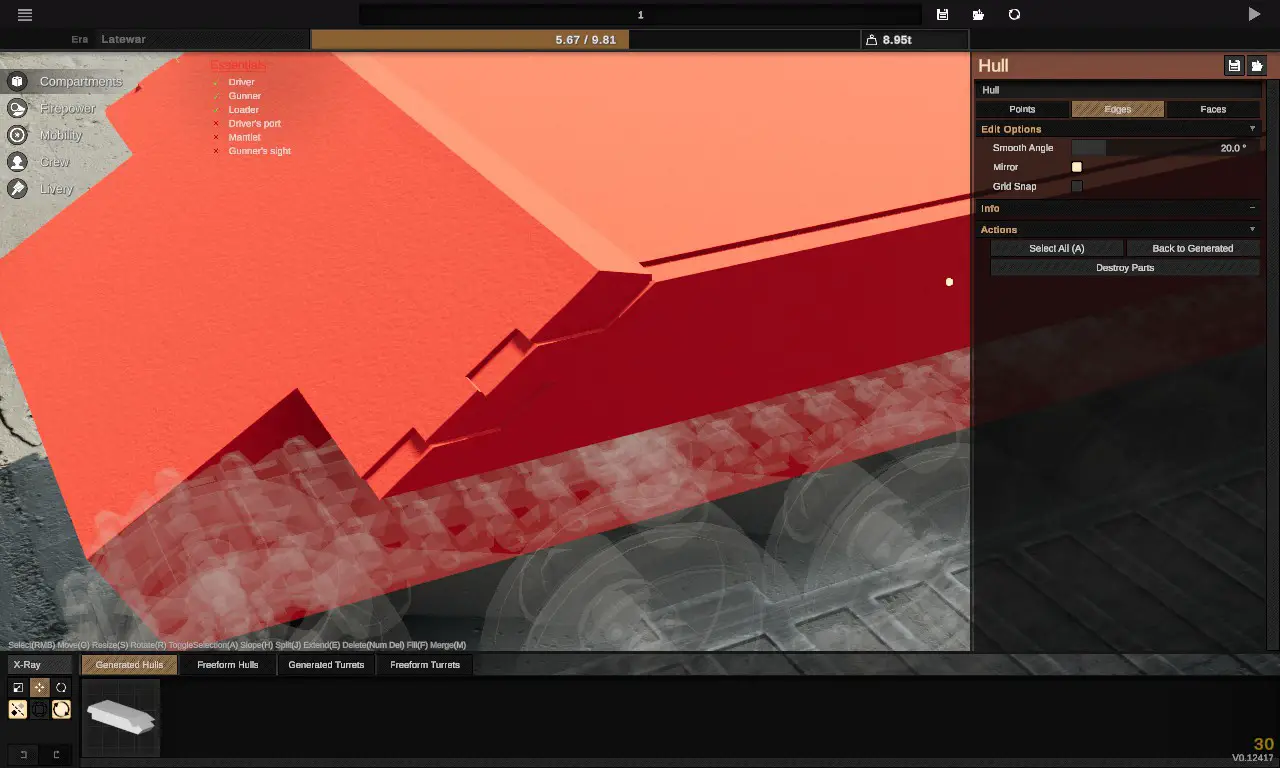
This is the default initial hull in the game, first set to free mode.

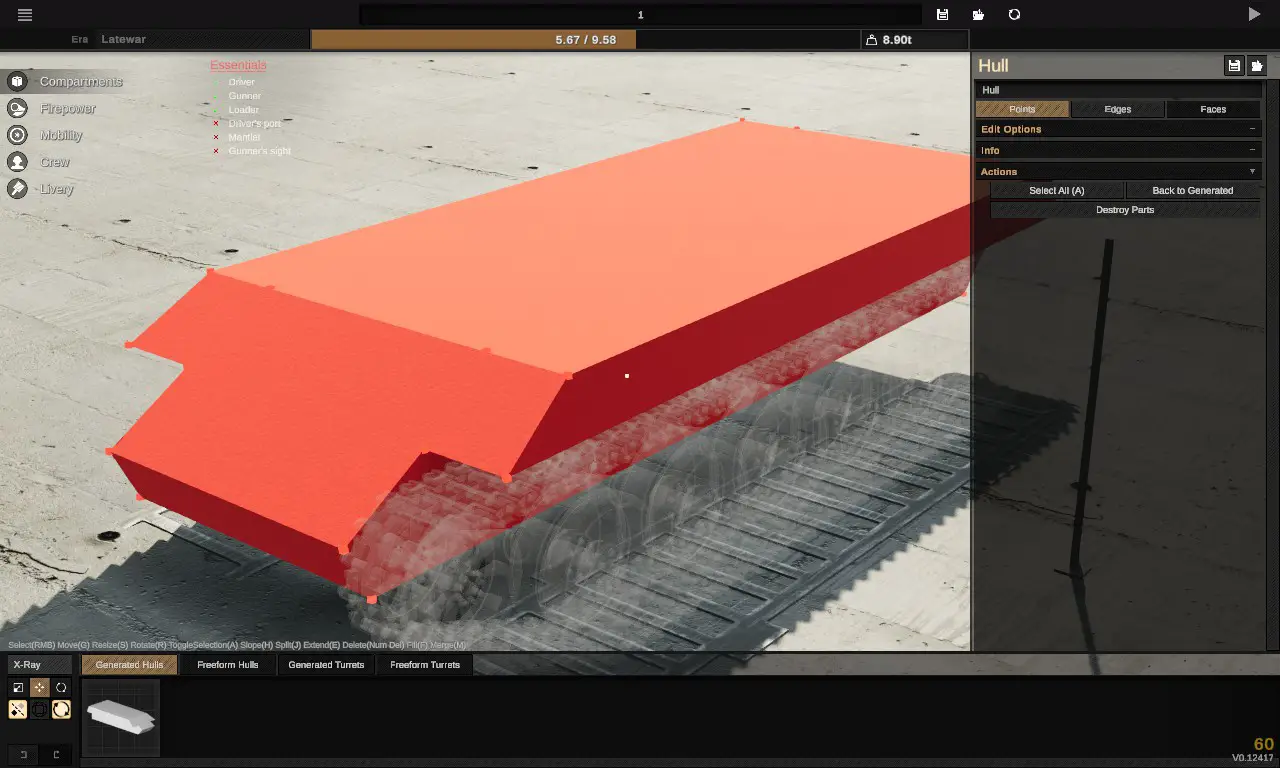
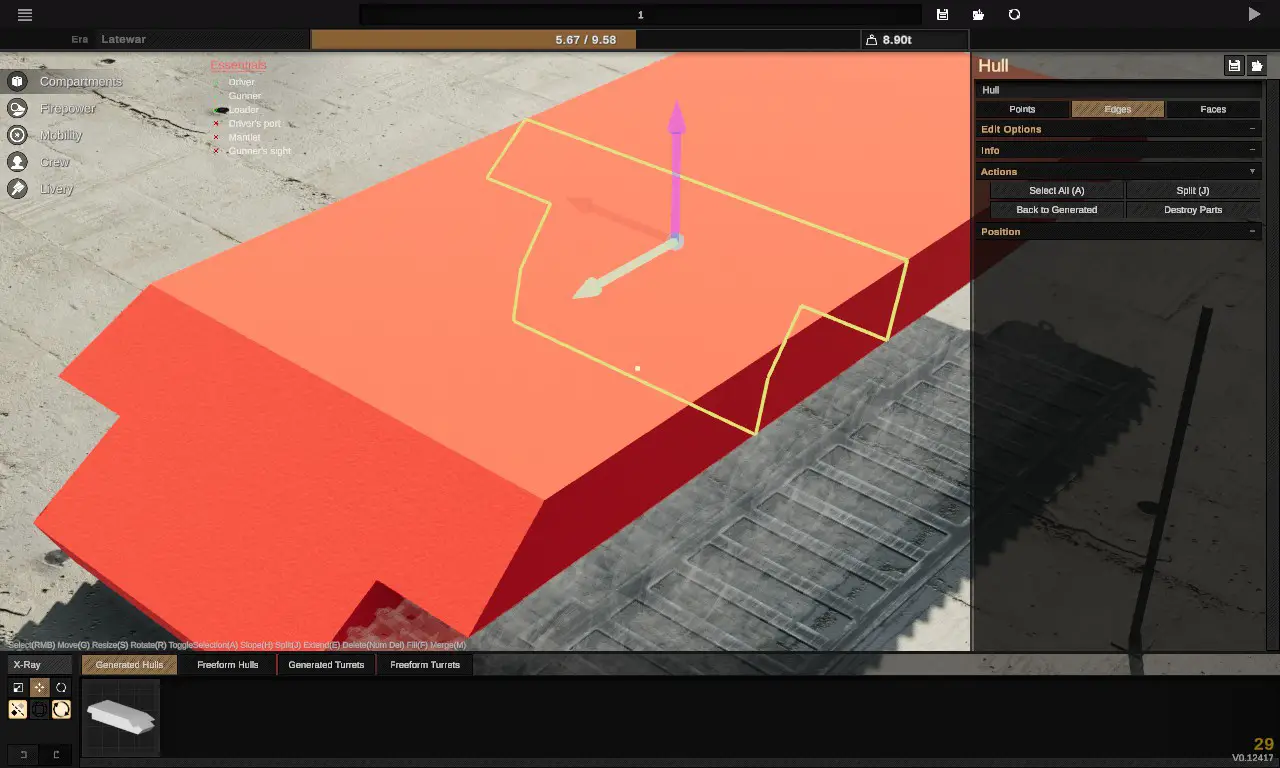
select this edge and press split button(or J)

Do the same thing in the other side.
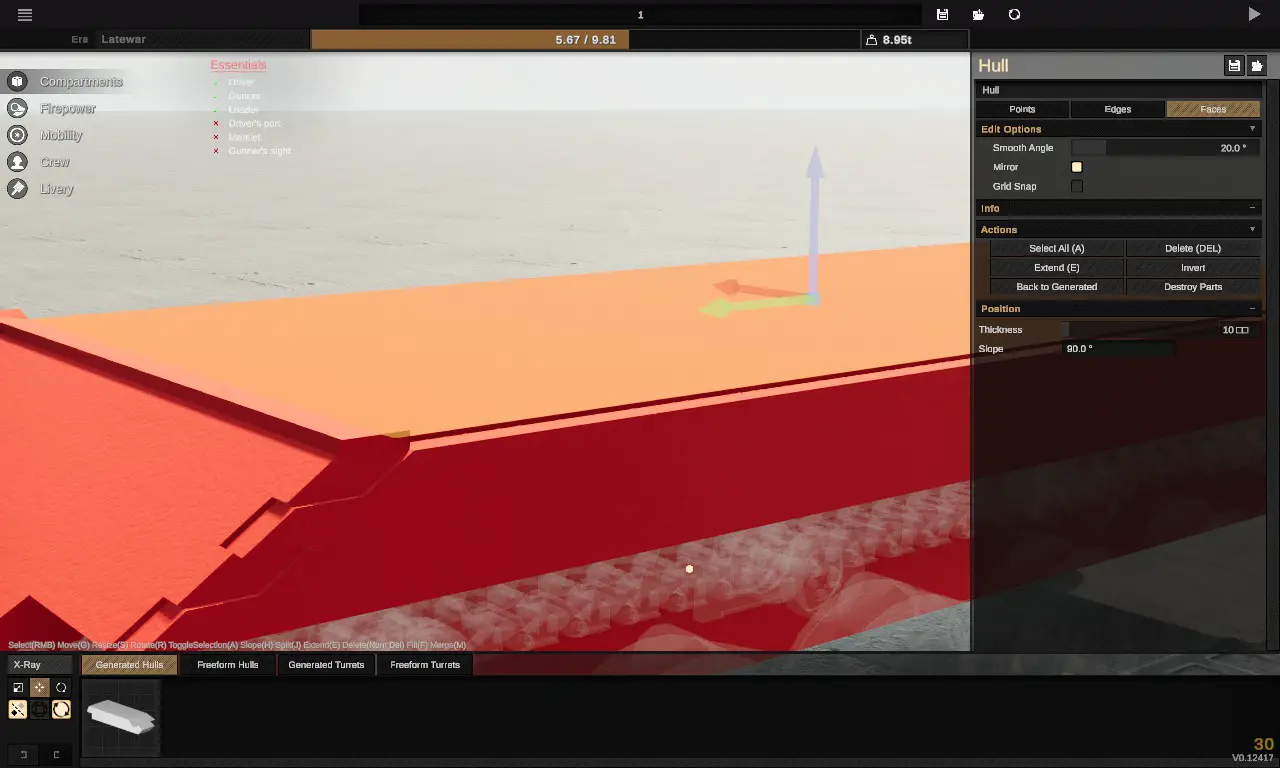
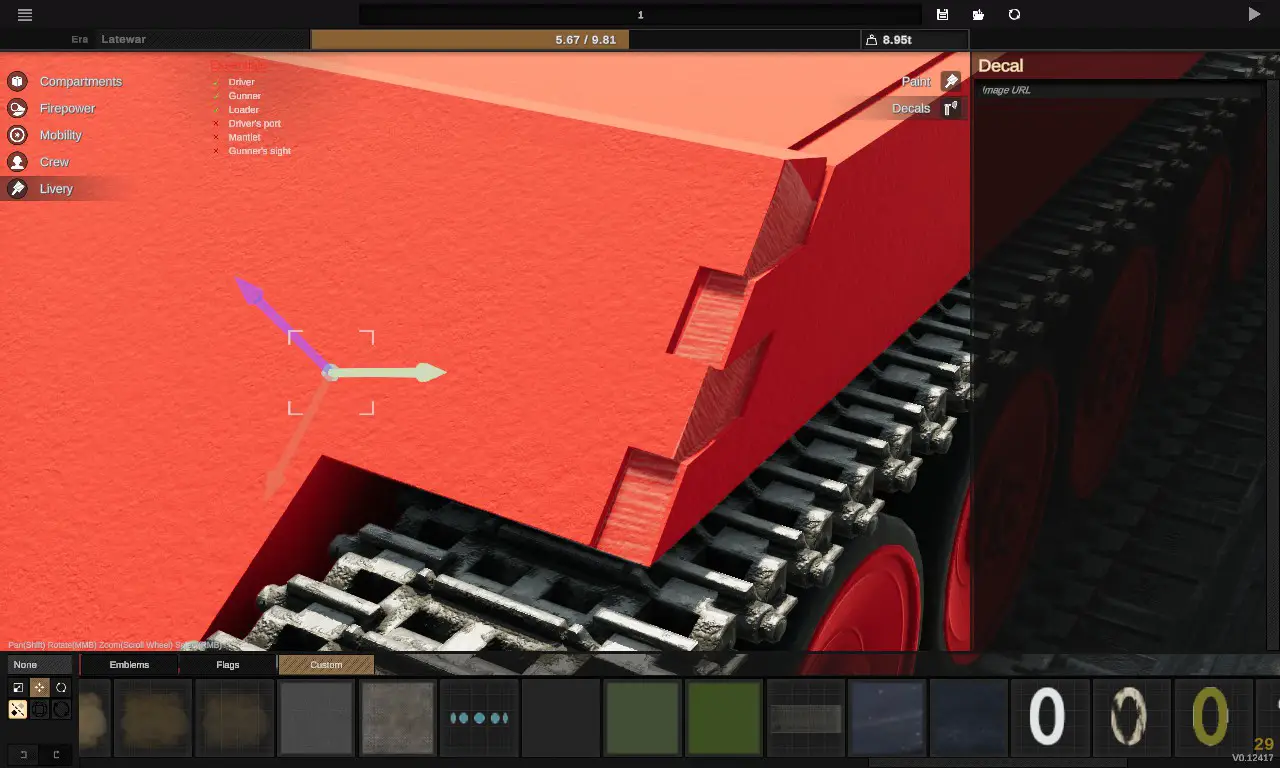
Drag the red arrow.
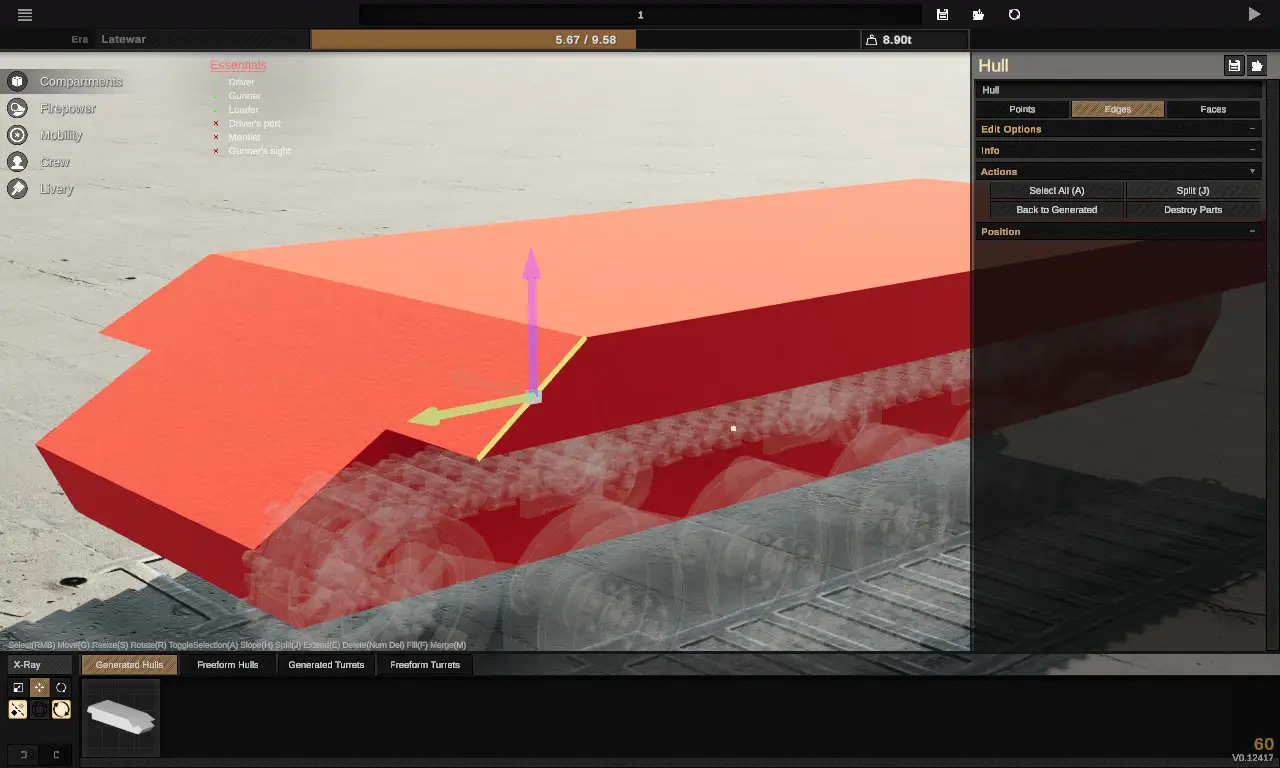
select this edge and split three times.
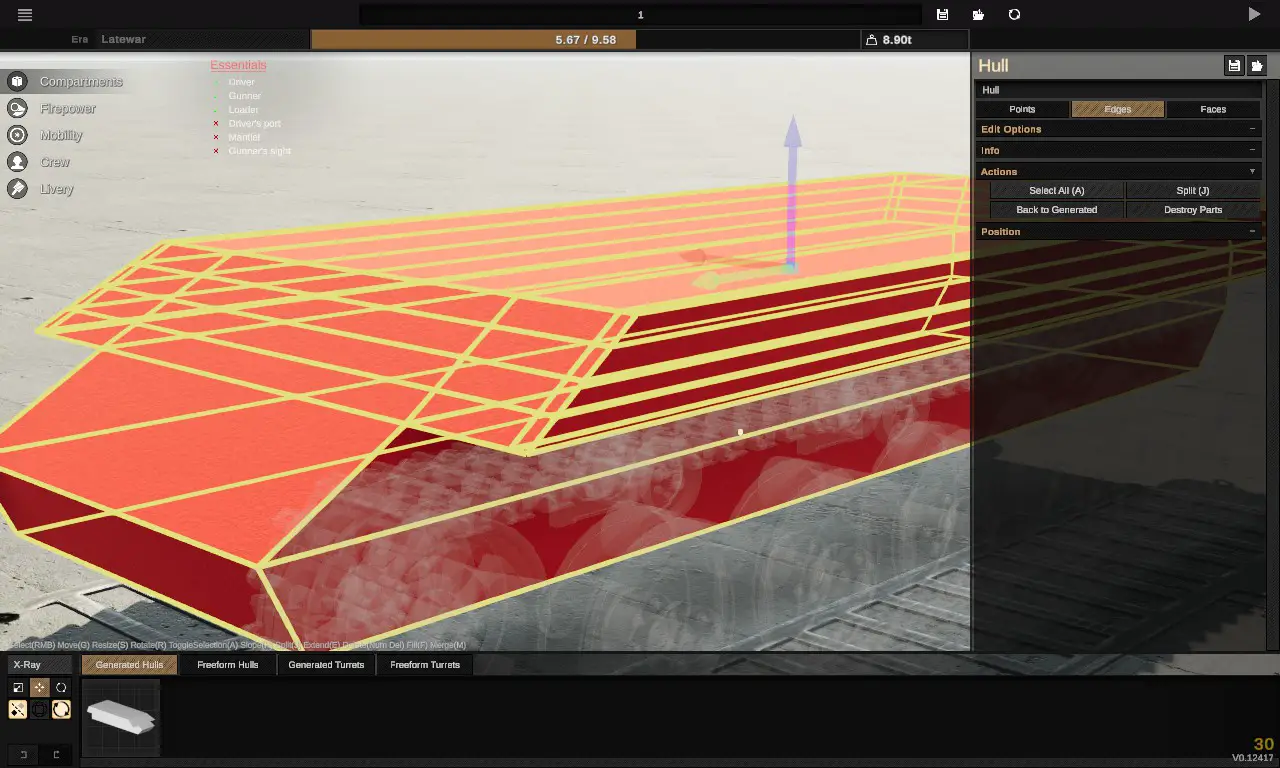
اضغط (or actions/select all)to view all edge. It shows this effect.
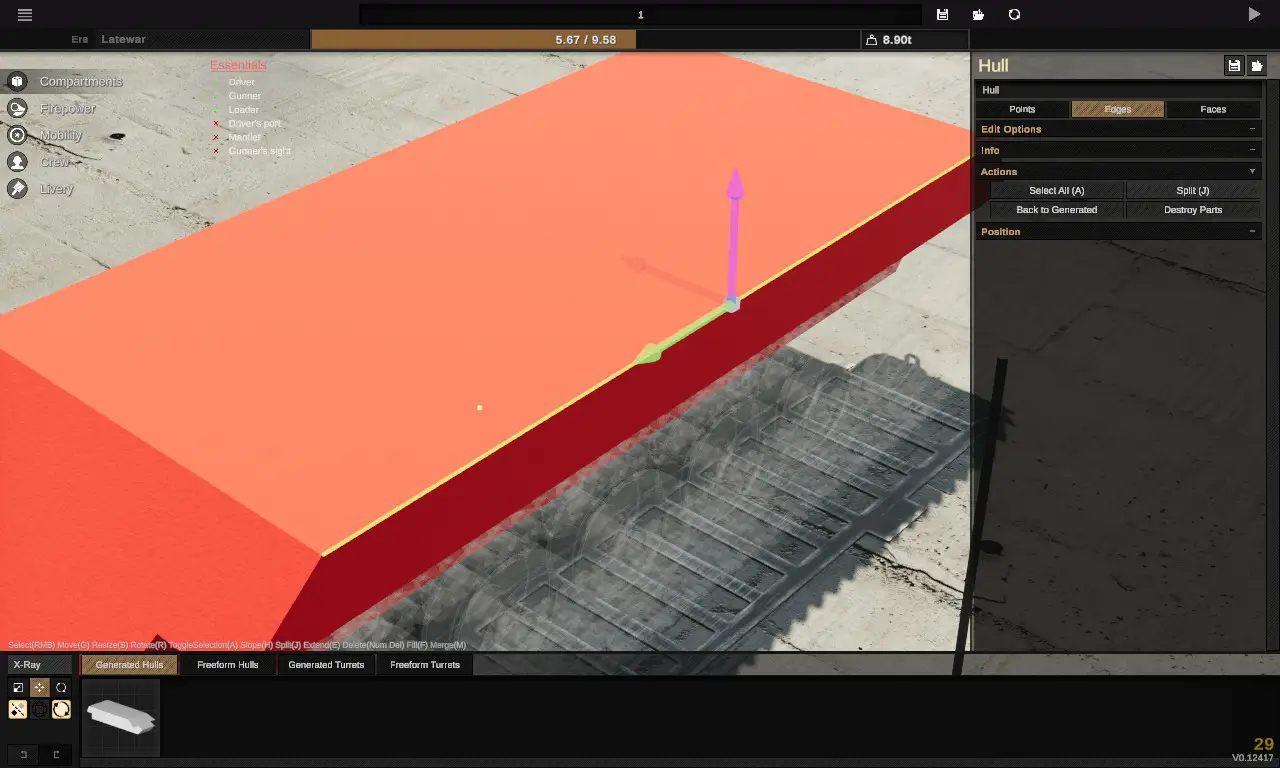
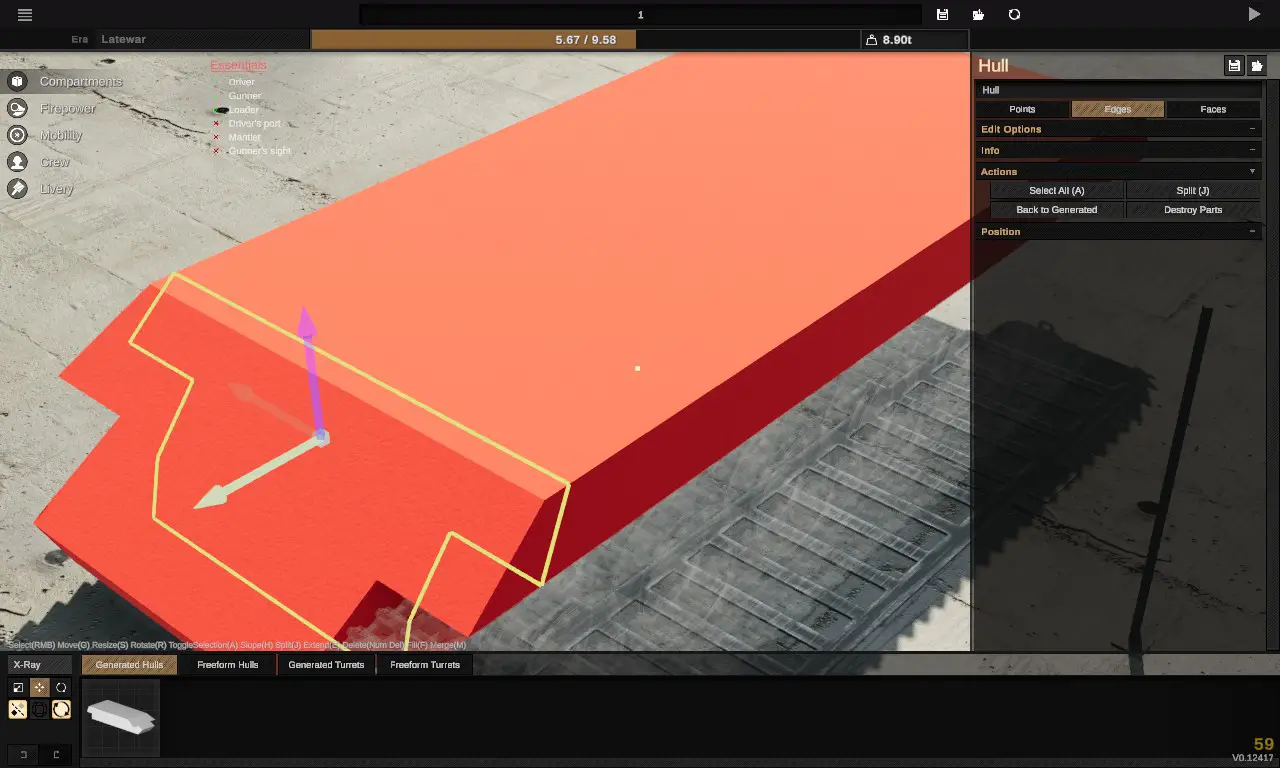
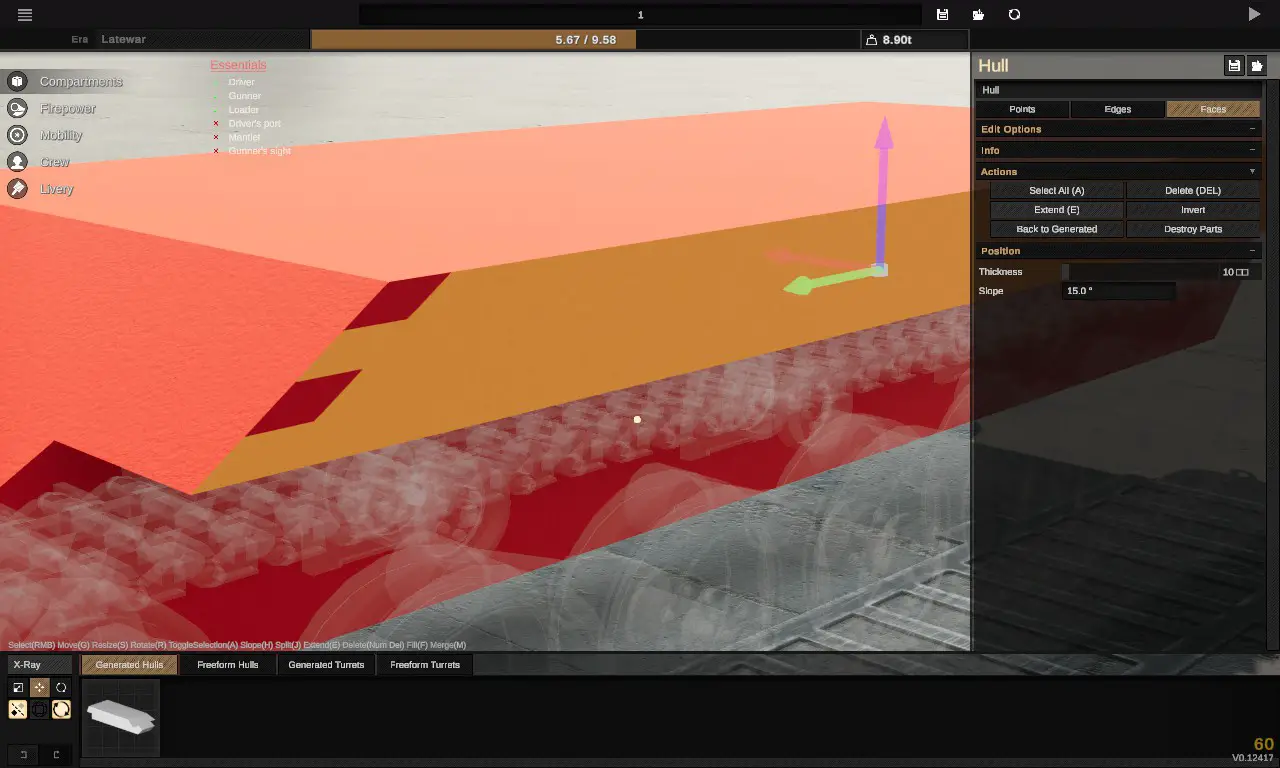
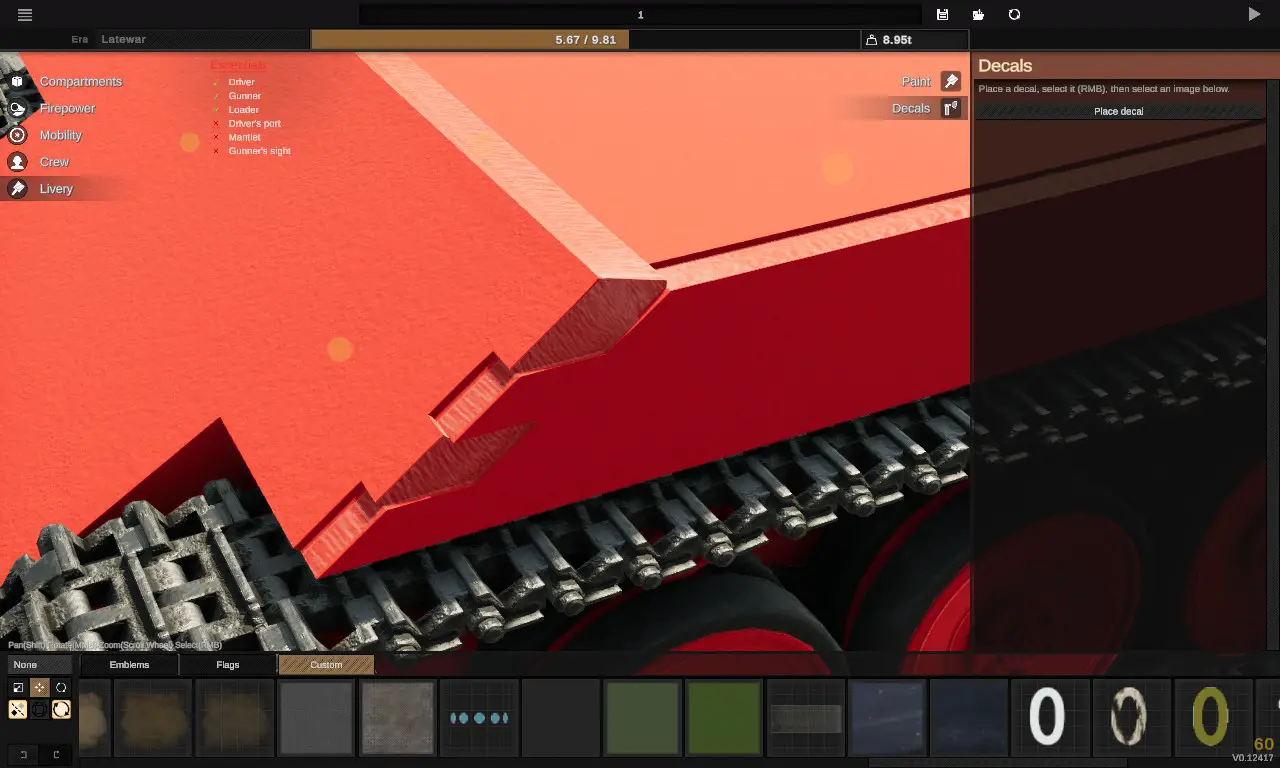
Split and drag the green arrow.The distance between the uppermost edge and the front determines how thick the armor looks
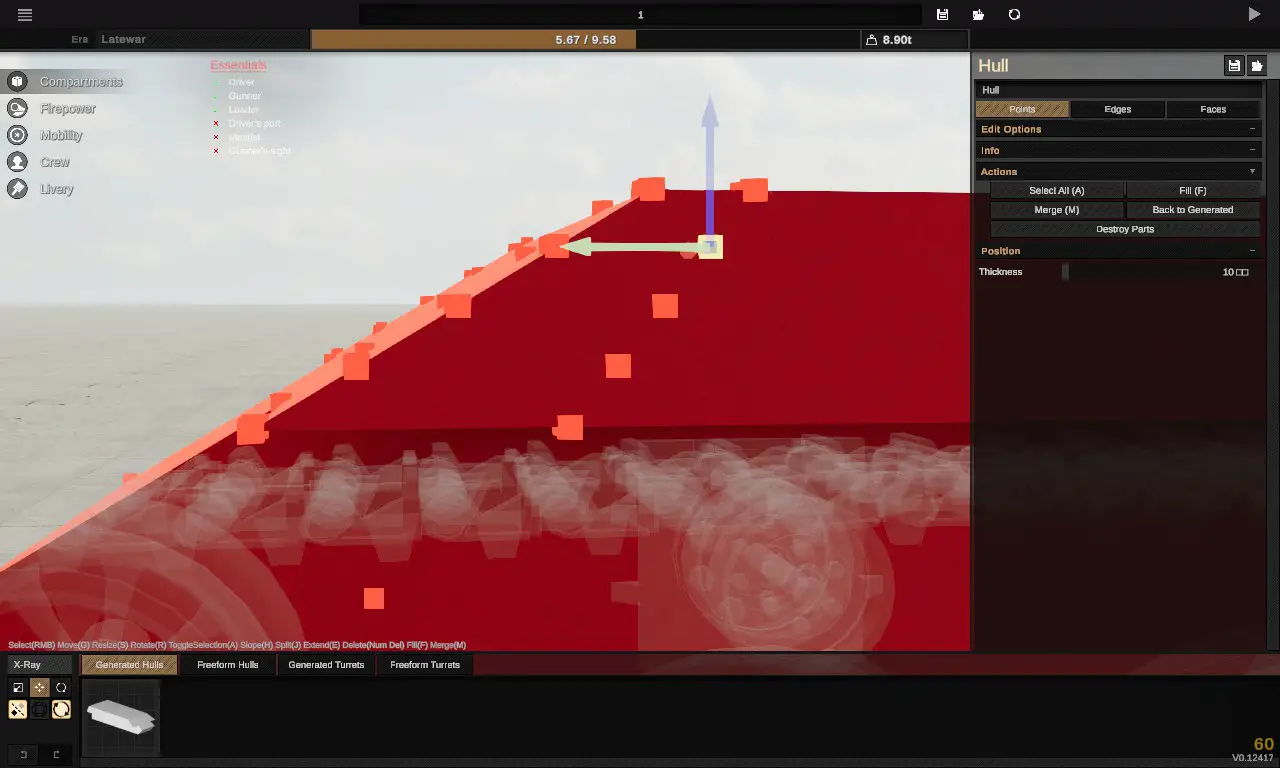
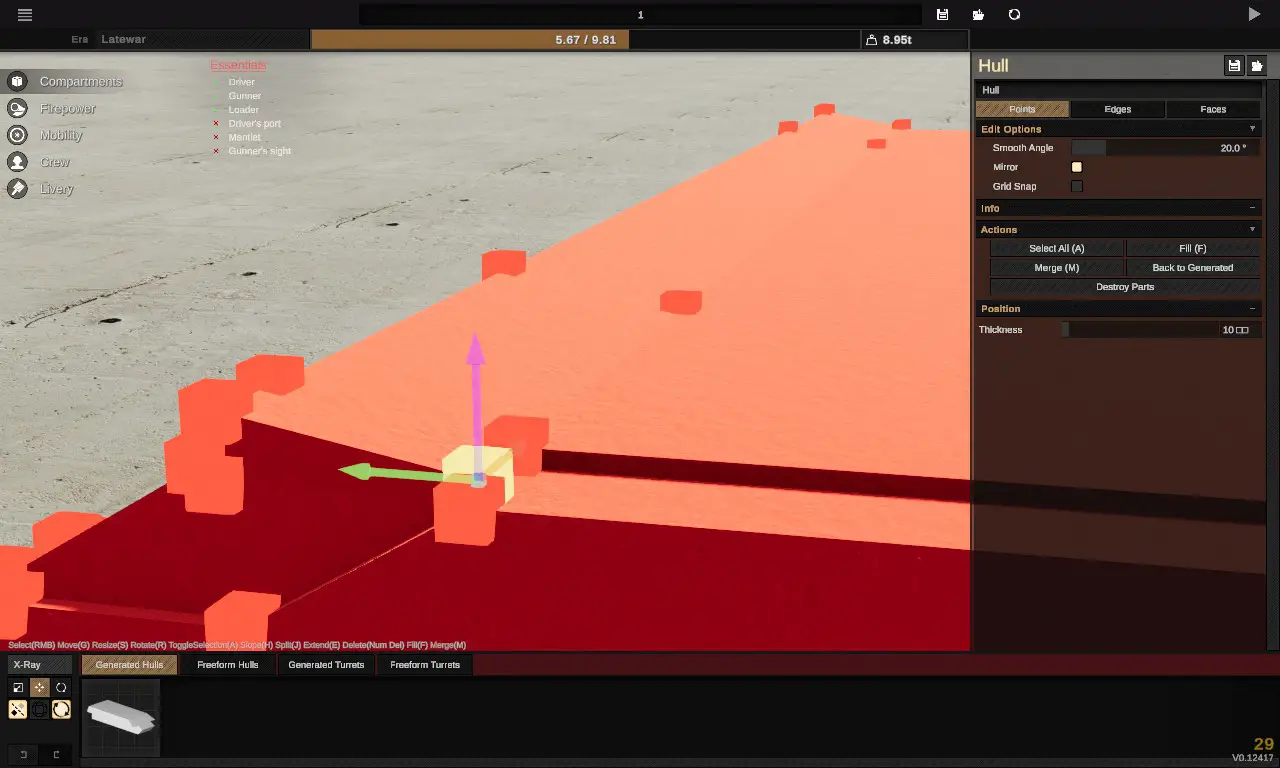
يختار
نقاط. Set these points parallel.
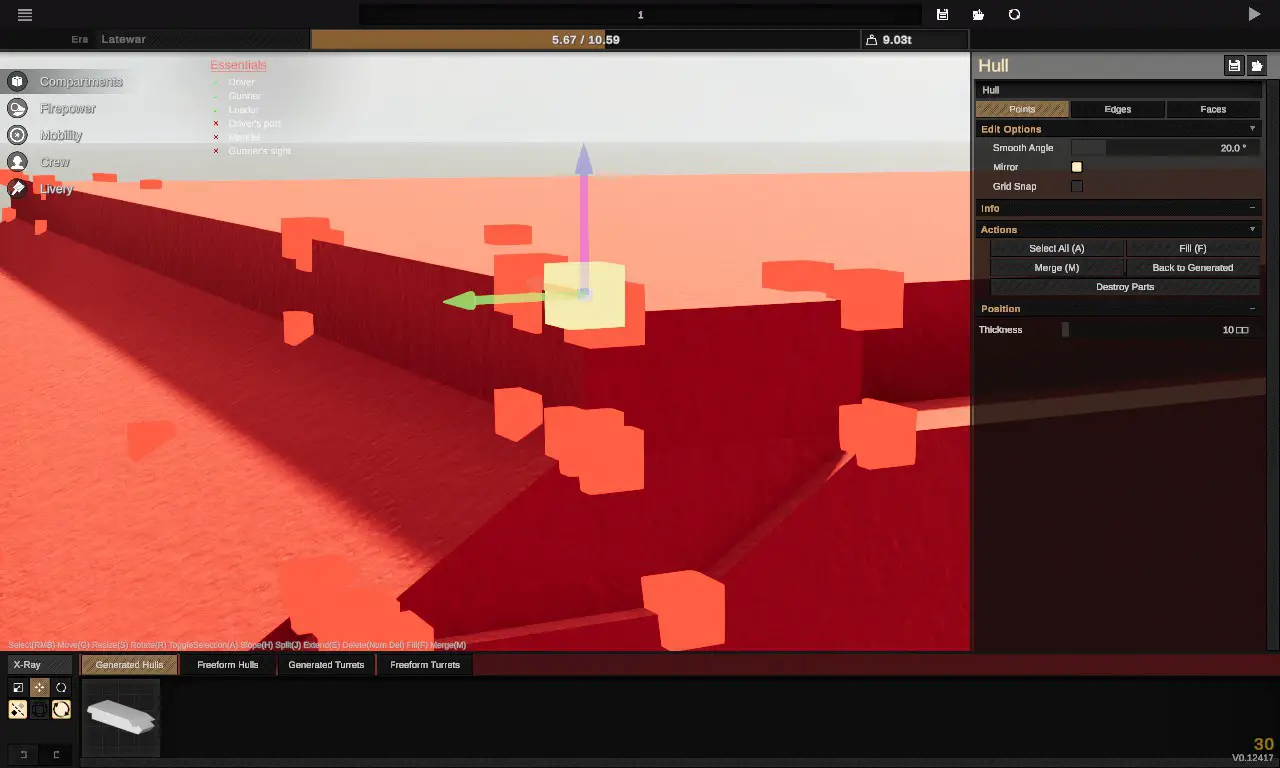
يختار
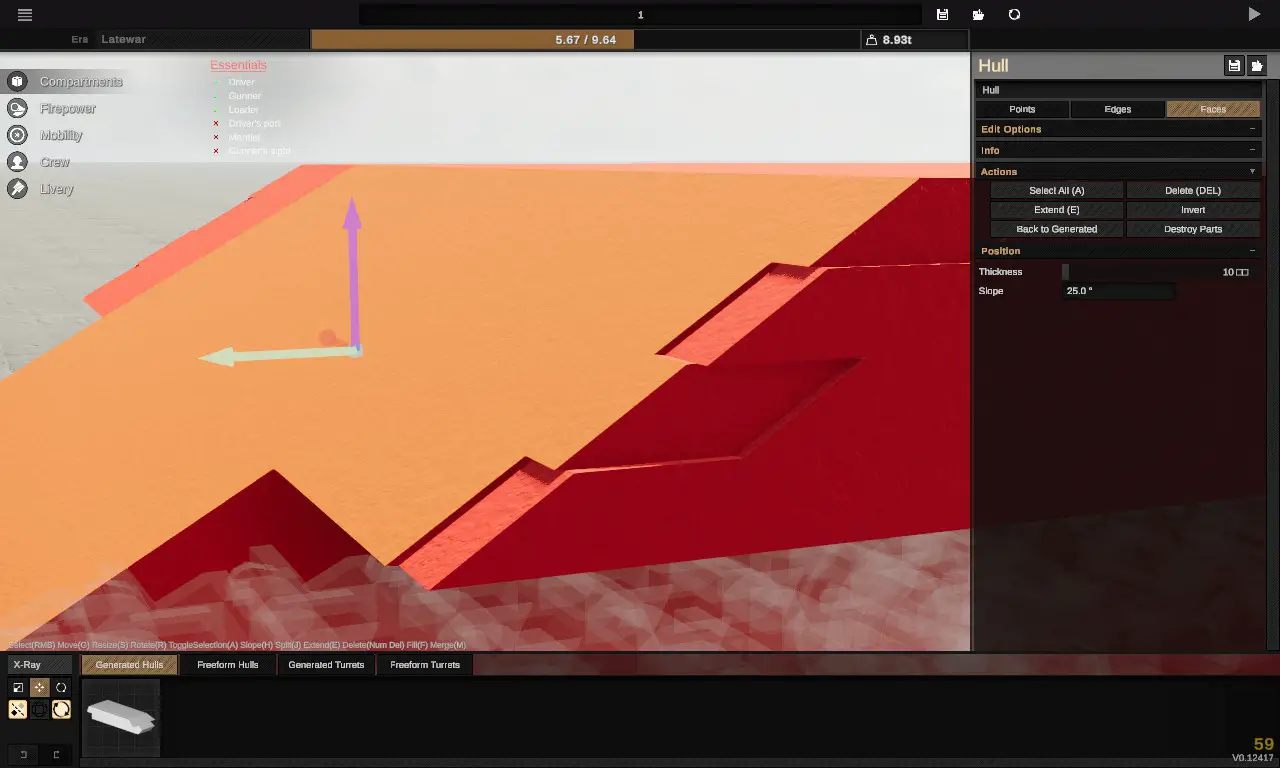
Faces. Select these faces and press E.
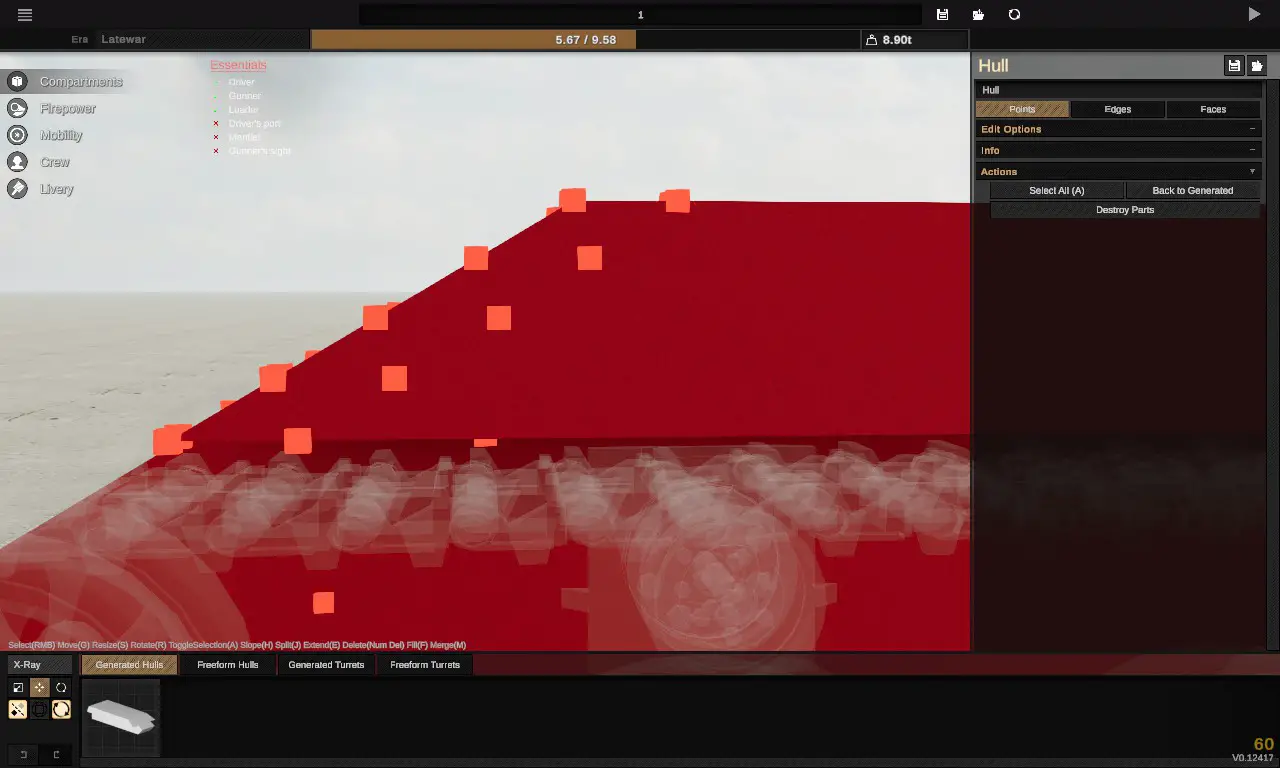
ESCtwice. Doing so does not make the expansion surface move with the mouse.
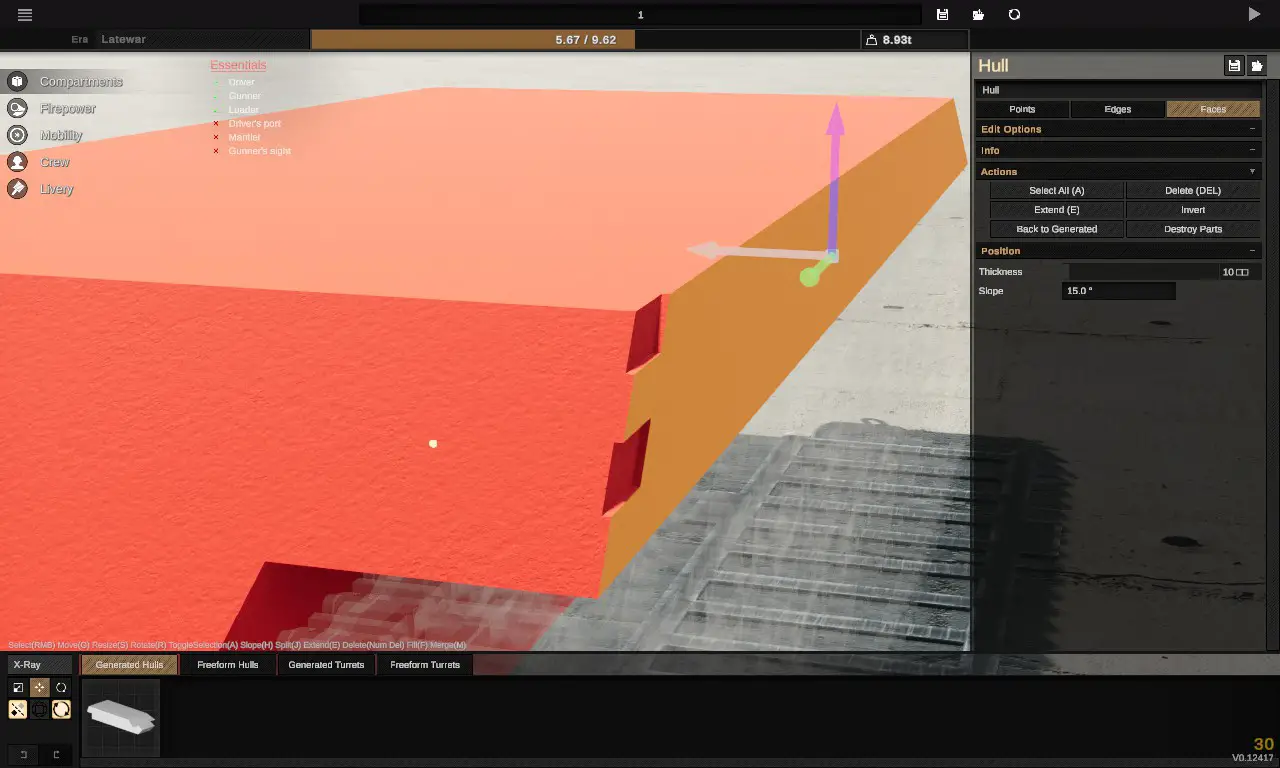
Drag the red arrow a little bit.
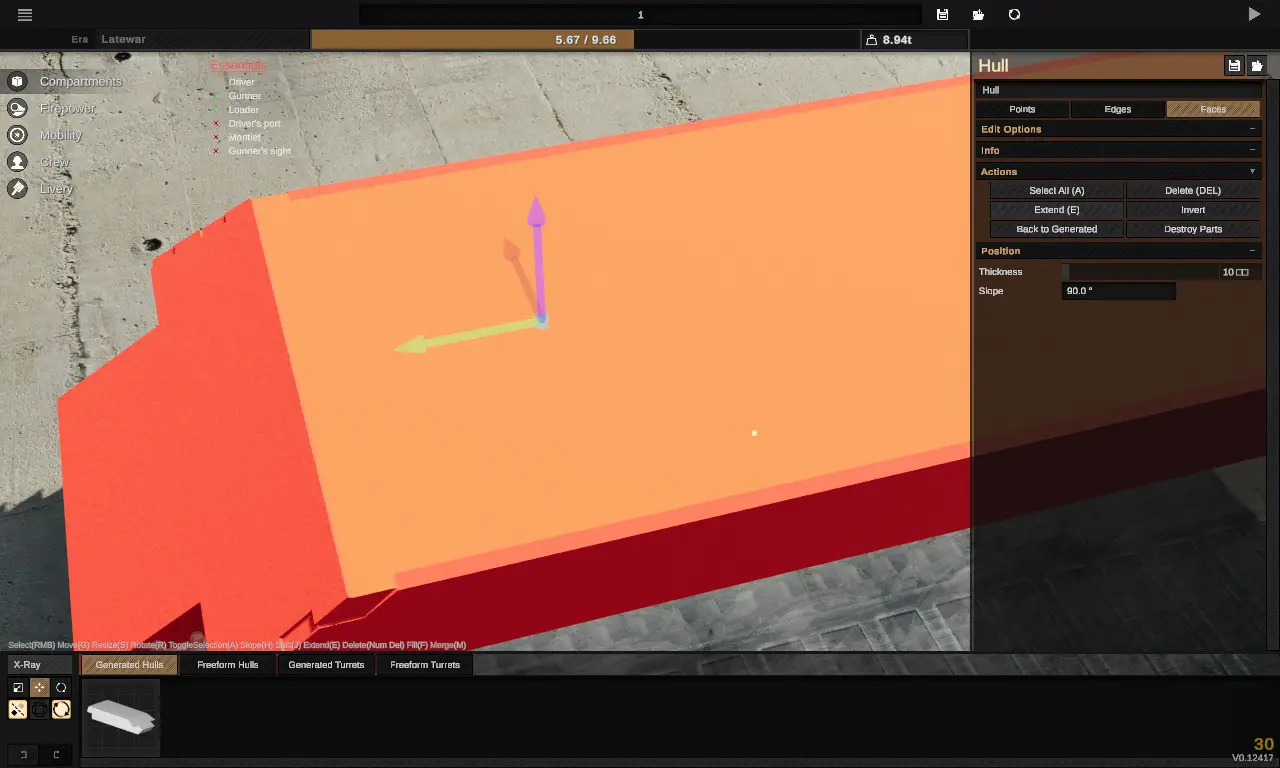
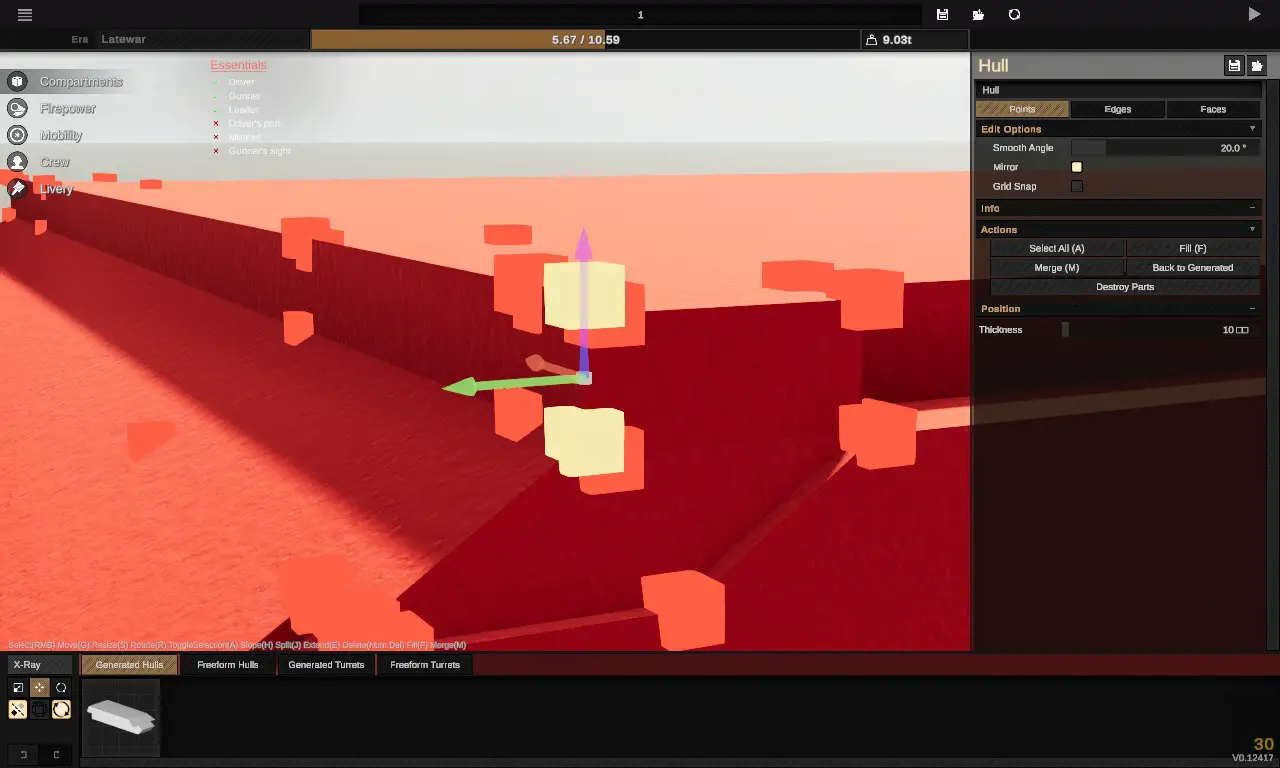
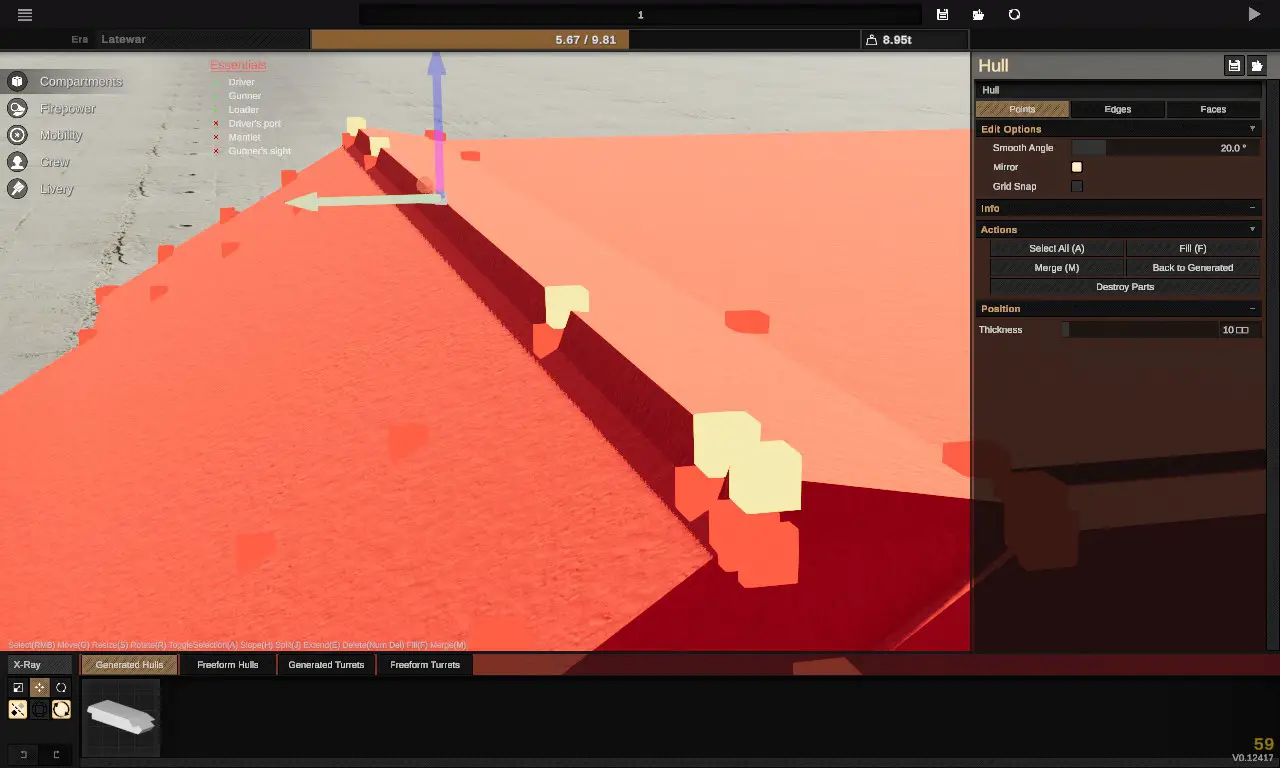
Select front faces. Pay attention to the choice of junction.

Press E just like above,drag the green arrow and the blue arrow a little bit.
Now you have a prototype
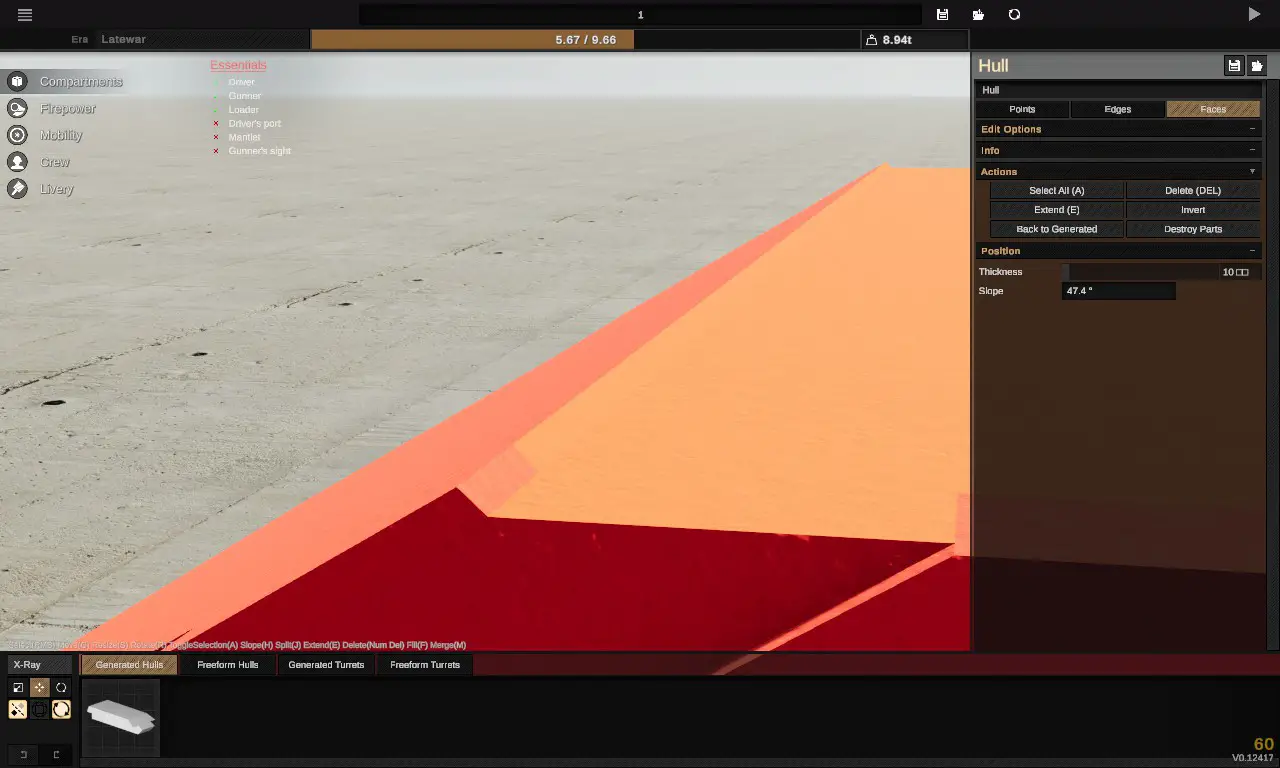
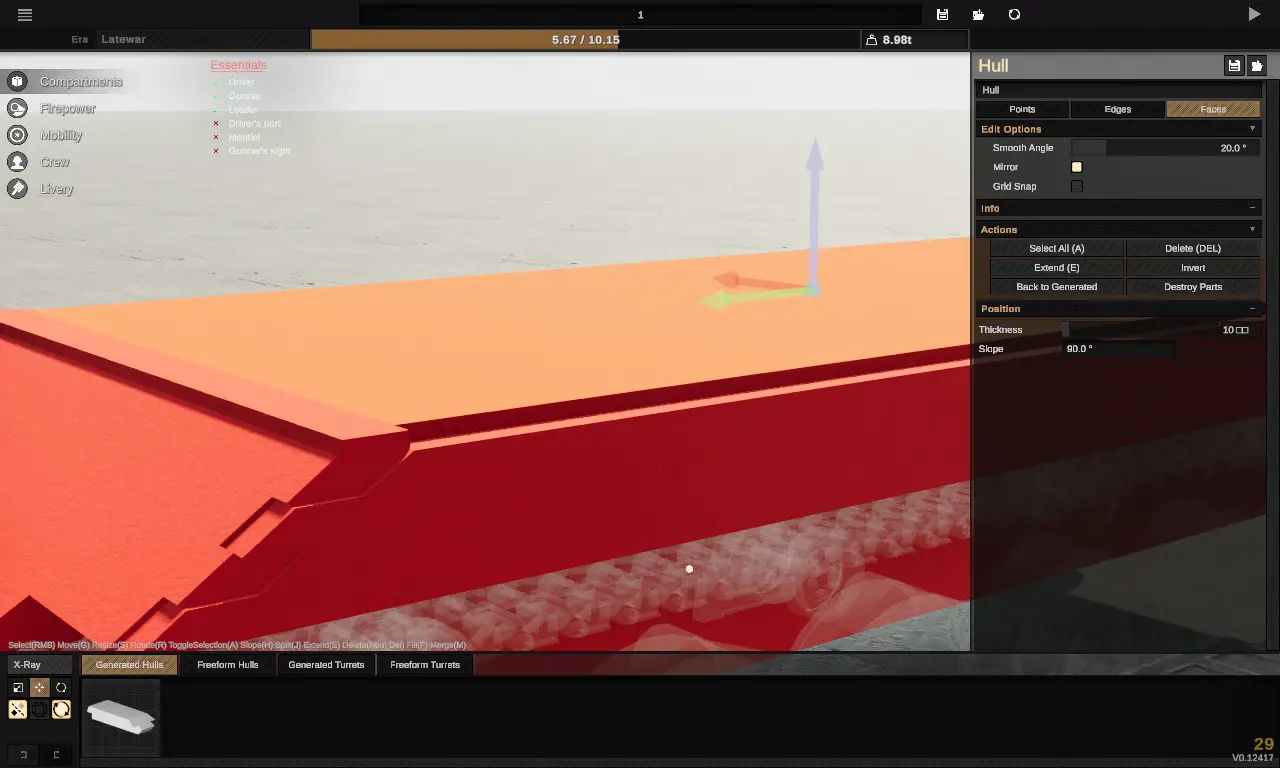
Select the top face, and notice that there’s still a part here.
Extend
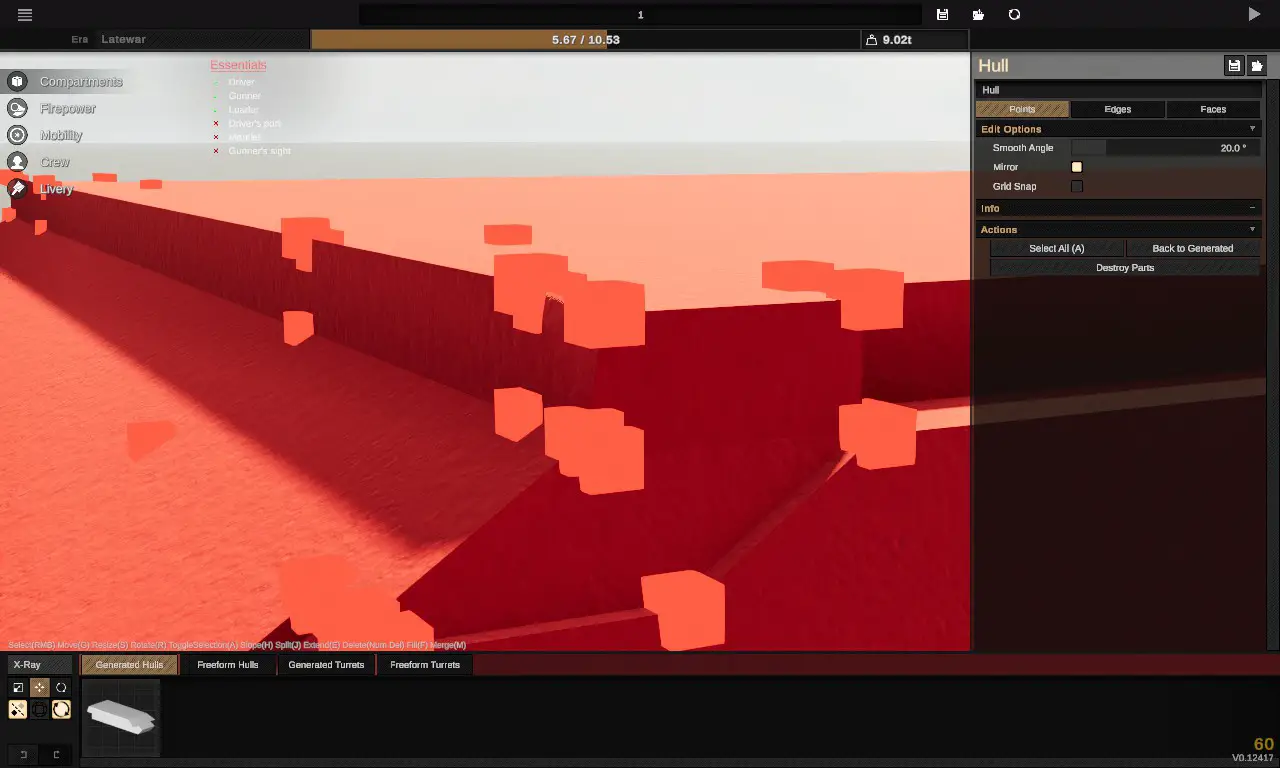
Merge these two rows.Press M.
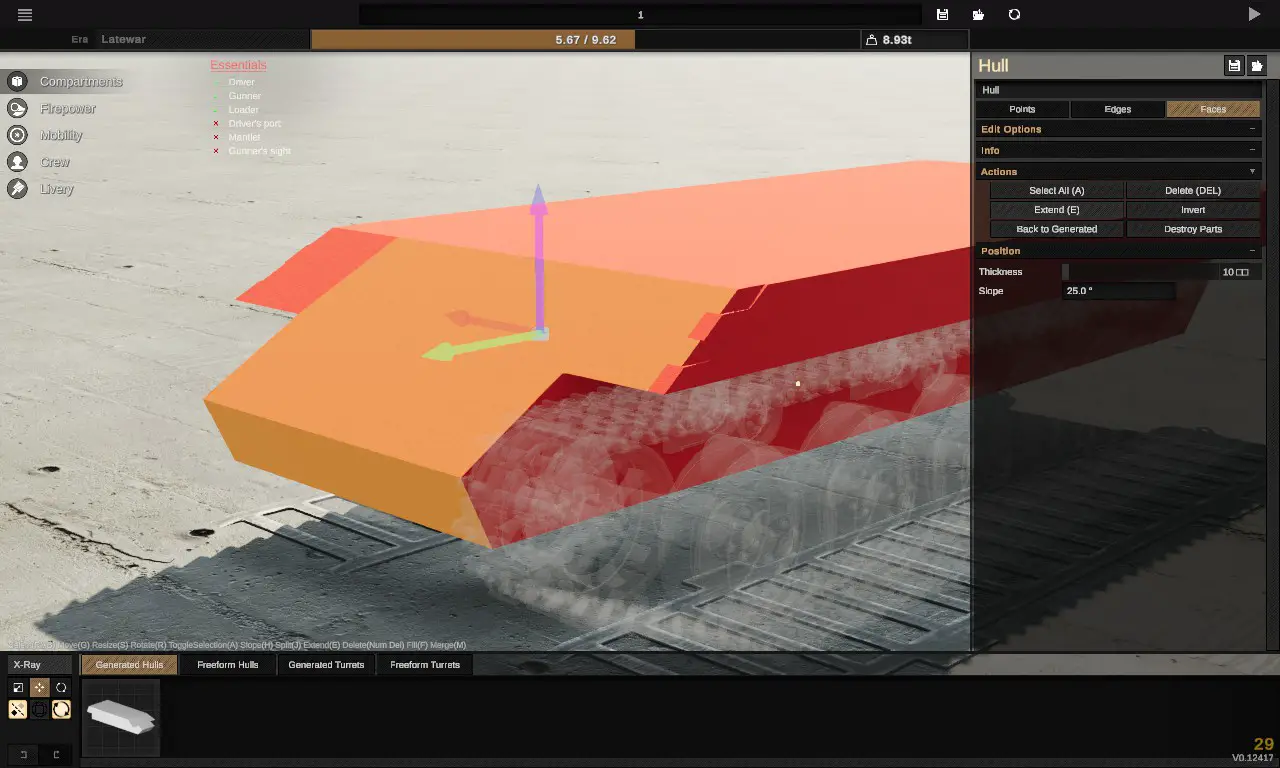
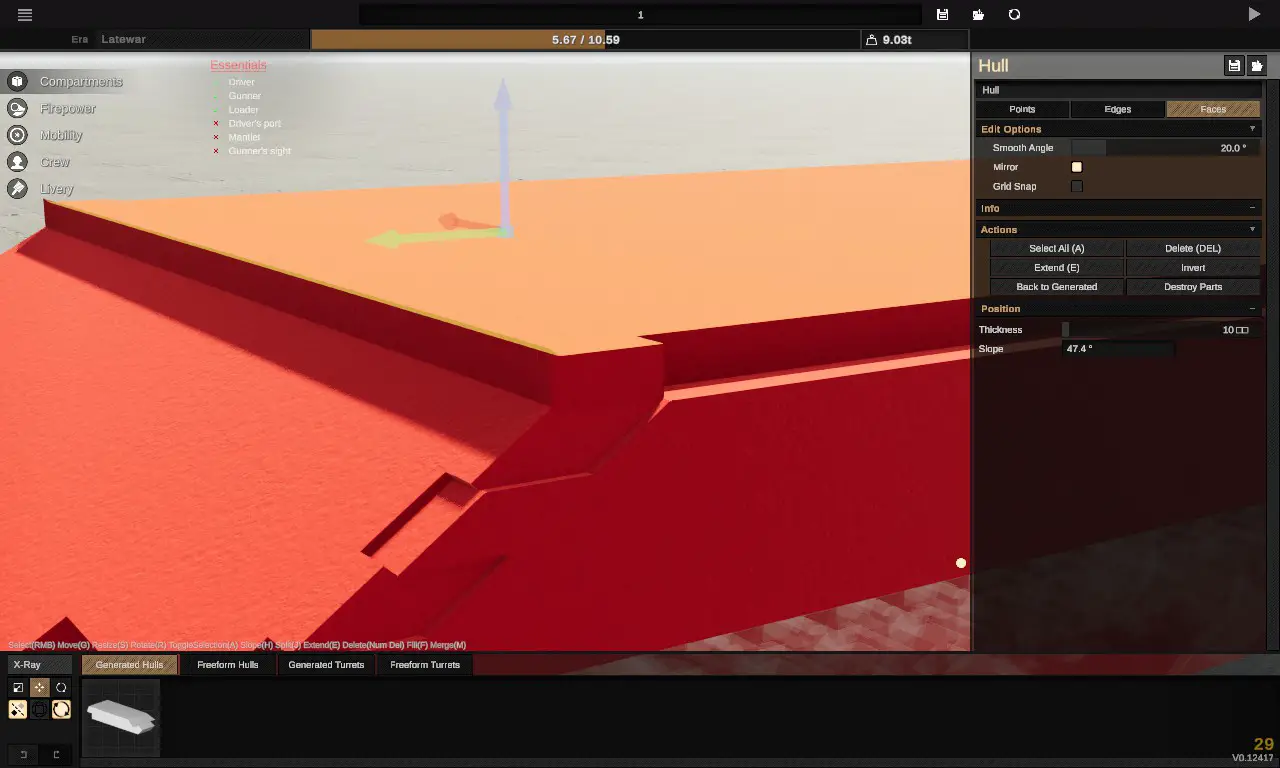
Select the face as shown and move it down a bit.

Move this point to the right position.
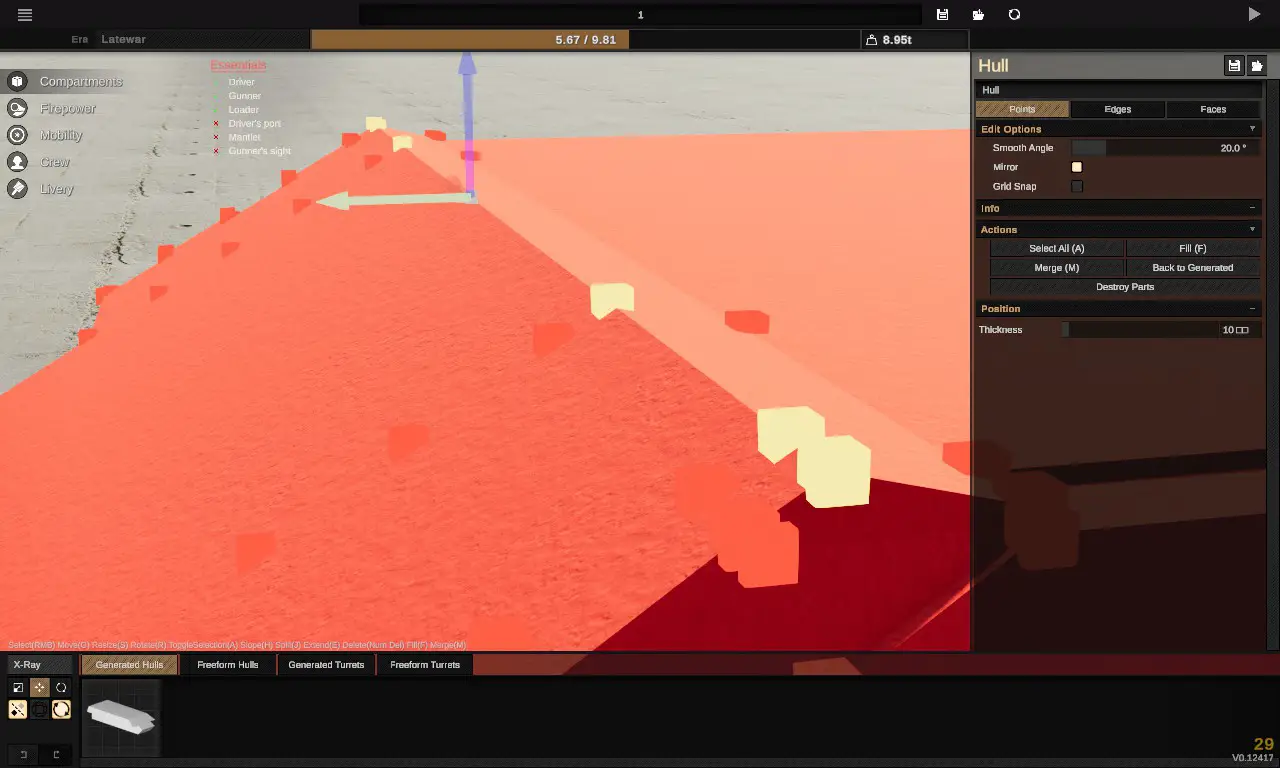
Move this edge to the right position.
Now we’re basically where we want to be.
Put this picture in the Decals folder.
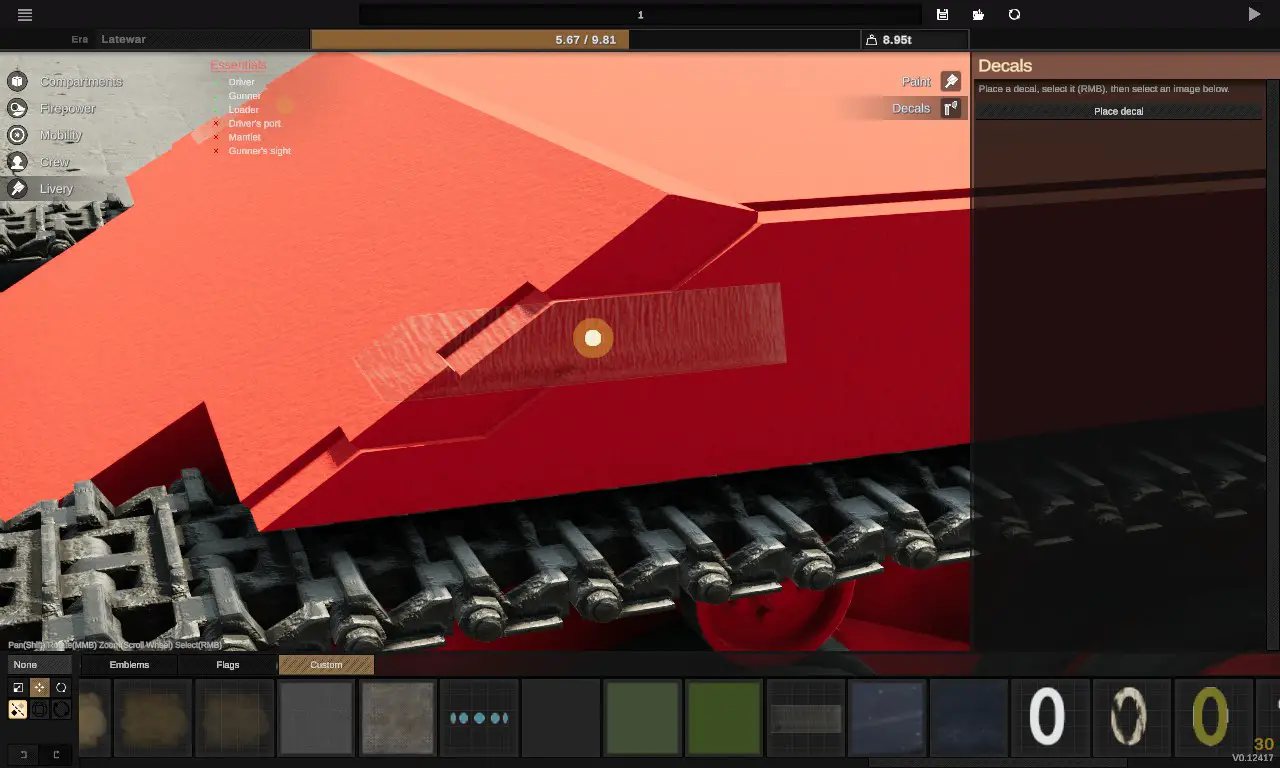
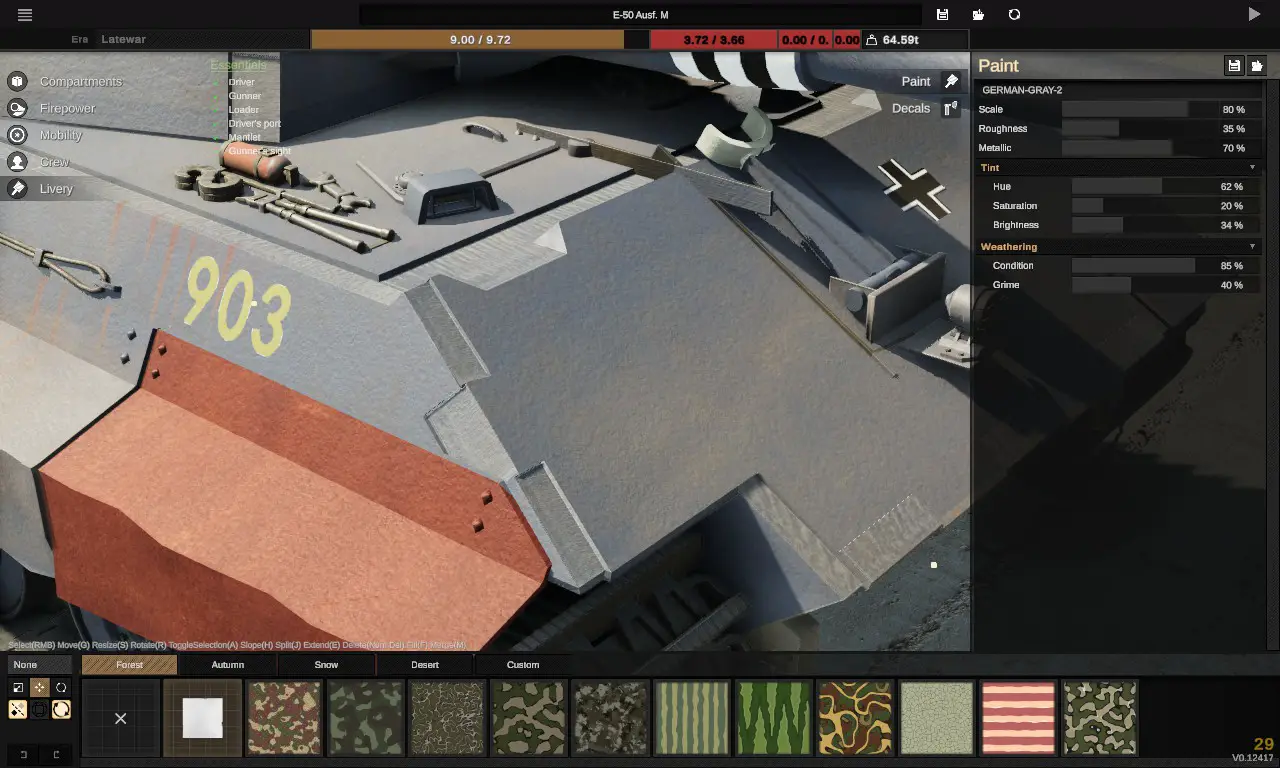
Resize and Orient this decal.

Drag the green arrow until decal is displayed only where it should be.
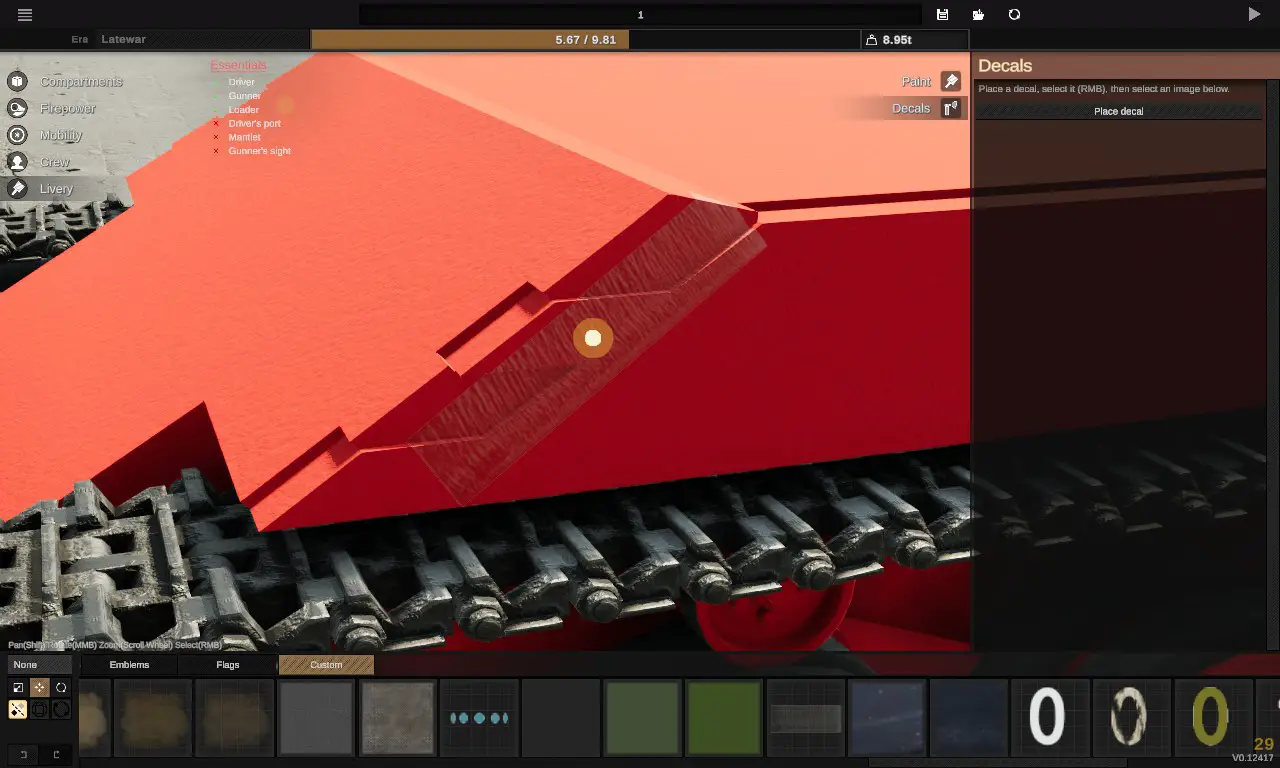
Put this decal on all the exposed edges.
The job is done!
Similar methods can be used to make different mortise and tenon structures.
هذا كل ما نشاركه اليوم من أجل هذا Sprocket مرشد. تم إنشاء هذا الدليل وكتابته في الأصل بواسطة LideserfeC. في حالة فشلنا في تحديث هذا الدليل, يمكنك العثور على آخر تحديث باتباع هذا وصلة.