
- عنوان: Minecraft Dungeons
- تاريخ الافراج عنه:
- المطور:
- الناشر:
Information about Minecraft Dungeons is still incomplete. الرجاء مساعدتنا في ملء تفاصيل اللعبة باستخدام هذا نموذج الاتصال.
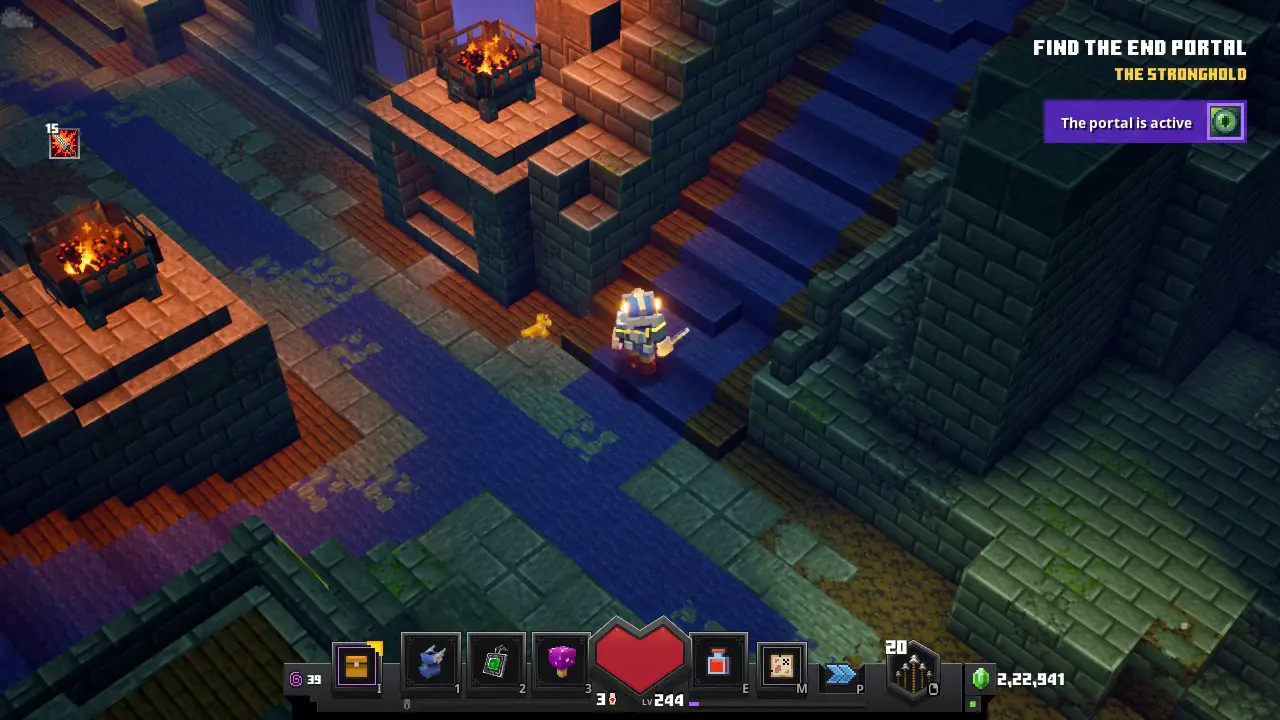
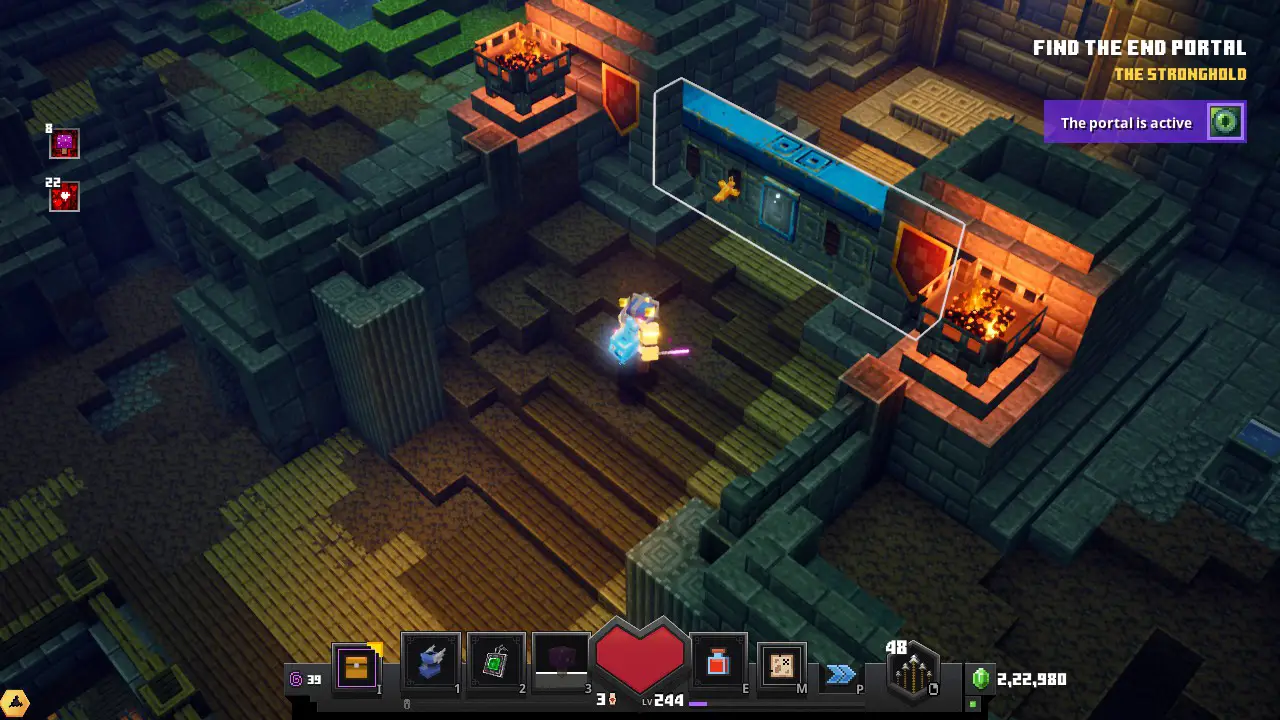
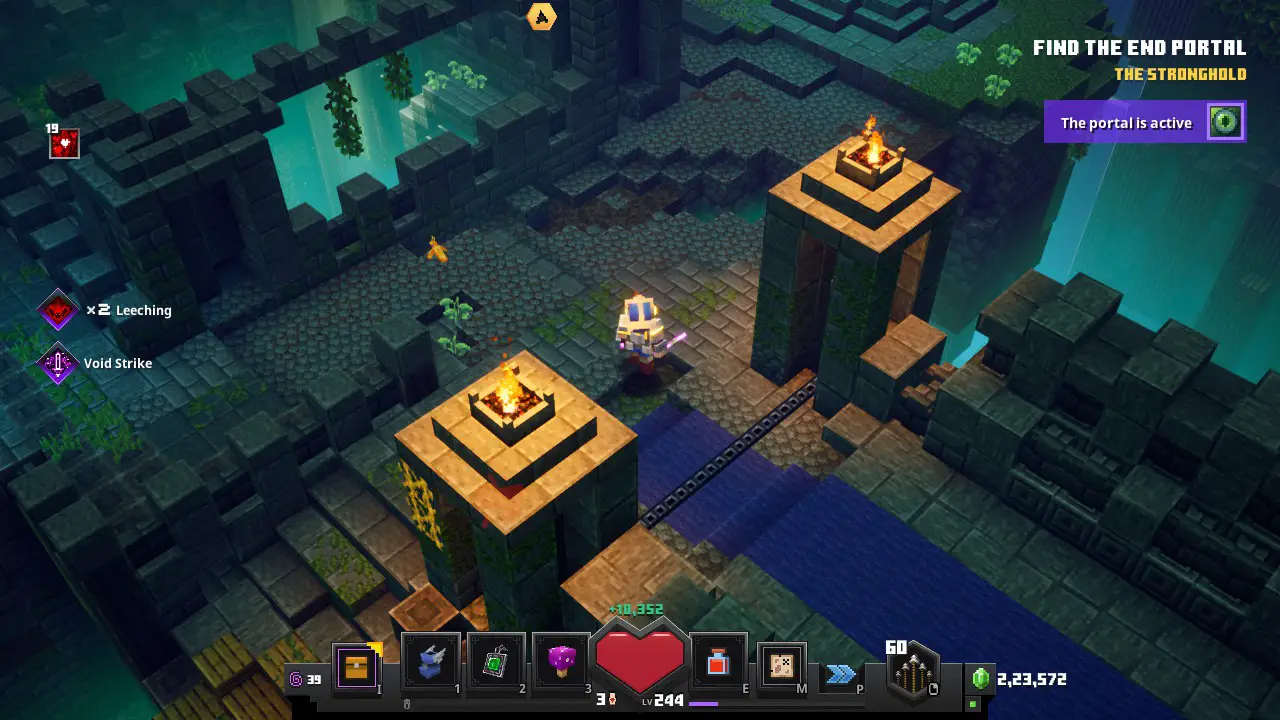
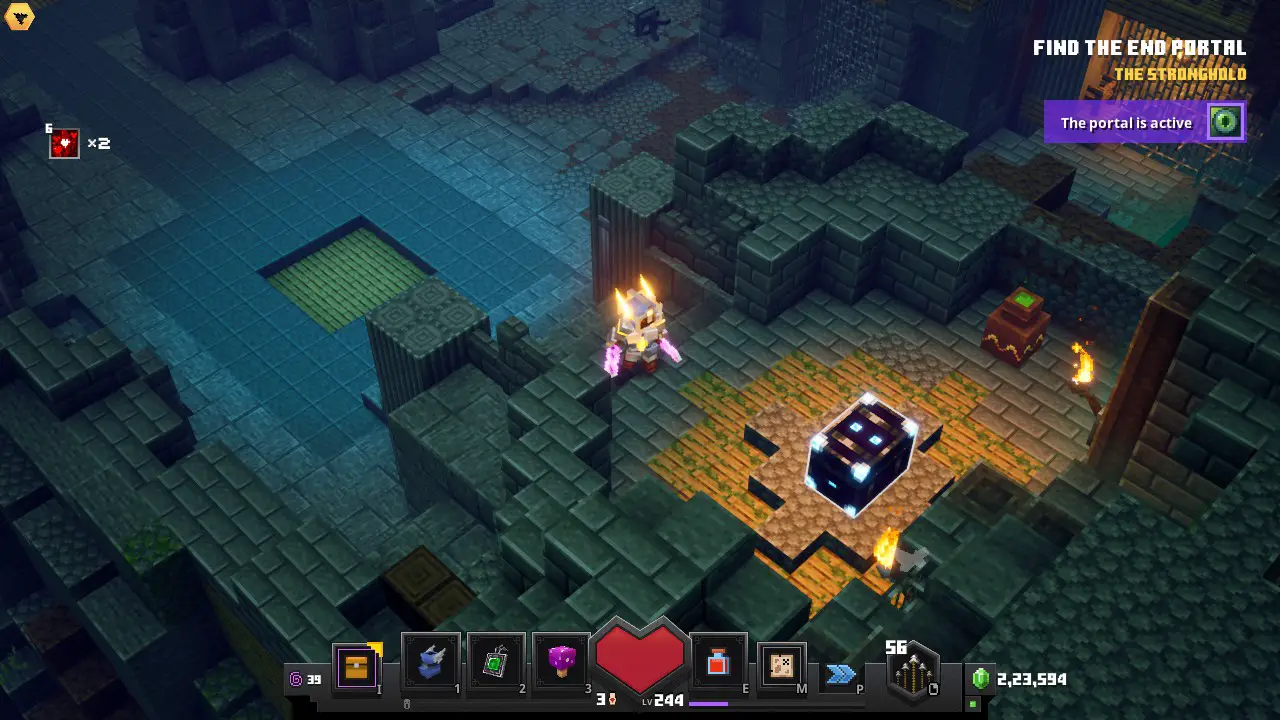
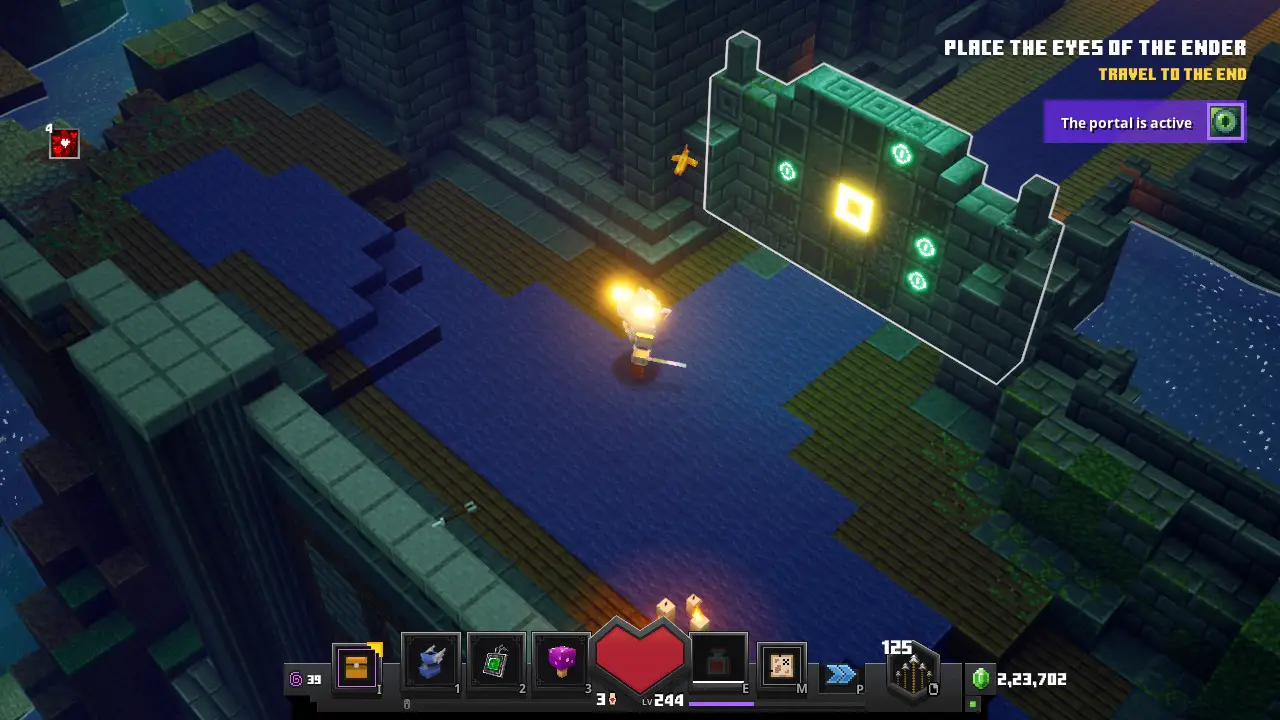
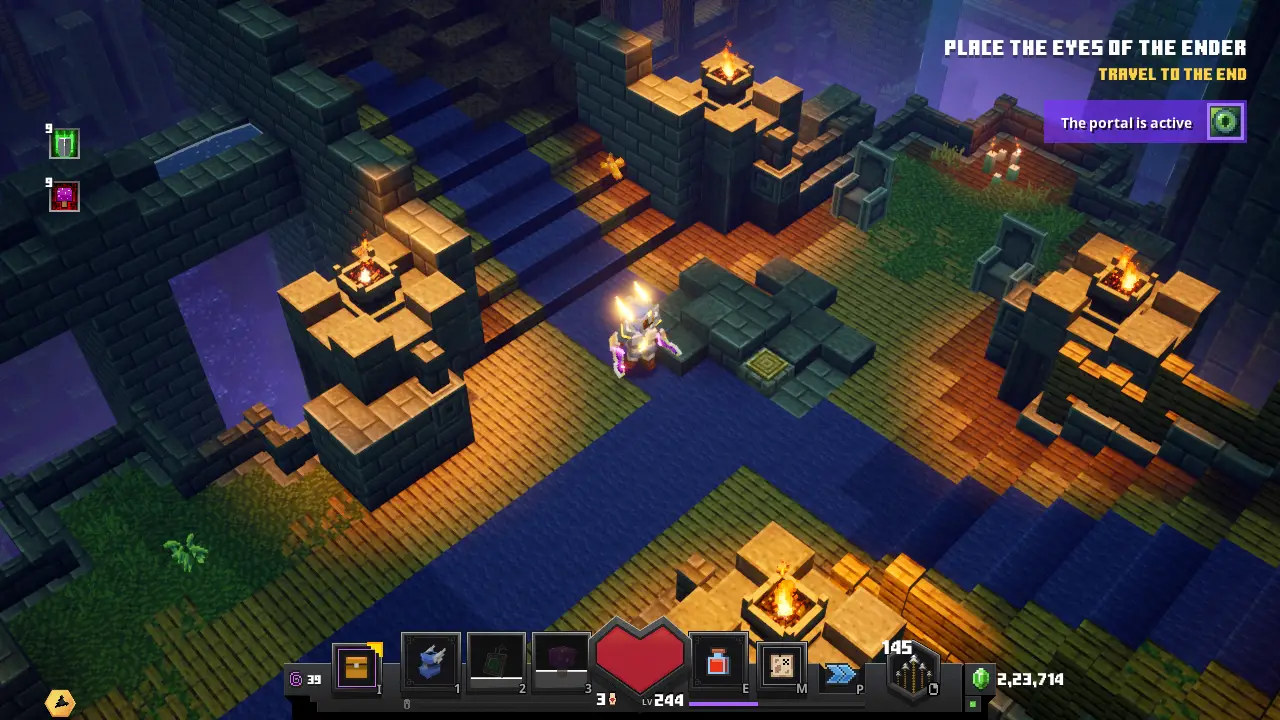
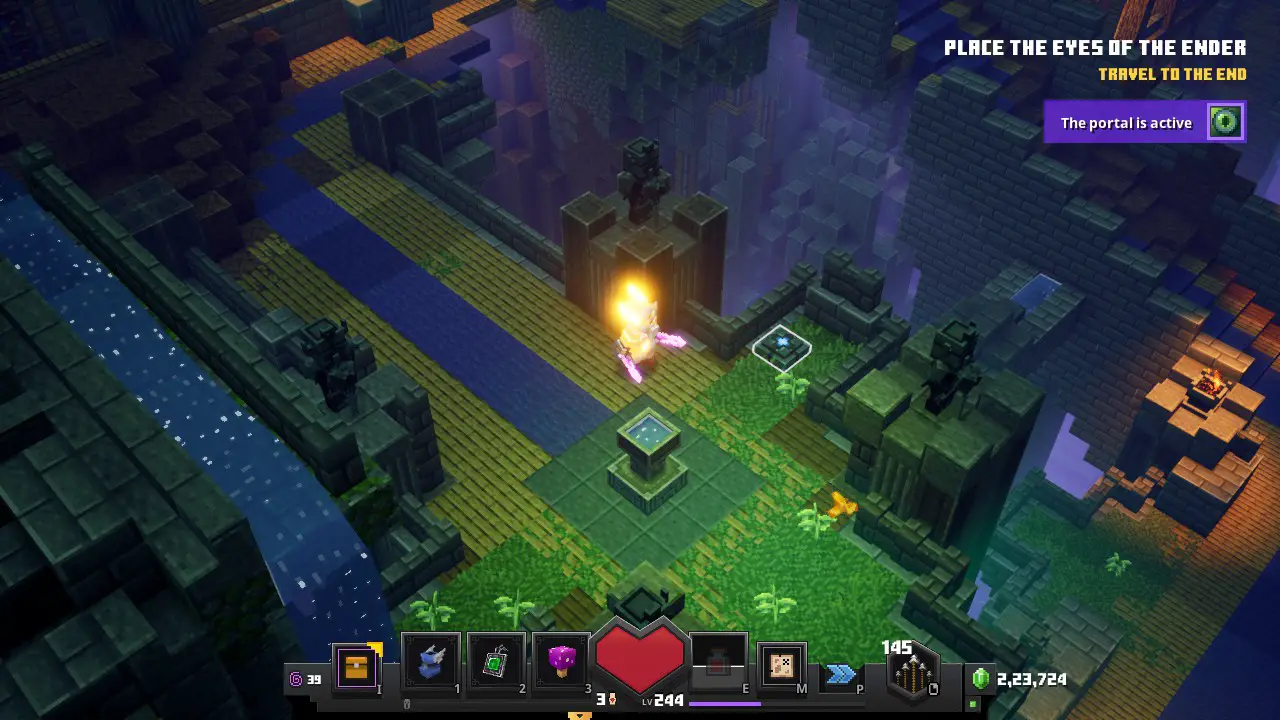
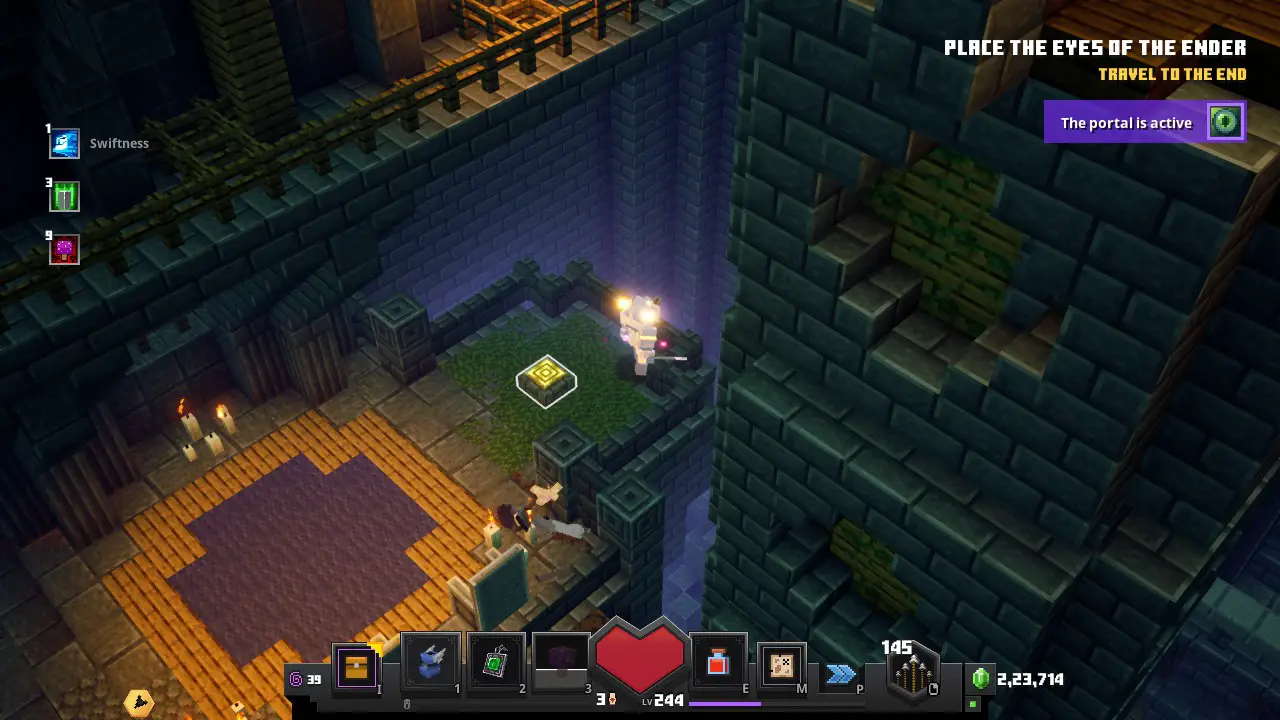
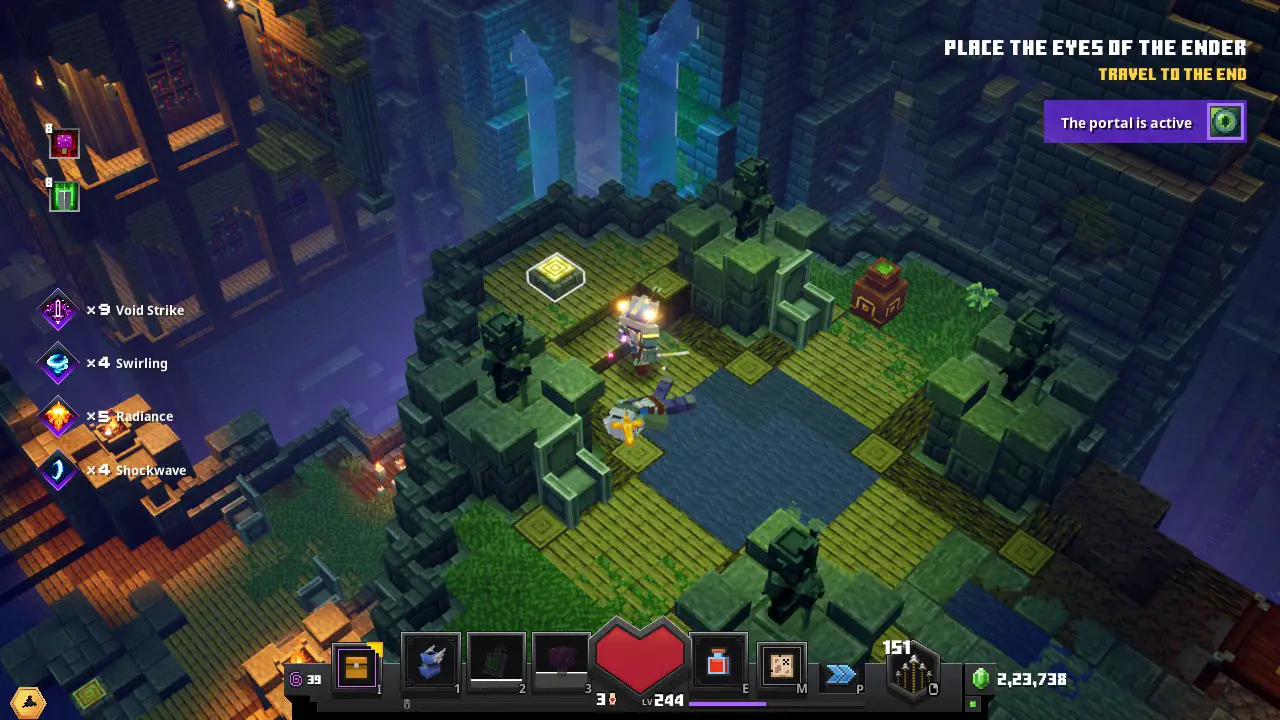
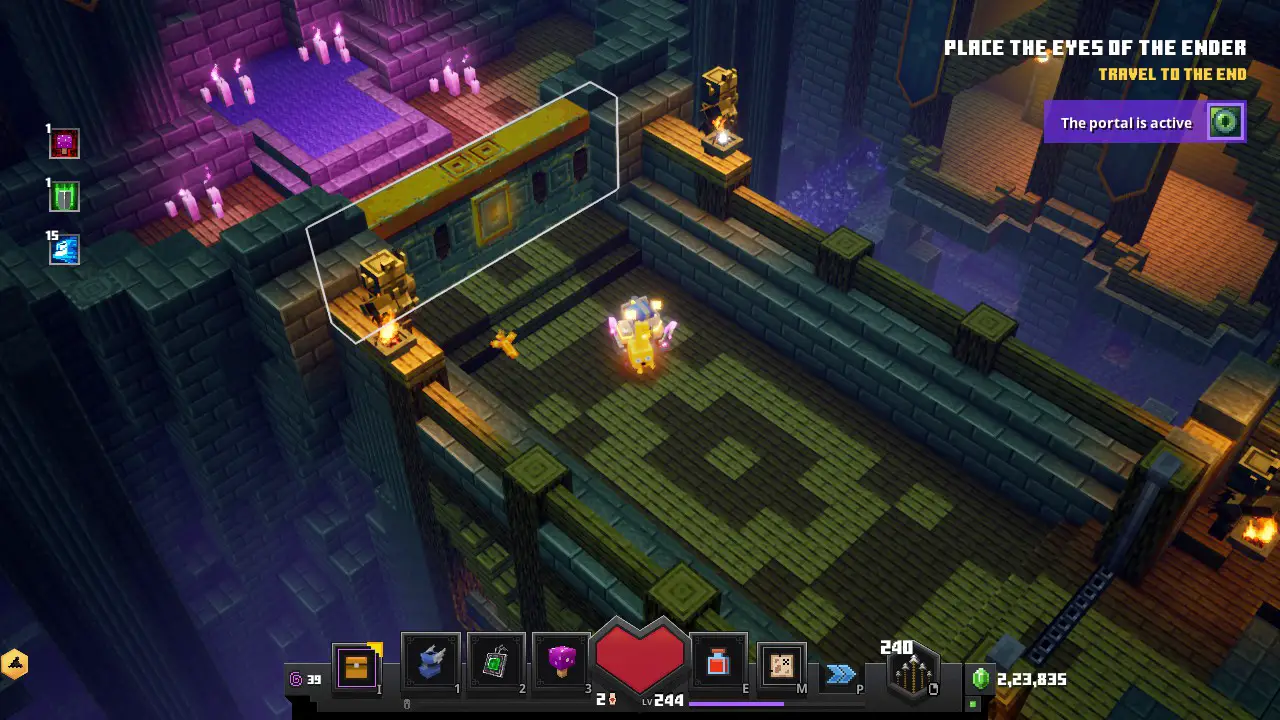
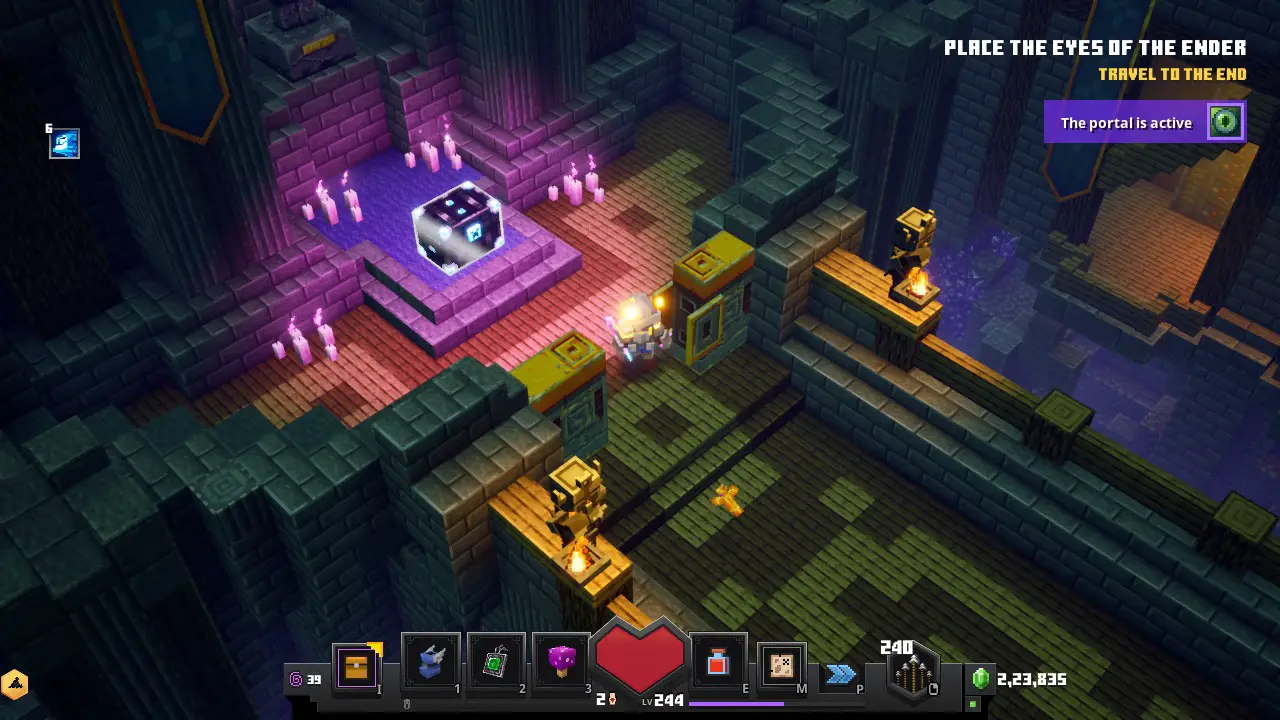
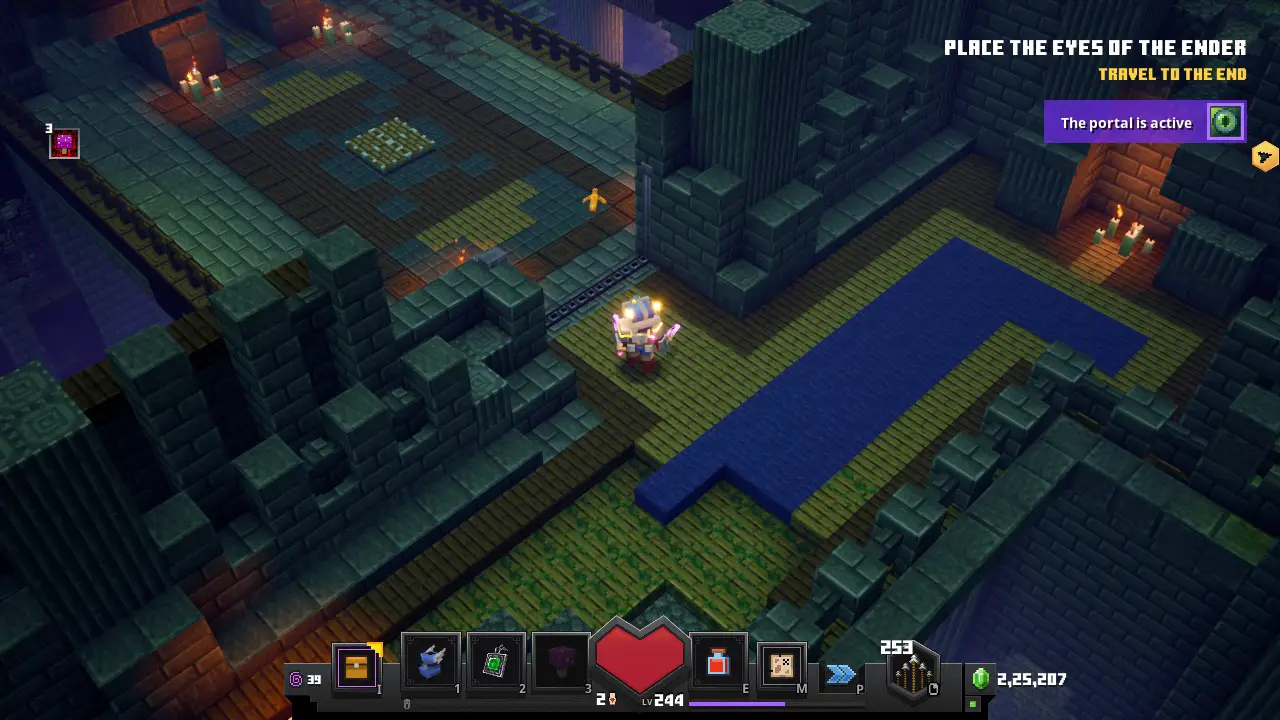
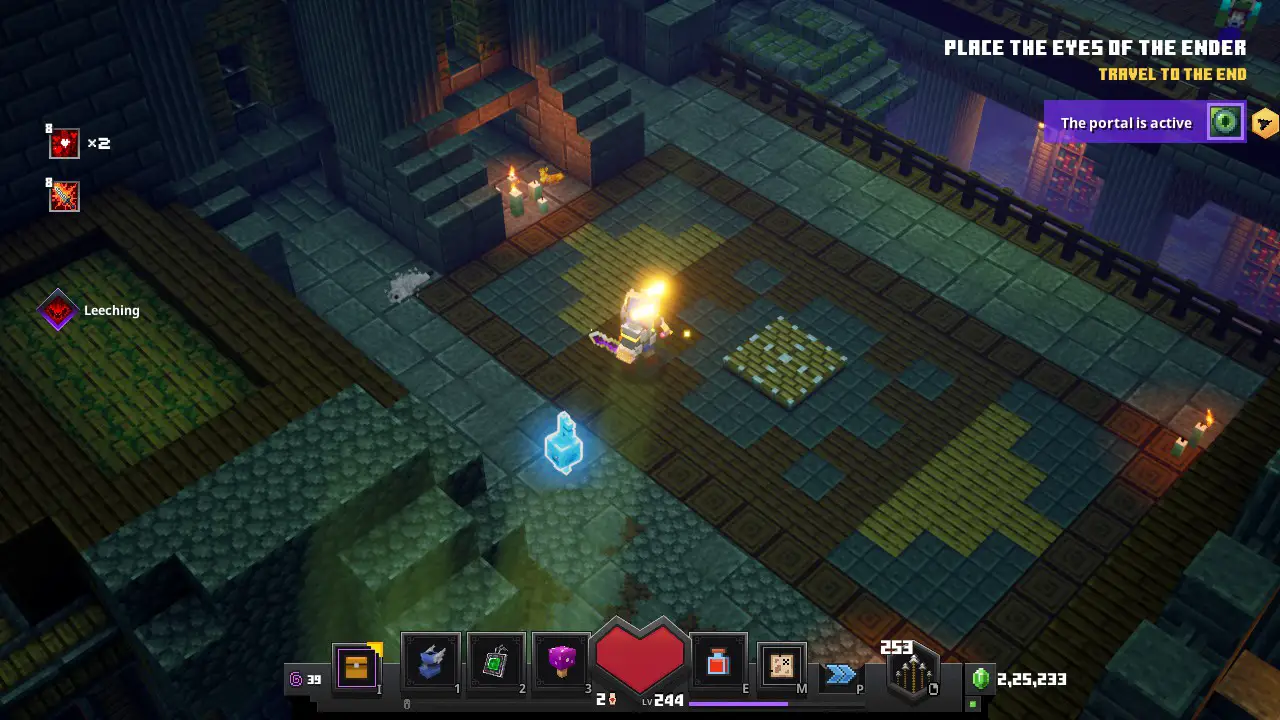
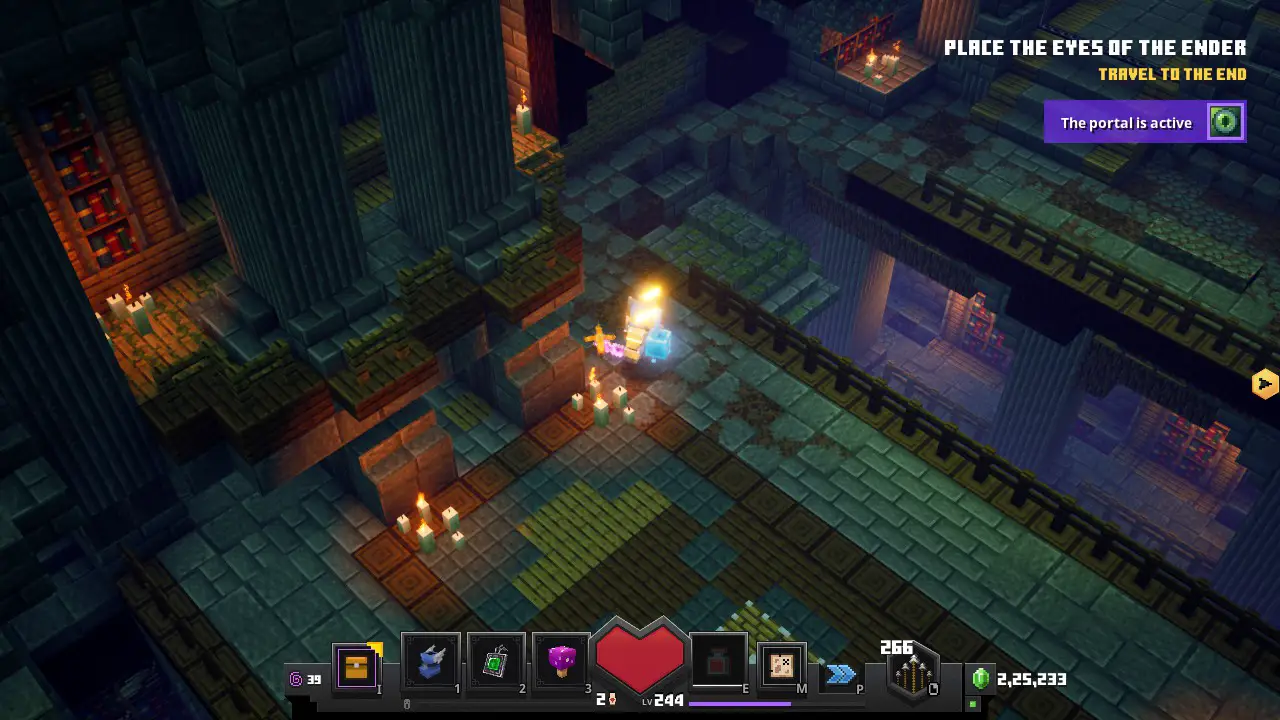
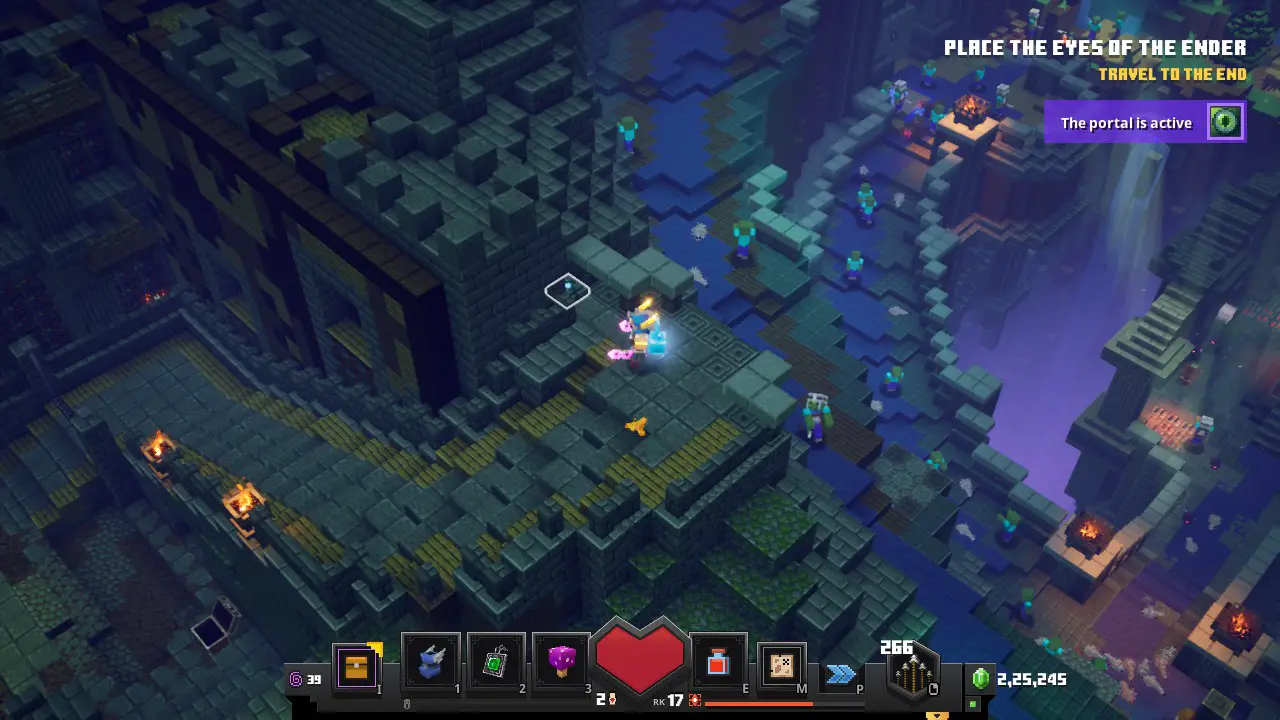
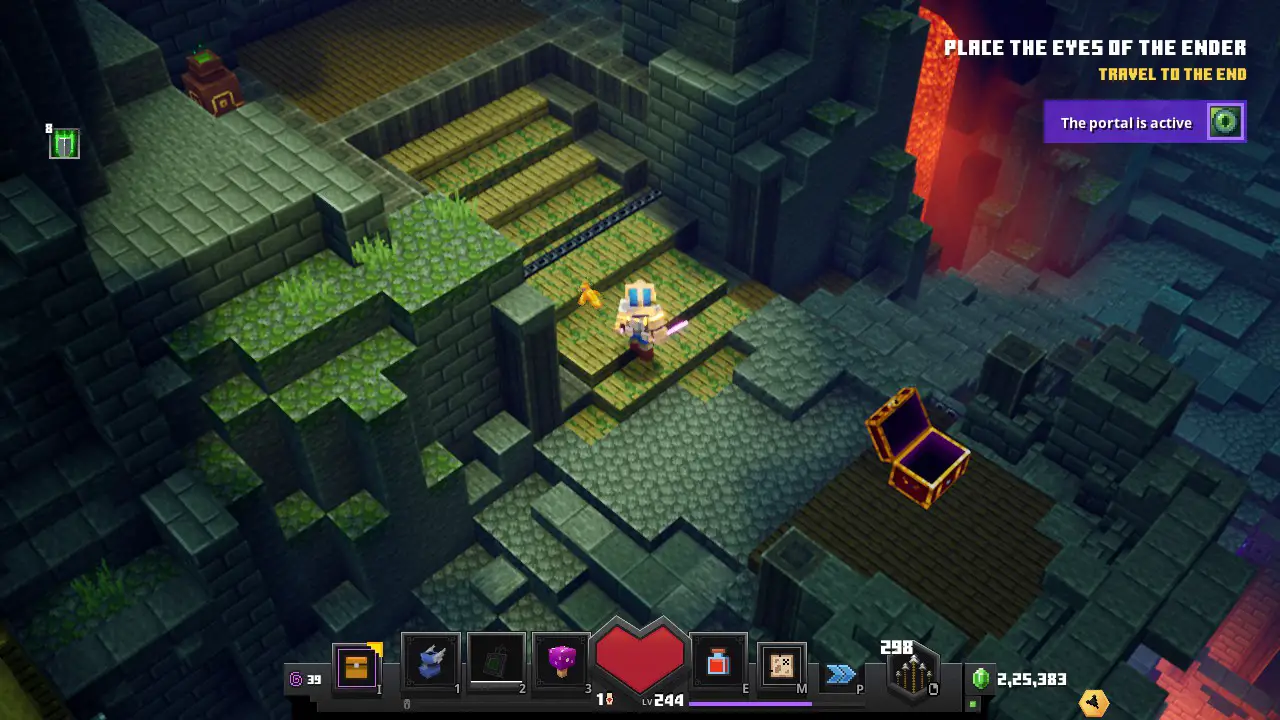
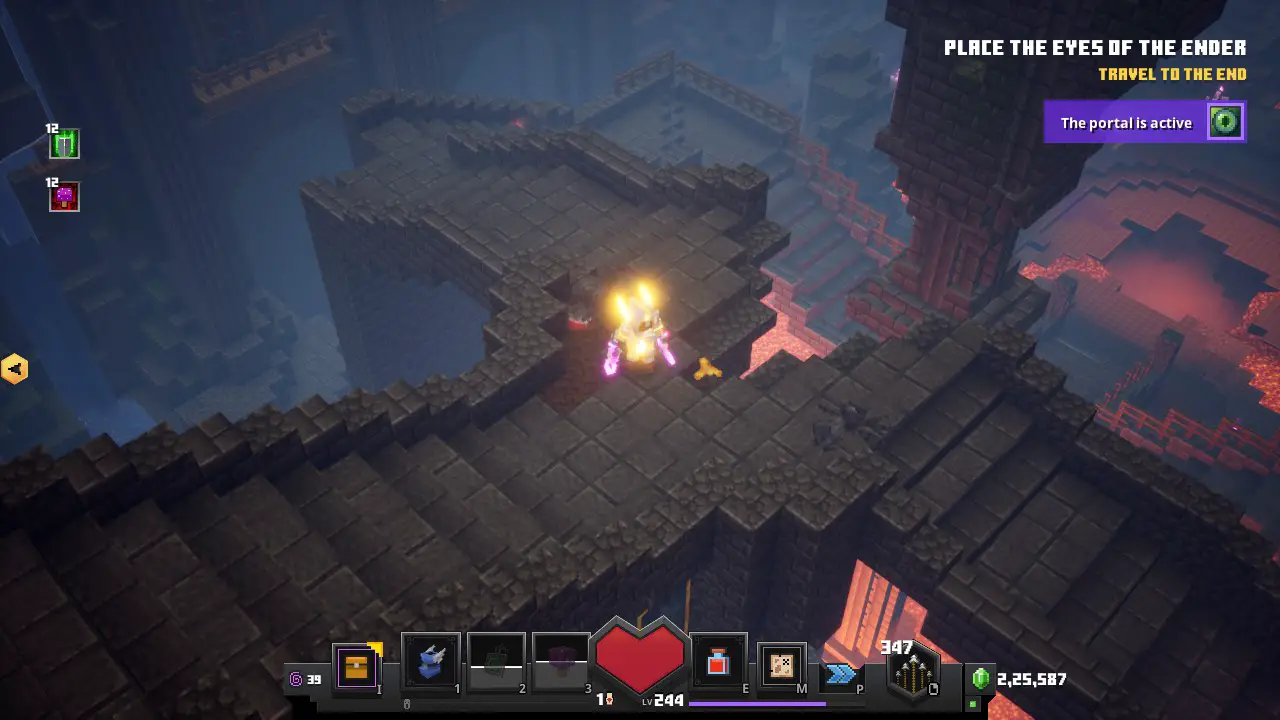
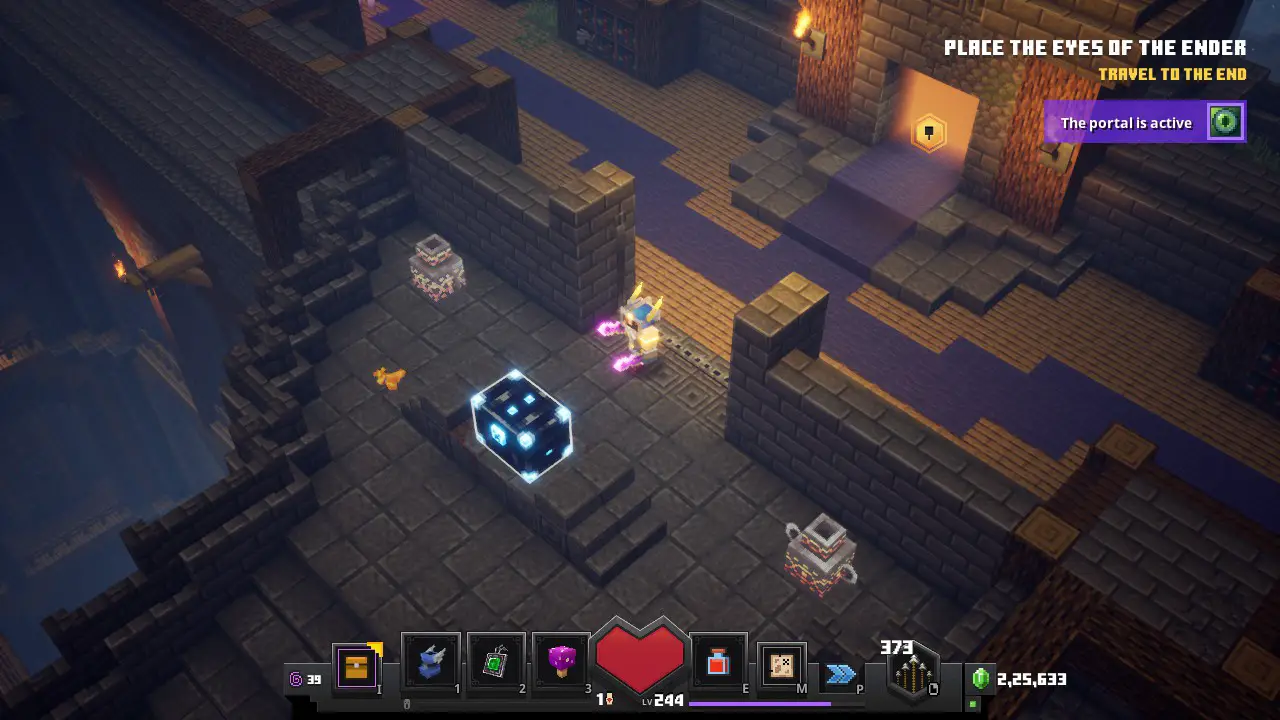
There is a total of 6 switches in the Stronghold mission. (Which do not change positions). And also you can always get guaranteed 7 Obsidian Chests, whenever you do the Stronghold mission. This will also help you achieve the “Treasure Trove” إنجاز.
#1 يُحوّل & Obsidian Chest
When you find the first fork in your path in the Stronghold mission. Take the path that goes the right.
اذهب إلى الطابق العلوي, and to your right side, will be this door.
Inside the area, take the right path that goes up, and you will come across two open rooms. Go inside the second one.
ال #1 Switch will be hidden underneath an Emerald jar. Pressing the switch will make a firework noise.

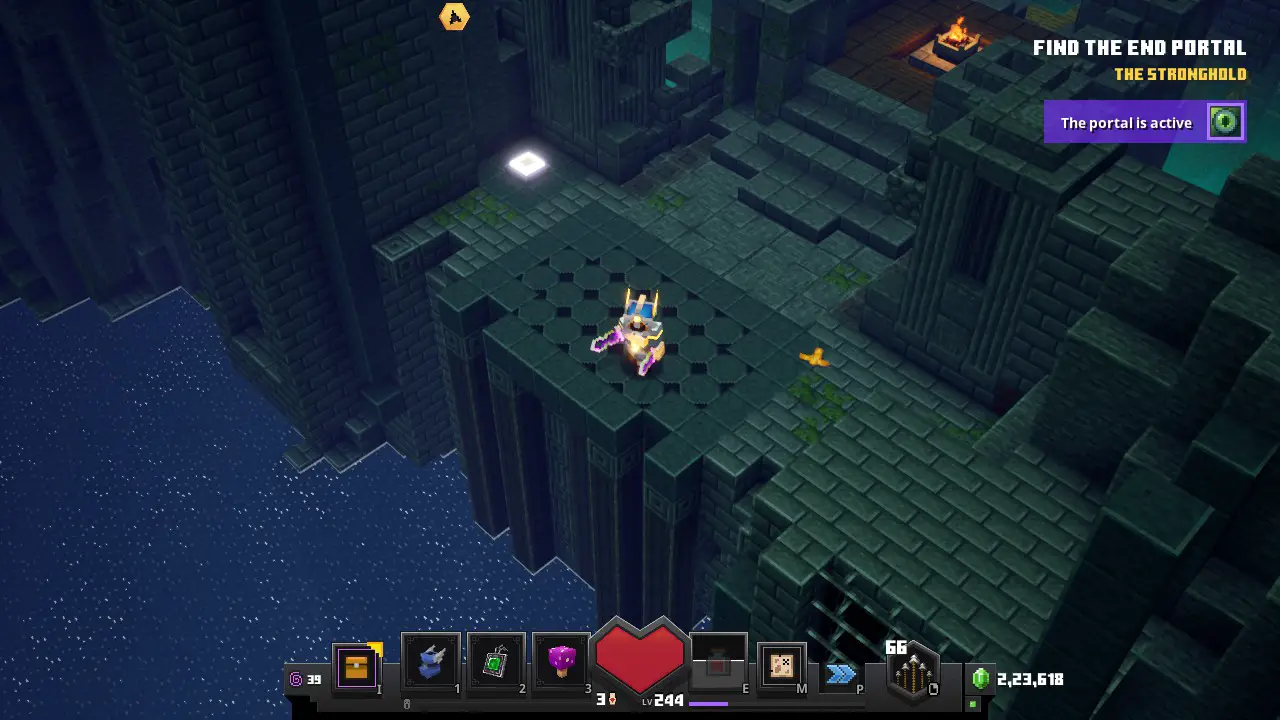
Keep going ahead, and take the stairs, and that will lead you to the Blue Golem Key.
After taking the Blue Golem Key, Go near the door (from where you came into the room), and then take the center path. This will trigger an ambush. After fighting the ambush. Keep walking forward, and open the lock, with the Blue Golem Key.
Here you’ll get your #1 Obsidian Chest (make sure to wear a ‘Luck of the Sea’ درع, to increase the chance of getting a ‘Unique’ gear.)
#2 يُحوّل & Obsidian Chest
After you come out of the first area, head down to the fork again, and now take the left path.
The door to the next area will be located just ahead.
Inside the area, you will come across two pillars. Go inside that area.
Take the route that takes you up in the room.
You will come across an area, where some stairs take you upward.
Near about that, ال #2 Switch is kinda hidden behind some pillars.
Going upwards through the stairs will lead to an ambush event with 2 Readstone Golems. Clearing the event will give you your #2 Obsidian Chest. (Wear ‘Luck of the Sea’ armor for increased chance of ‘Unique’ gear)
ال #3 Switch is flooded. We need to lower the water. So we access the switch.
#3 يُحوّل & Obsidian Chest
After exiting the second key area, keep heading forward, and there will be your 3rd door.
Go down until you find a very enclosed area, with a lever. Upon entering the area, an ambush event will happen. Triggering the lever will lower the water.
The area revealed to you after the water has been lowered, will lead you to a similar area, take the right path connecting it, and there you’ll another lever, that’ll lower the water even more.
Follow the path, that gets revealed to you after pressing the second lever. At the end of it, you will find another enclosed area. Entering the area, will trigger another ambush event. Clearing the event will net you the #3 Obsidian Chest.
After taking the Obsidian chest, go to the lift. and press the middle button, which will take you upward. On the wall of the lift, ال #3 يُحوّل will be seen.

#4 يُحوّل & Obsidian Chest
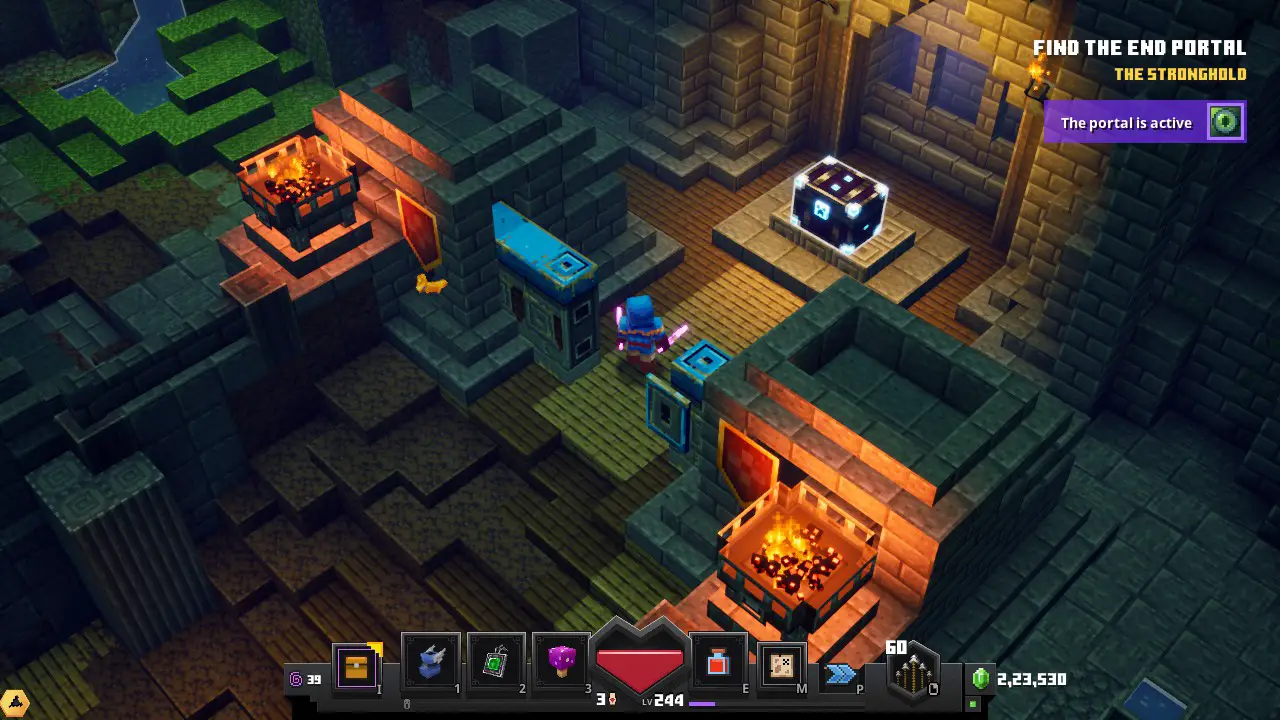
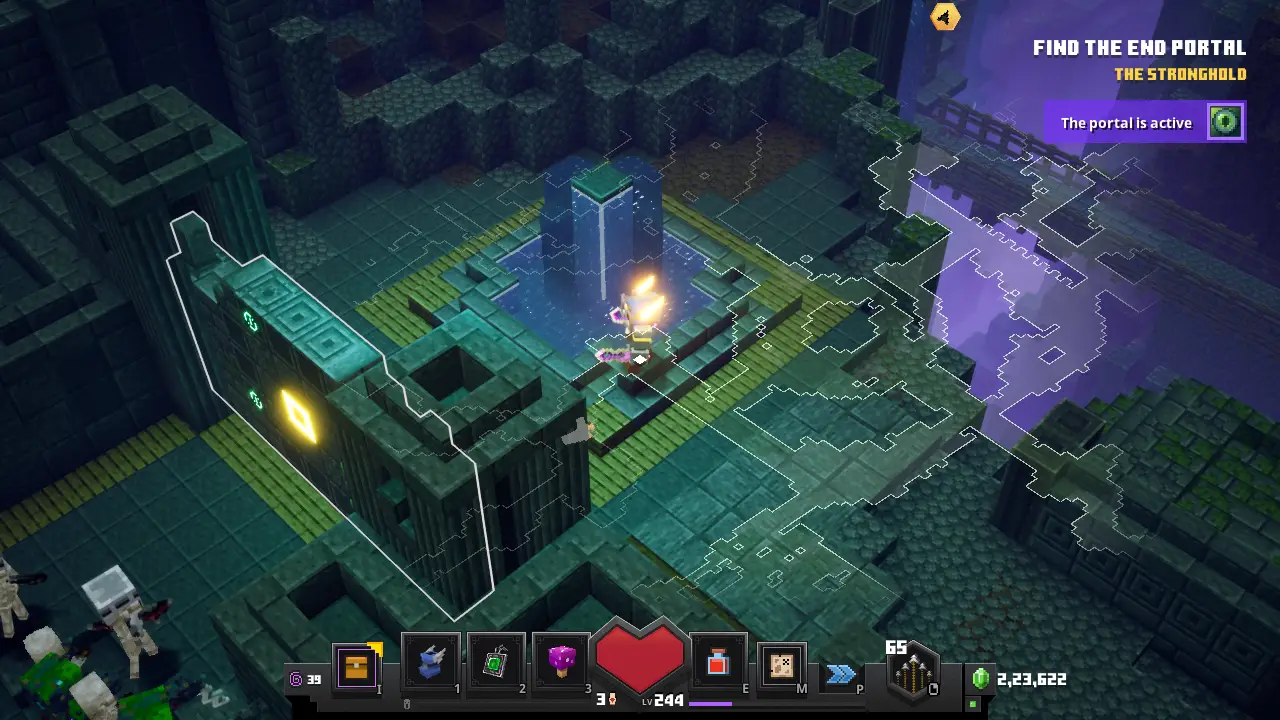
After exiting the 3rd area, head to the portal room. Which you can access, by opening two large wooden doors, with two buttons.
Take the right path.
اذهب إلى الطابق العلوي, you will find the door to your 4th area.
Inside it, after going forward you’ll come across this area, where Necromancers will keep spawning until you press the button.
Take the left upstairs path. And then go left. At the end of the path, you’ll come across your #4 يُحوّل
Go back and now take the right side. Again until you press the button, Necromancers will keep spawning.
Now go downstairs, and then take the stairs to your right, that go upstairs. There you’ll find the third button.
Now go downstairs from the 3rd button area. And walk forward, you’ll come across, another set of stairs that’ll take you even higher. Carefully navigate the narrow passageways. Until you find the fourth button.
This will open a barrier that was blocking your way previously in the third button area. Navigate back to the third button area, there you can go further to the right.
Inside the barrier area, go right again, and you will come across a room, with two paths, one locked needing a golden key, and one going downwards. Take the downward path and go left. At the end of it. You’ll find the Golden Golem Key.
Use the key to unlock the gate.
And you’ll be rewarded with your #4 Obsidian Chest
#5 يُحوّل & Obsidian Chest
Exit the 4th area, and now go back to the two large wooden doors, and take the left path.
Going upstairs will lead you to the 5th door.
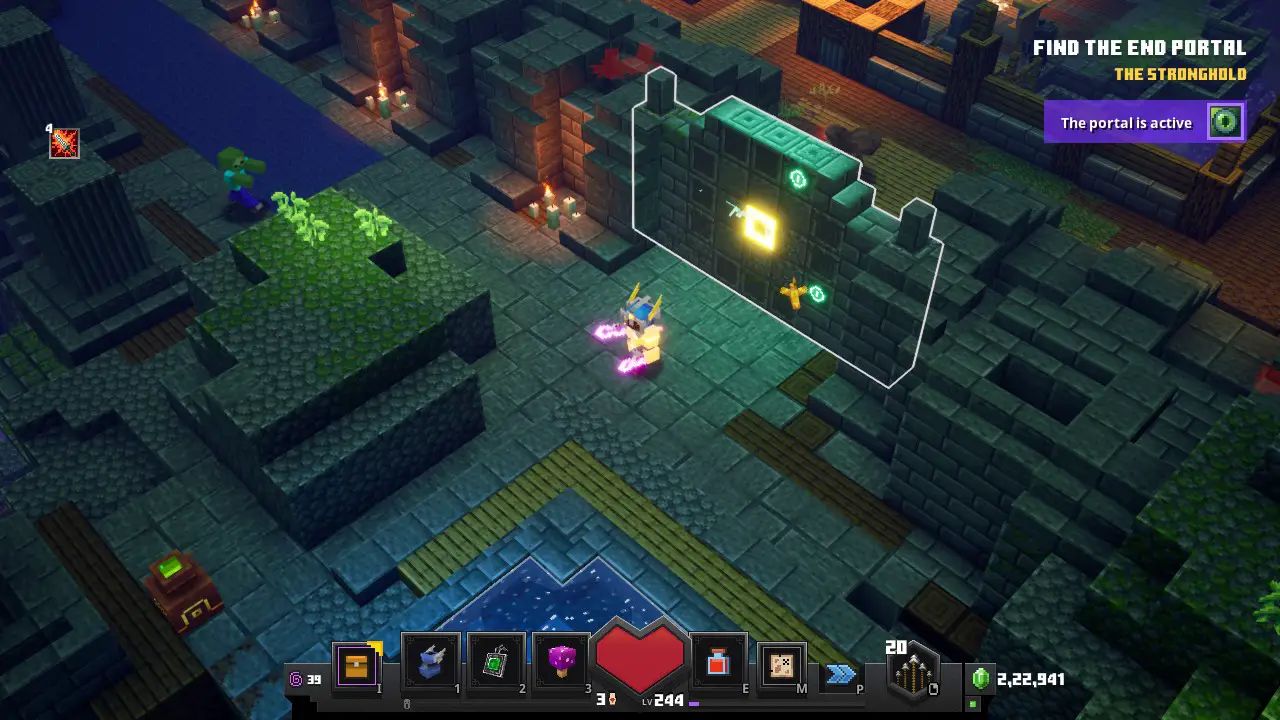
Going inside you’ll find an area with a launchpad and on the left side will be a locked door(it might not be visible on the Screenshot, but there is a locked door), needing a Blue Golem Key. Entering that launchpad area will trigger an ambush event.
Clear the ambush event and then go to far left end of the room with the launchpads. There you’ll find the Blue Golem Key sitting there.
Now go back to the initial area where the barrier is now open. But don’t exit just yet. Go forward. You’ll notice a broken path forward. Carefully navigate it, and go upstairs.
At top of it. You’ll find the #5 يُحوّل.
Now go back and open the door with the Blue Key. You’ll find yourself in some narrow passages.
At the end of those passages, you’ll end up in a room. Once inside the room, you’ll have to clear out an ambush event.
Clearing the ambush event, will give you your #5 Obsidian Chest.
#6 يُحوّل & Obsidian Chest
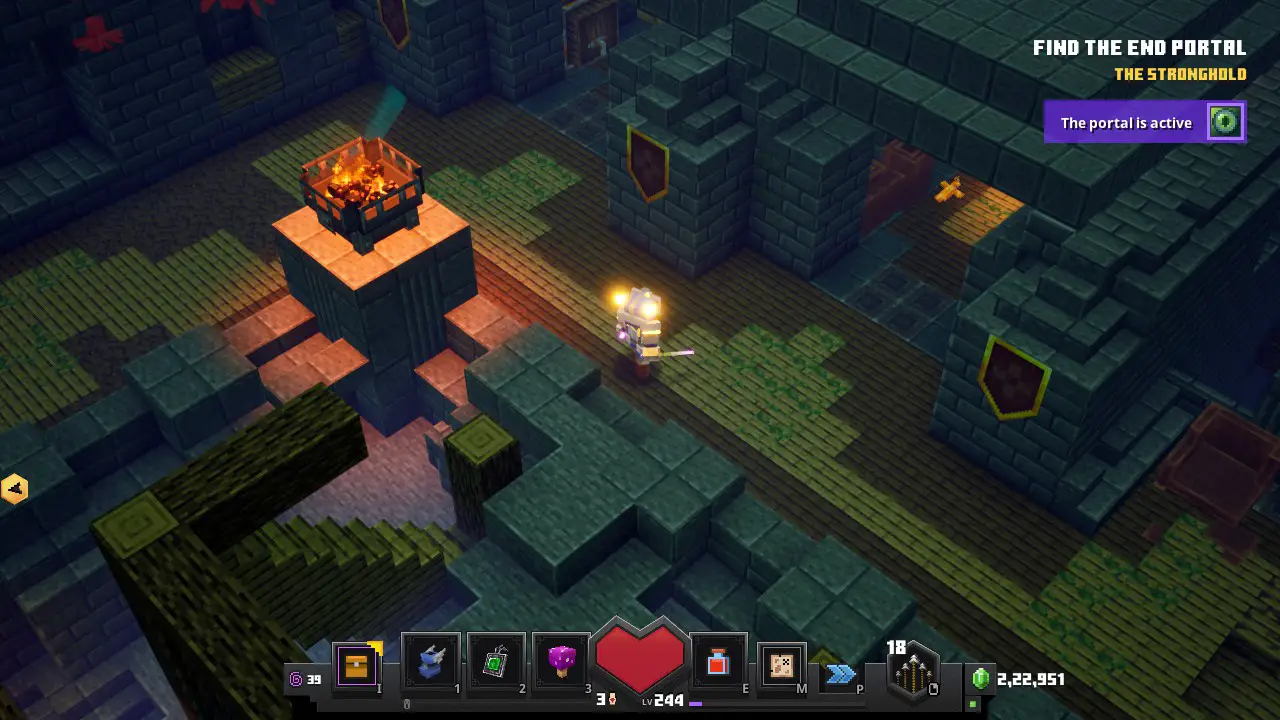
Exit from the 5th area and then head forward, and you’ll come across the door to the 6th area.
Inside the area, you’ll come across these caged villagers. Simply release them.
Go upstairs from the first caged villager. You’ll find the second caged villager. Release him.
From the second caged villager, go right and you’ll find the third caged villager. Release him as well.
Now you can go upstairs, which was previously blocked.
اذهب إلى الطابق العلوي, and take the right. You’ll find yourself the fourth caged villager.
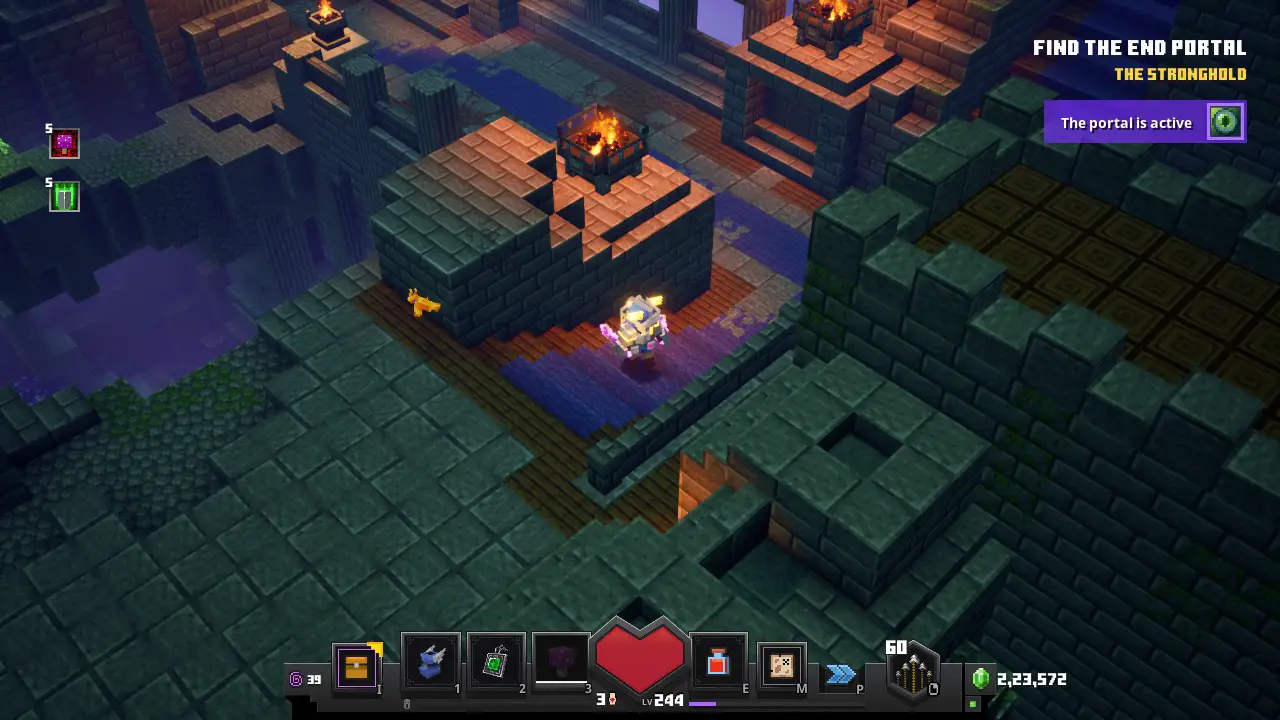
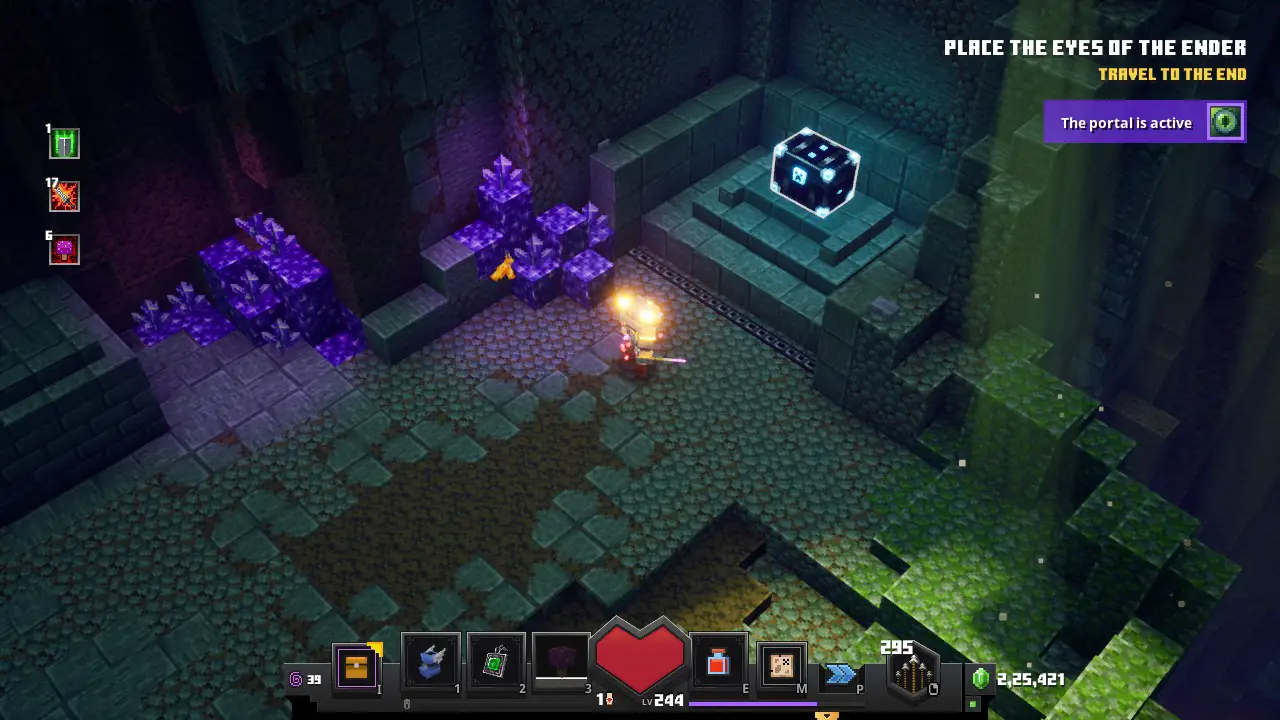
Keep going forward, after releasing the fourth caged villager, and you’ll find the final #6 يُحوّل
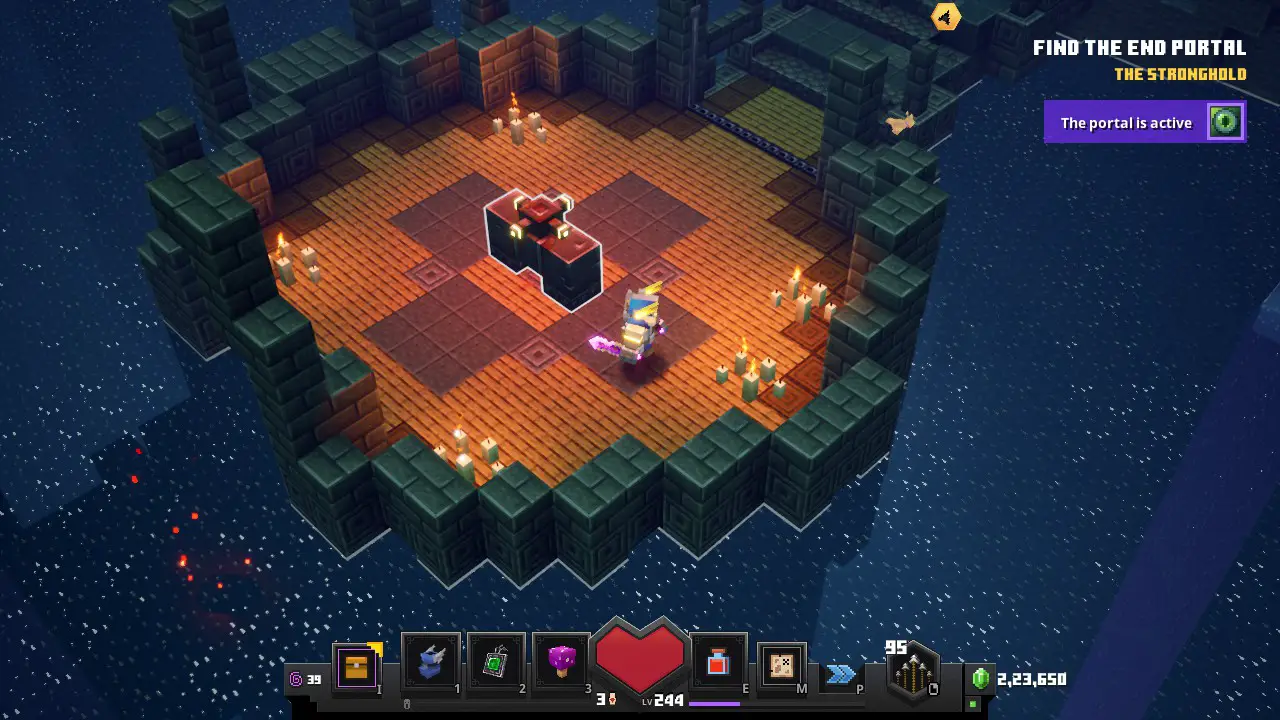
You can get yourself a Golden Chest. For that, you need to trigger the Creeper Pillar. Which will trigger an ambush event, consisting only of creepers (Be Careful!). This is completely optional. Only do it, if you are confident in taking out a lot of creepers. Some of them may be enchanted.
After clearing the creeper ambush event (only if you did that). Go back to the area of the previous fourth caged villager, and this time, take the left path, you’ll find yourself a fifth caged villager.
Freeing him will open the barrier ahead, leading to the Obsidian Chest.
Upstairs you find yourself in a room. That’ll trigger an ambush event consisting of 2 Endermen
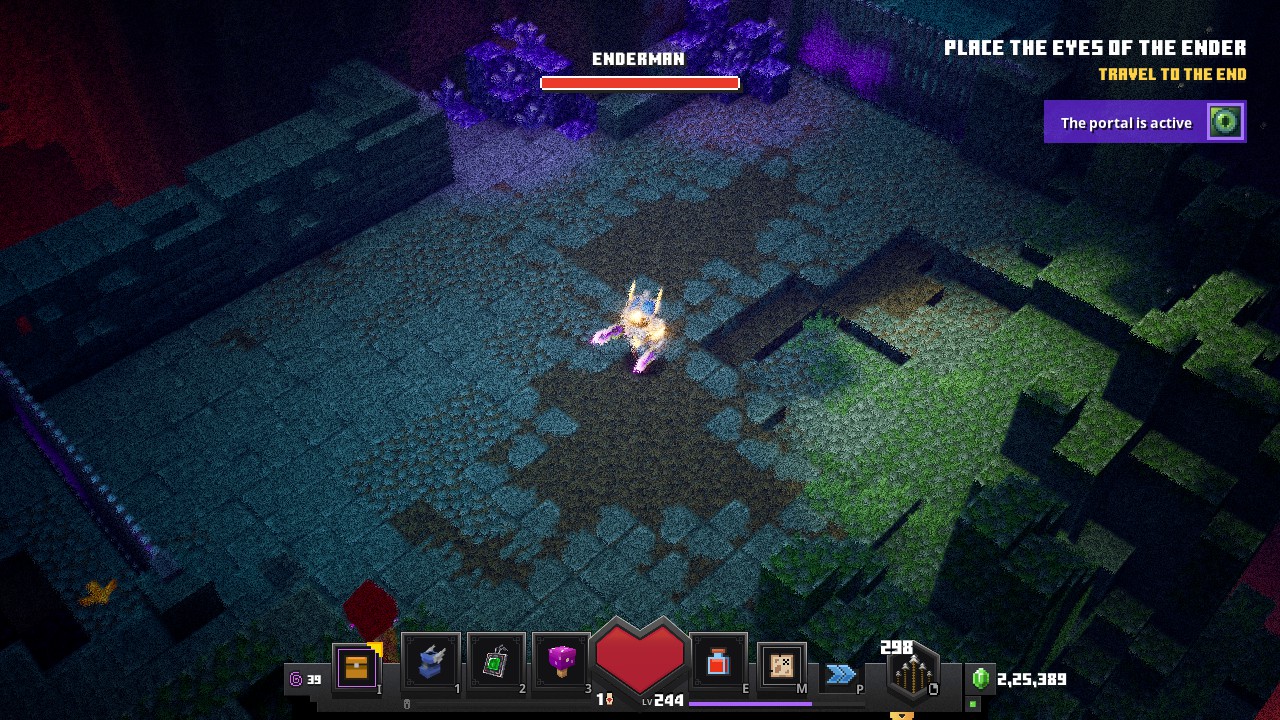
Clearing the event will get you your #6 Obsidian Chest.
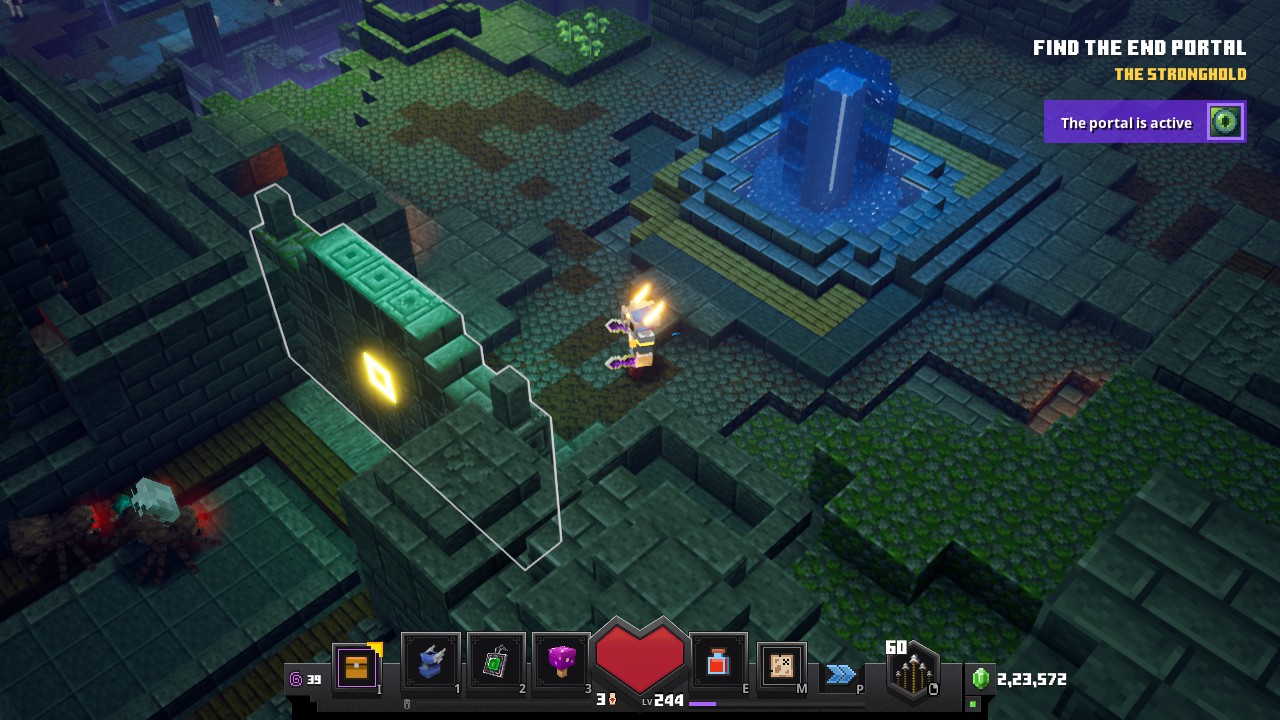
The Vault and #7 Obsidian Chest
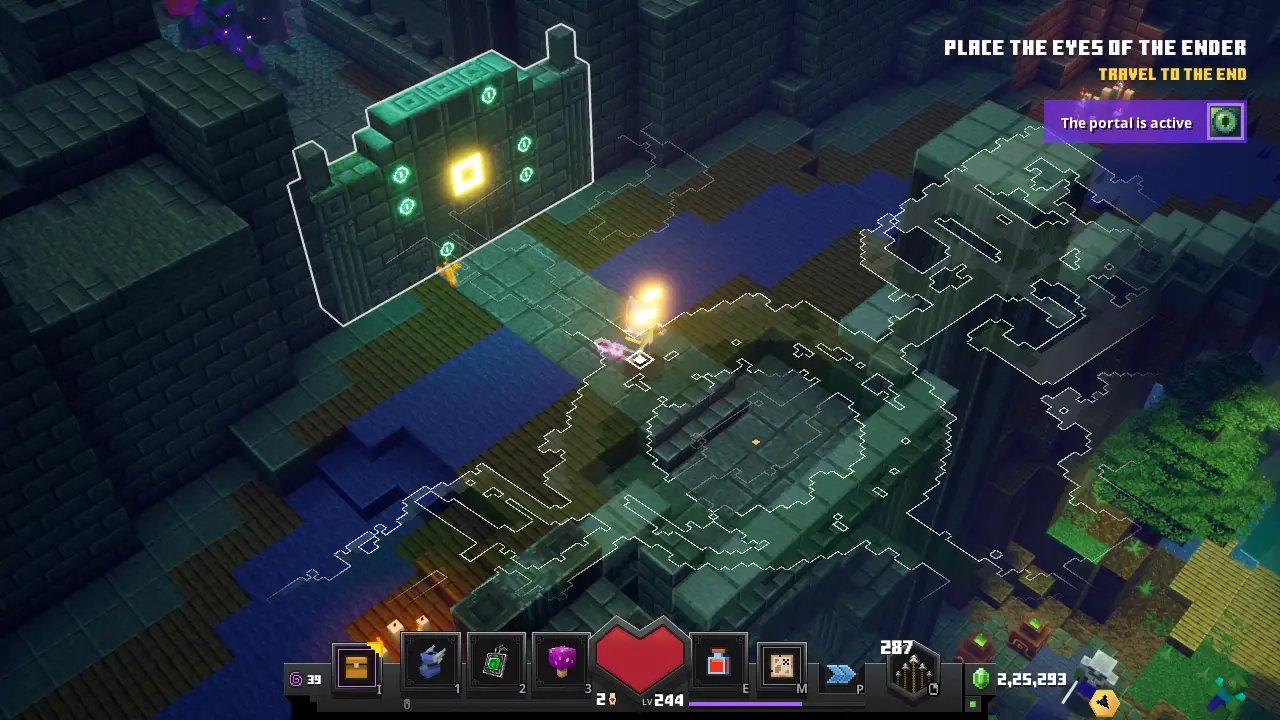
After triggering all 6 Switches. The Vault’s dungeon will open. This will be located just below the 6th Switch’s area, or North of the End Portal.
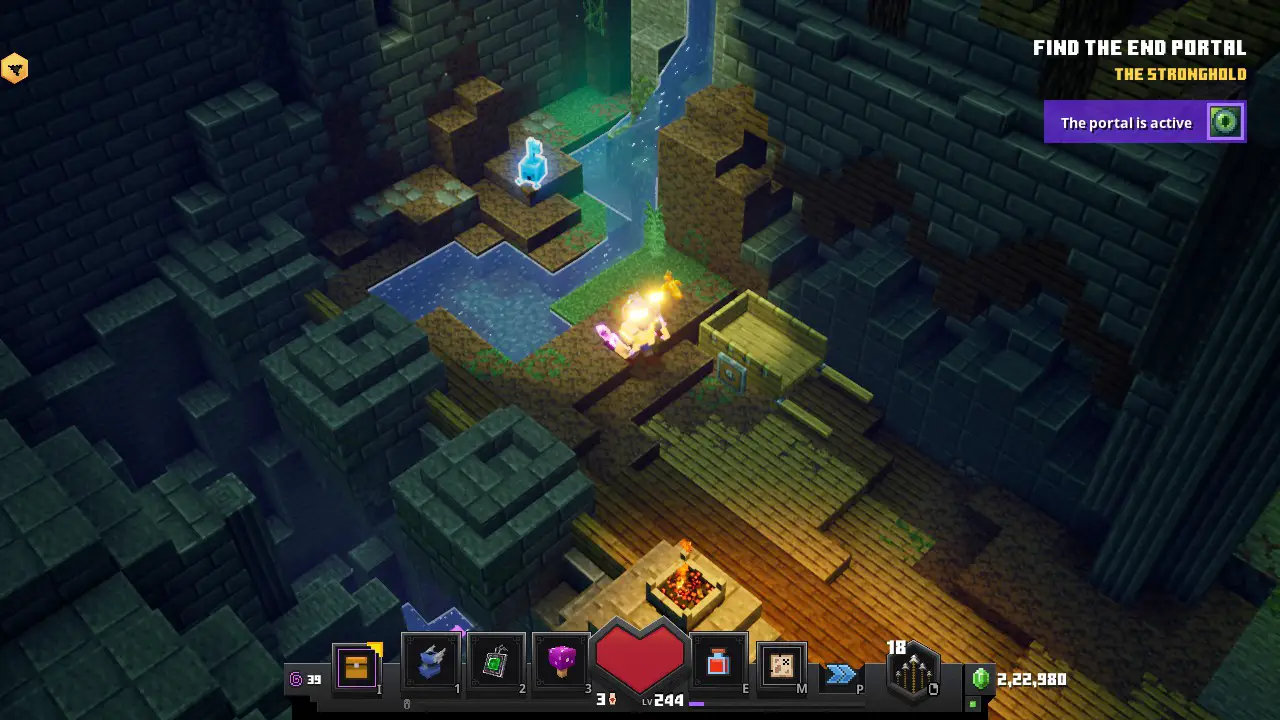
Upon entering, you’ll notice a barred area, this is where you can find the Obsidian Chest. So we need to unlock it. For that take any of the two stairs going downstairs.
Take any one of them. At end of those stairs will be a locked door, needing a Blue Key.
The Blue Golem Key is located upstairs and in the middle of a small area.
Take the Blue Key and unlock the door.
Going downstairs, you’ll find a fork, take any of the two paths.
At the bottom of the Vault, you’ll find yourself in a large room. And soon as you enter, an ambush event will happen.
There will be two buttons, on either side of the room. Triggering each of the buttons will trigger another ambush event.
There will be a lot of mobs. So be careful.
Now go back to the initial area, now the barrier will be unlocked, and upon entering the #7 Obsidian Chest will be yours.
هذا كل ما نشاركه اليوم من أجل هذا Minecraft Dungeons مرشد. تم إنشاء هذا الدليل وكتابته في الأصل بواسطة ThuNder. في حالة فشلنا في تحديث هذا الدليل, يمكنك العثور على آخر تحديث باتباع هذا وصلة.