
- عنوان: نداء الواجب: OPS الأسود الثالث
- تاريخ الافراج عنه:
- المطور:
- الناشر:
معلومات عن كول اوف ديوتي: لا يزال Black Ops III غير مكتمل. الرجاء مساعدتنا في ملء تفاصيل اللعبة باستخدام هذا نموذج الاتصال.
This is a walkthrough of the general features of a map, such as the map layout, قوة, Pack-a-Punch, إلخ. along with Daybreak specific features.
قوة
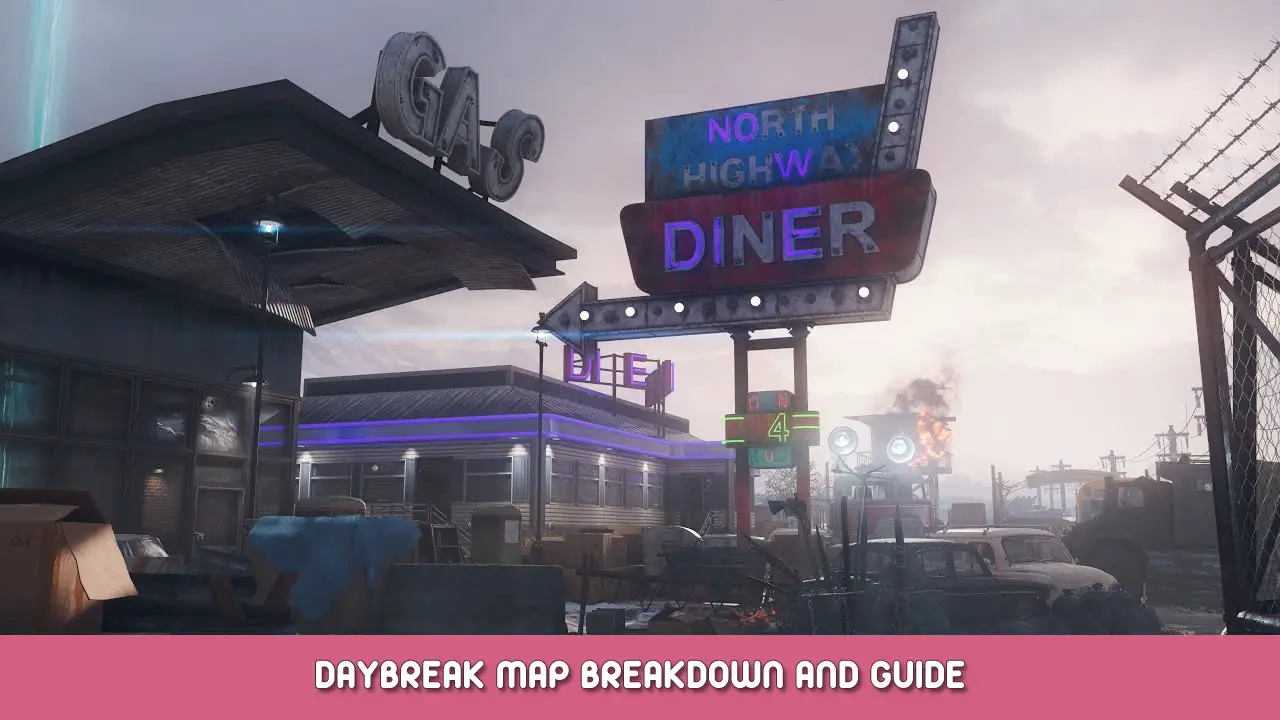
The power switch is located inside the shed located on the opposite side of the map from spawn. The door costs 1500 points to open.
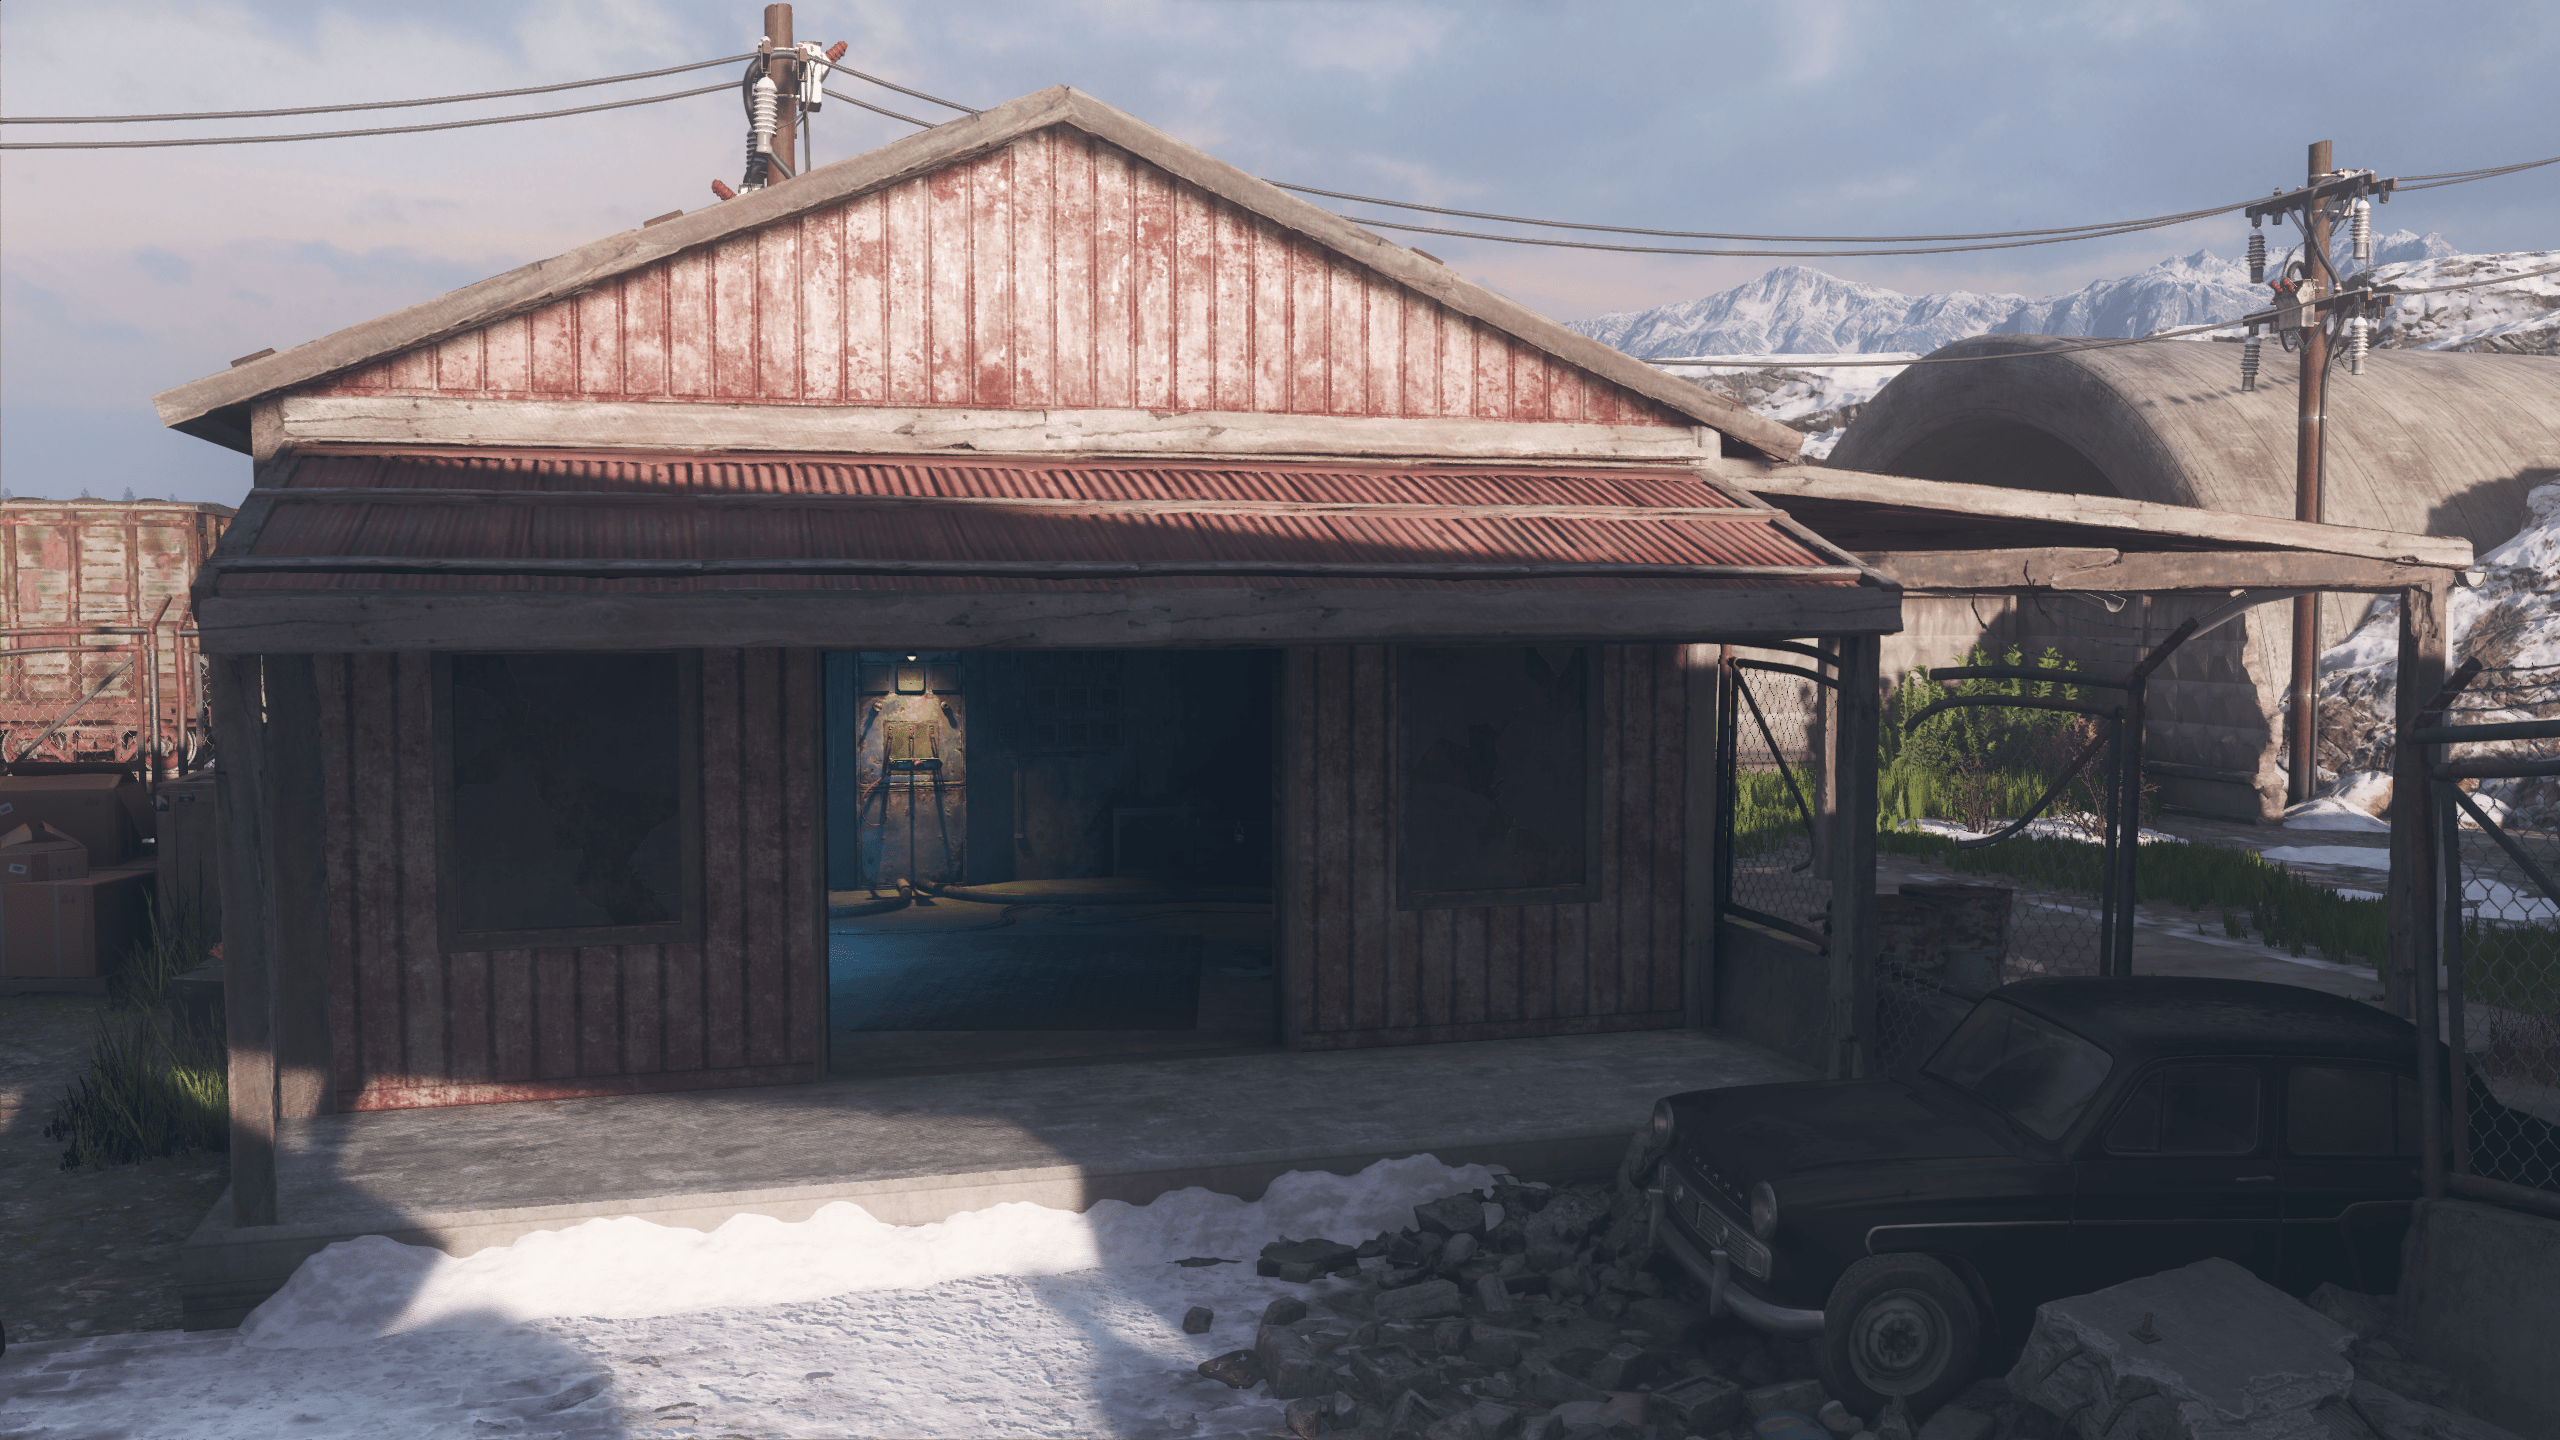
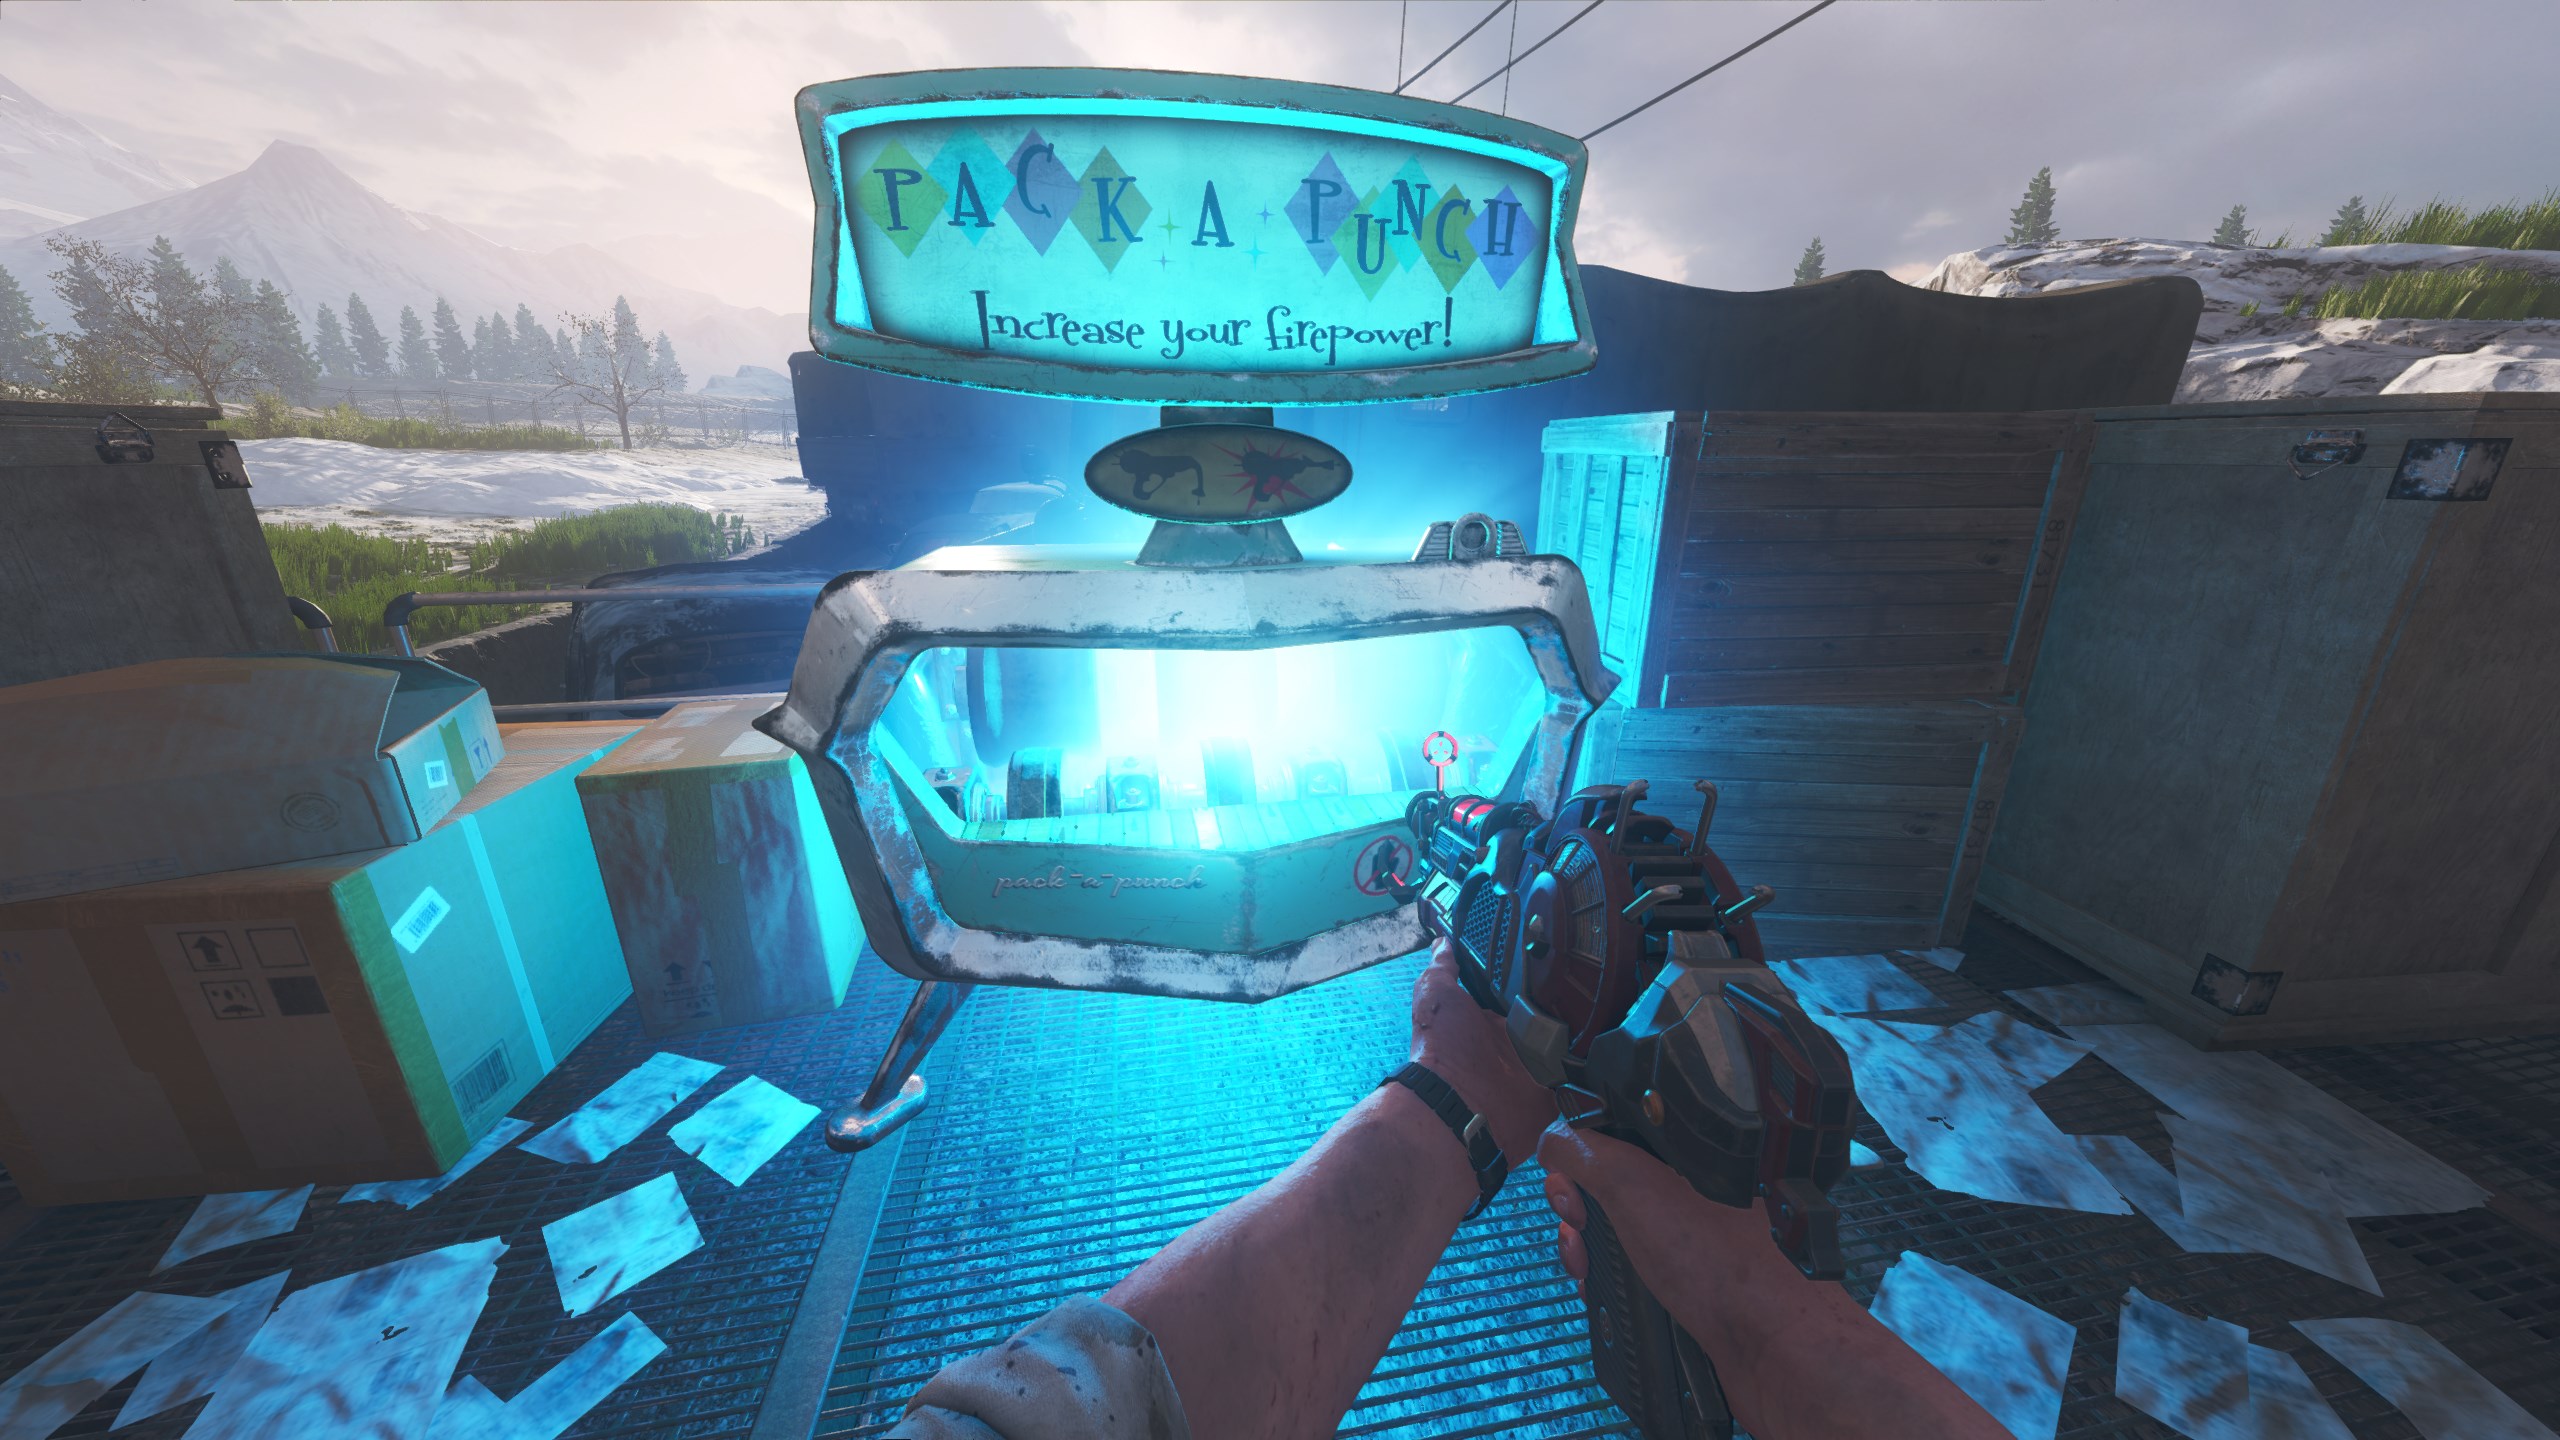
Pack-a-Punch
- Activate the power.
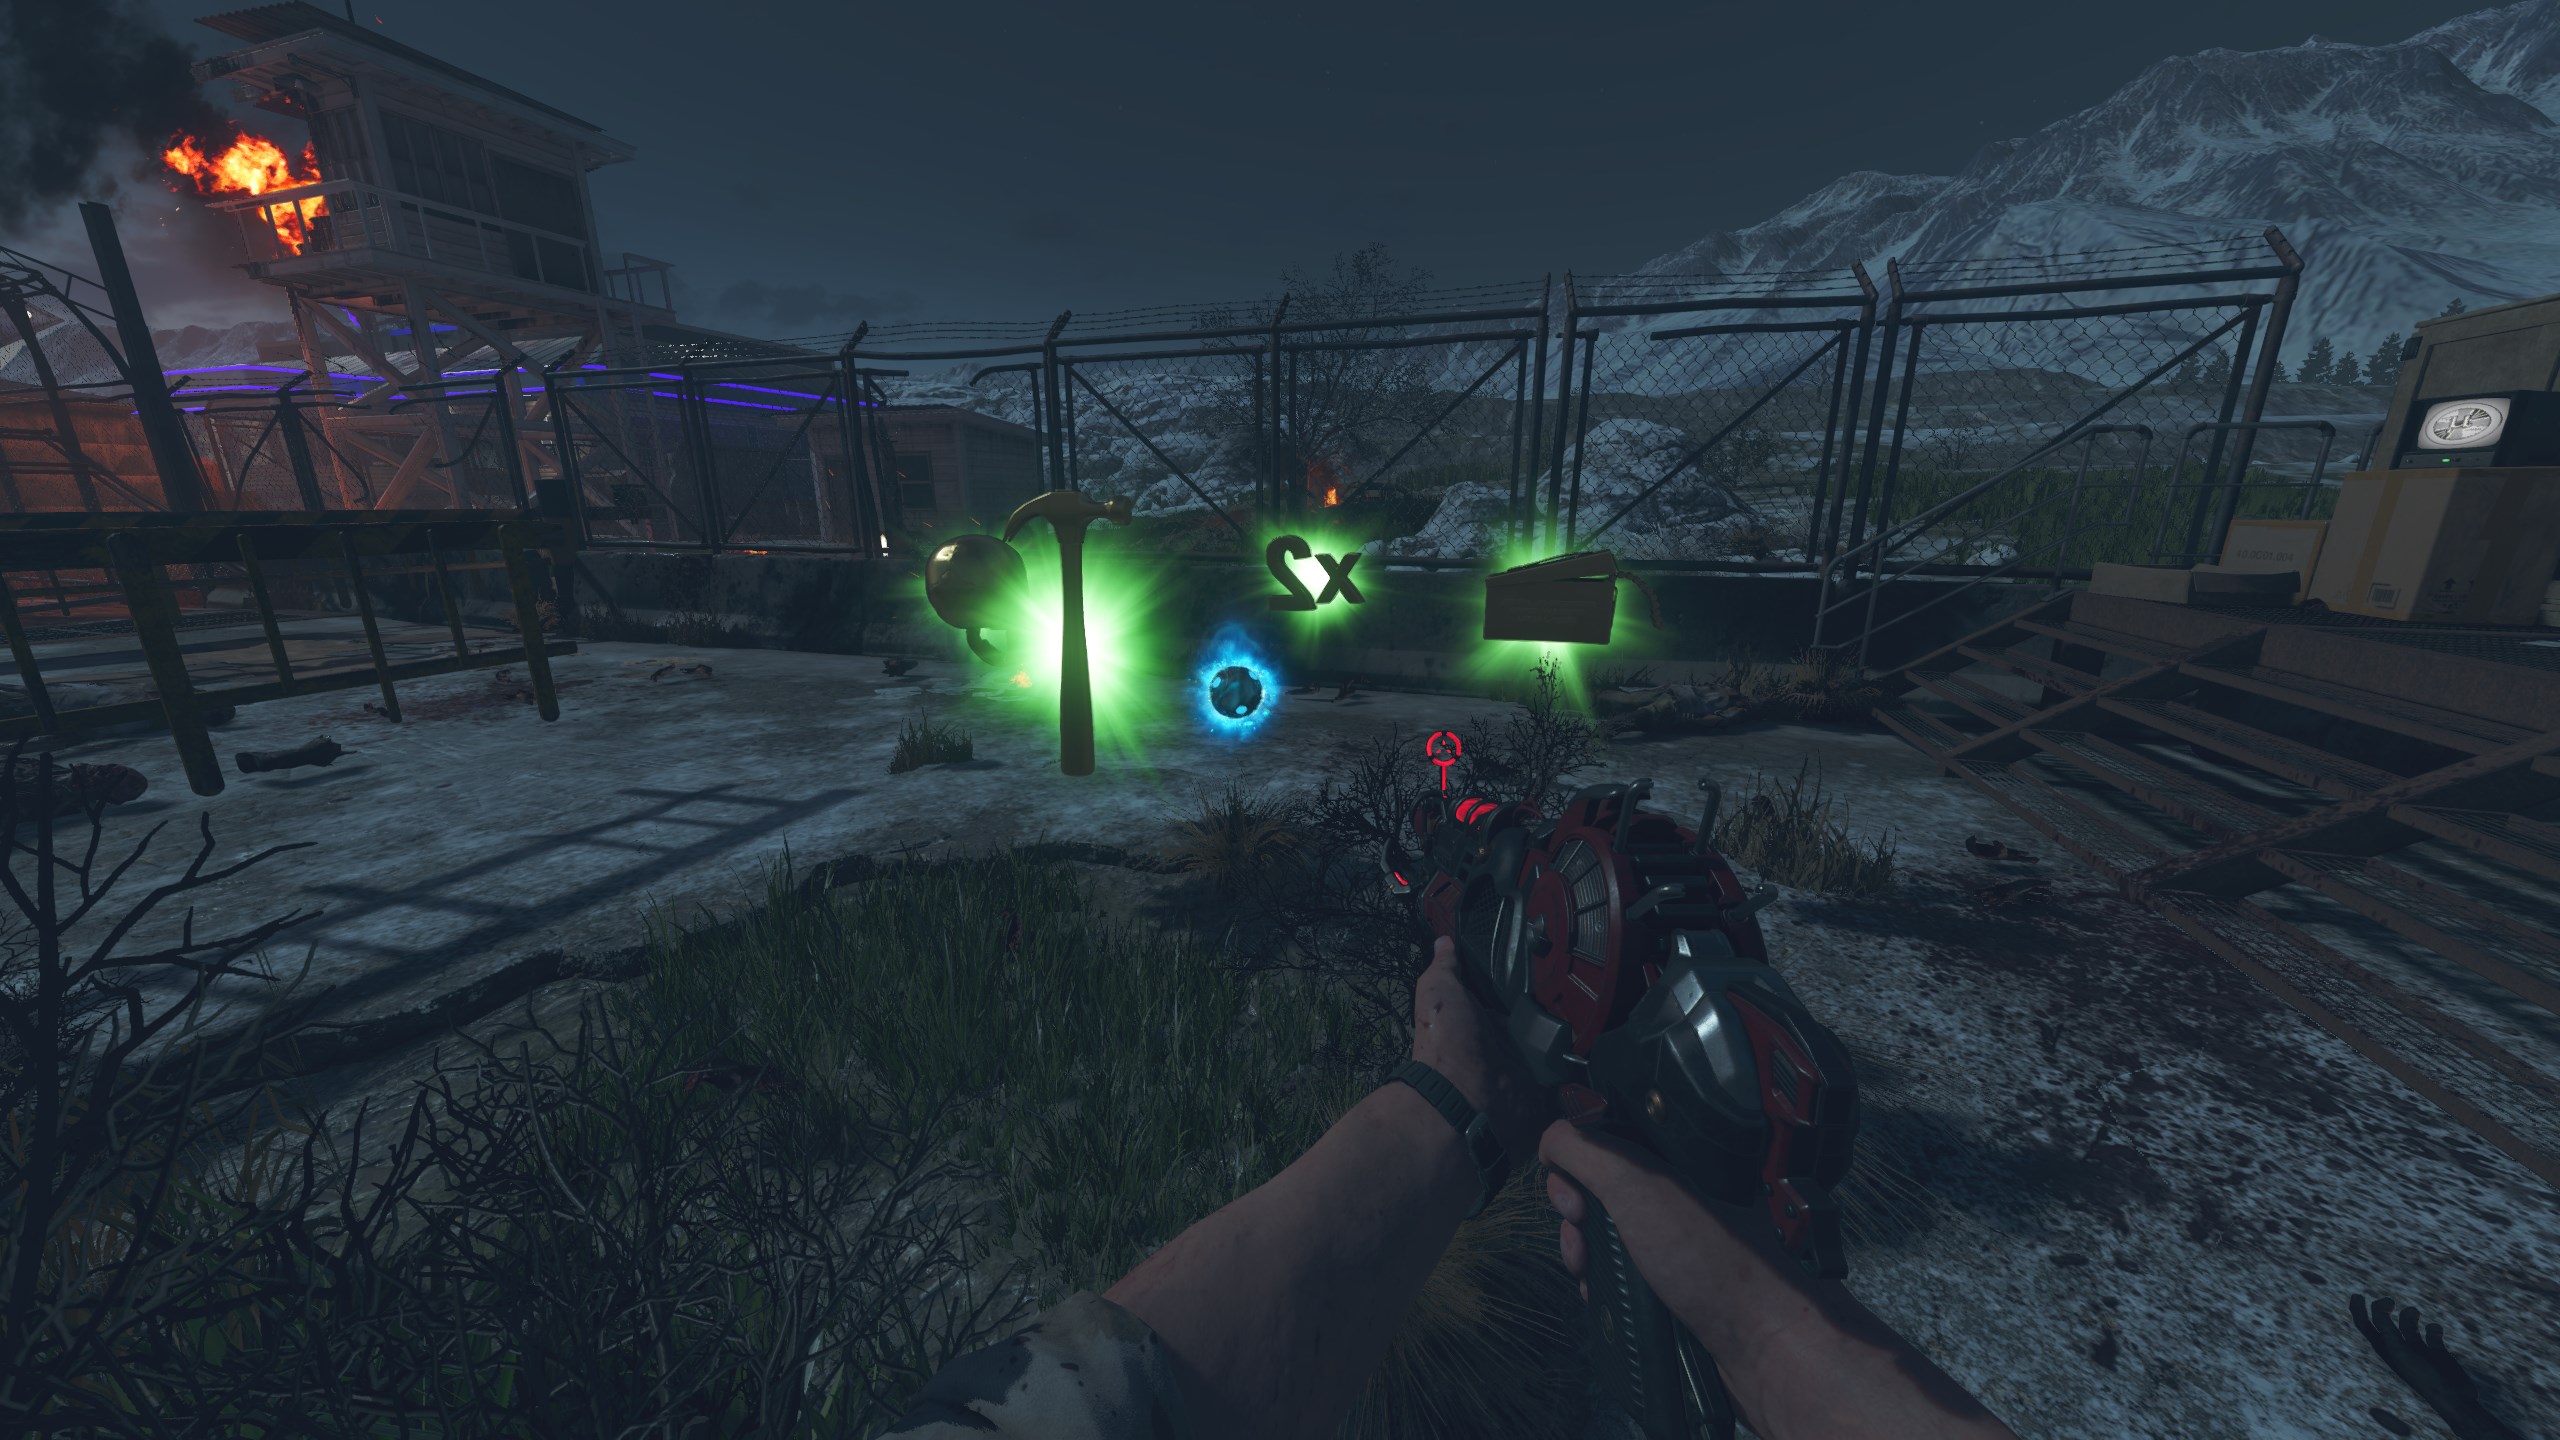
- Build and obtain the Trample Steam.
- Travel back to spawn using the Trample Steam.
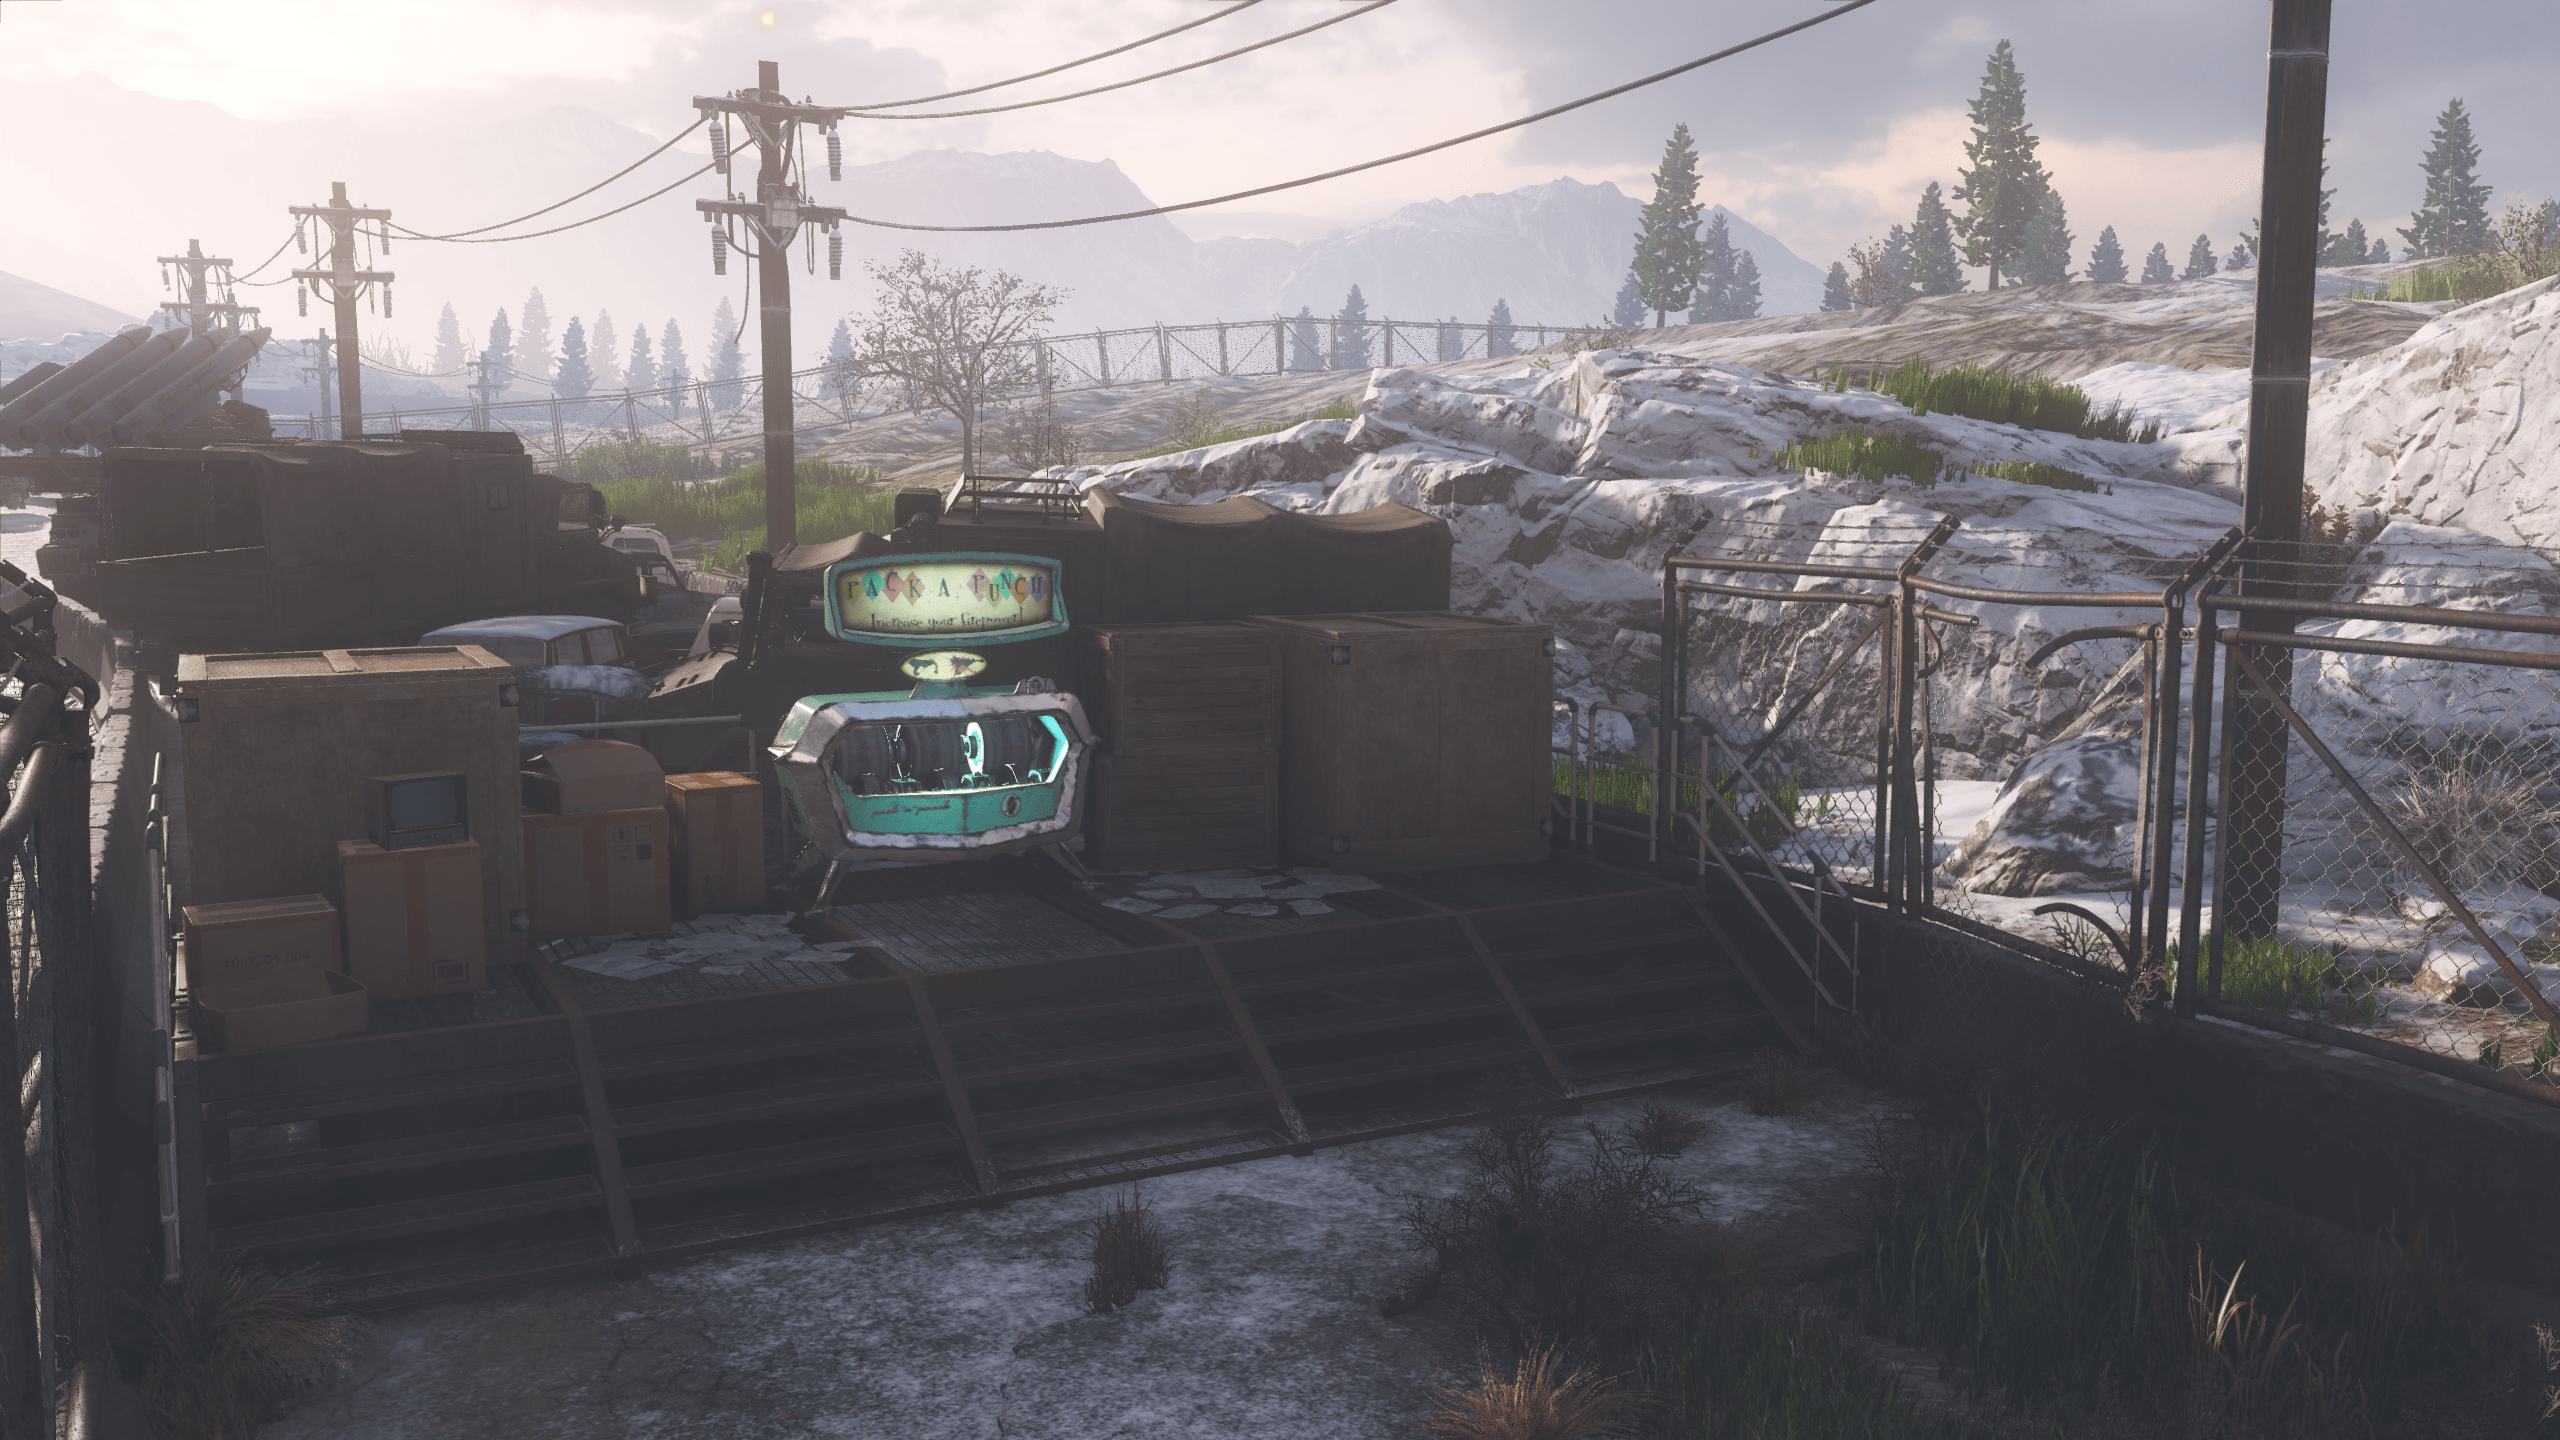
Special Enemies
Electric CrawlerElectric Crawler’s will begin to spawn once the power is activated.
Buildable Tables
هناك 2 buildable tables in Daybreak, locations below:
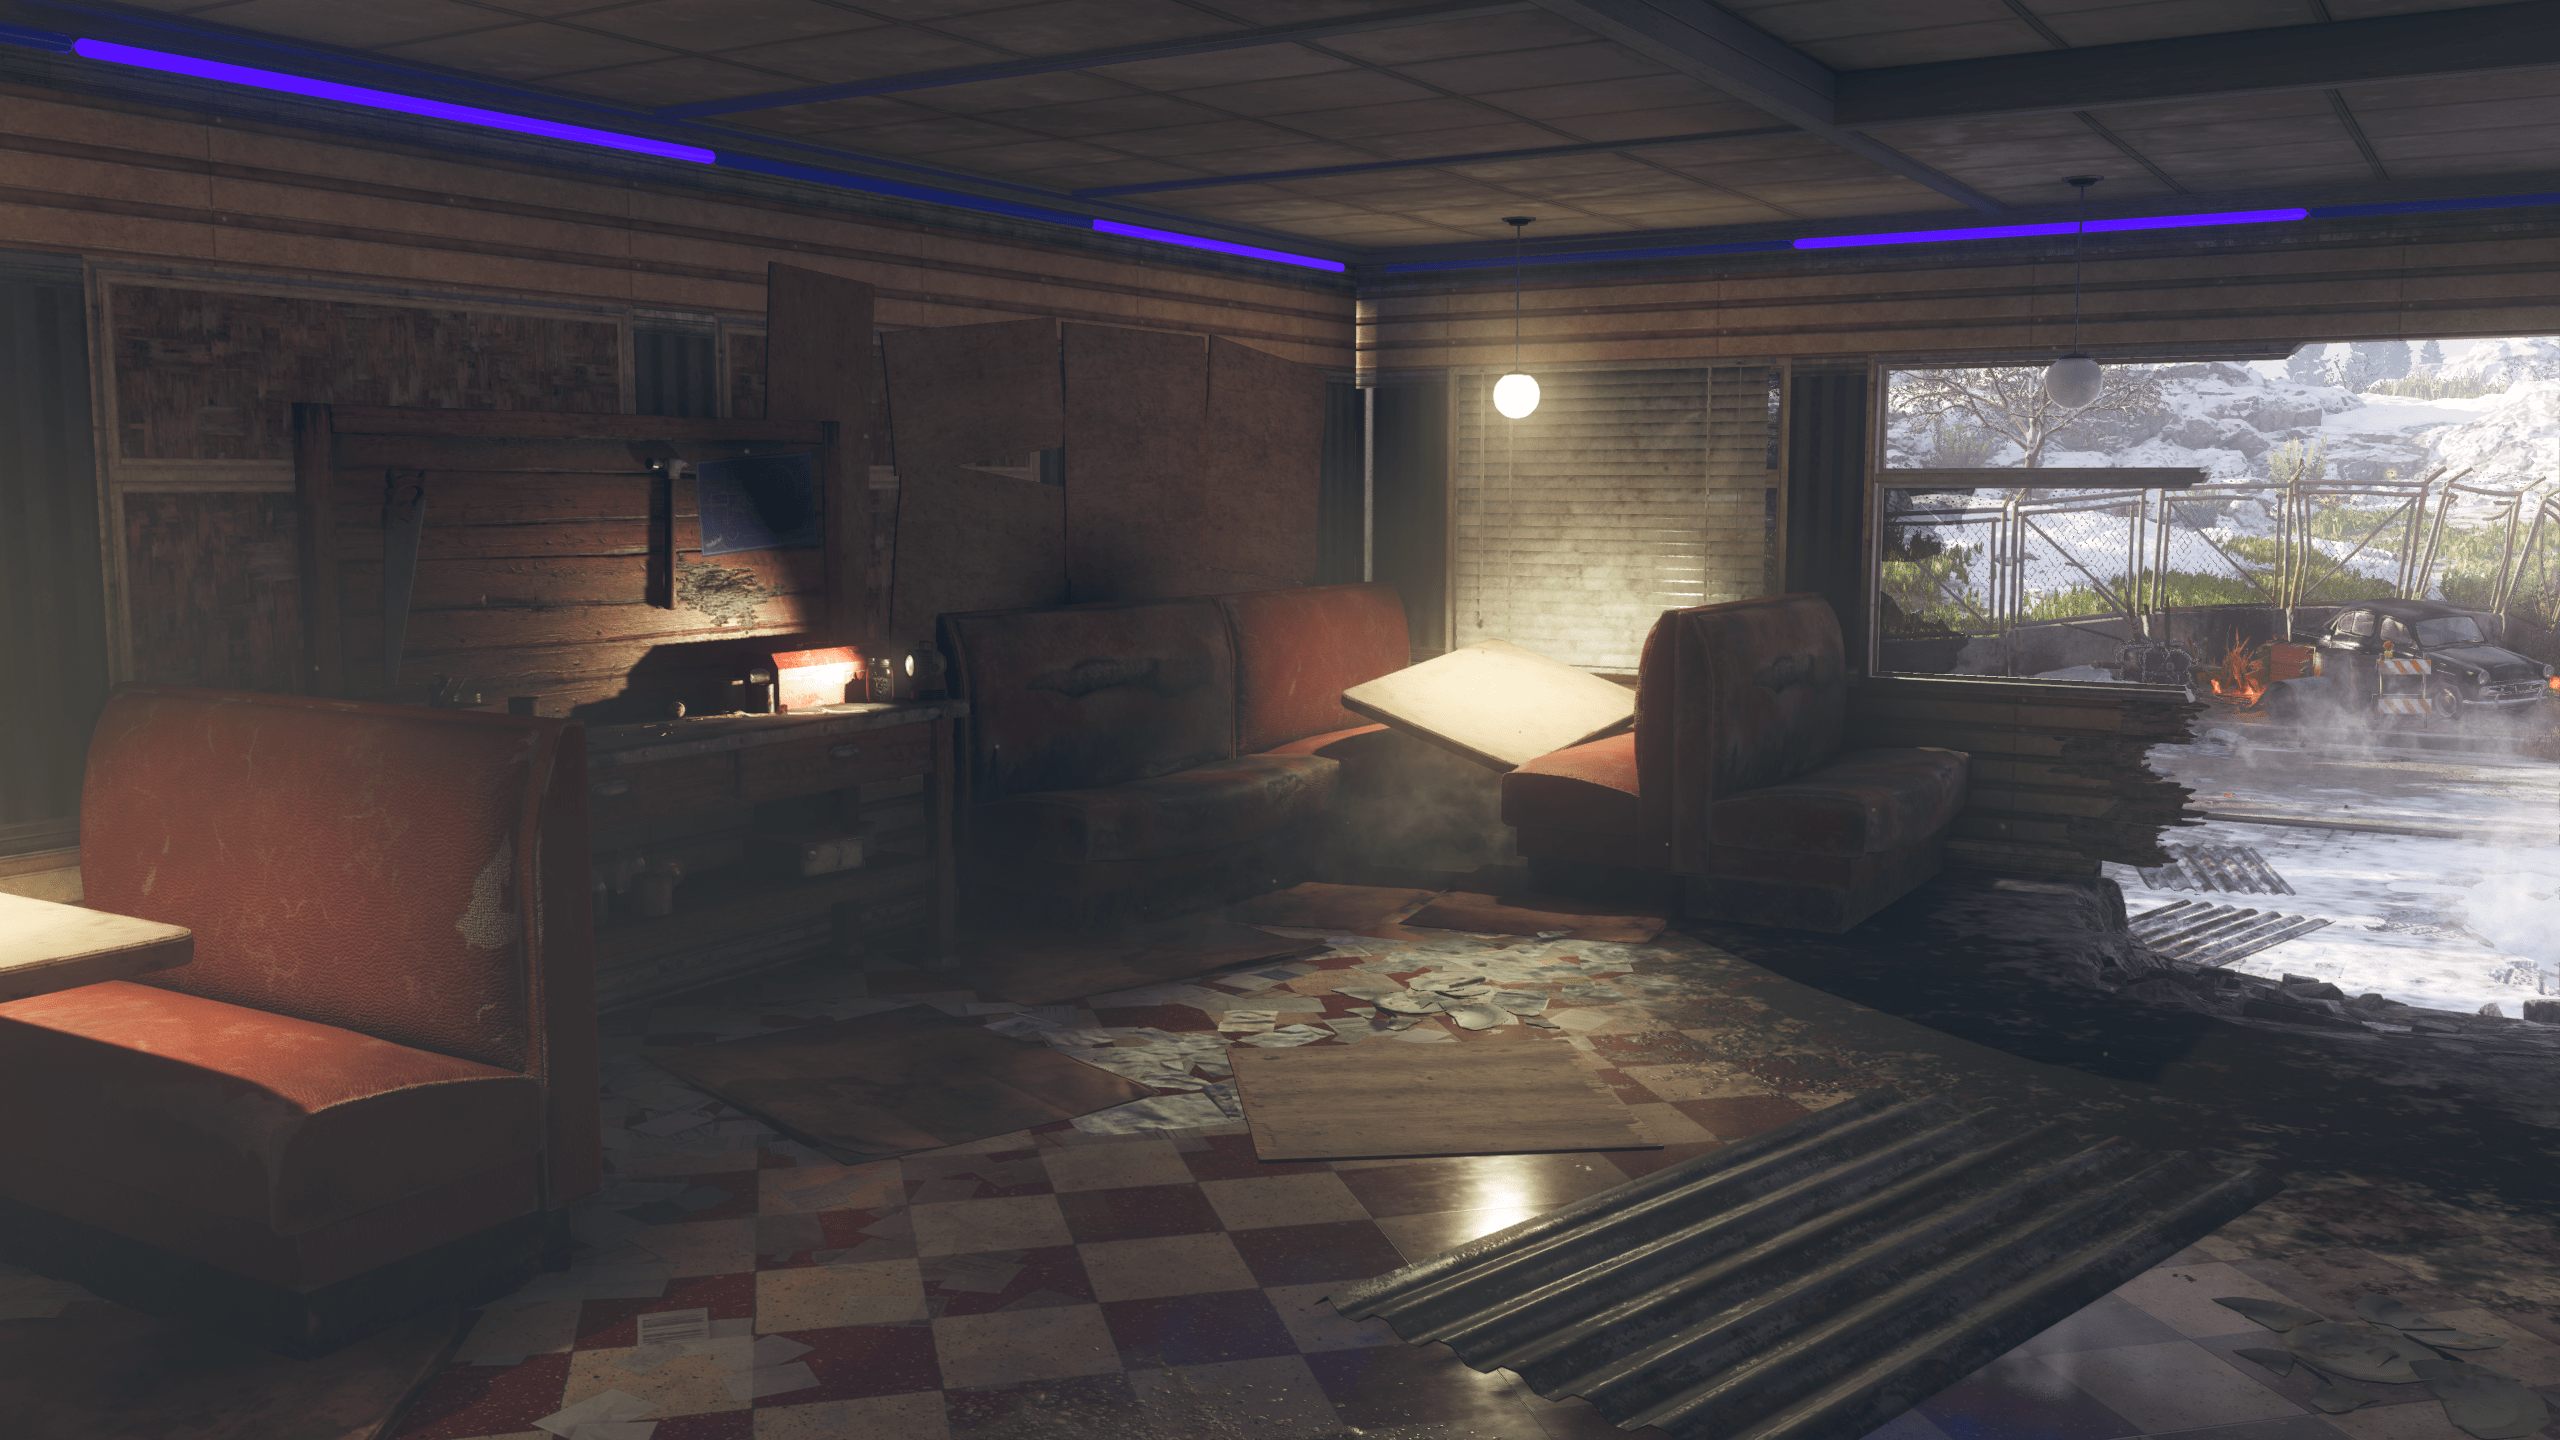
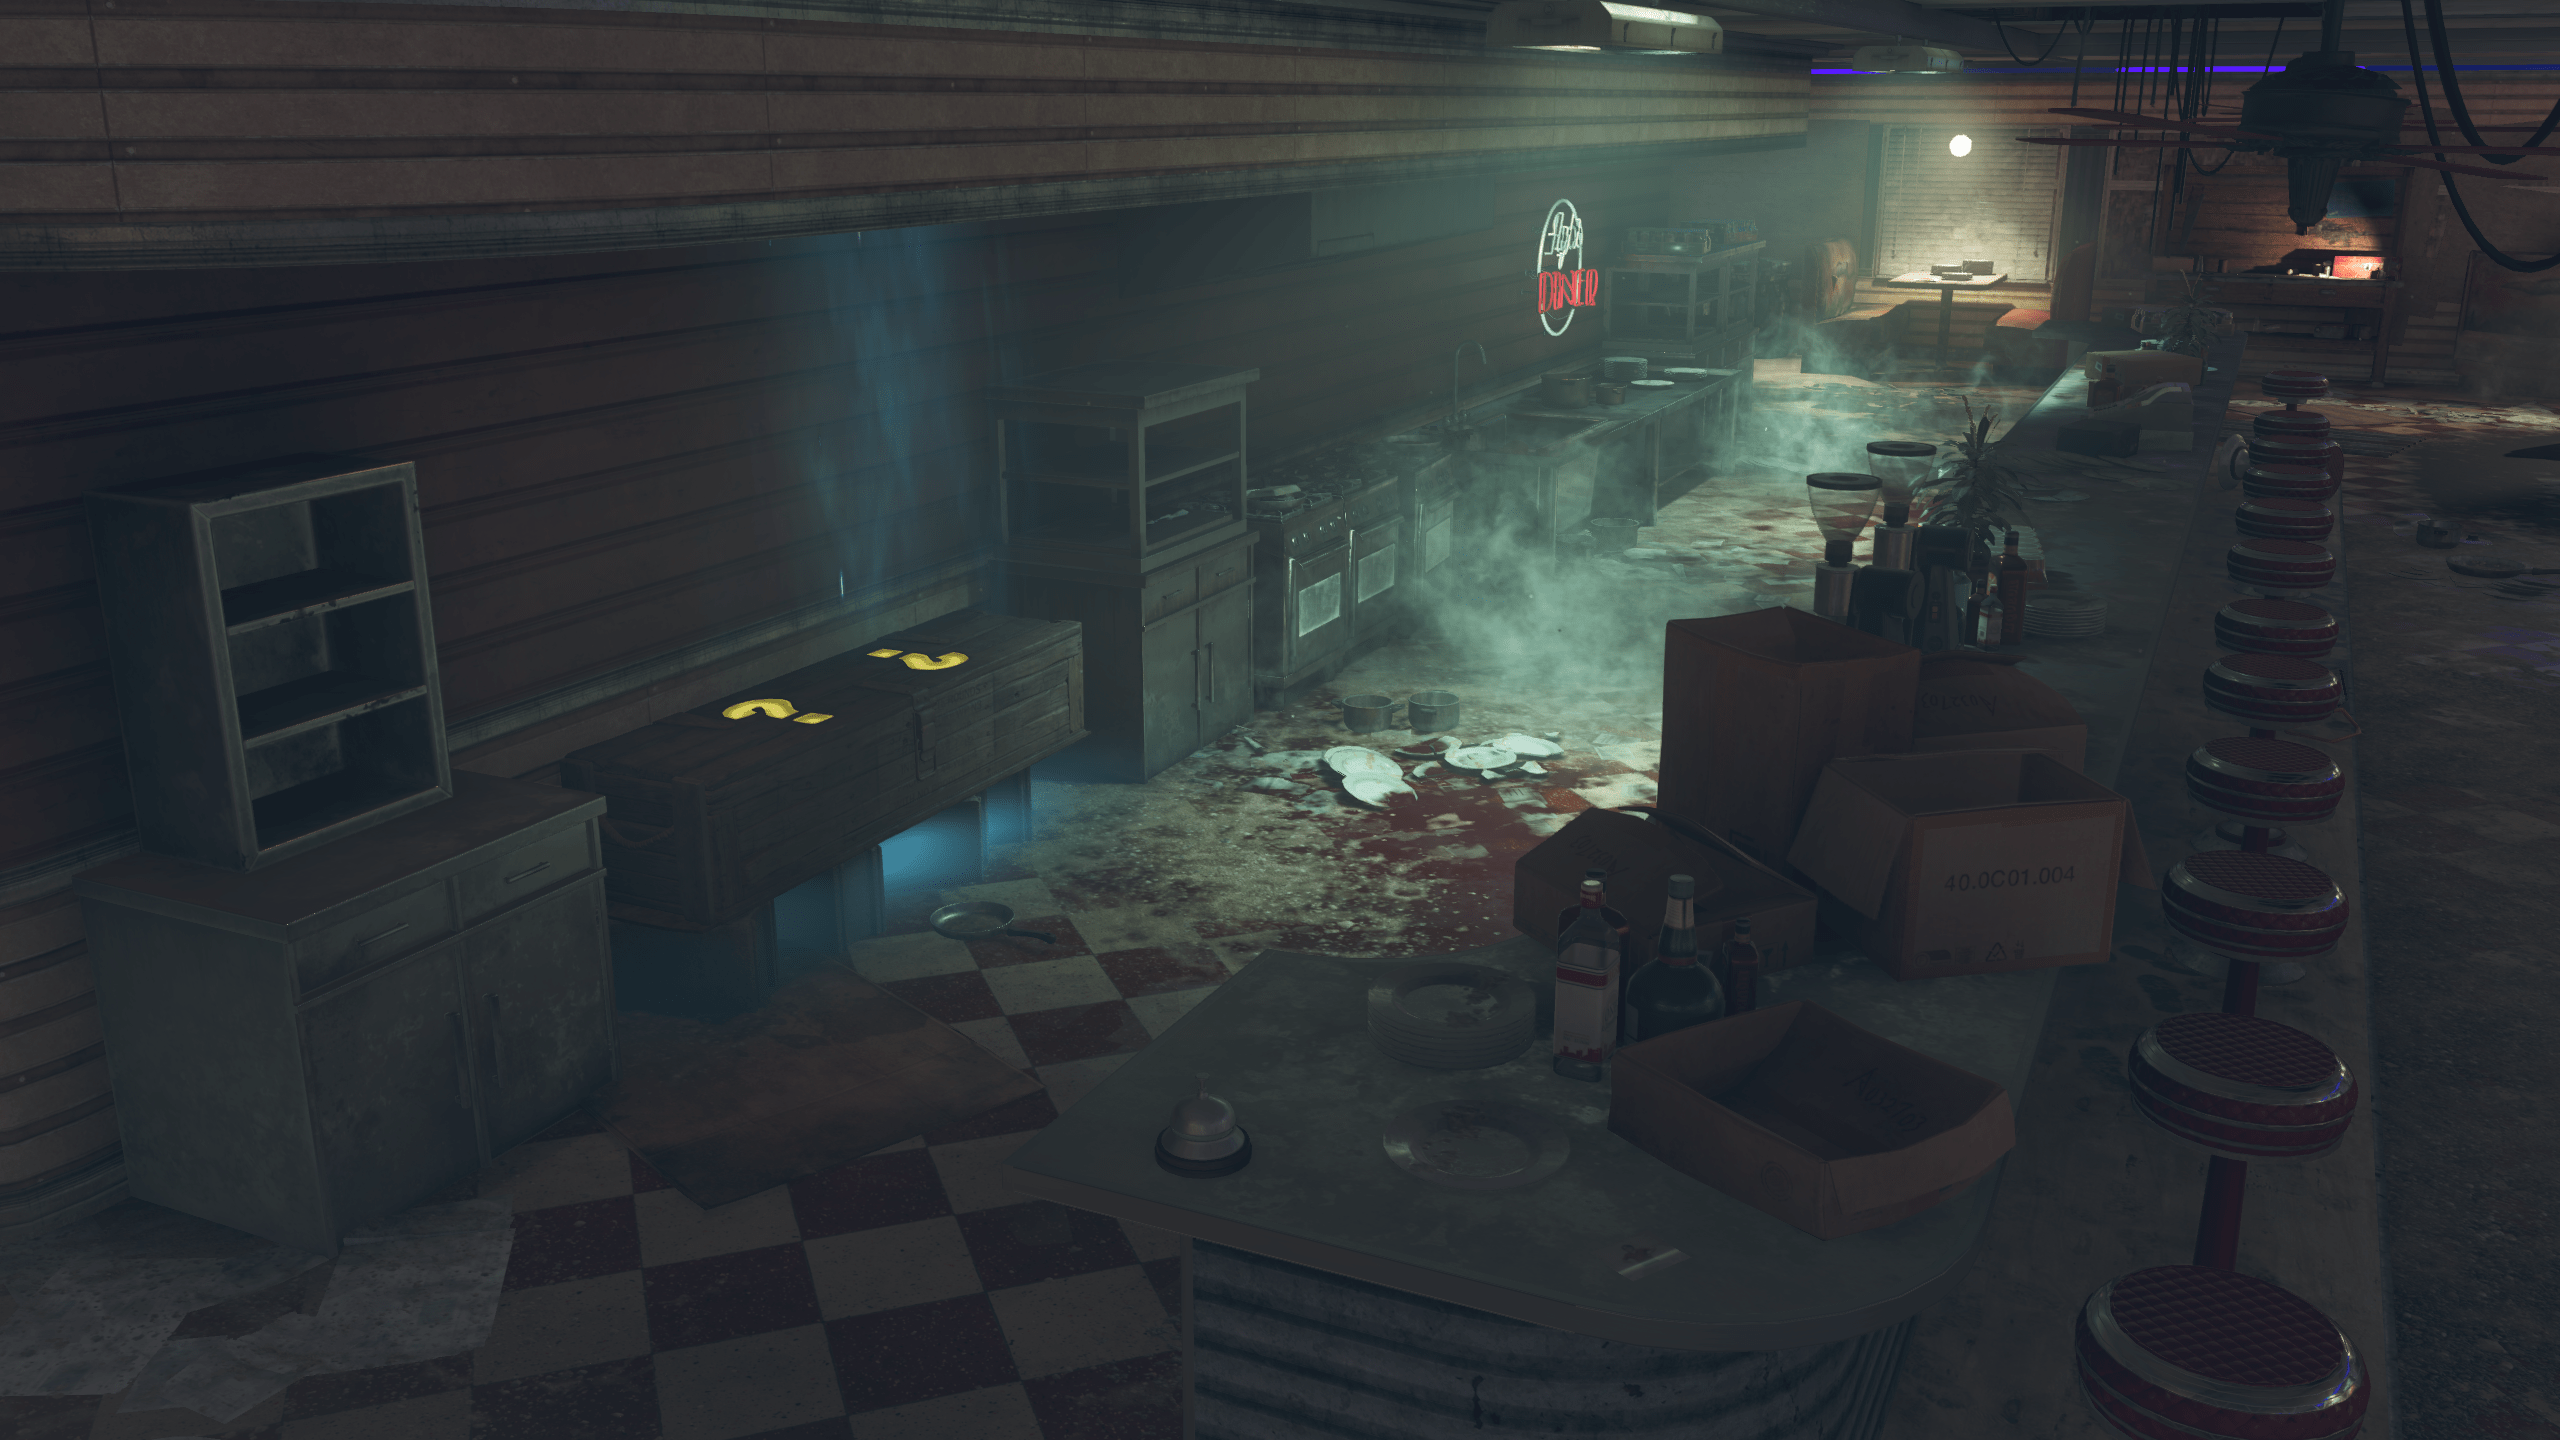
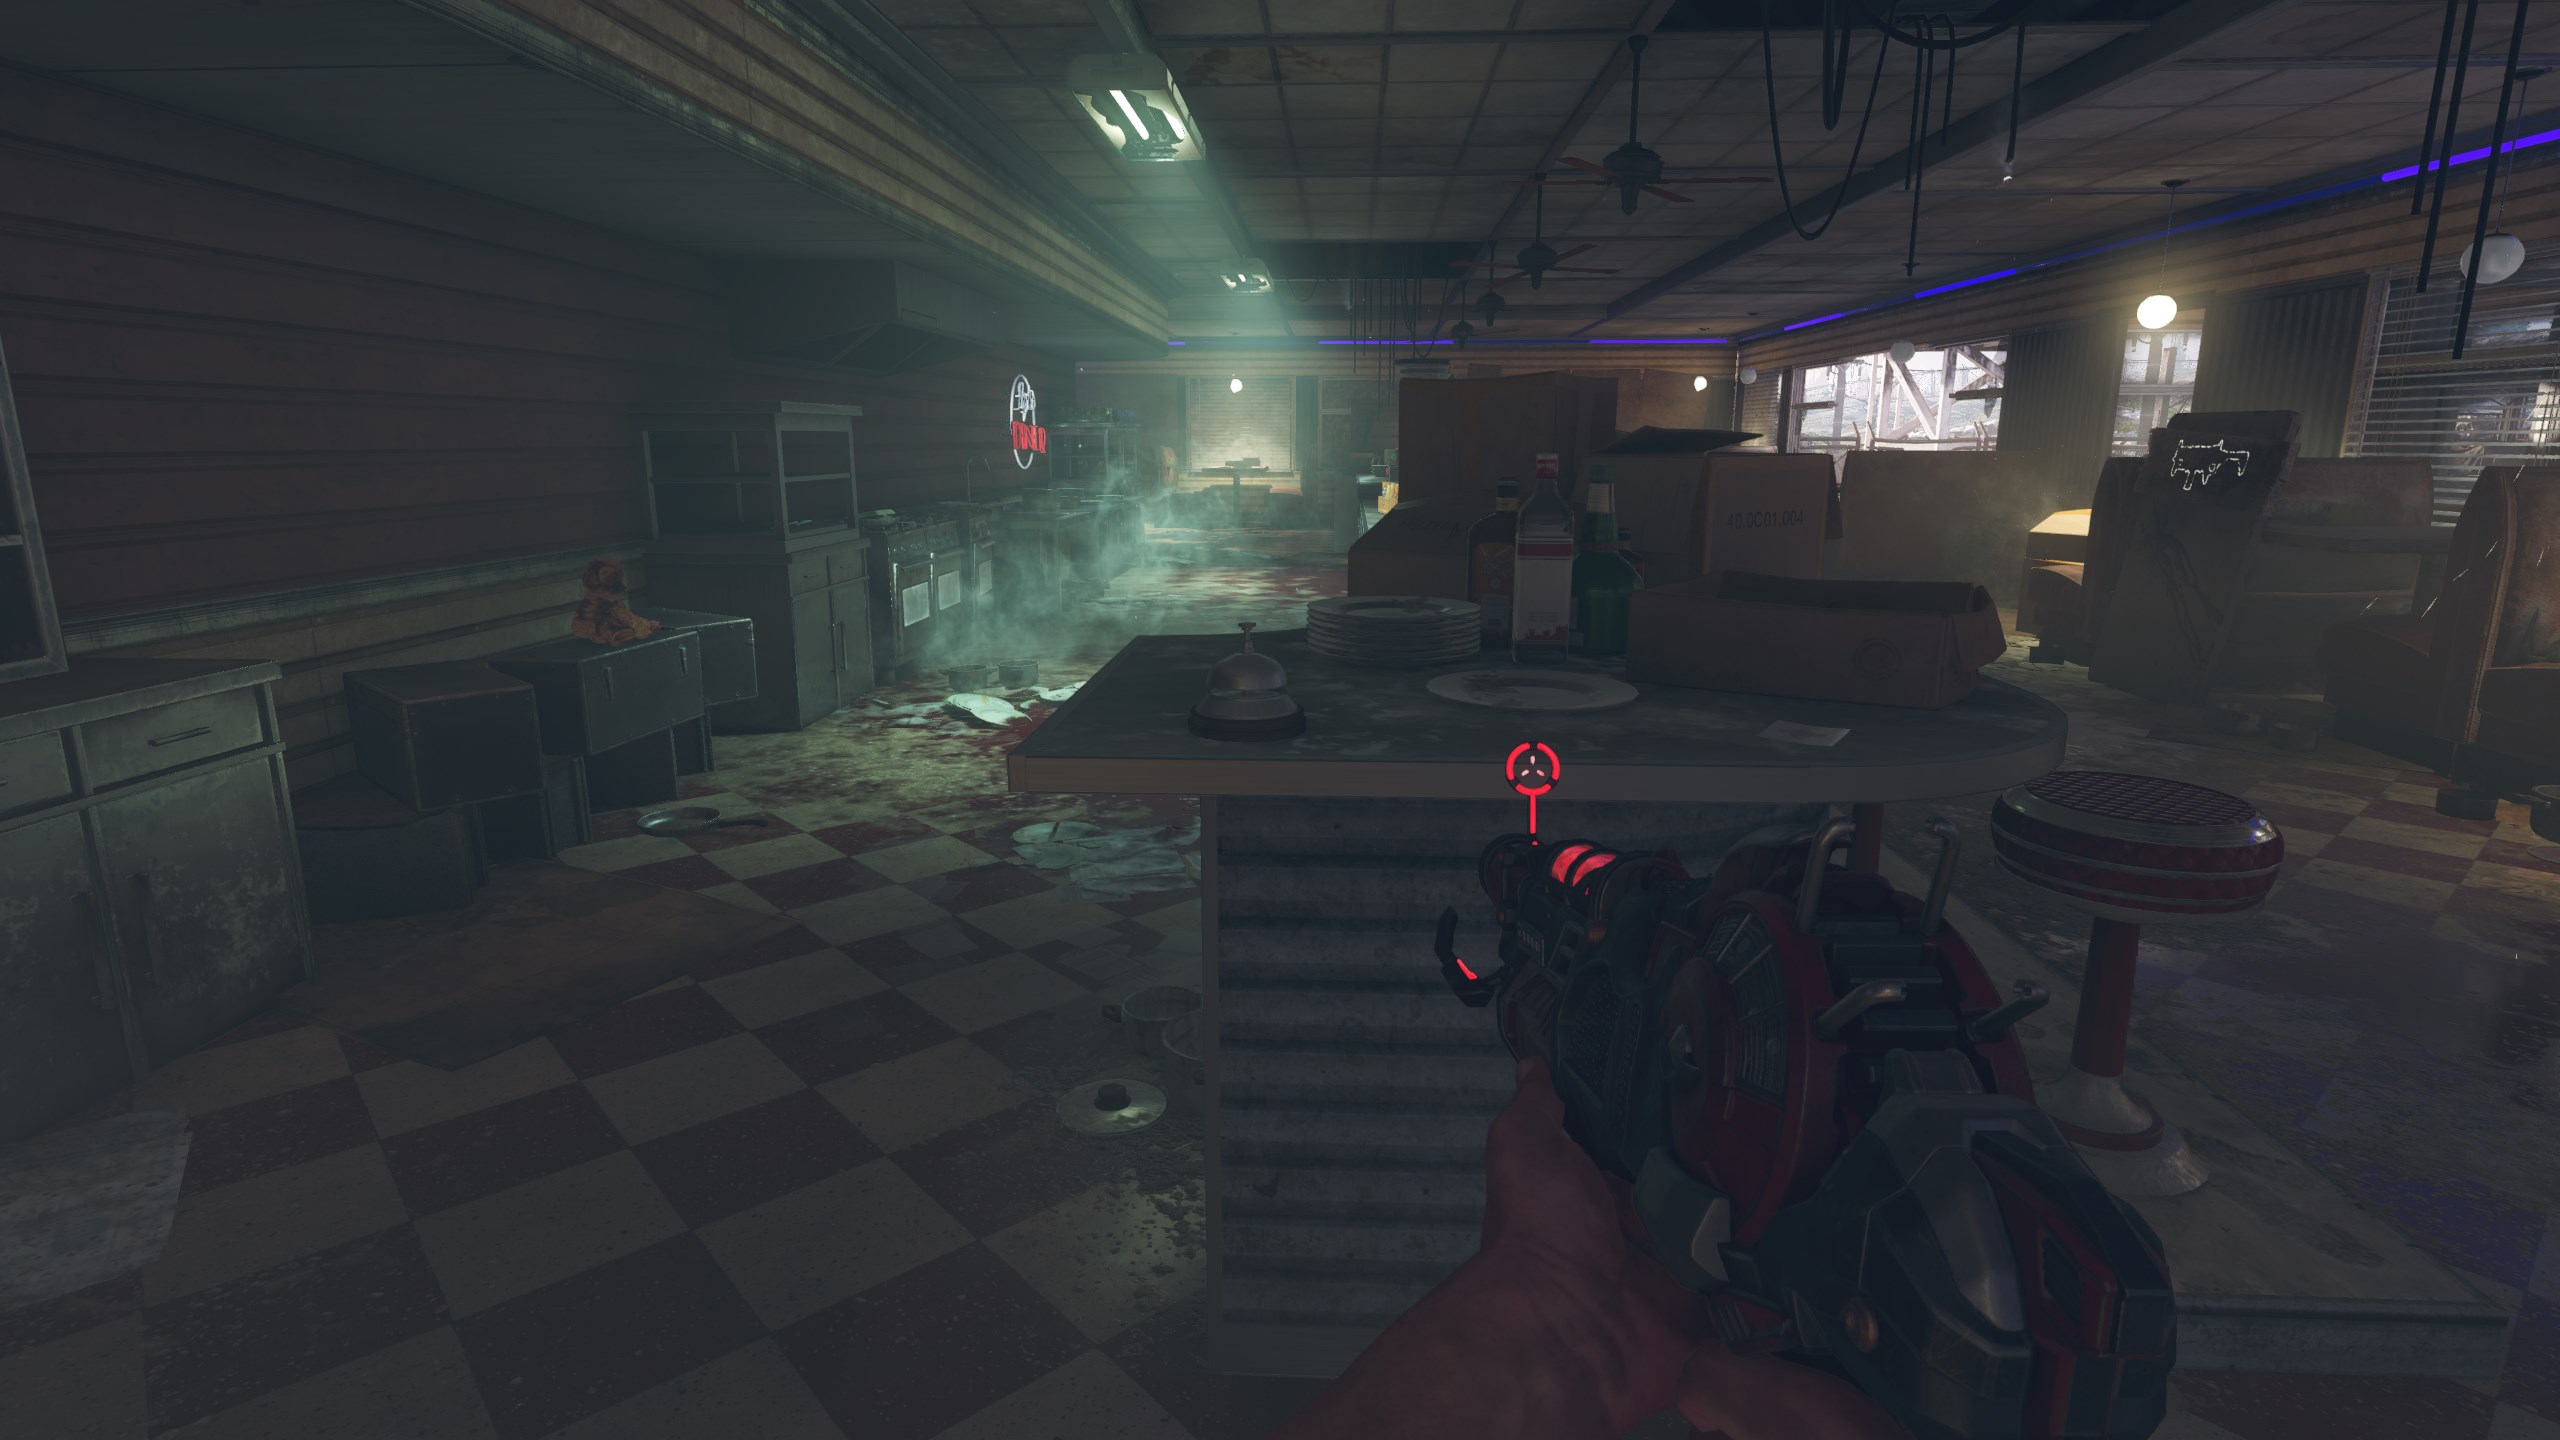
- Inside the Diner.
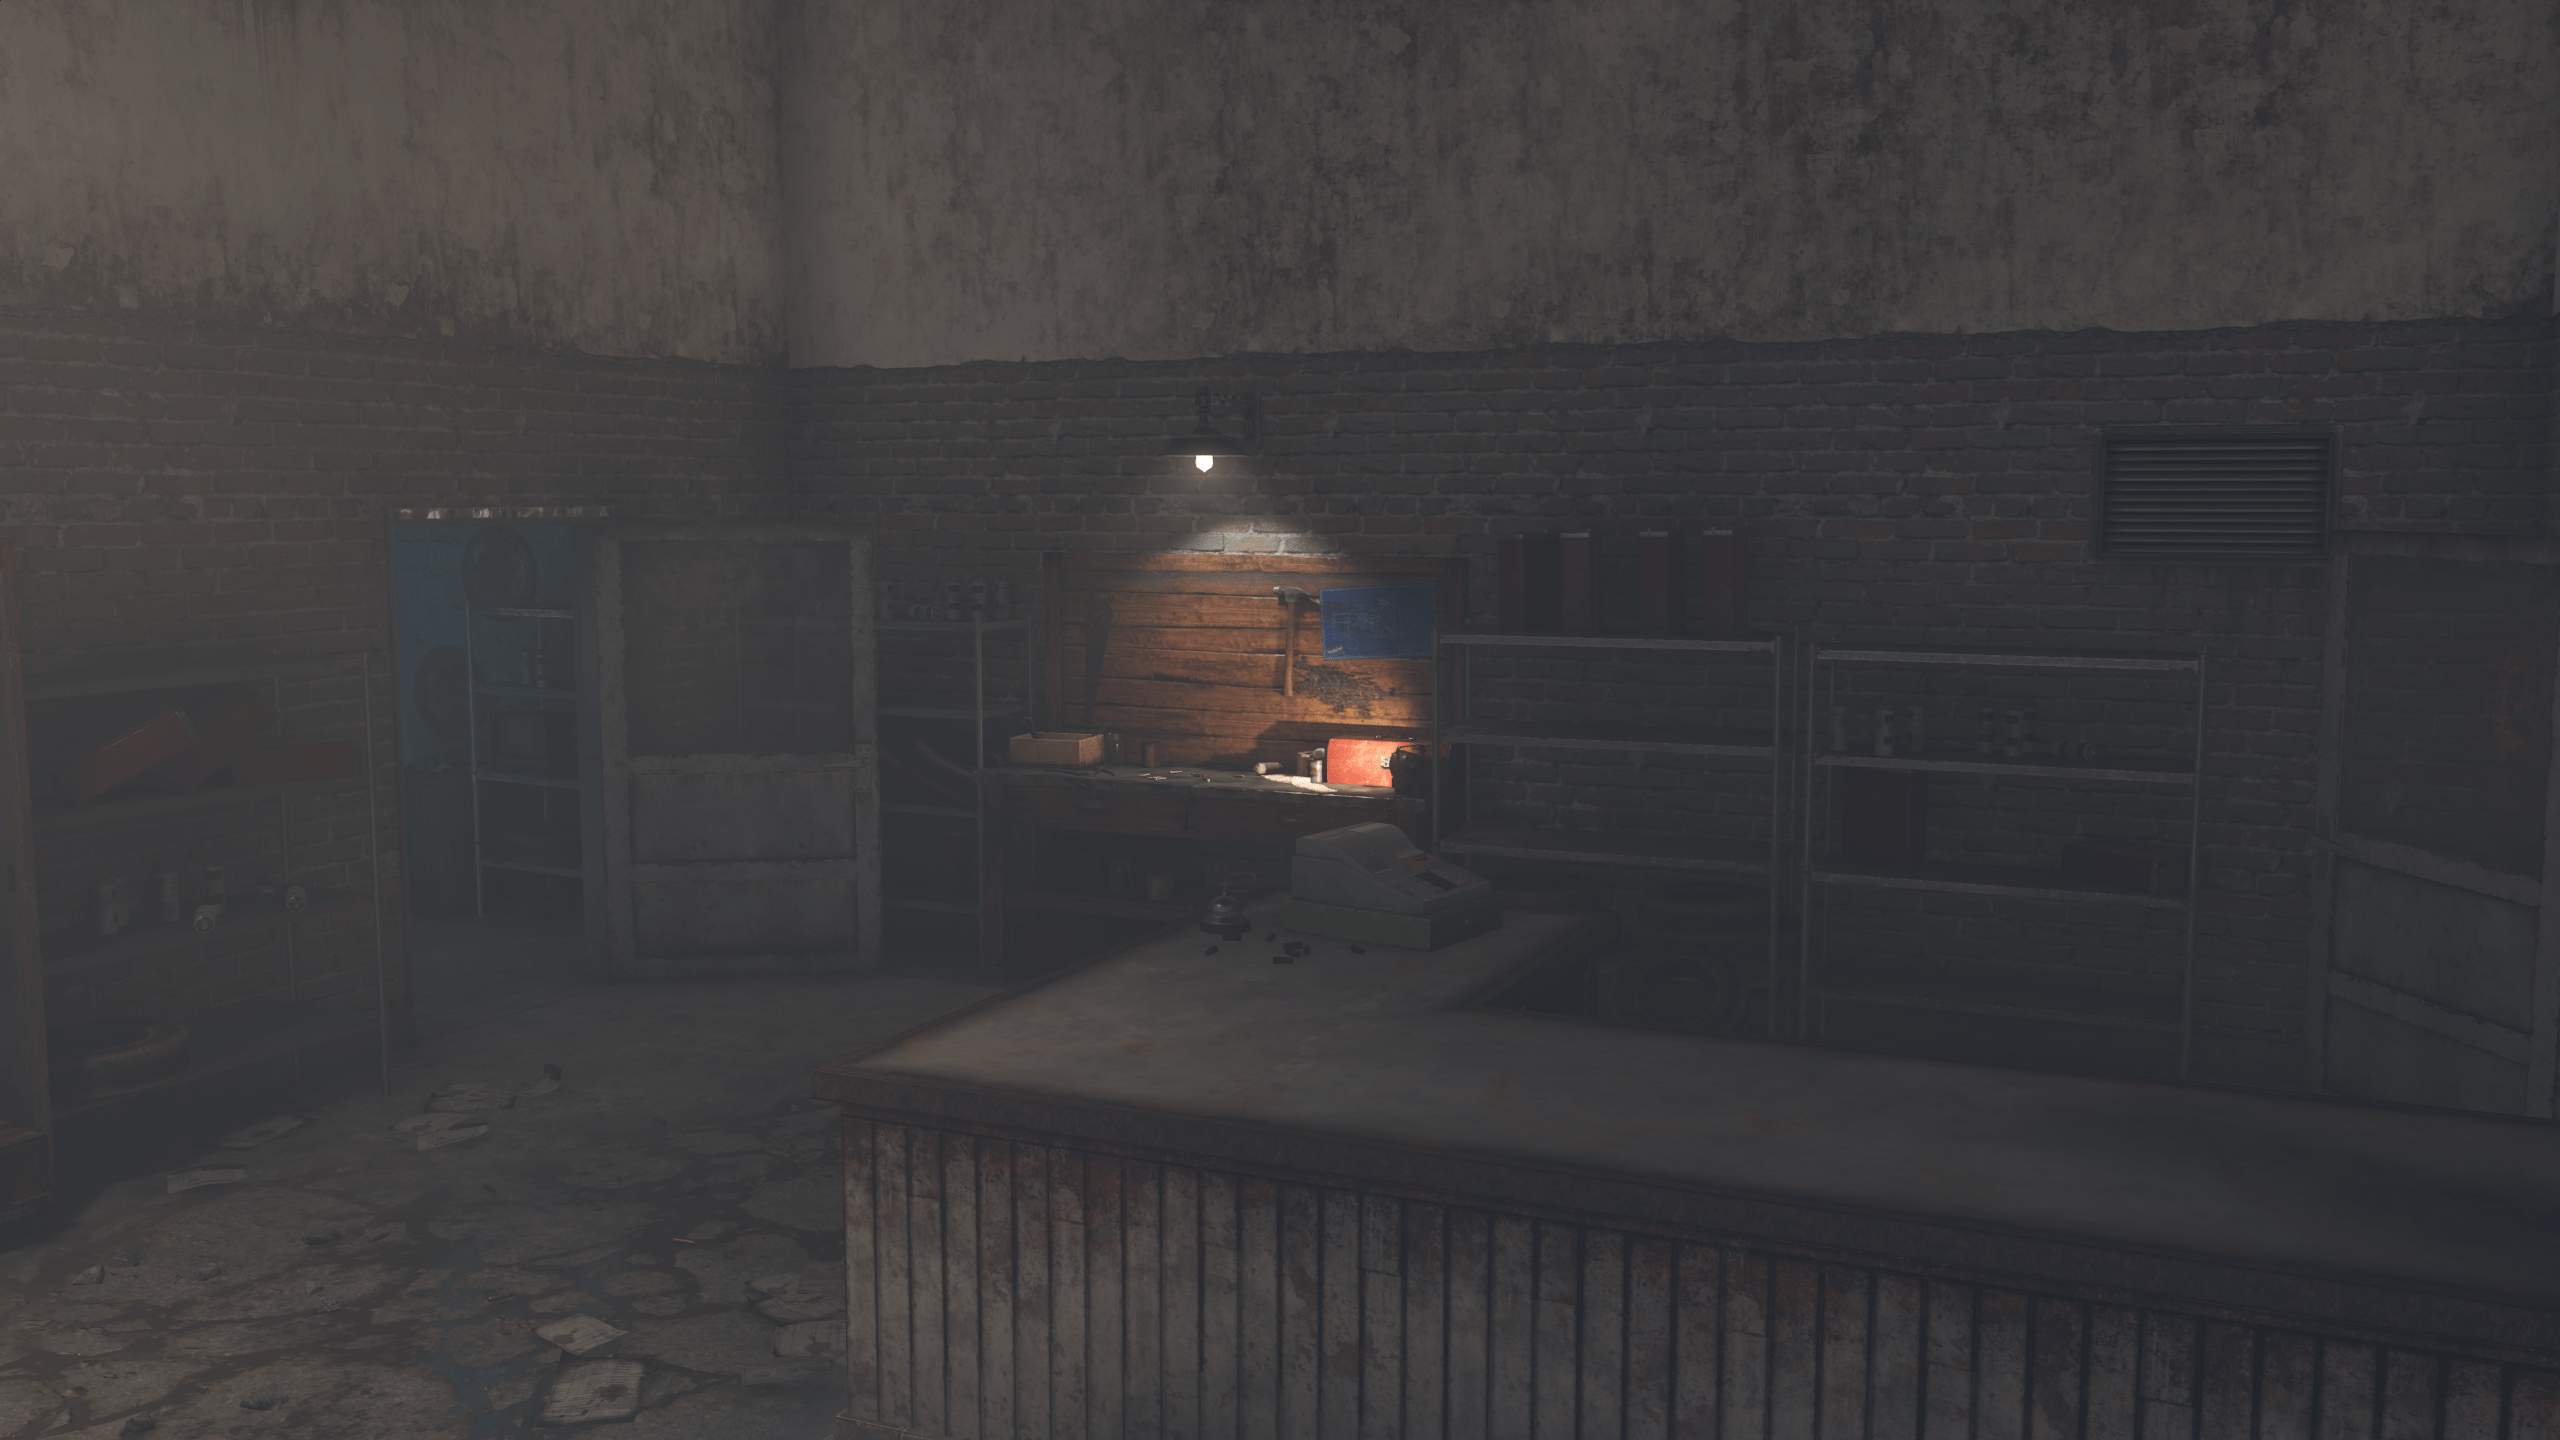
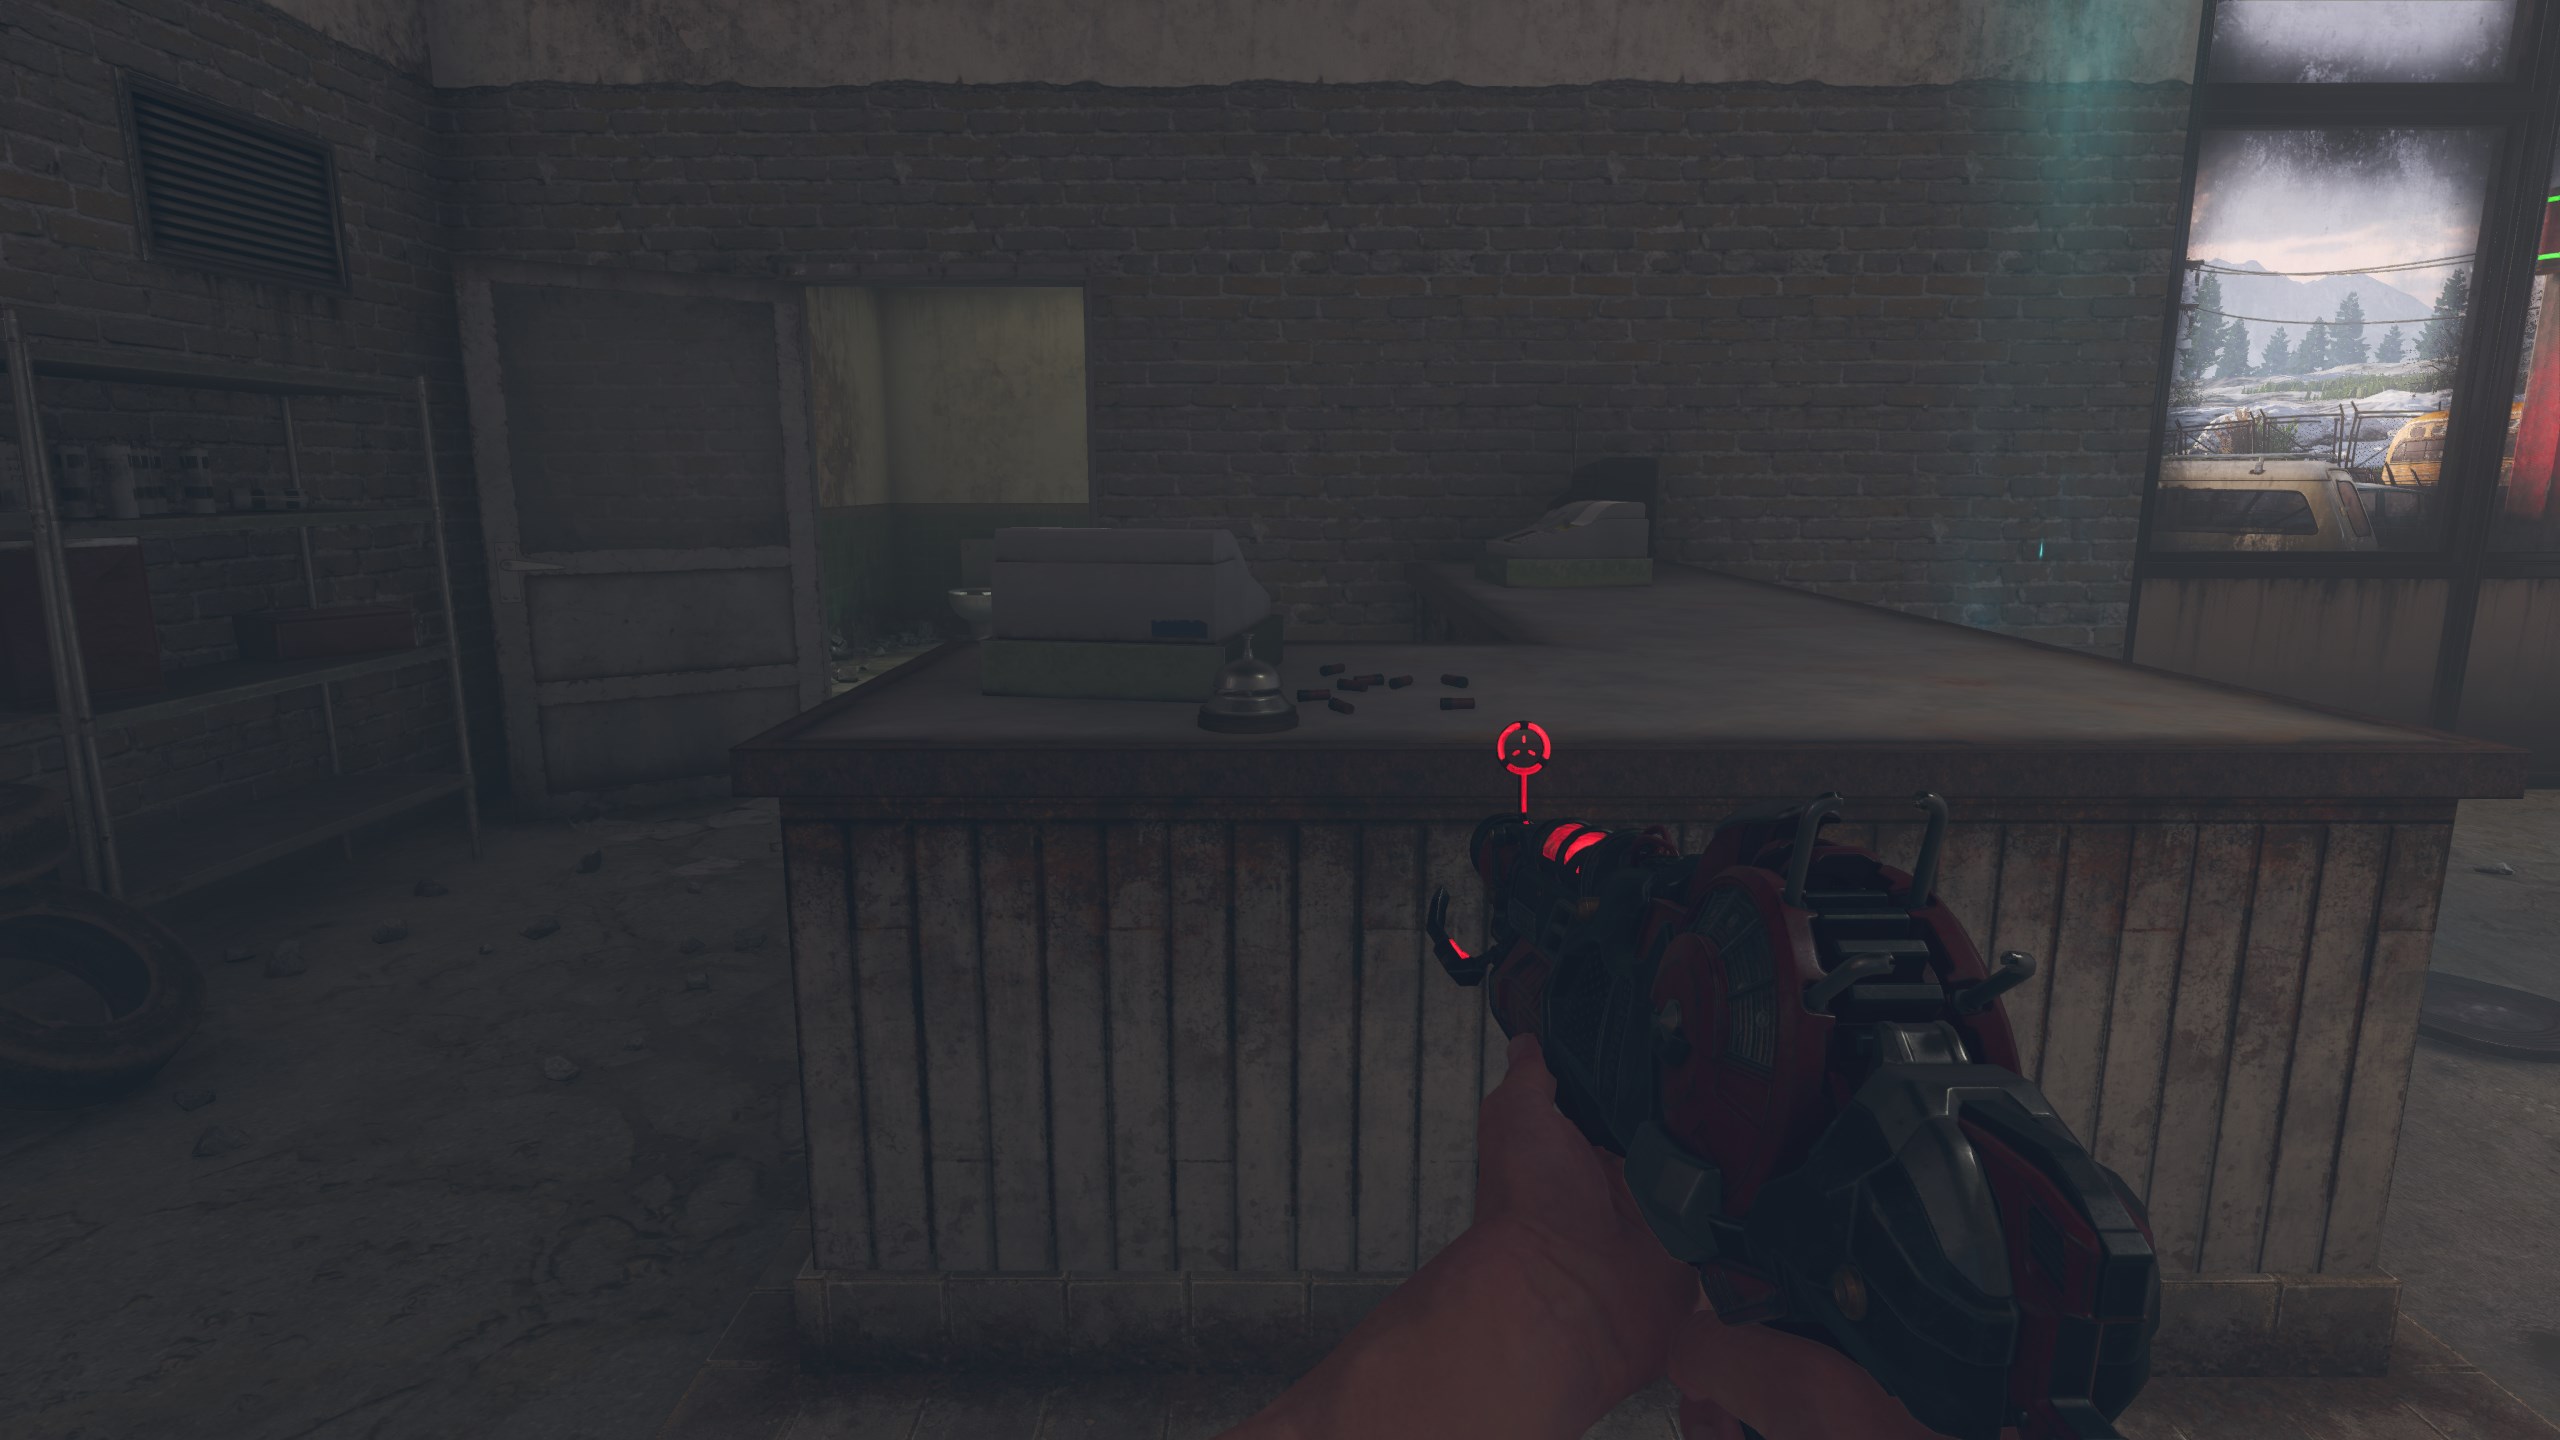
- Inside the Gas Station behind the counter.
Trample Steam
- Chicken Wire – Located somewhere in the Gas Station with multiple spawns.
- Motor – Located somewhere in the Diner with multiple spawns.
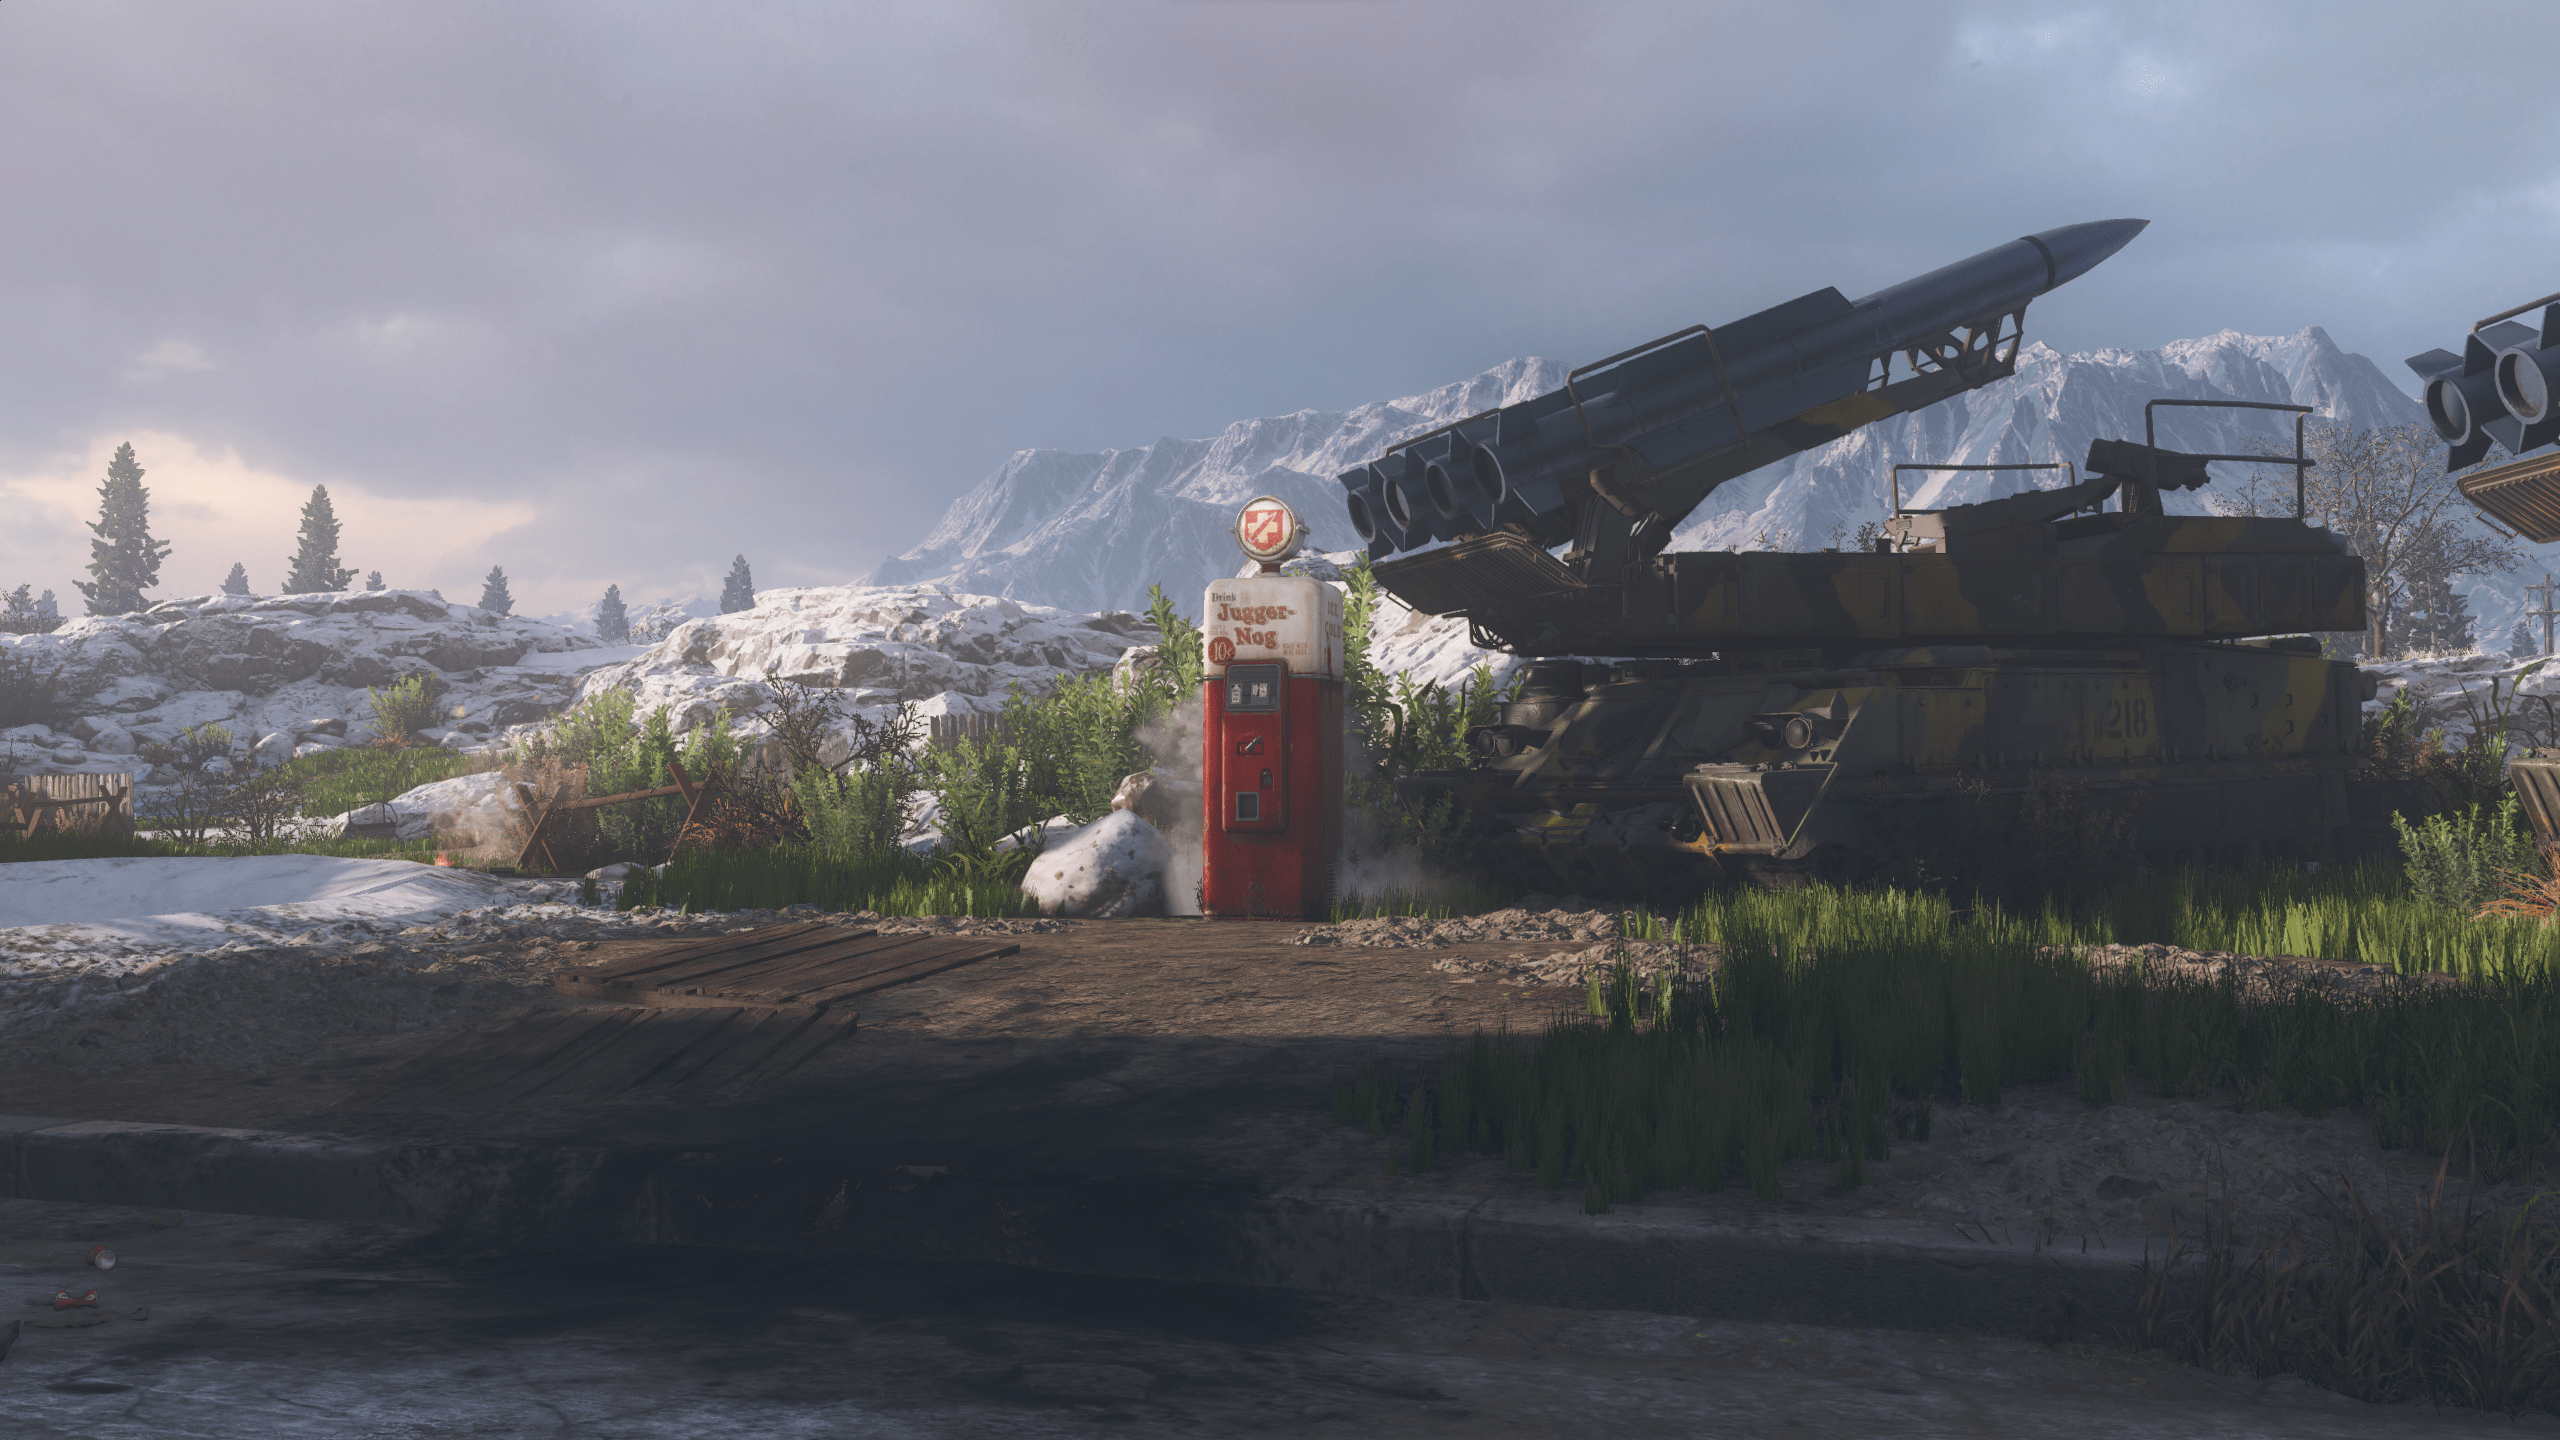
- Bellows – Located around Juggernog with multiple spawns.
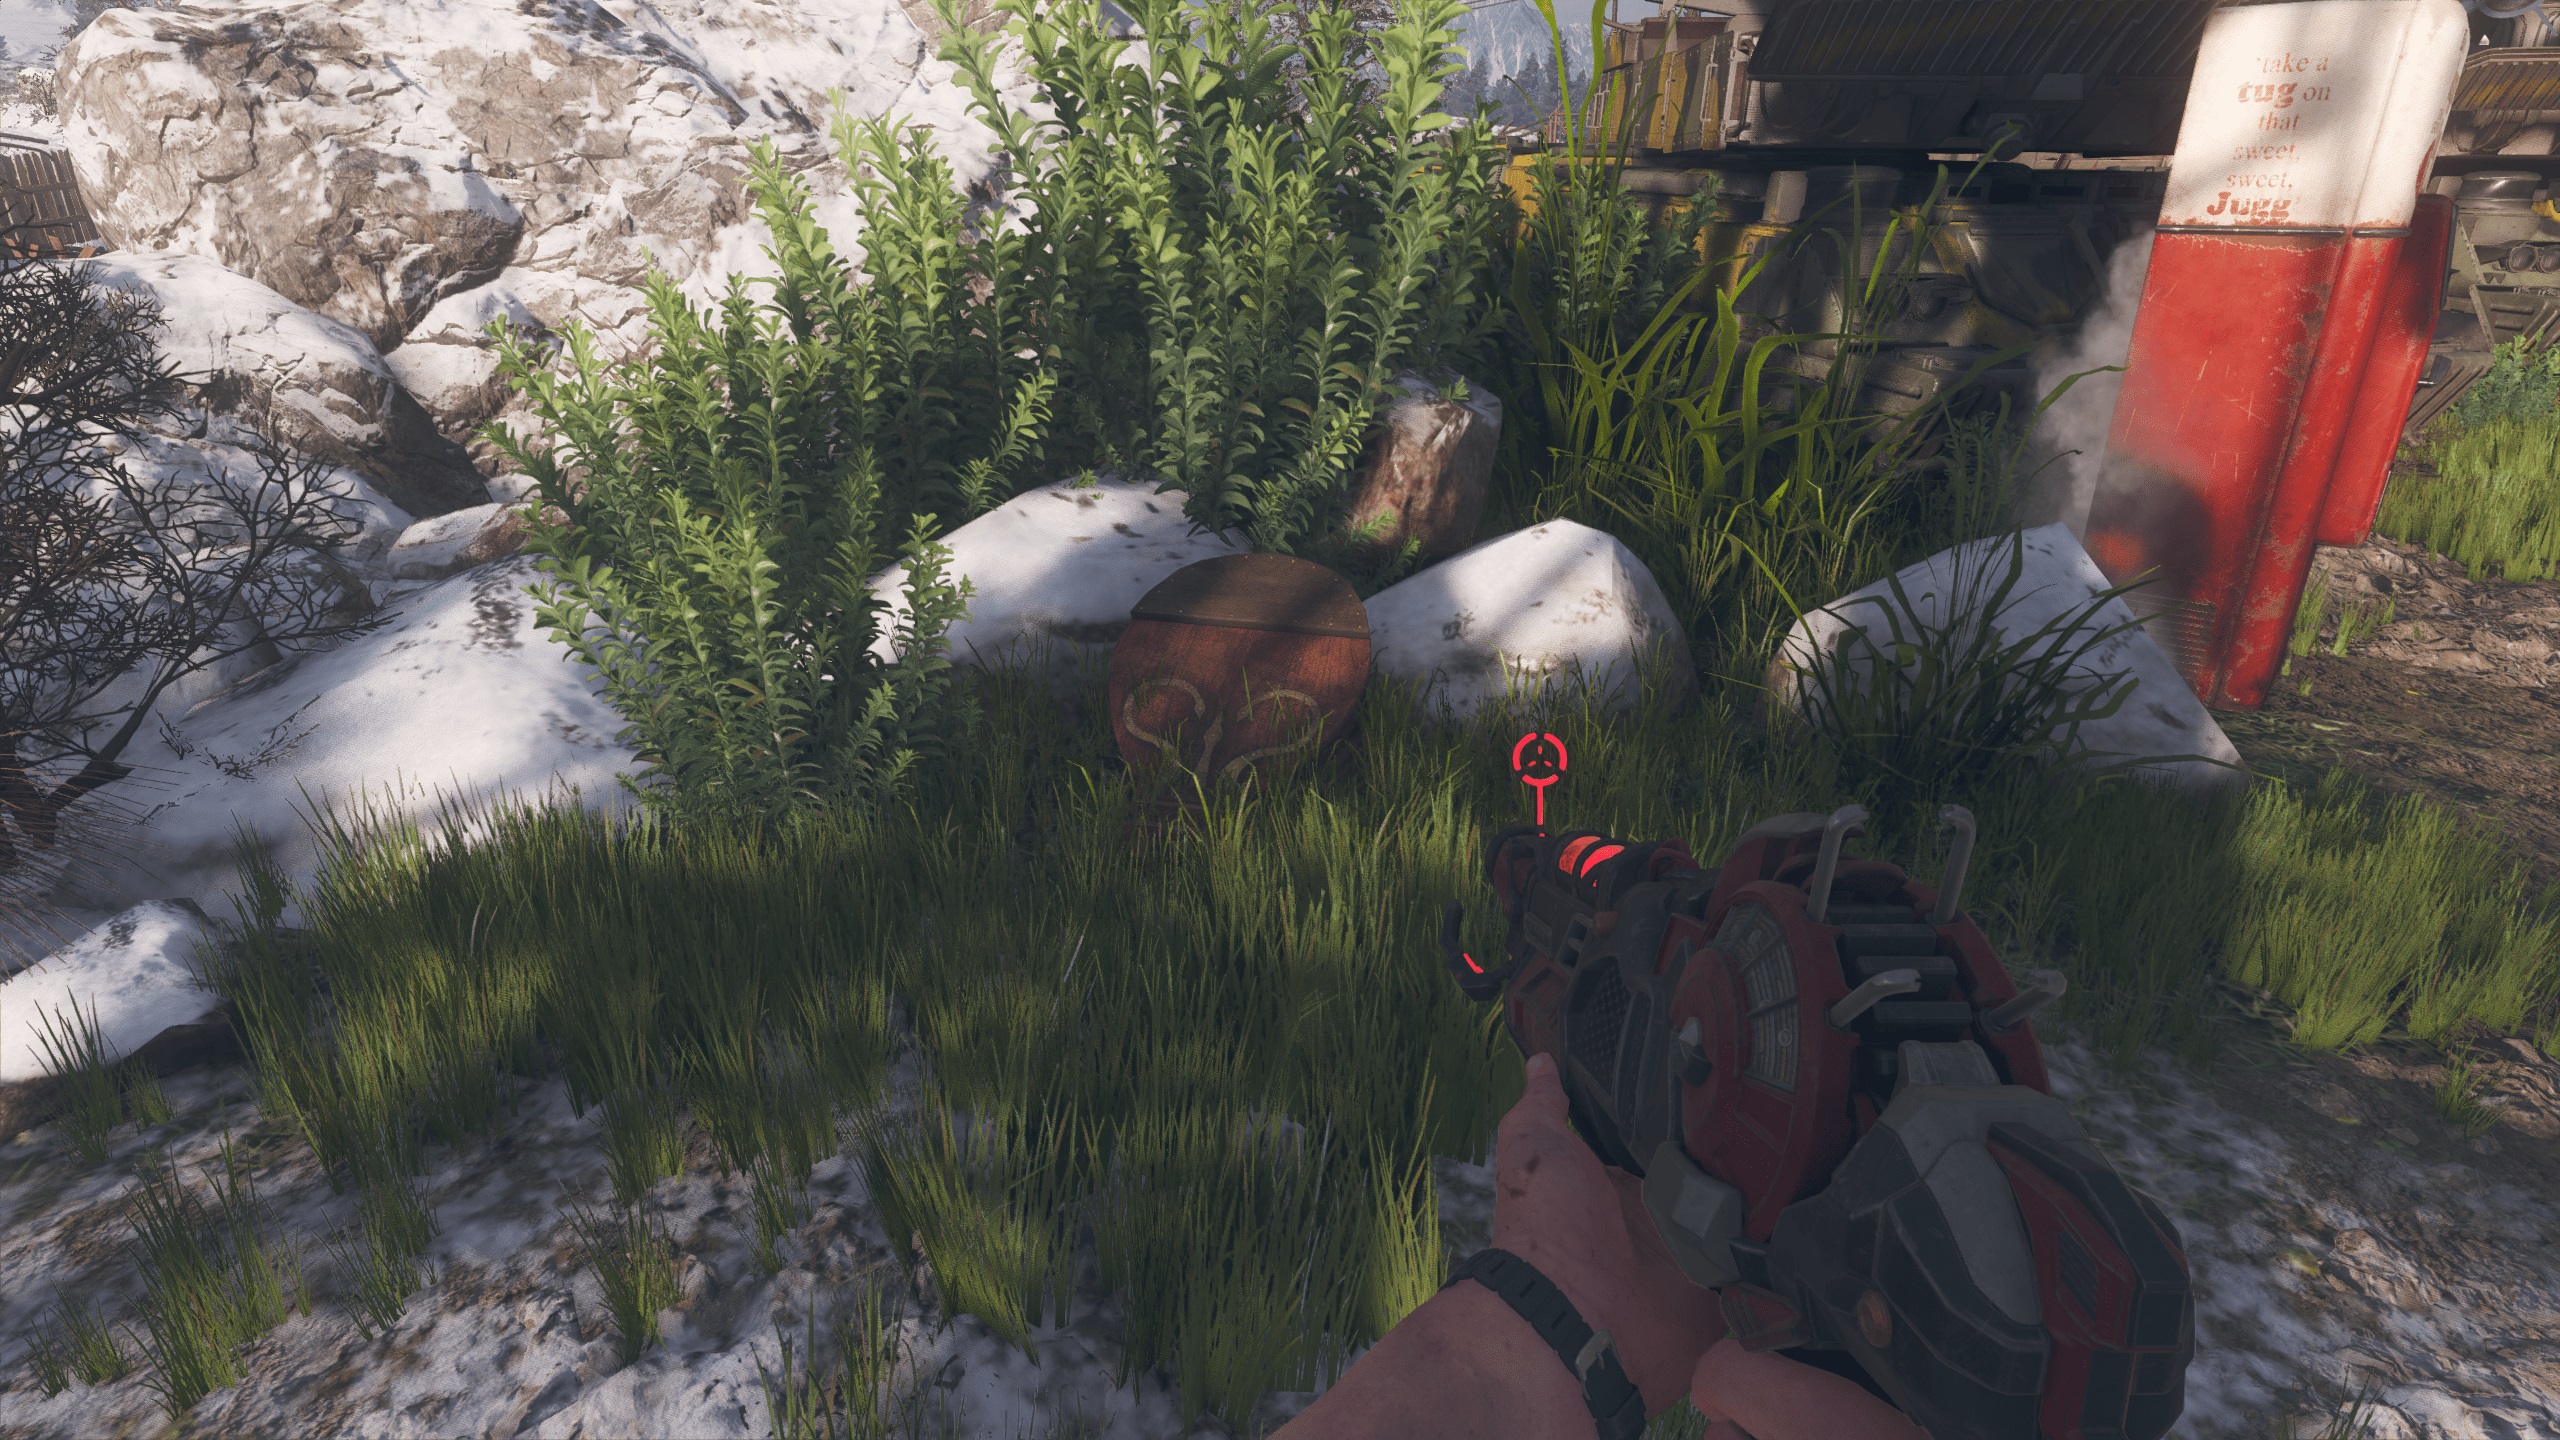
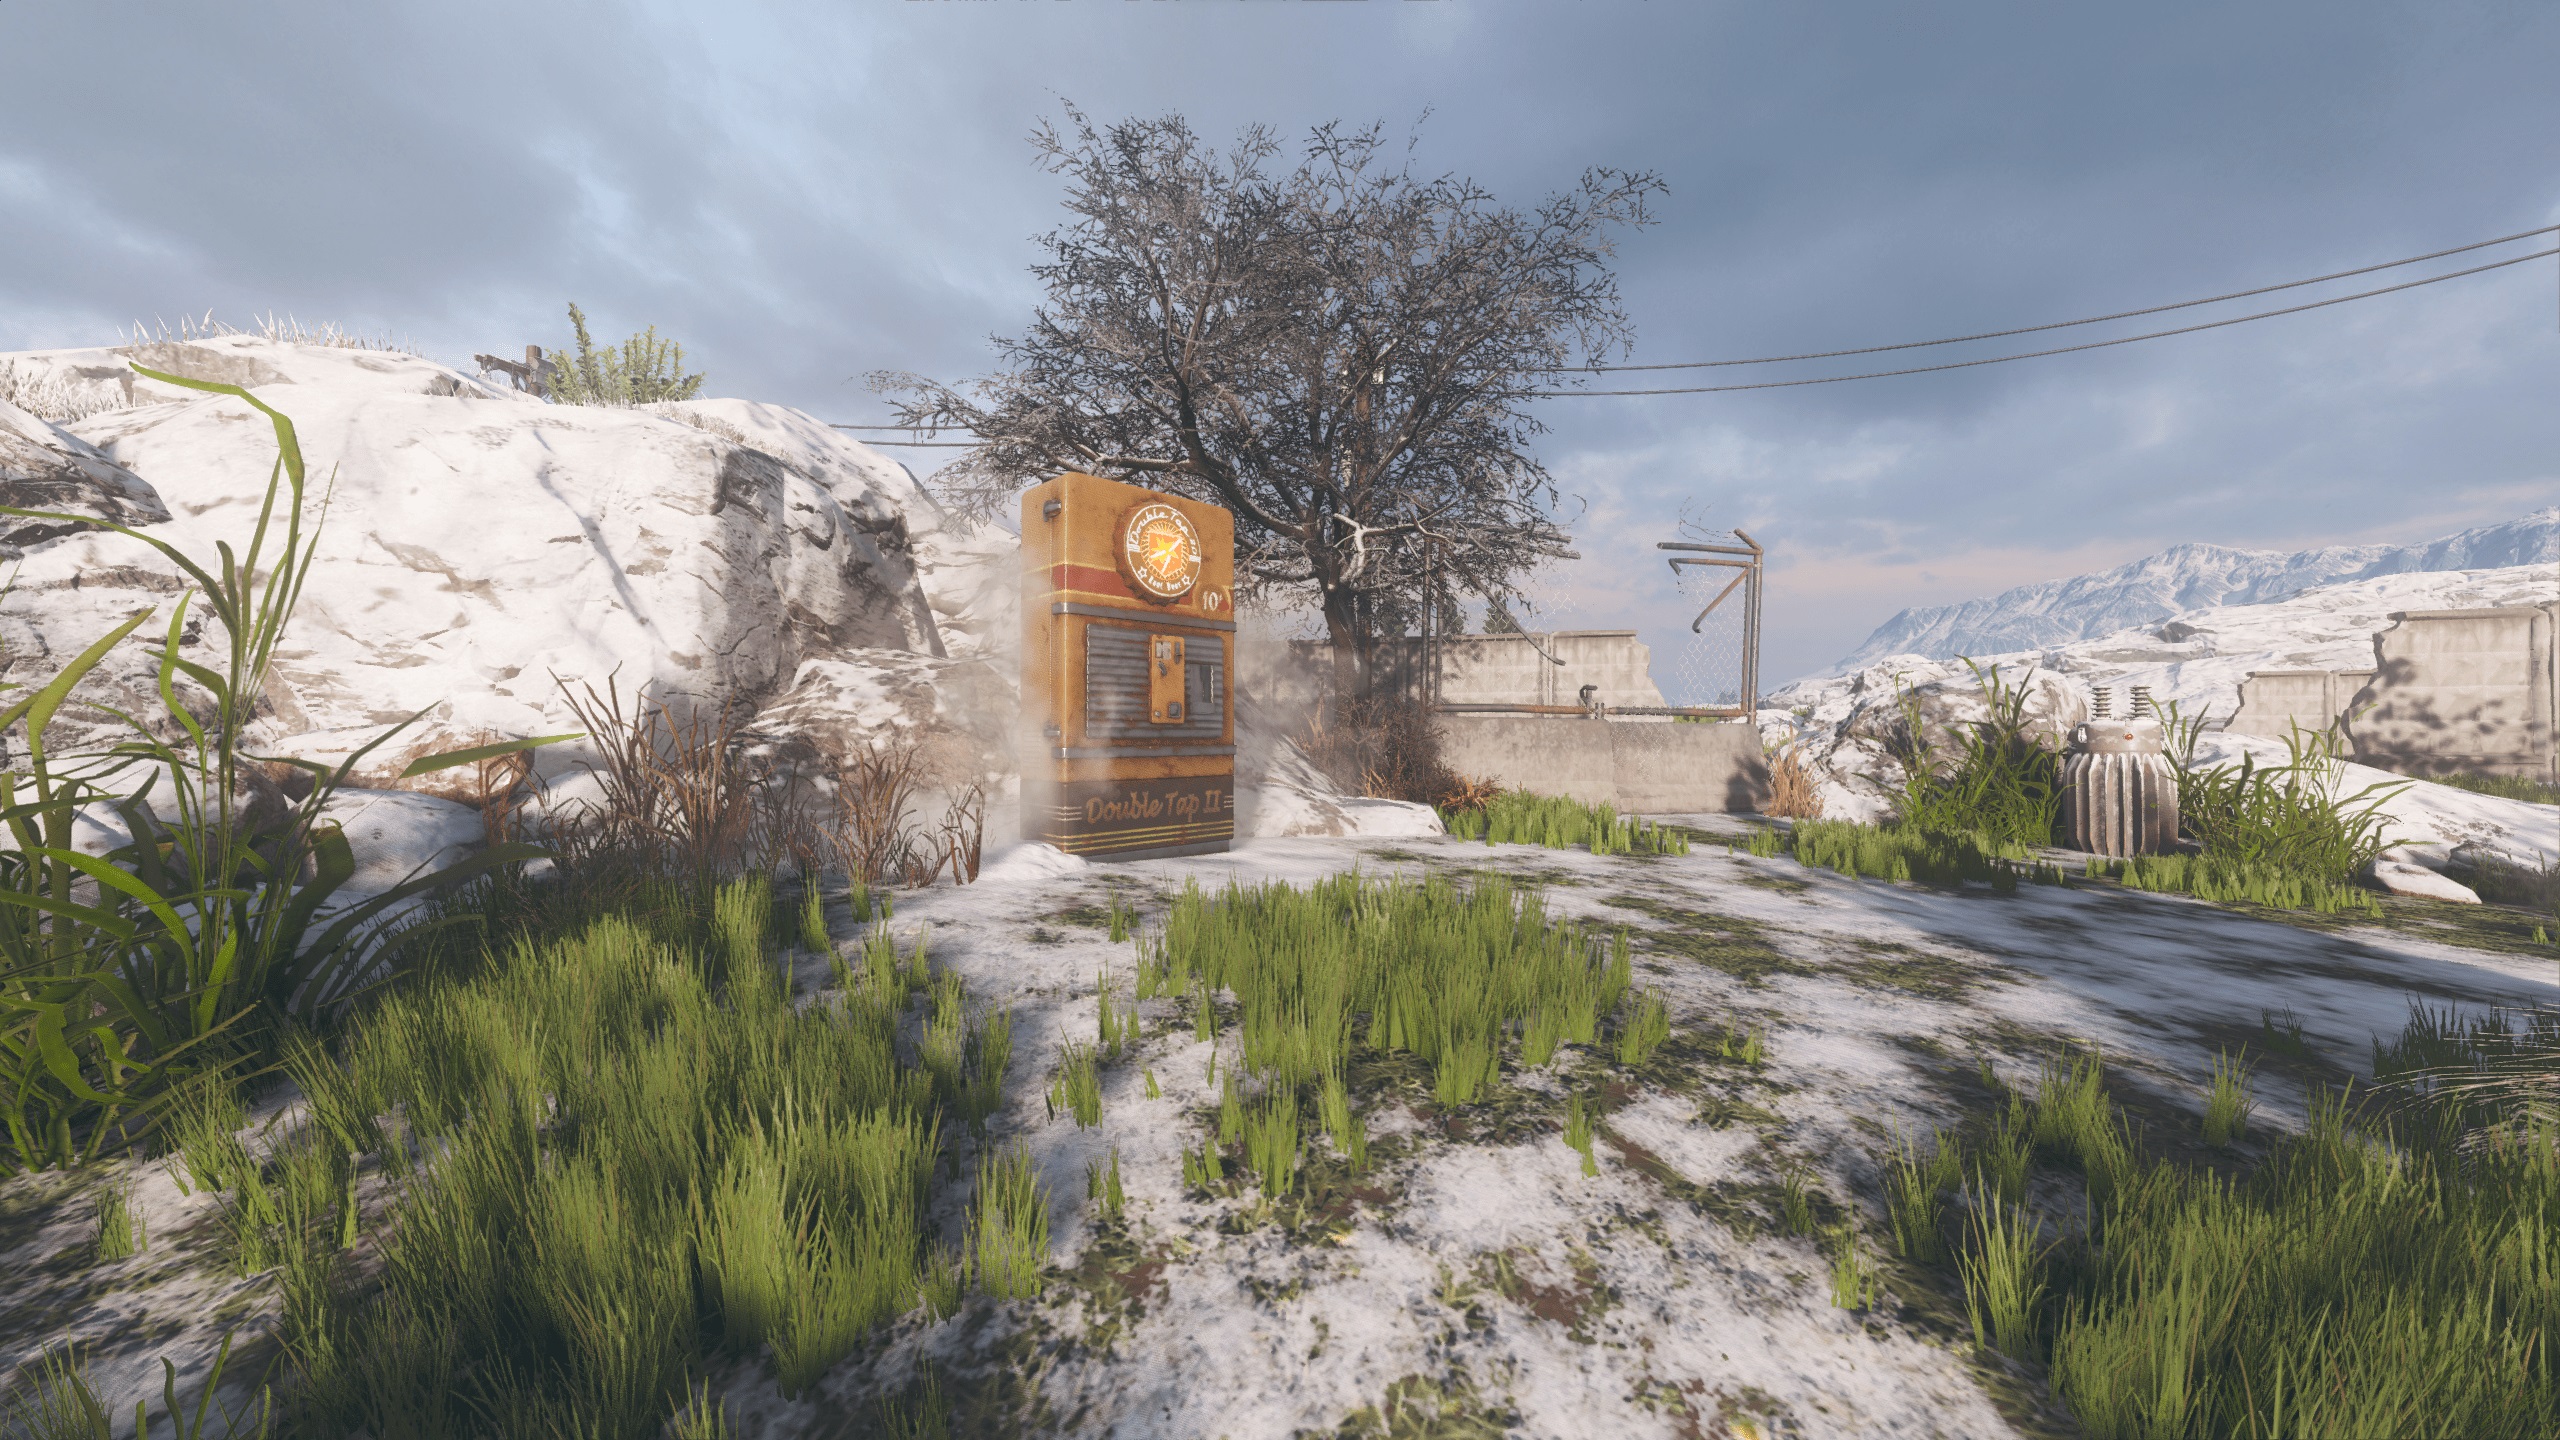
- علَم – Located around grassy area, before you jump across to Double Tap.
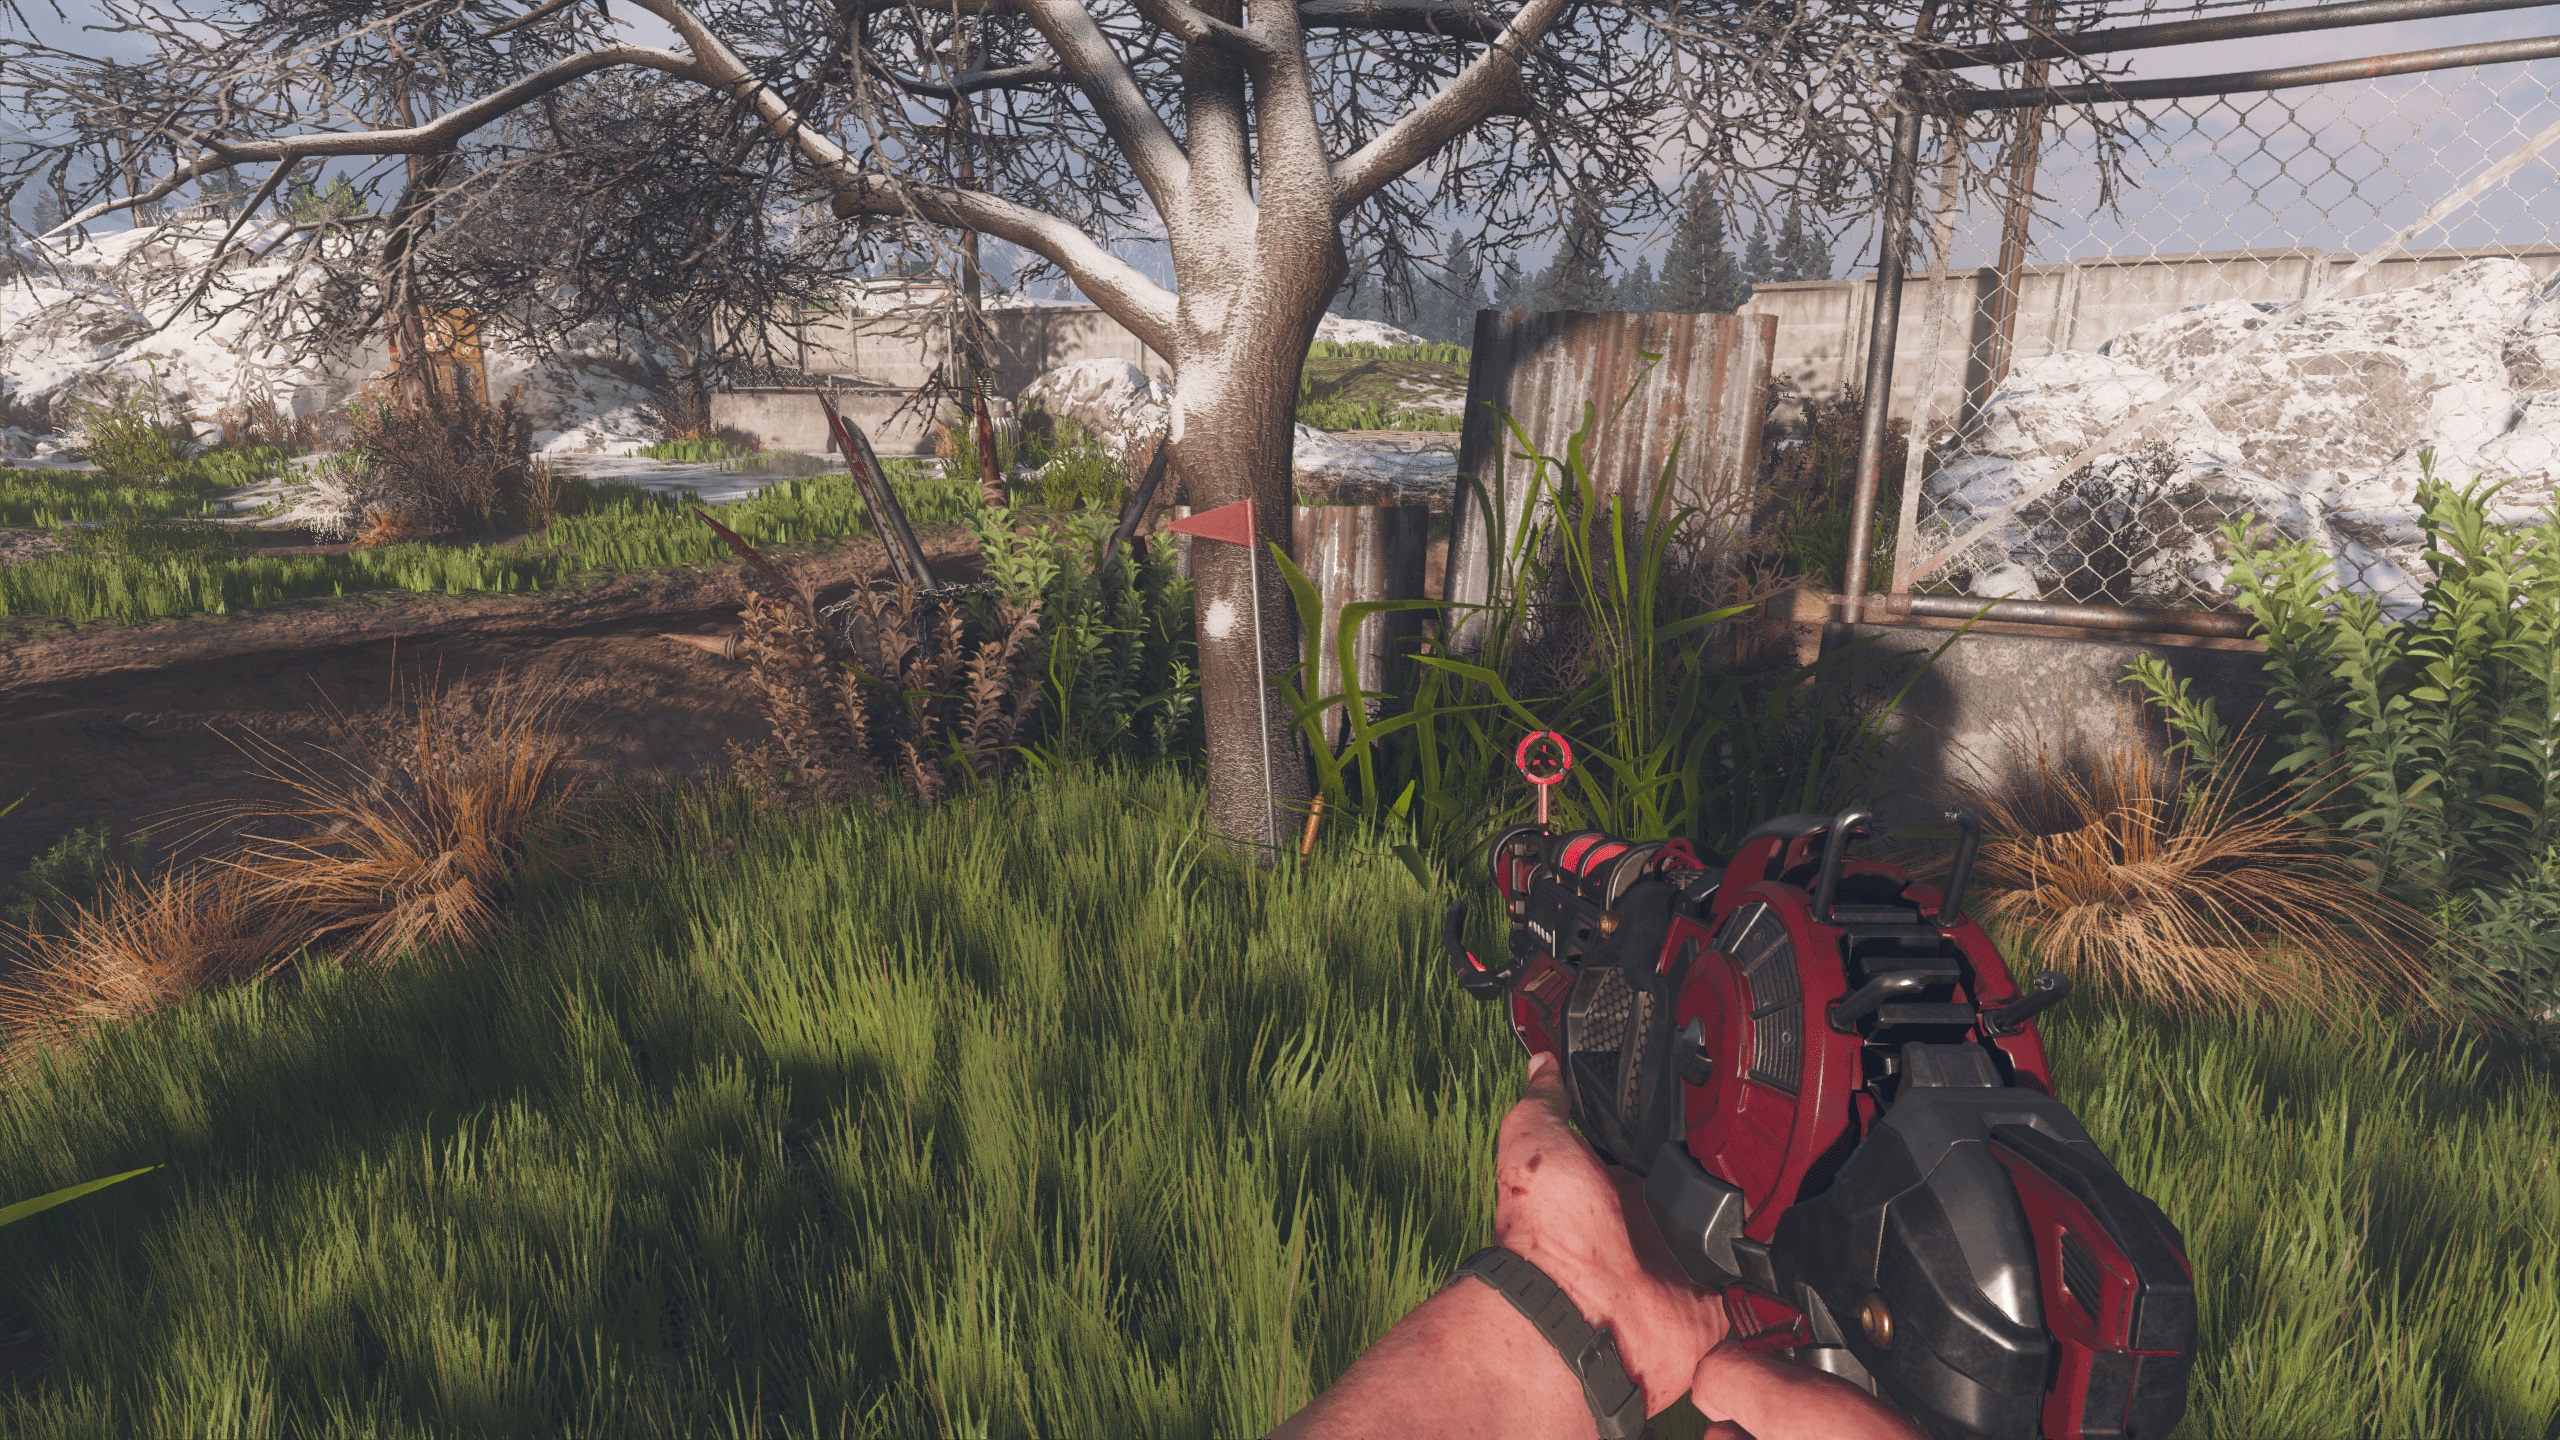
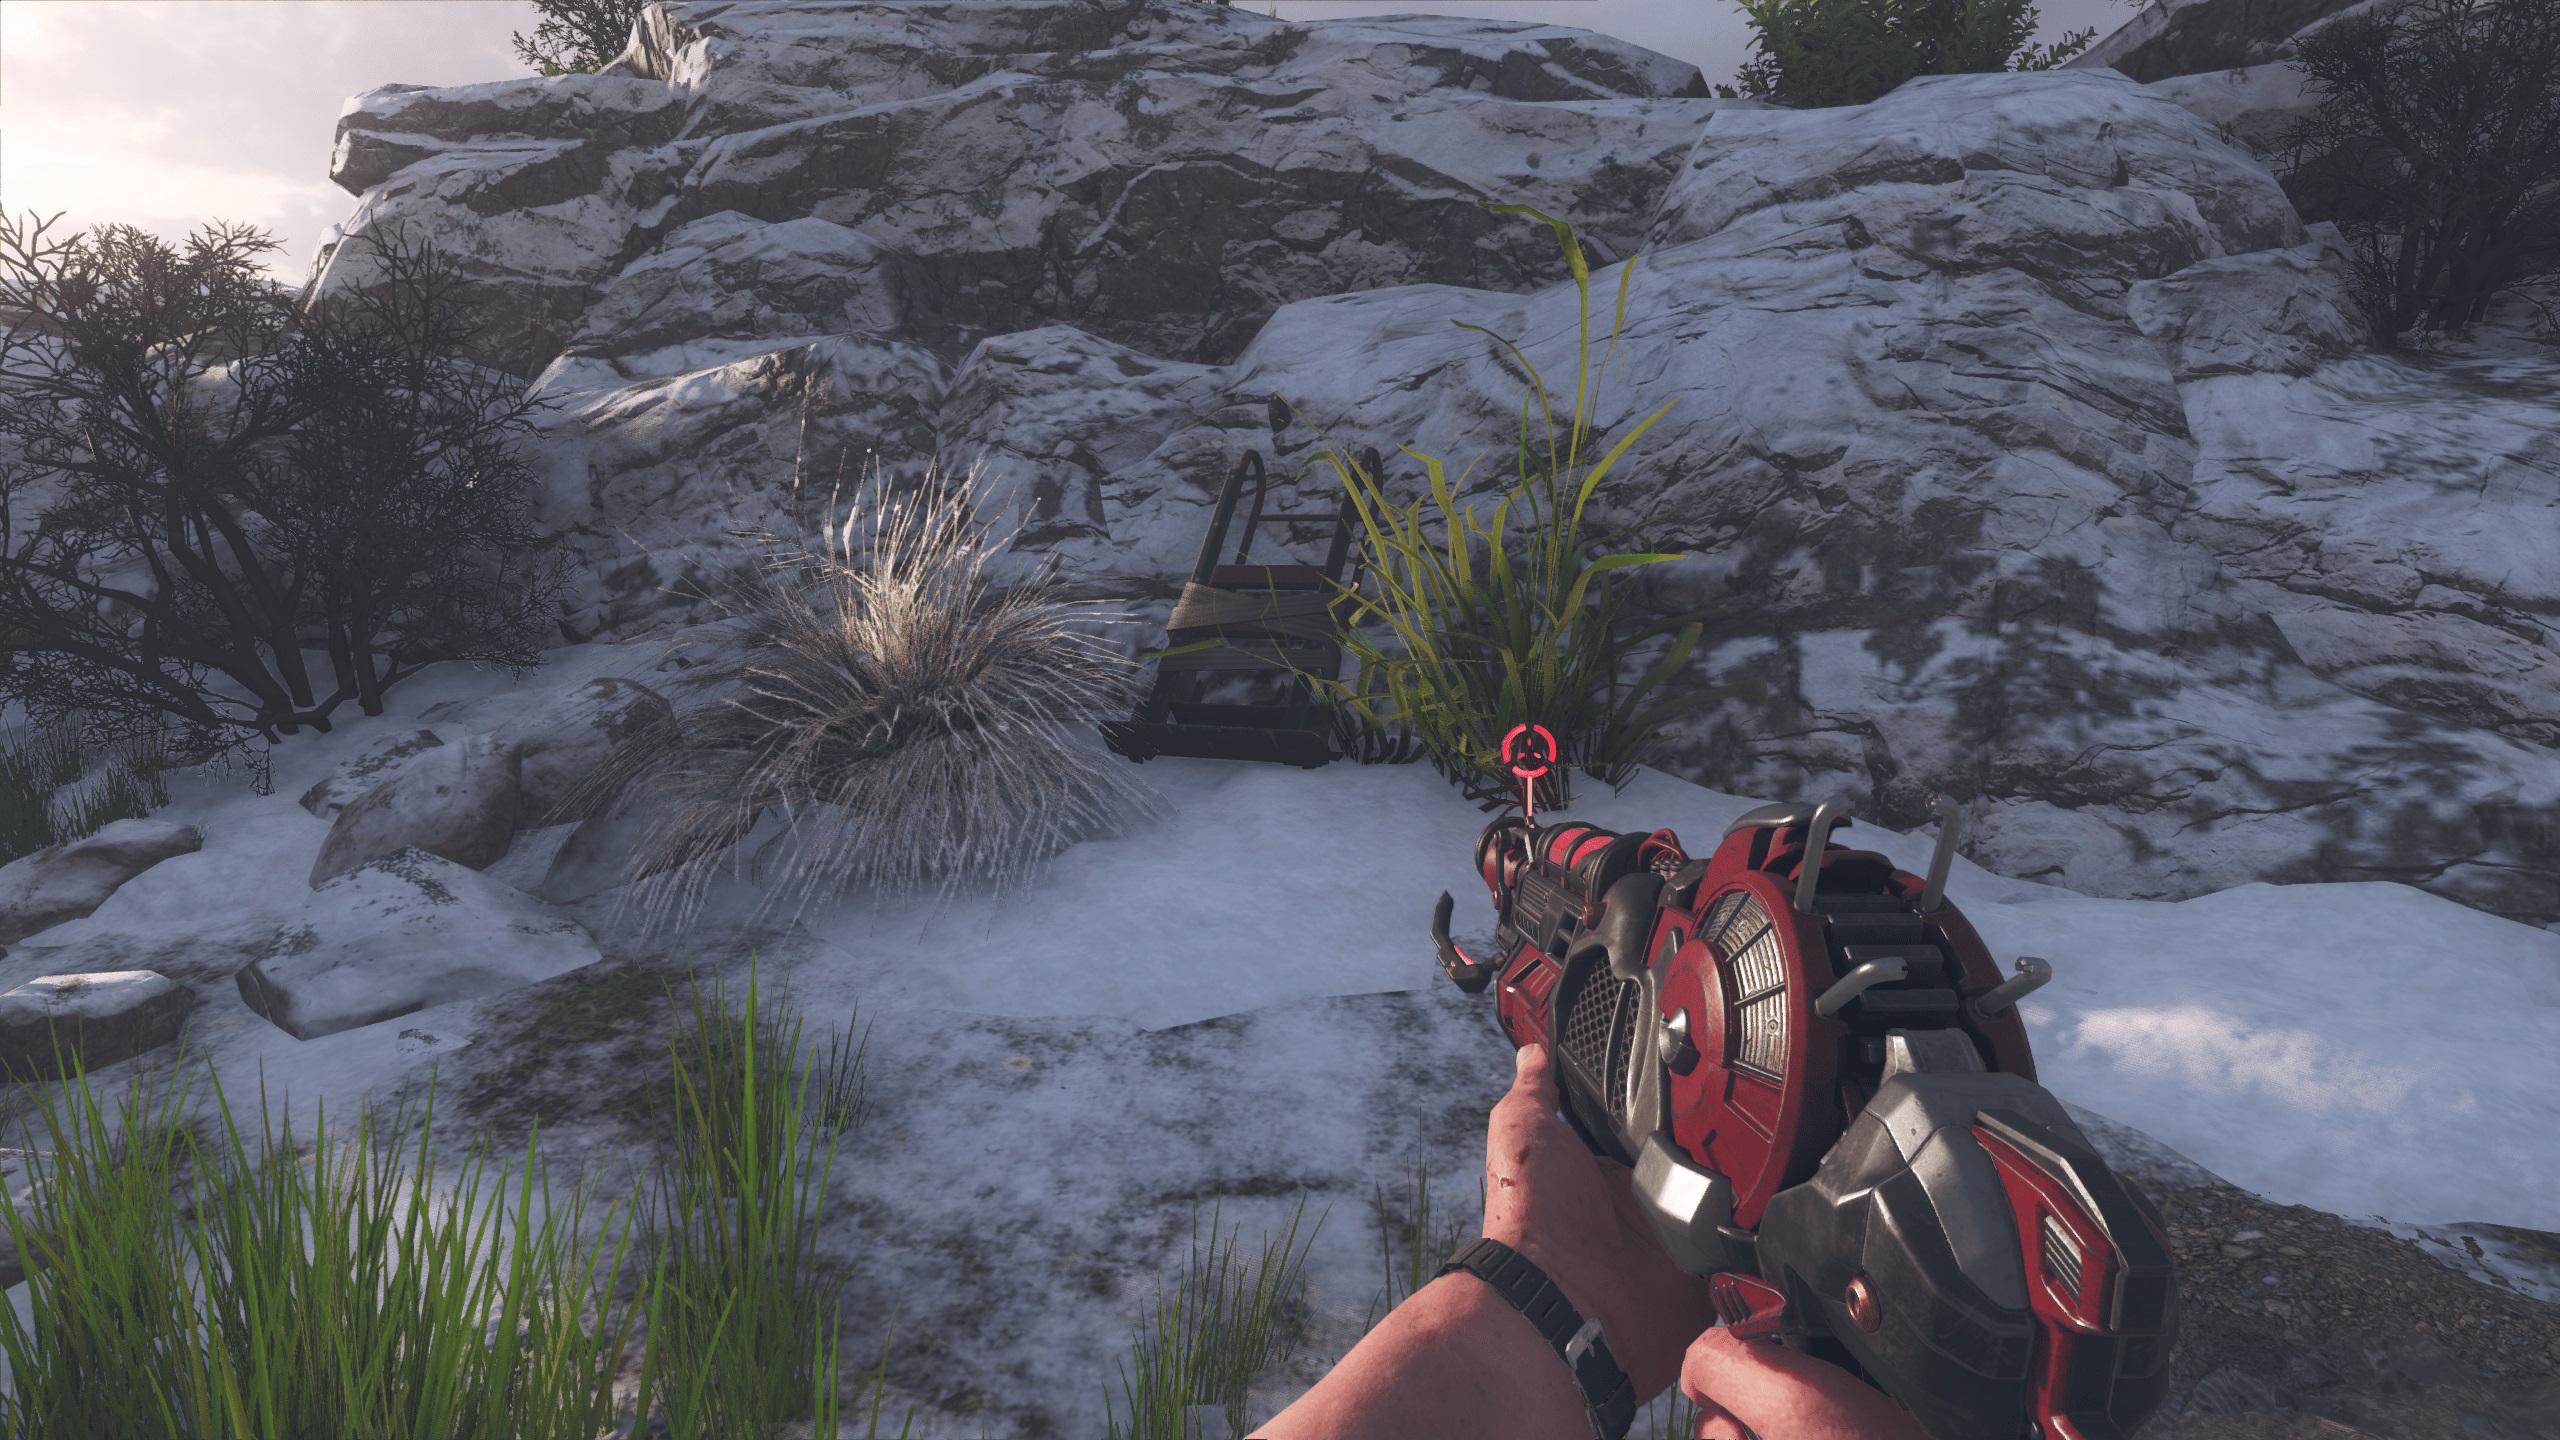
درع الزومبي
You must build the Trample Steam at a buildable table to be able to acquire parts for the Zombie Shield.
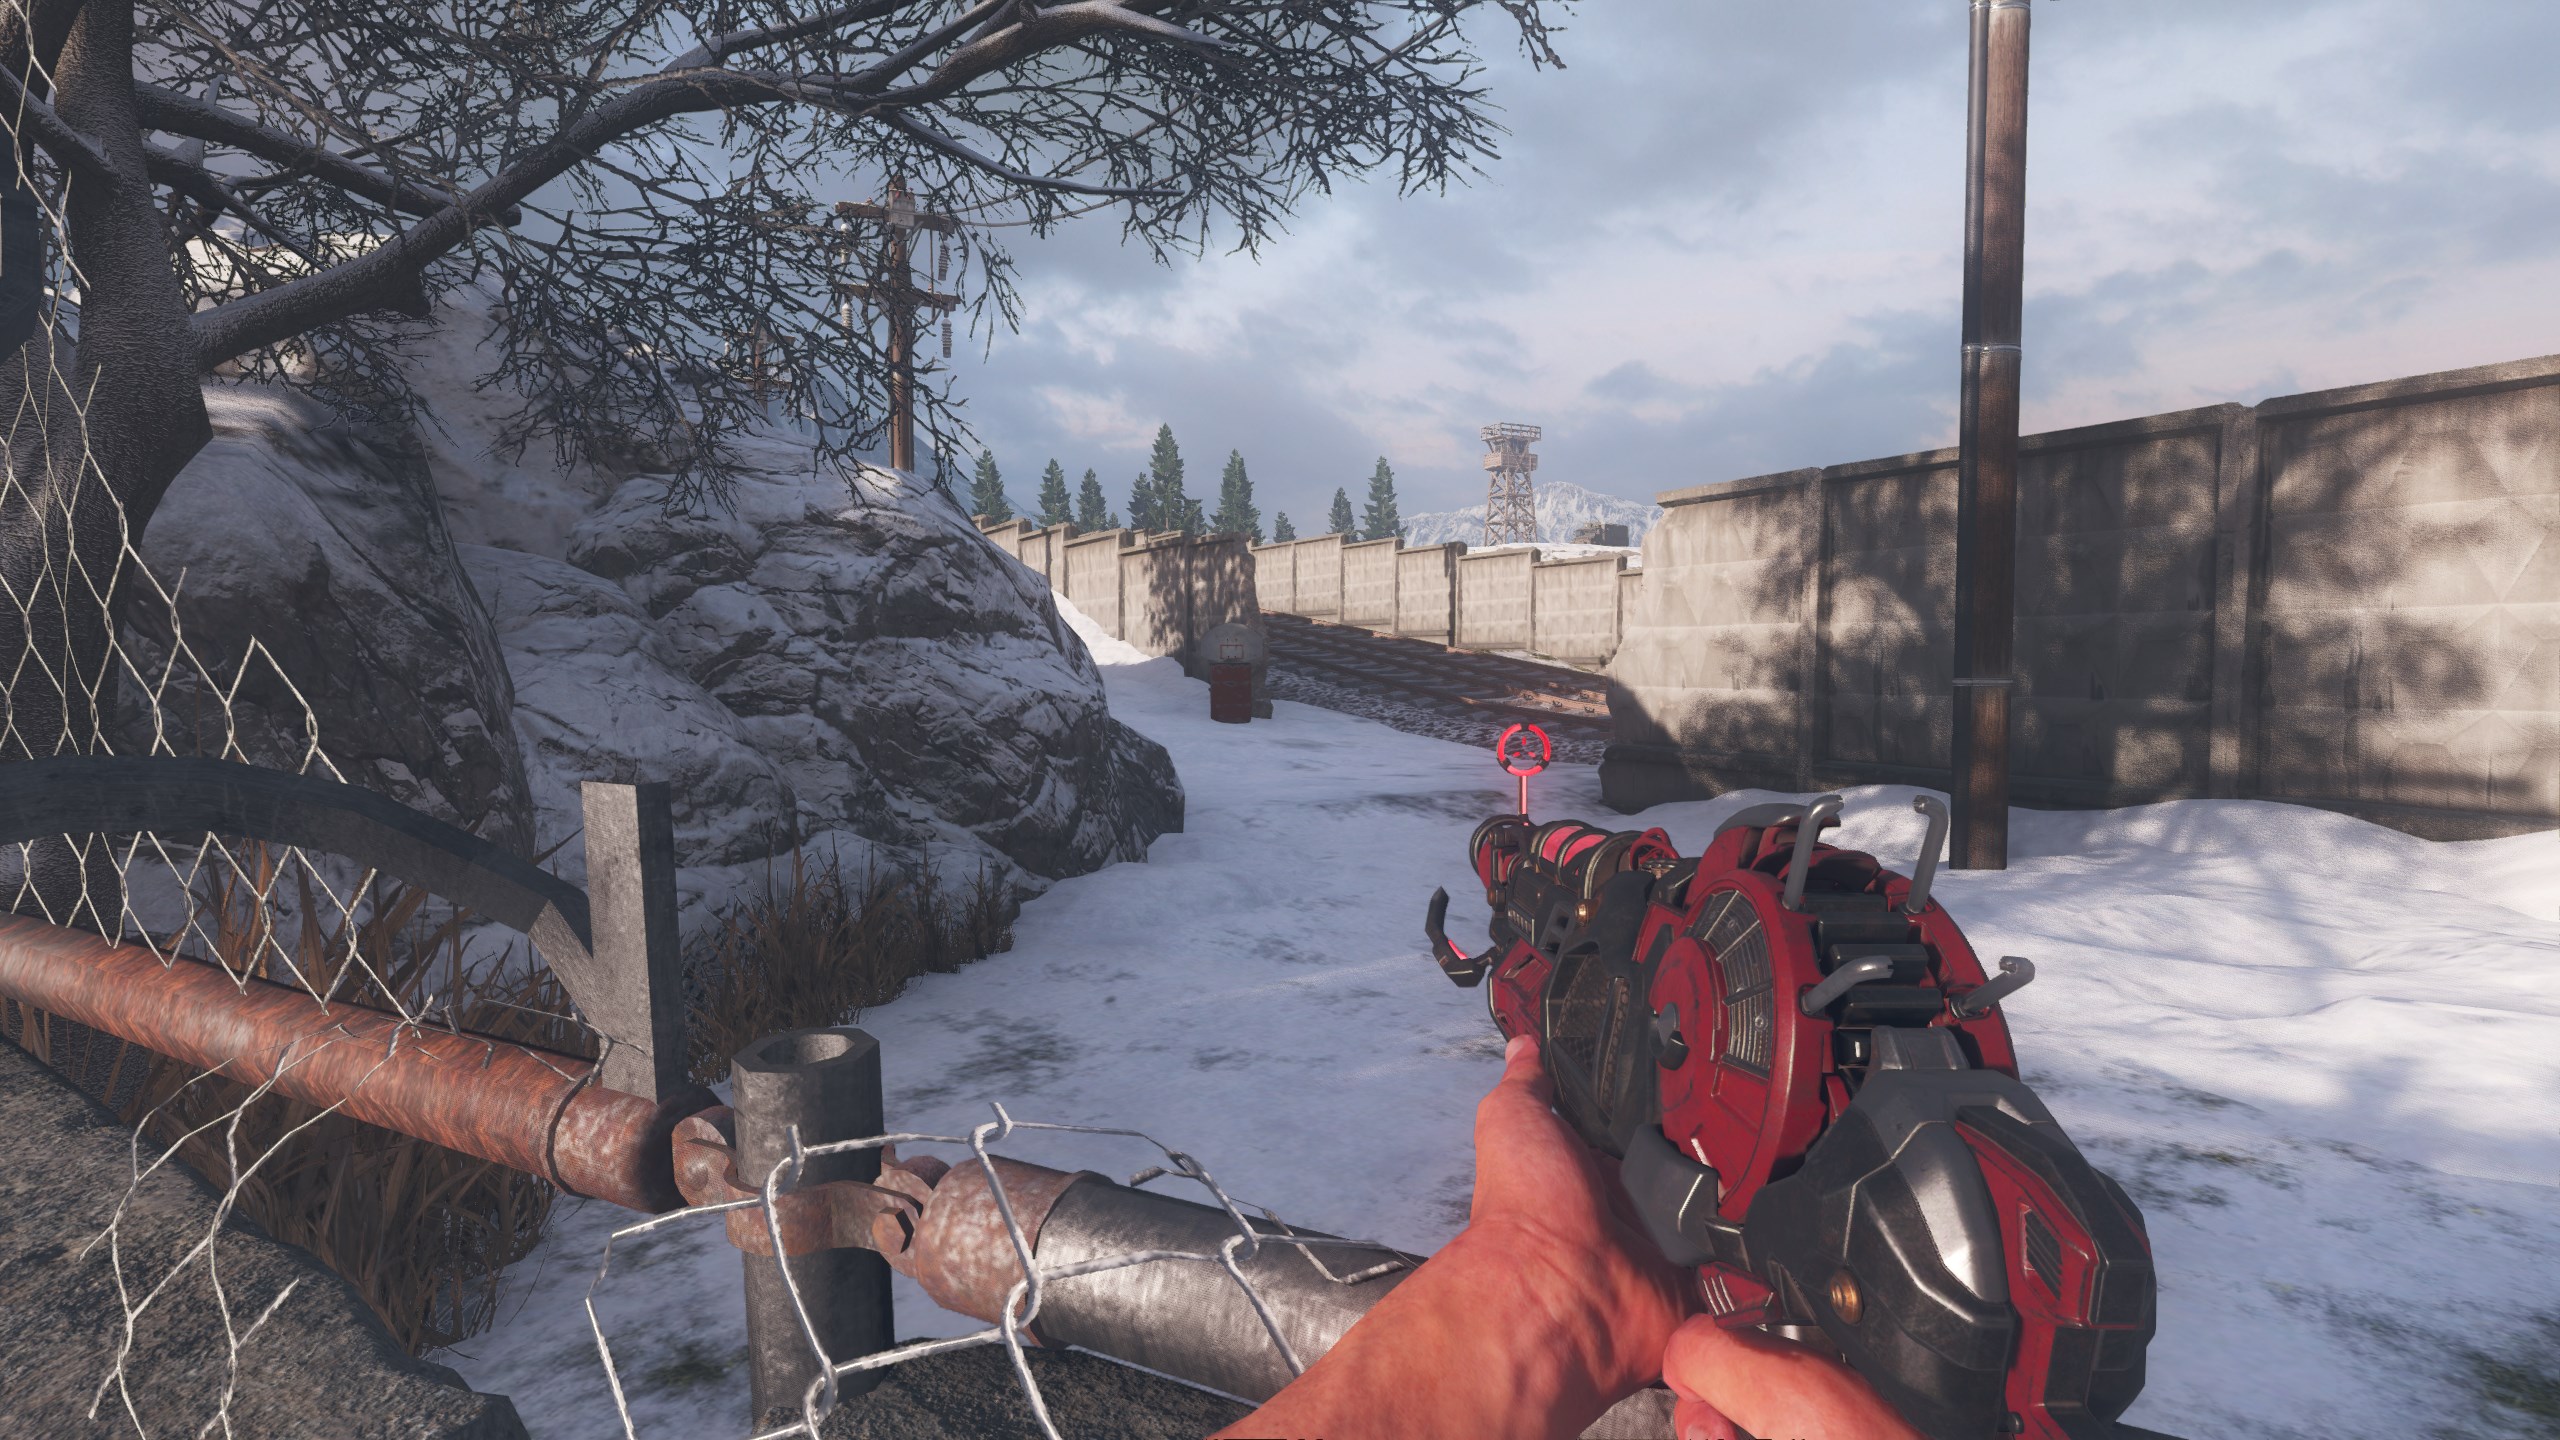
- Car Door – Located across the ditch, closer to spawn.

- Dolly Cart – Located across the ditch, beside the Double Tap perk machine.
Mystery Box Locations
- Inside the Gas Station.
- Outside the power room shed.

- Inside the Diner behind the counter.
- Beside the Juggernog perk machine.

Perks
You receive 100 points from laying down in front of the perk machines.
- Juggernog – Located in the very middle of the map.
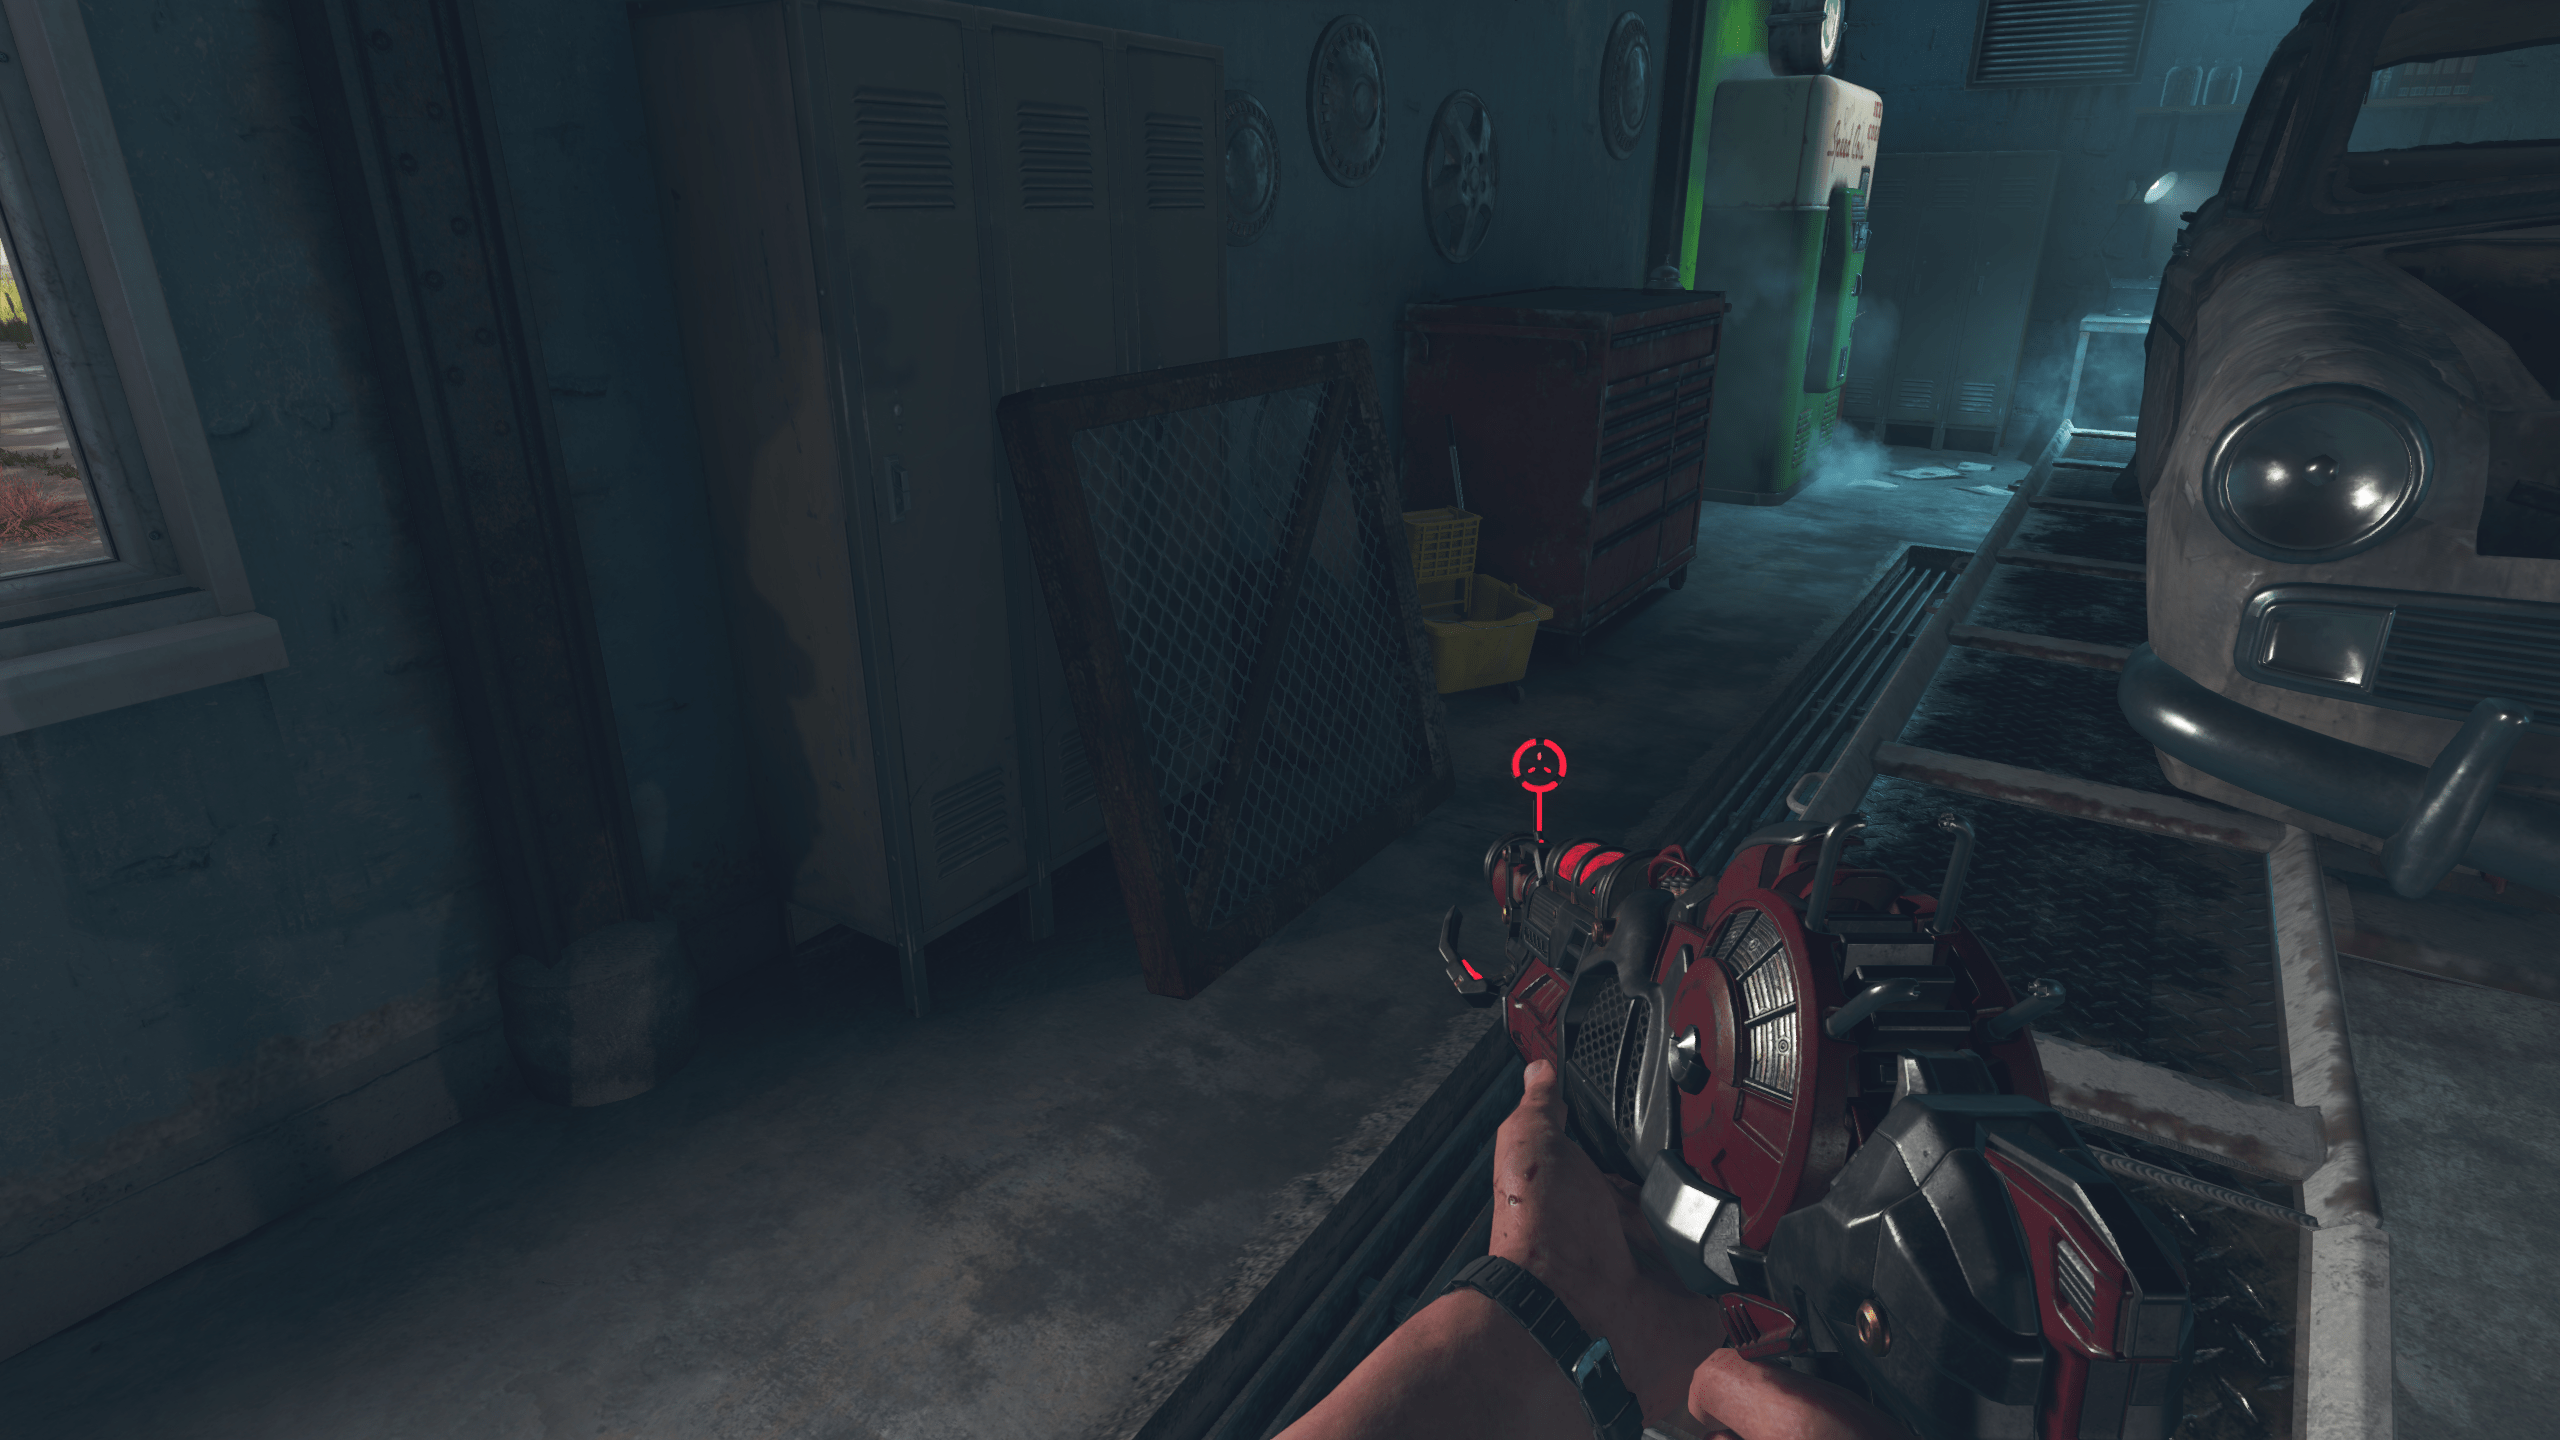
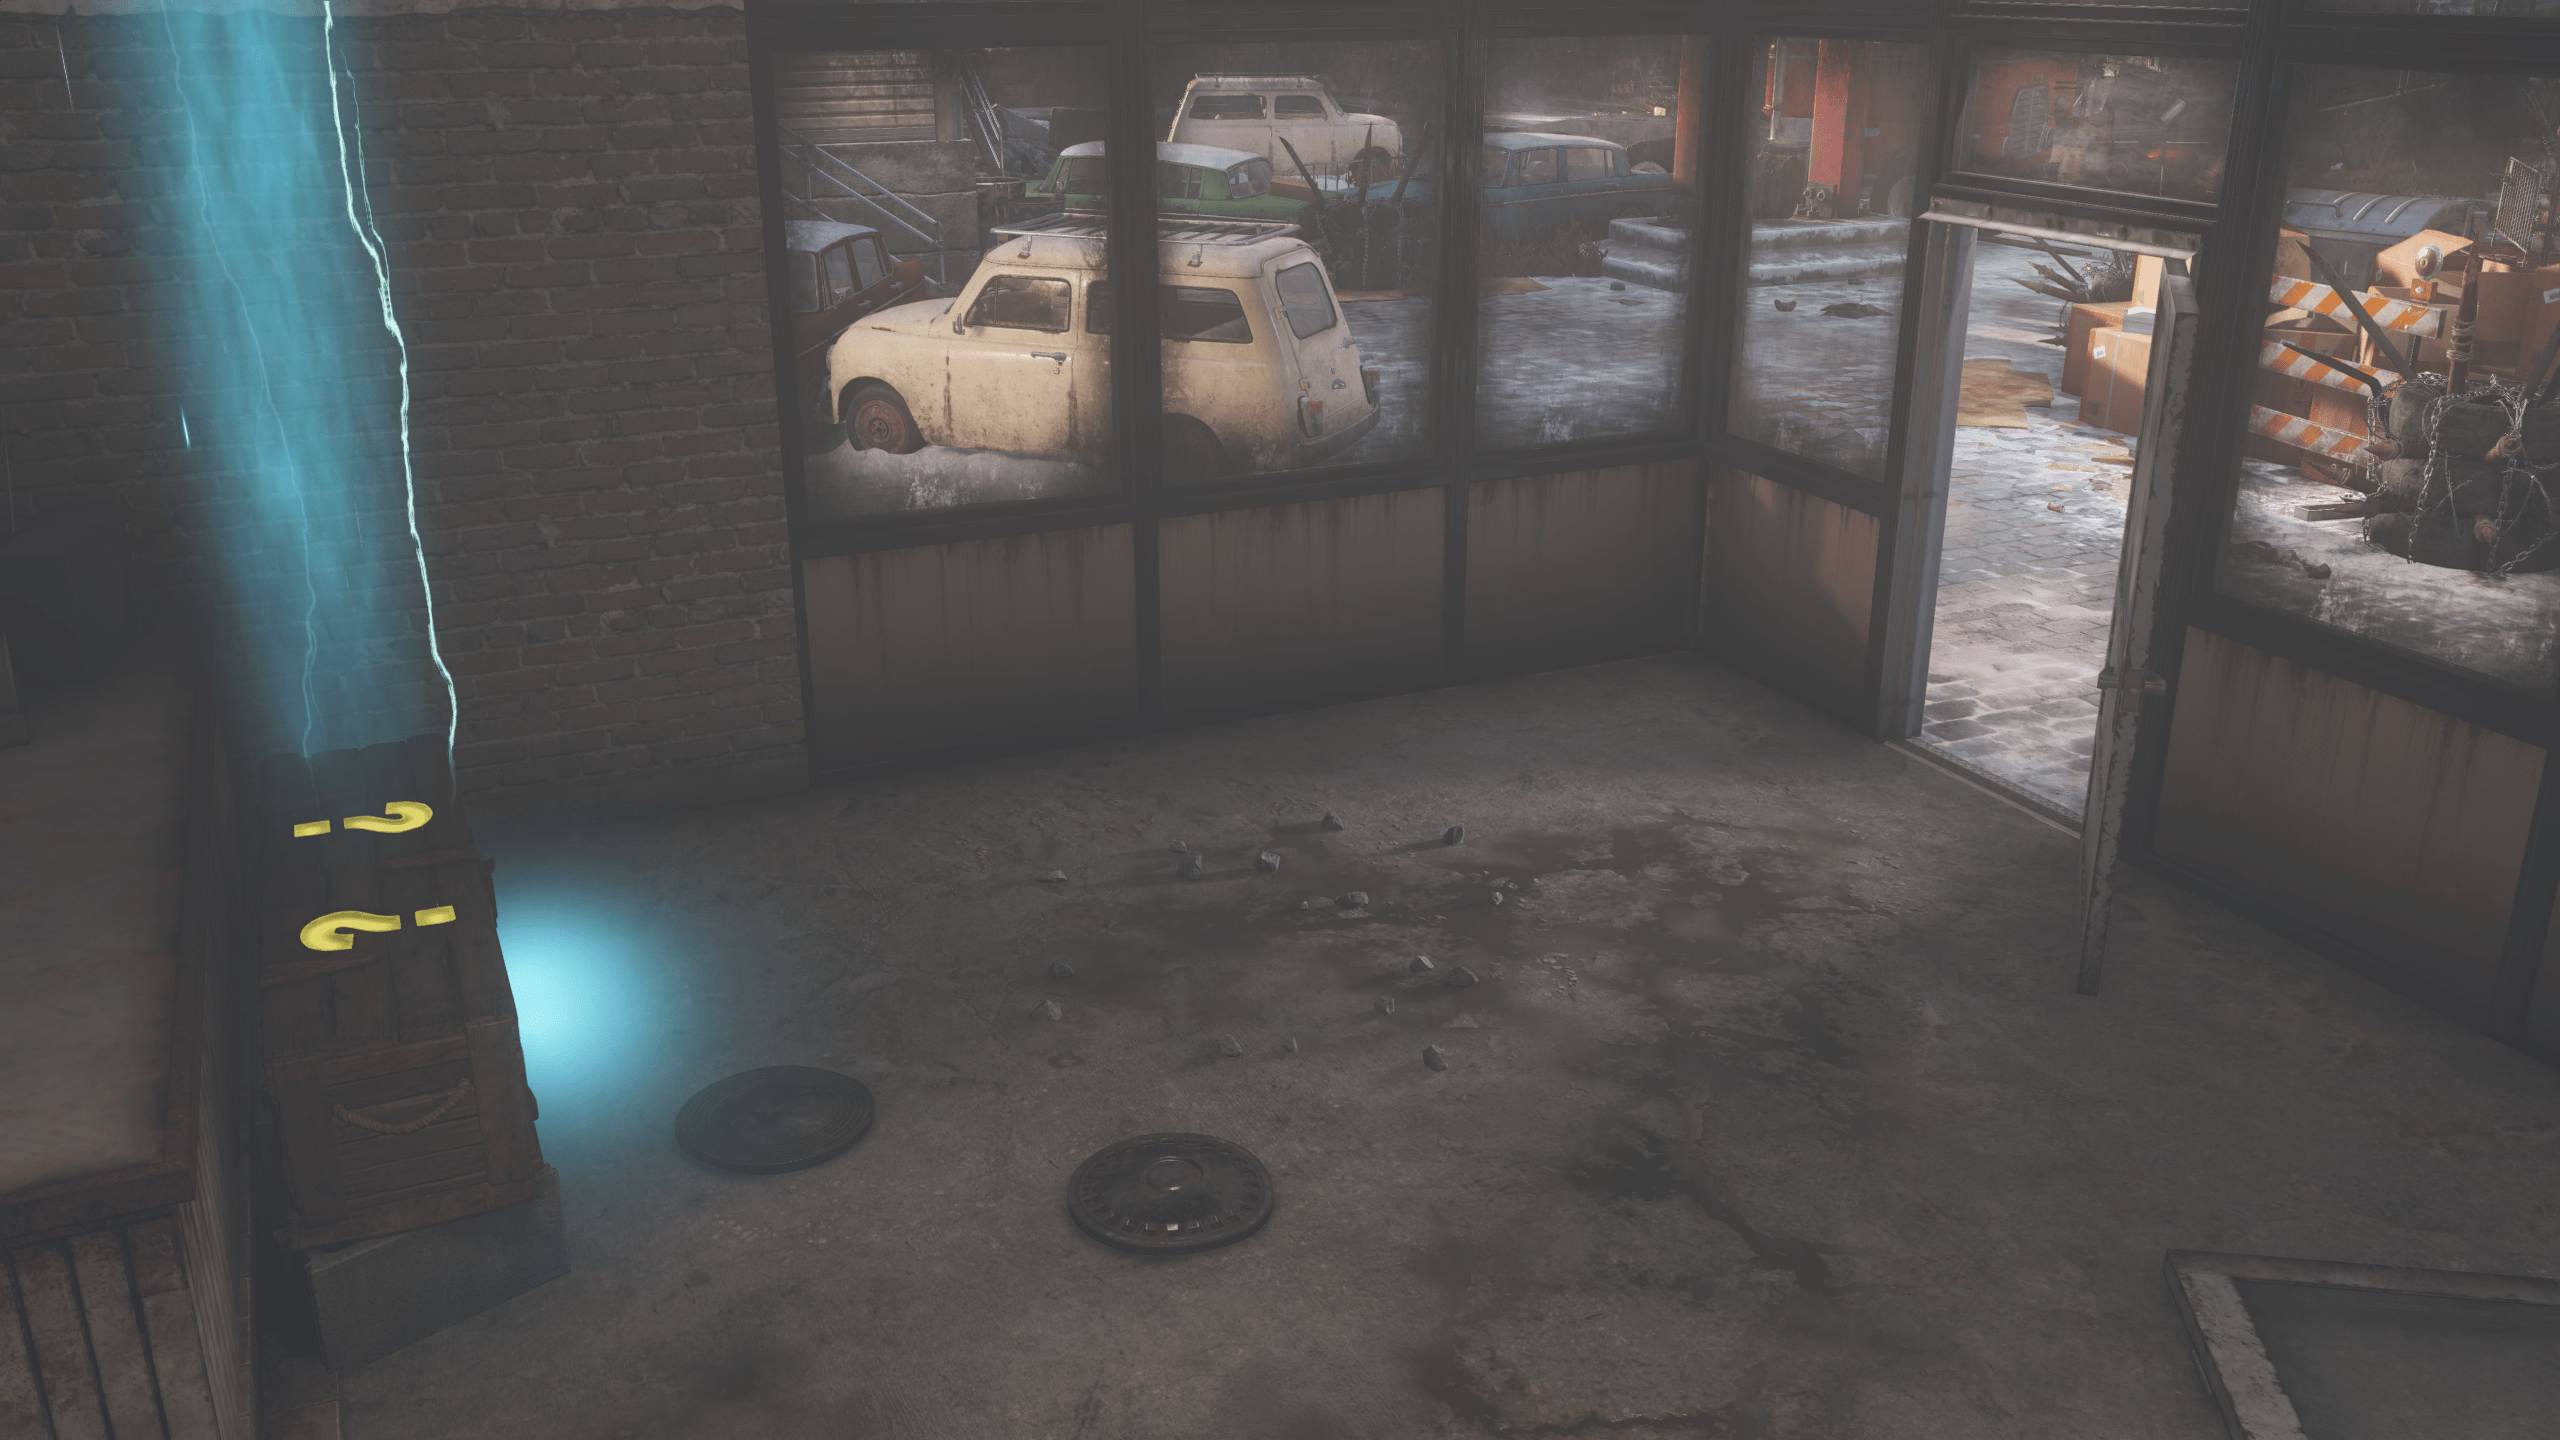
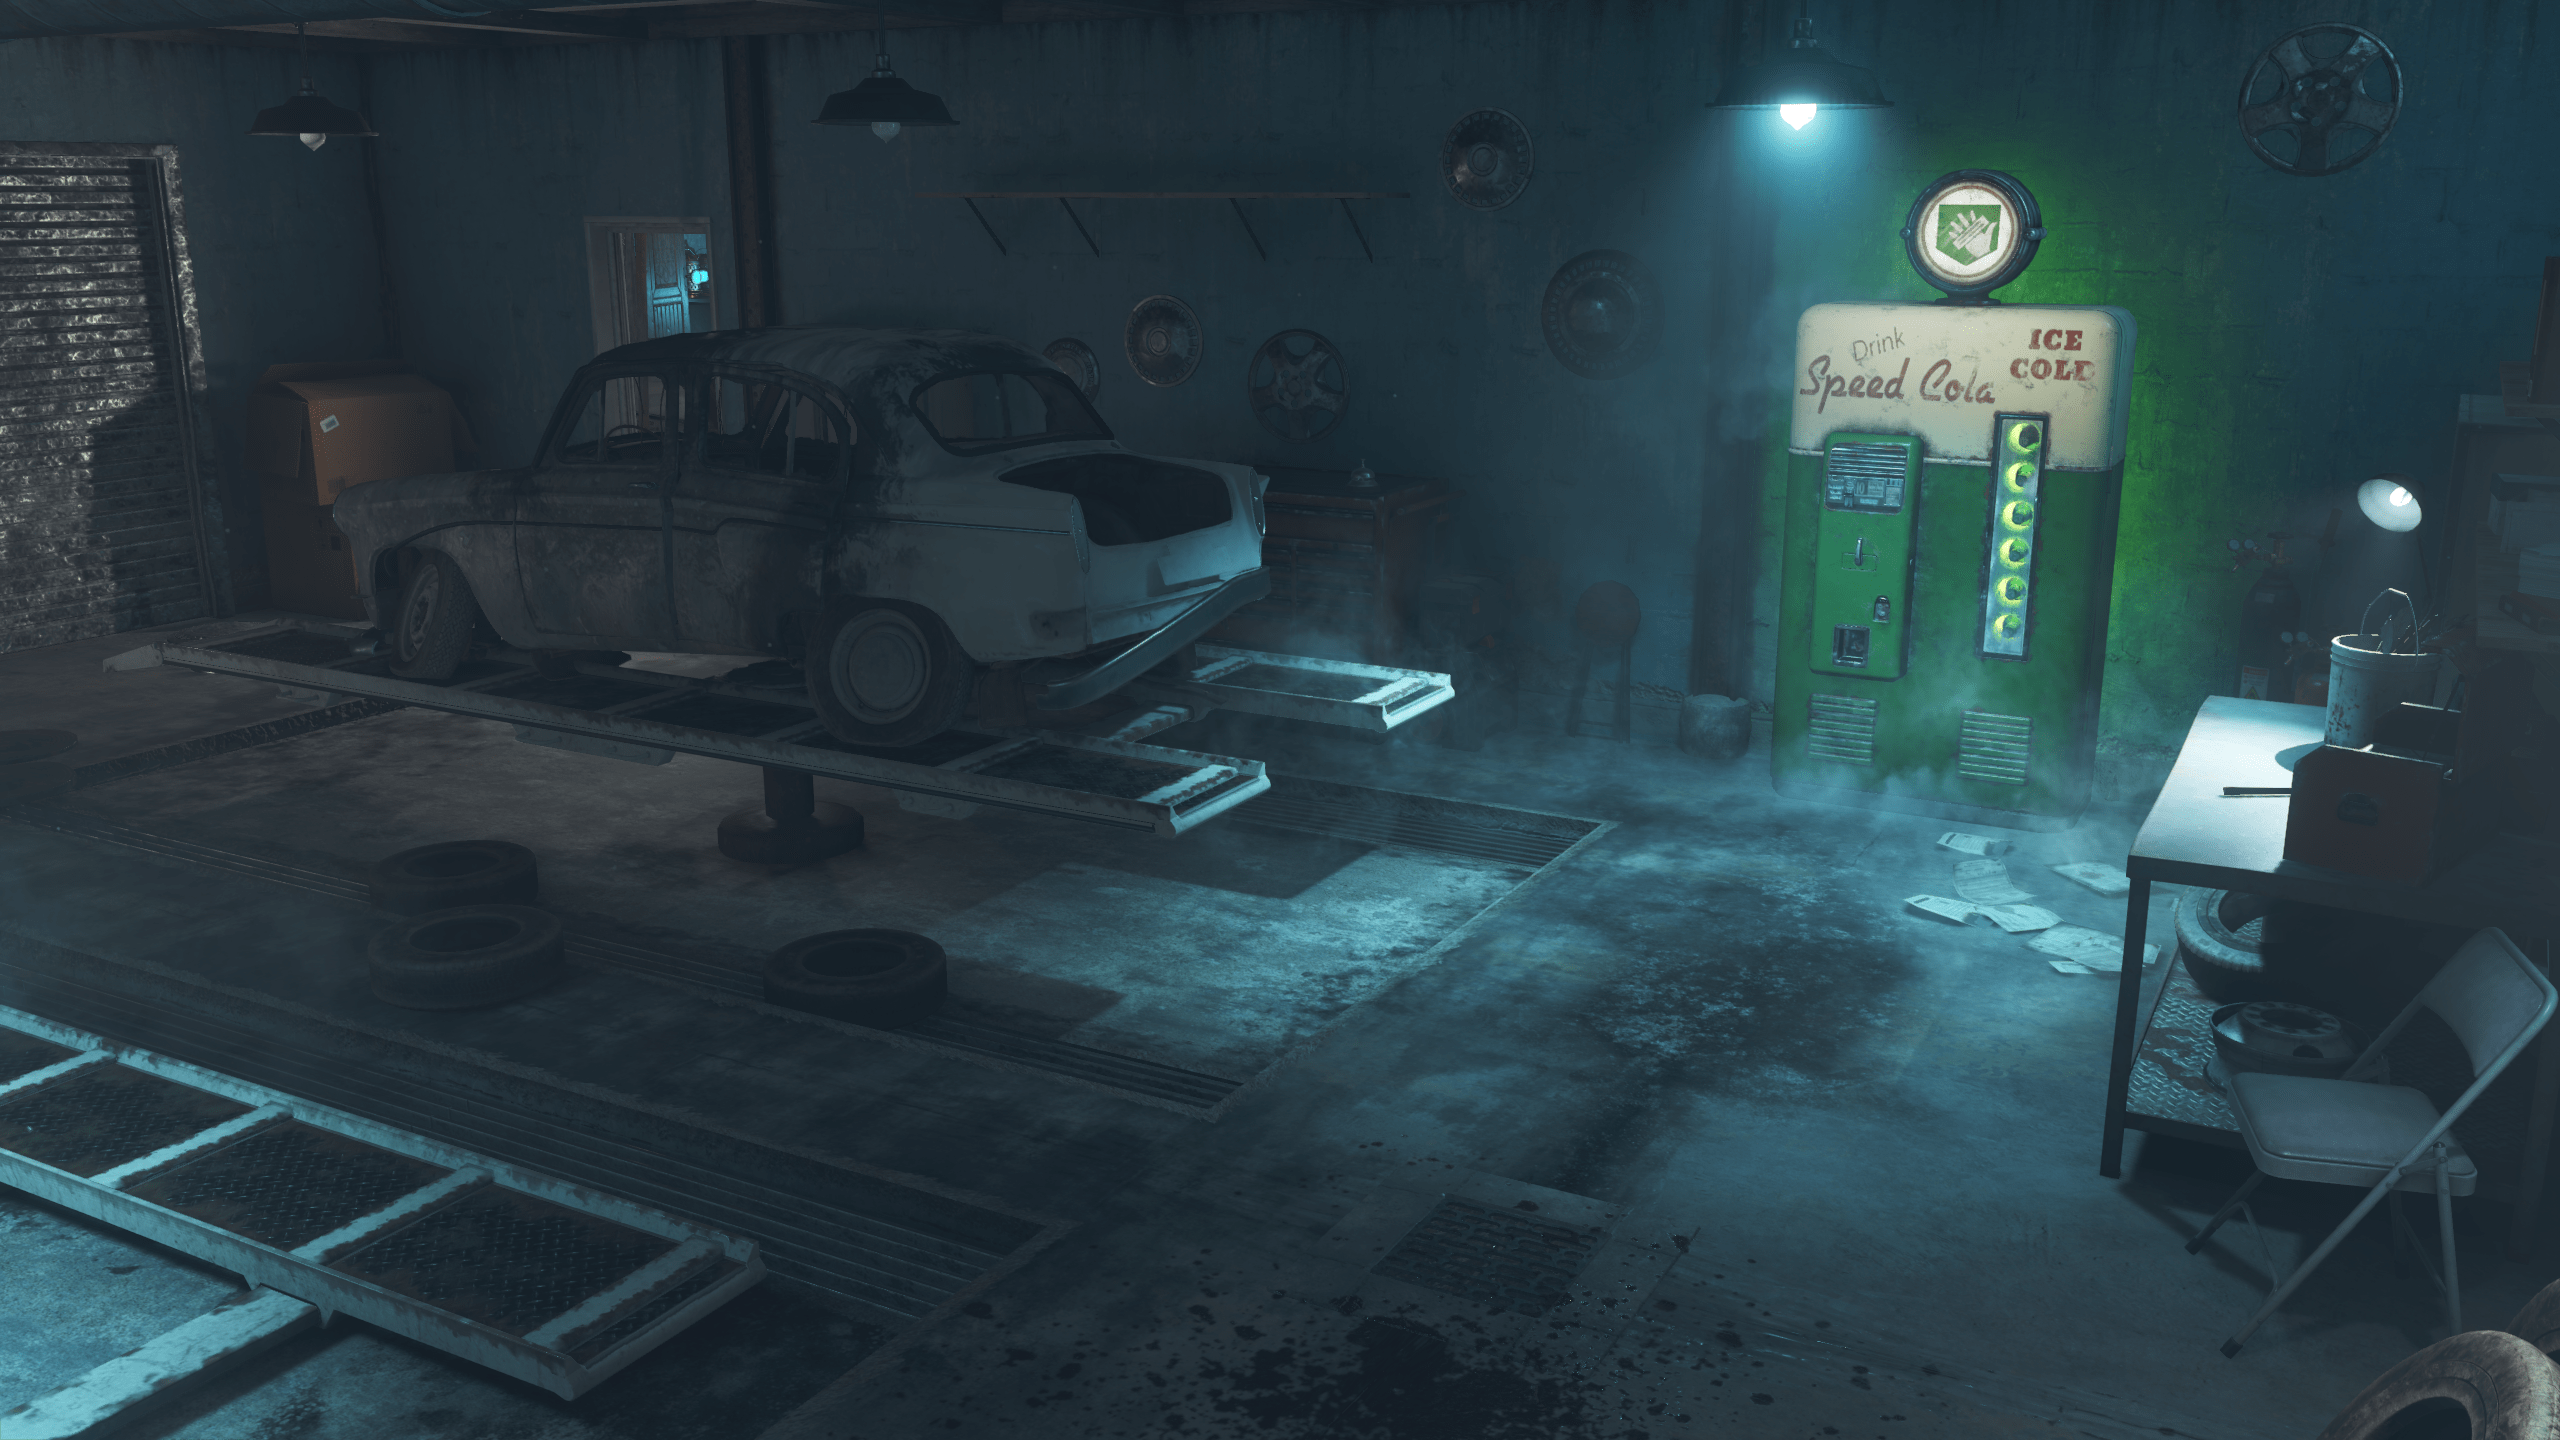
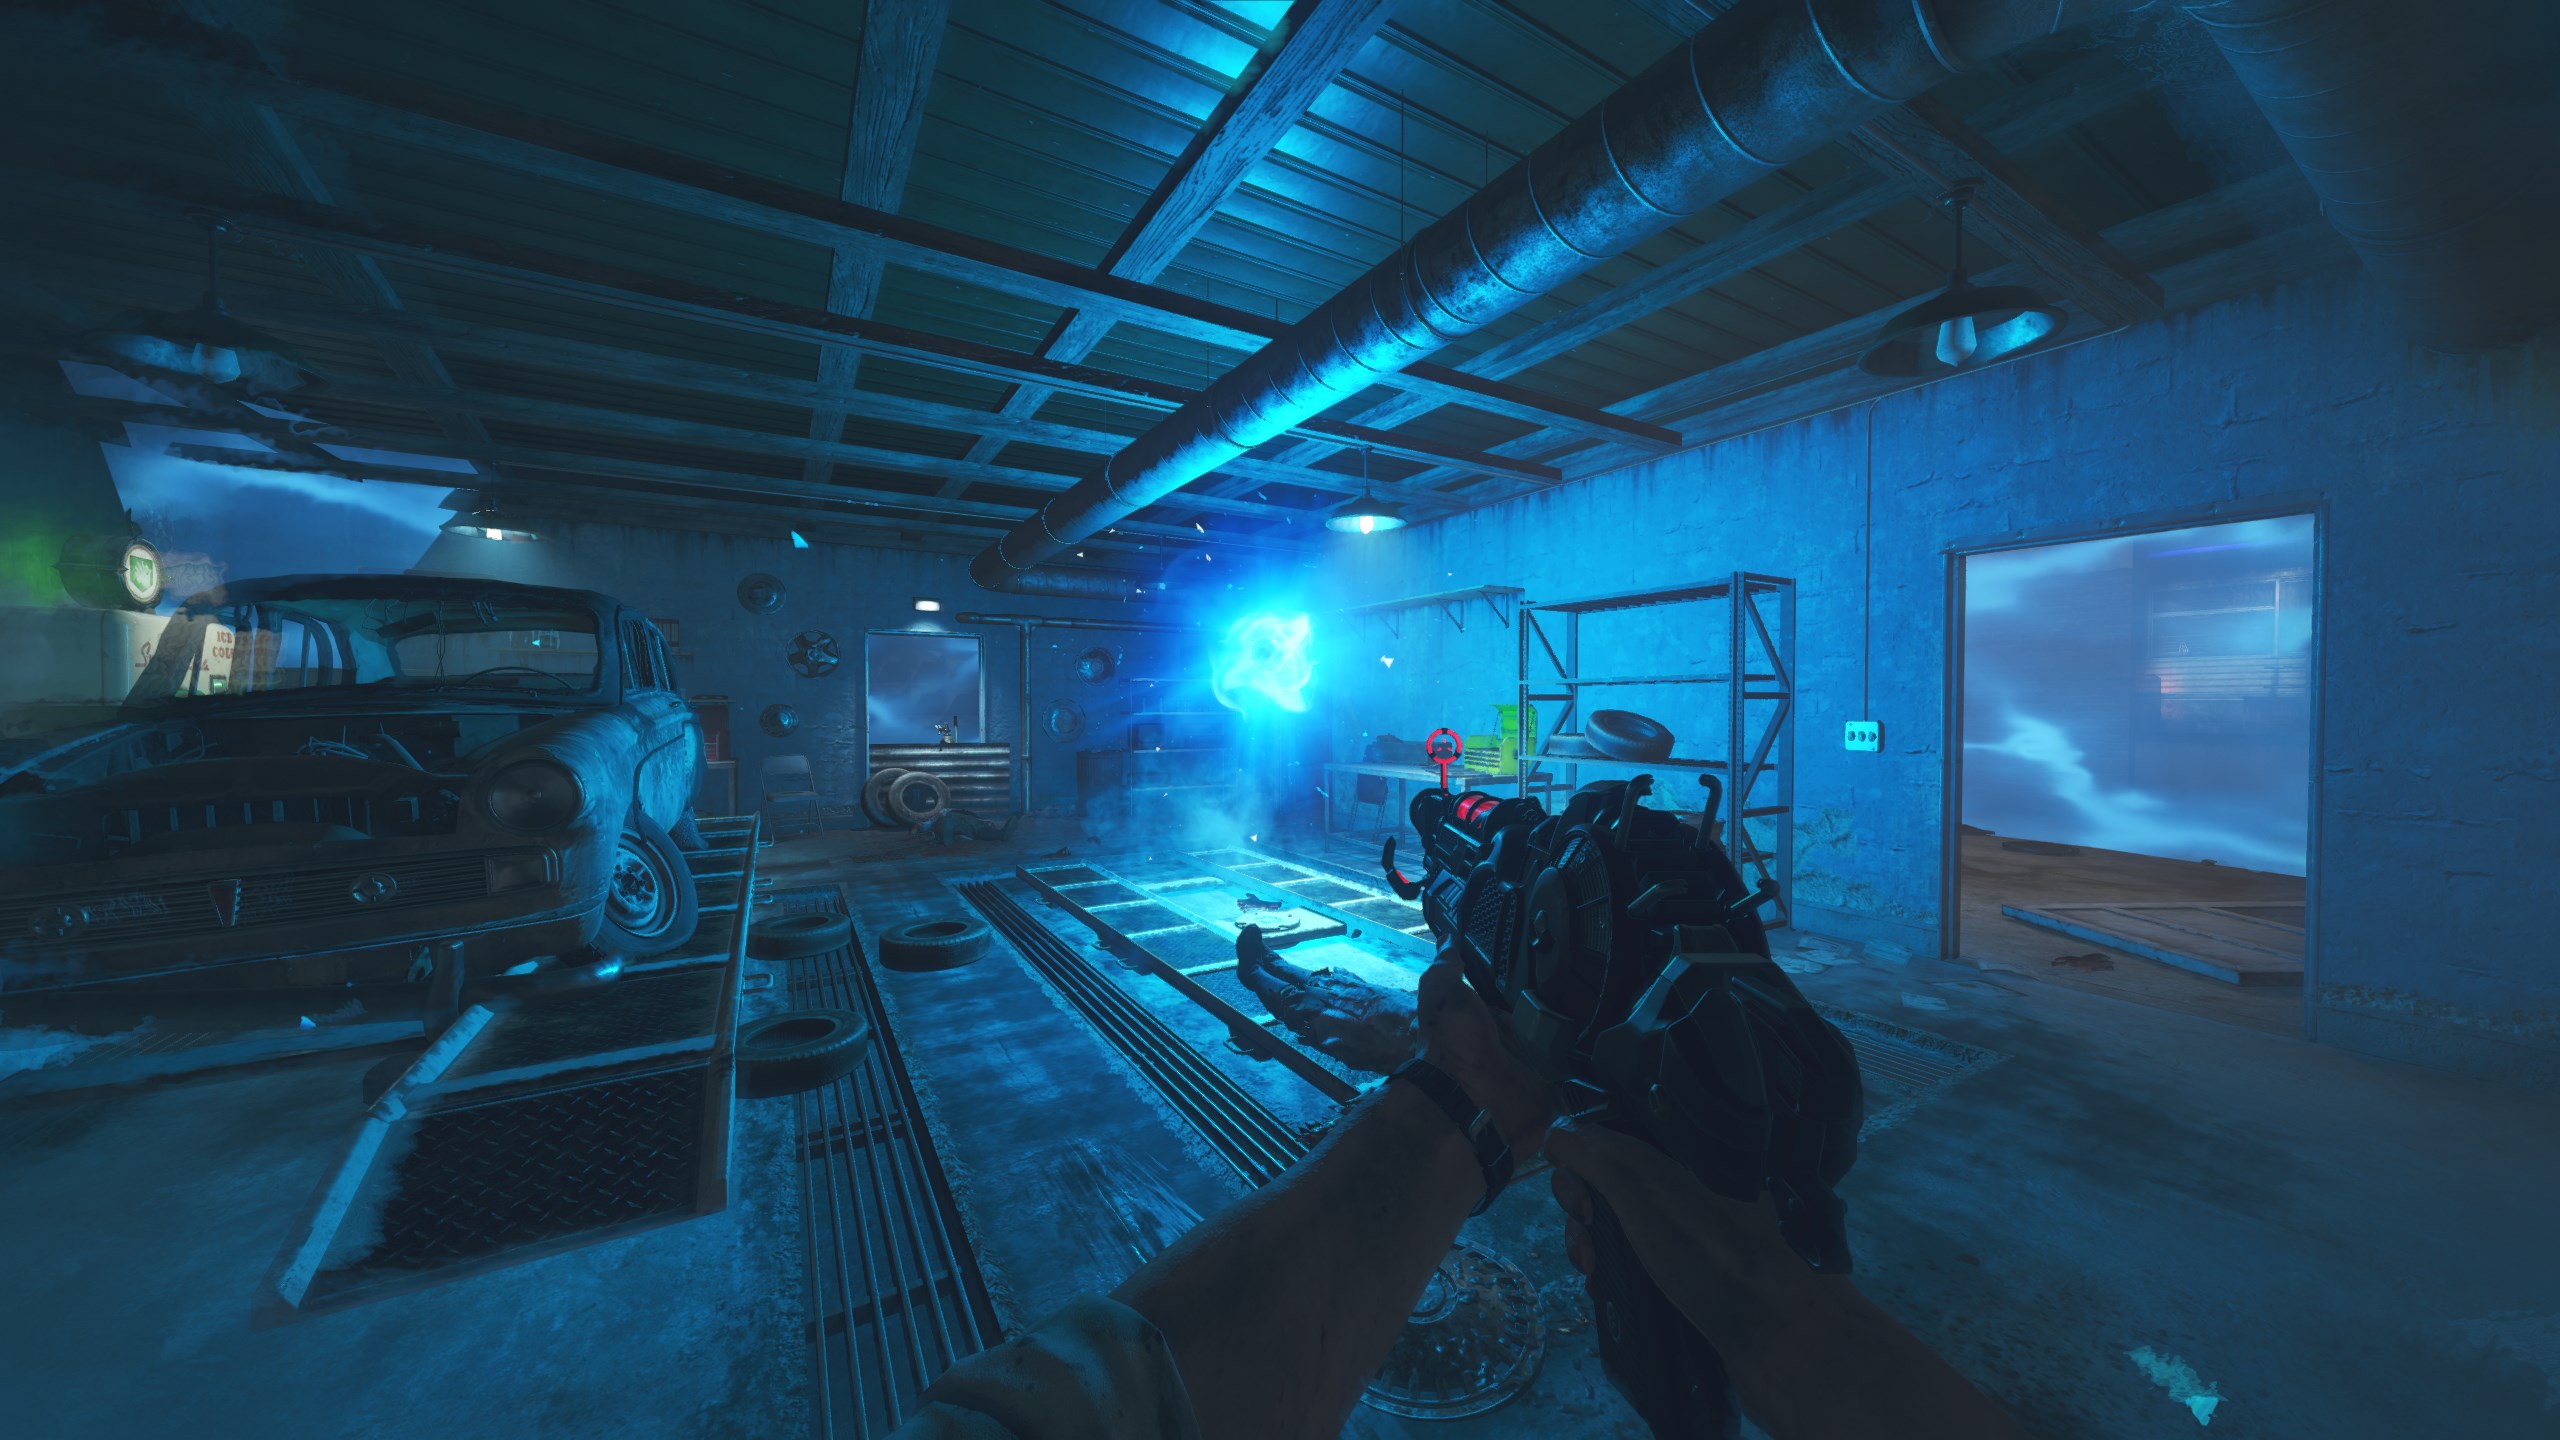
- Speed Cola – Located inside the garage.
- Double Tap – Located across the ditch, using the trample steam.
- Quick Revive – Located right outside of spawn.

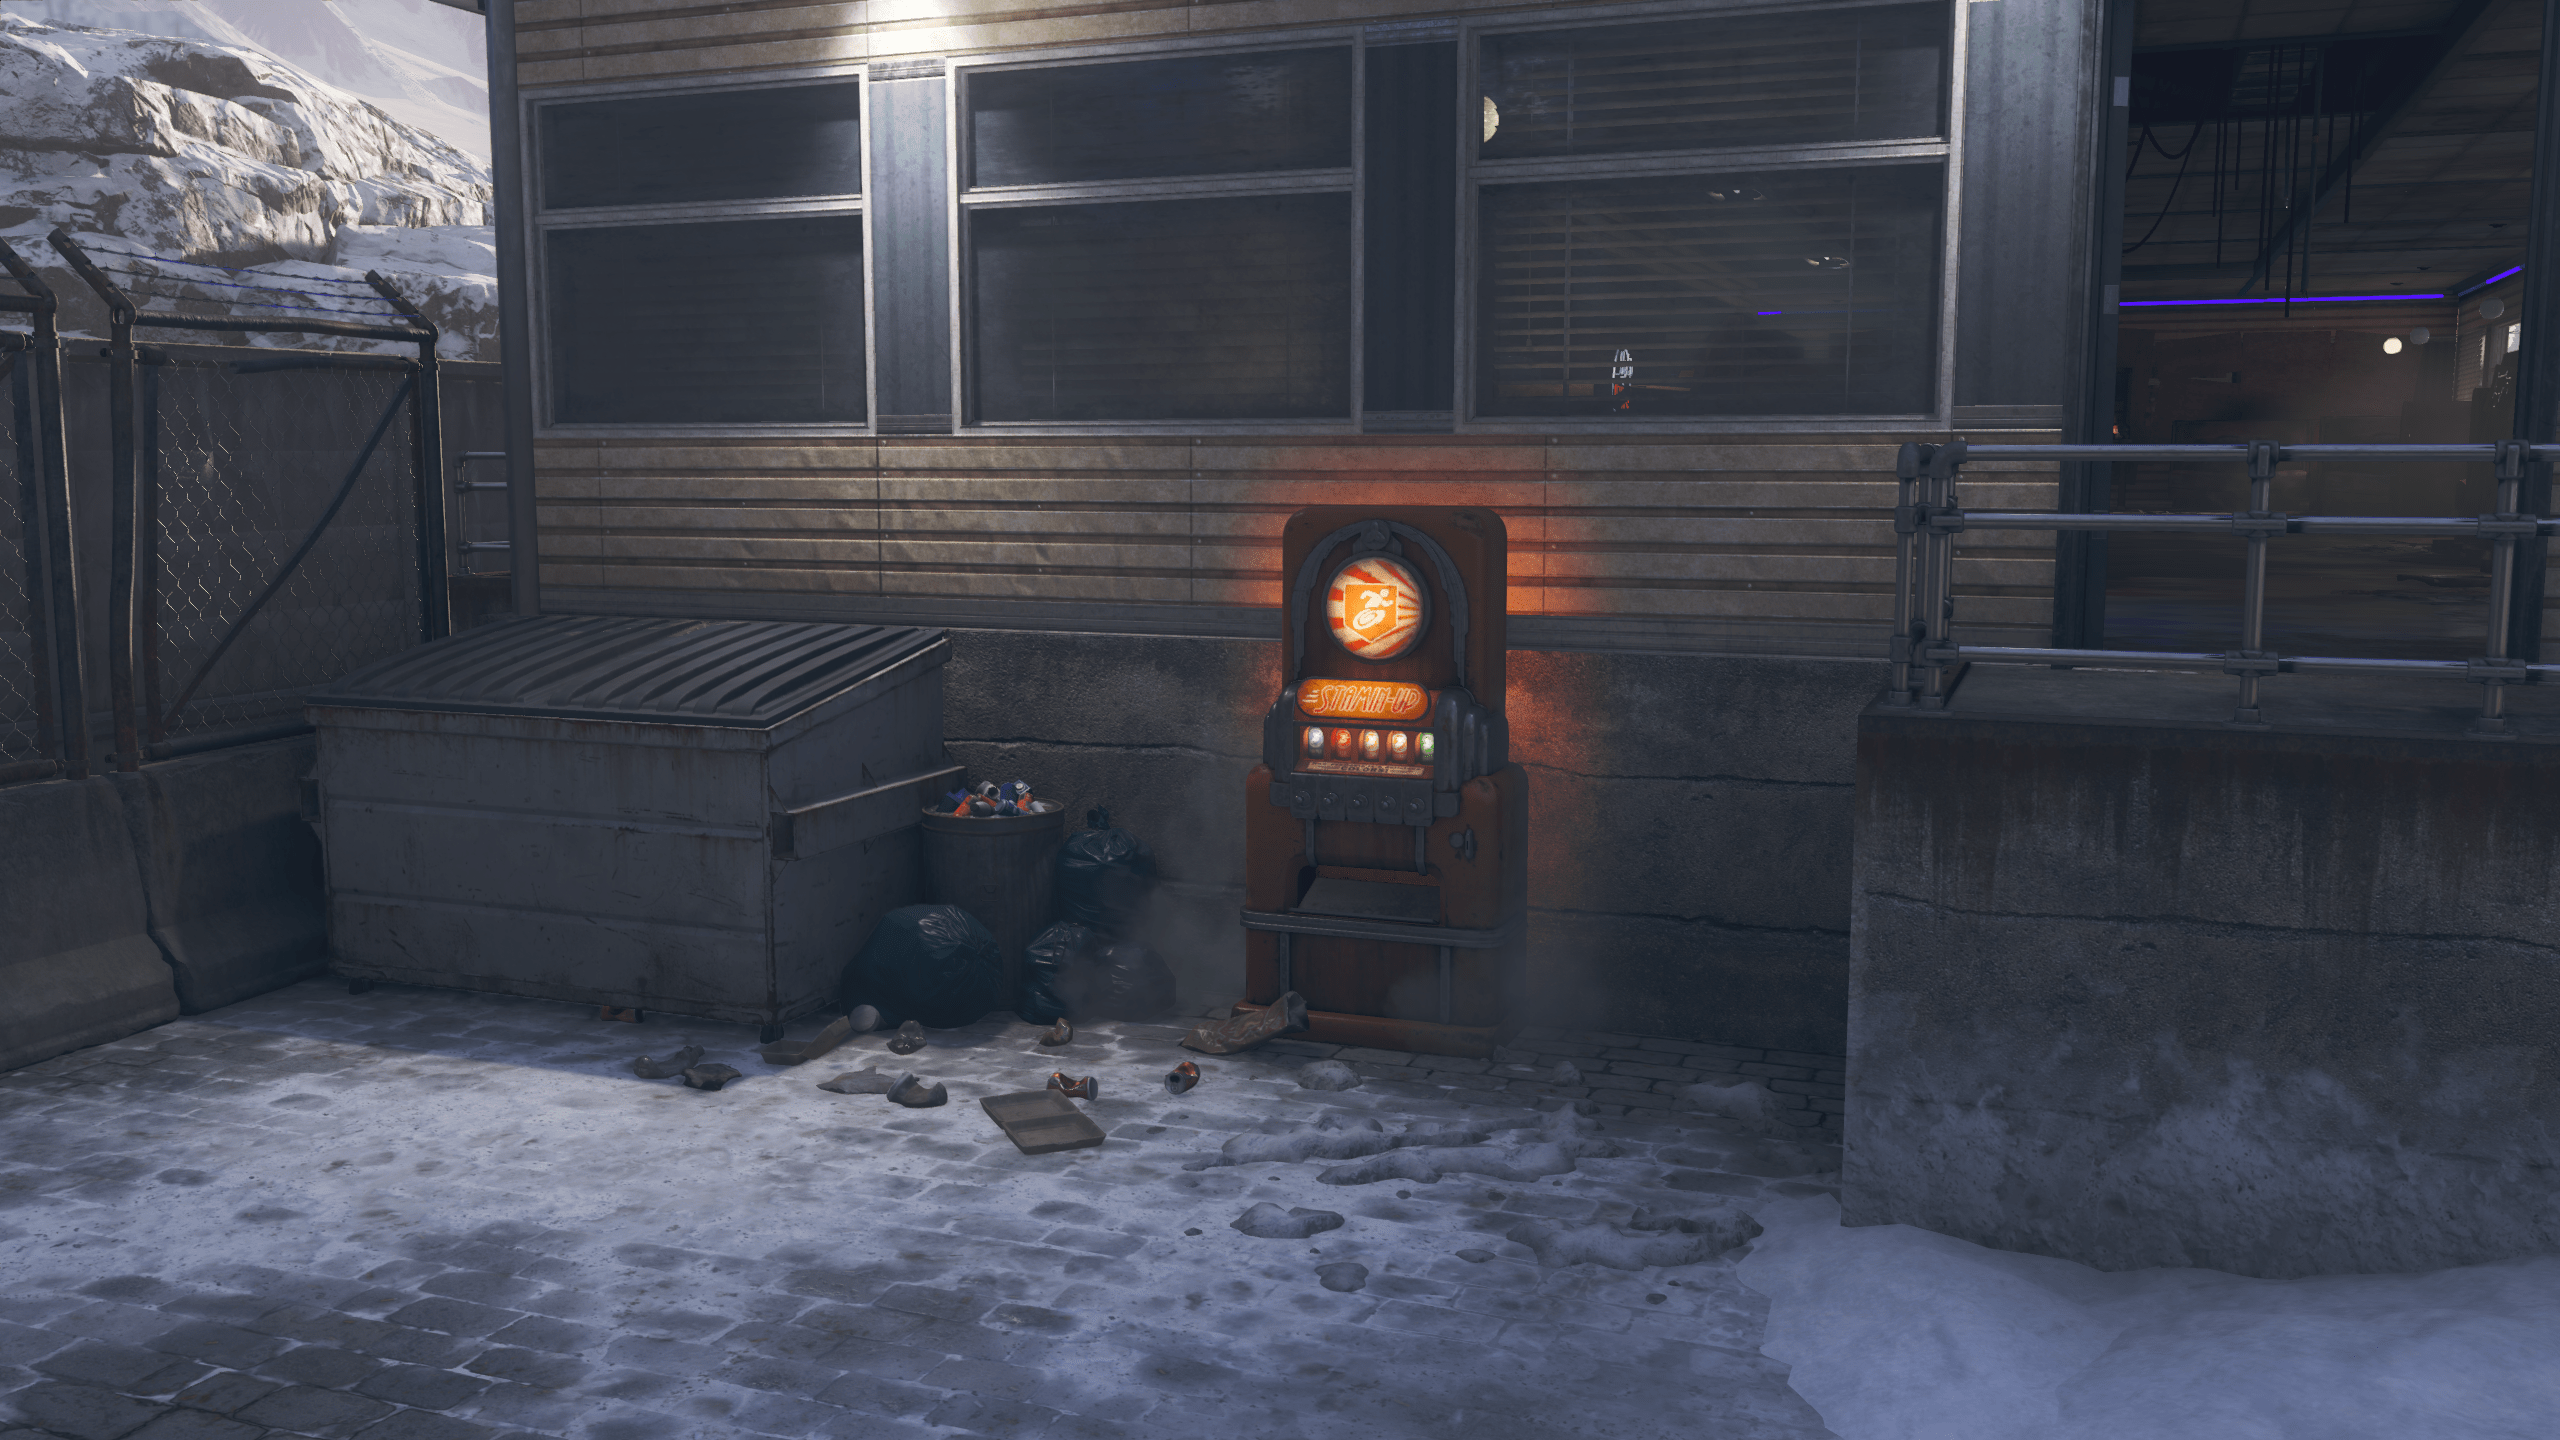
- Stamin-up – Located inbetween the Diner and Garage buildings.
- Electric Cherry – A Perk-a-Cola power up will spawn after killing 30 Electric Crawler’s, granting you Electric Cherry.
أسلحة
Power-Ups
- آلة الموت
- Double Points
- Fire Sale
- Insta-Kill
- Max Ammo
- Nuke
- Perk Bottle – Electric Cherry, obtained after killing 30 Electric Crawlers.
Wraith Fire
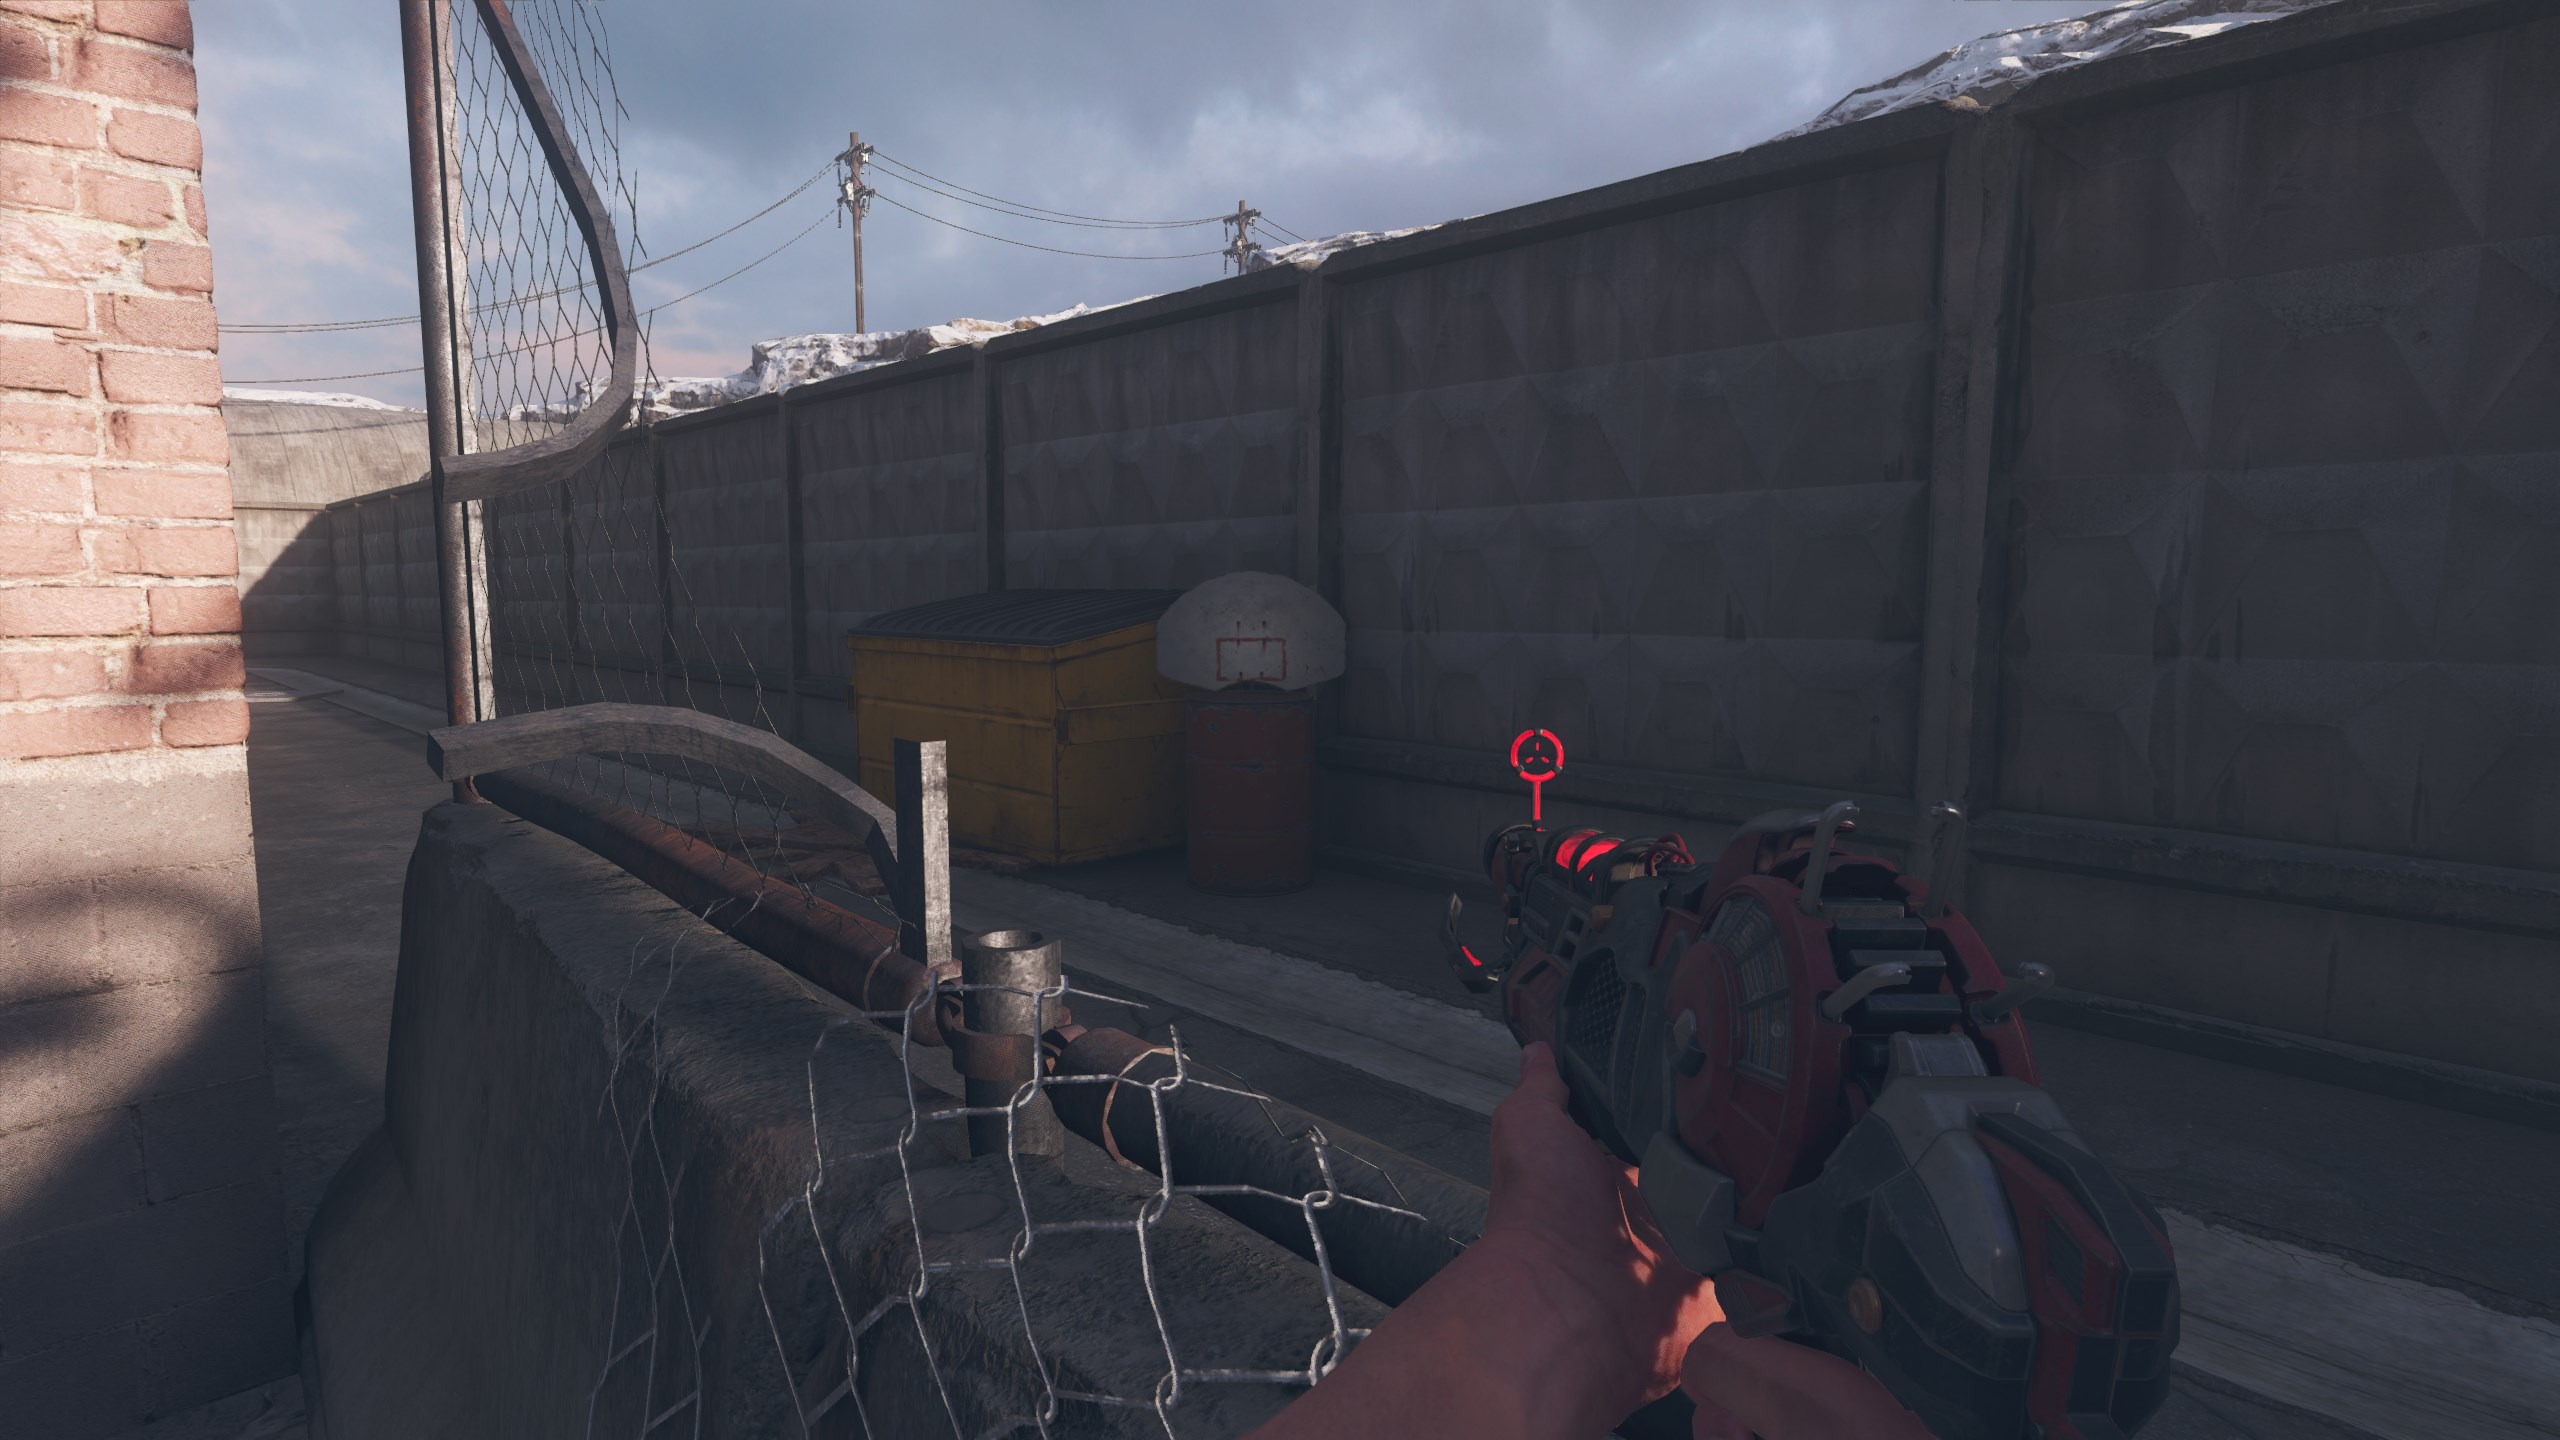
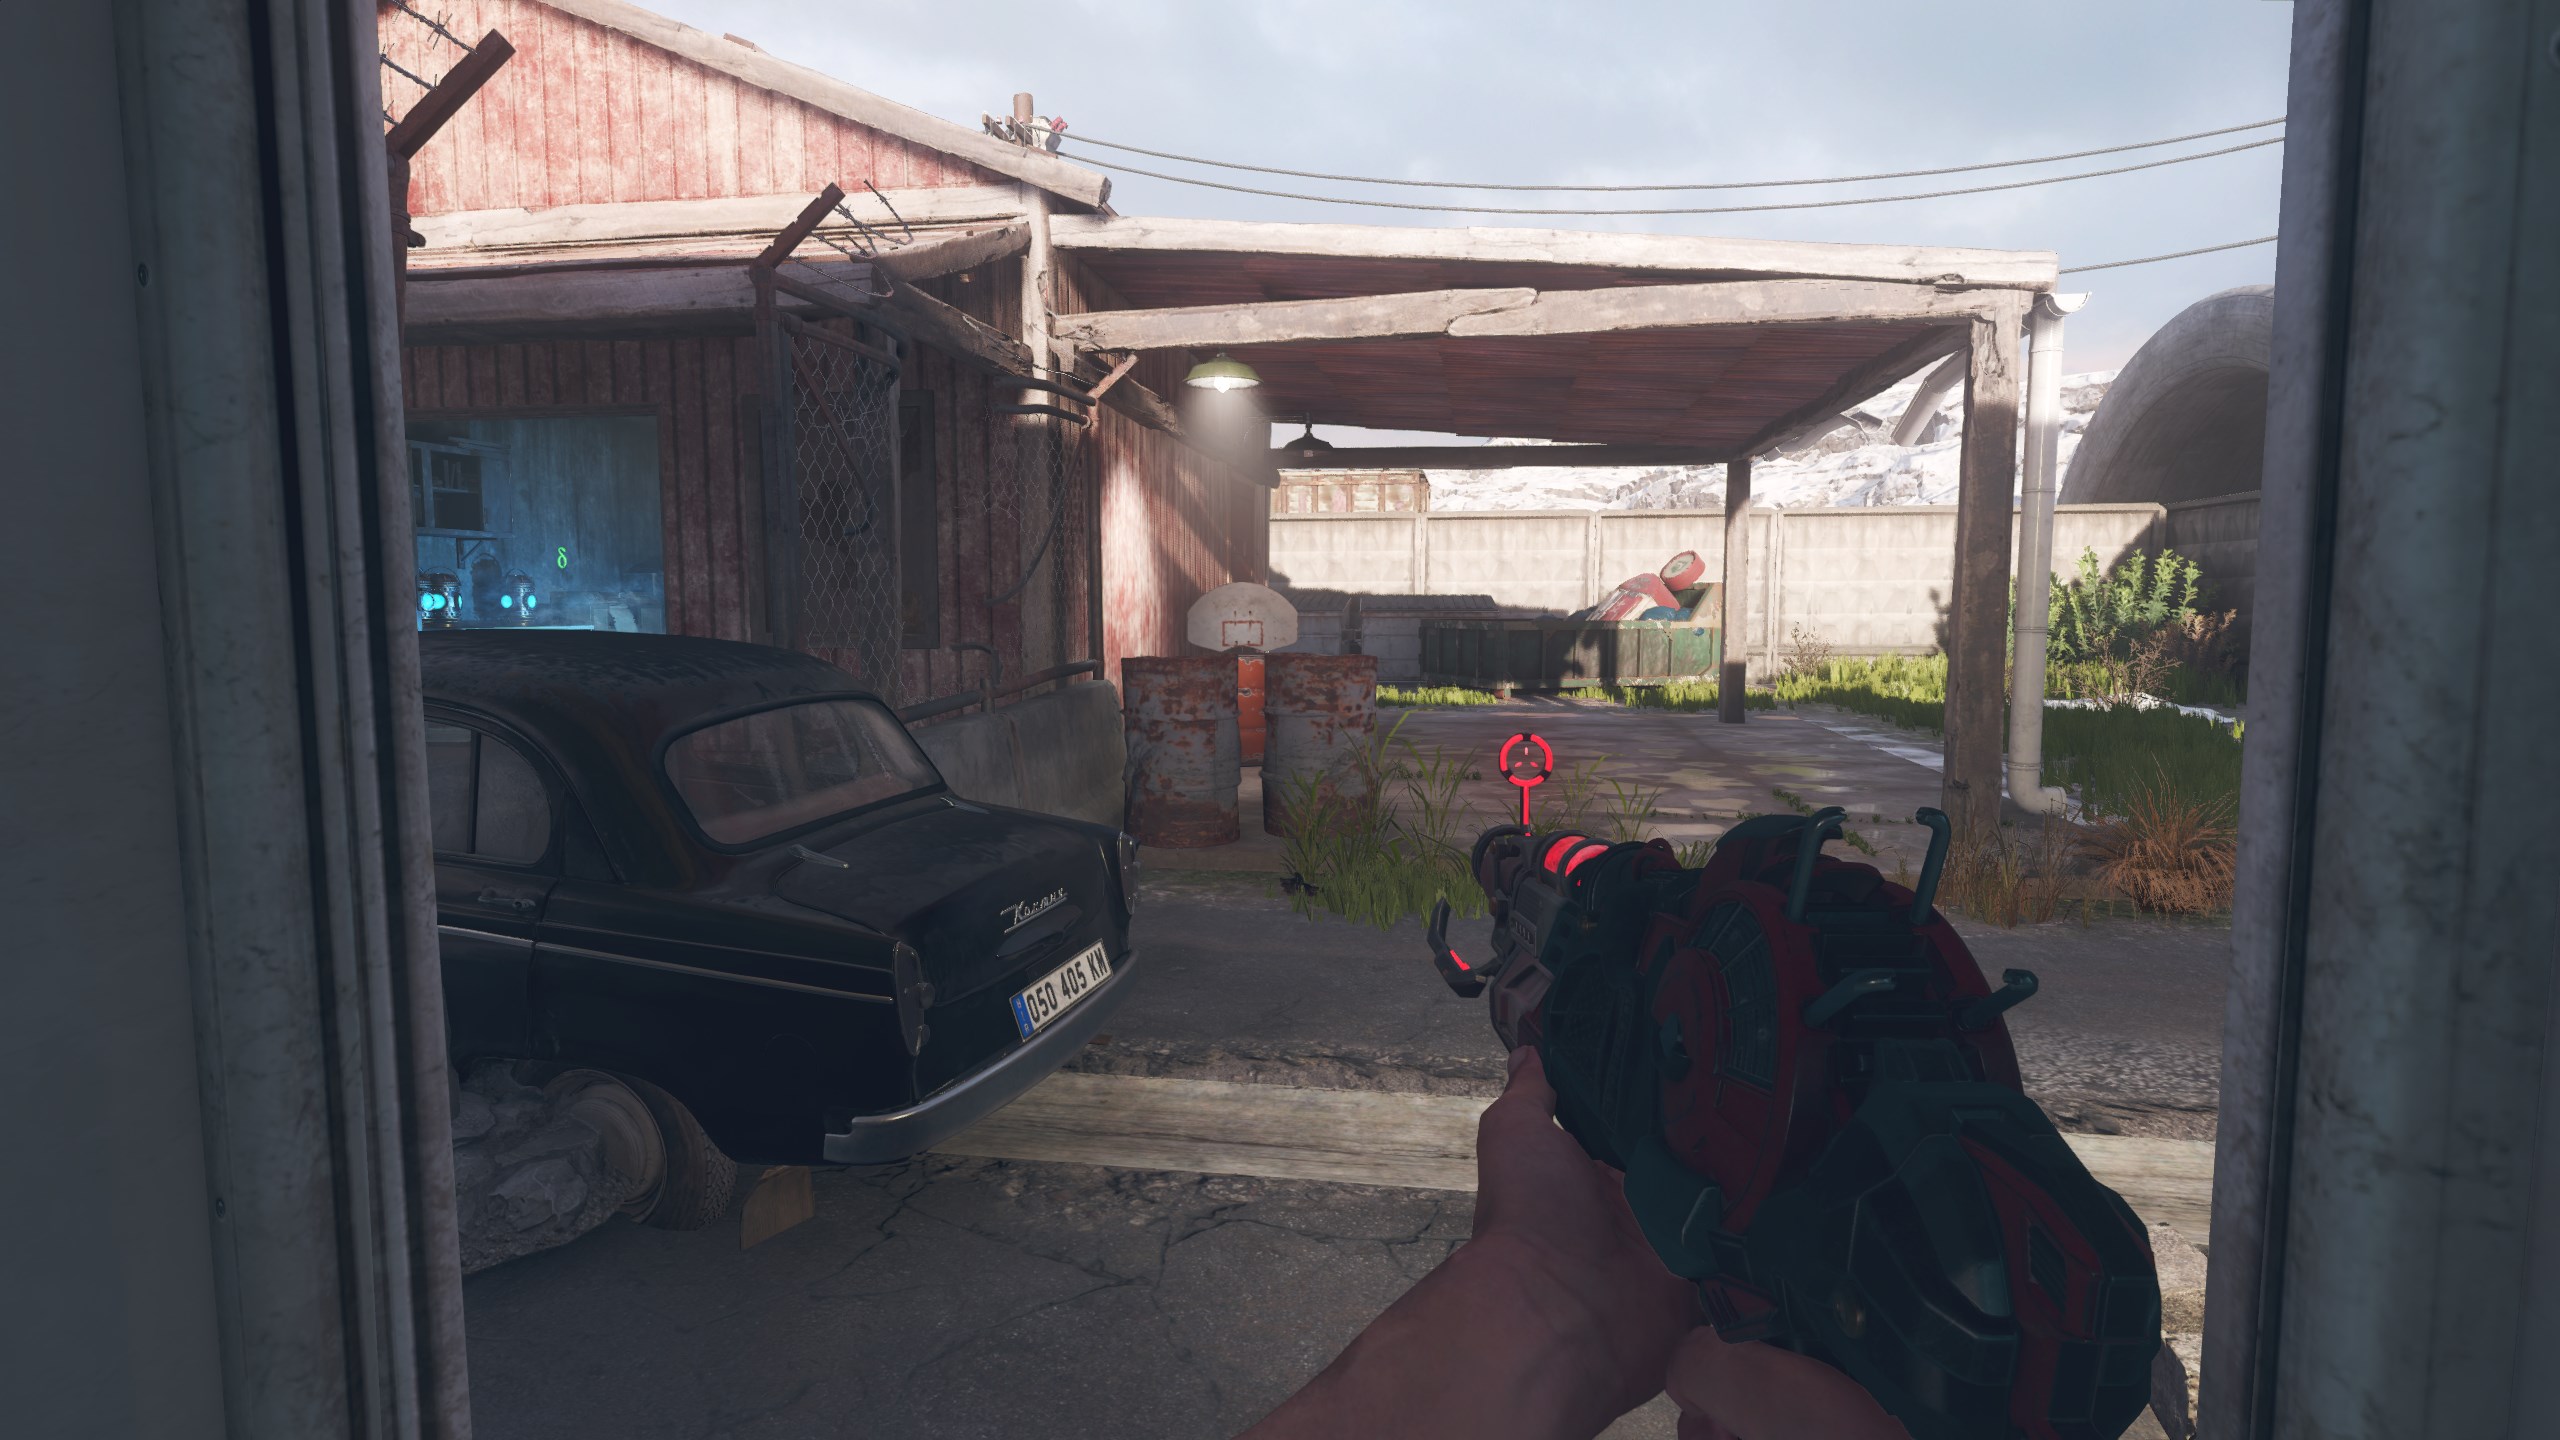
Throw grenades into the five barrels with basketball hoops located around the outside of the map.
- In the alley-way behind Stamin-Up.
- To the right of the Power room, seen from the Garage window.
- Between the Power room and green tent.
- Behind Double Tap.
- Behind the Titan wall buy.

You will now be able to retrieve the Wraith Fire from inside the Power room on the table.
Insanity Mode
Insanity Mode will immediately change the round to 200.Ring the three doorbells located around the map.
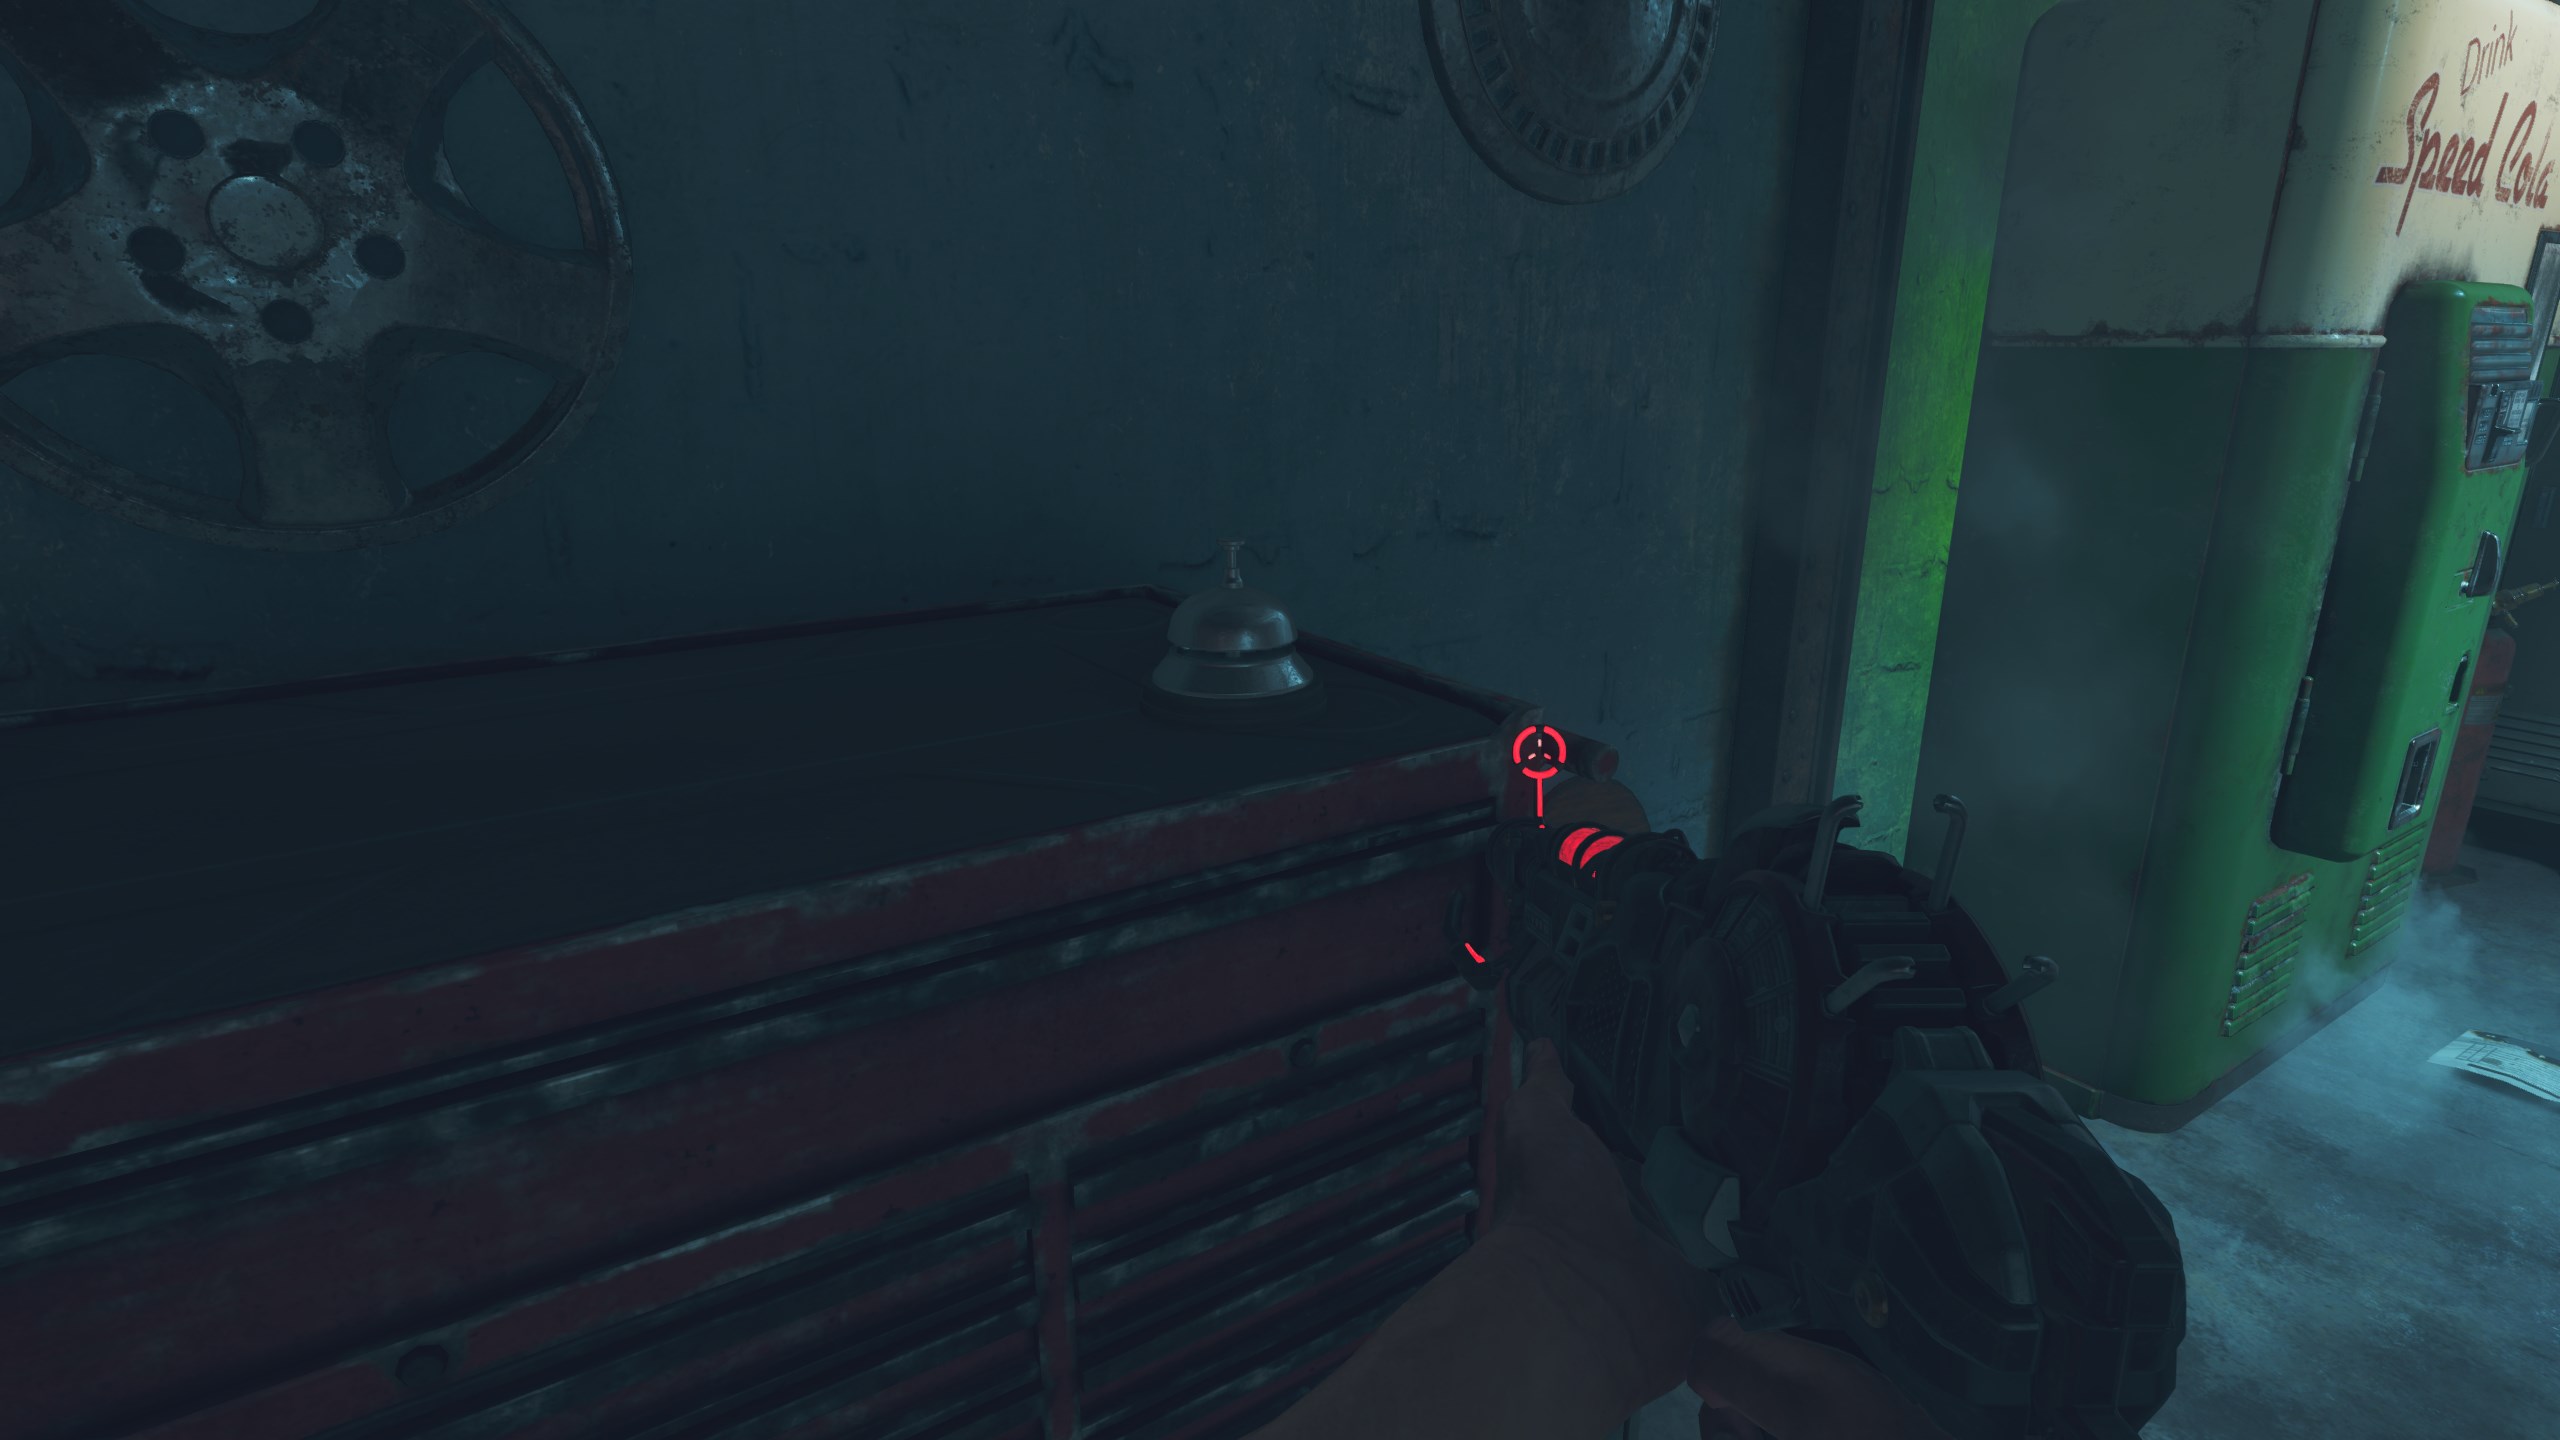
- Inside the Diner on the counter near the staircase entrance.
- Inside the Gas Station on the counter.
- Inside the Garage beside Speed Cola.
Interact with the red button inside the Garage between the Garage doors, and you will be teleported to spawn and skipped to round 200.
Main Quest
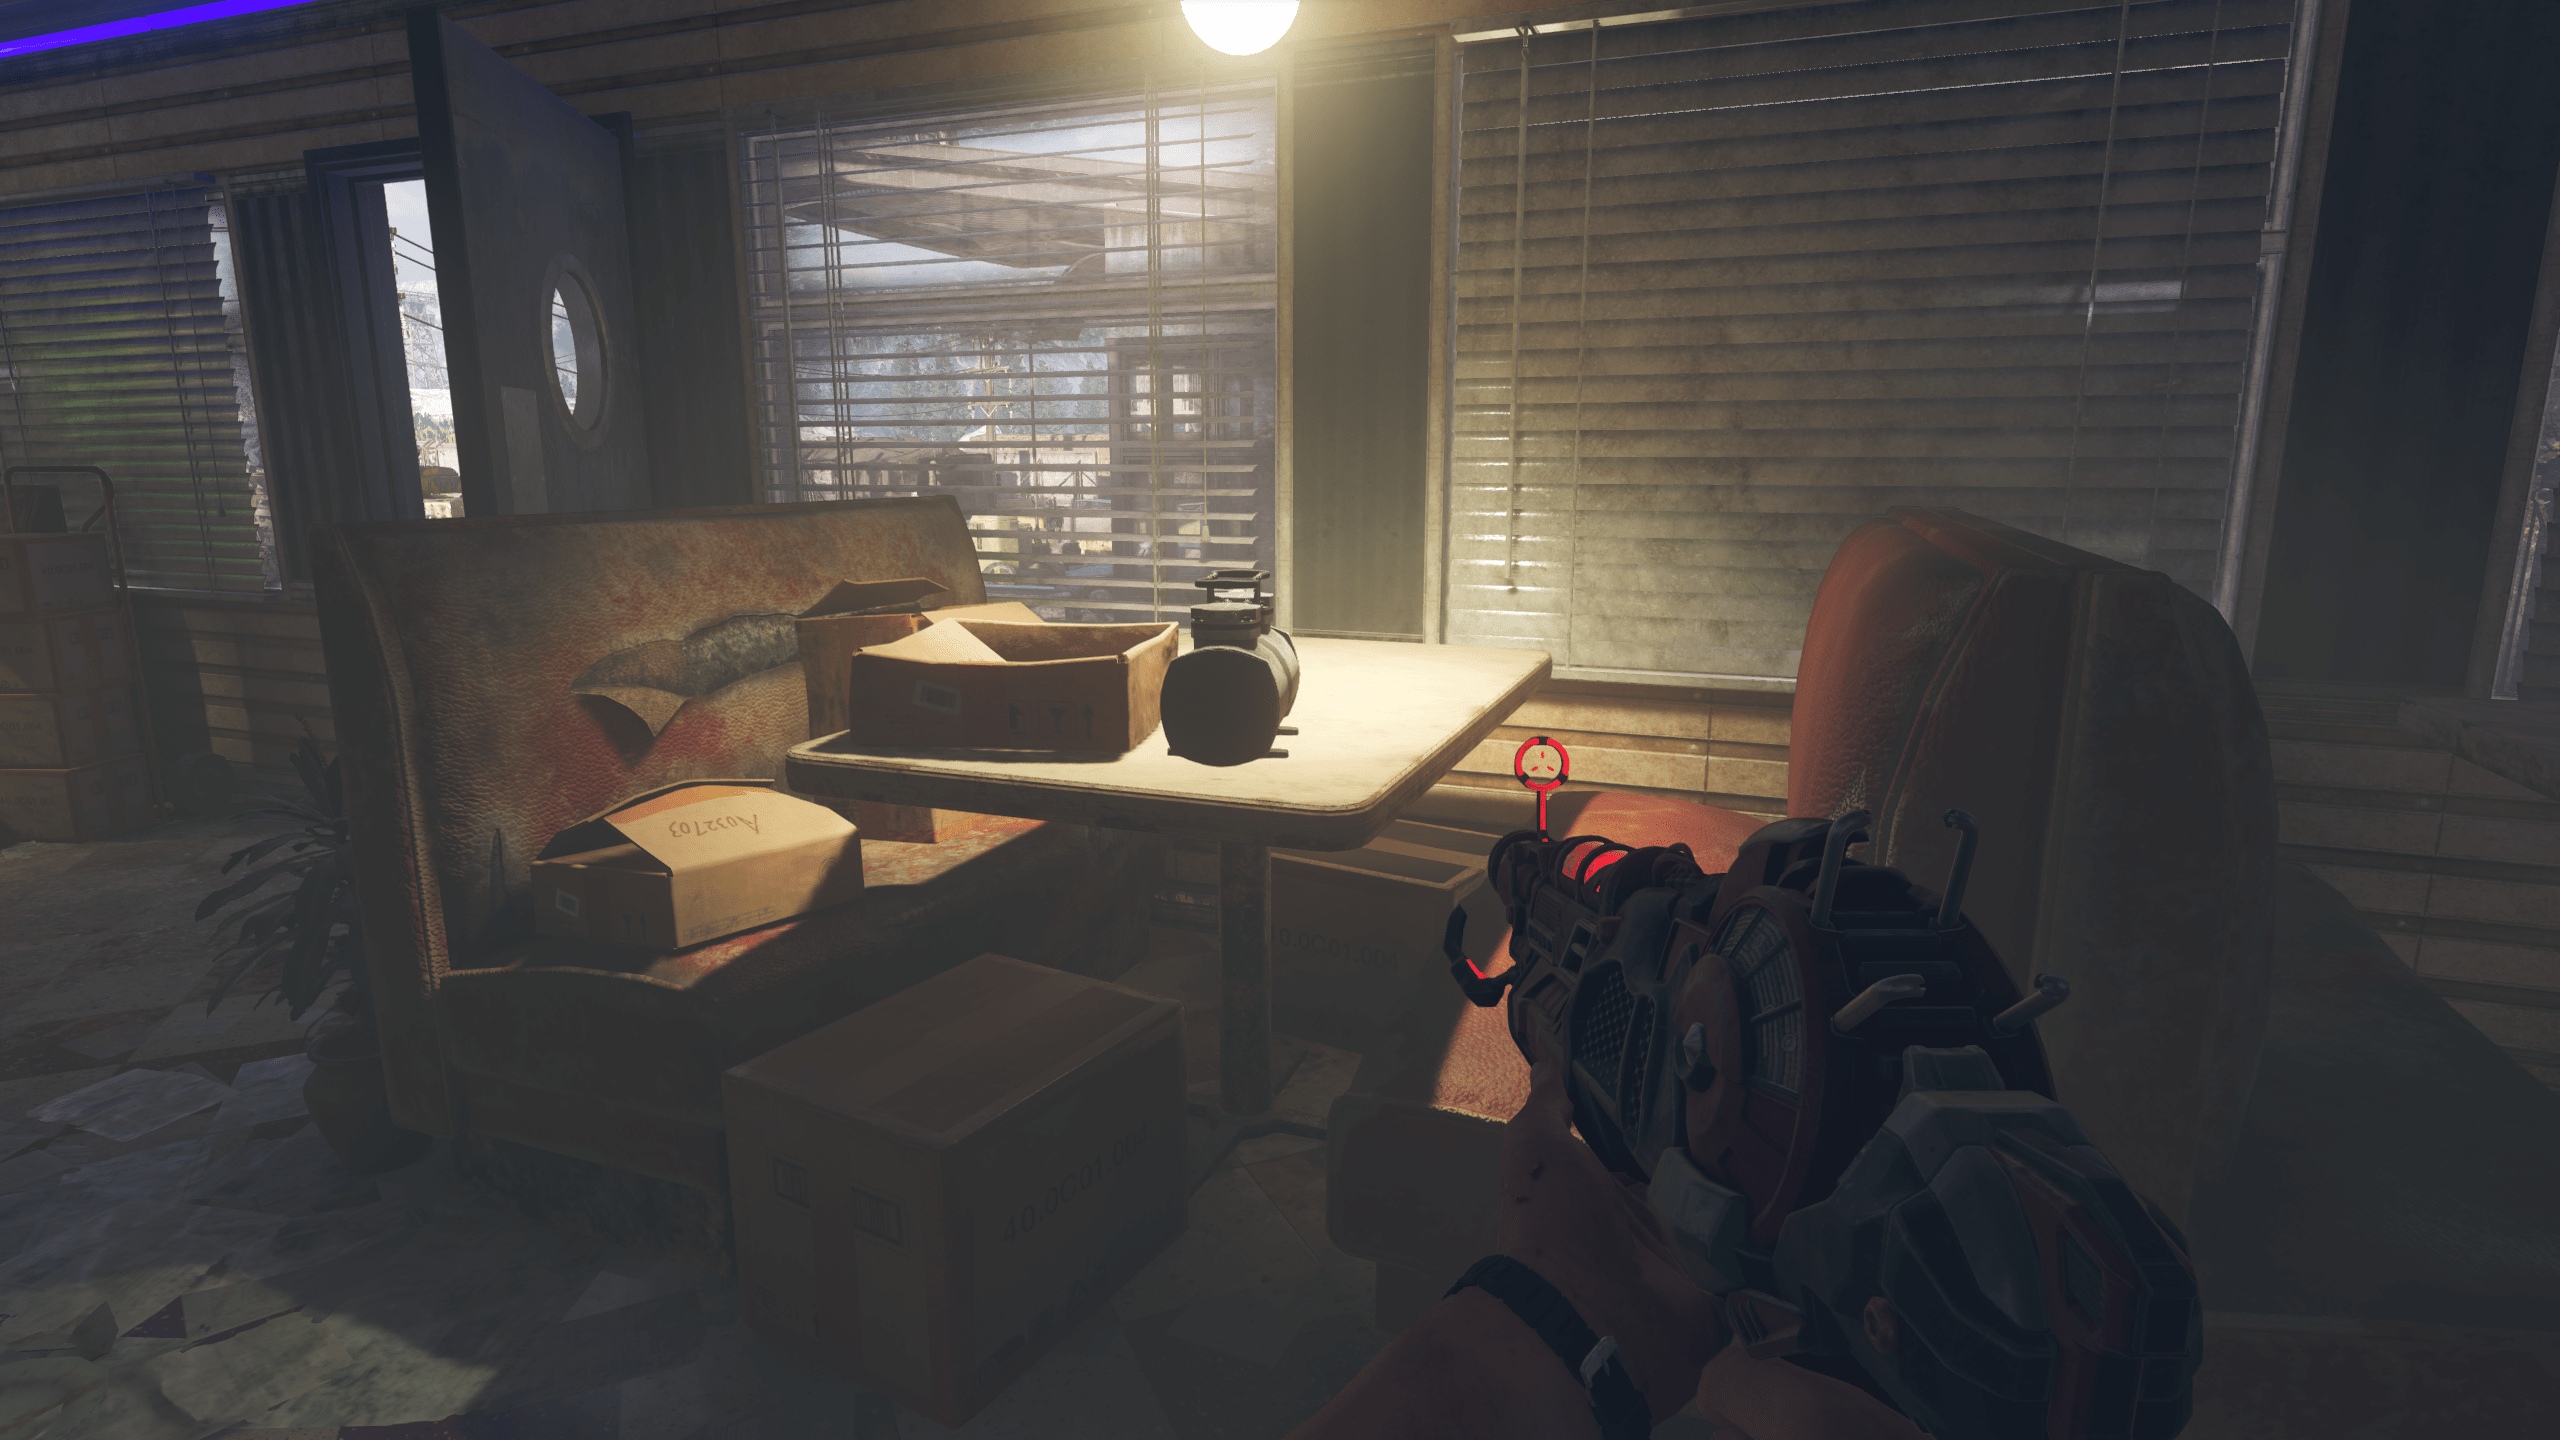
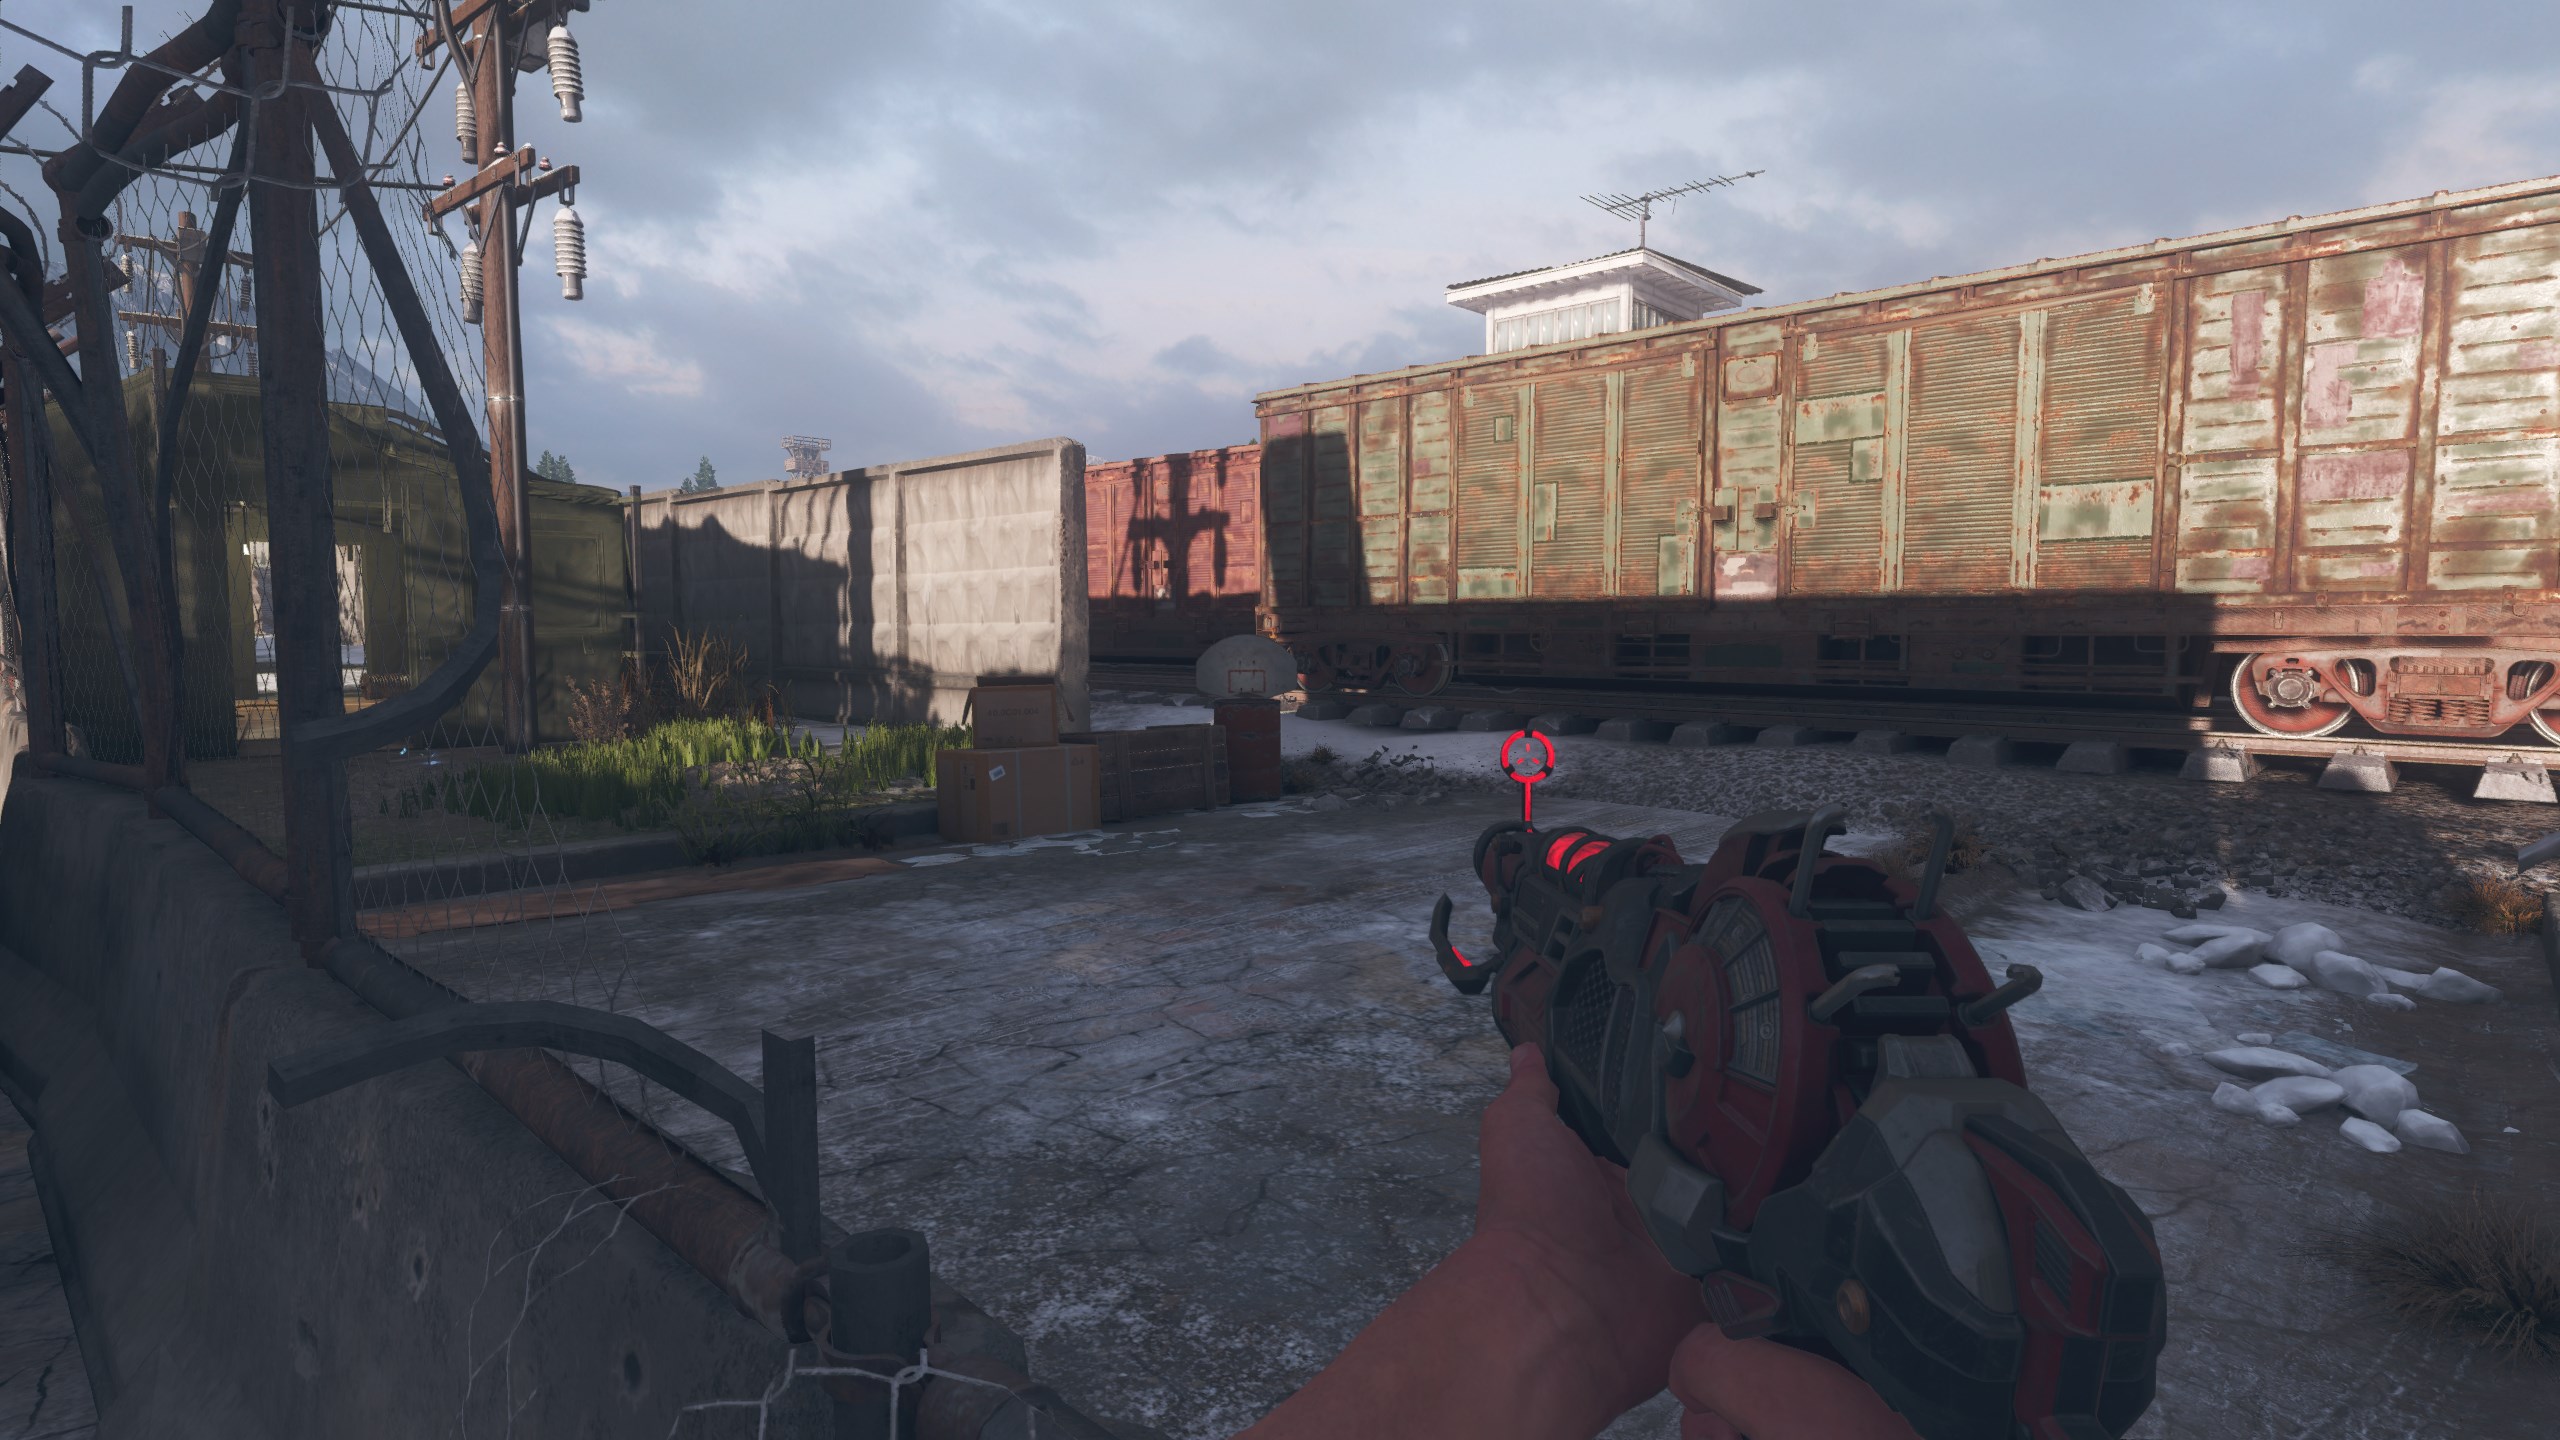
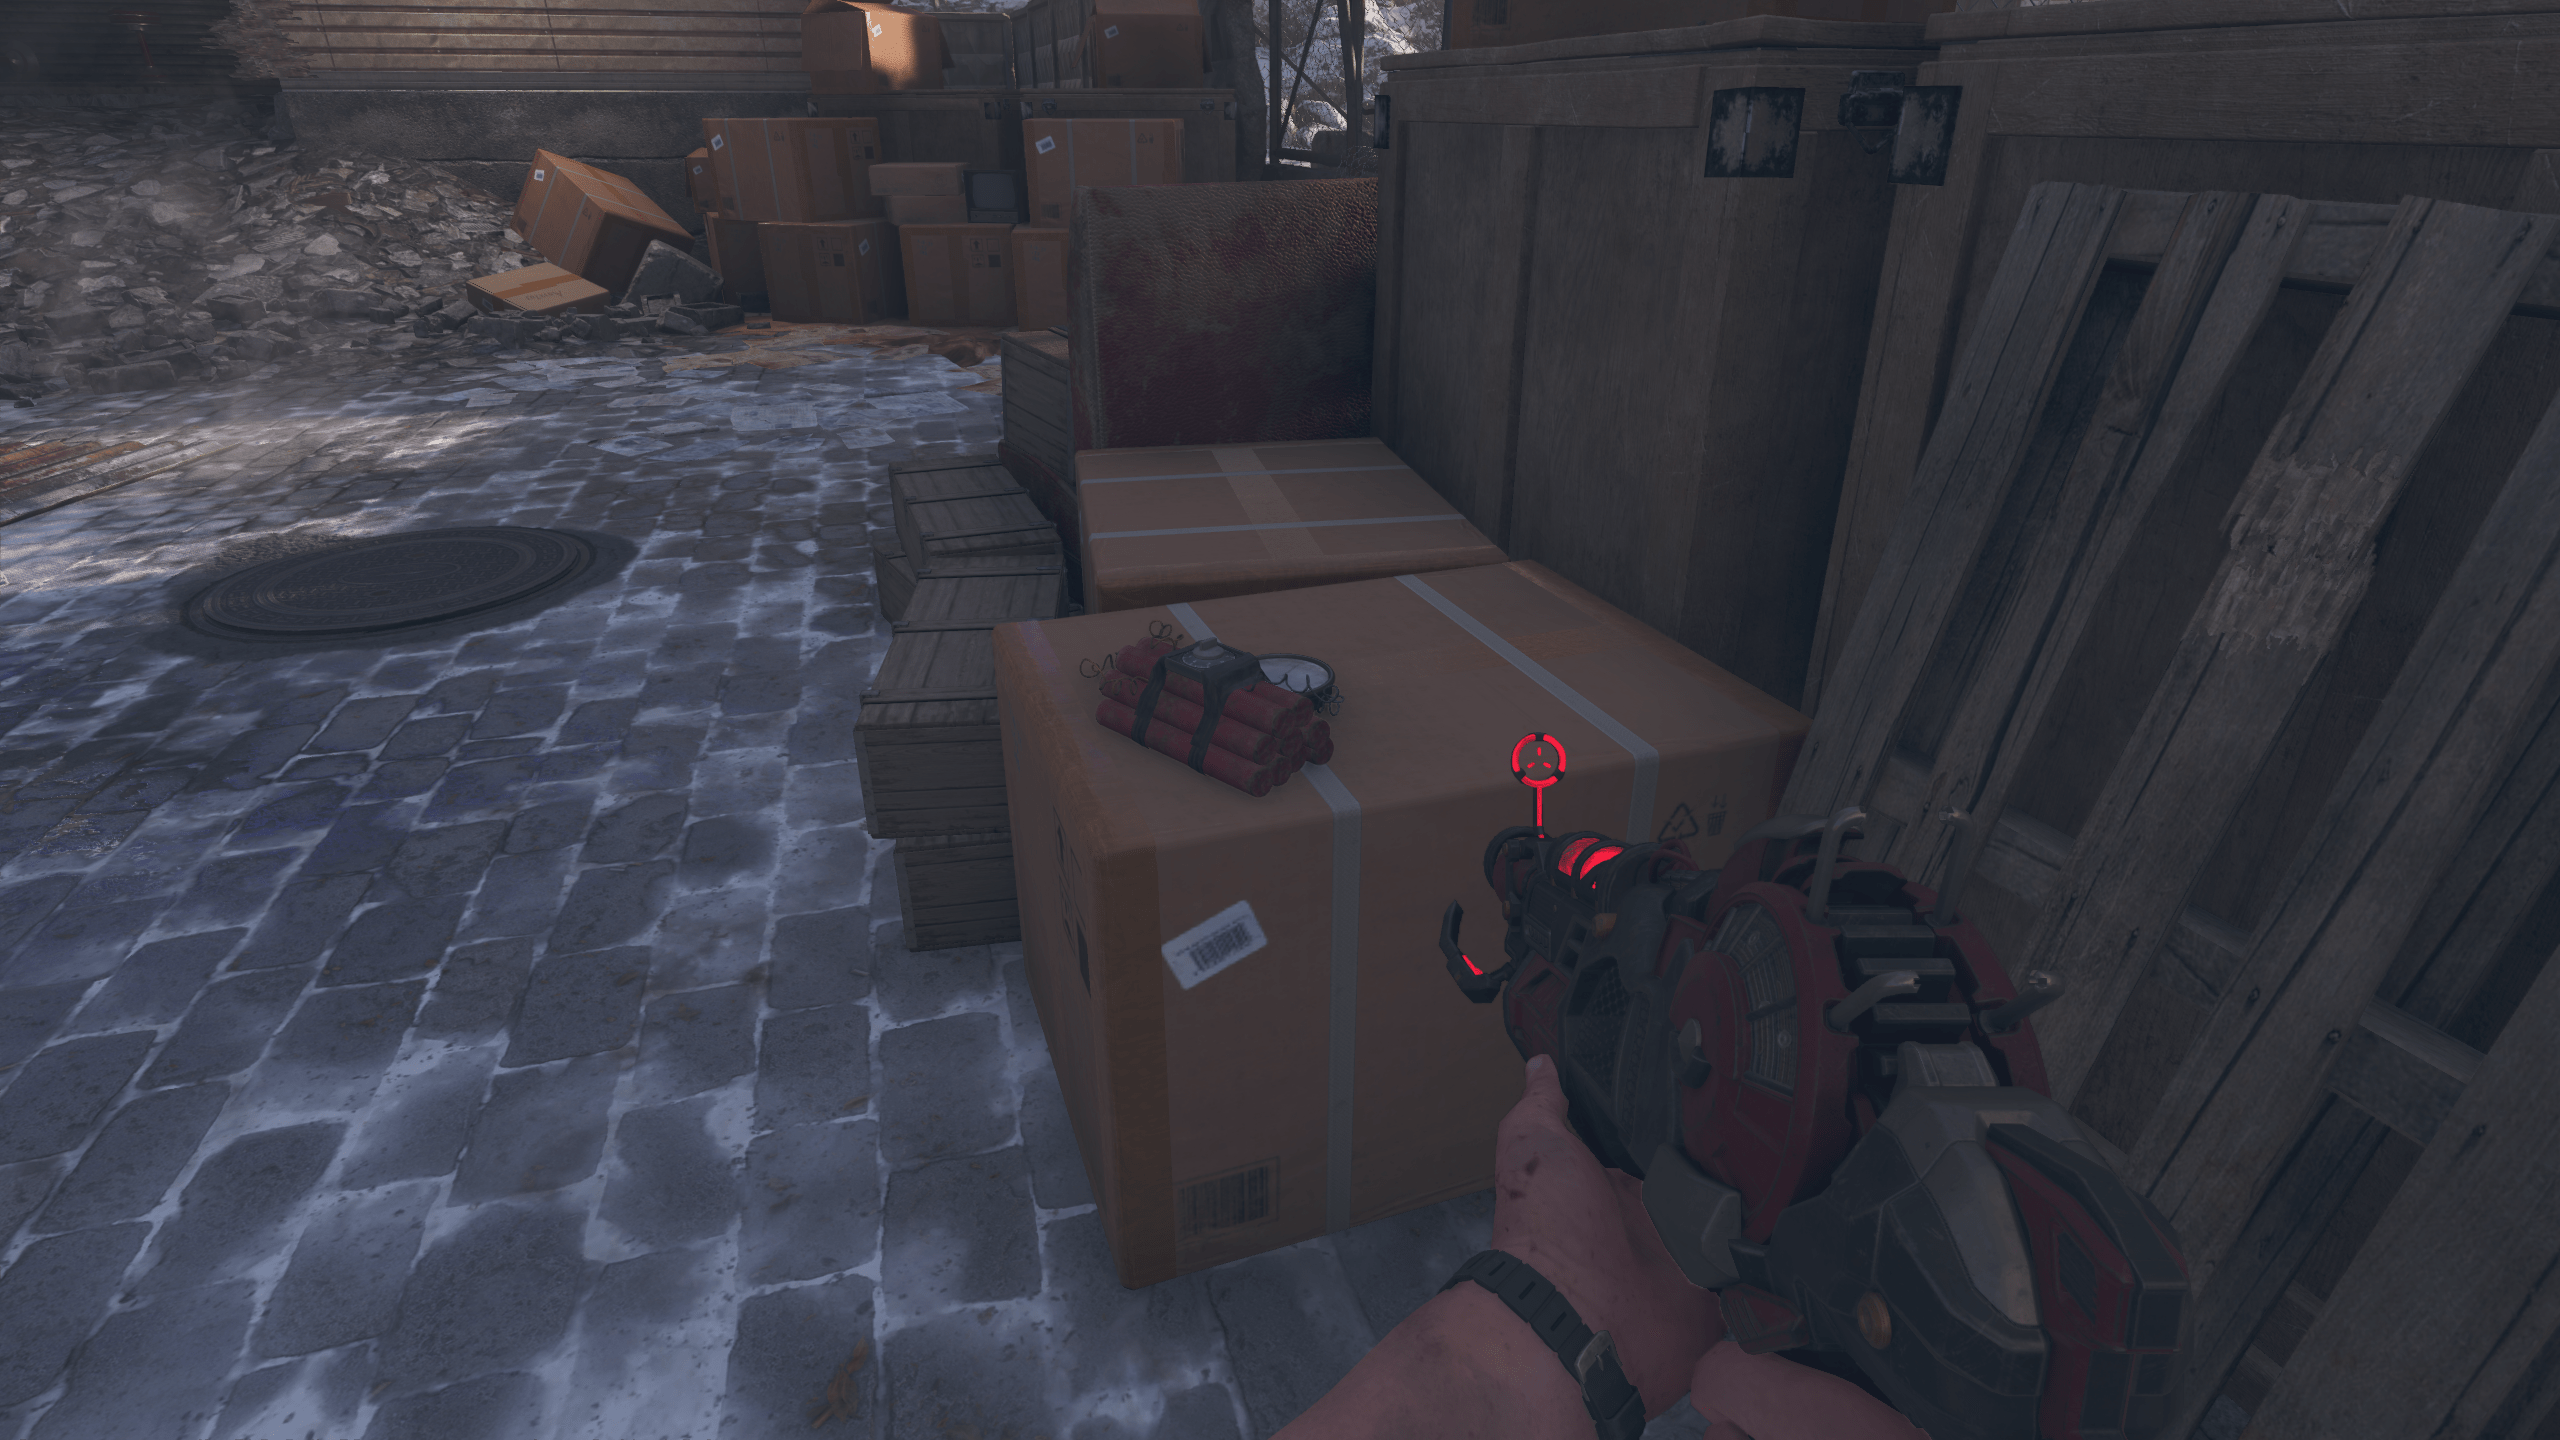
- Find the dynamite located on a cardboard box around the main area of the map.
- Interact with the safe behind the Gas Station counter, and it will blow the safe up.
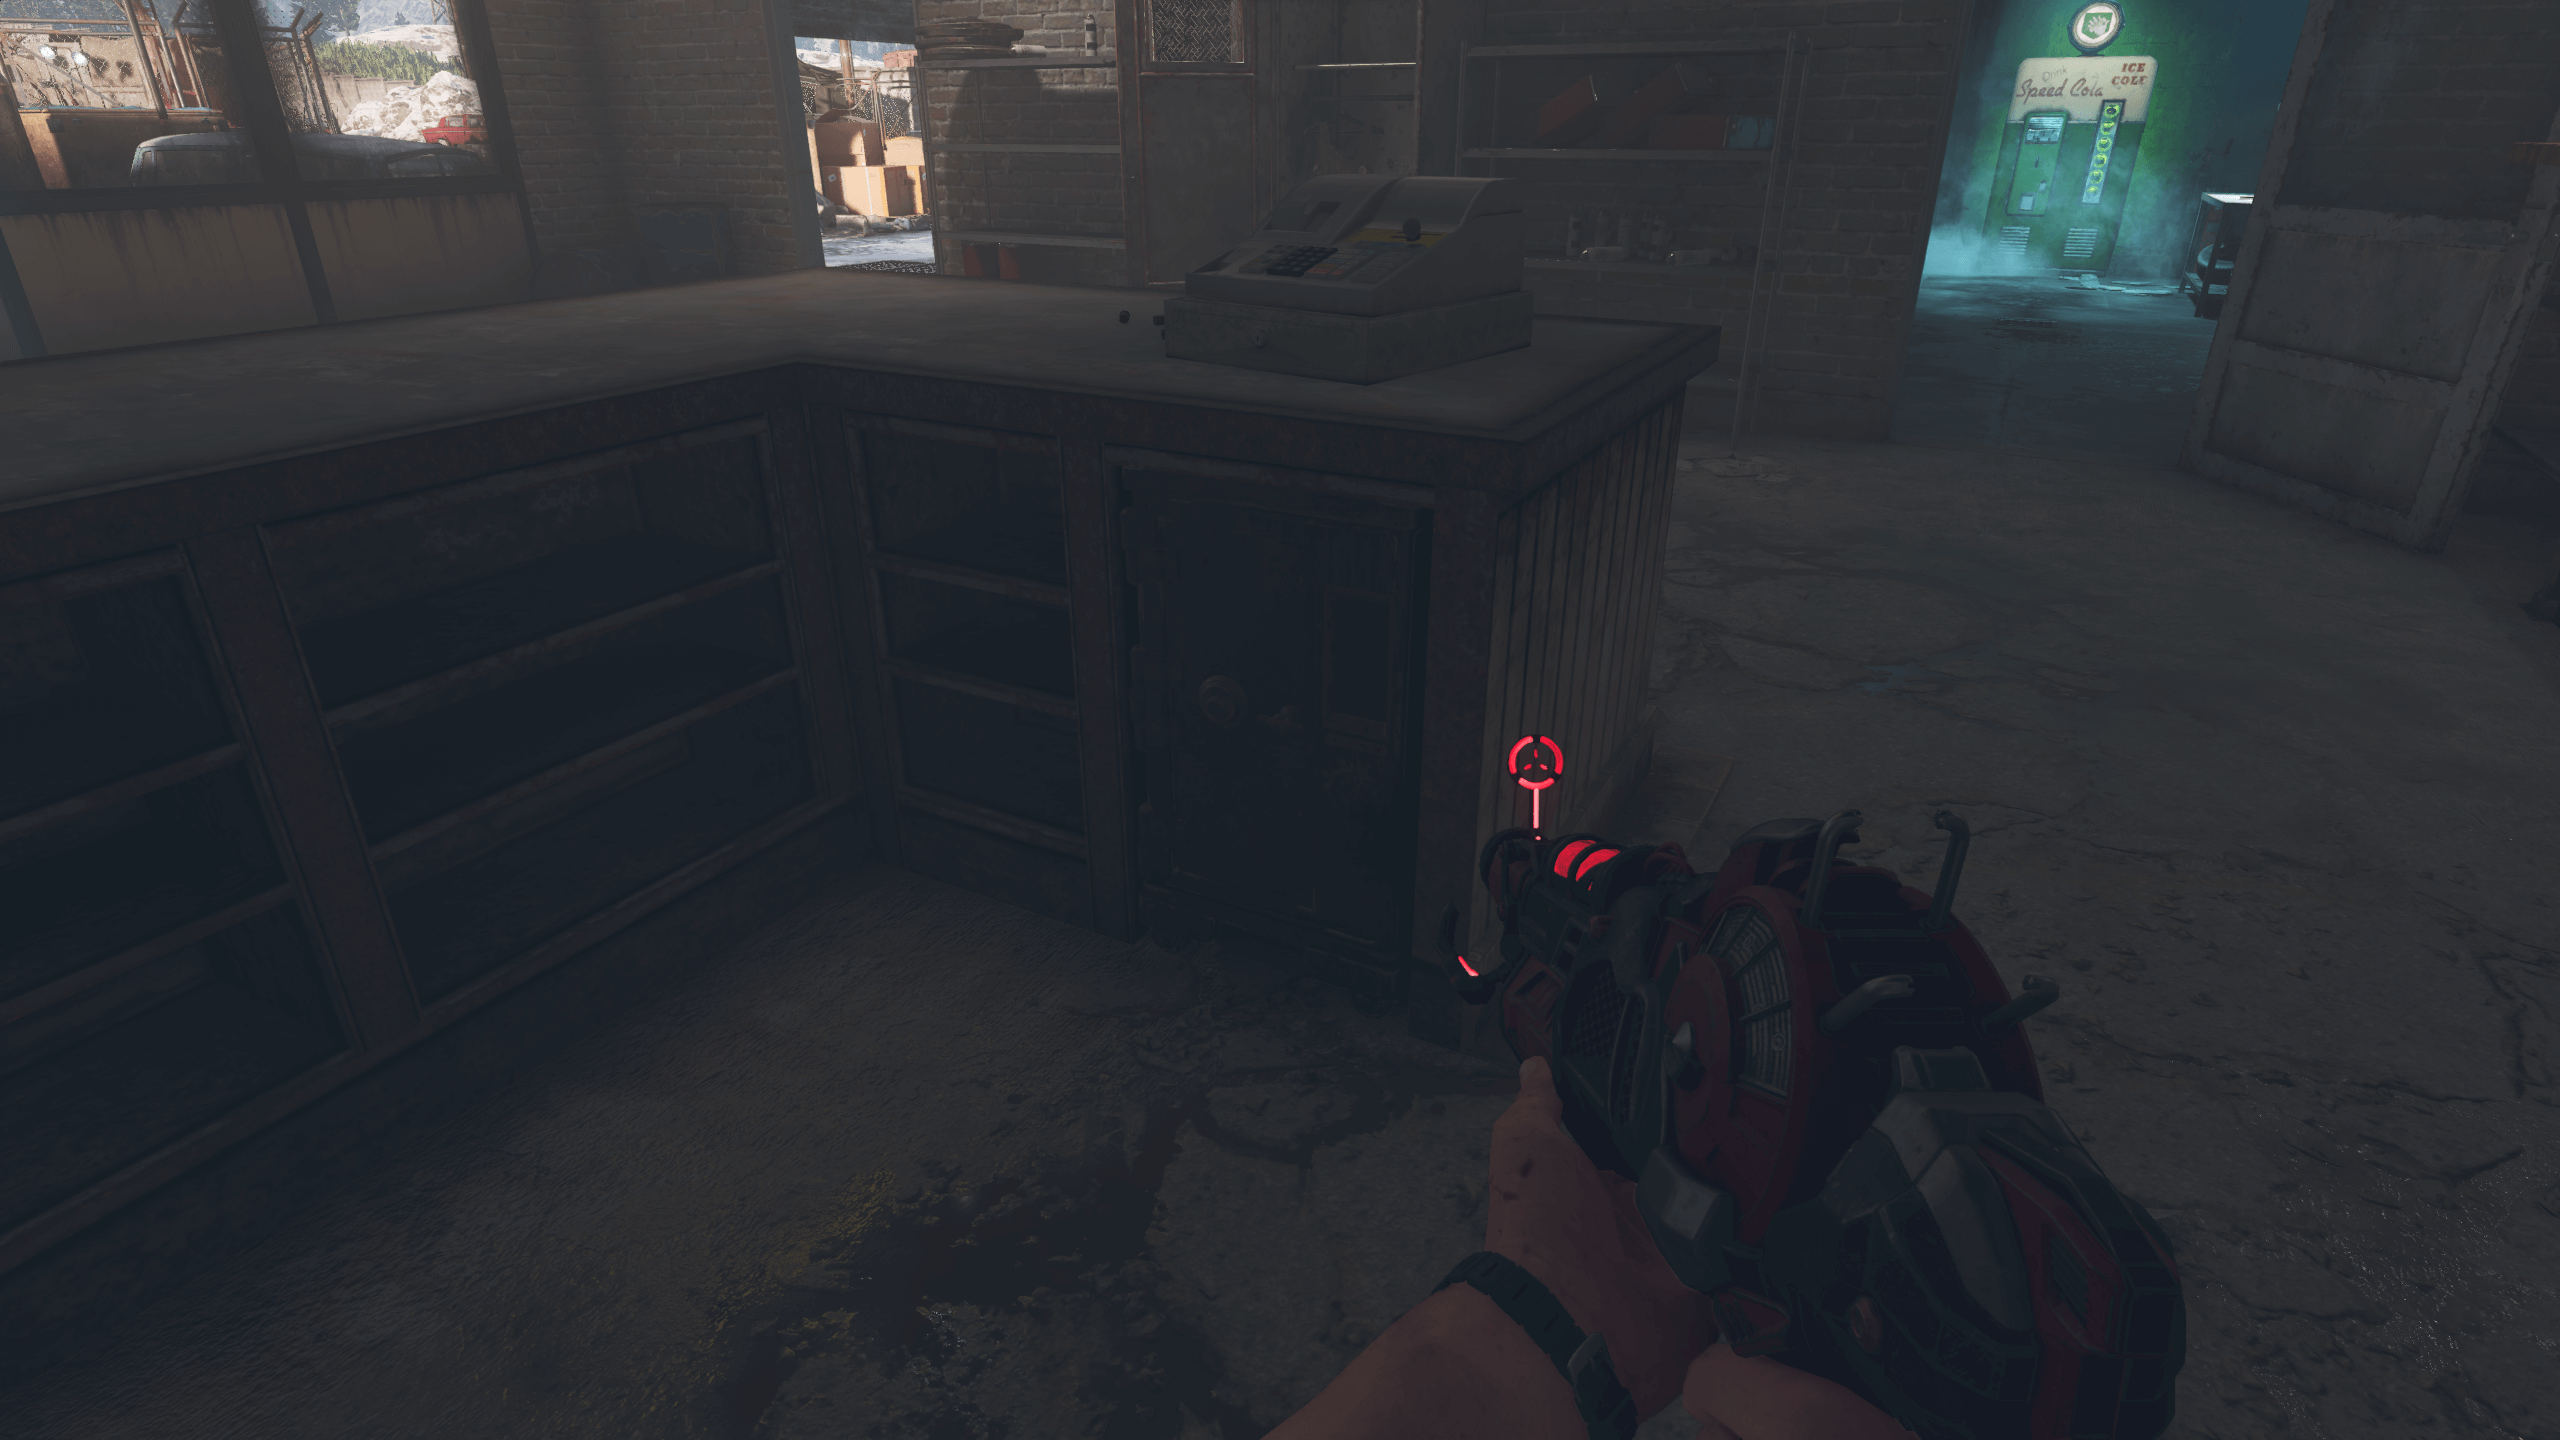
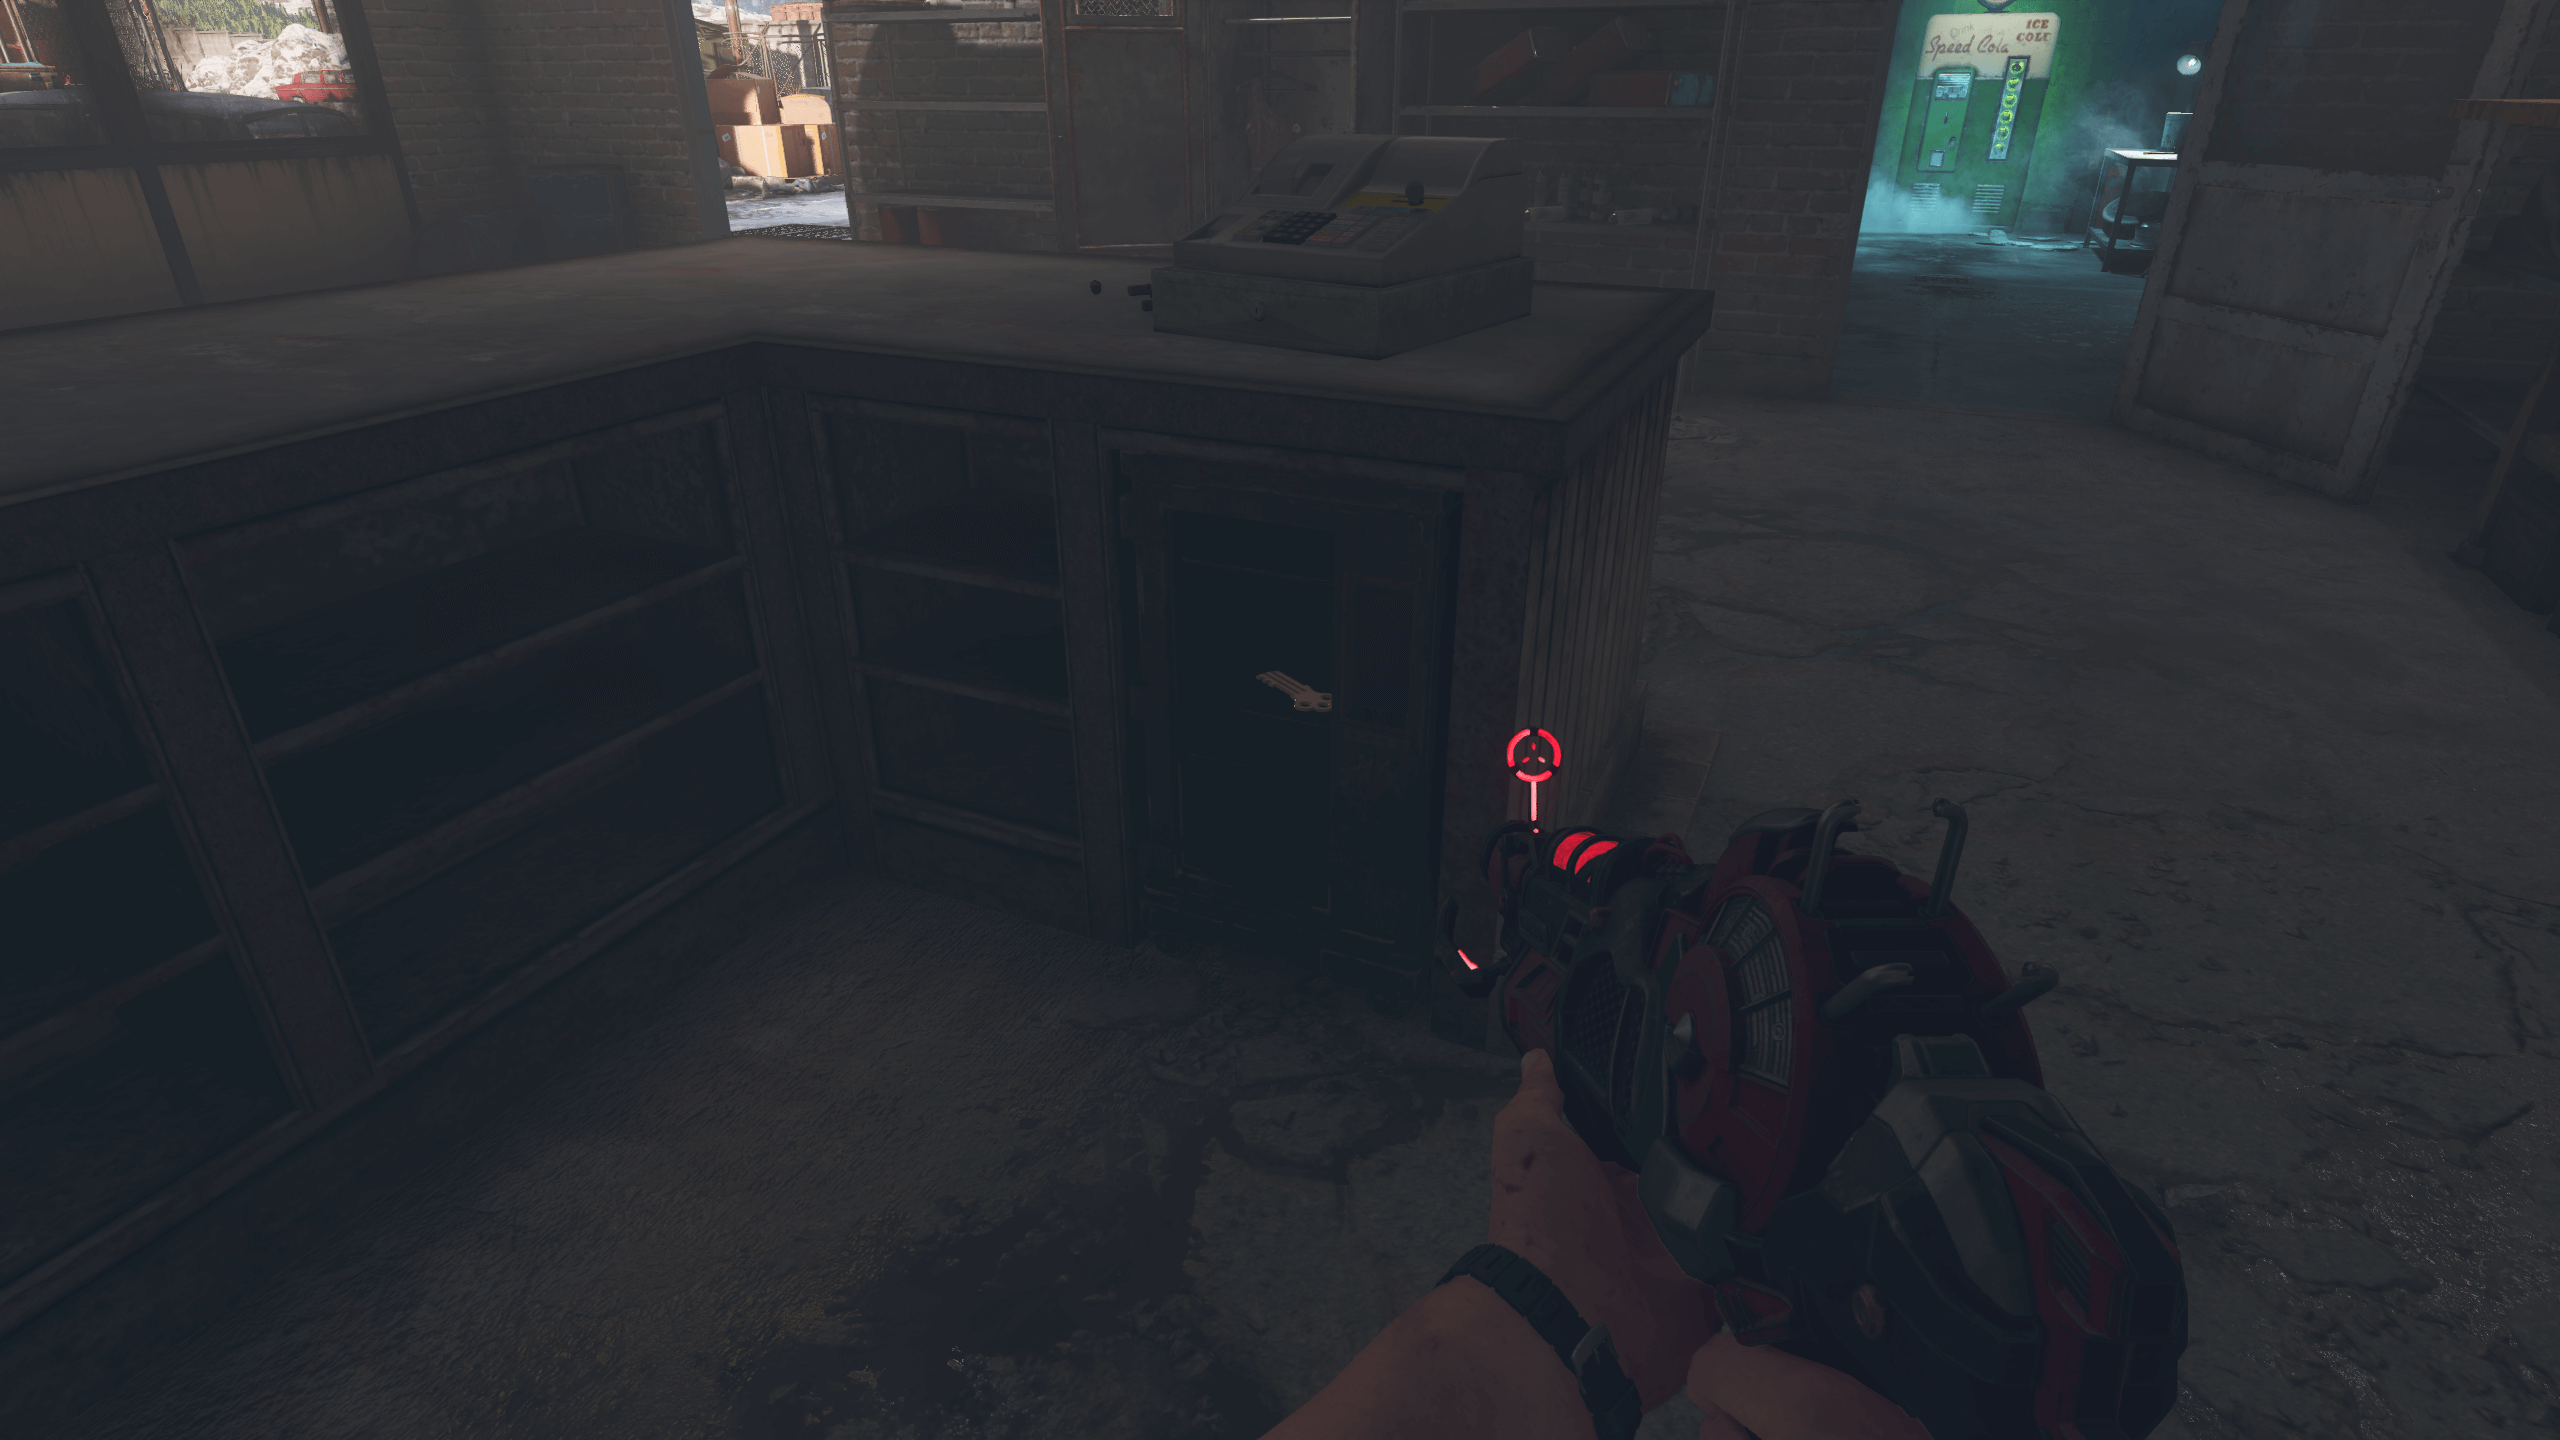
- Interact with the safe again and retrieve the key.
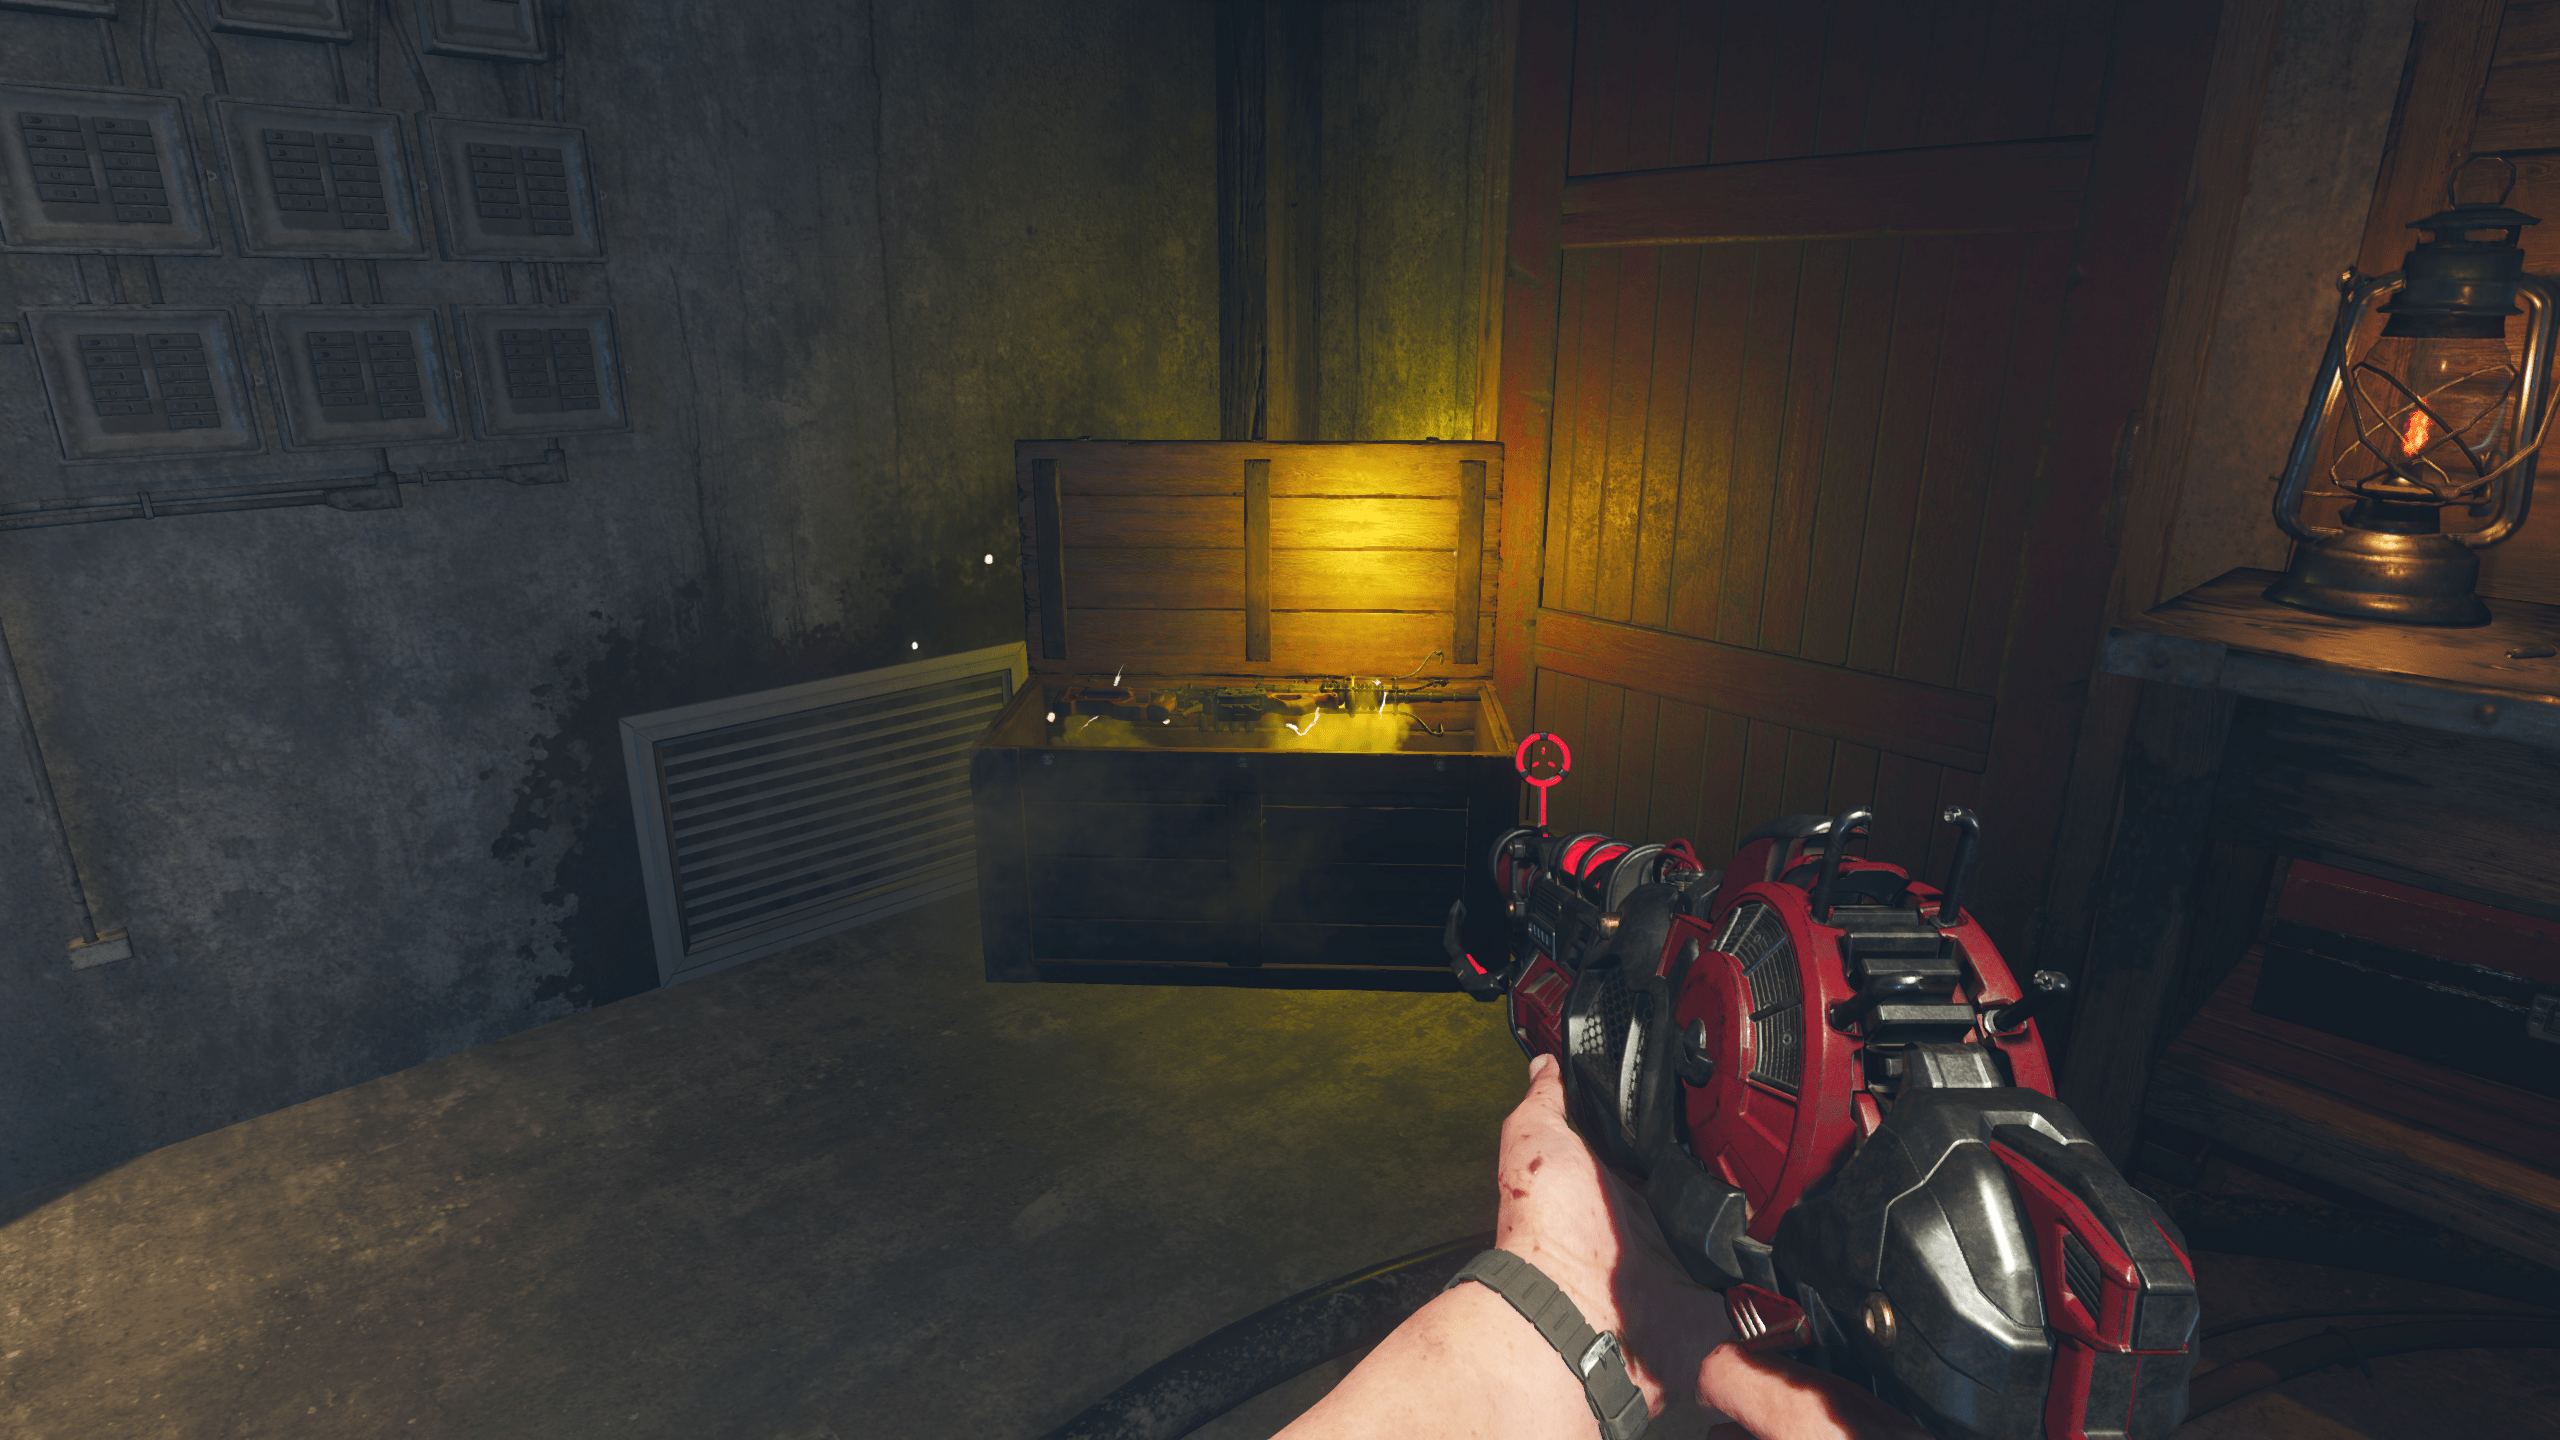
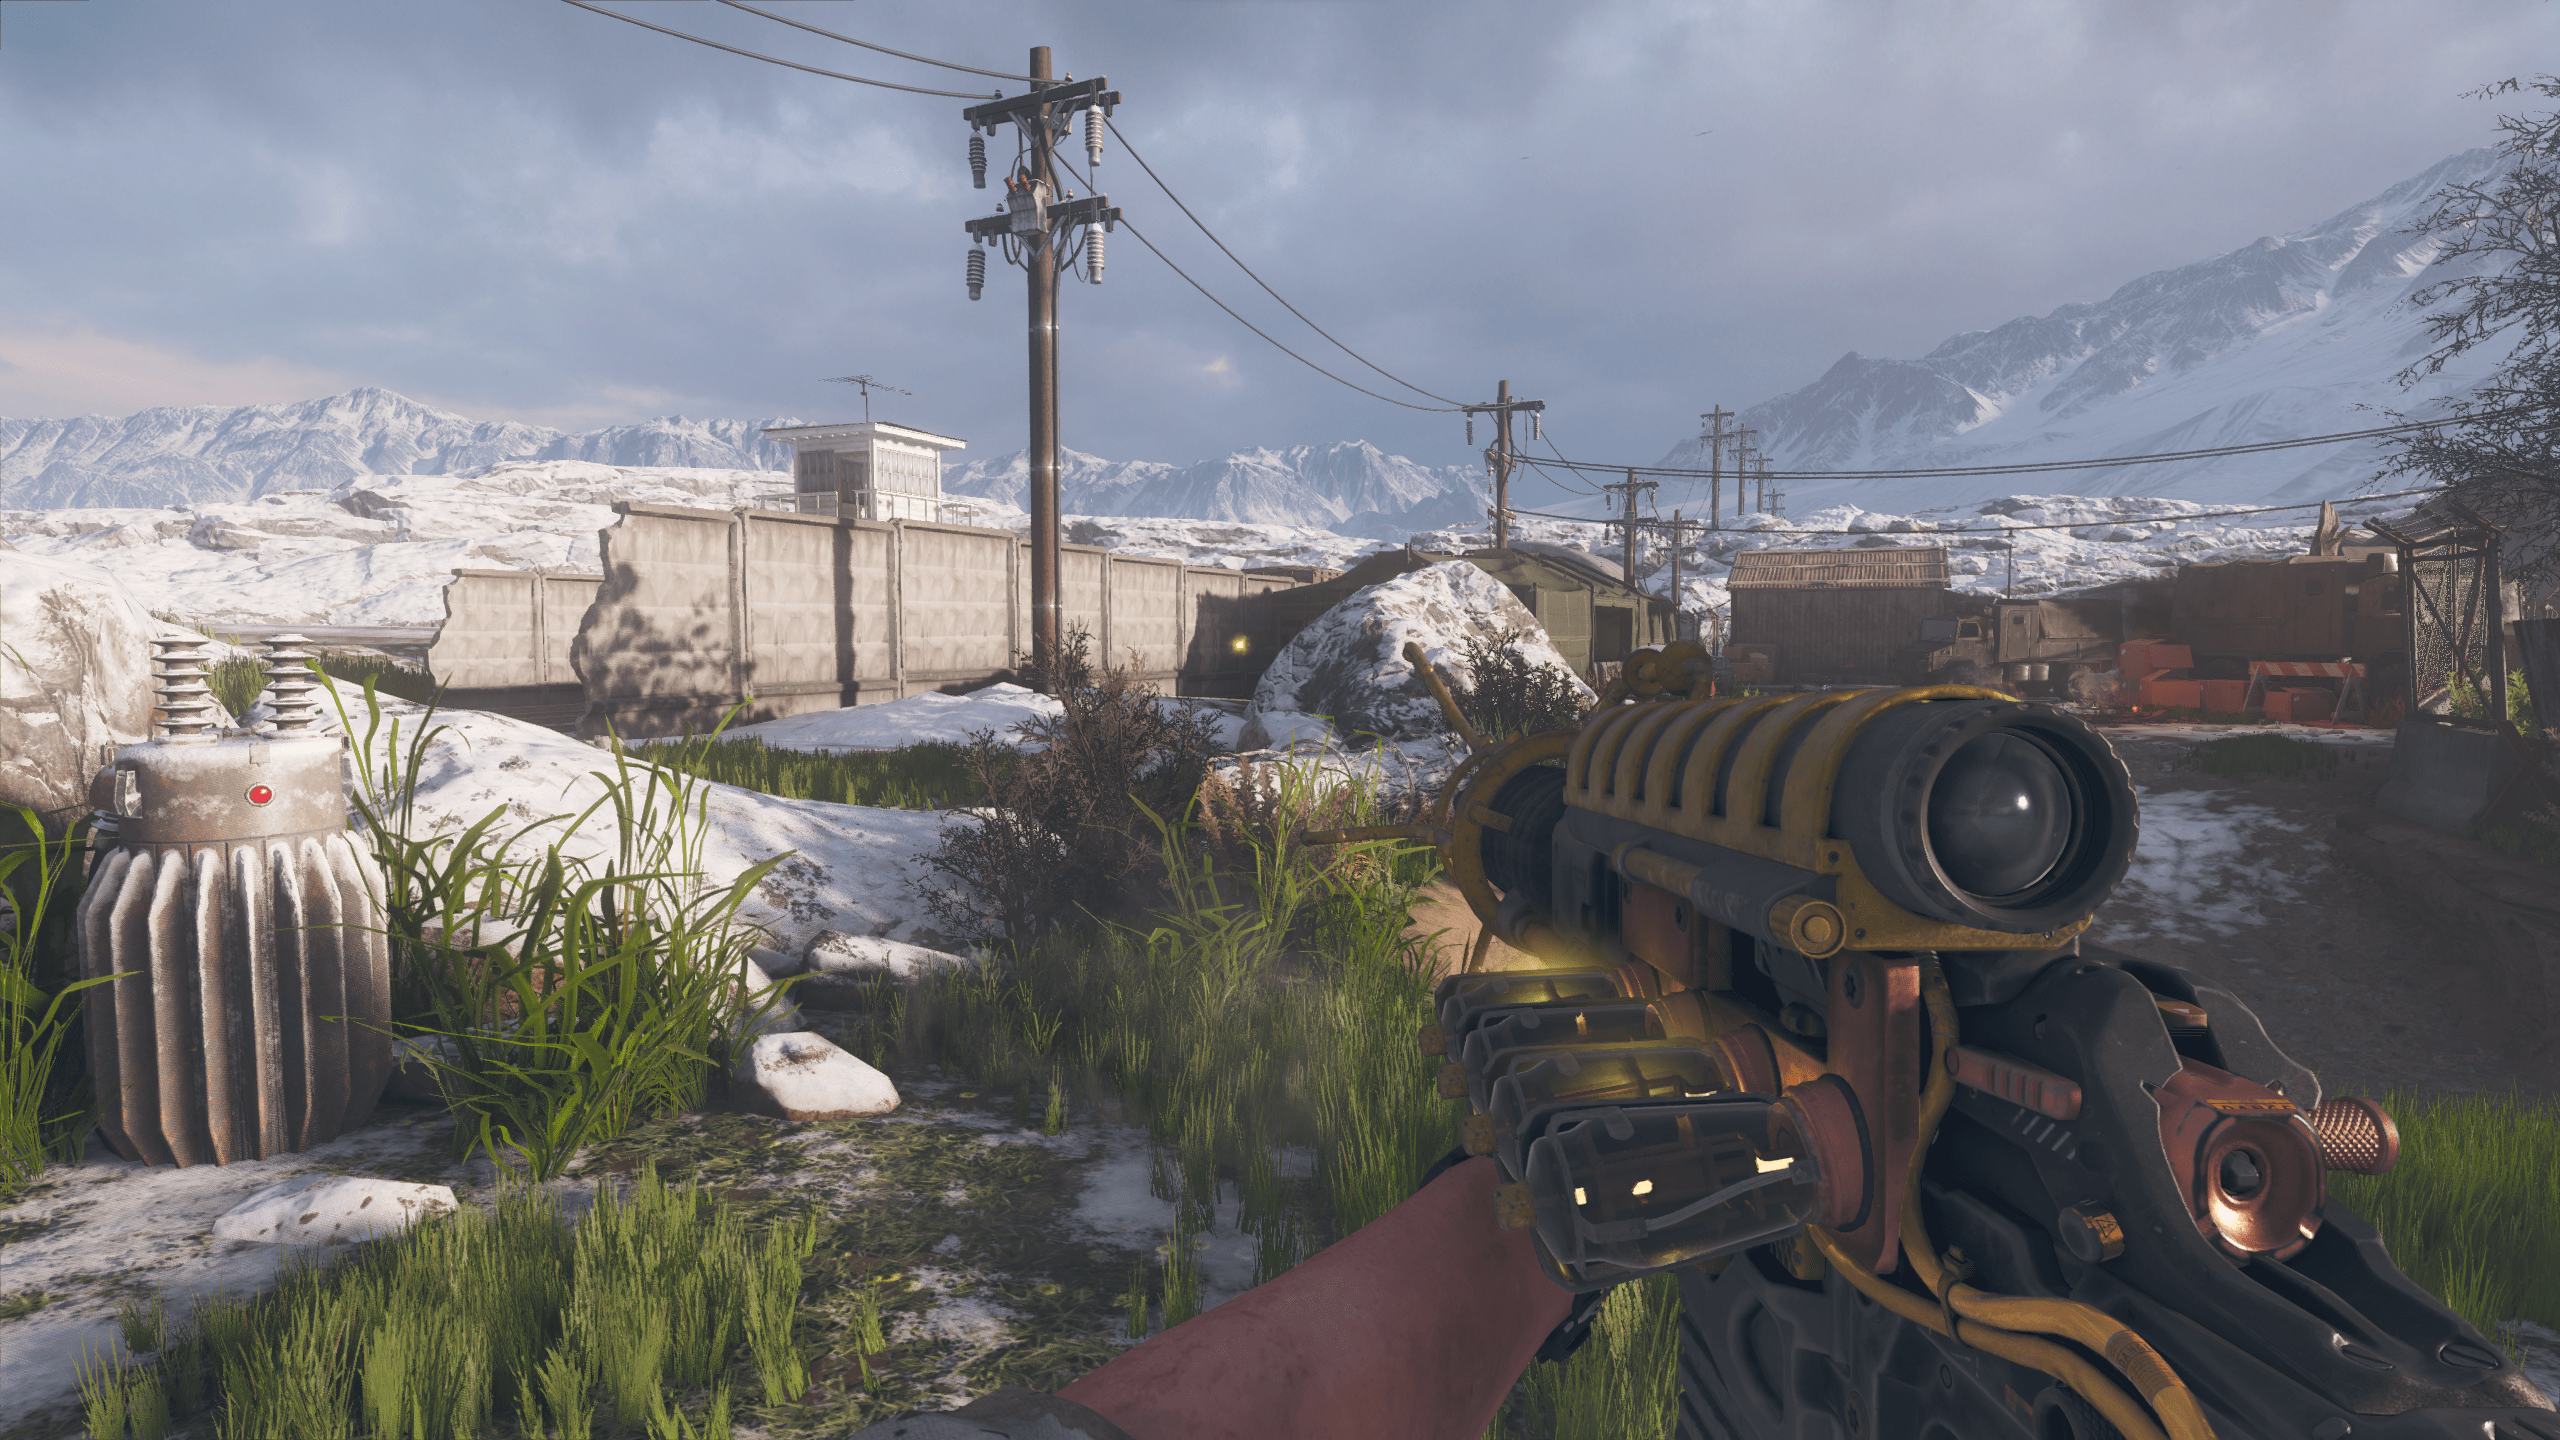
- Go to the power room, and interact with the chest on the right.
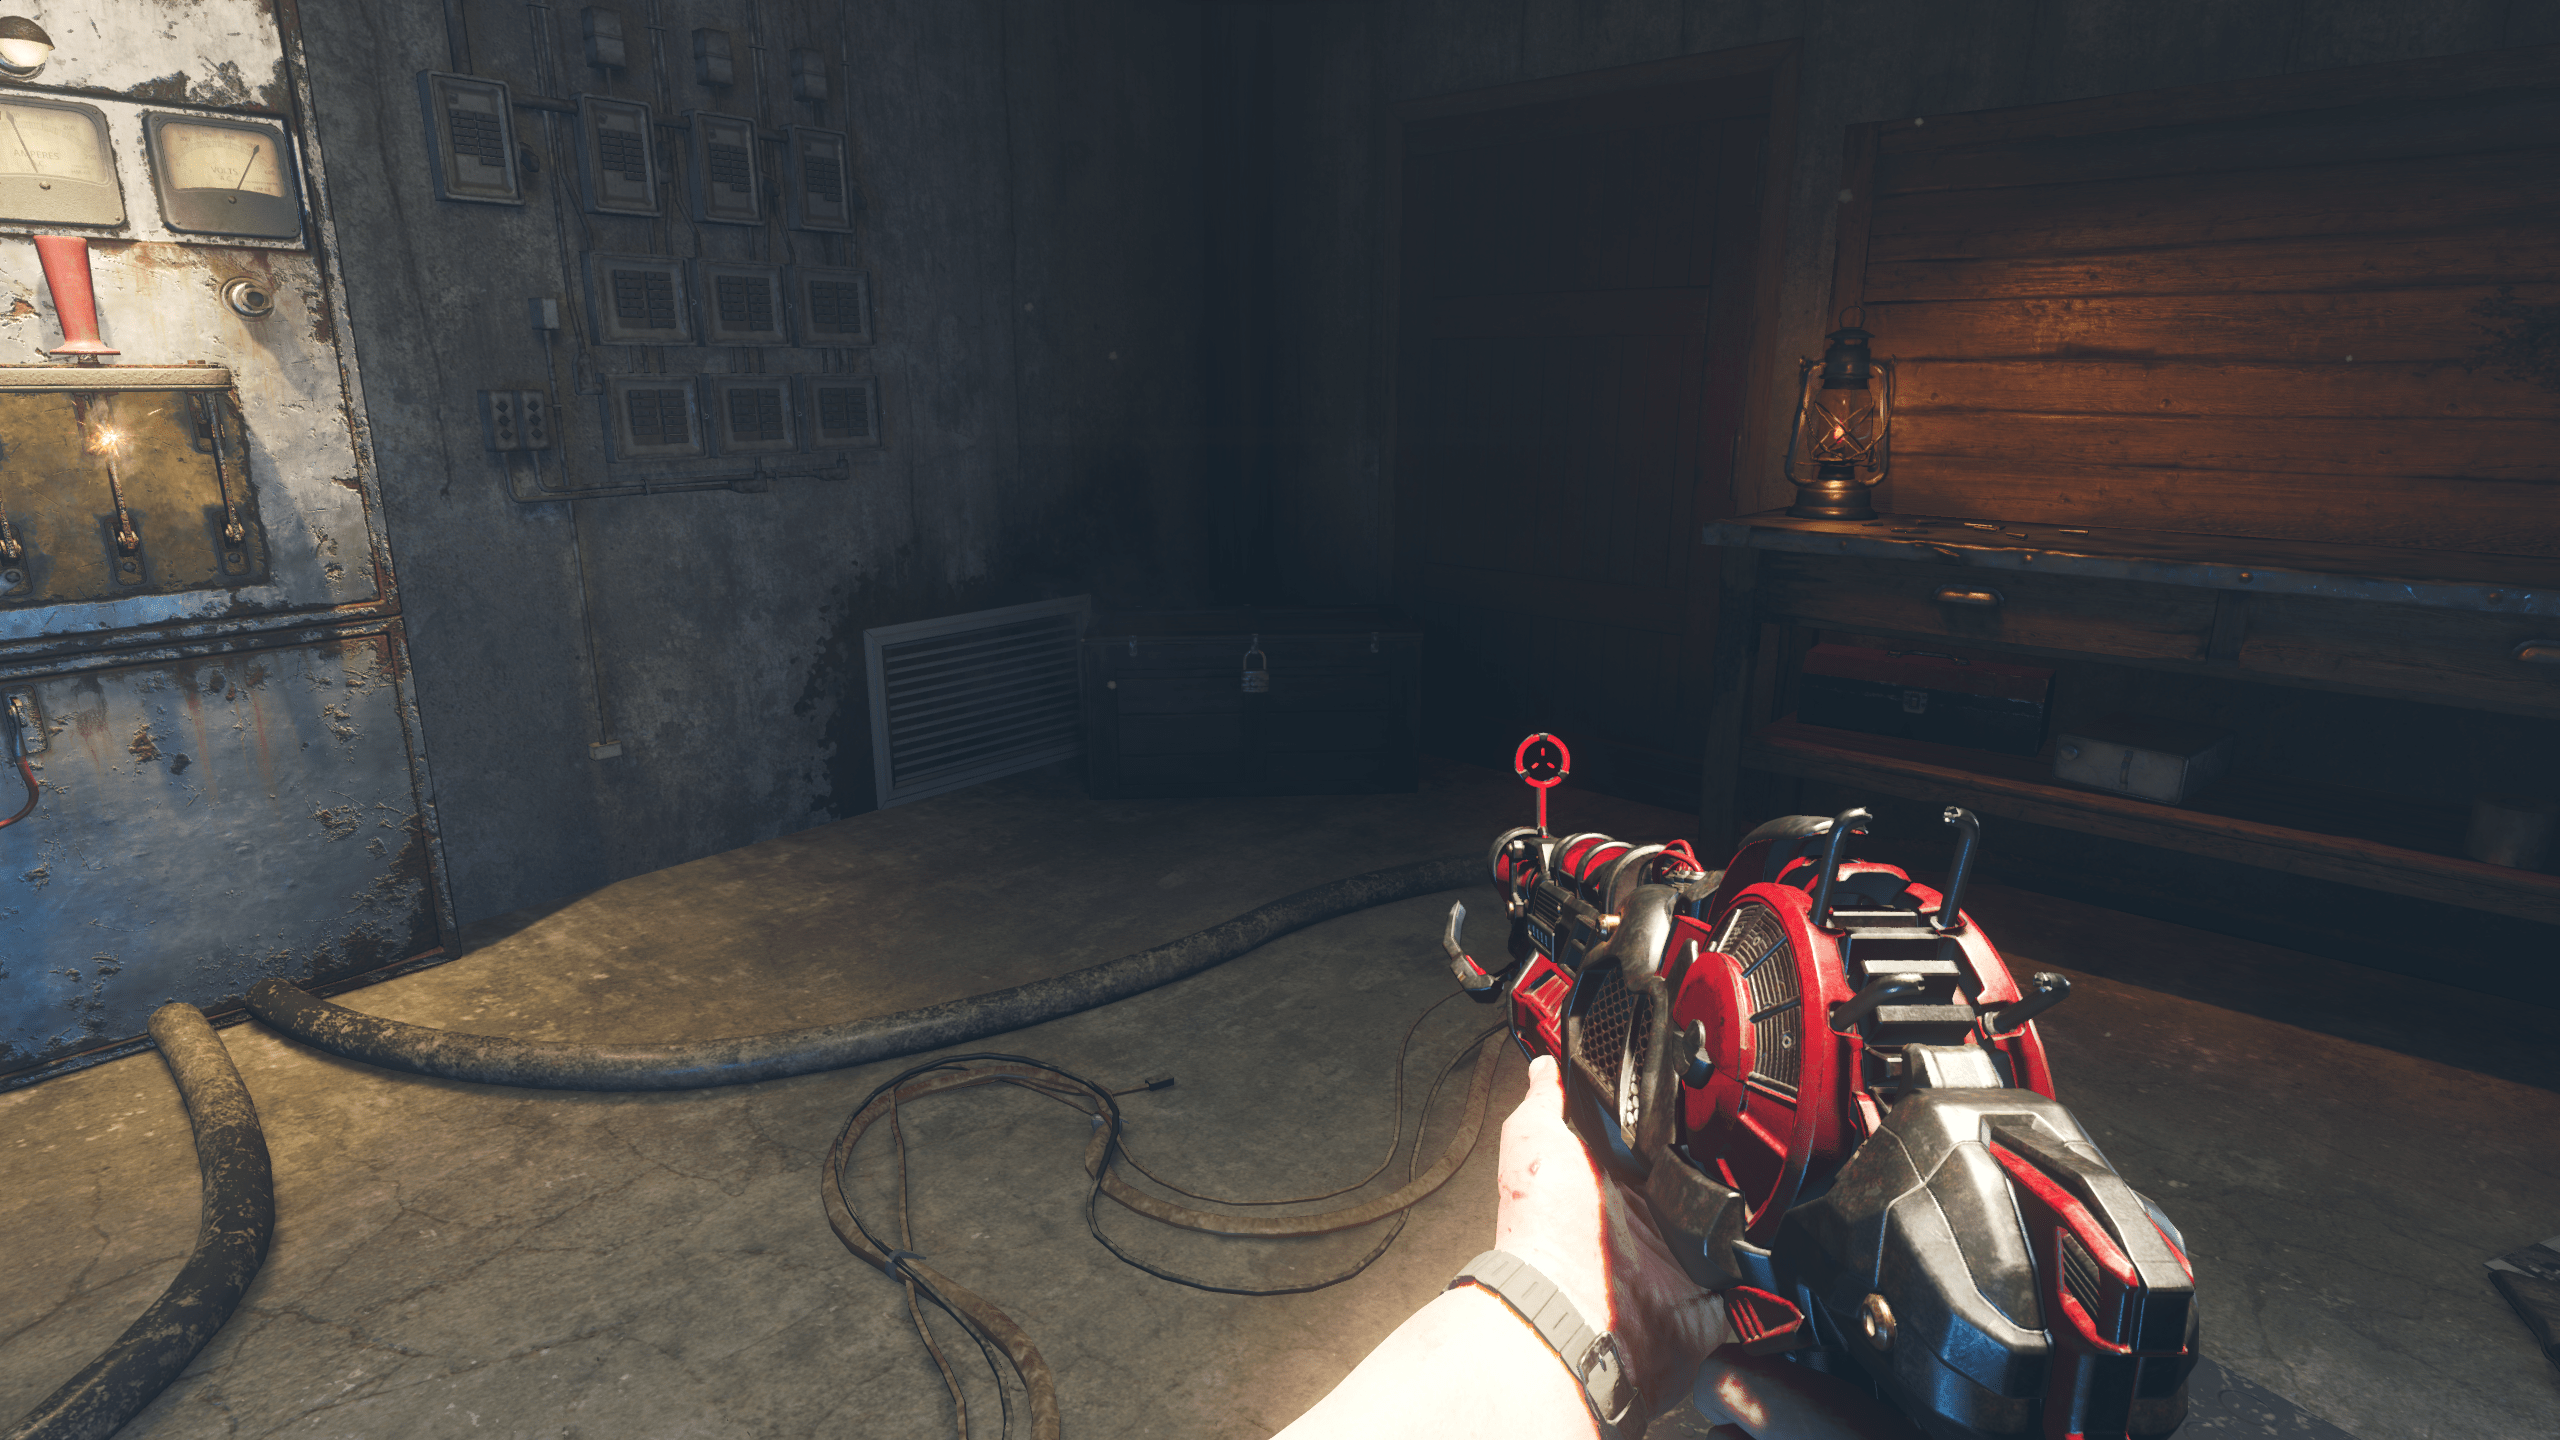
- Pick up the Wunderwaffe DG-Scharfschütze.
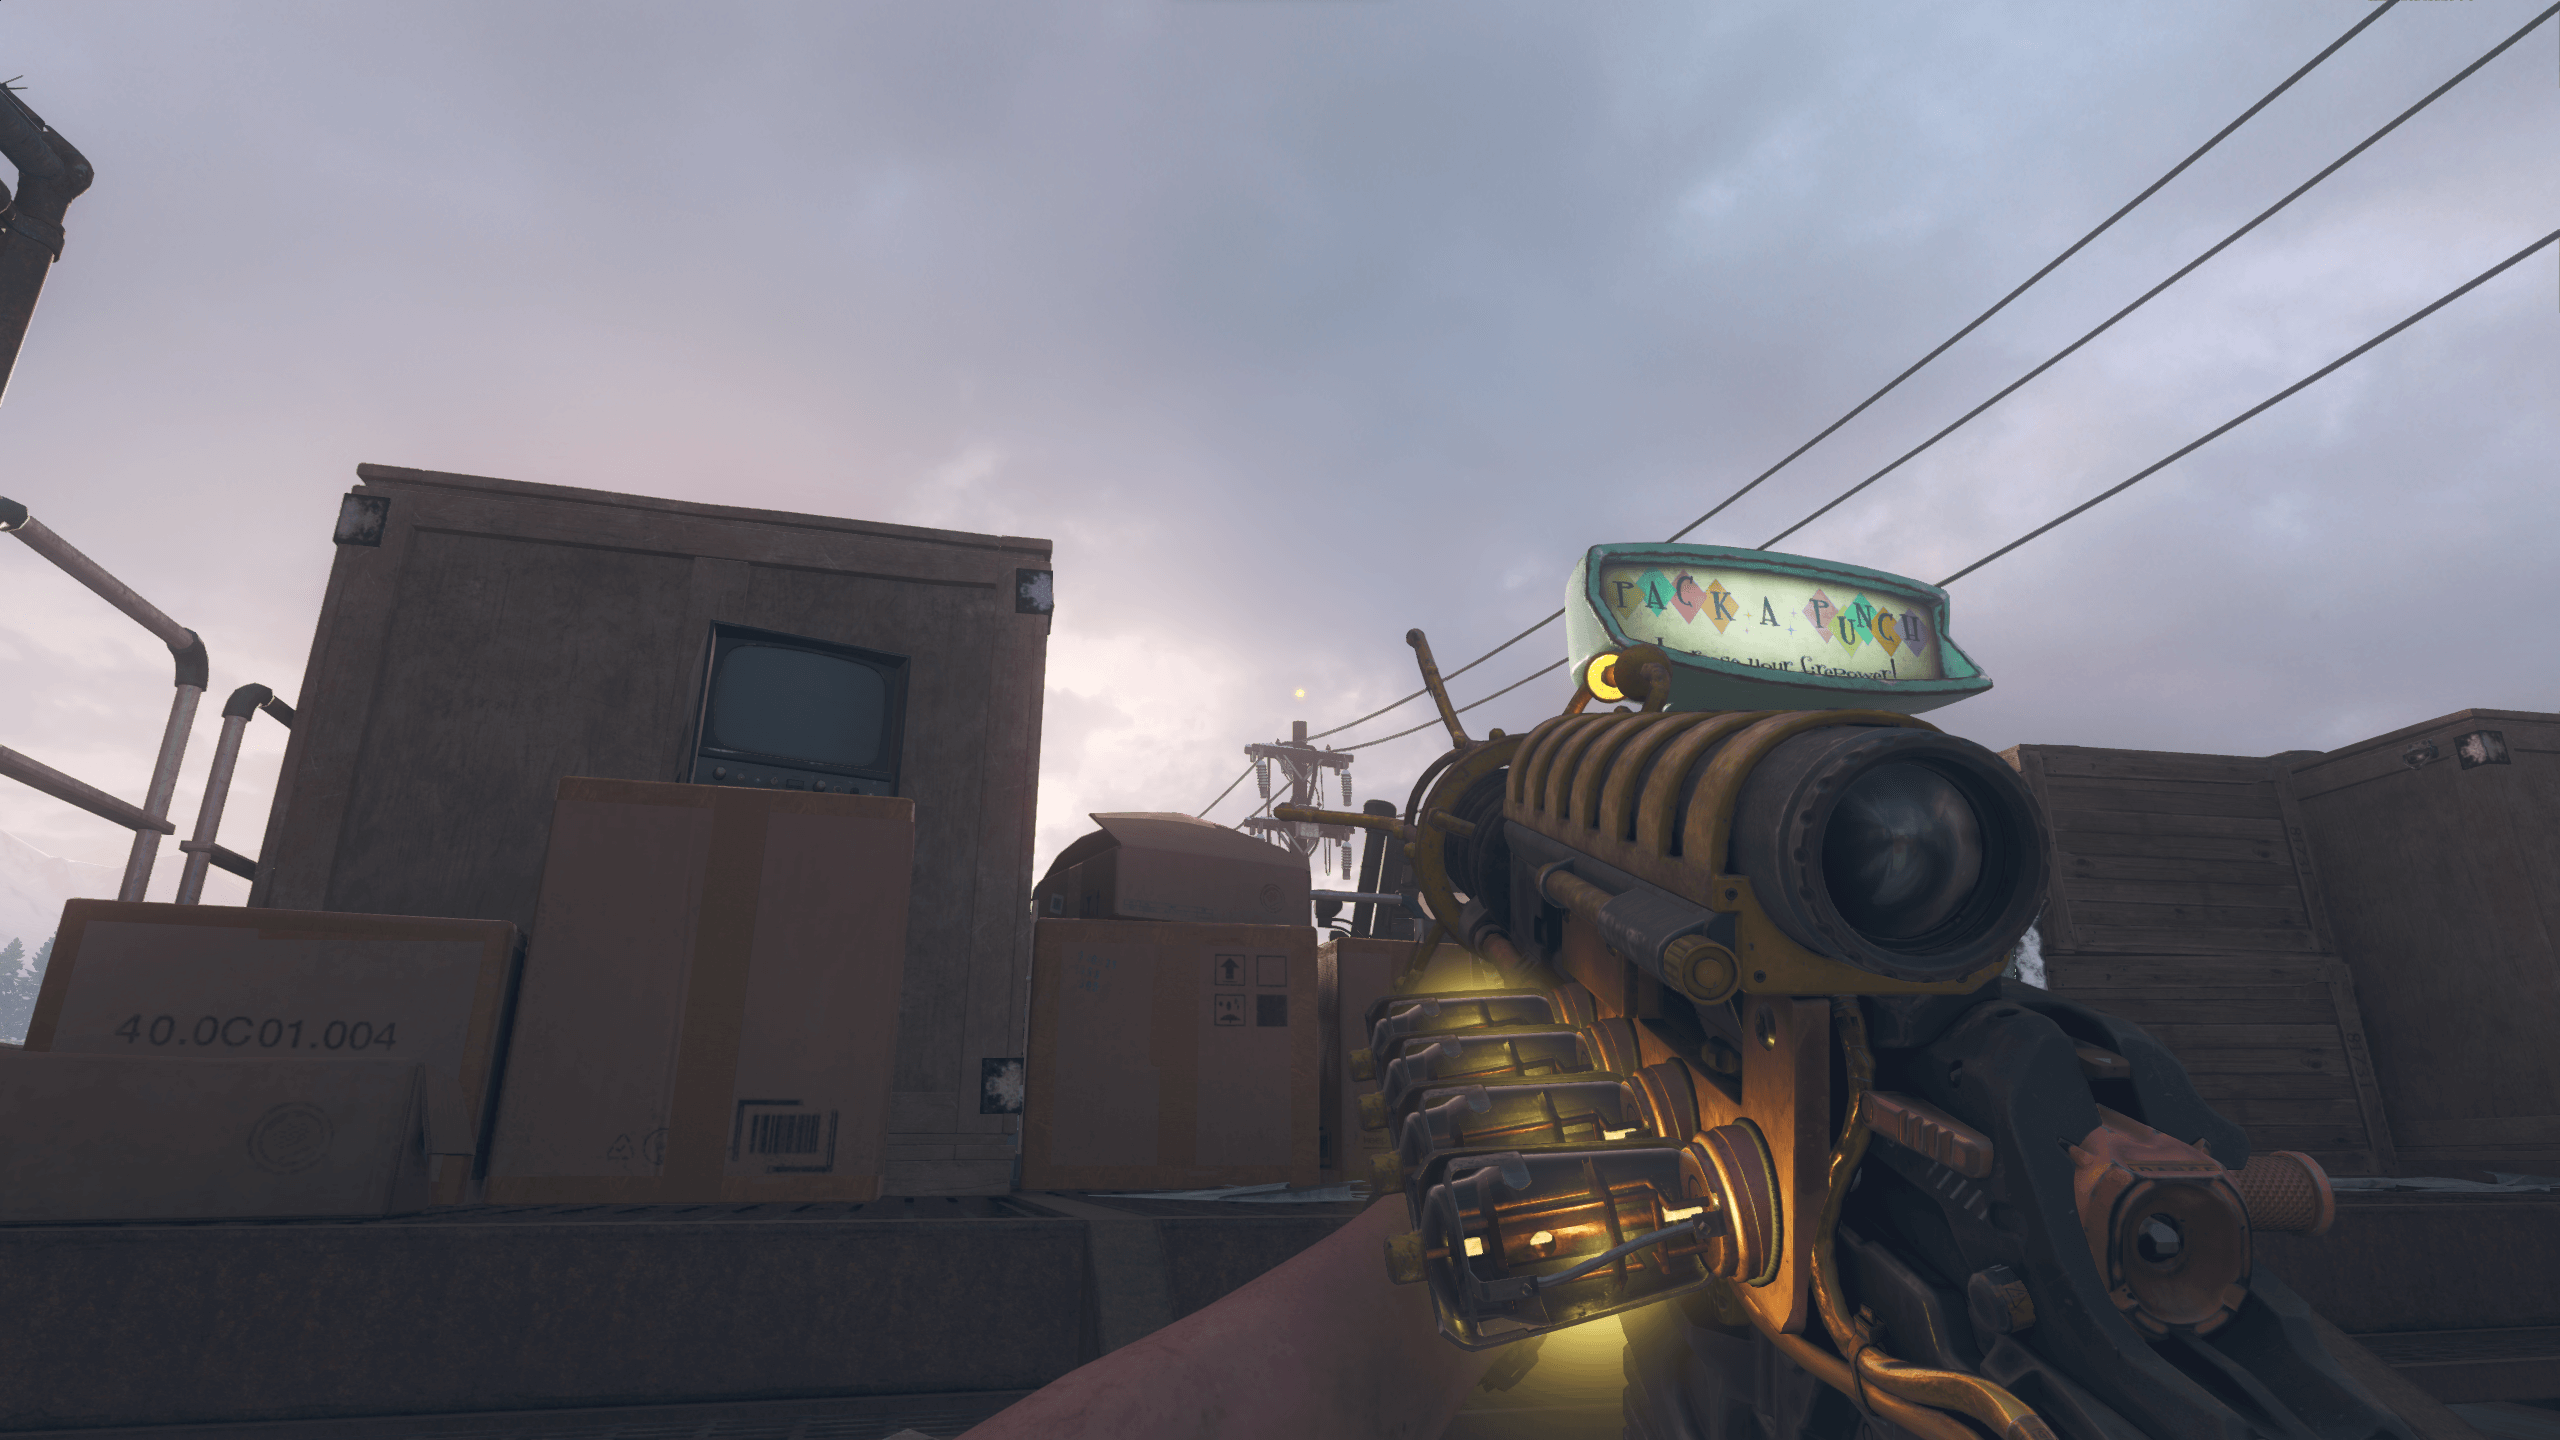
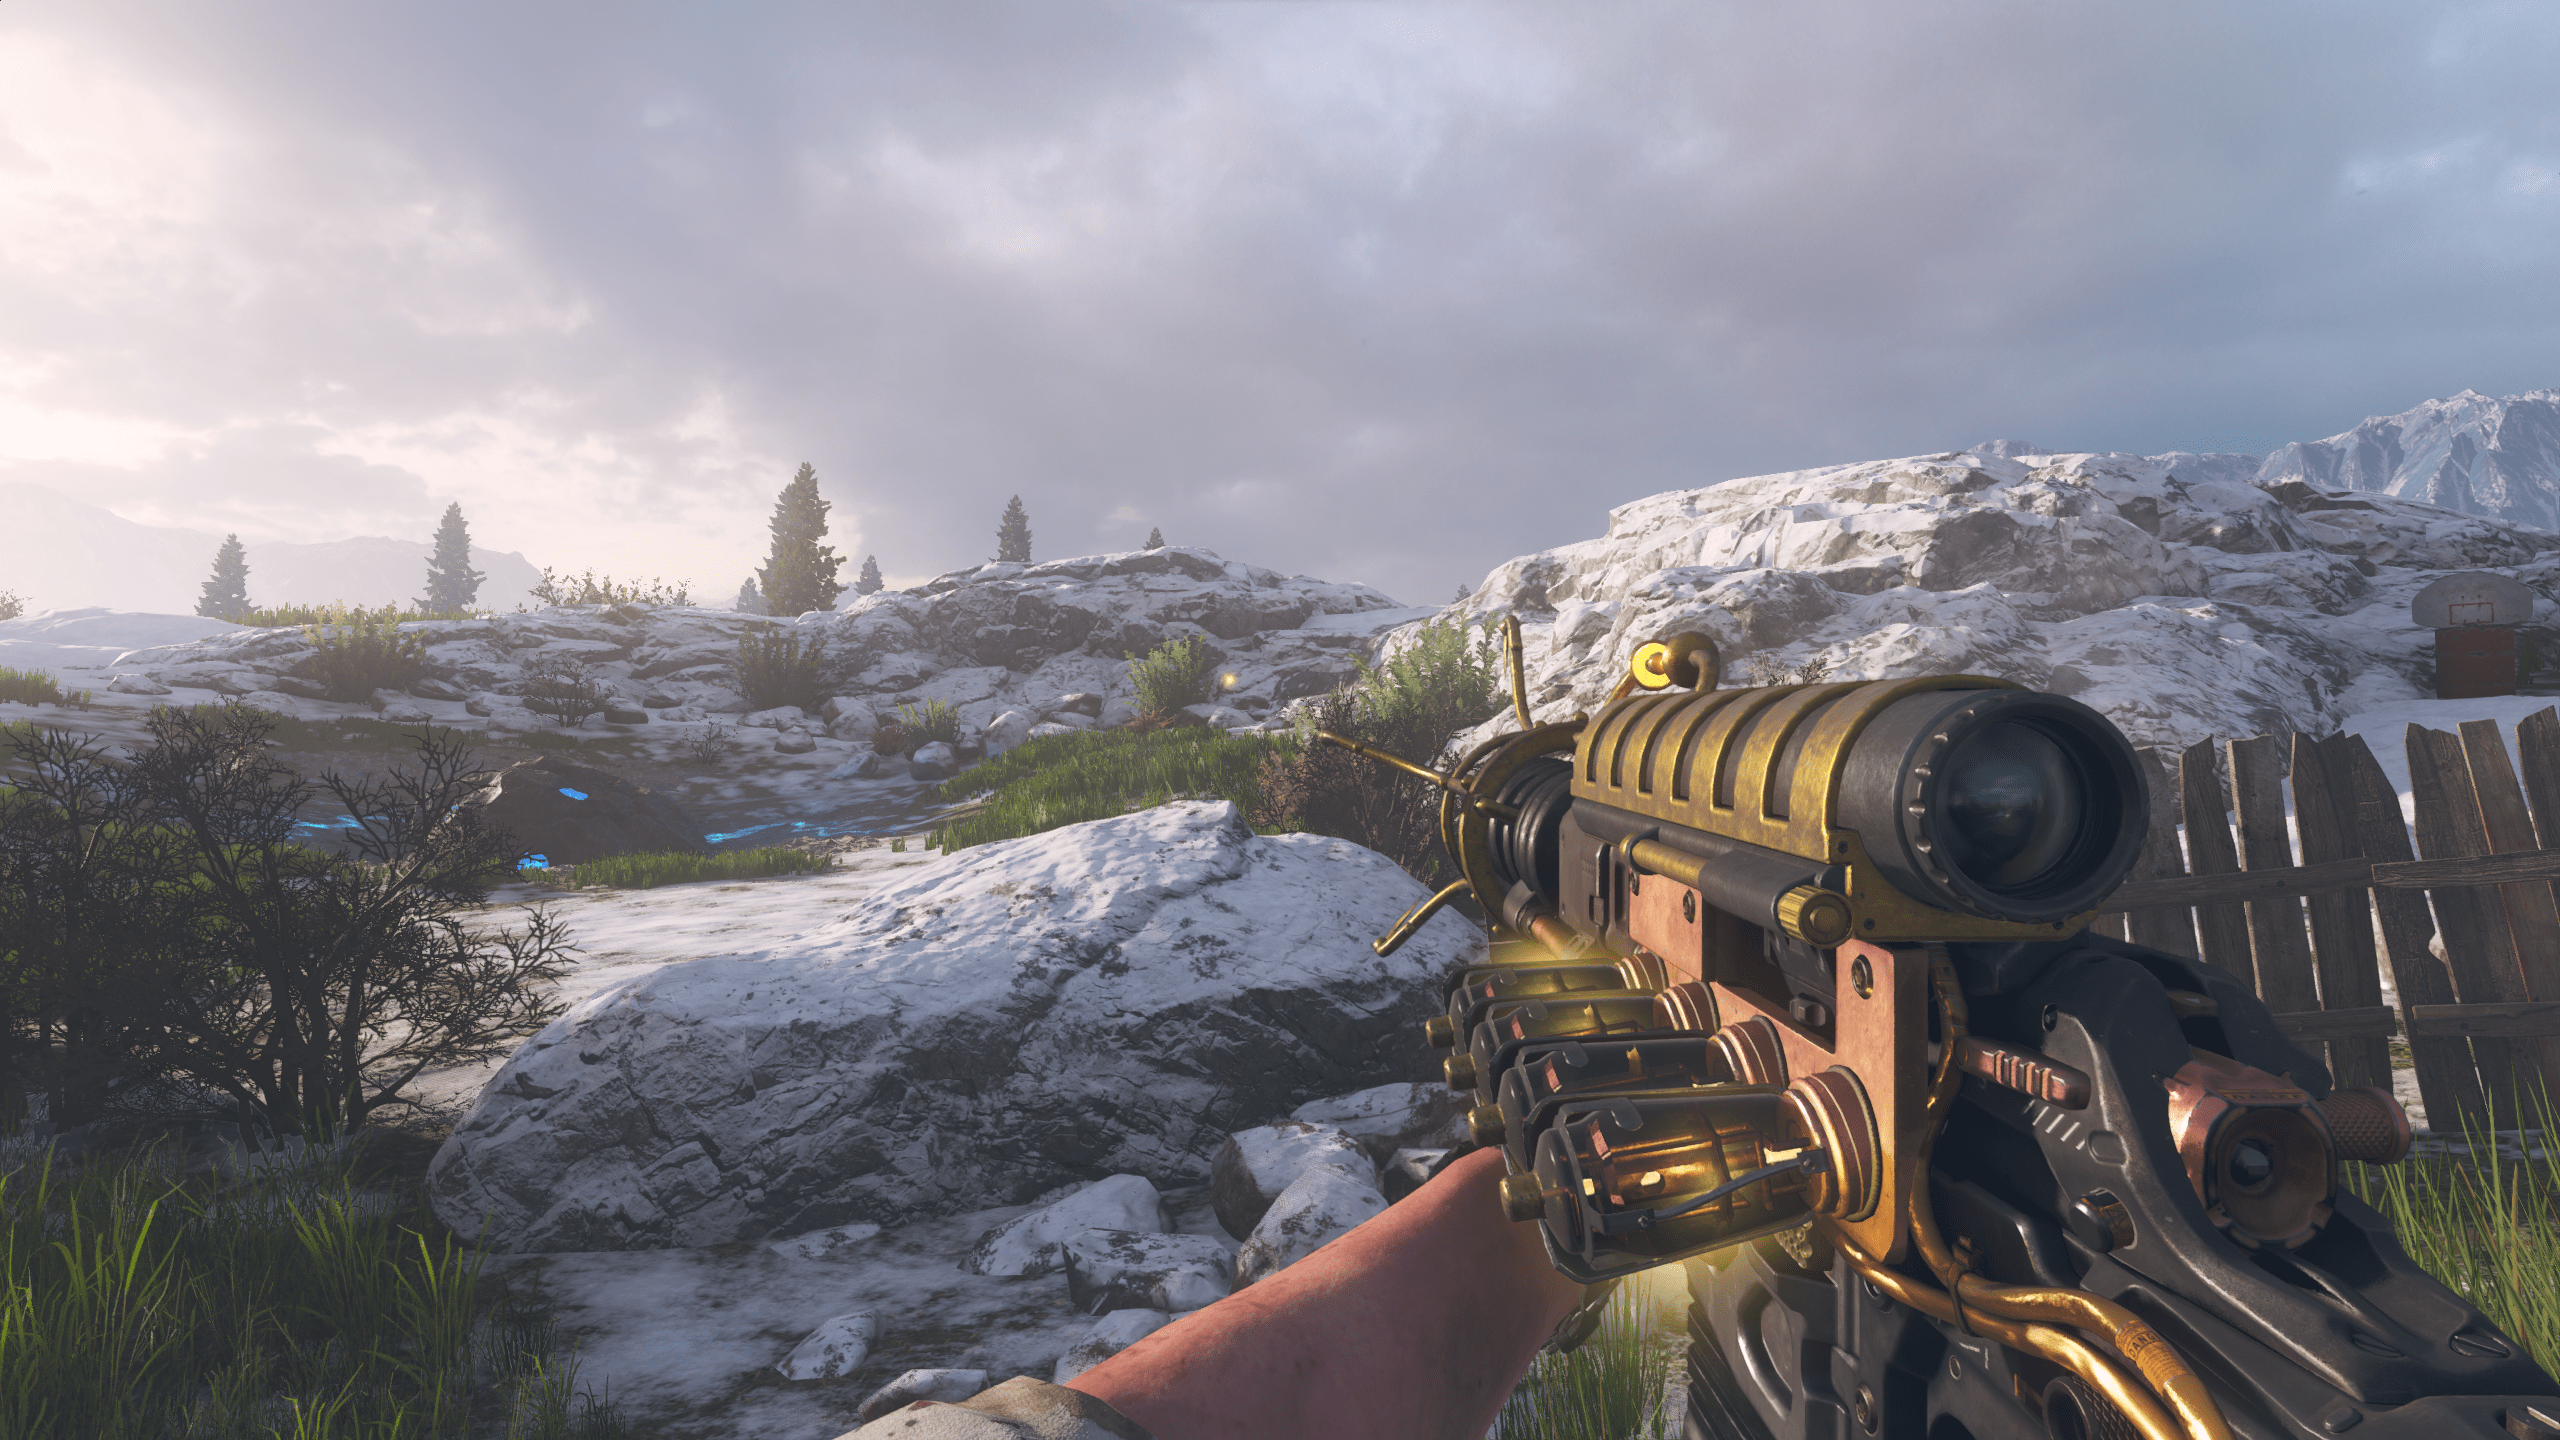
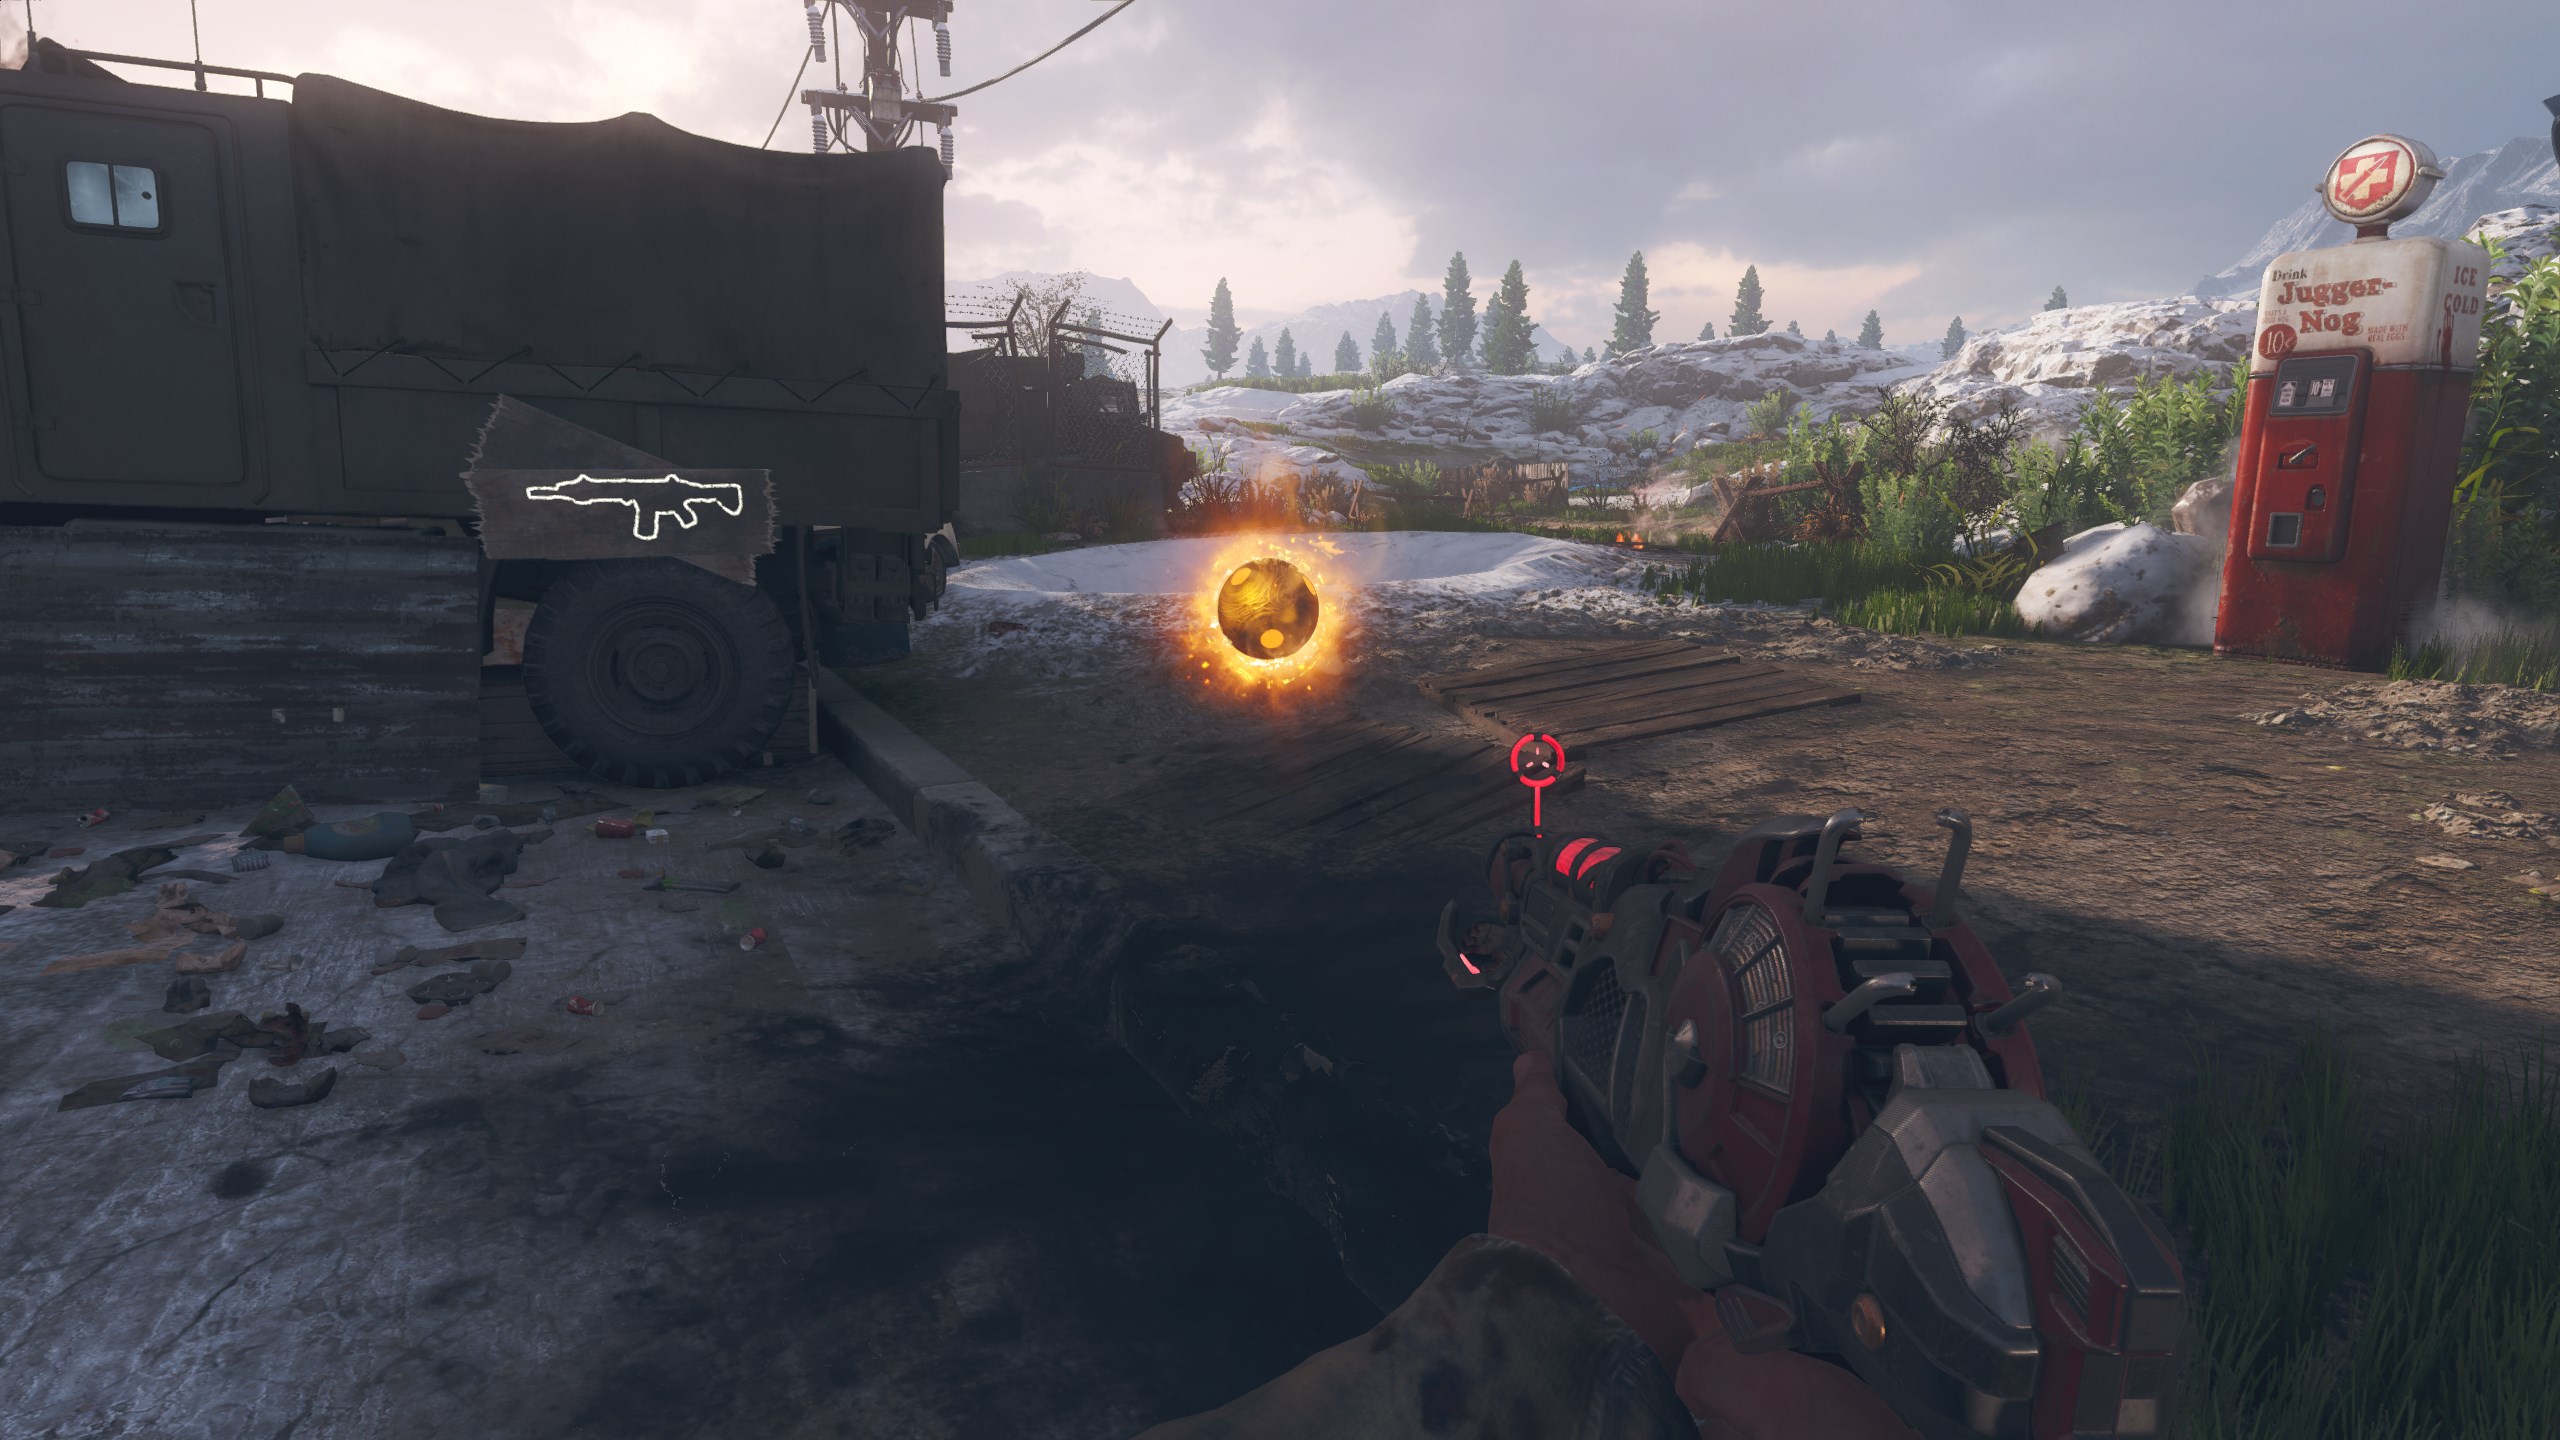
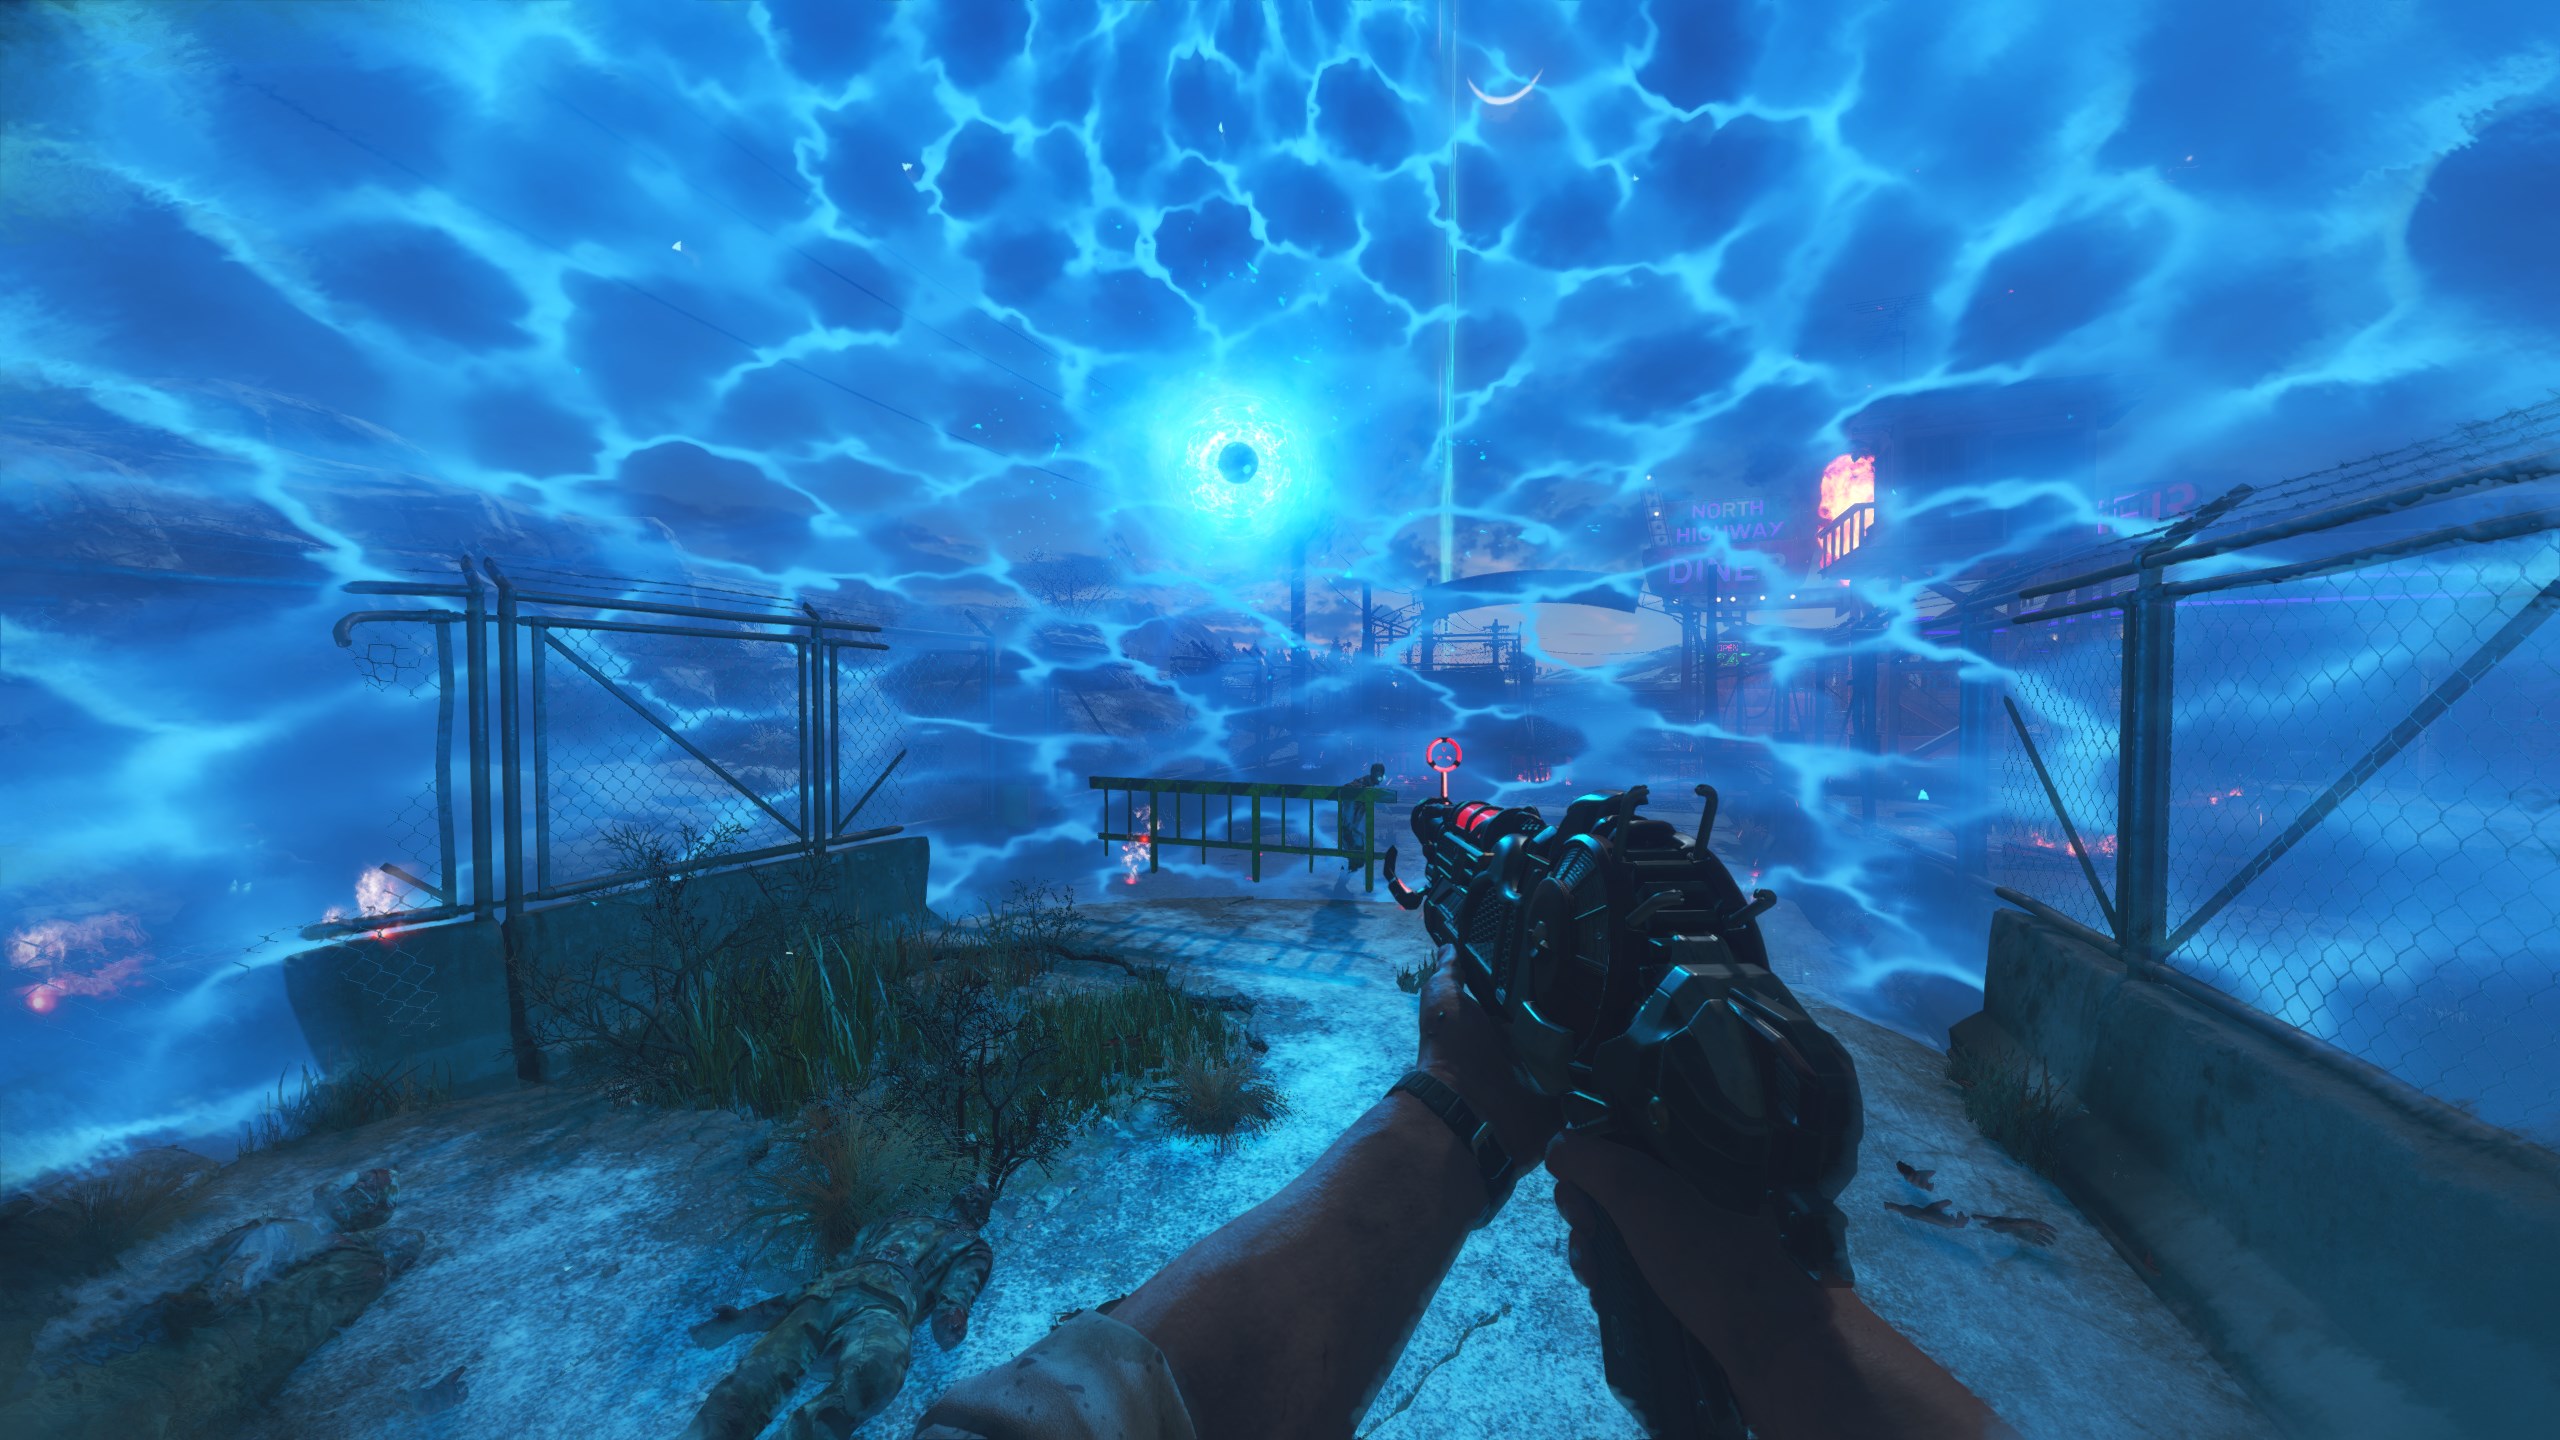
- 3 Orbs will spawn around the map that you must shoot with the Wunderwaffe.
- From the spawn area looking past the Pack-A-Punch.
- Over the ditch close to spawn, looking out towards the 115 rocks.
- From Double Tap, towards the power room outside the map.
- From the spawn area looking past the Pack-A-Punch.
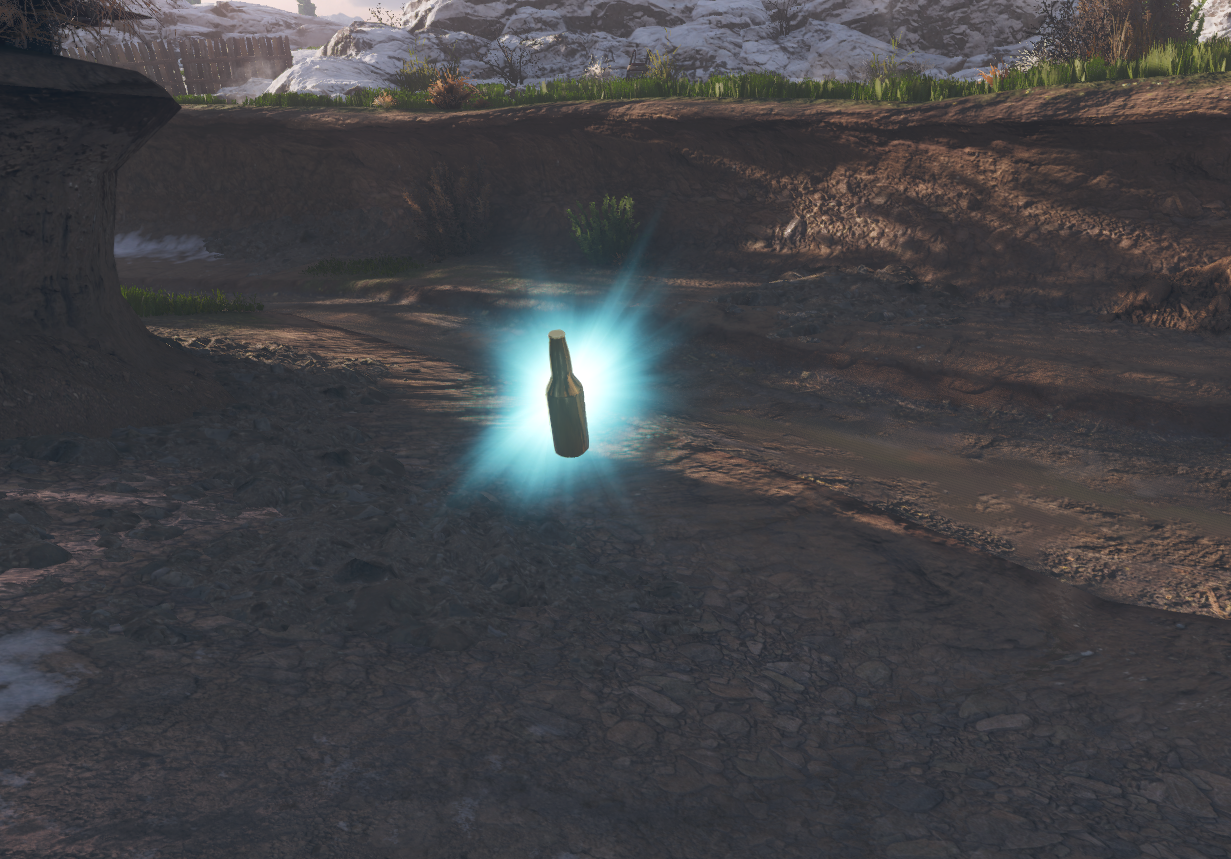
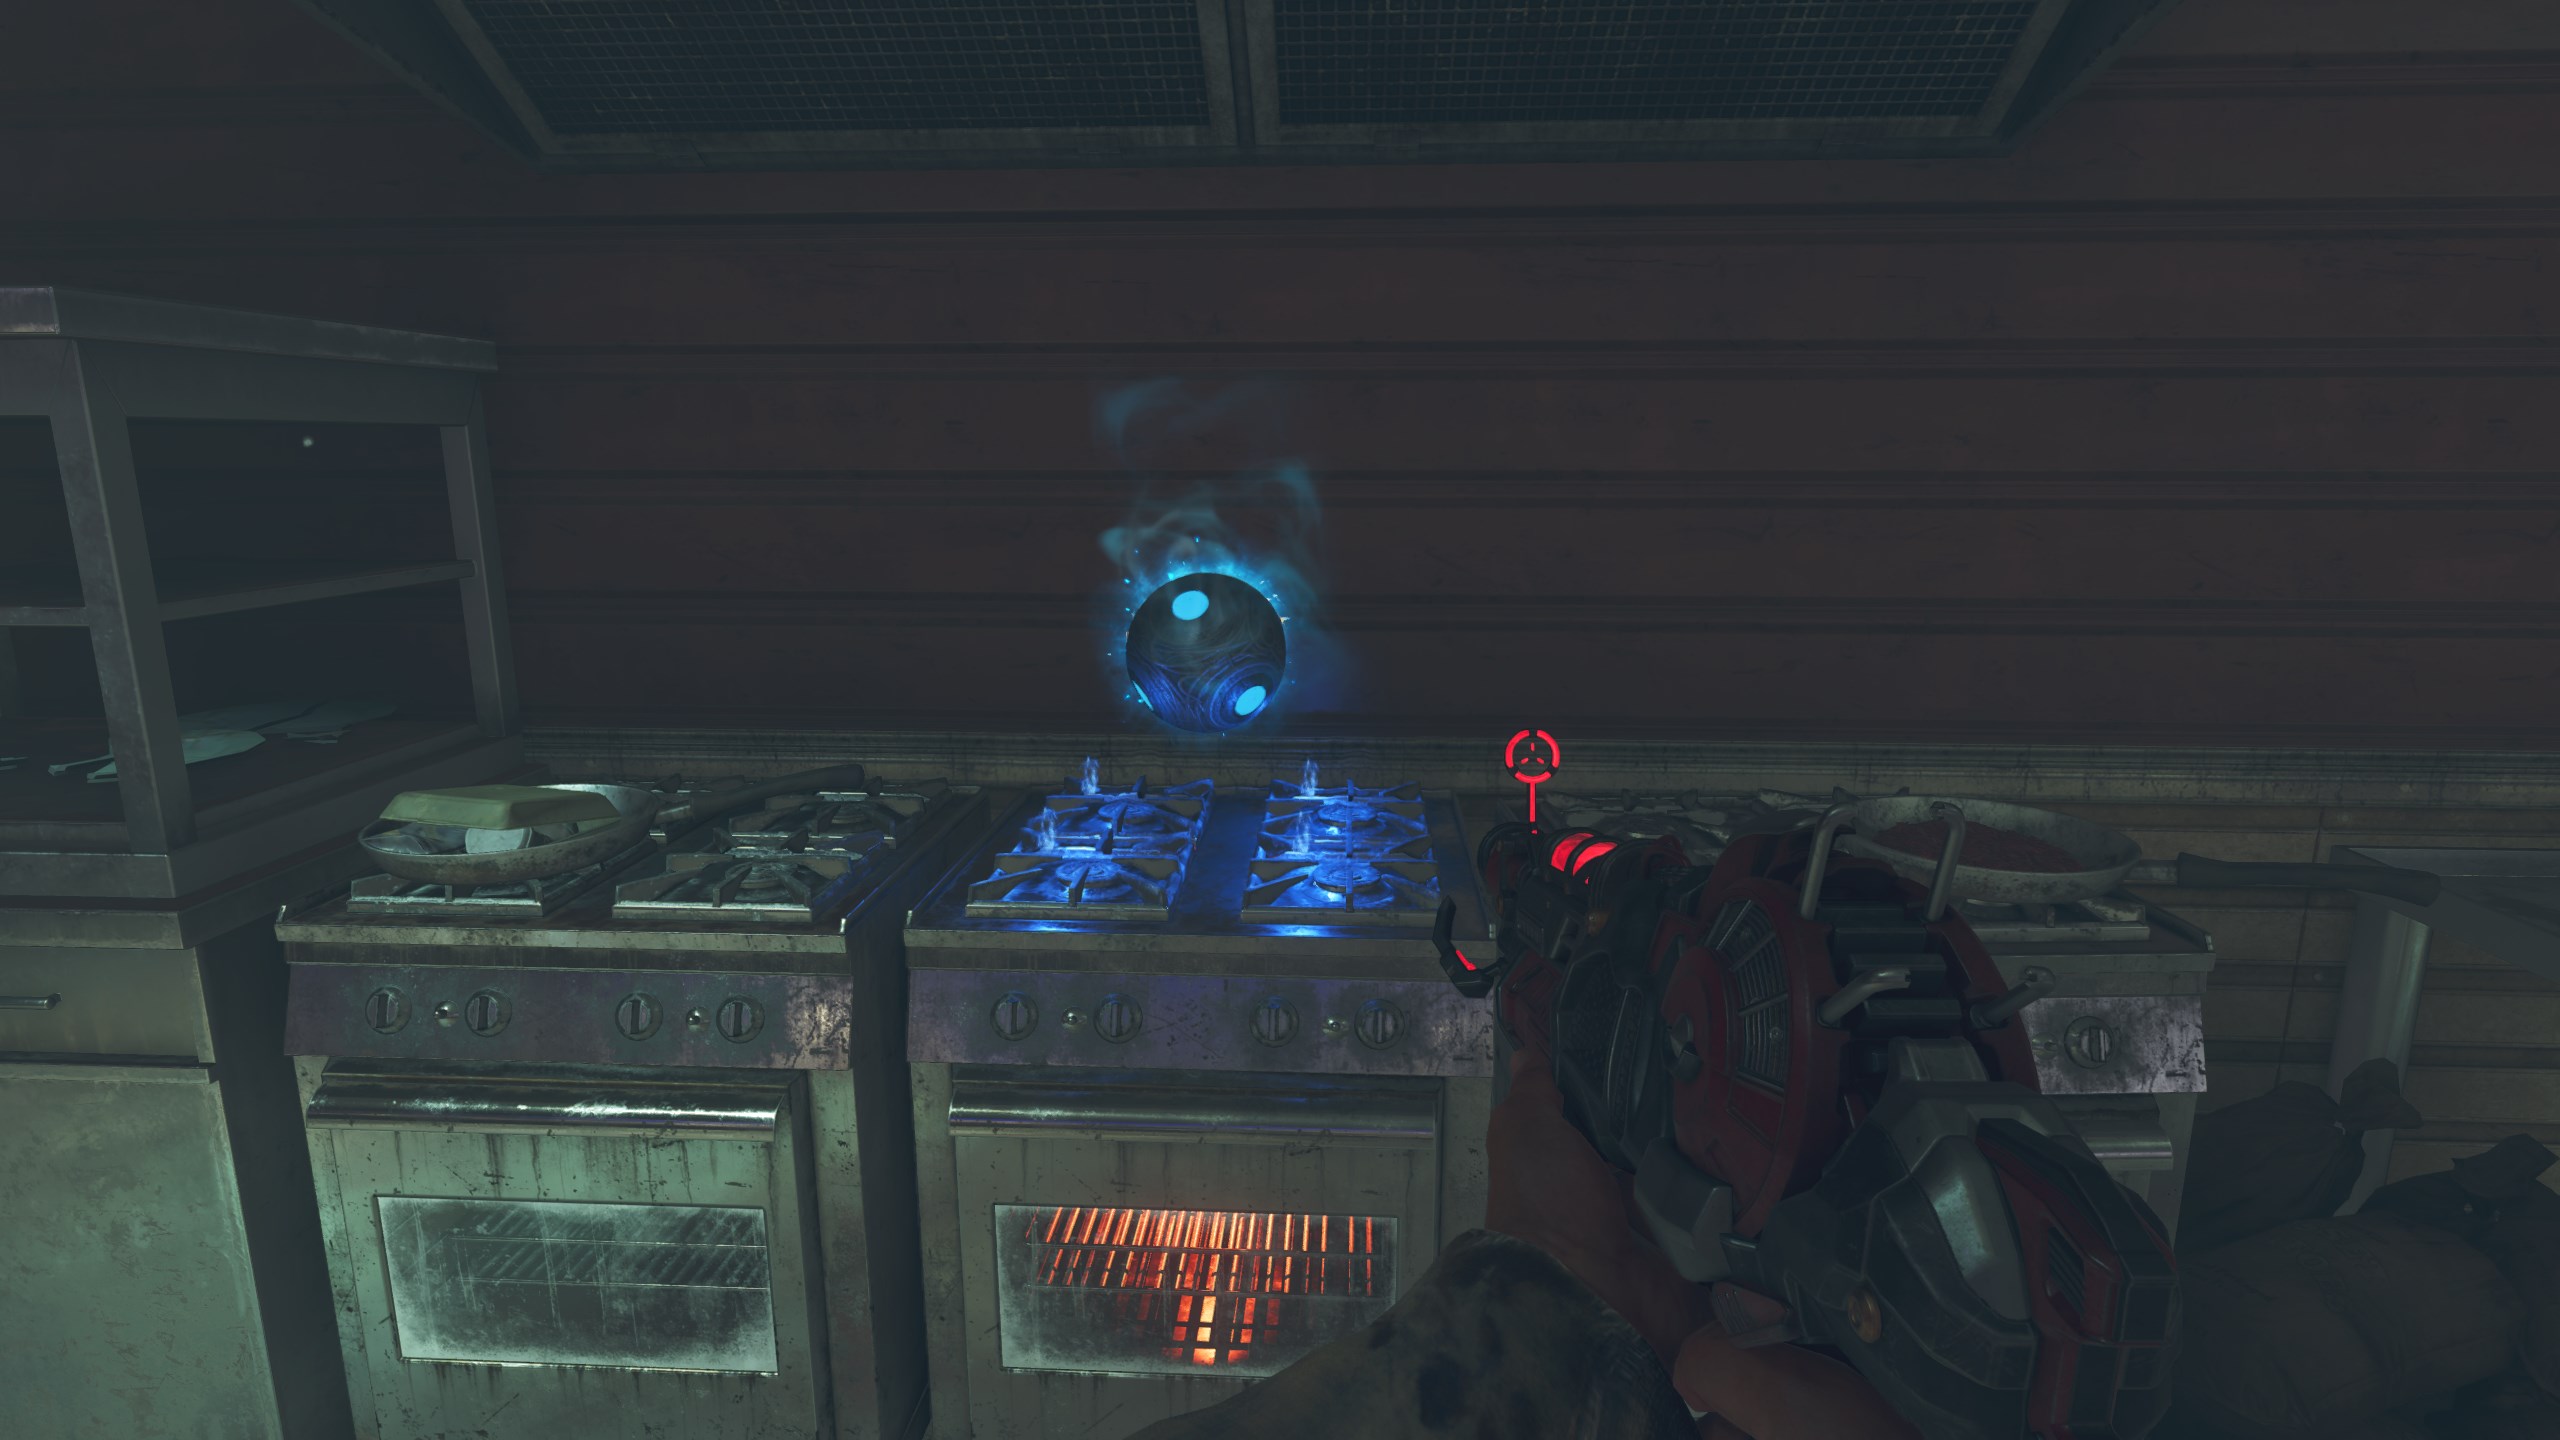
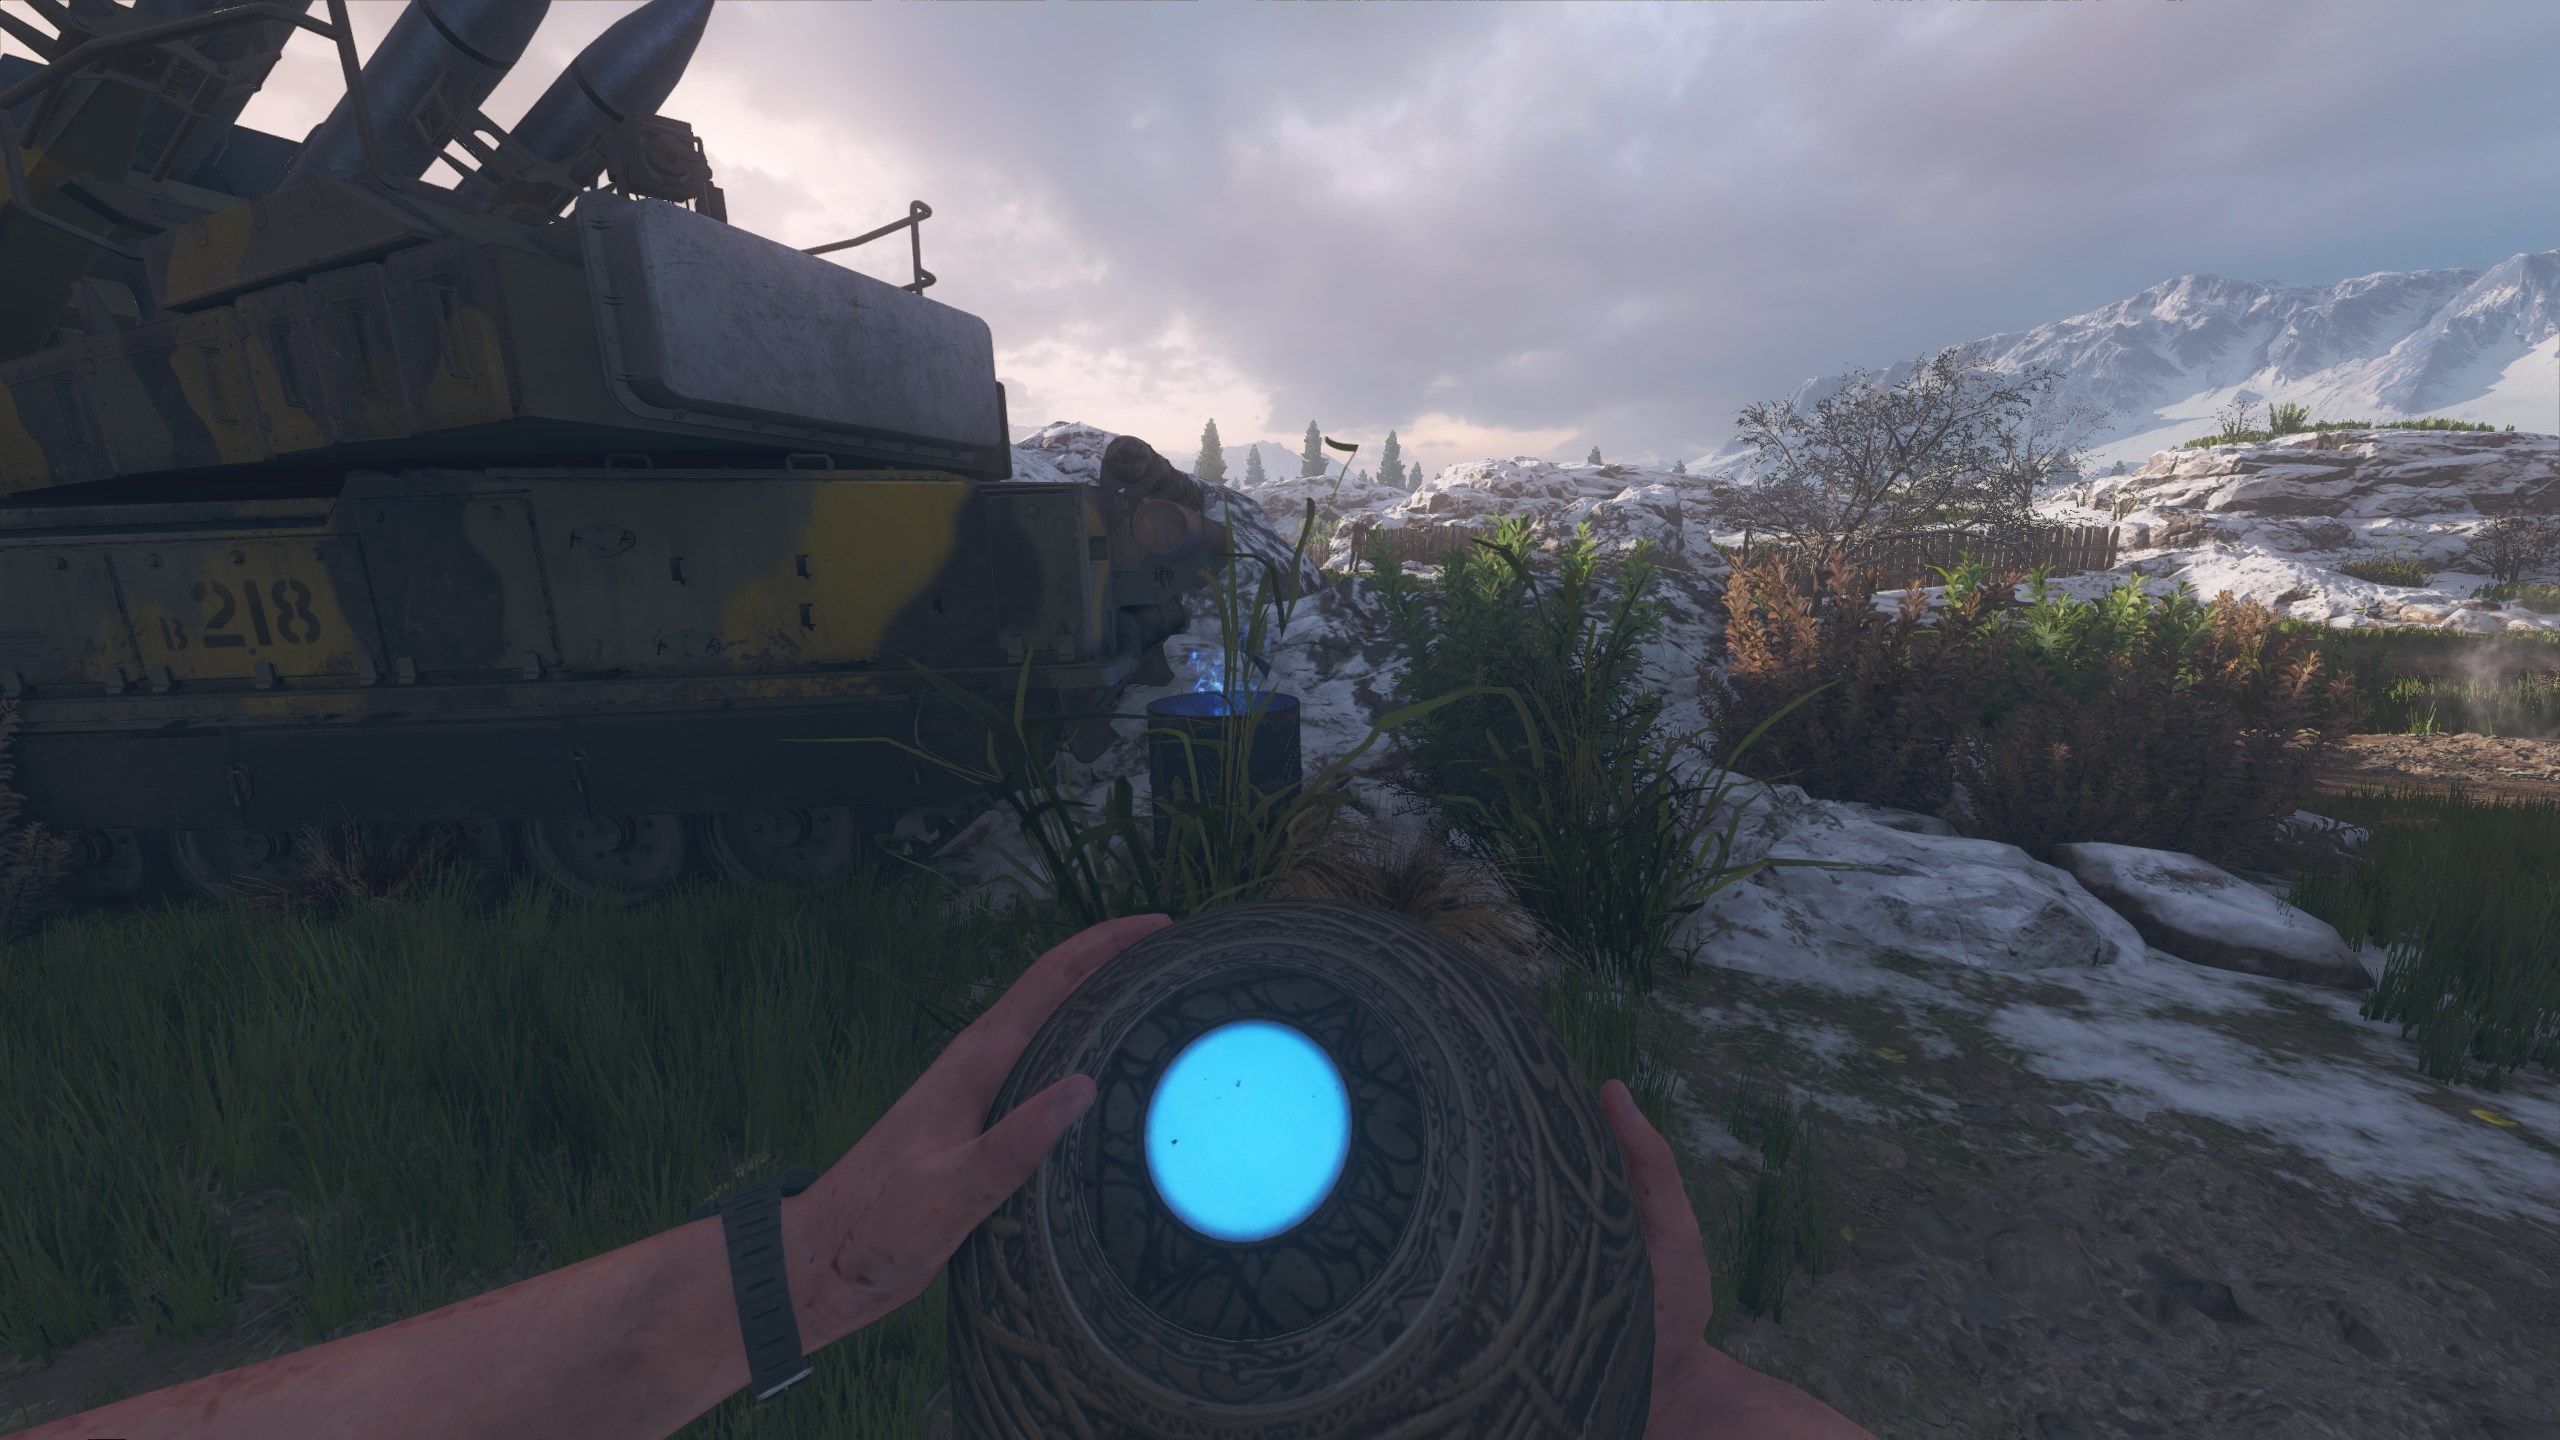
- The Relic will now spawn in the middle of the map, and you must wait till it stops glowing to pick it up.
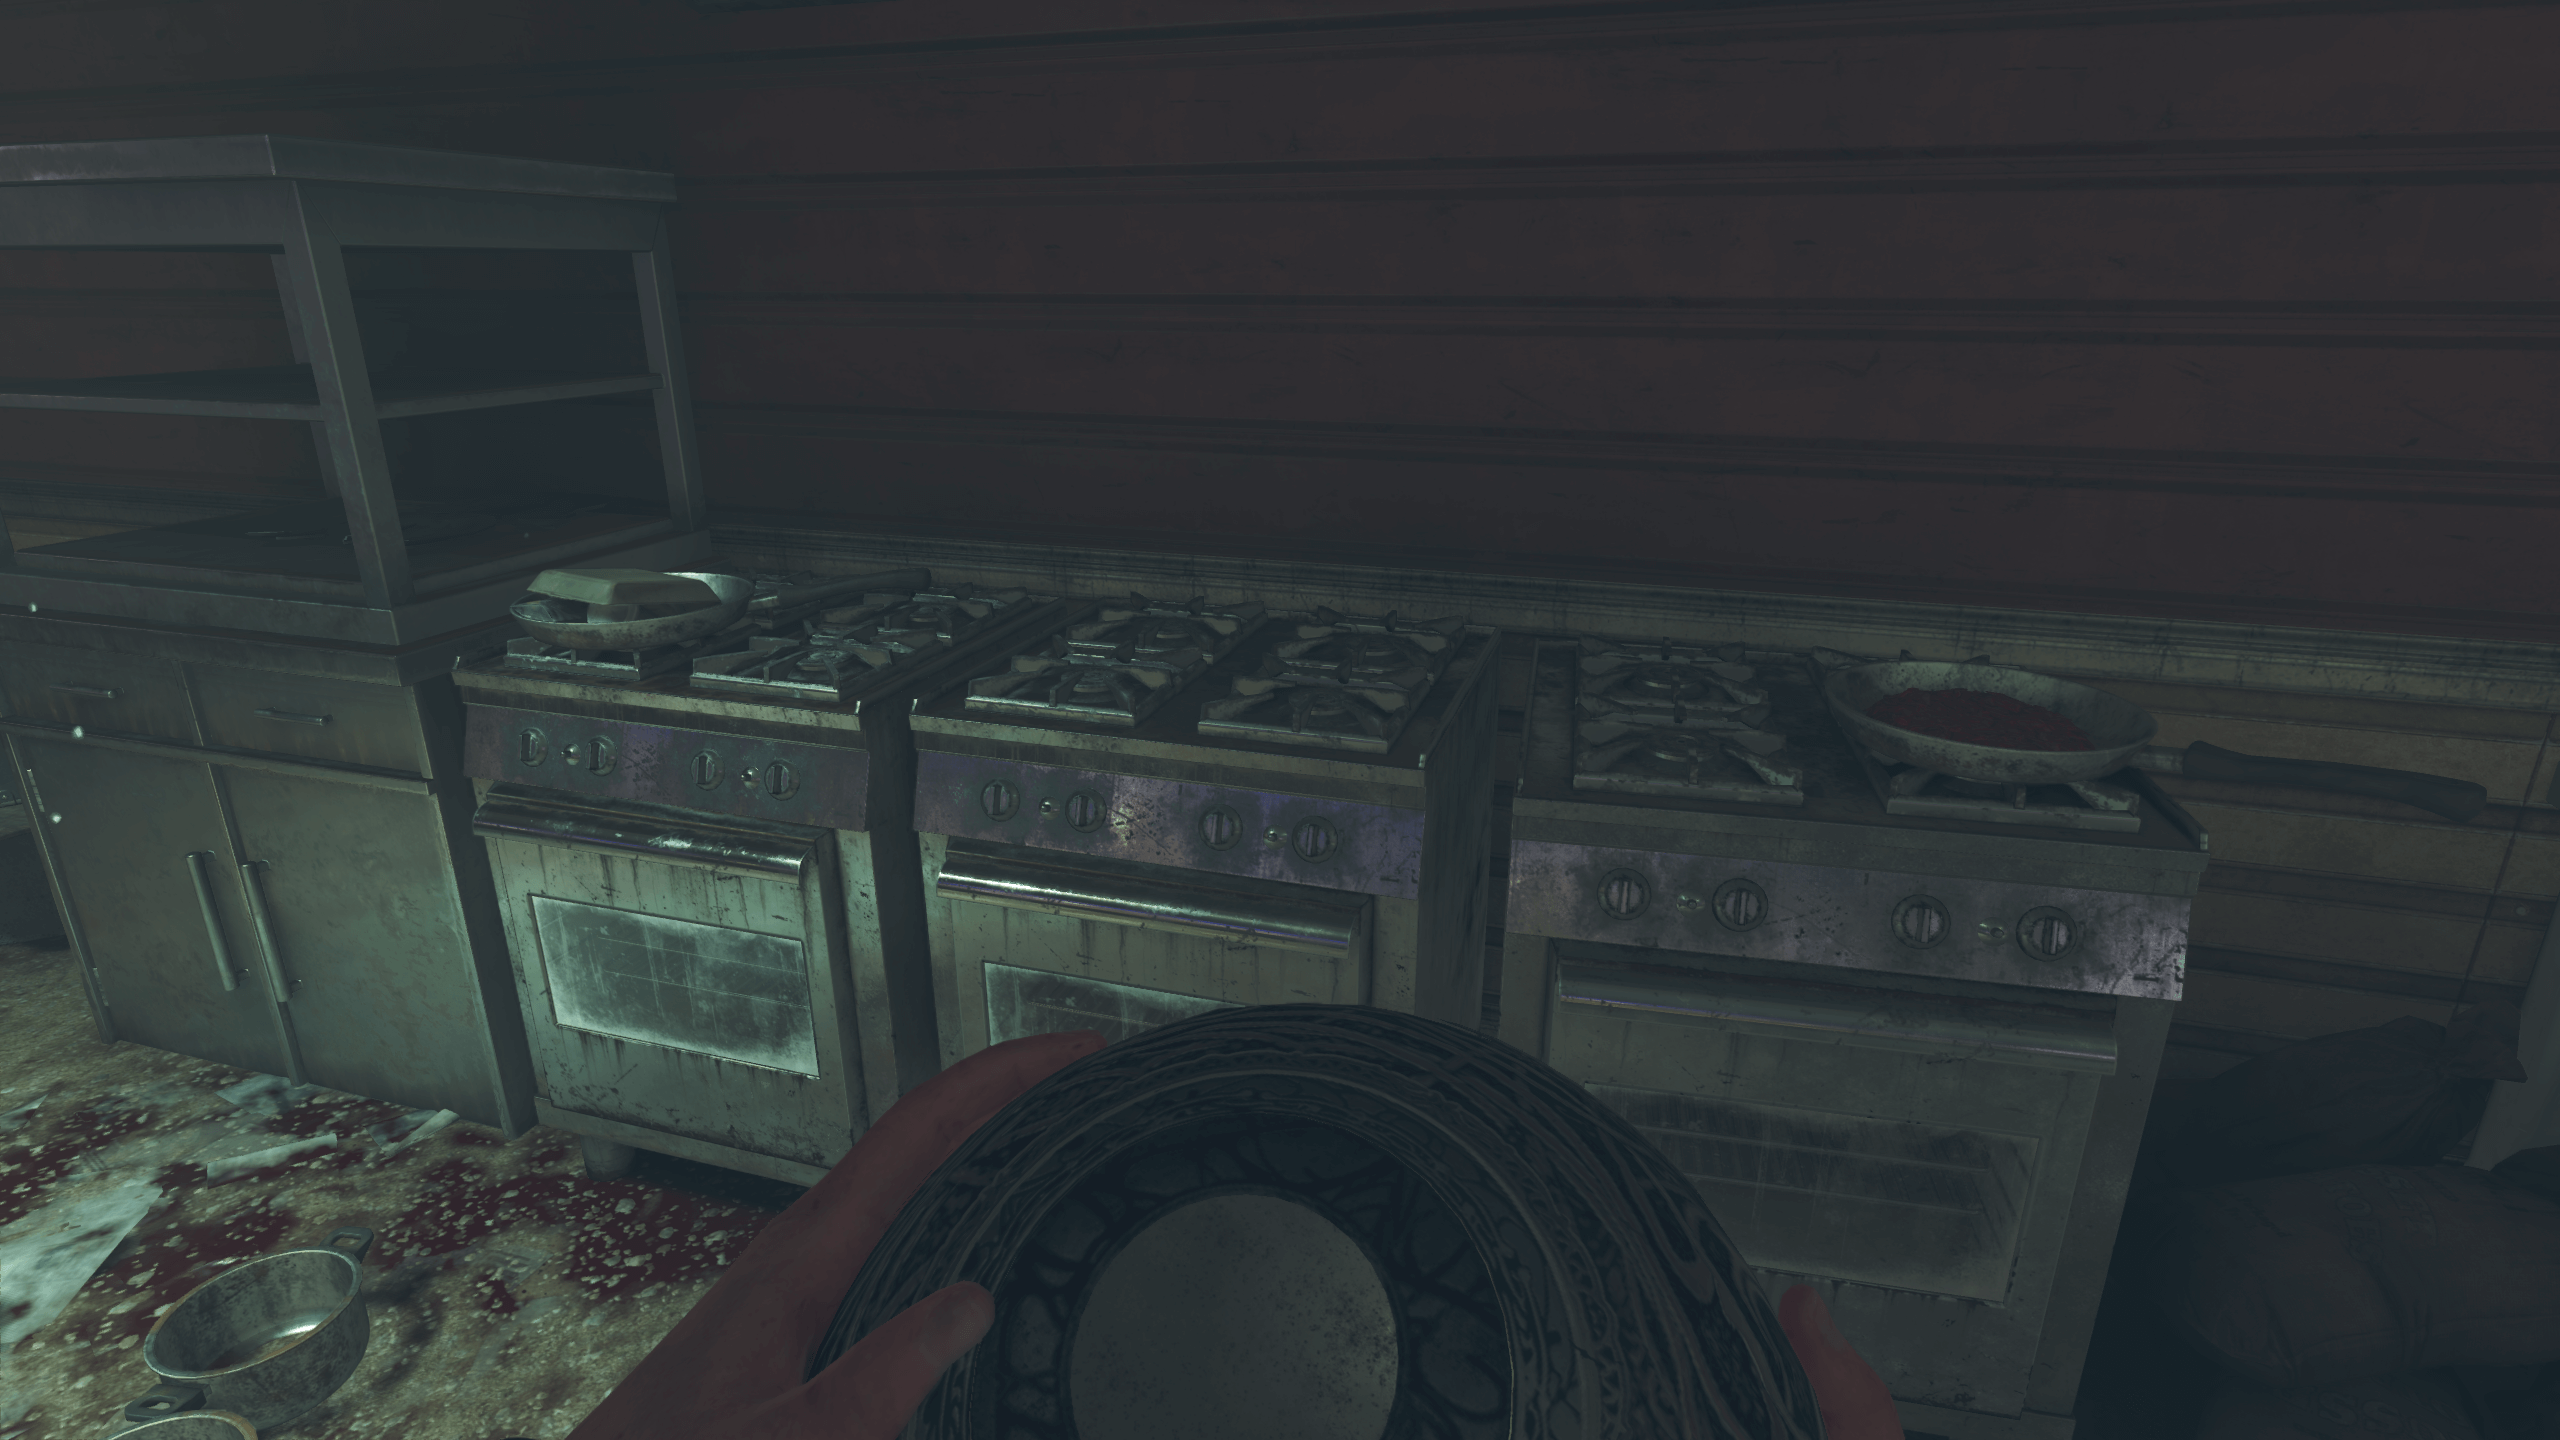
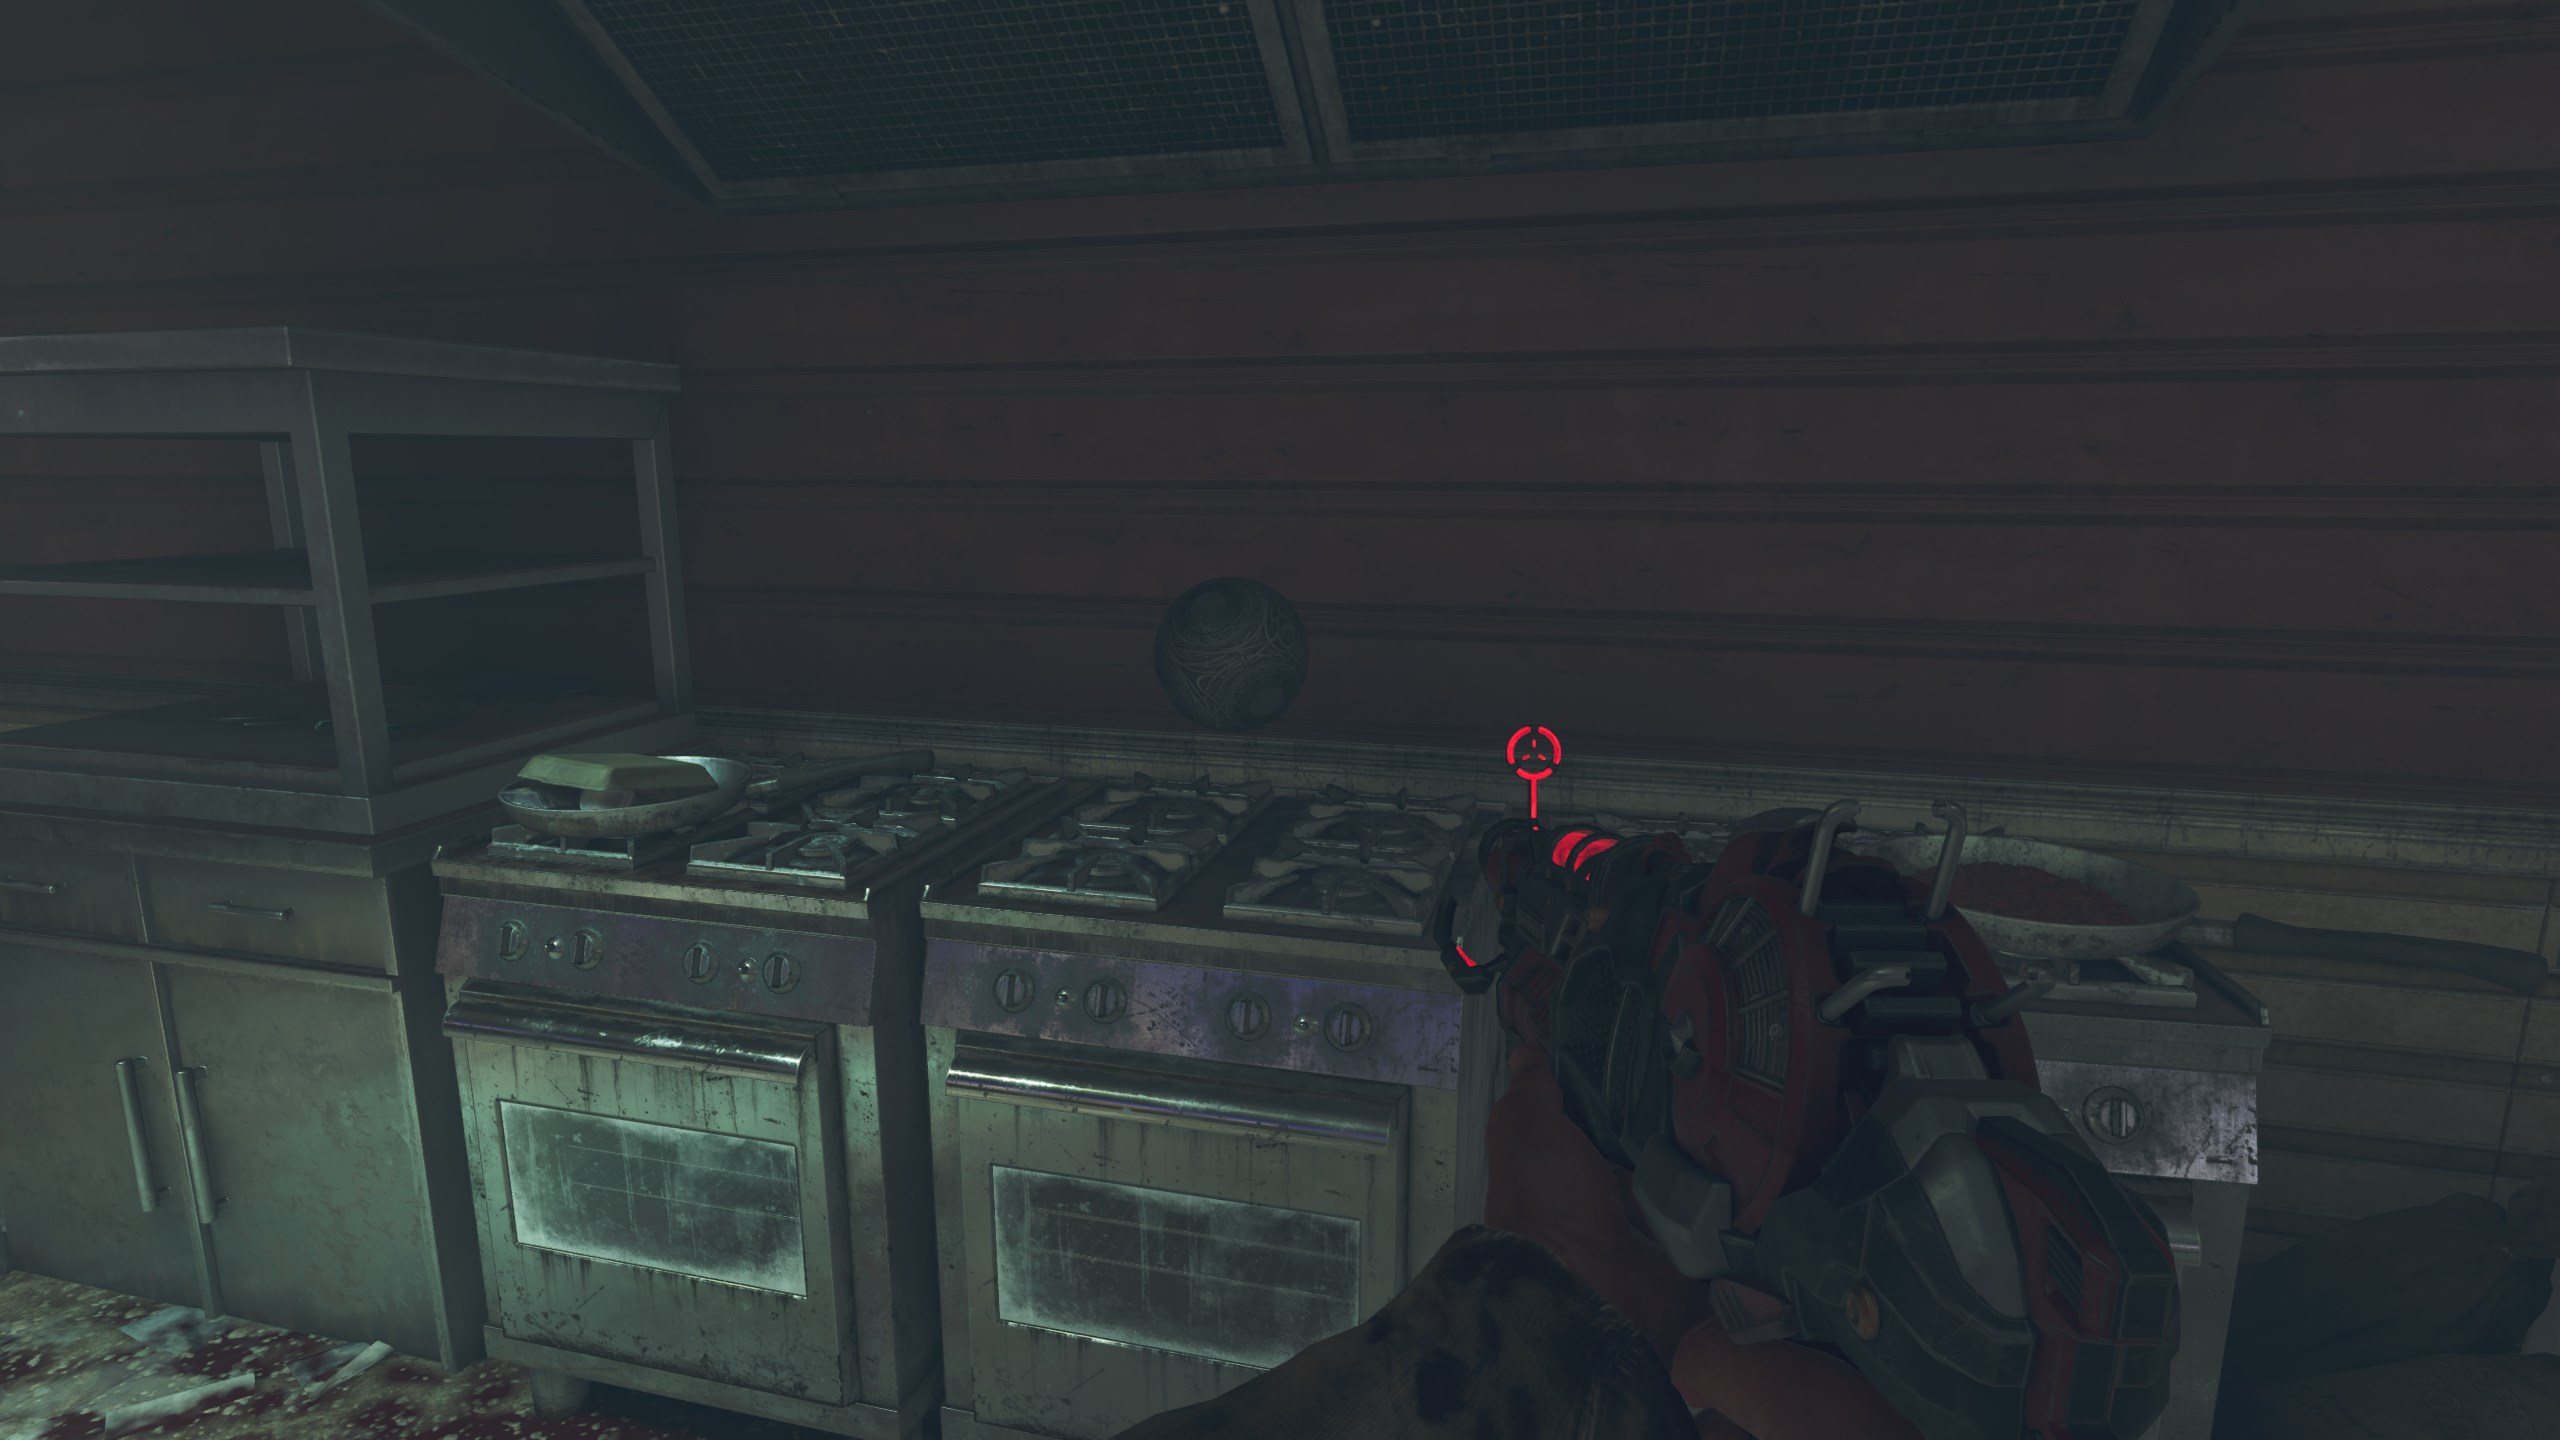
- Bring the Relic to the Diner and interact with the stove to place the Relic.
- You may now interact with the relic to start the lockdown inside the Diner. Make sure to have all the weapons and perks you desire before starting! The lockdown lasts 1 minute and 45 ثواني.
- Once the lockdown is finished the Relic will start to glow blue.
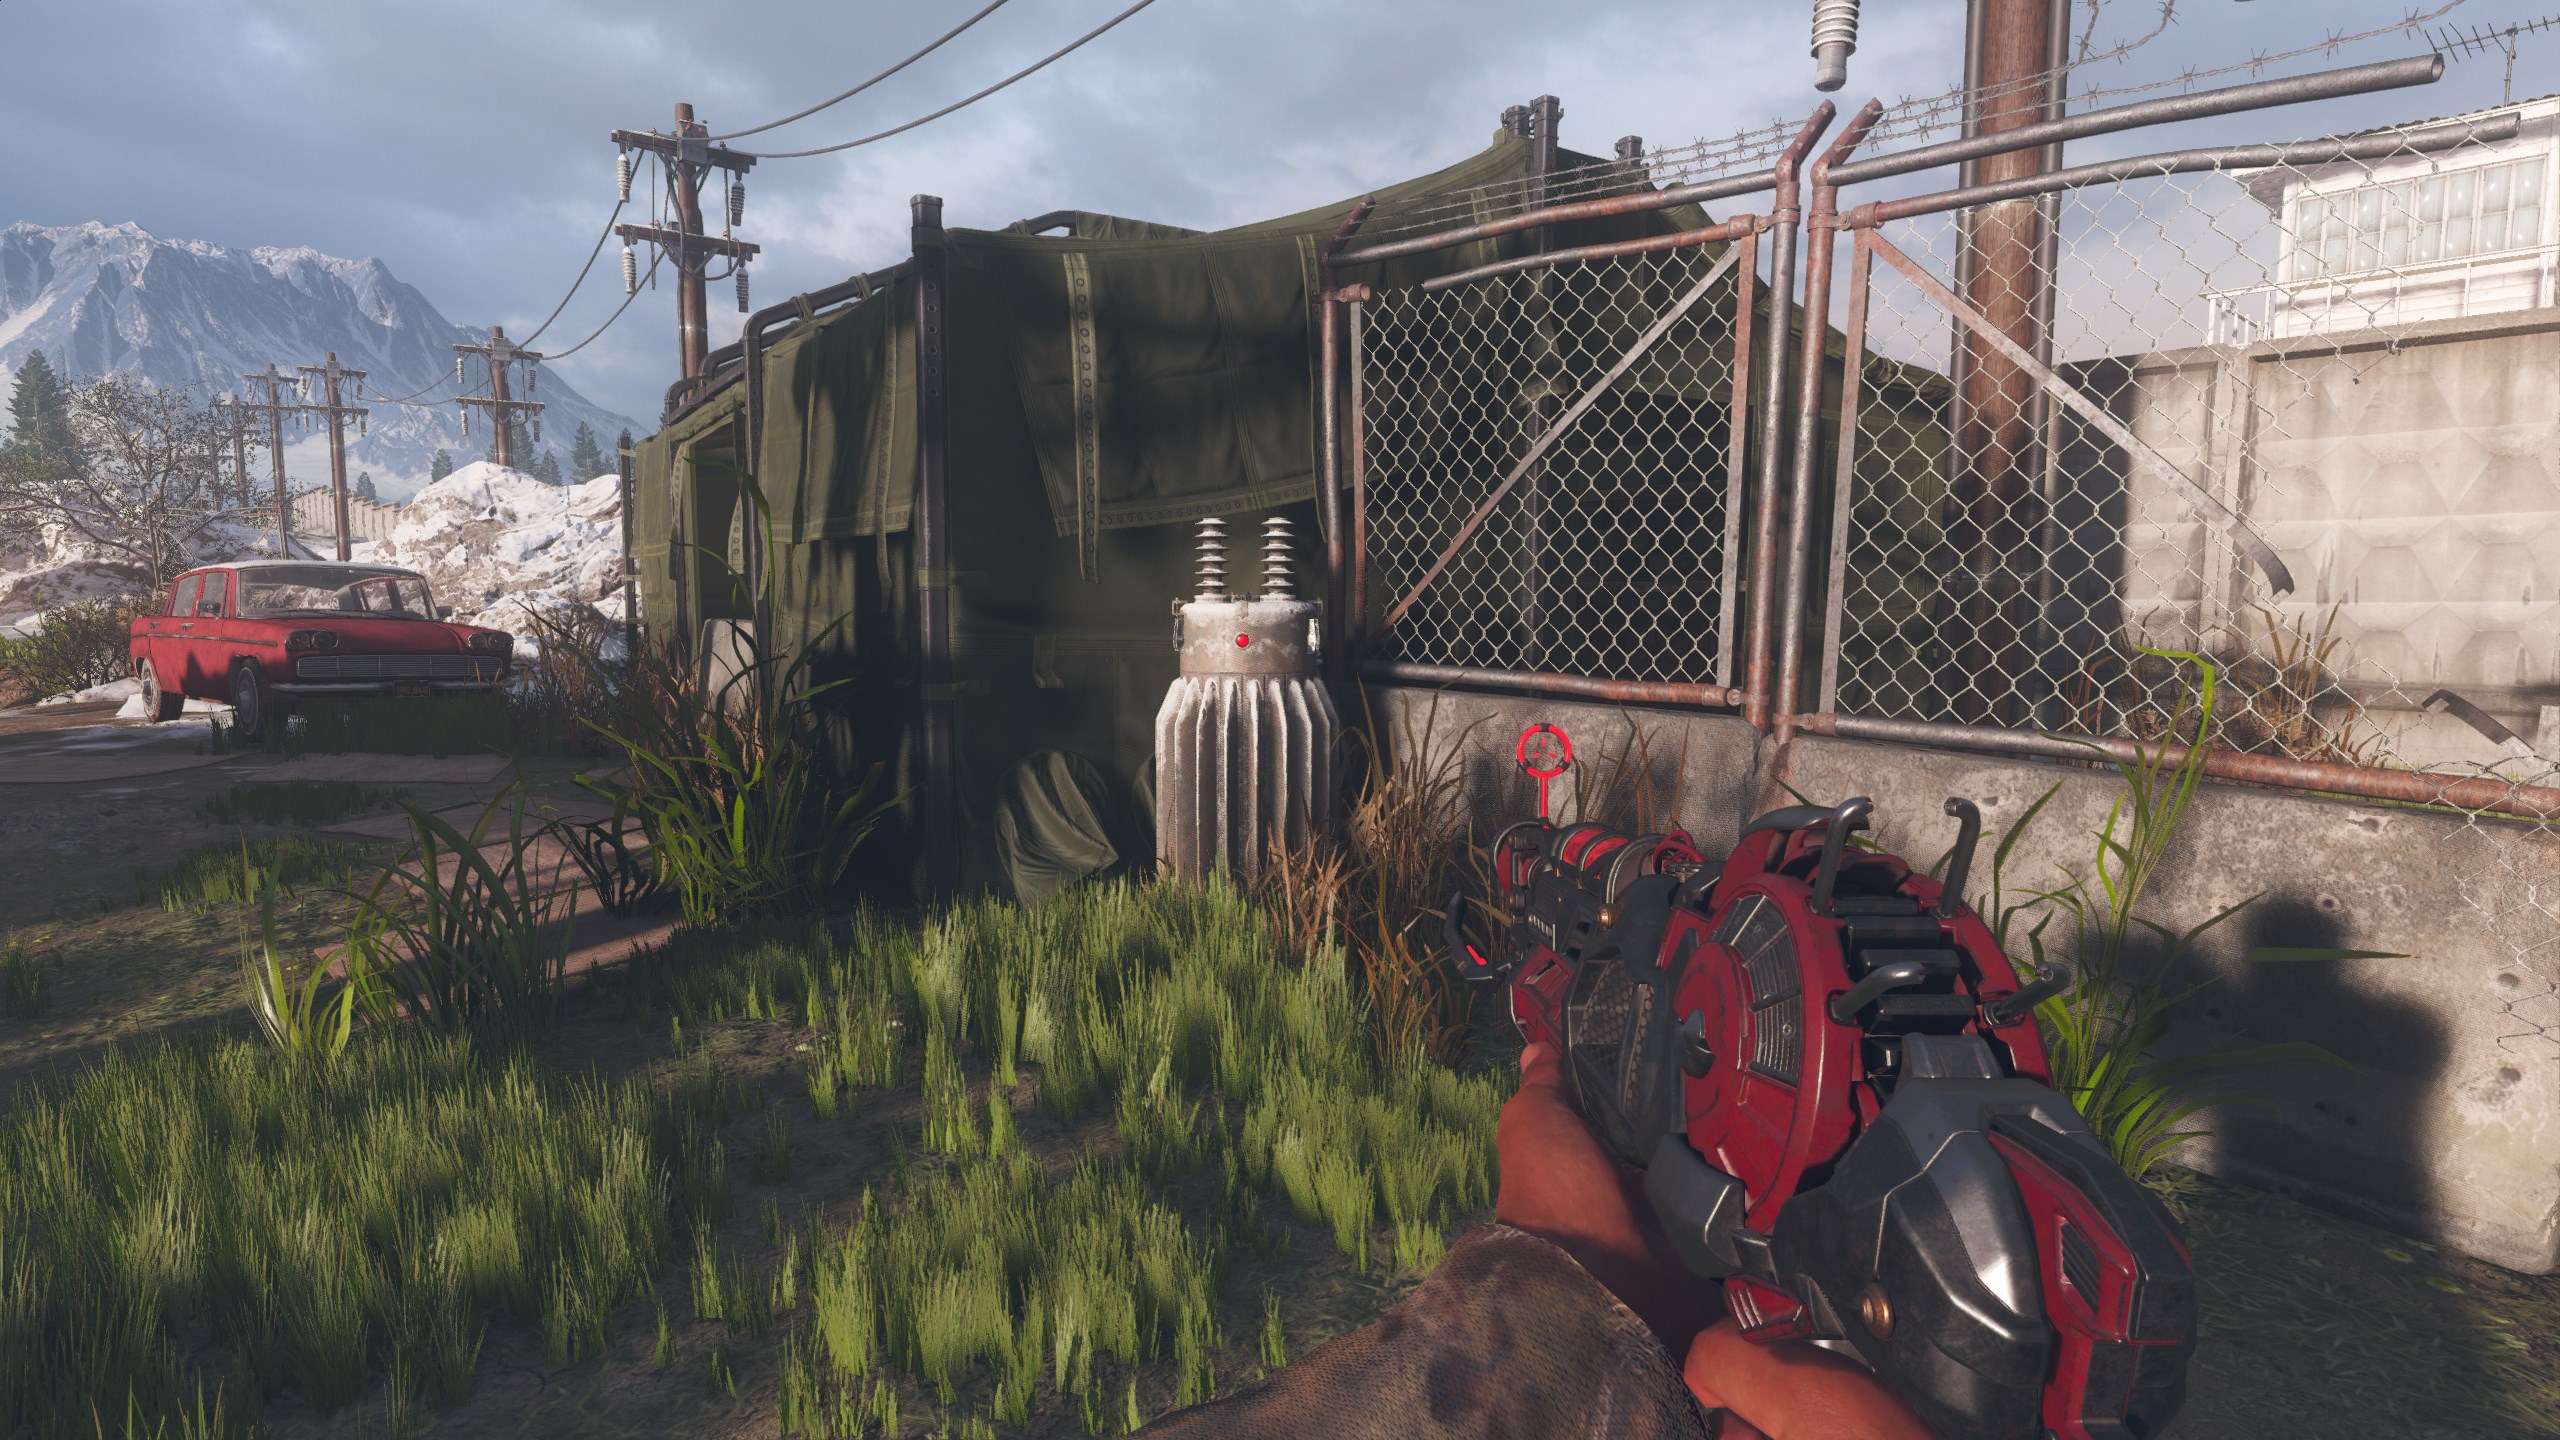
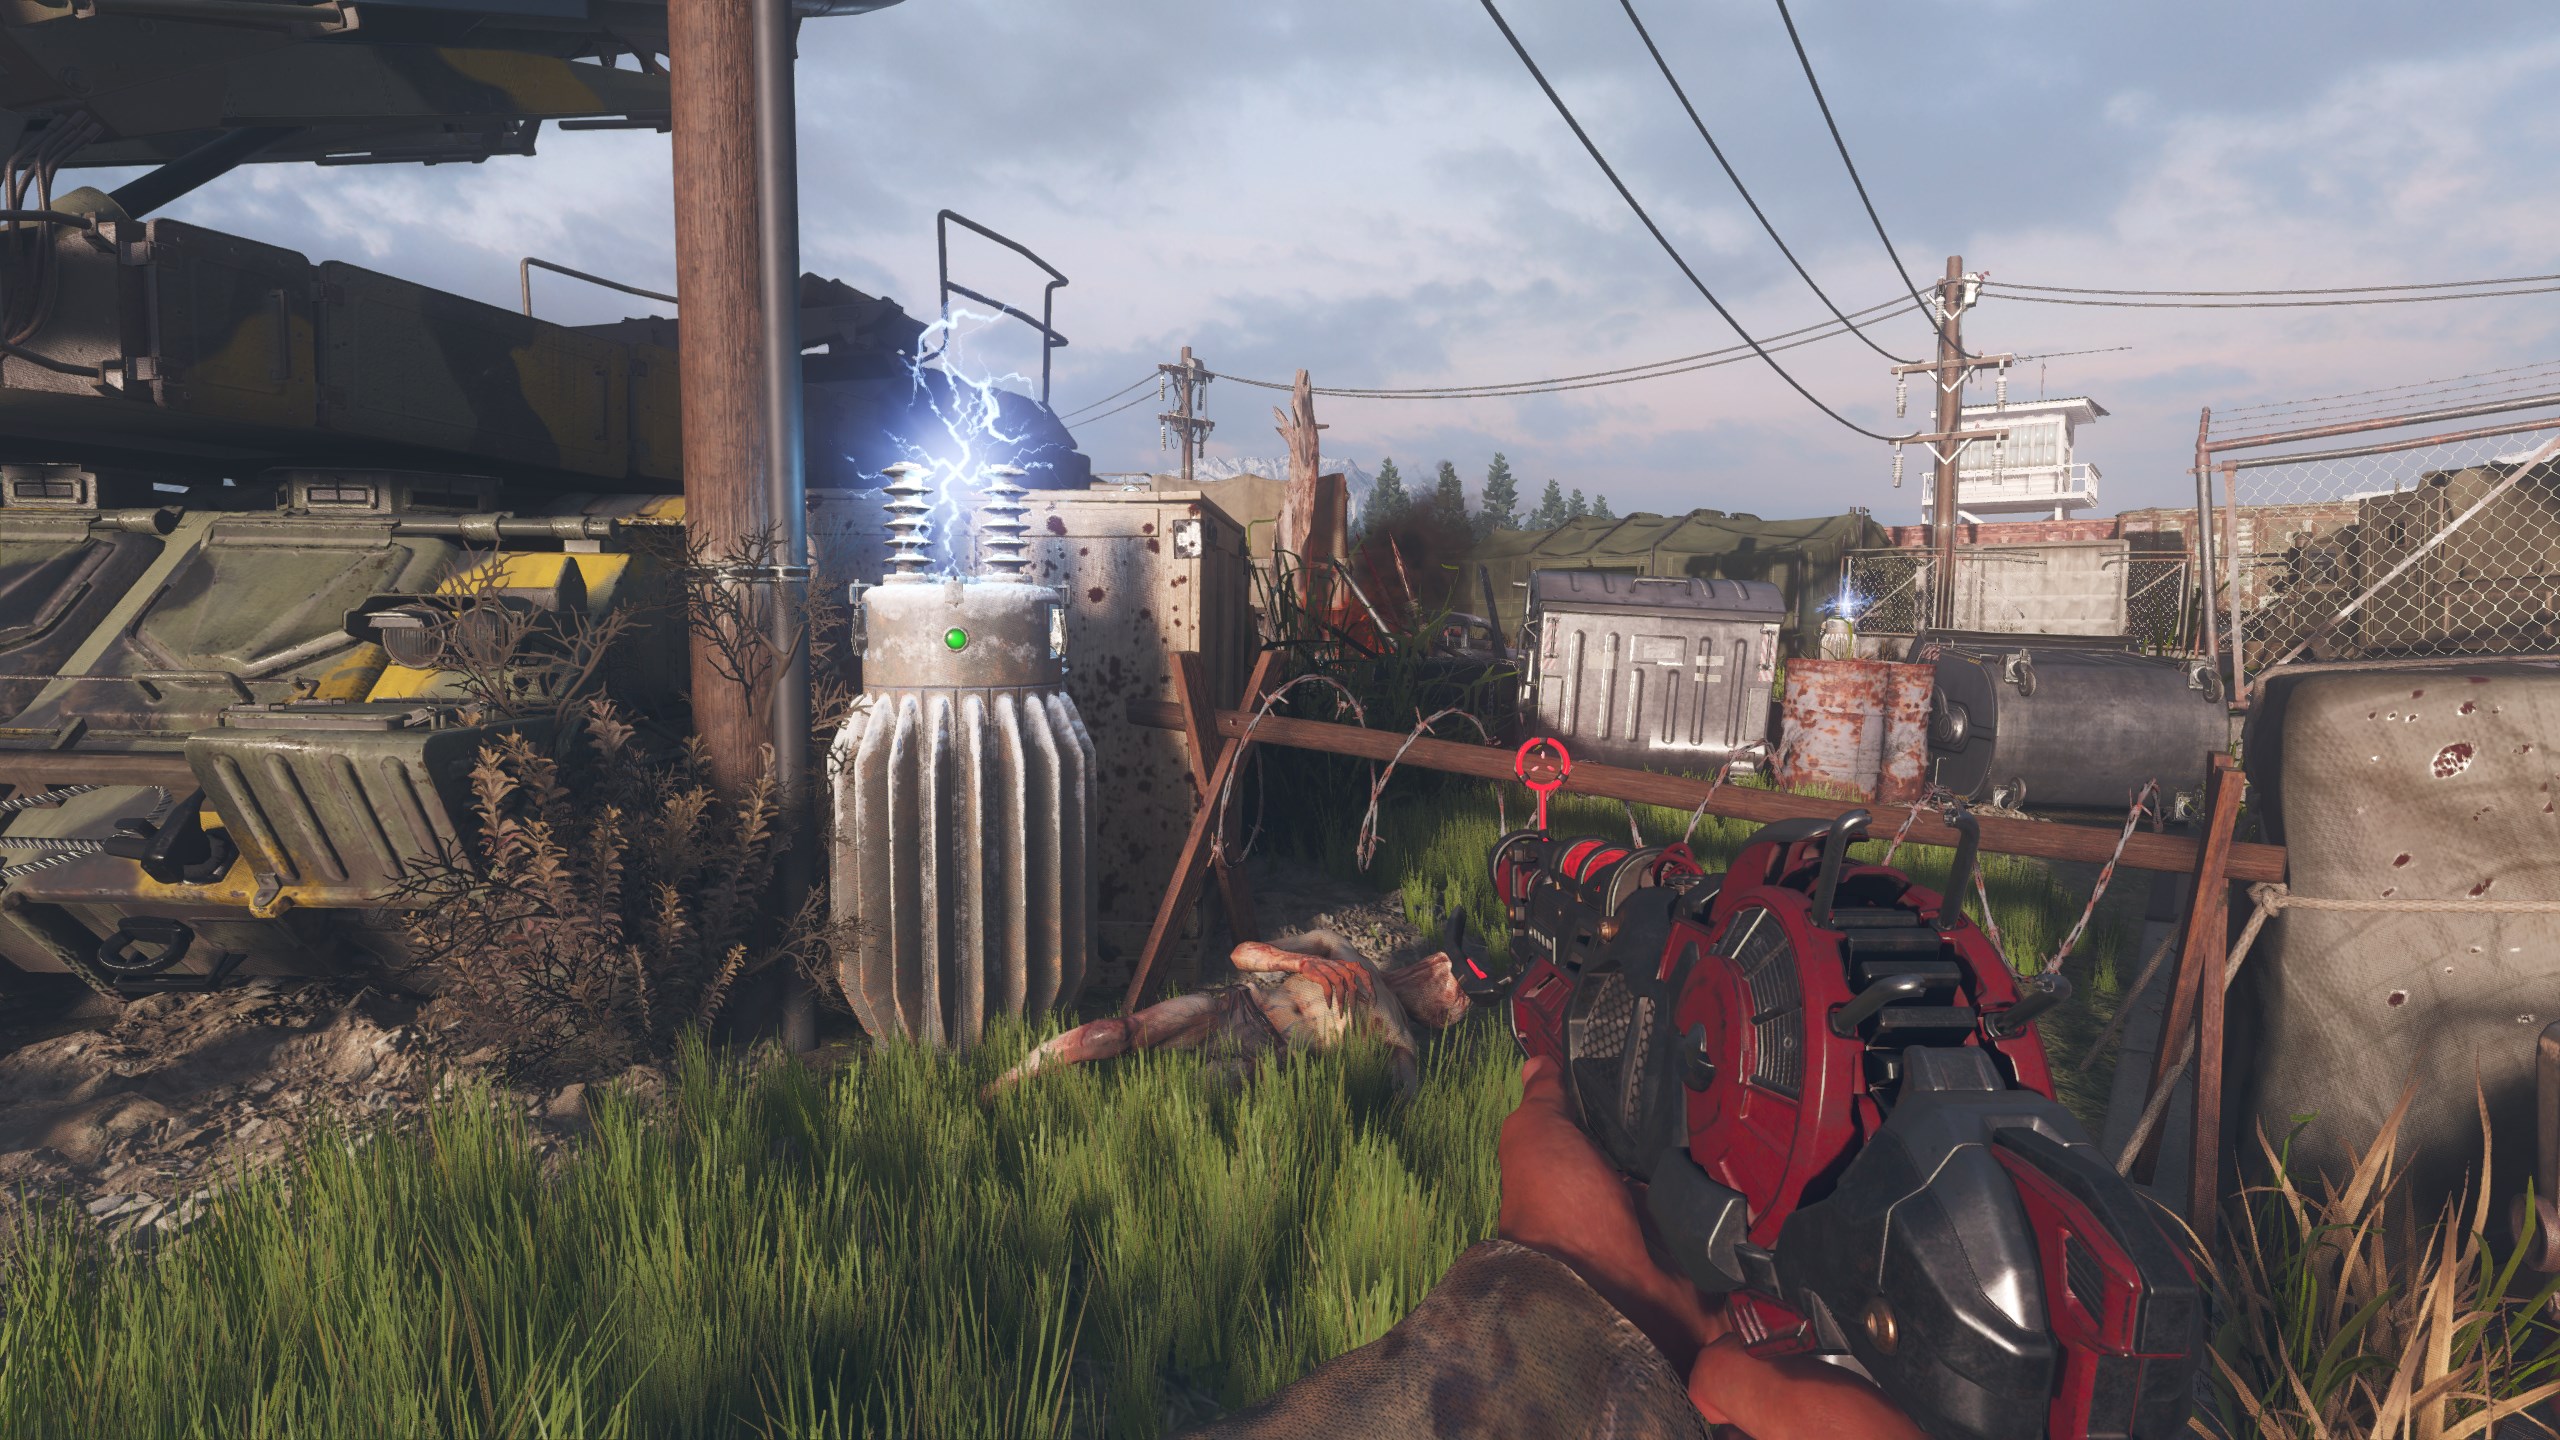
- You now must kill an electric crawler next to 3 generators around the map.
- To the left of the Power room, next to the green tent.
- Near Juggernog in the middle of the map.
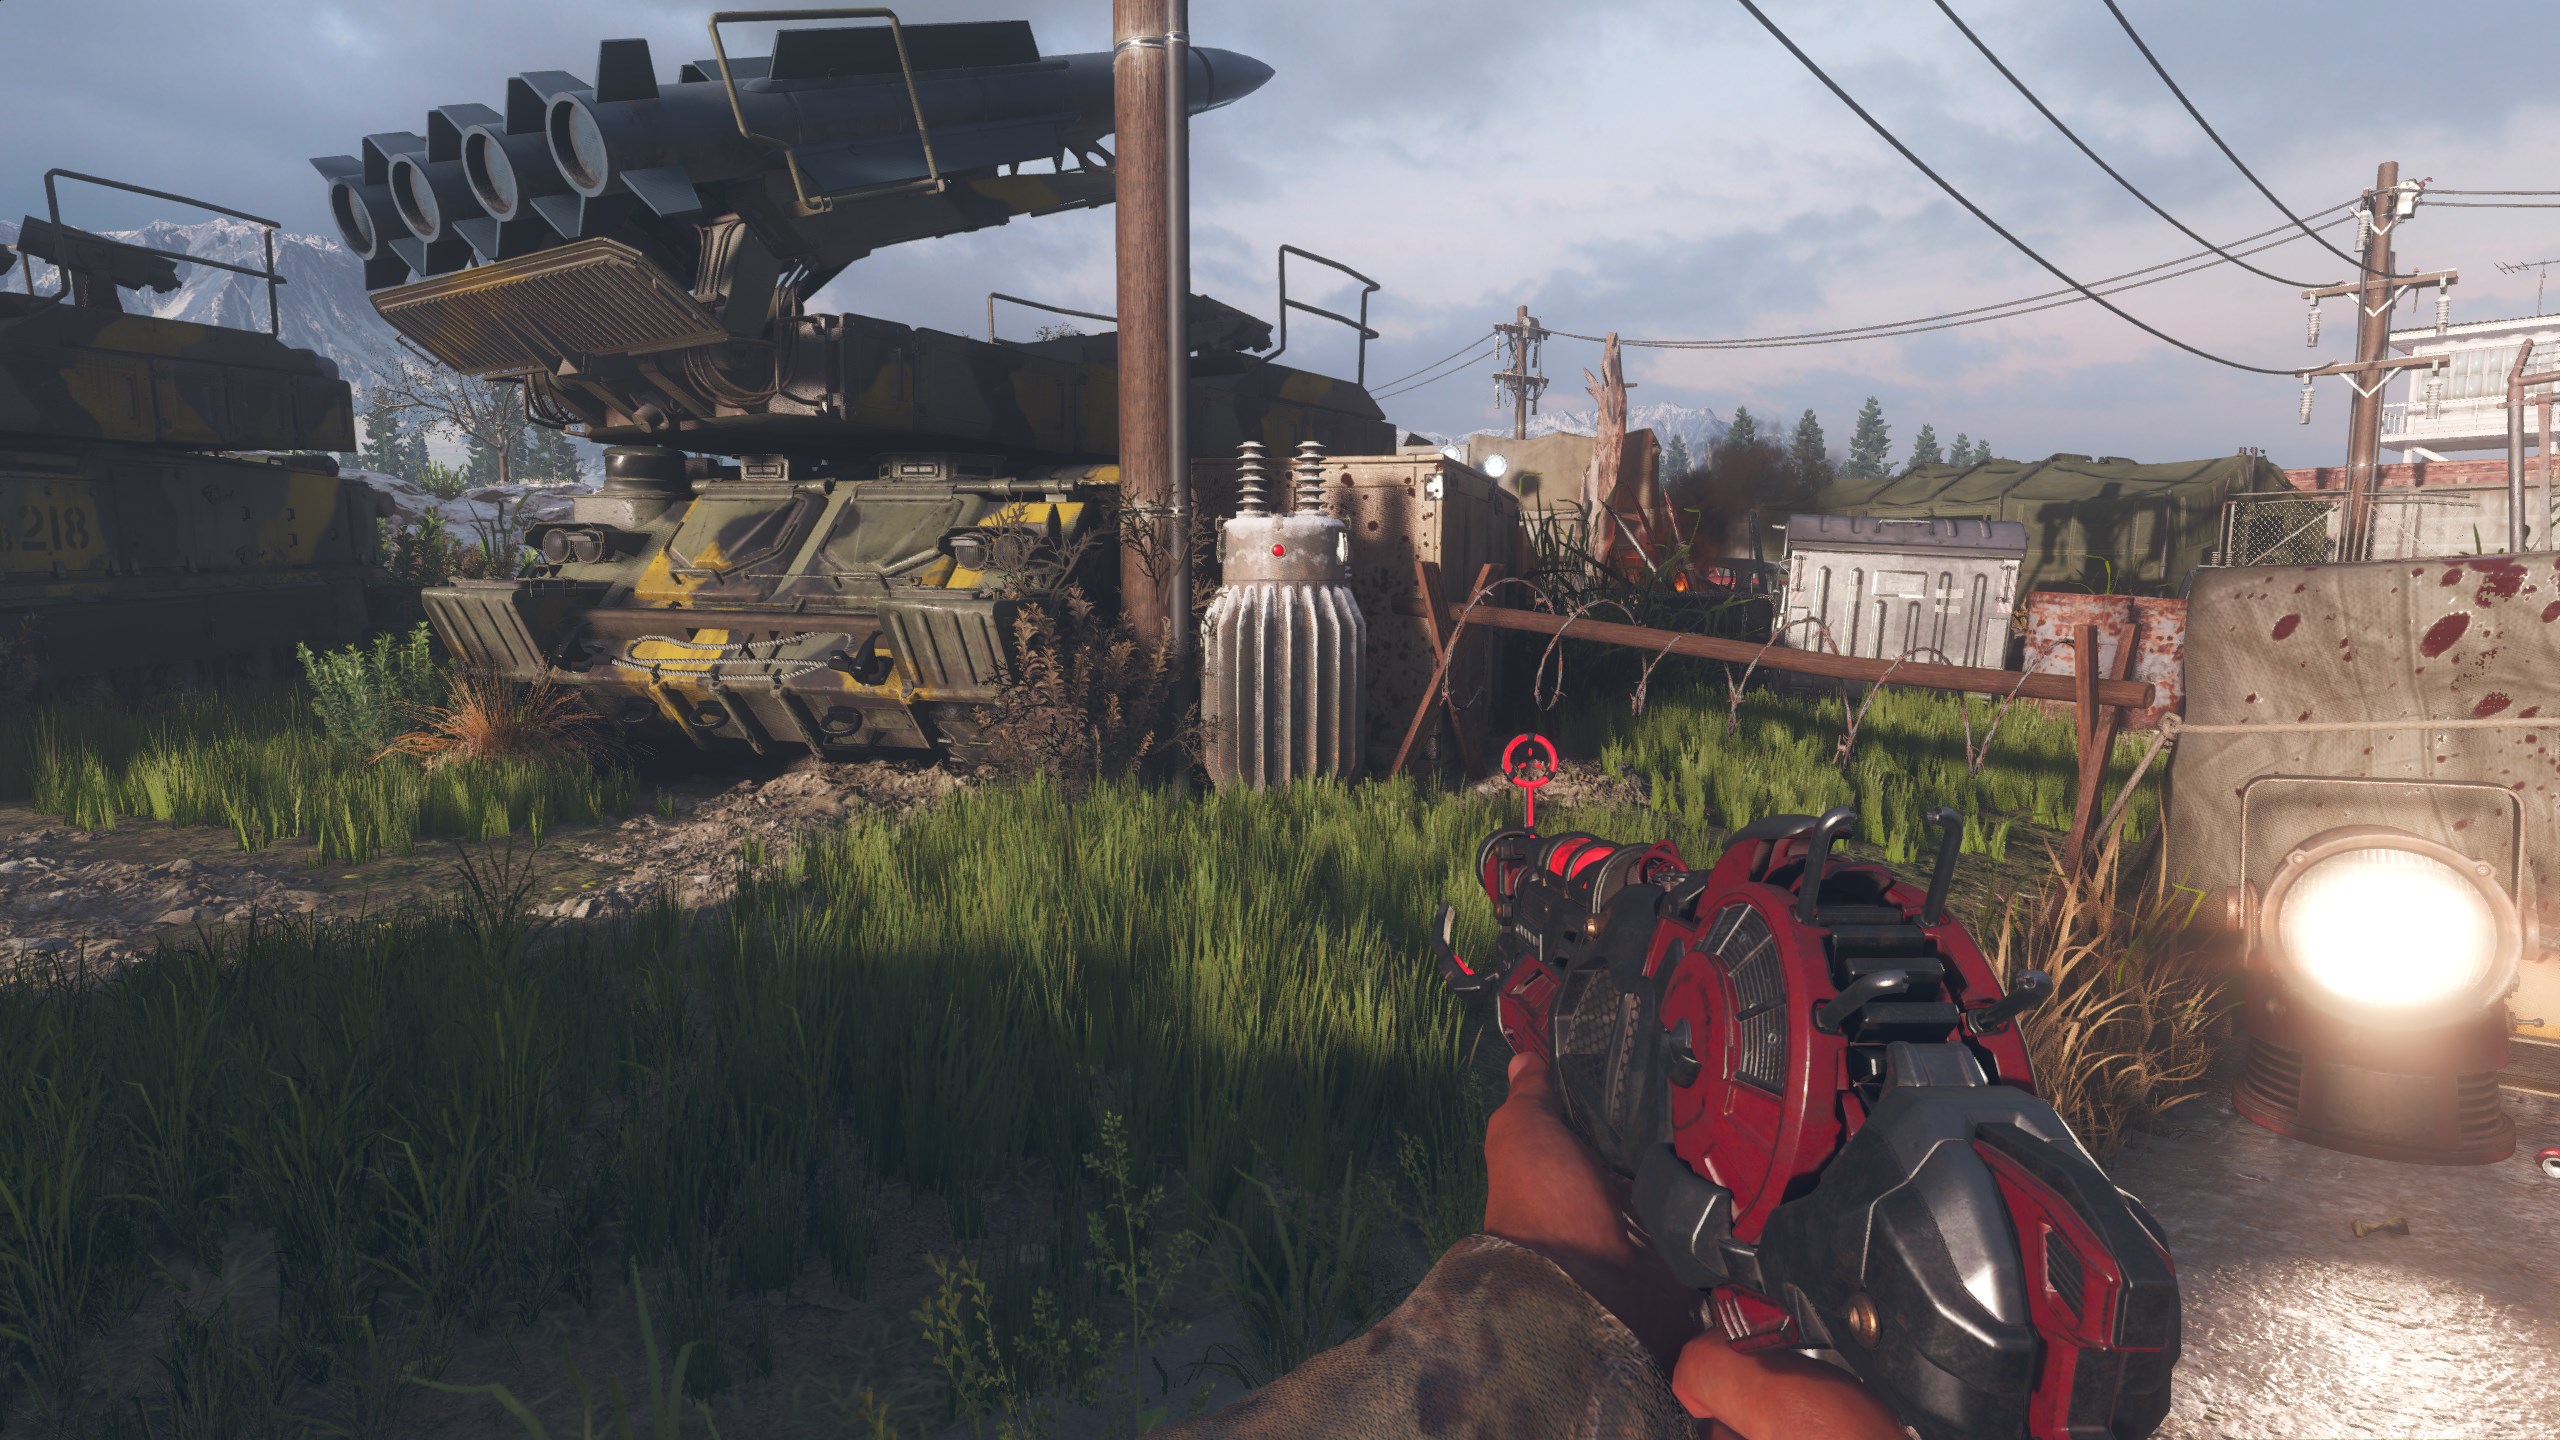
- Beside Double Tap.

- To the left of the Power room, next to the green tent.
- When all the Generators are activated, go back to the Diner.
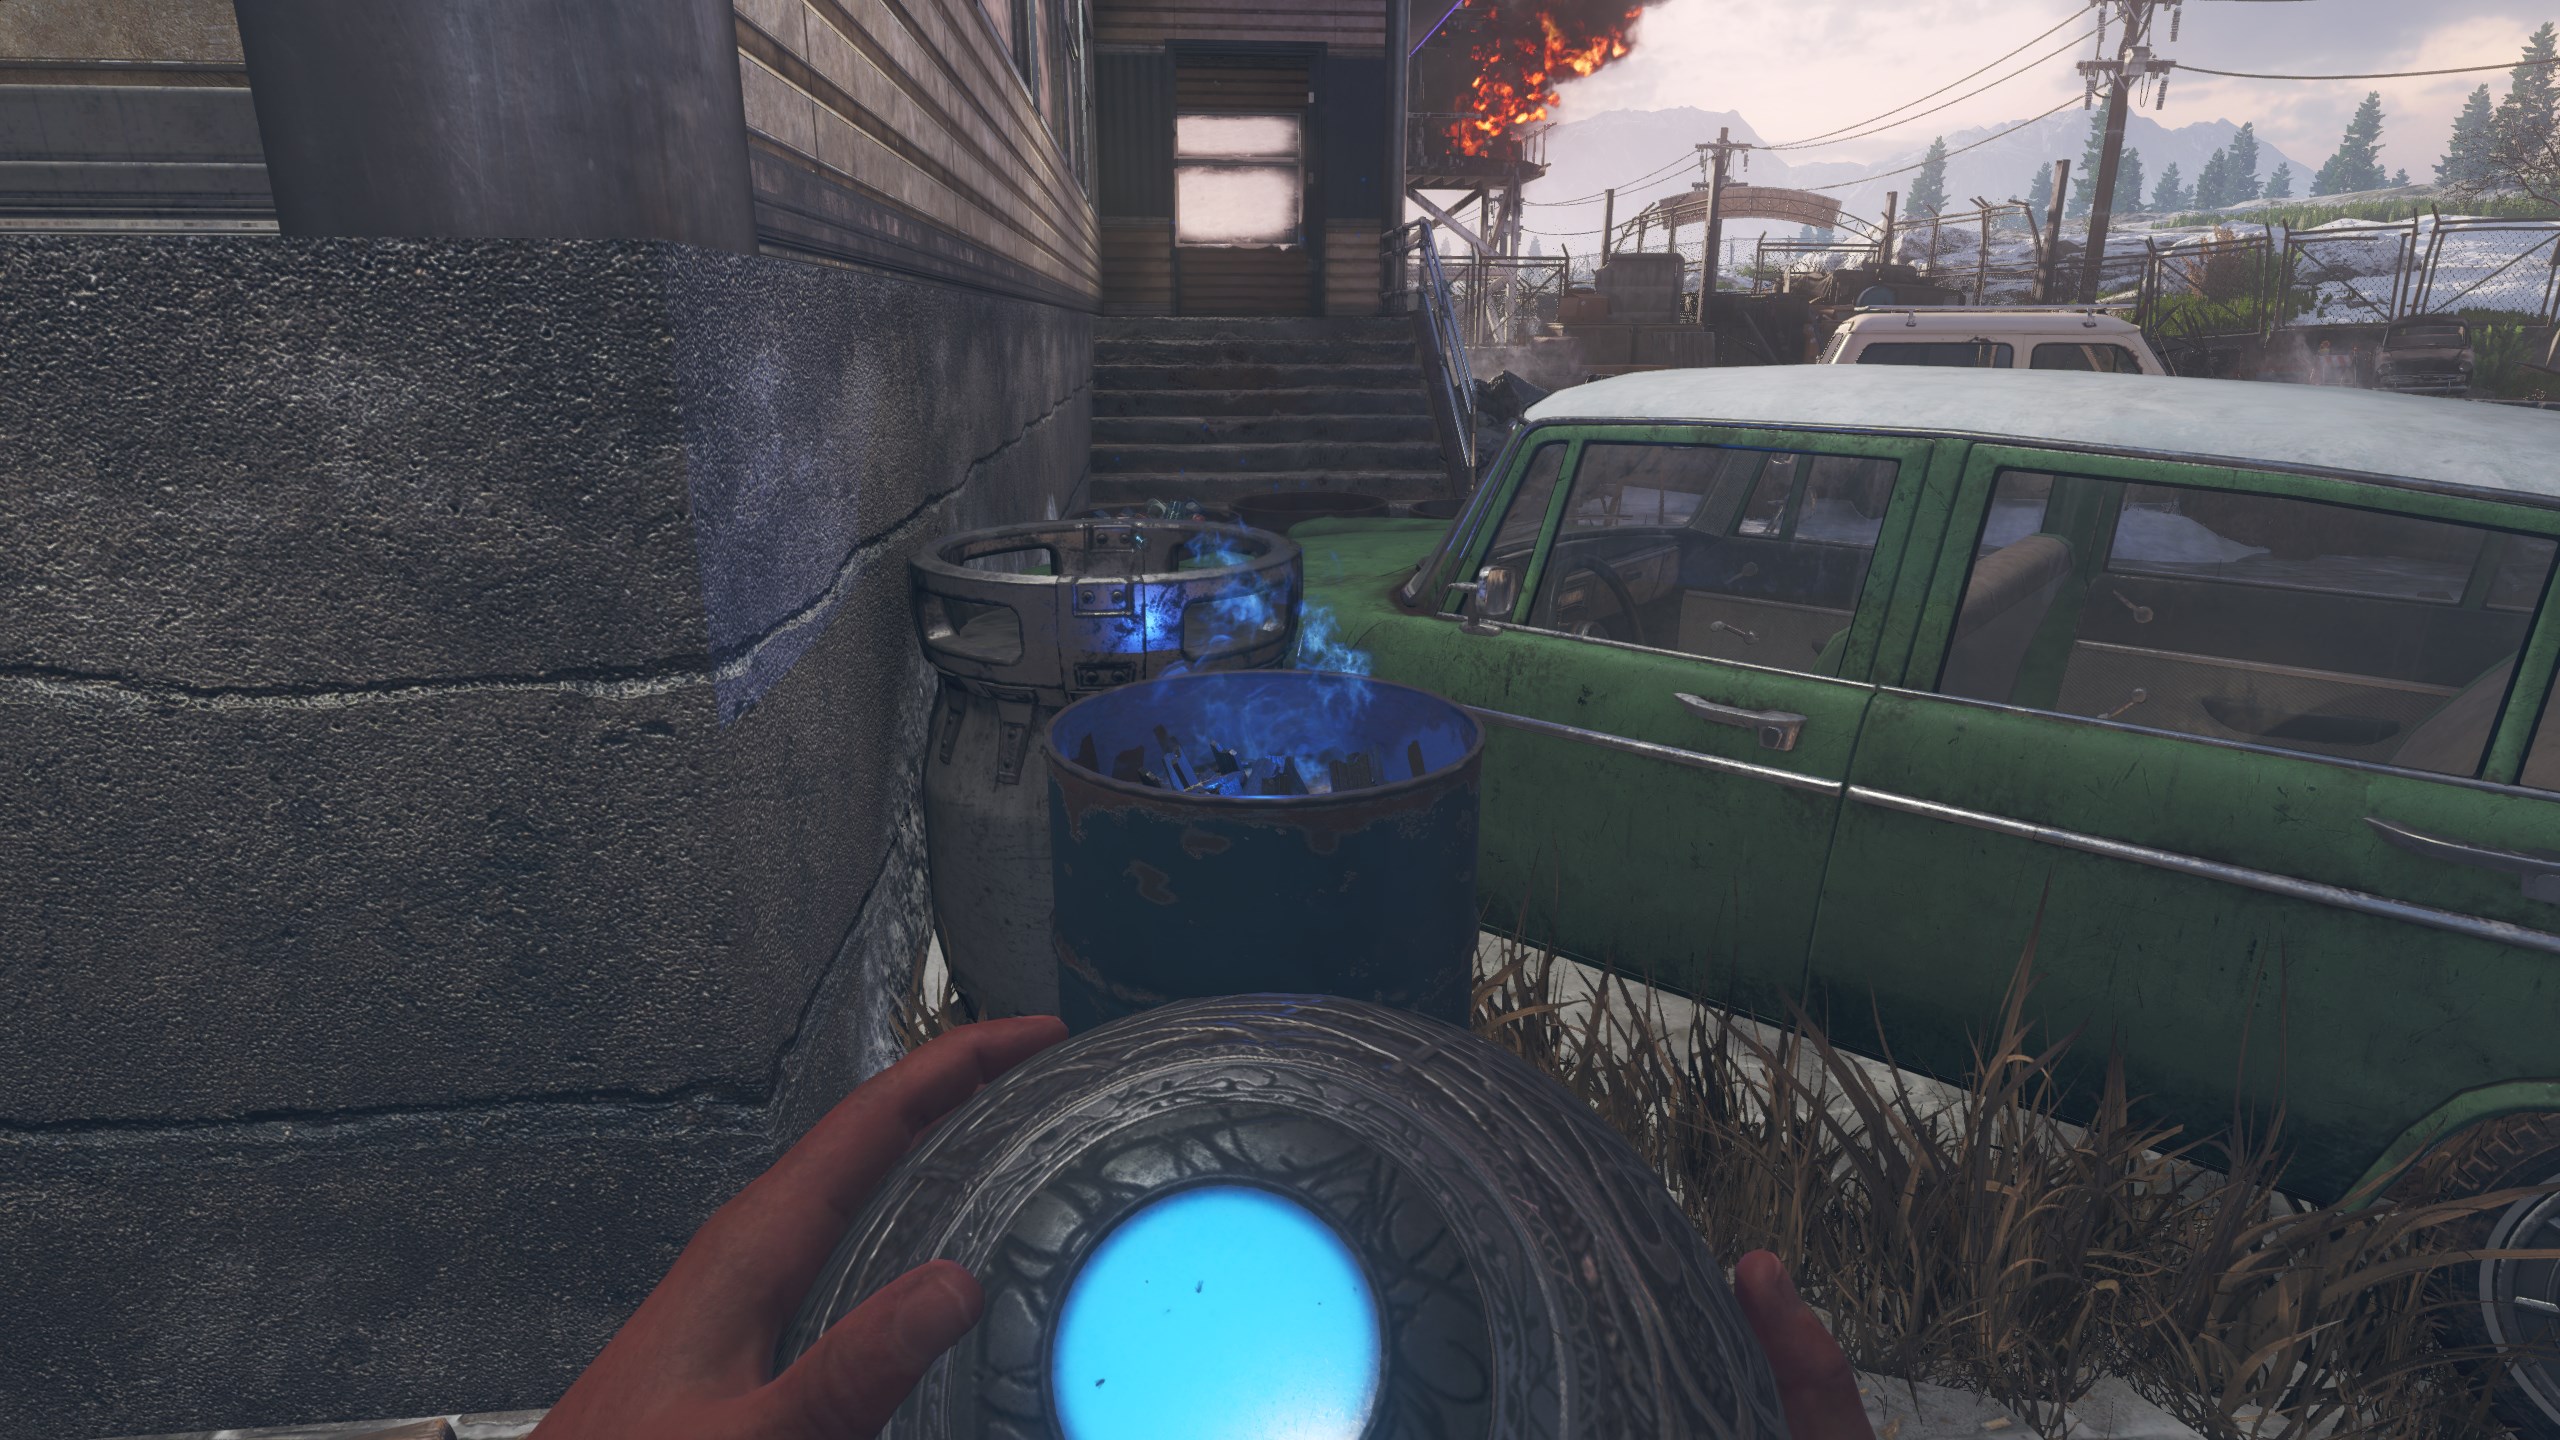
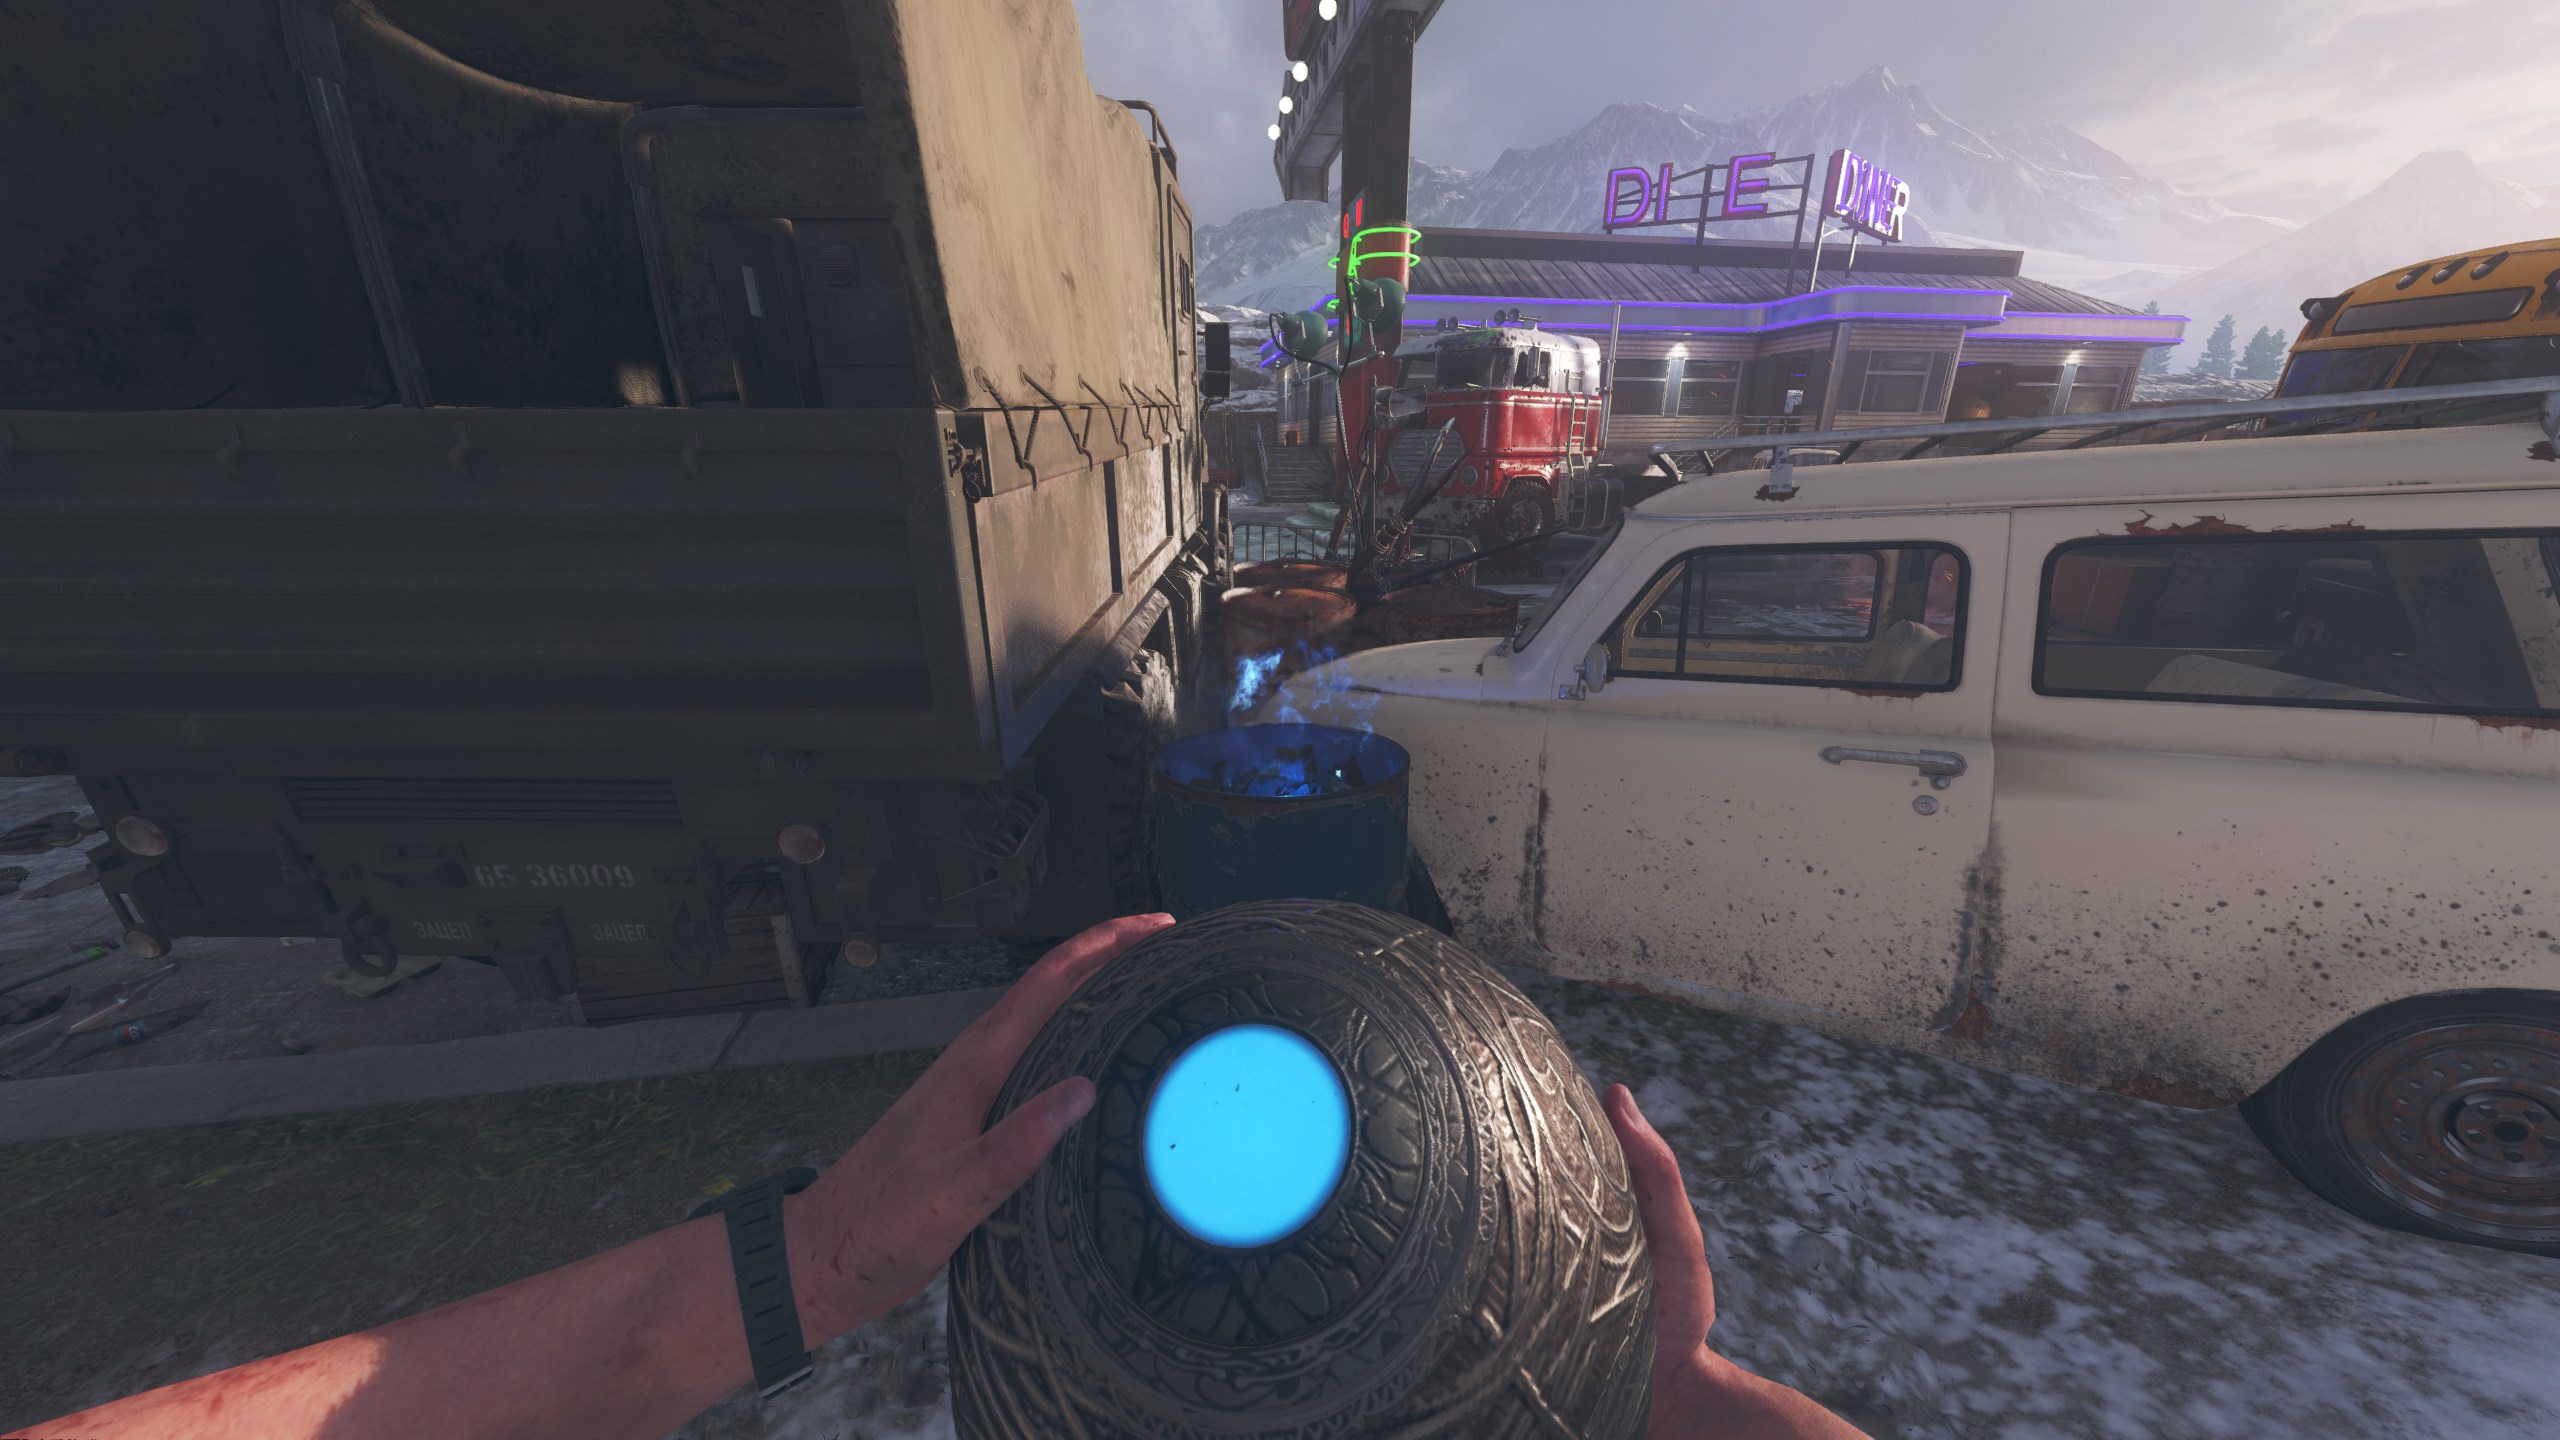
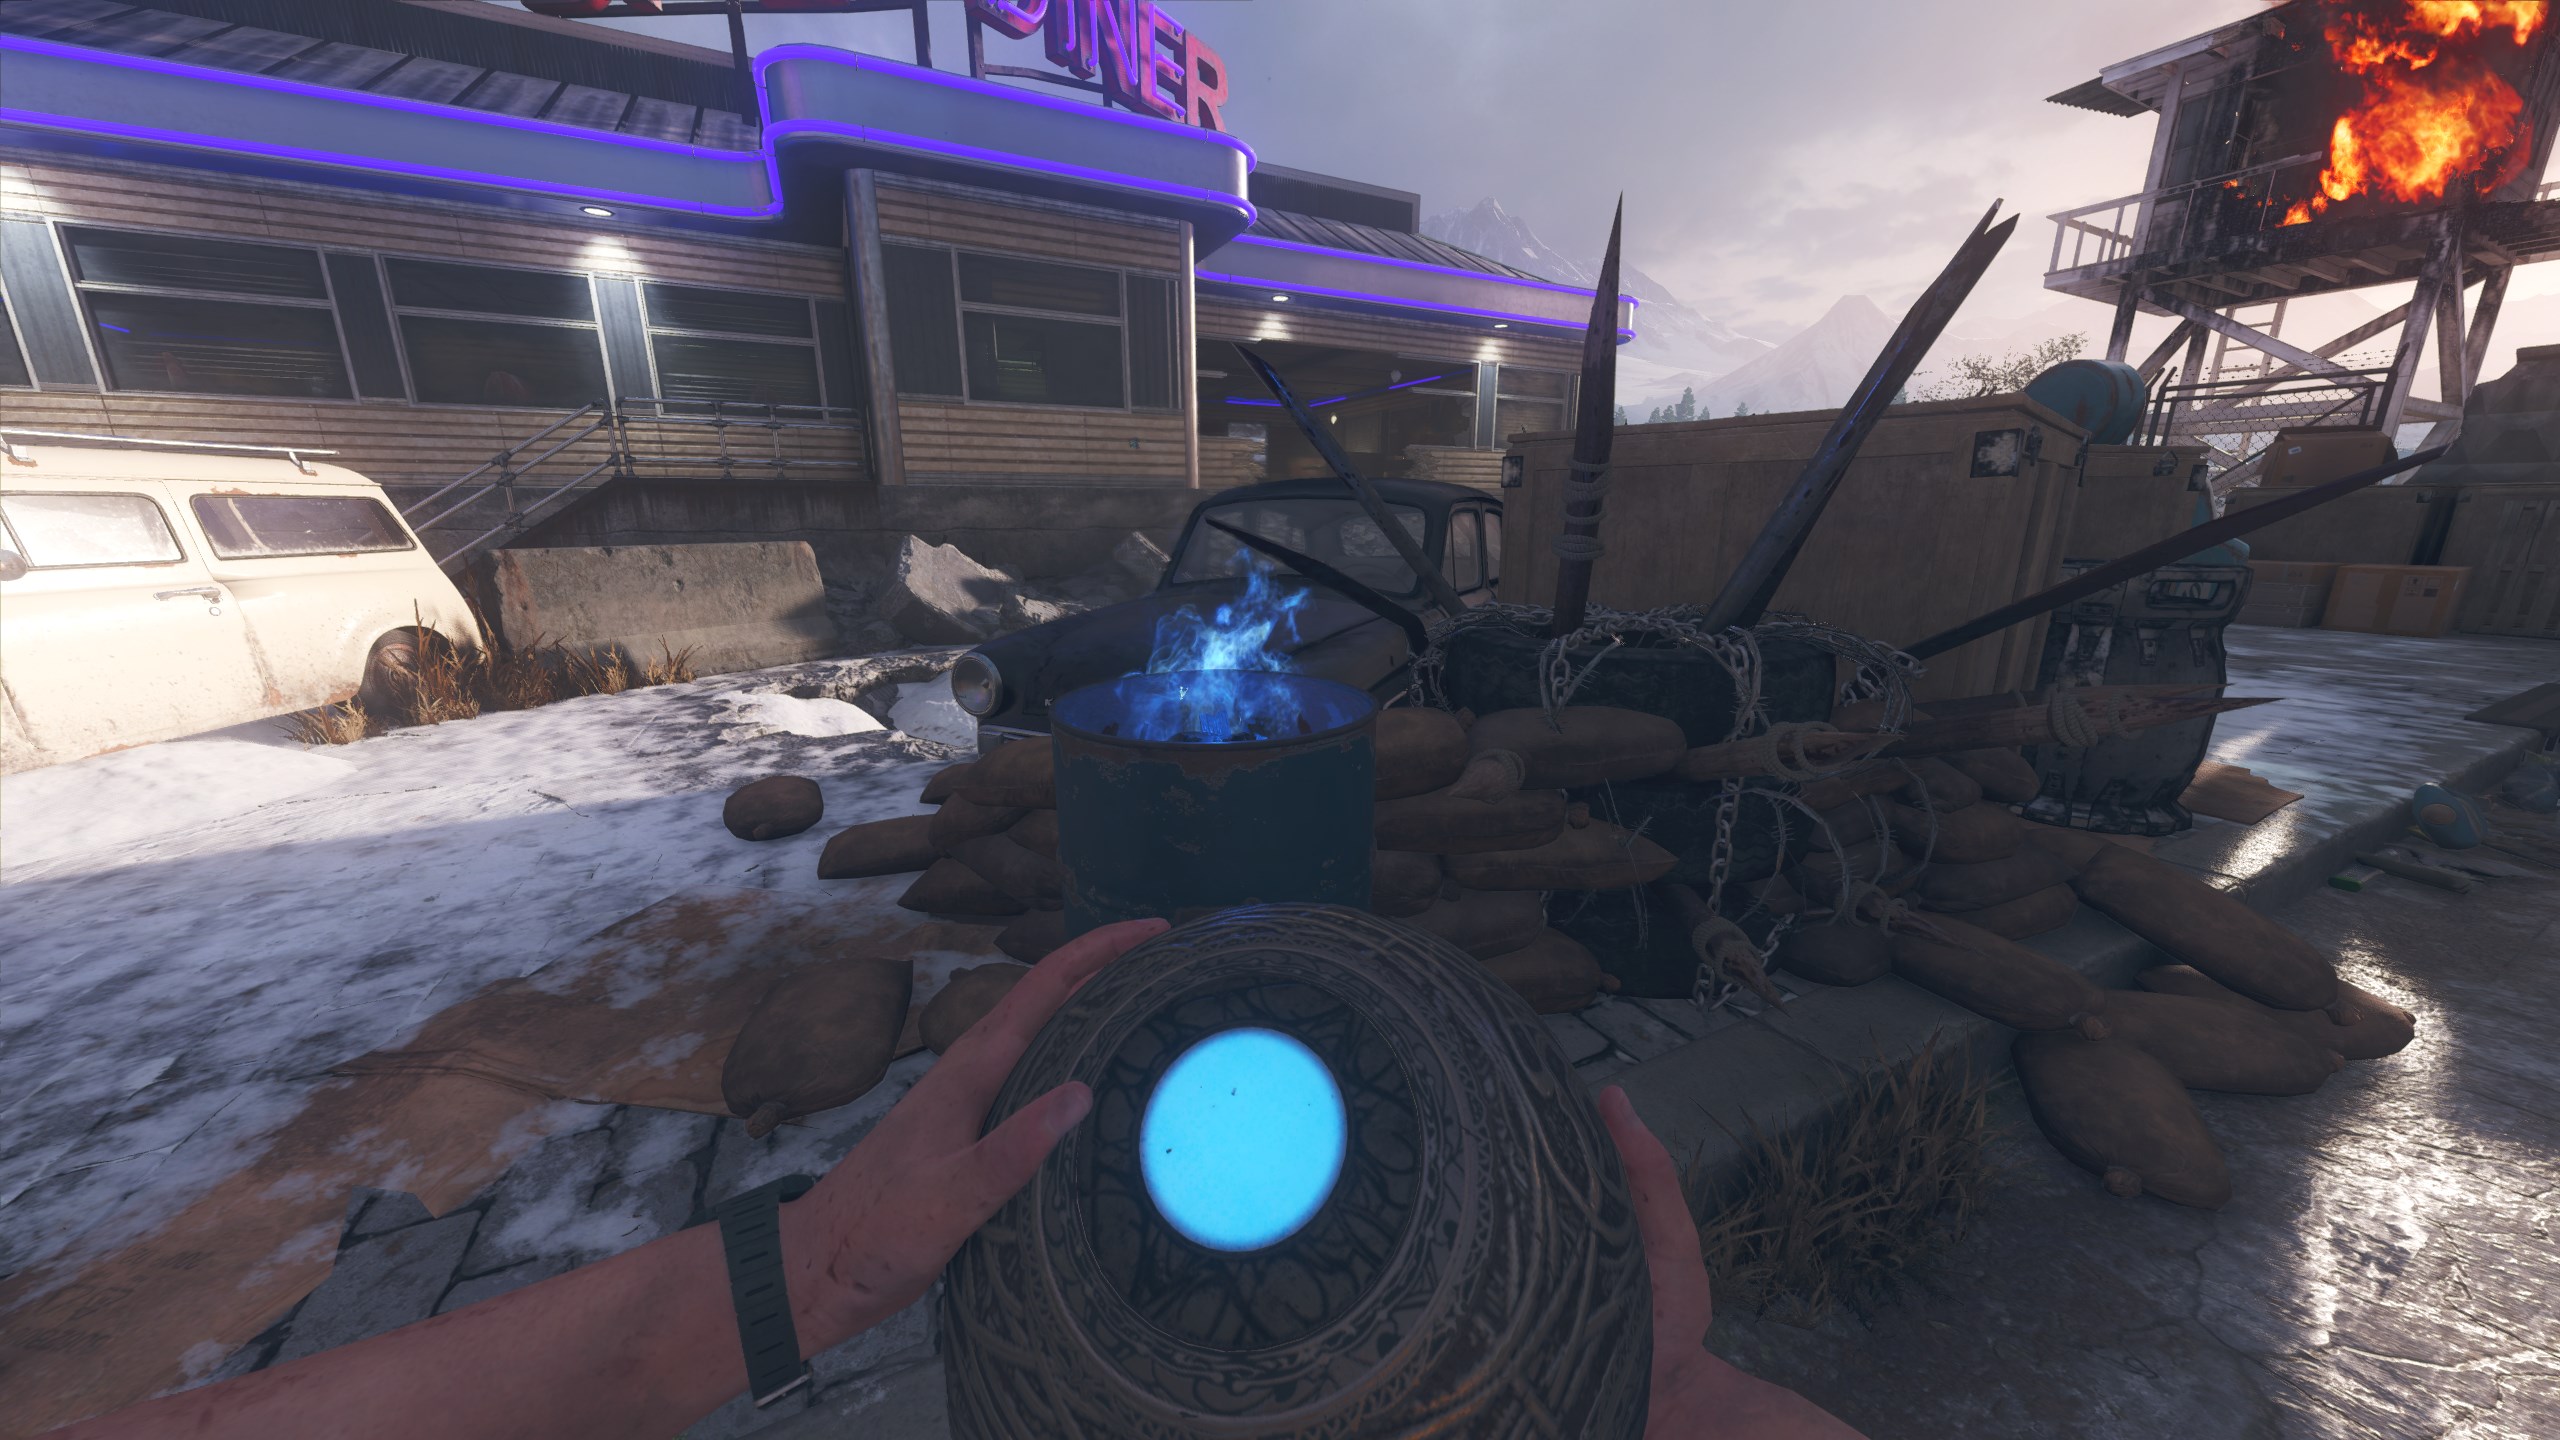
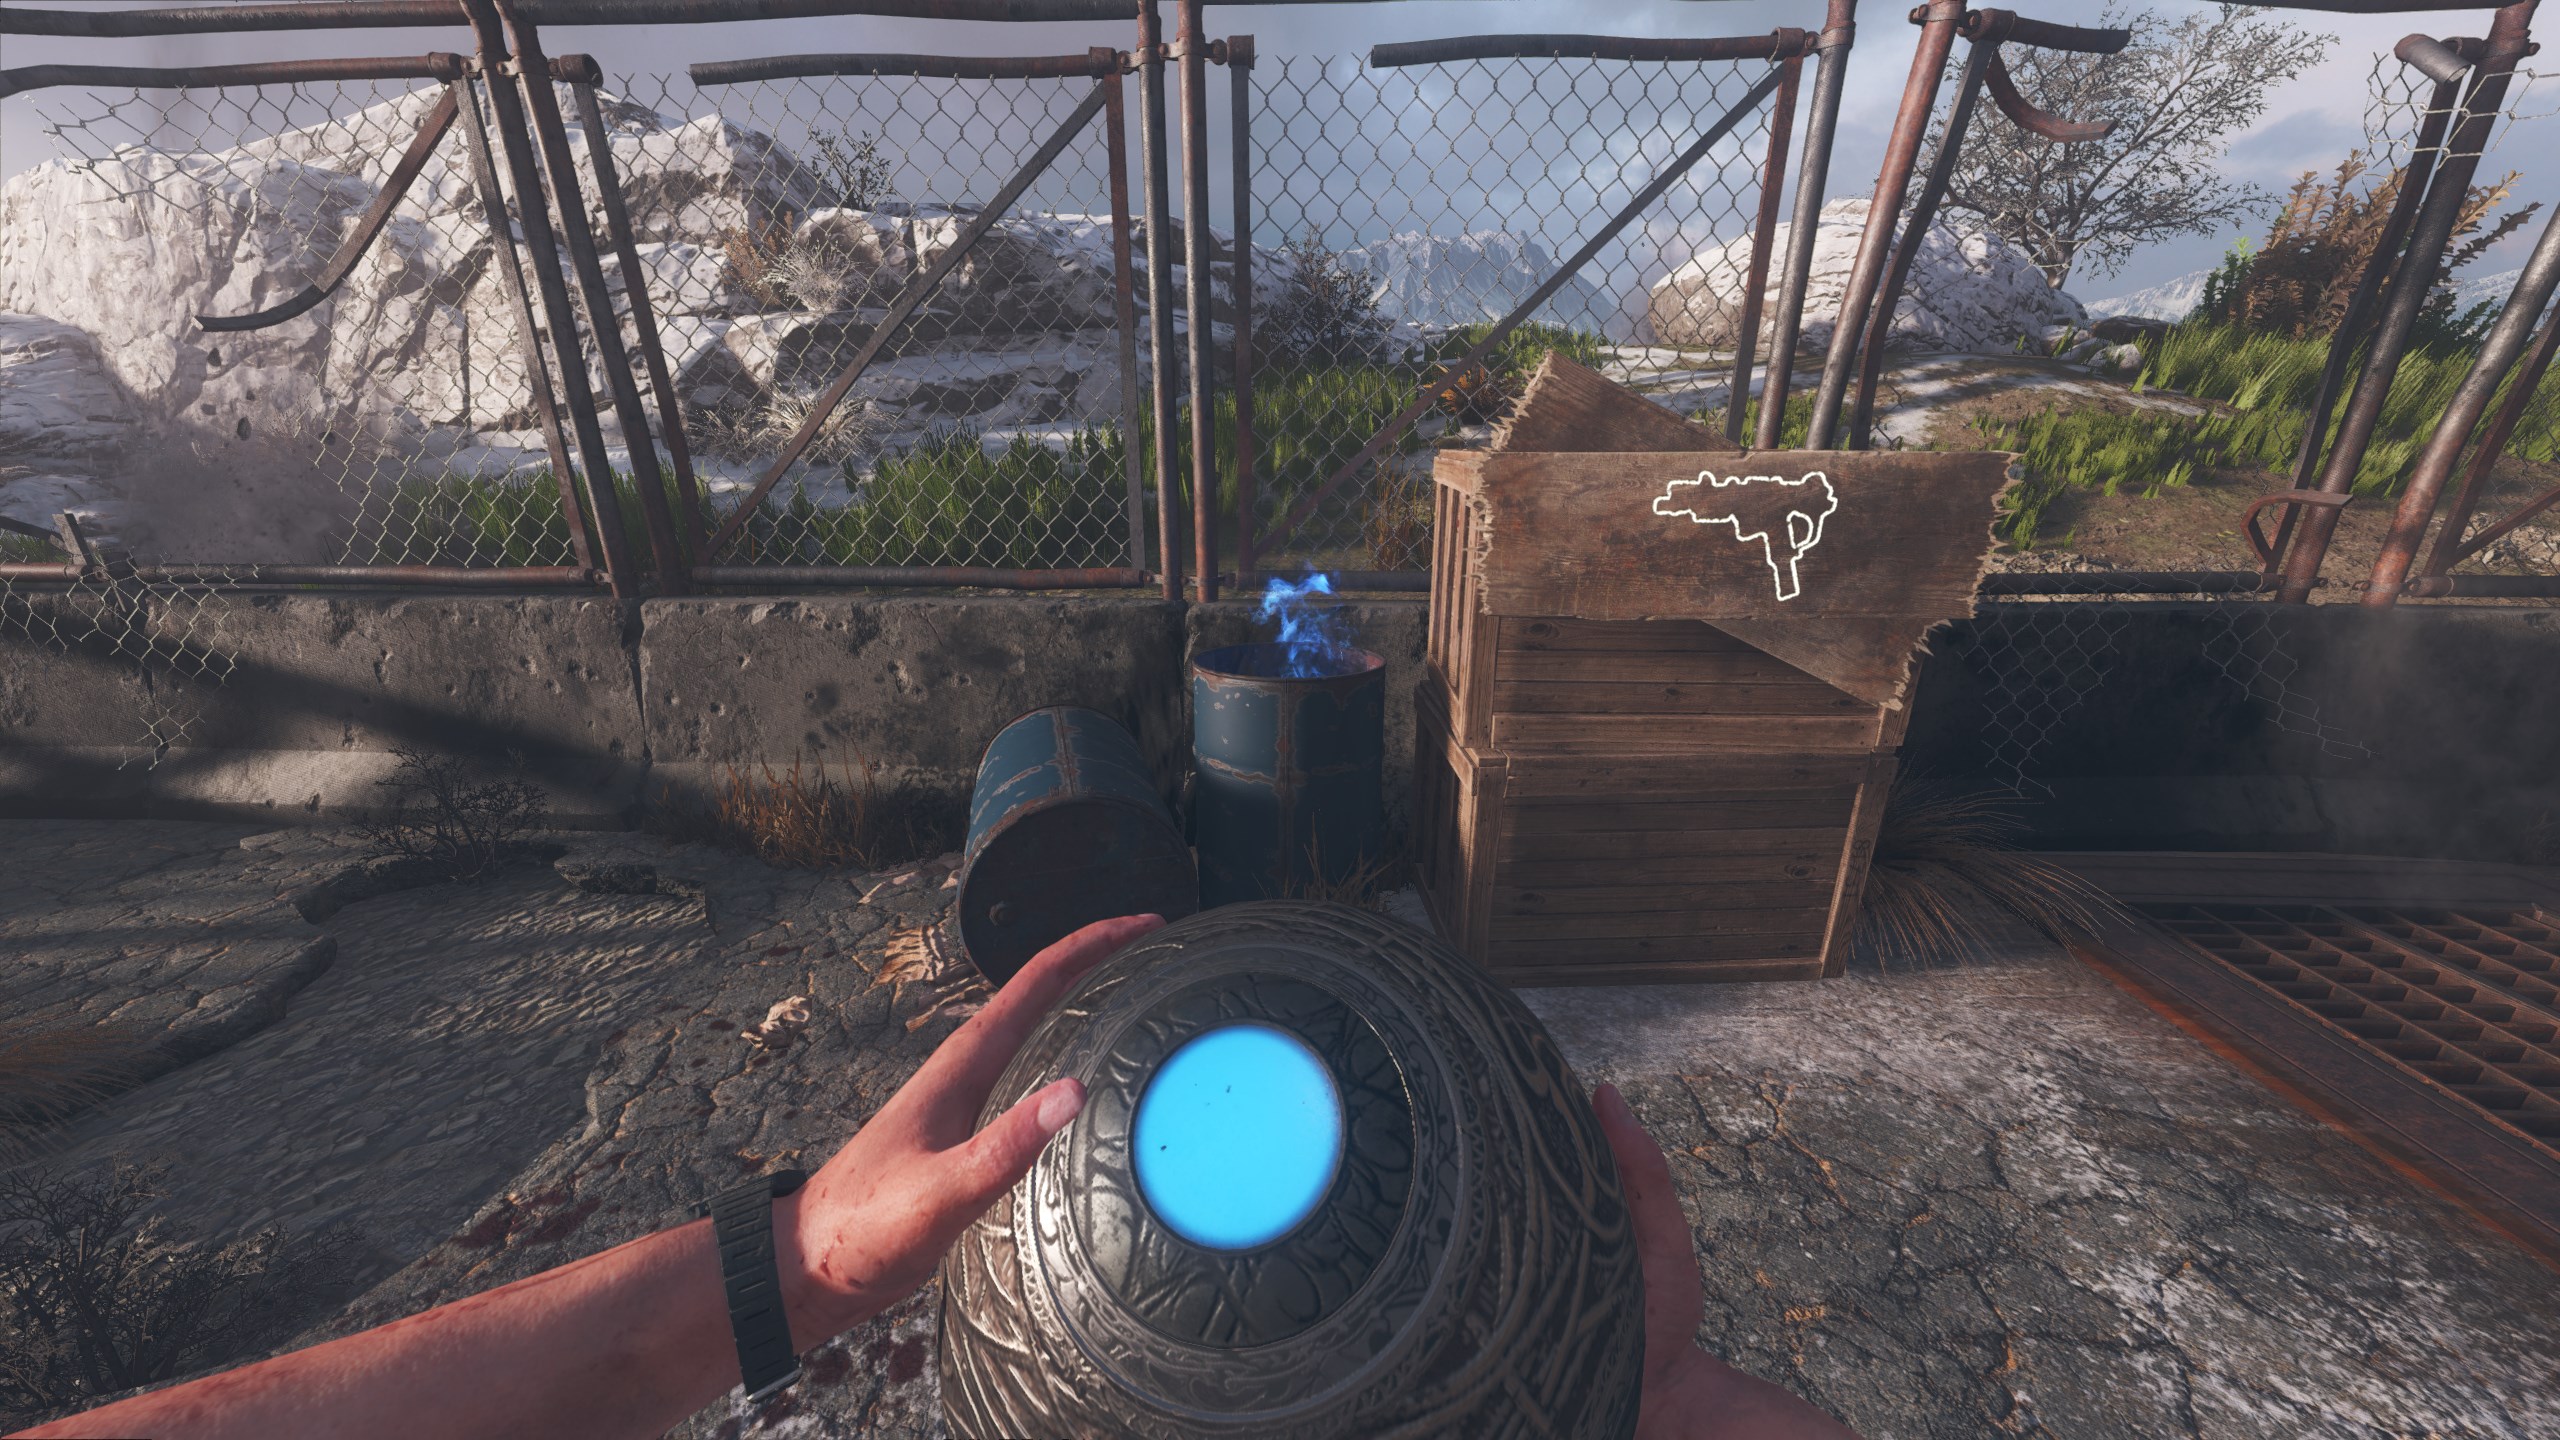
Make sure to place a trample steam back to spawn before starting the next step! - Now you must pick the Relic up and light the eight blue barrels around the map with the relic.
- Exit the Diner towards the Gas Station and light the barrel to the left of the stairs.
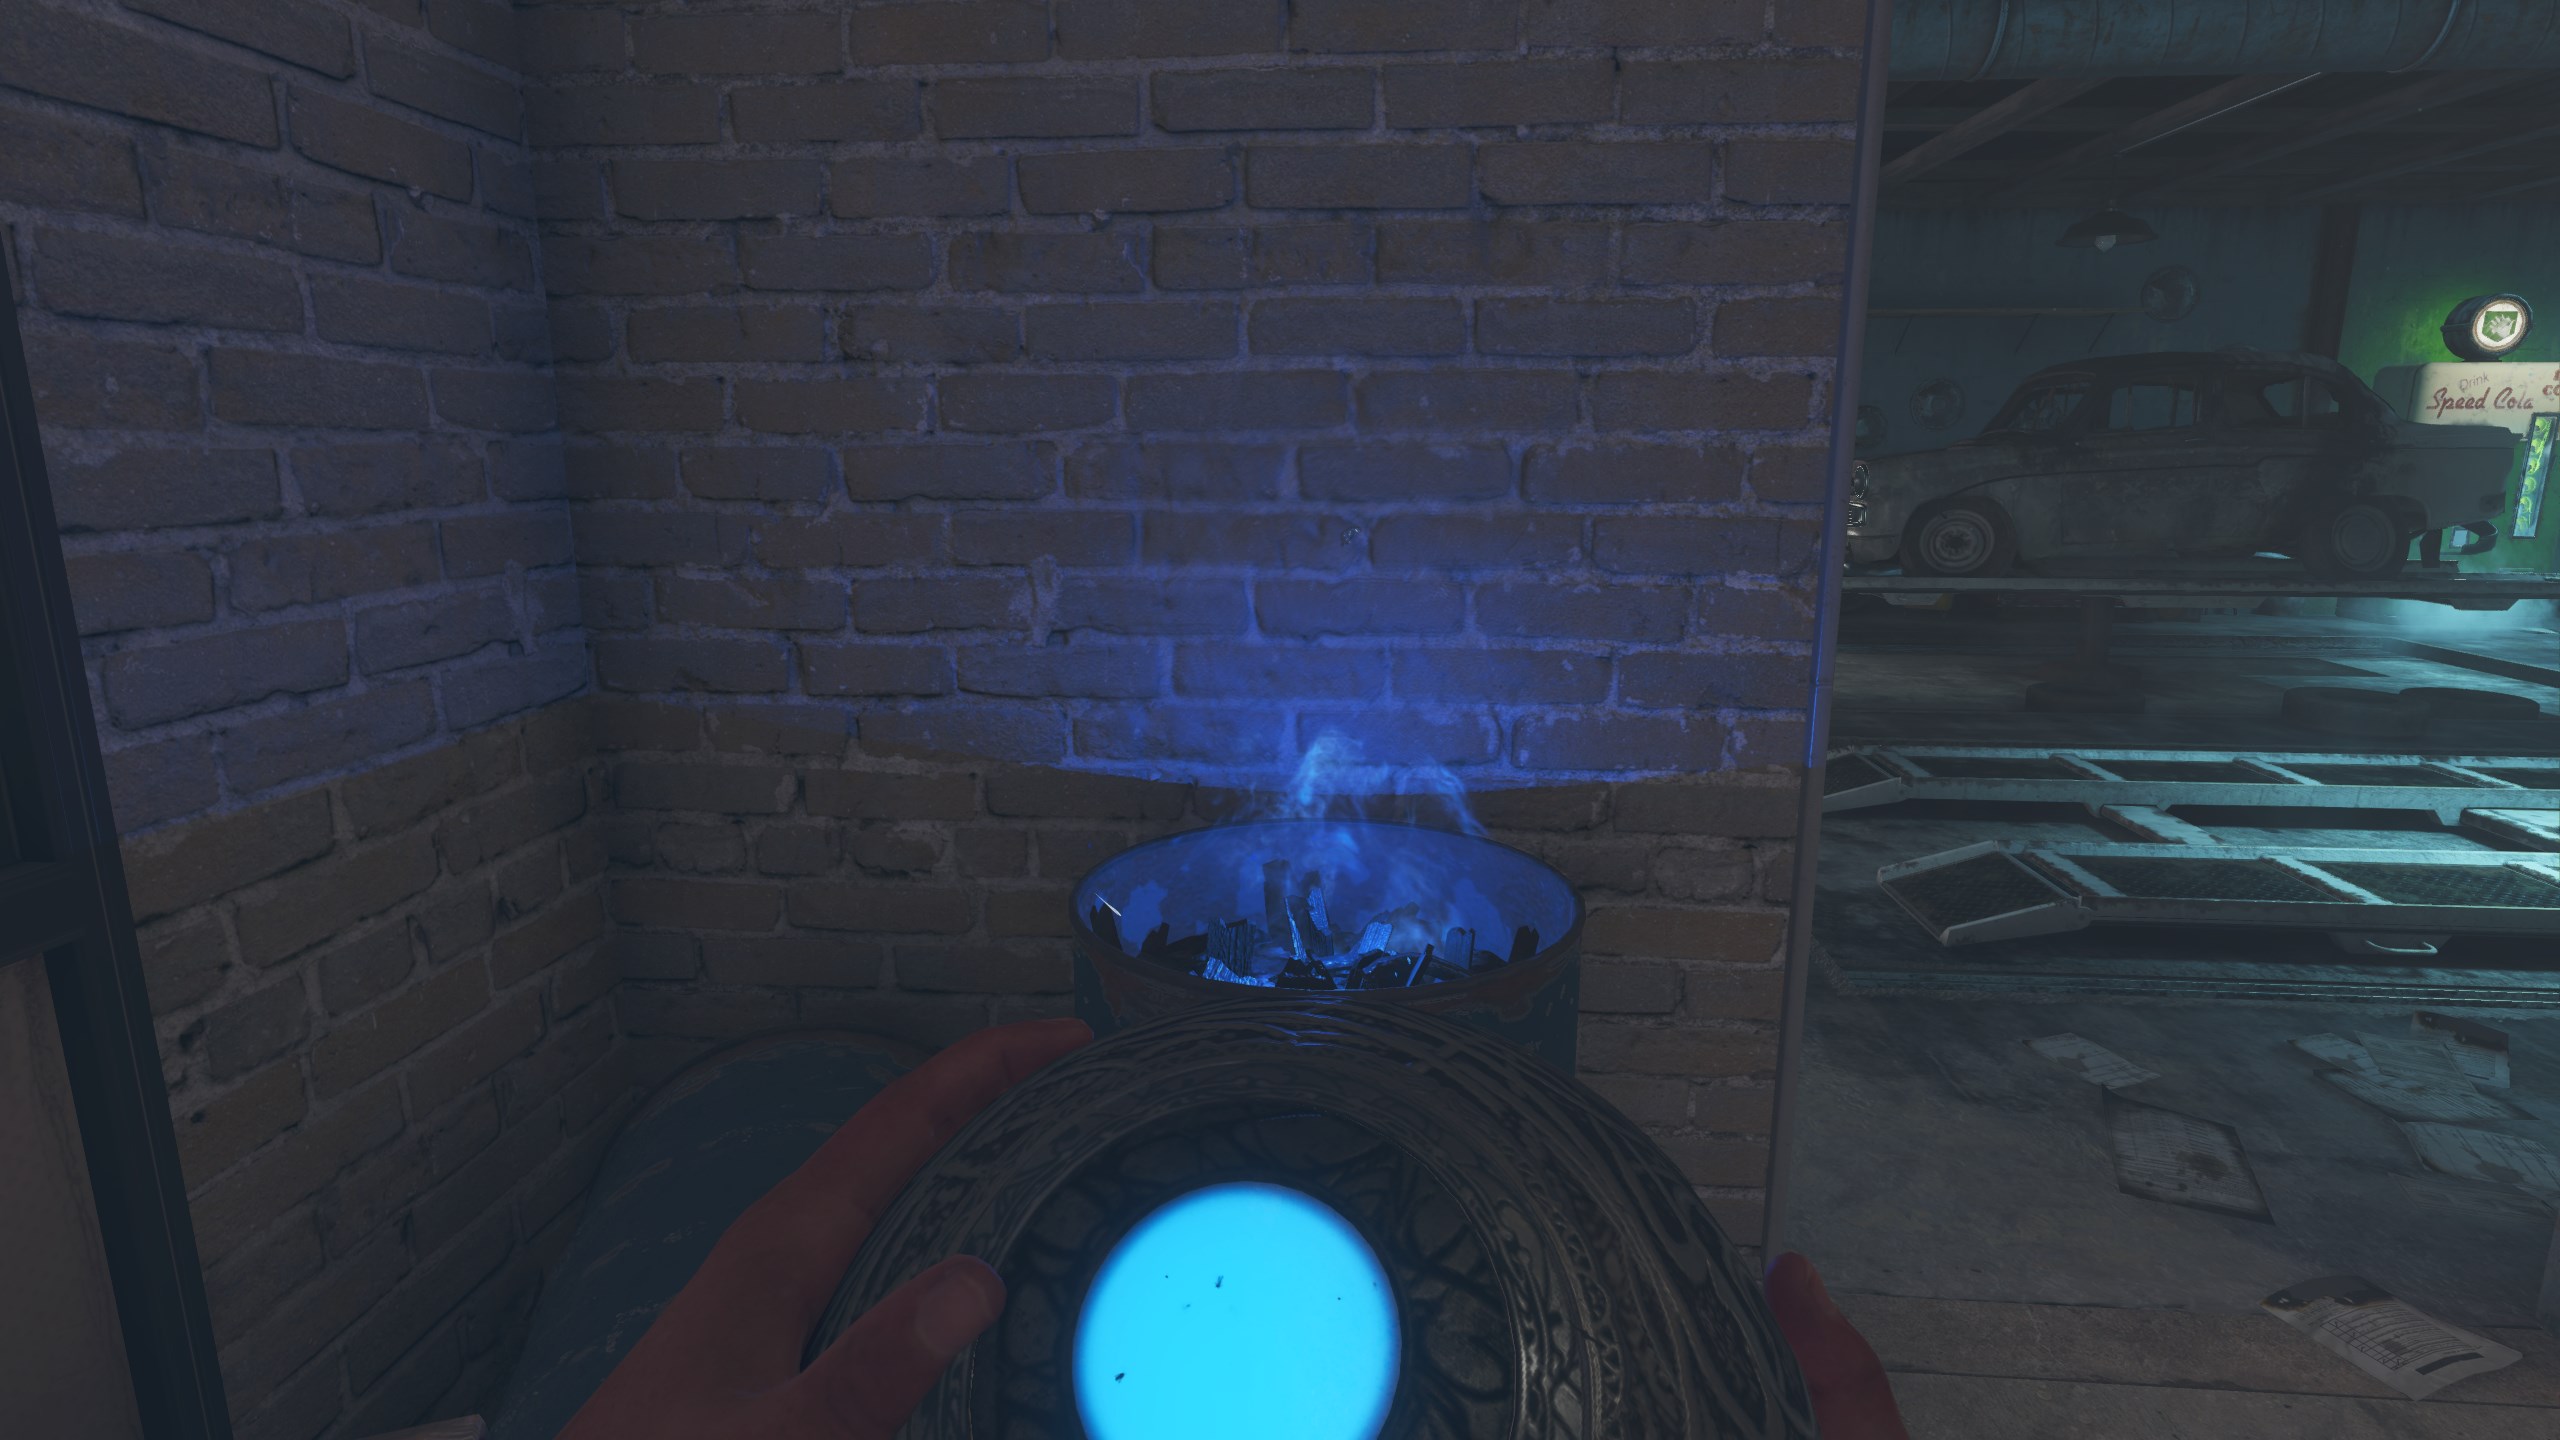
- Enter the Gas Station, and light the barrel in the corner.
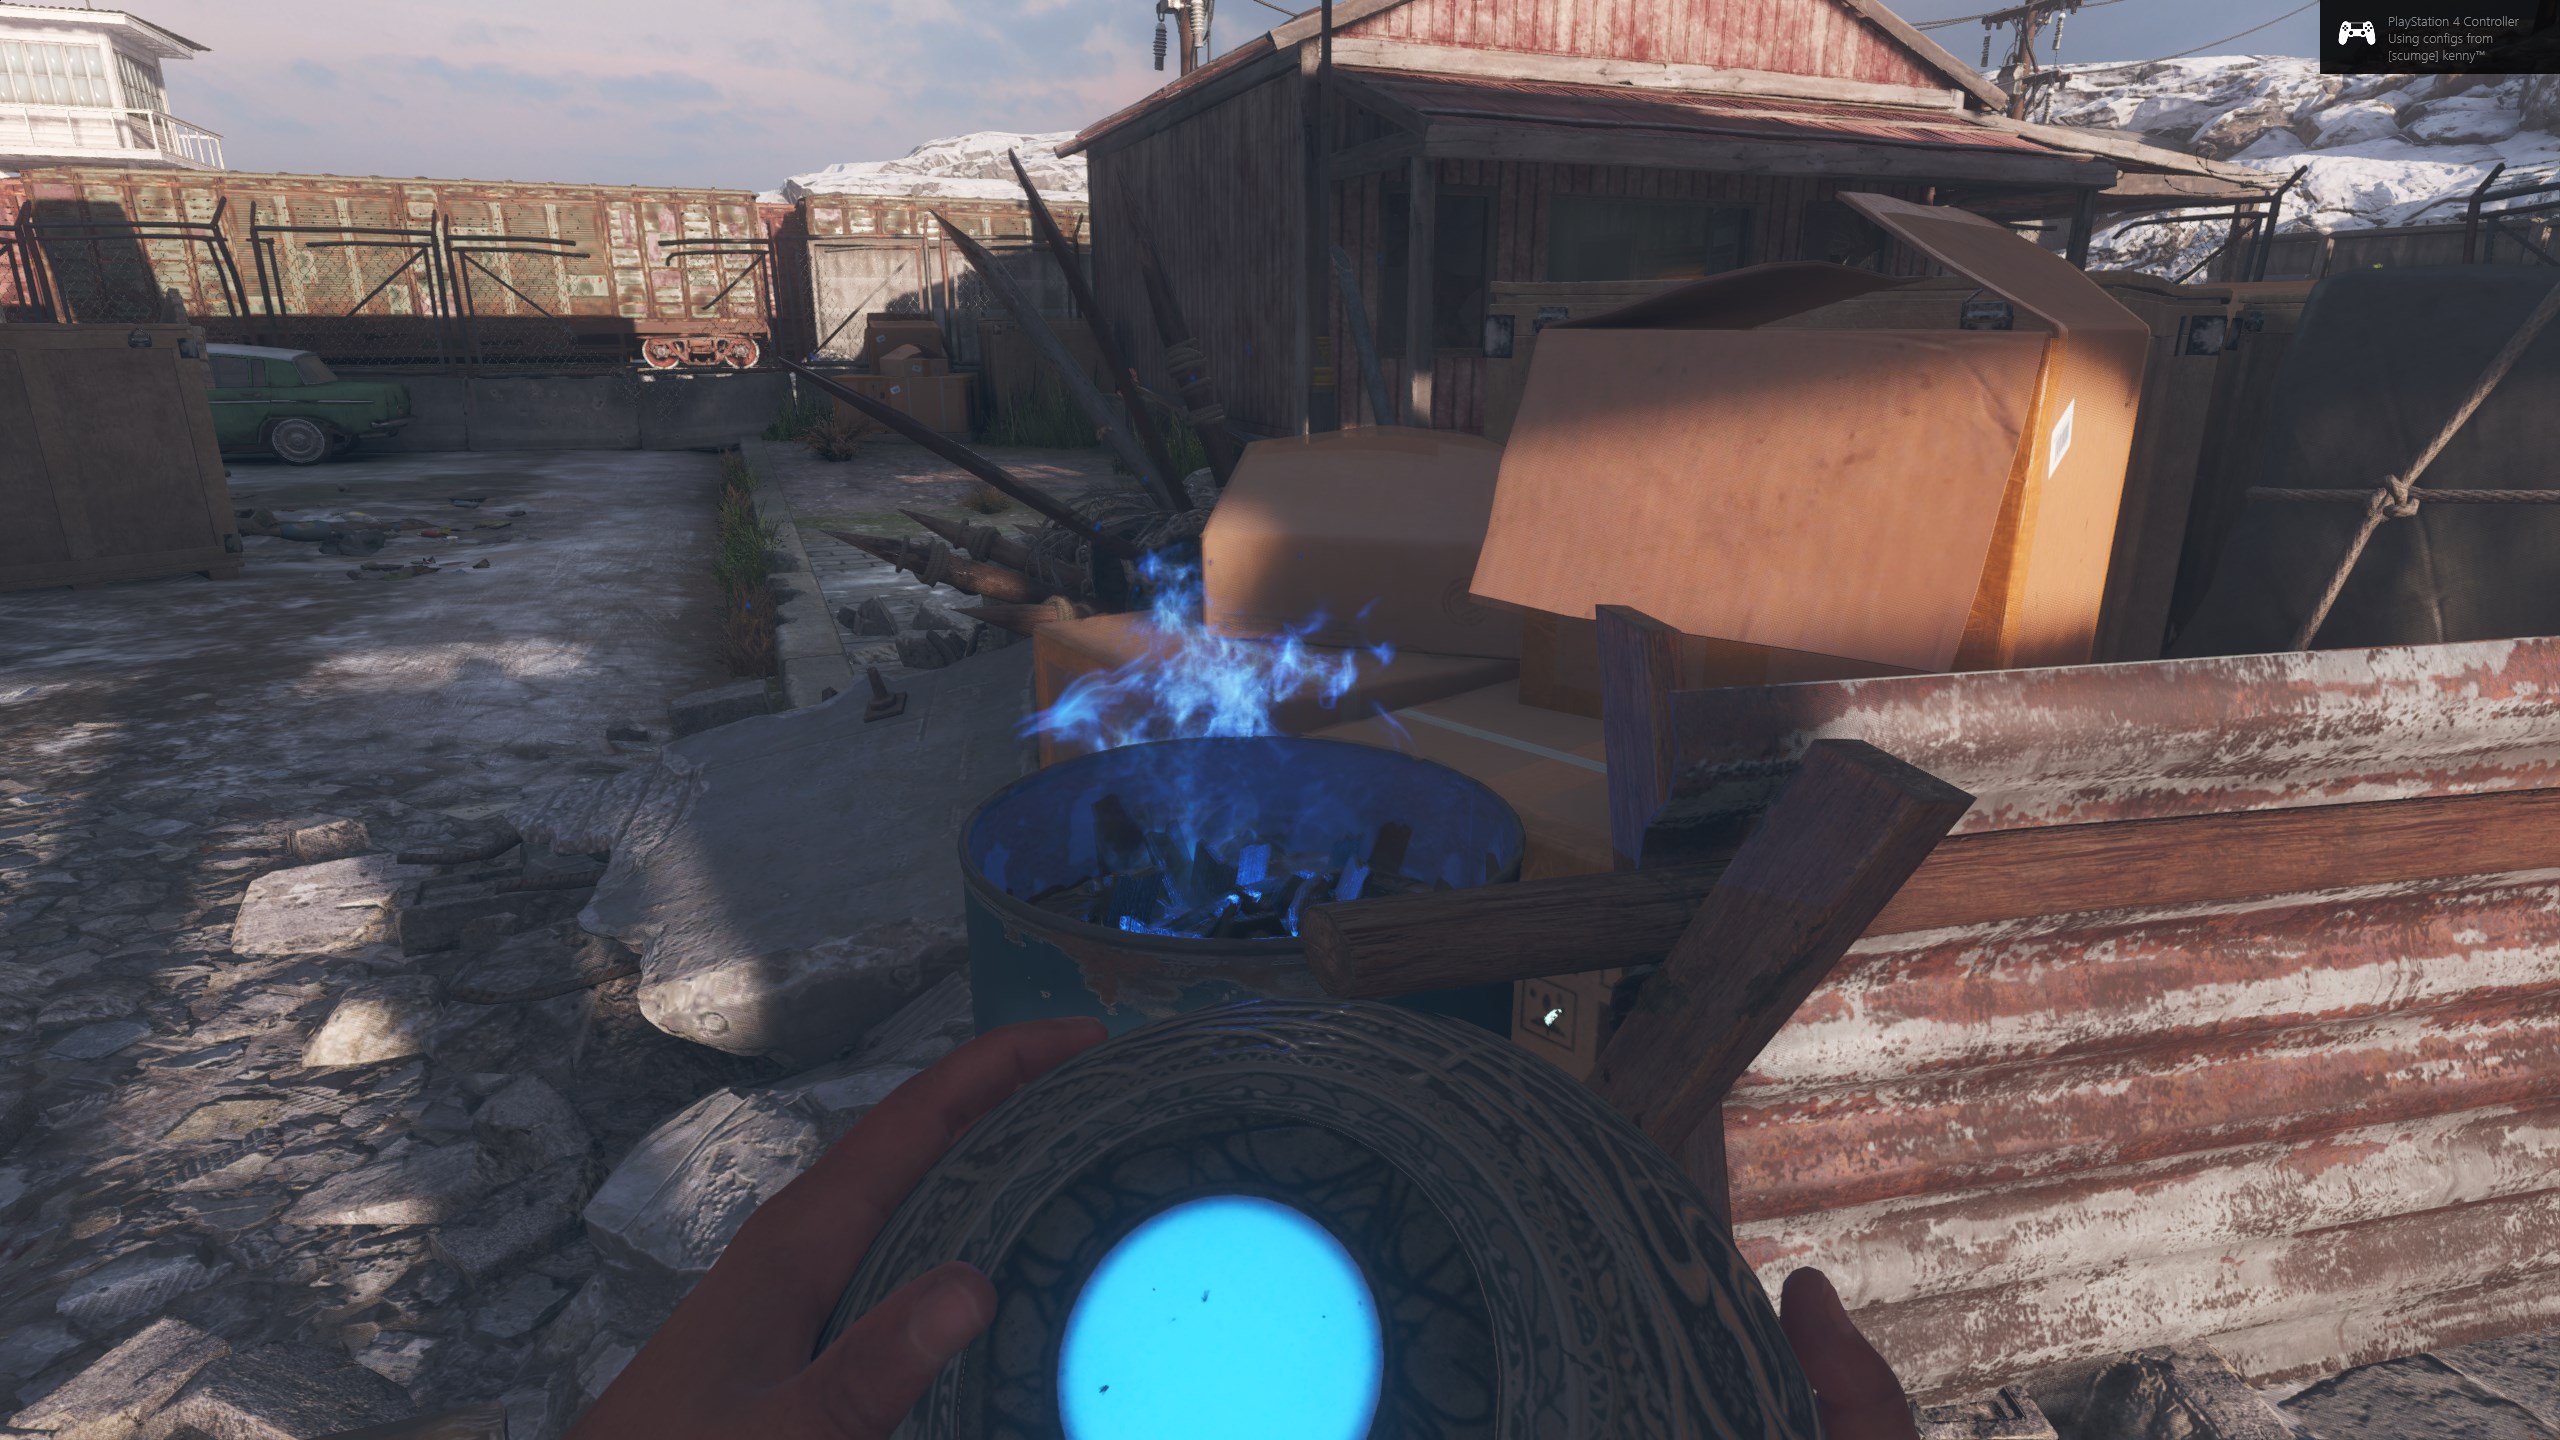
- Move towards the boxes outside the Garage and light the barrel there.
- Go around to the right and light the barrel beside the truck.
- Past the truck towards the tank.
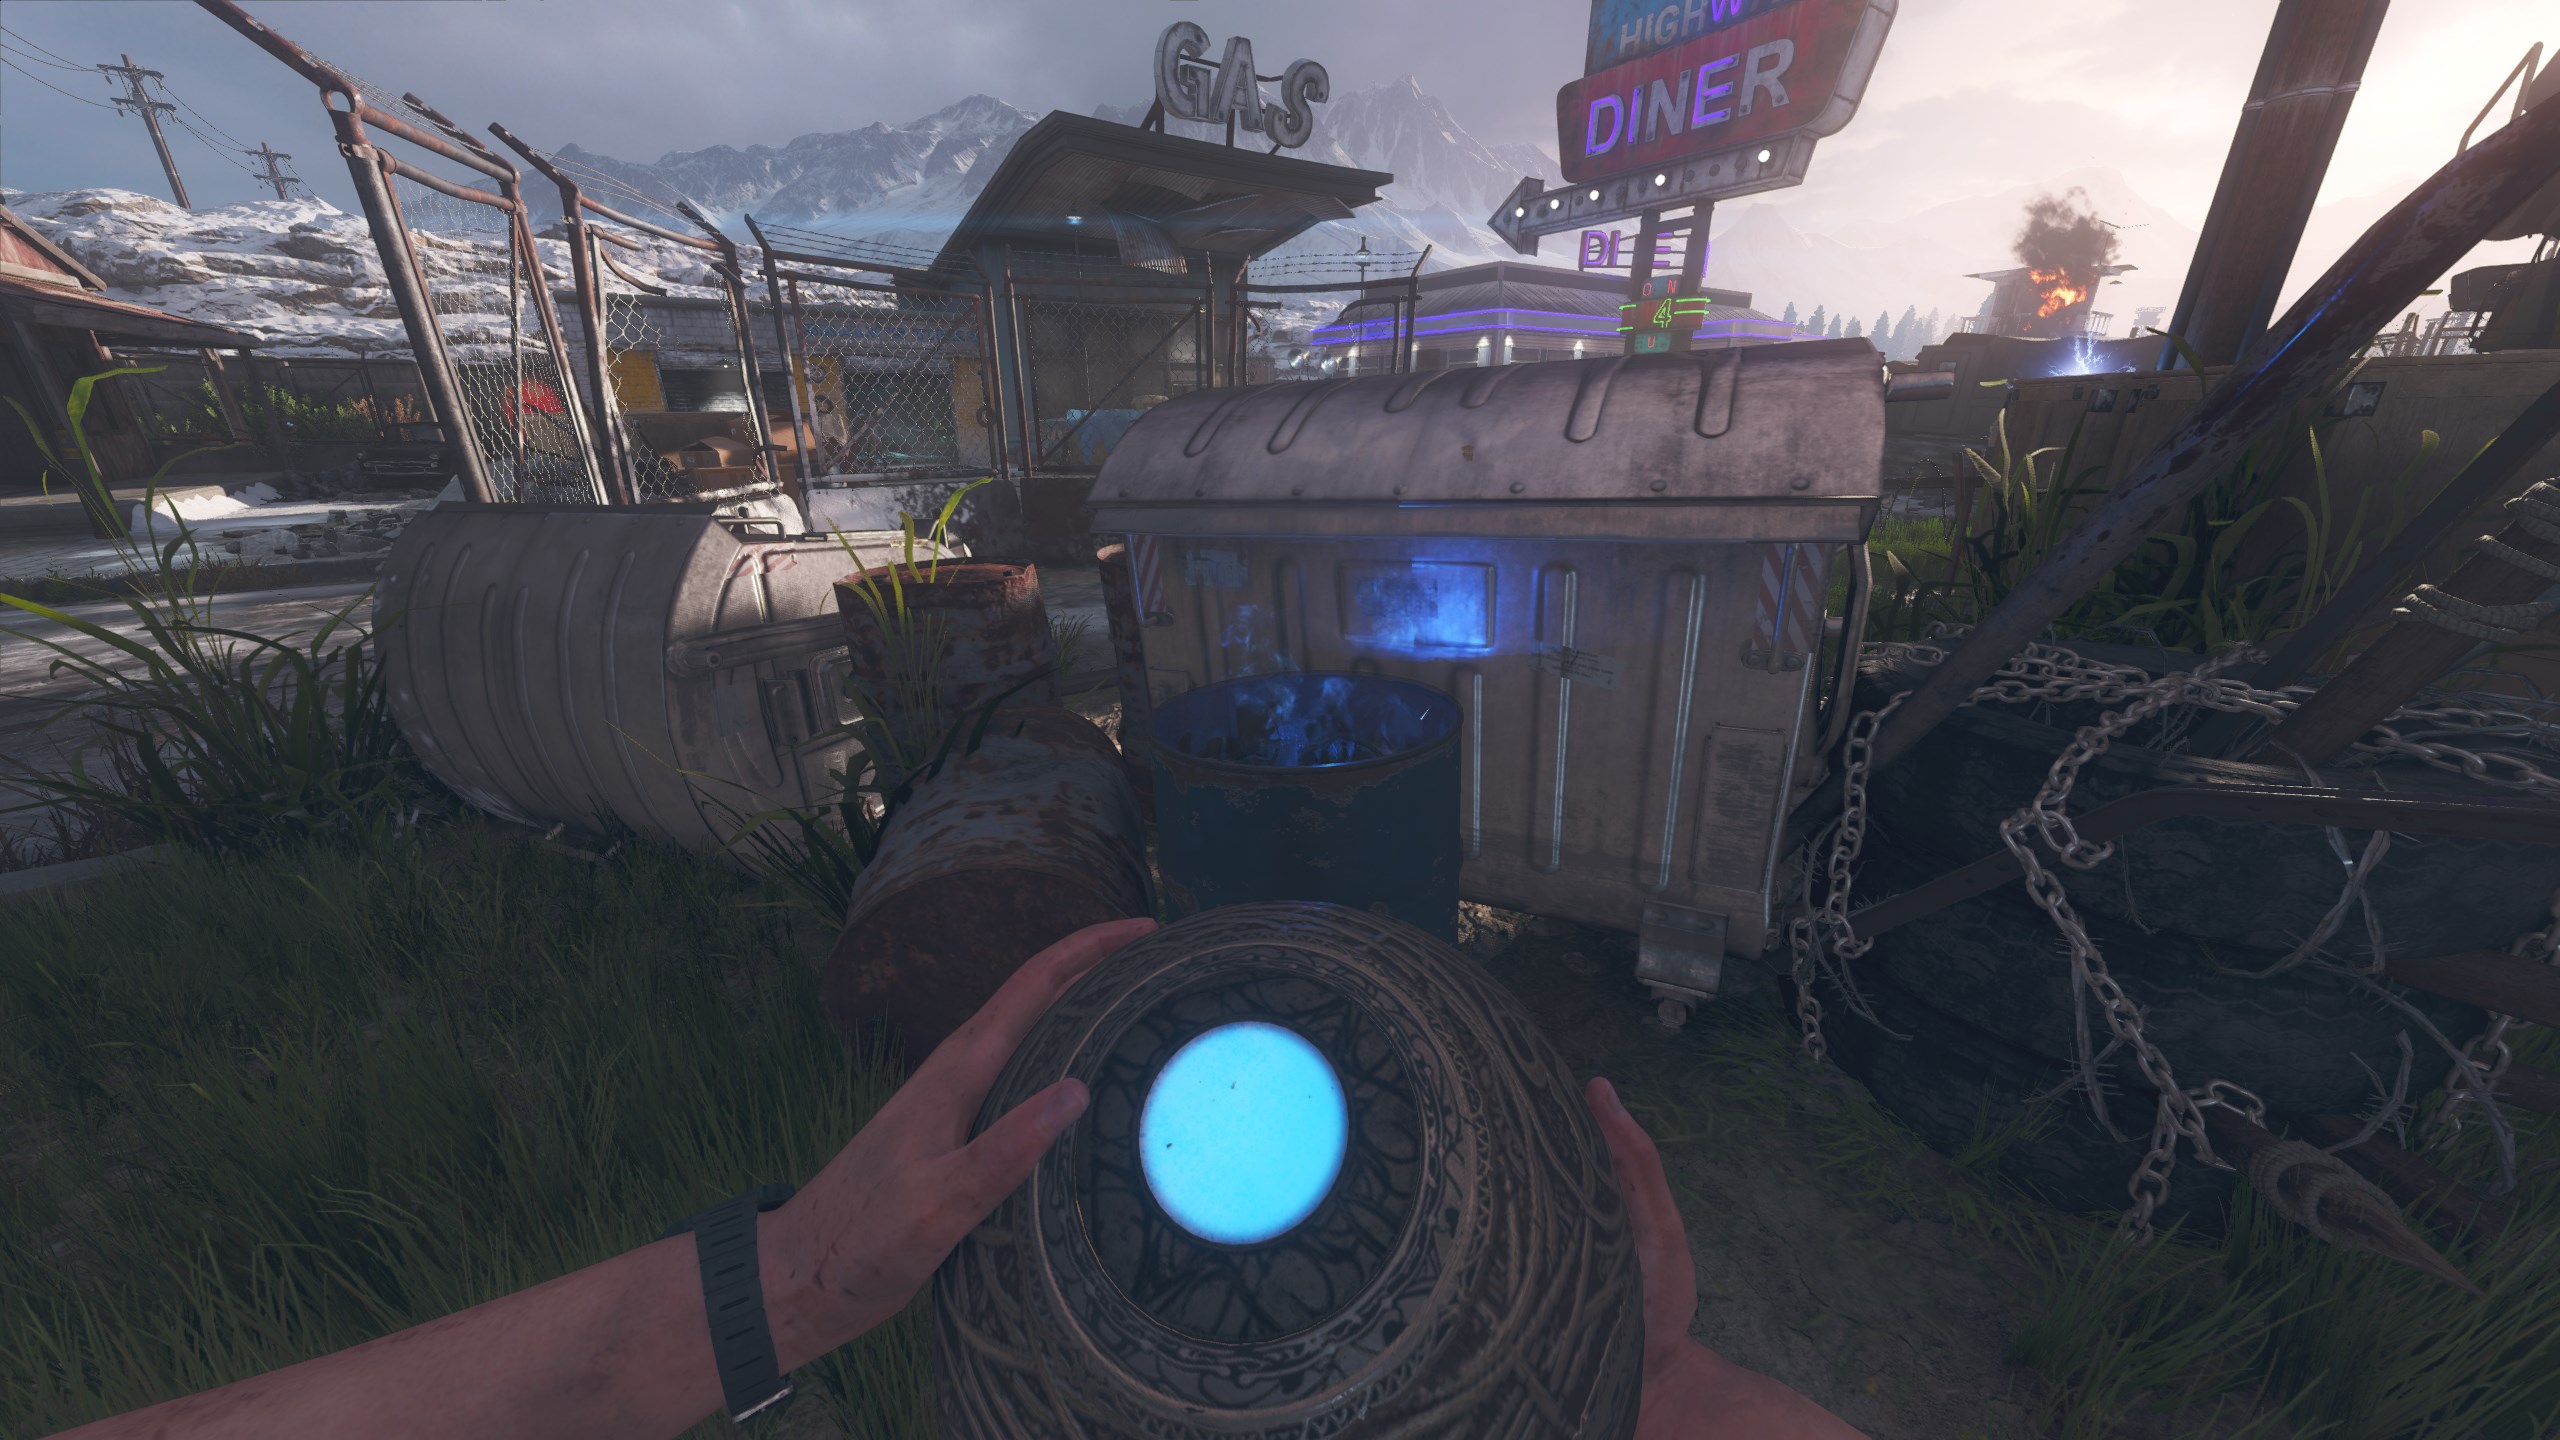
- Go to Juggernog and light the barrel to the left.
- Now towards Quick Revive through the middle.
- Use the Trample Steam you placed before and jump back to spawn, lighting the barrel on the right.
- Finally interact with the Pack-A-Punch Machine to place the Relic inside.
- Exit the Diner towards the Gas Station and light the barrel to the left of the stairs.
- Kill ~40 zombies near the Pack-A-Punch to fill the machine with souls.
- The Relic will then spawn with a sphere around it and it will begin moving through the map. You do not have to stay inside the sphere.

- The Relic will stop at 4 places throughout the map, تتطلب 50 souls every time it stops to continue. When it continues, it will drop a Max Ammo and Carpenter power up.
- The first stop is just outside Spawn.
- The second stop is on the opposite side of the map, beside Power room.
- The third stop is inside the Garage.
- The fourth stop is back at the Pack-A-Punch machine.
- The first stop is just outside Spawn.
- Once finished, the Relic will descend, rewarding multiple power ups. You many now continue to a higher round, or interact with the Relic to end the game!
Ray Gun Mark II
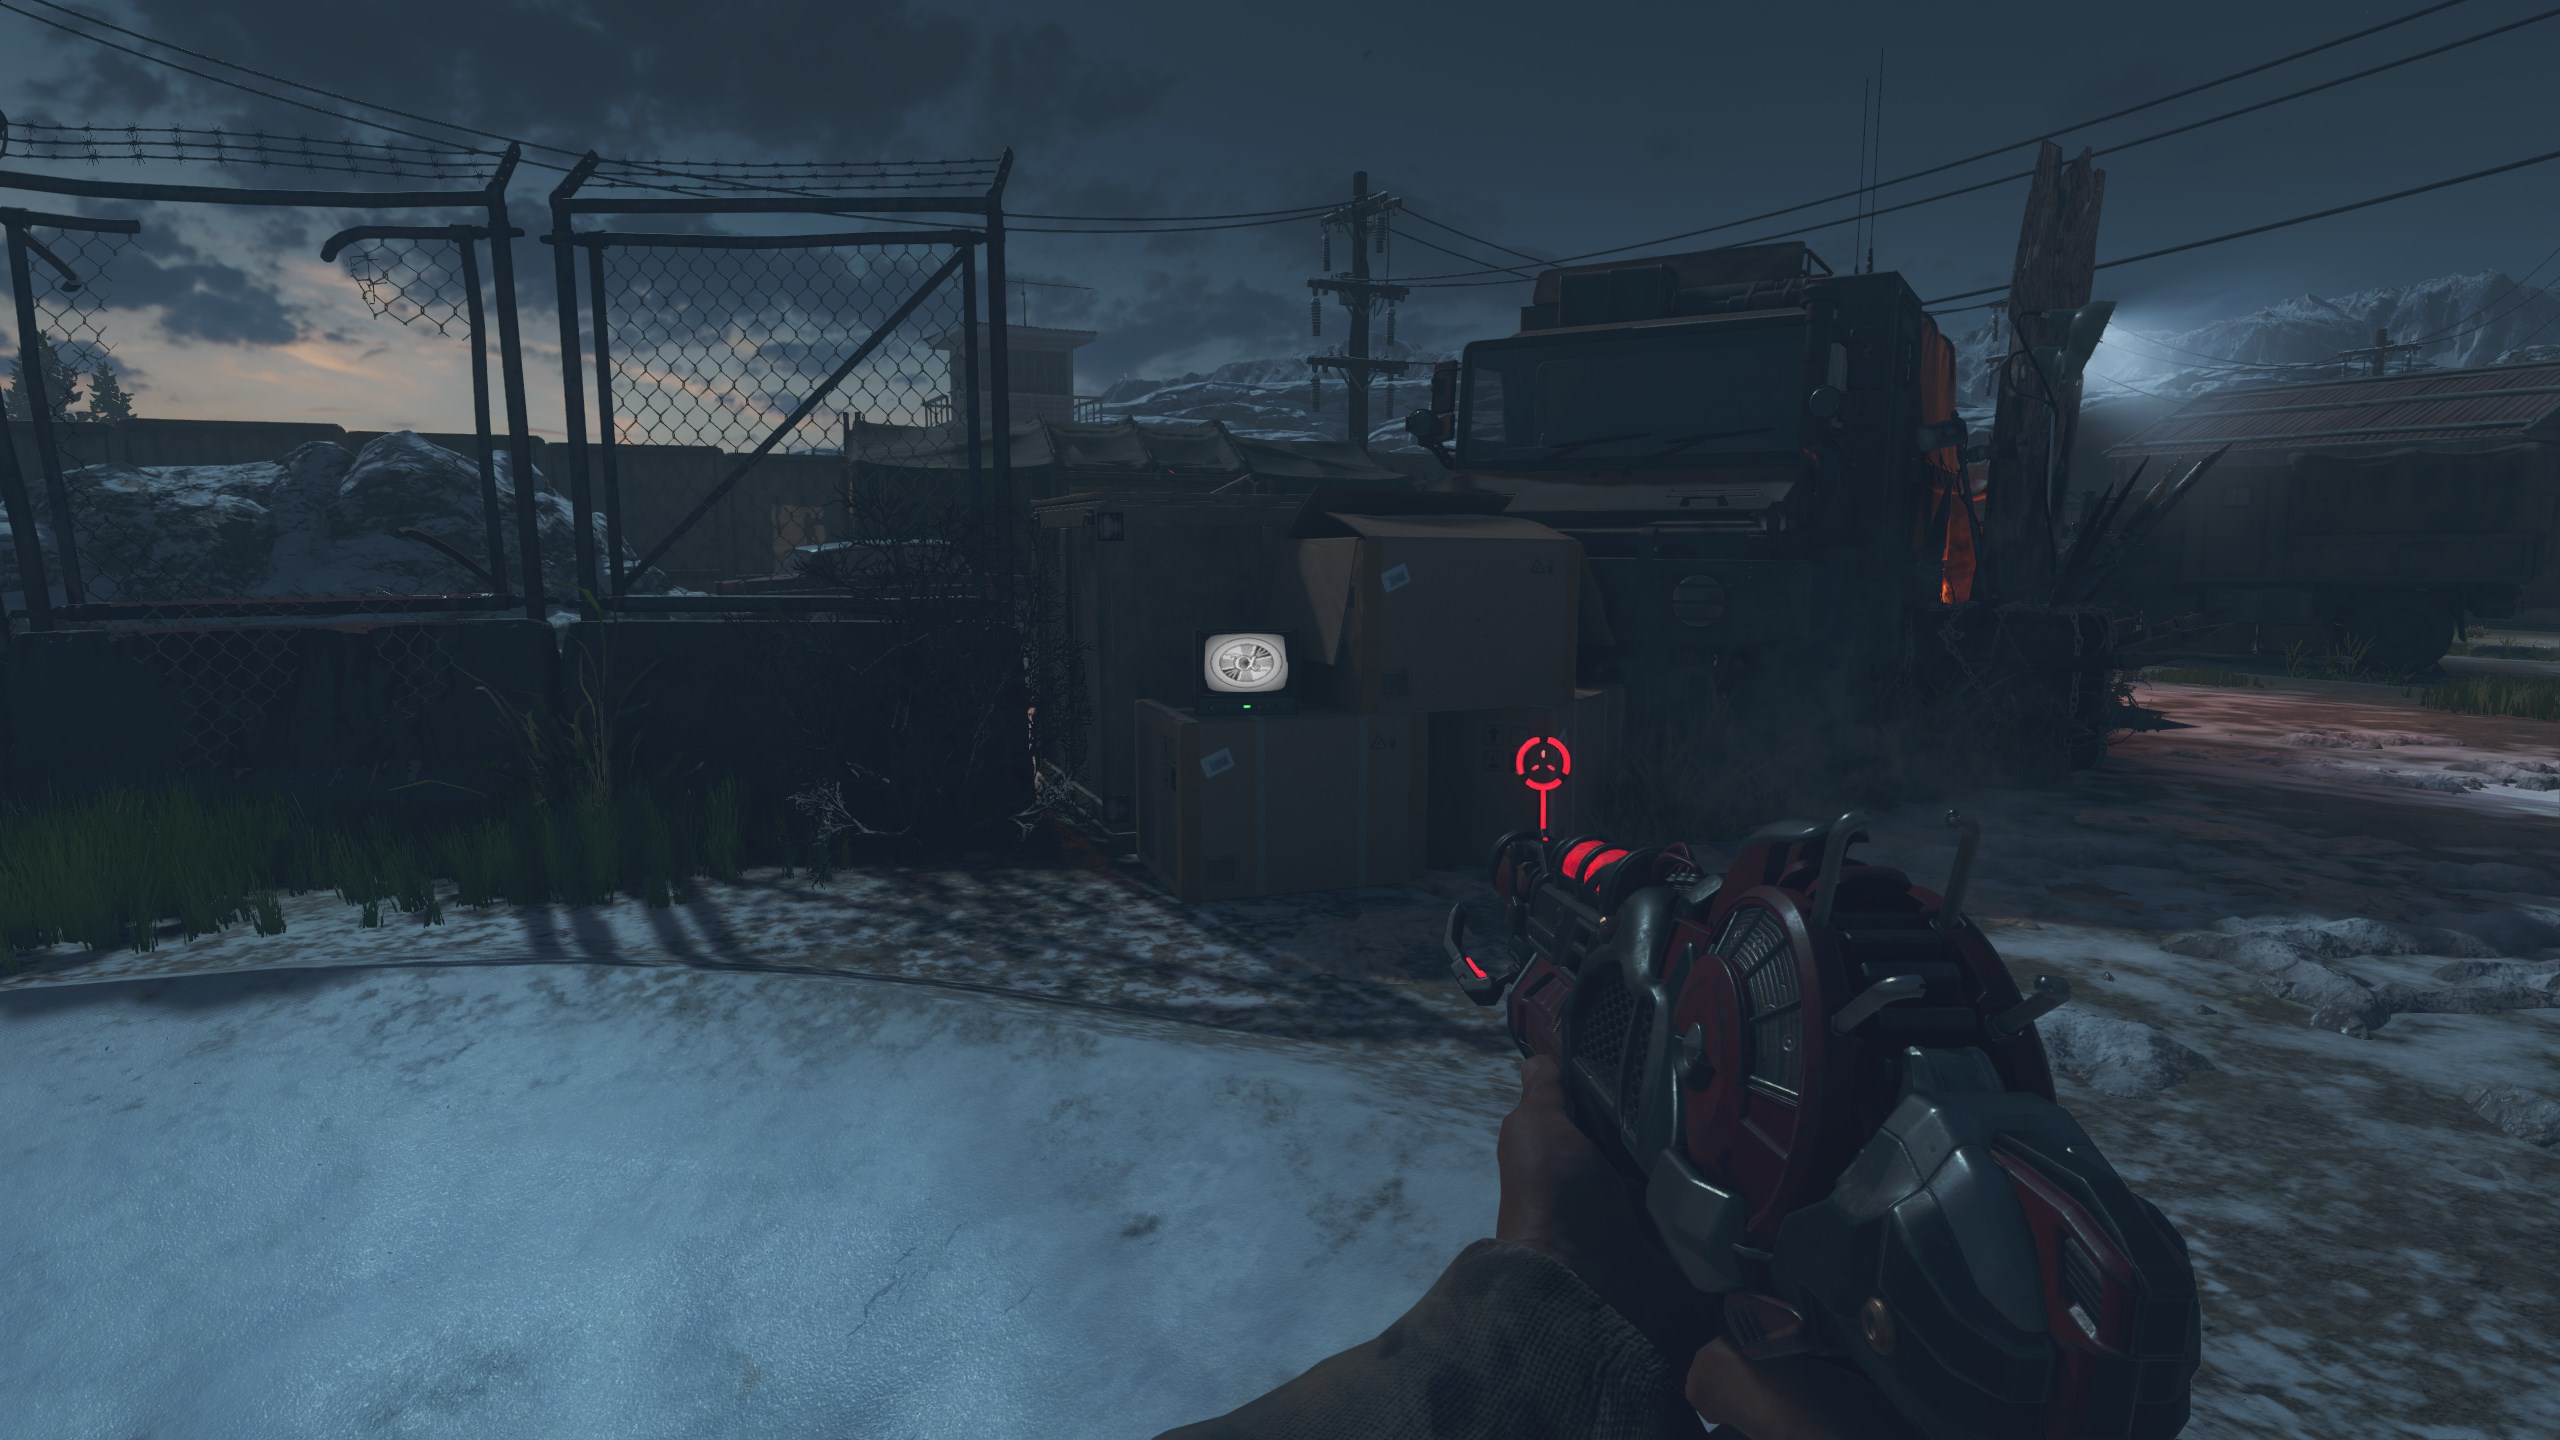
This only works after completing the main Easter Egg. You can still obtain the Mark II from the Mystery Box.1. Interact with 4 Televisions that are spread across the map to match the symbol located in the Power room.
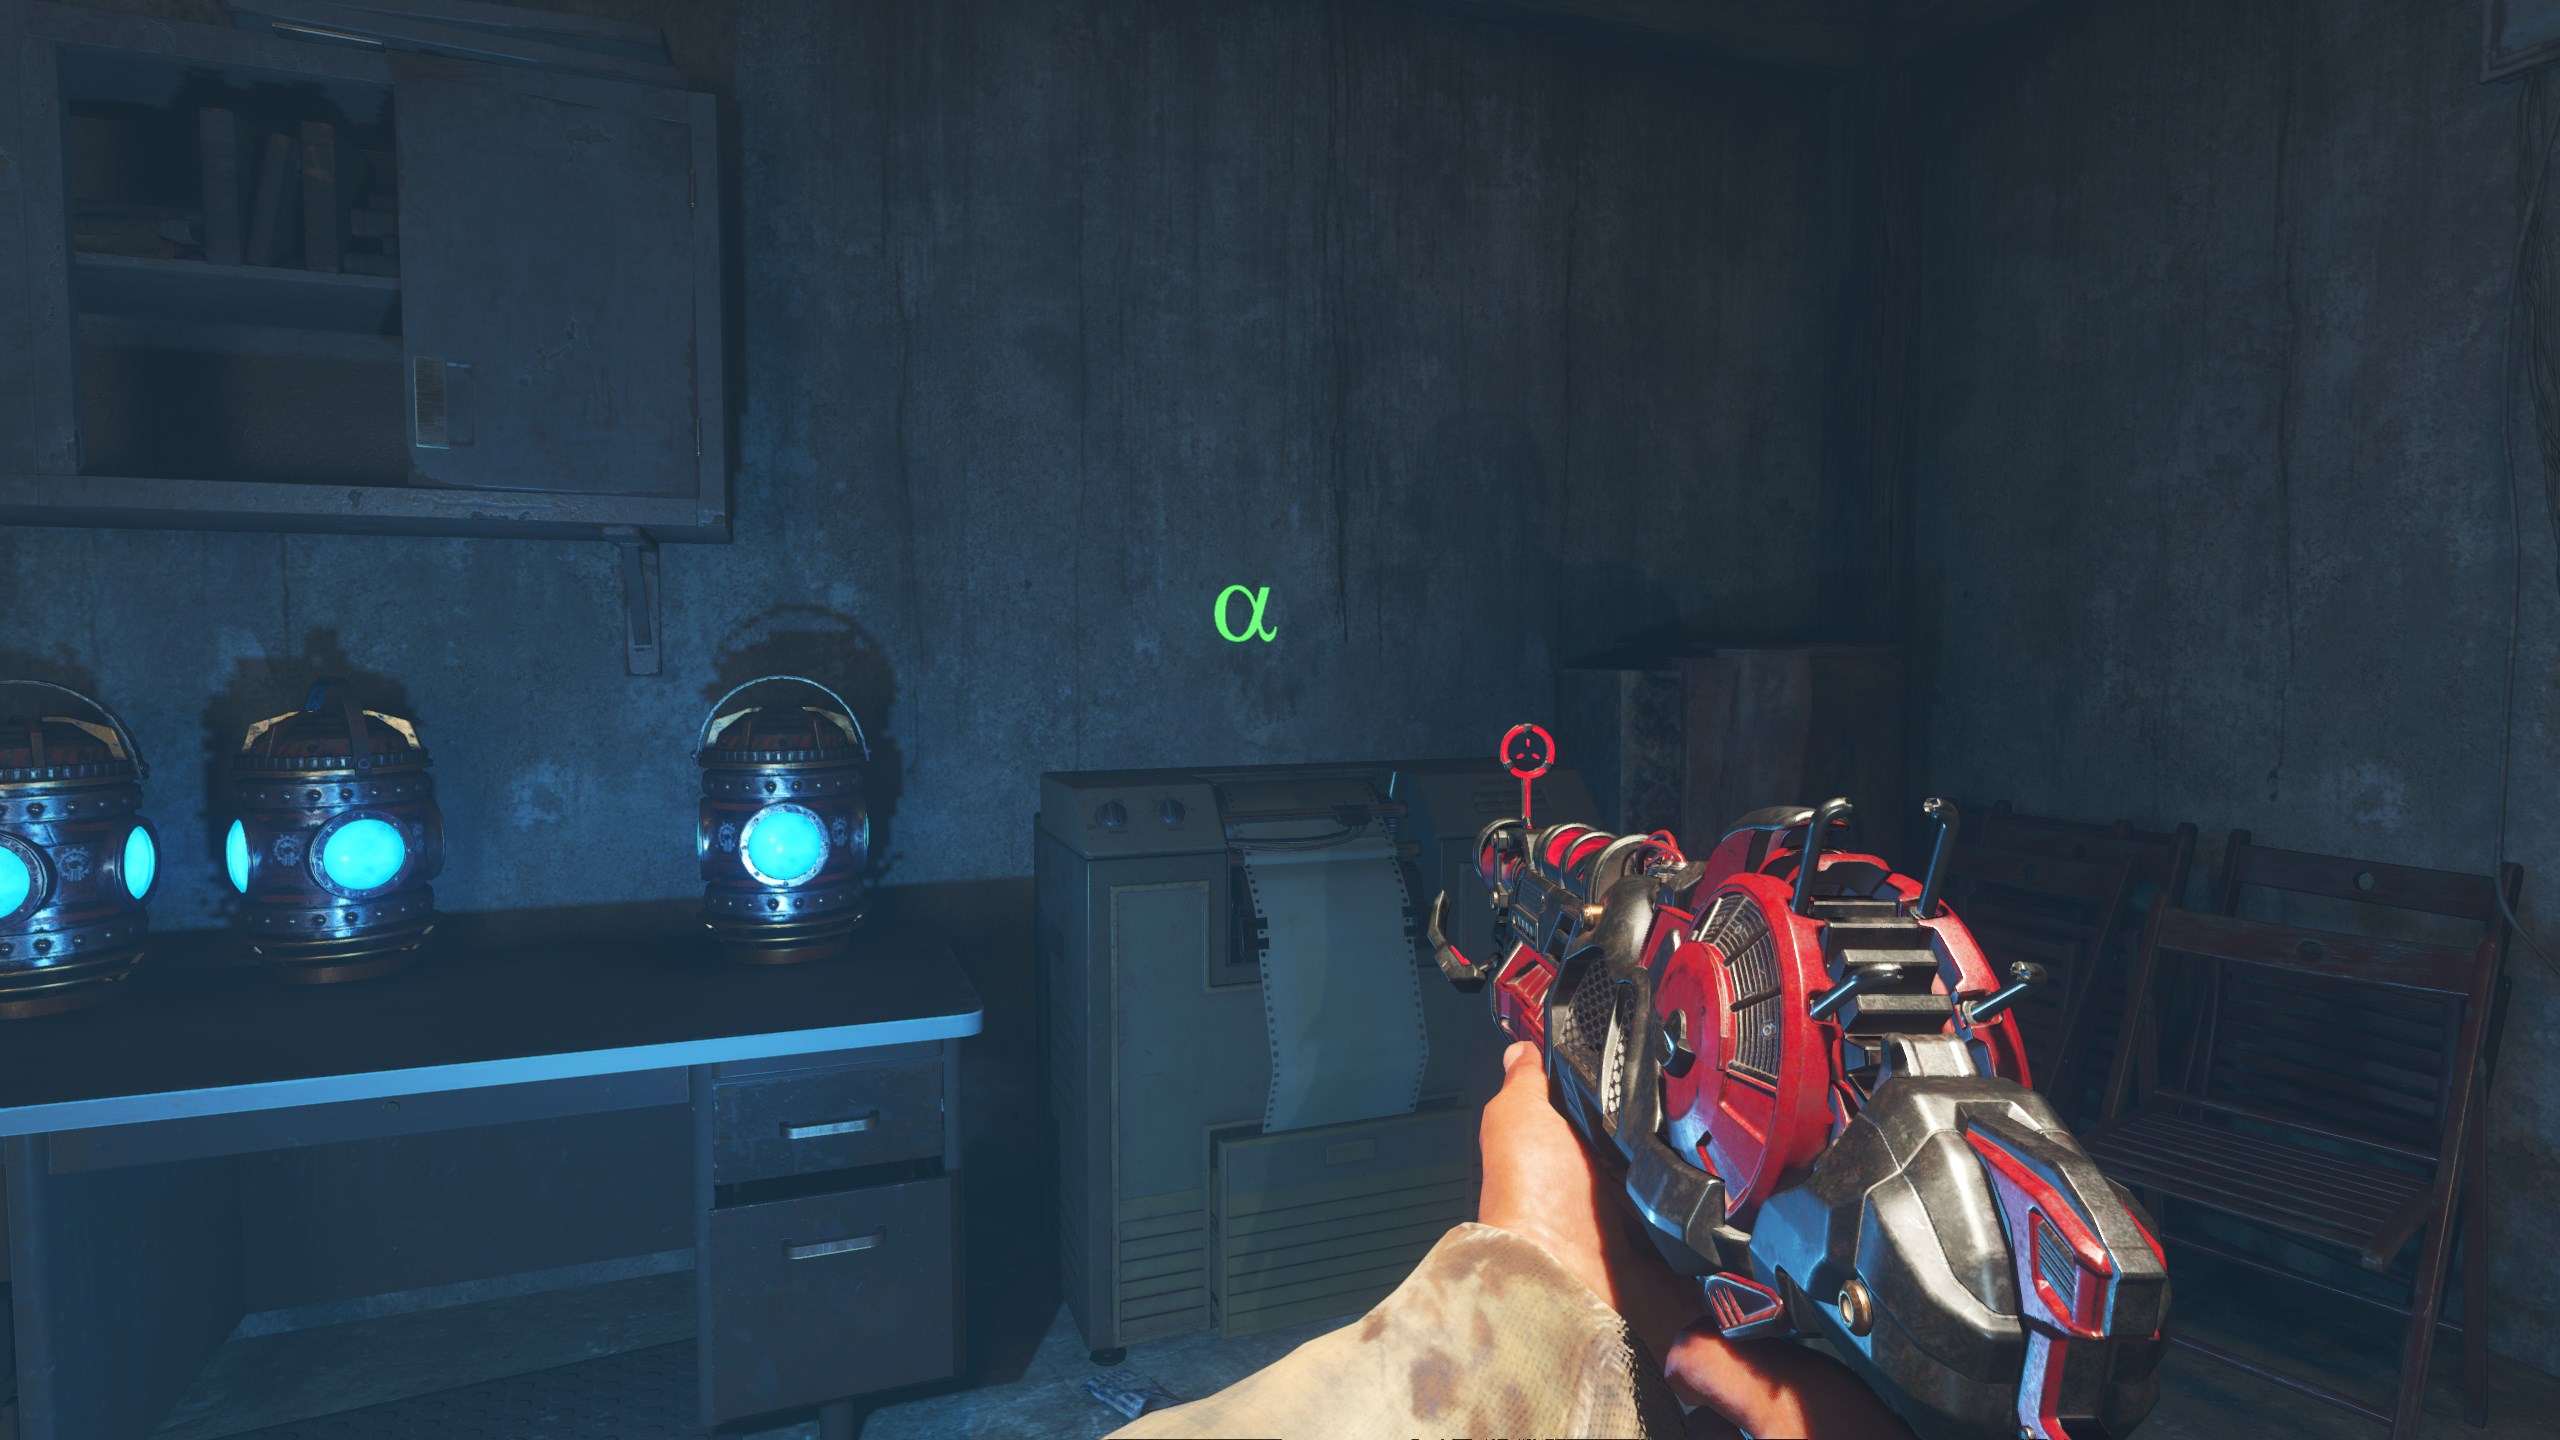
- To the left of the Pack-a-Punch machine.
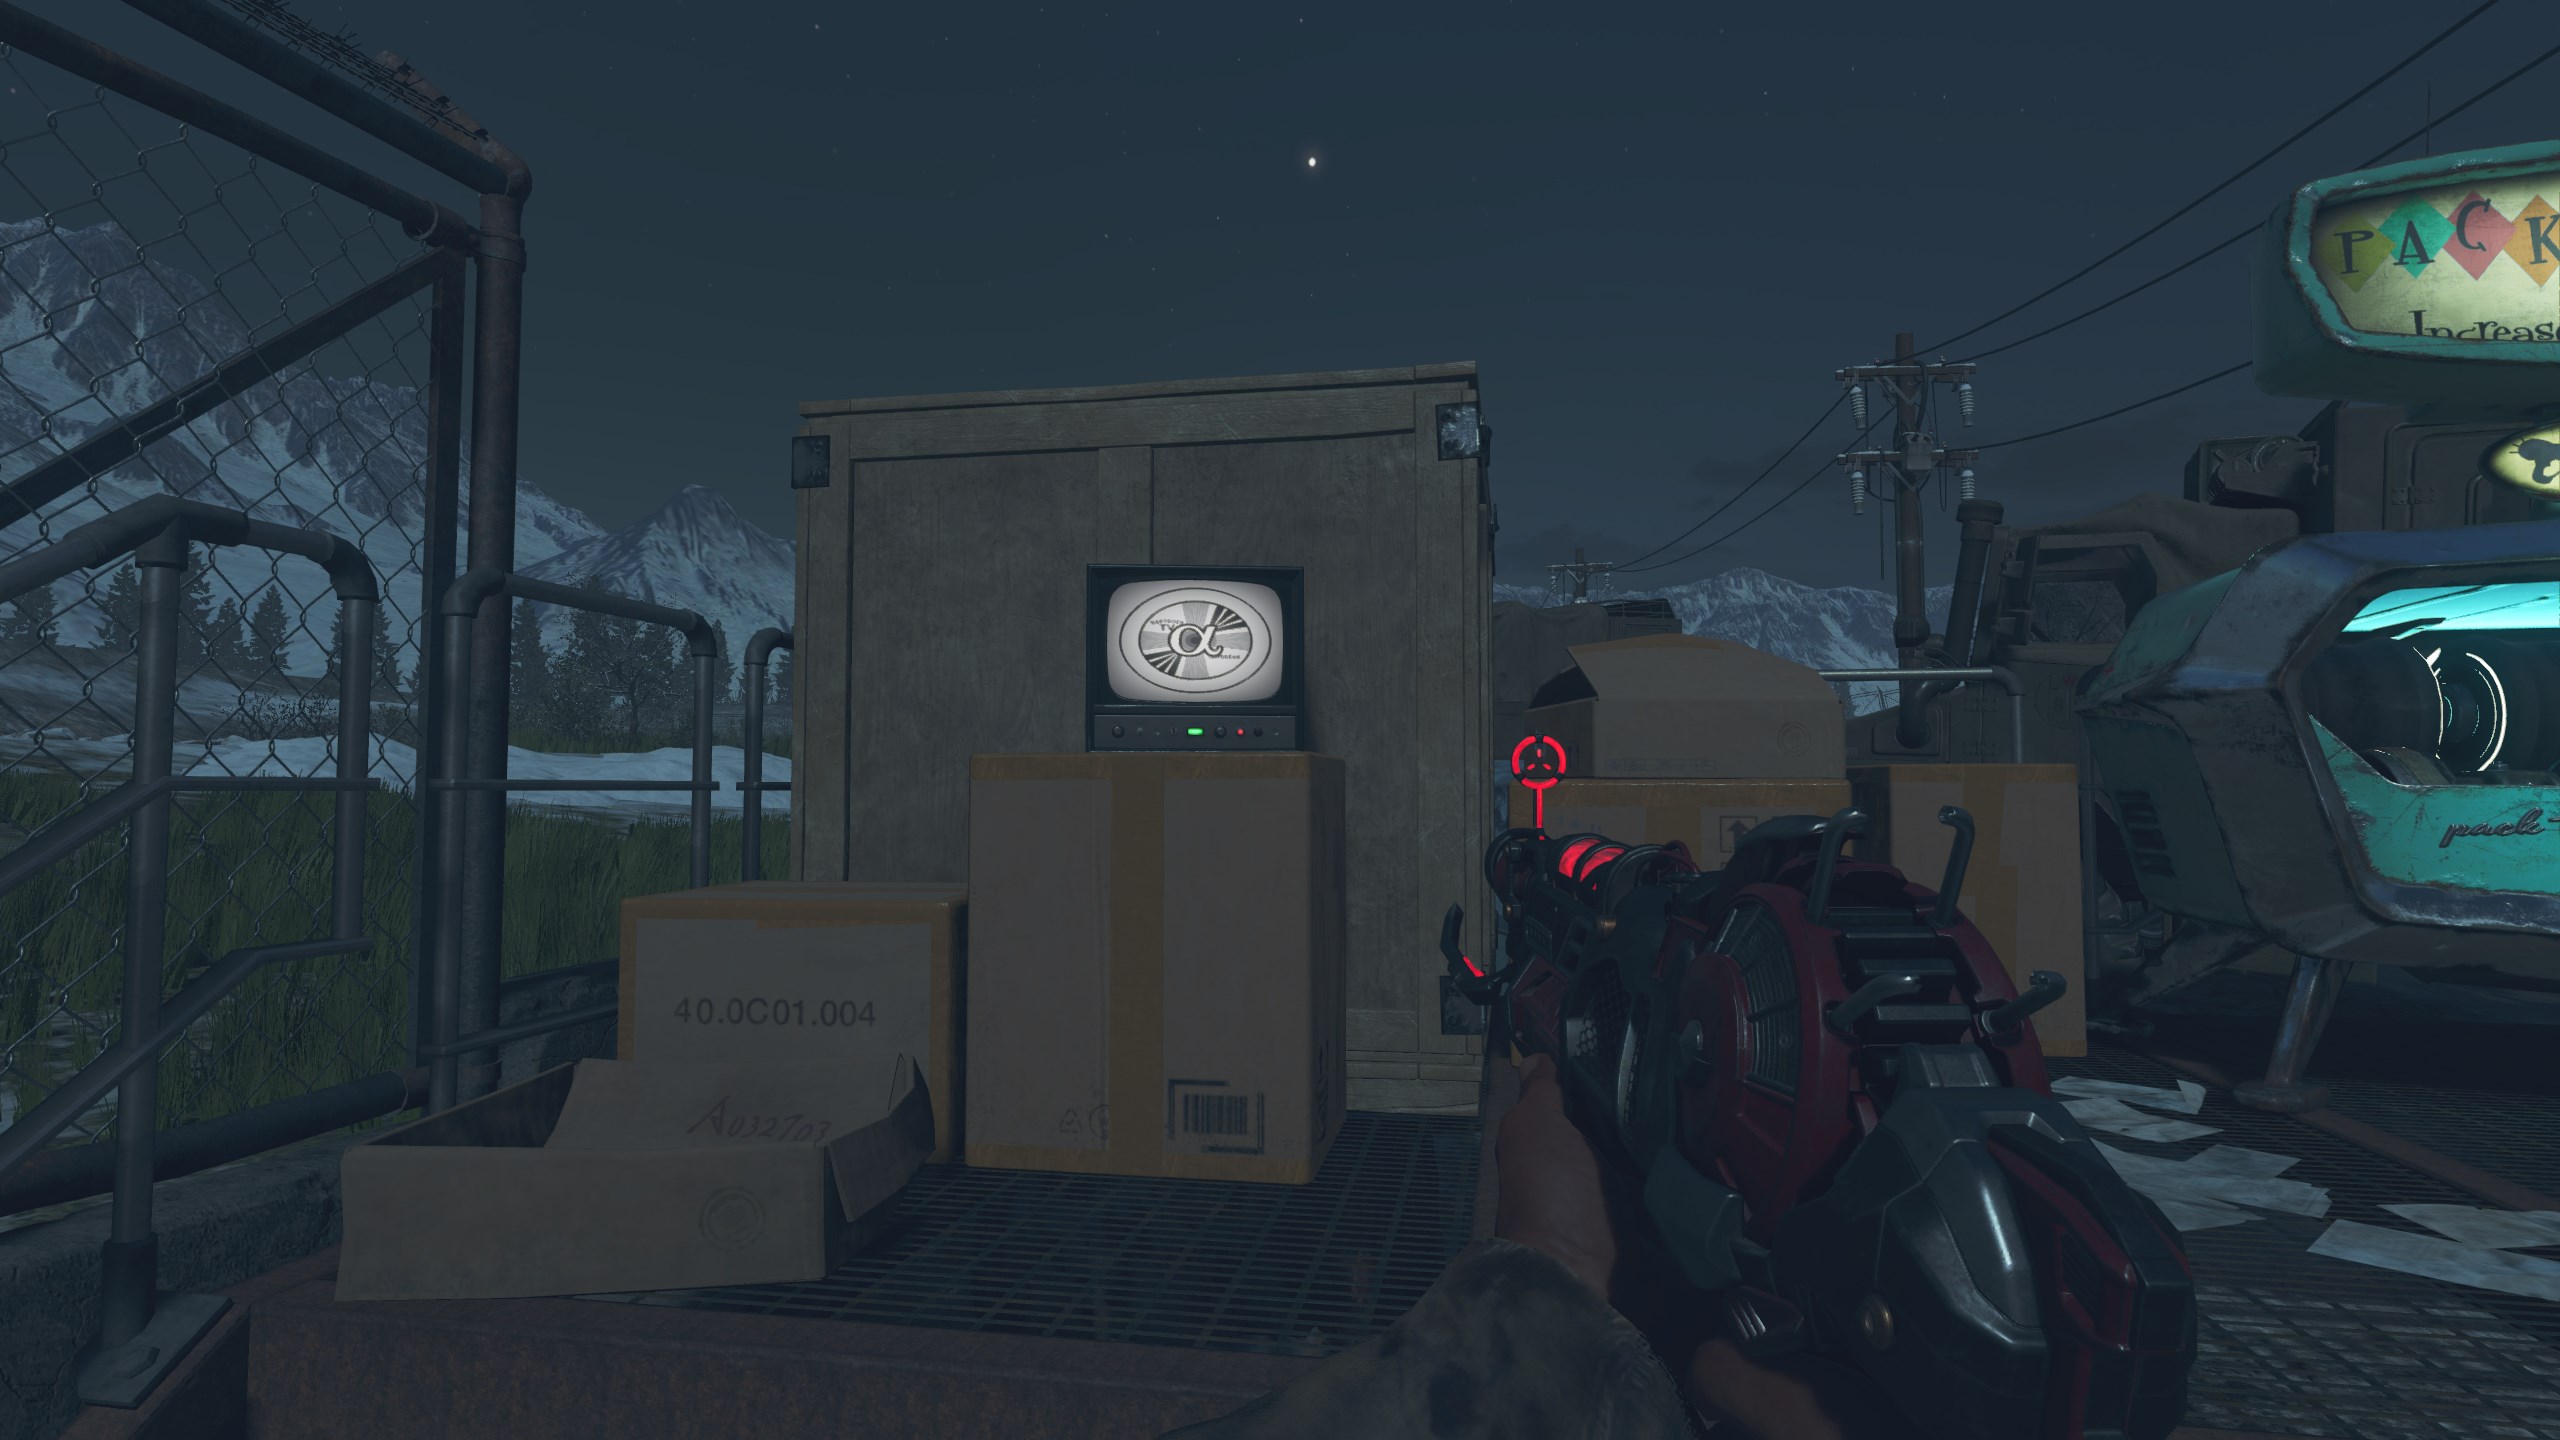
- To the right after leaving spawn.
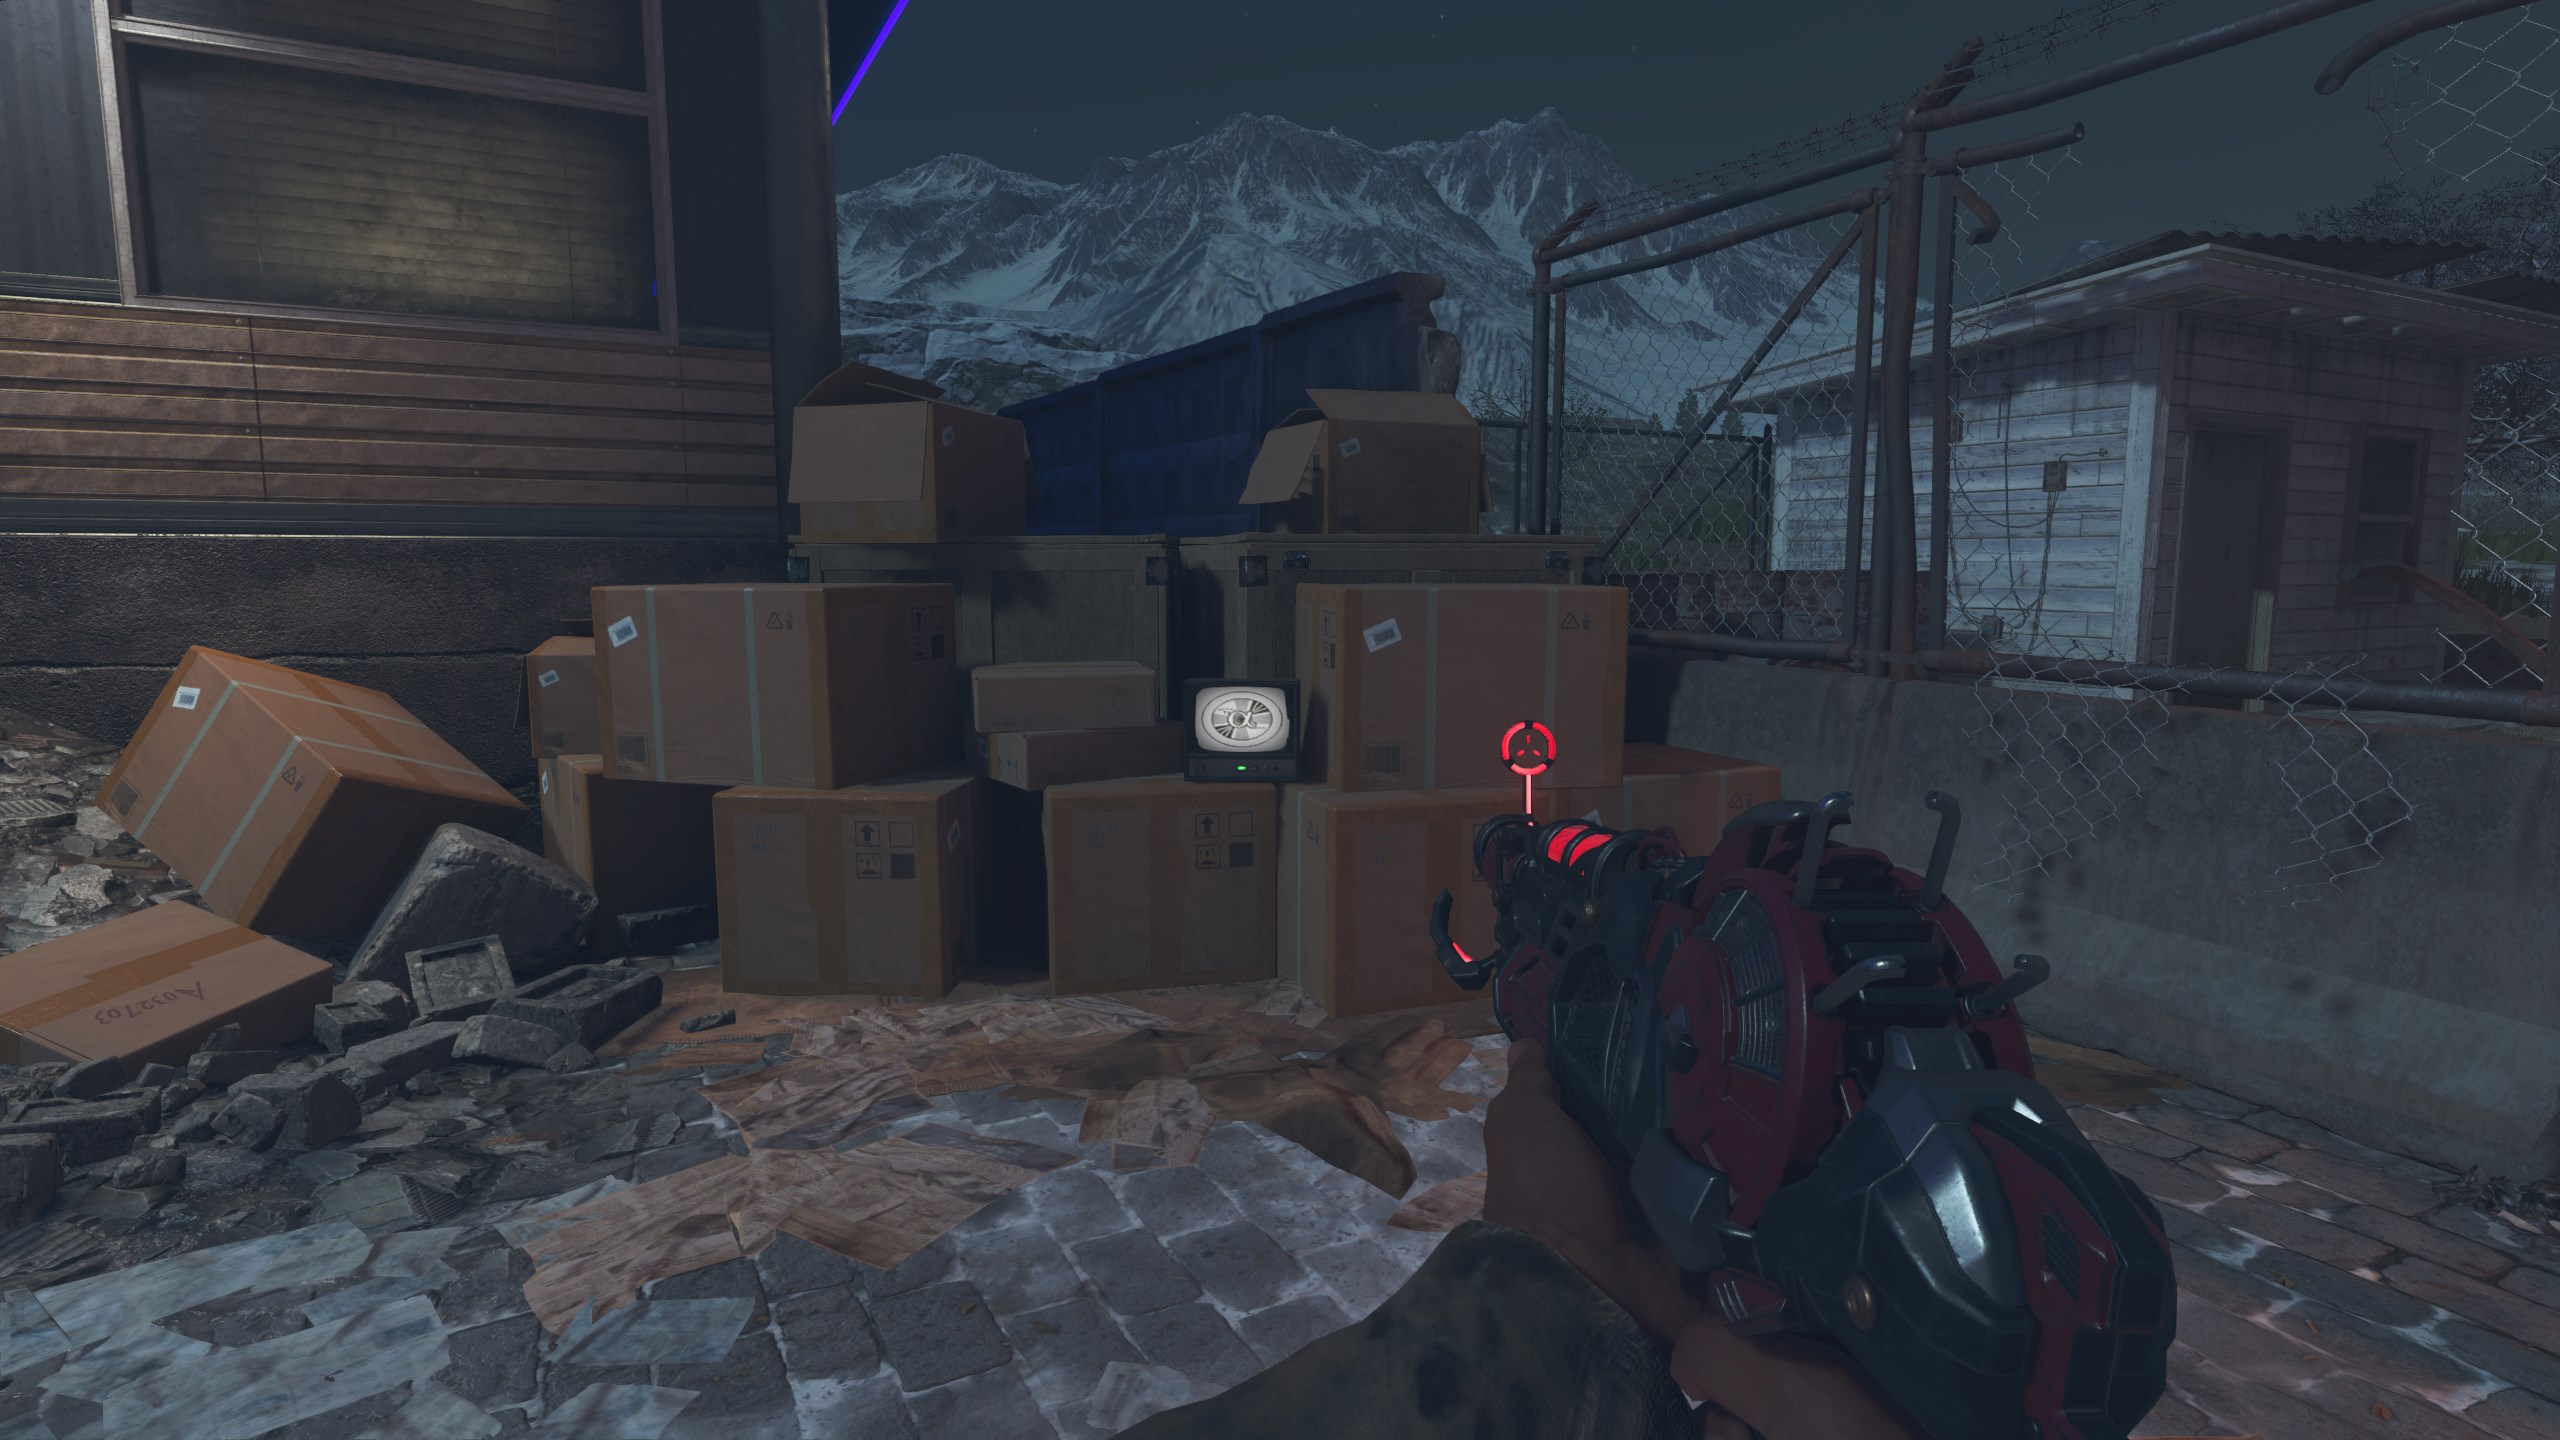
- In the garage with Speed Cola.
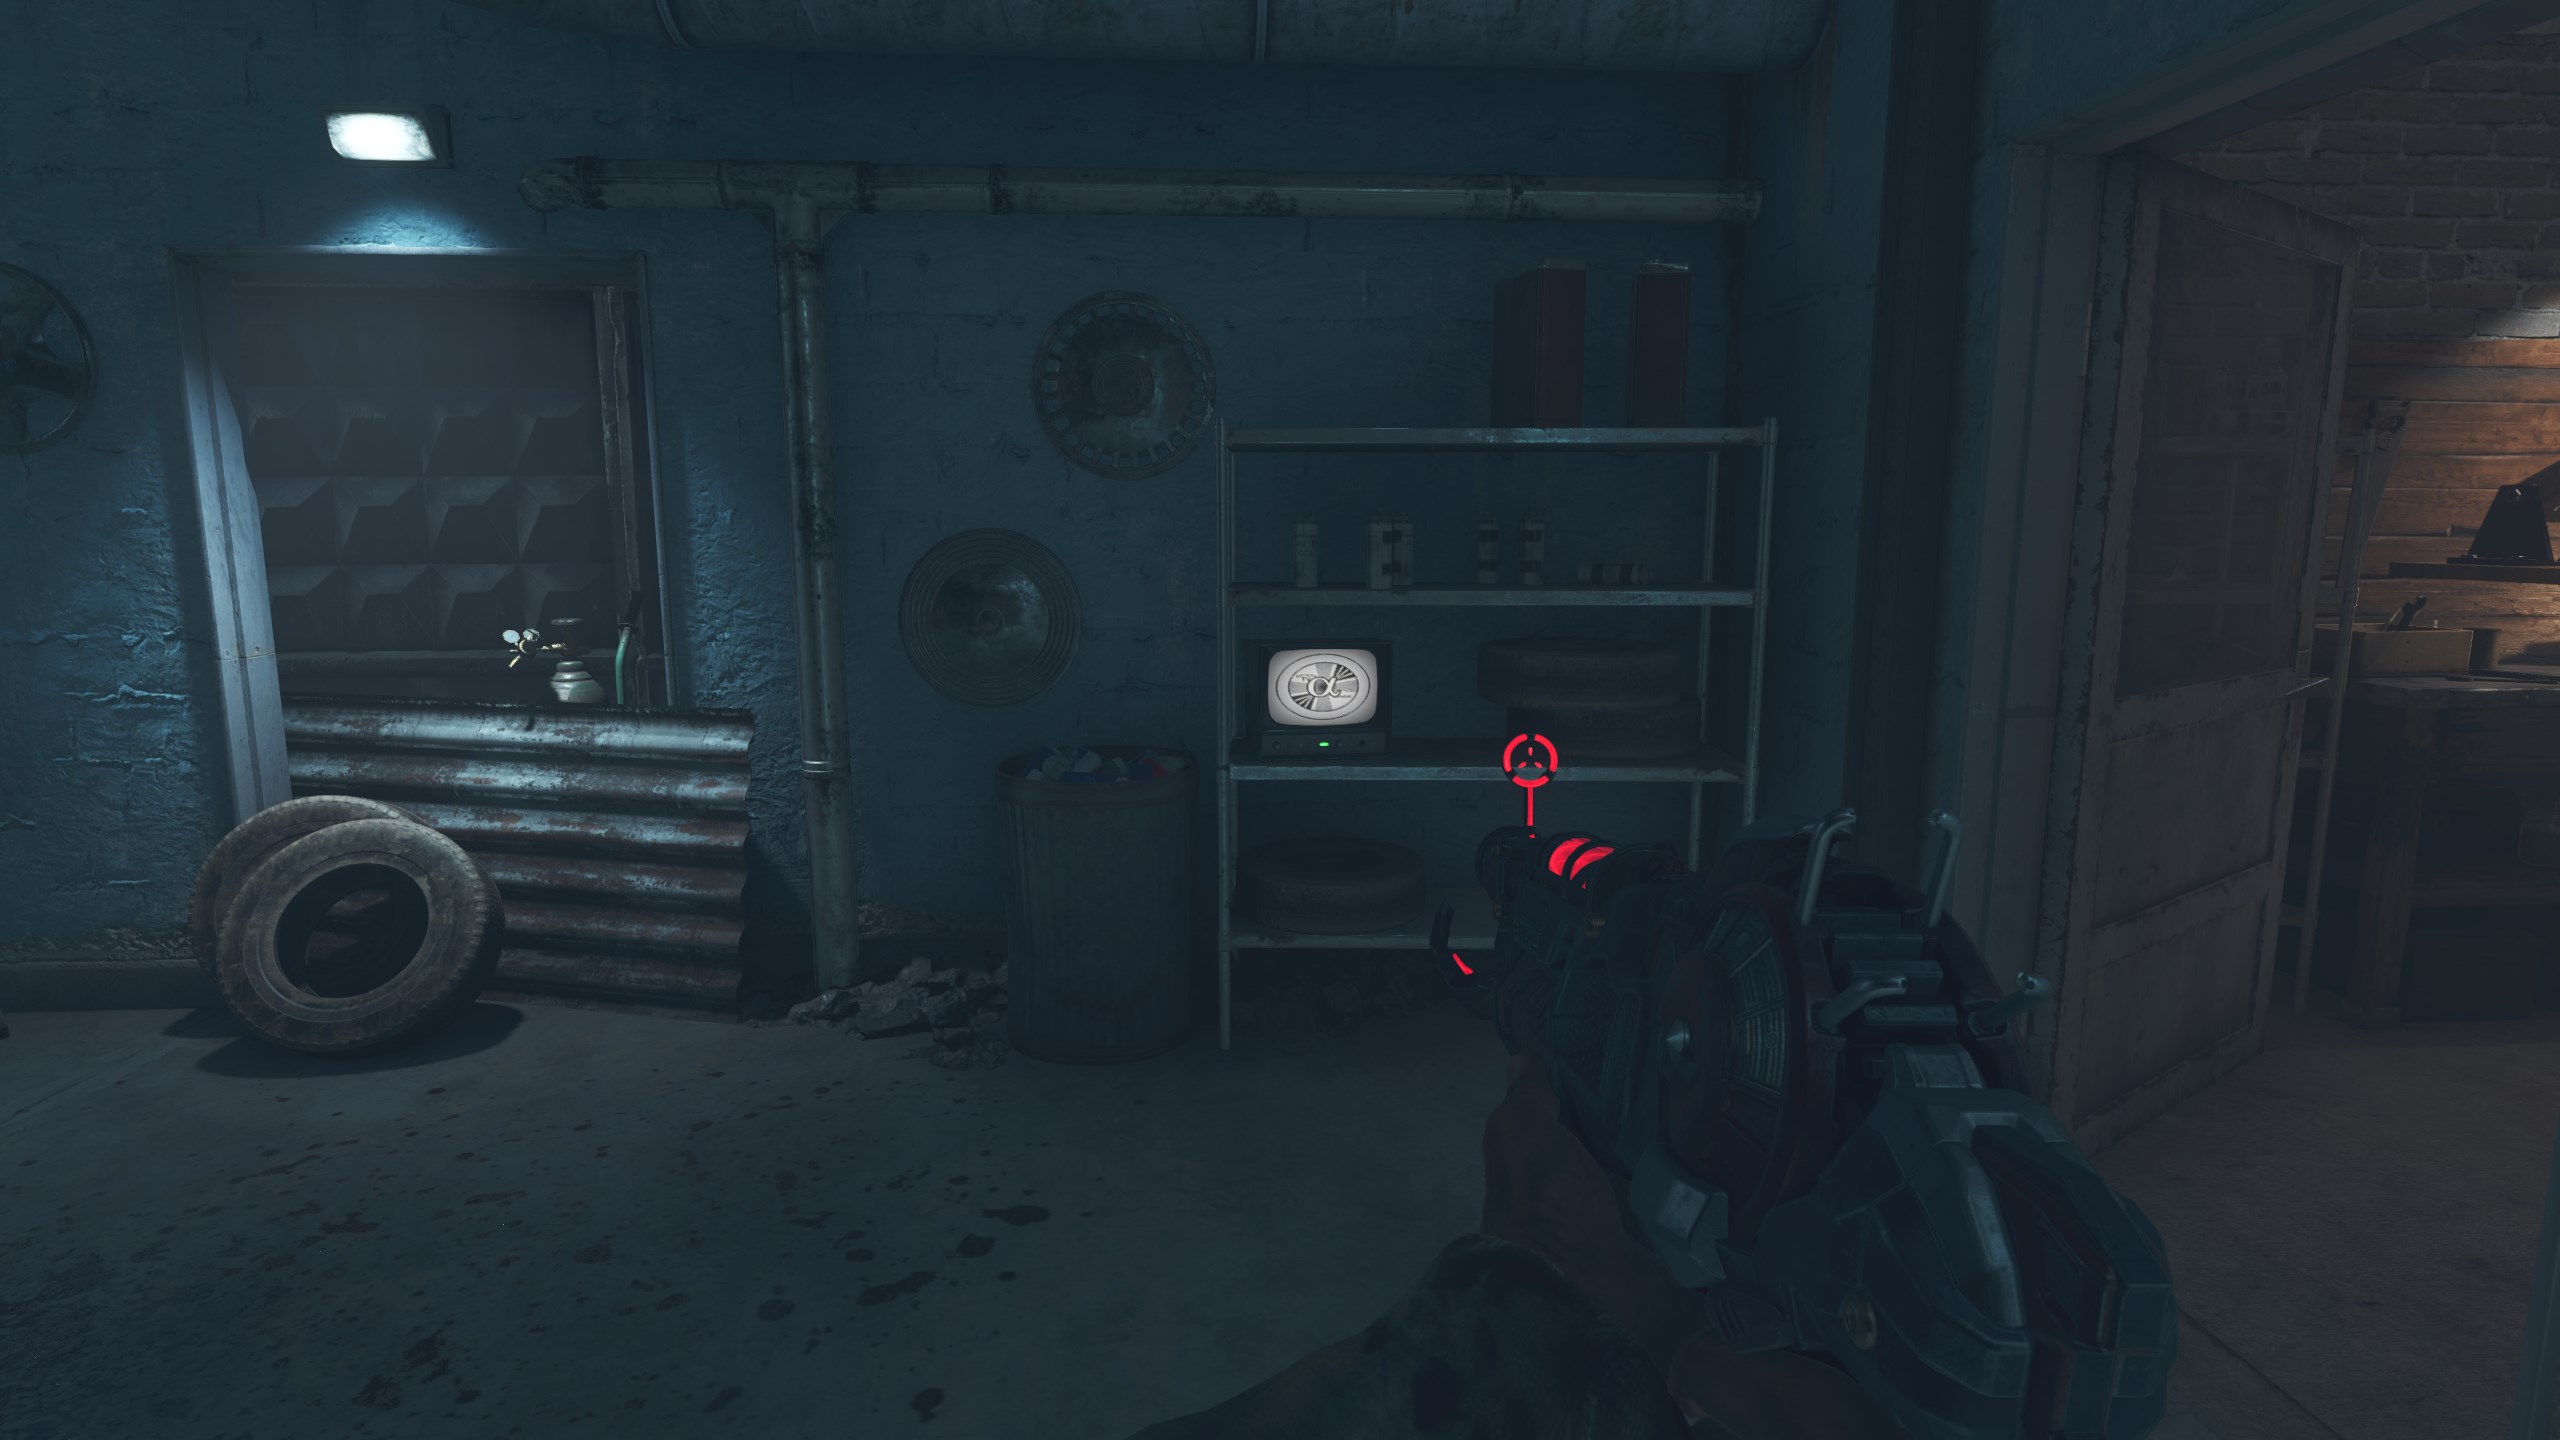
- To the right of Juggernog.
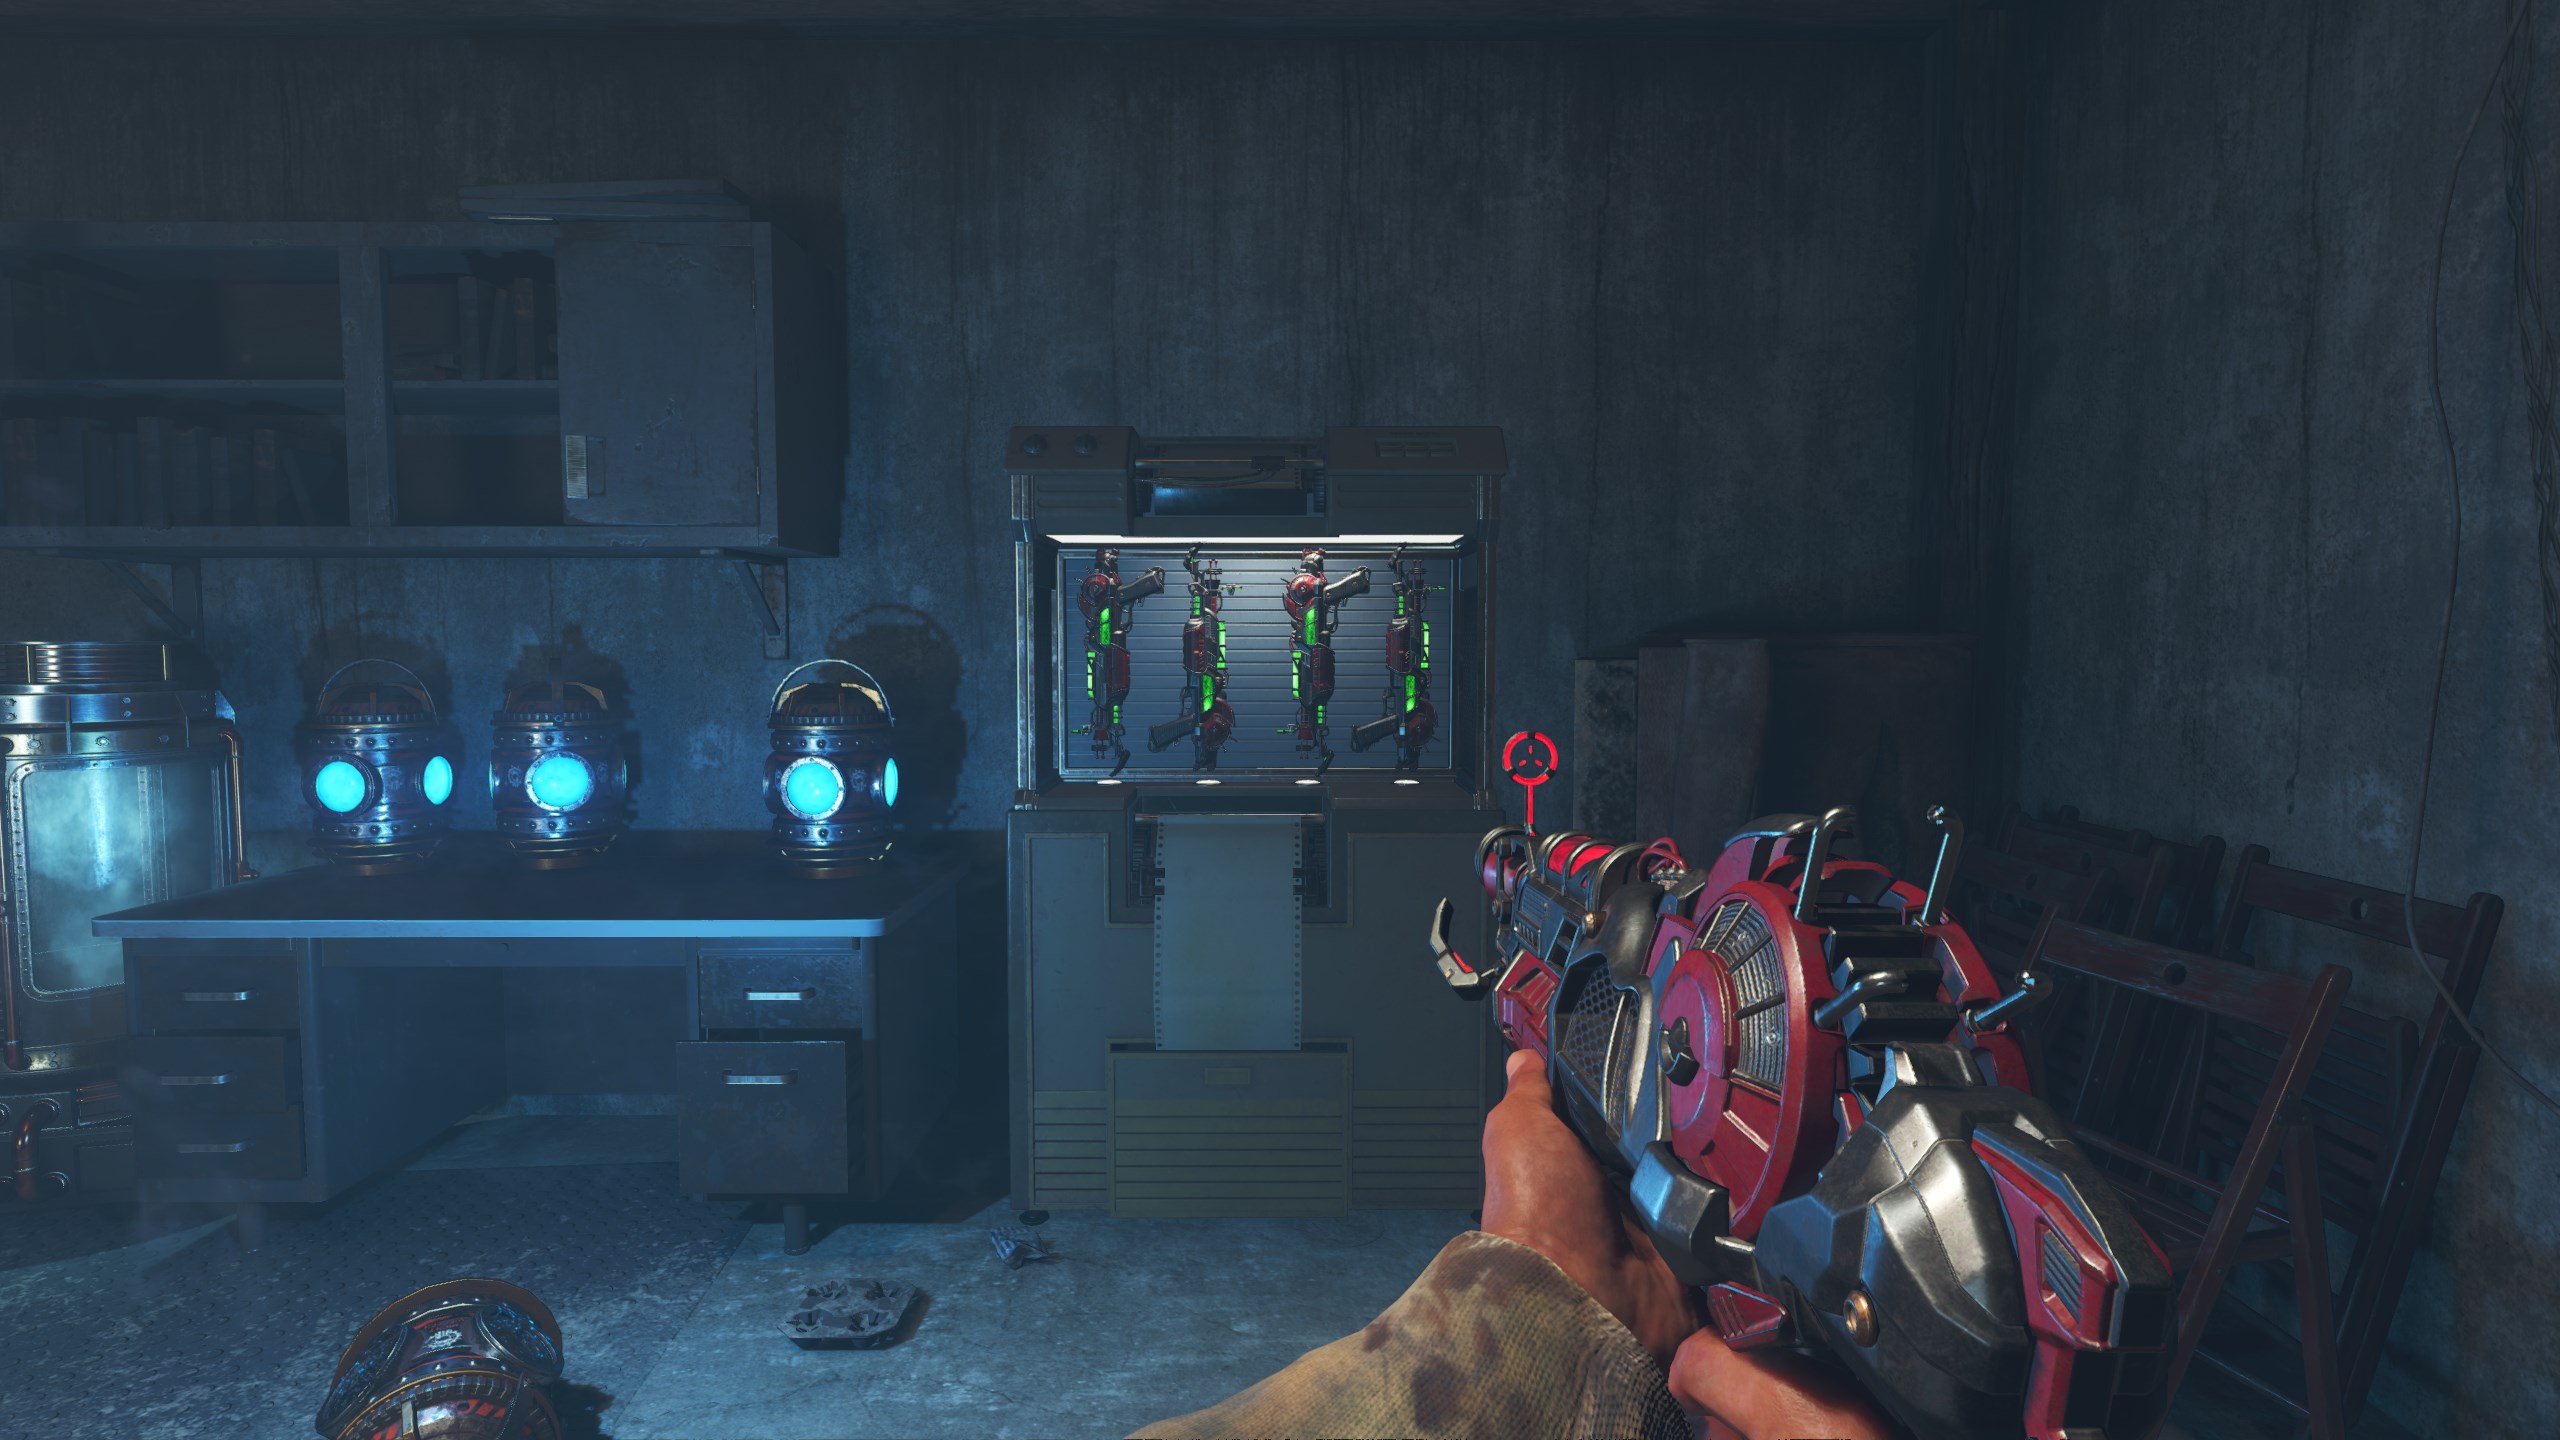
2. A rack of Ray Gun Mark II’s will raise in the Power room.
If you want to further improve this guide or report a fix, please message me on Discord: KennyHarmer#0001 or comment below.
هذا كل ما نشاركه اليوم من أجل هذا نداء الواجب: OPS الأسود الثالث مرشد. تم إنشاء هذا الدليل وكتابته في الأصل بواسطة [scumge] kenny. في حالة فشلنا في تحديث هذا الدليل, يمكنك العثور على آخر تحديث باتباع هذا وصلة.